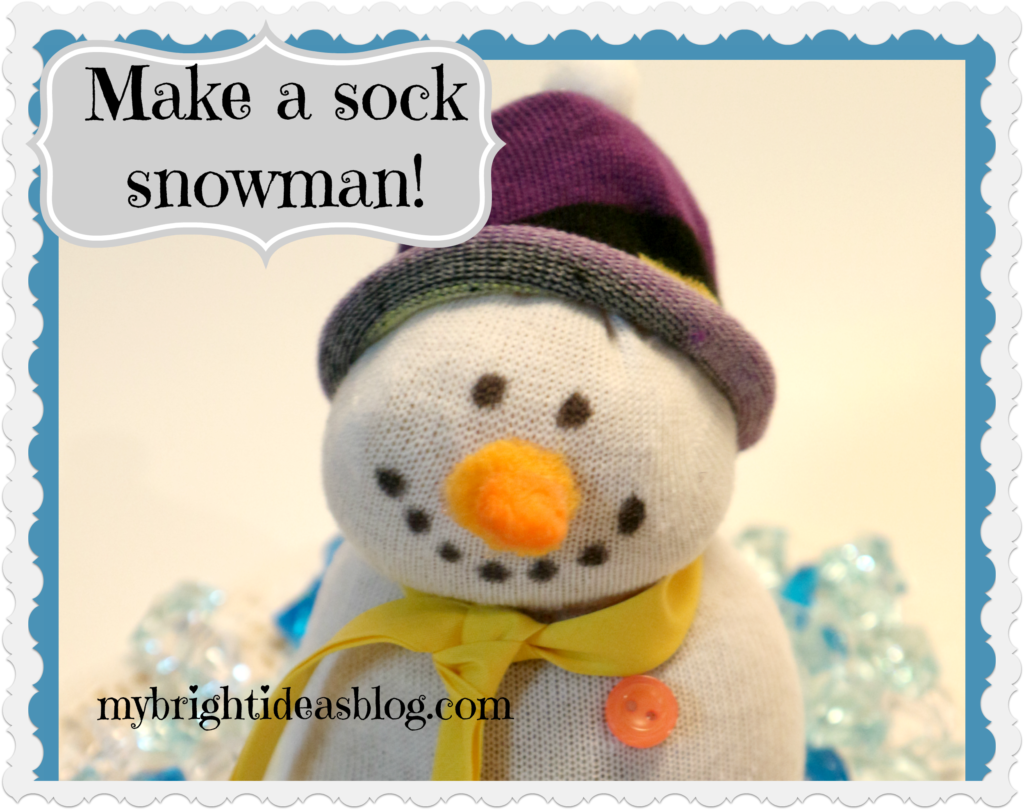
 Looking for a sweet and easy craft project? This sock snowman is adorable and so easy for any crafting skill level. Grab your crafting kit and the lost sock basket on the dryer and we are ready to make this snowman project!
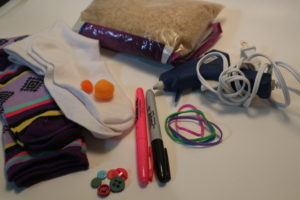
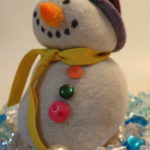
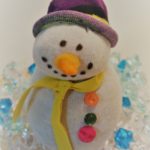
You will need: a white sock, a colored sock for the hat, 1 hat pom pom and 2 orange pom poms, a few buttons, 4 cups of rice (more if you want a big one or less if you want is smaller), elastics or yarn to tie off the rice, glue gun, black permanent marker, pink marker or highlighter.
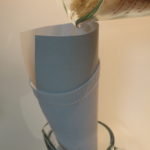
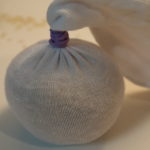
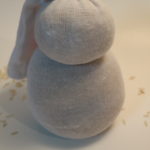
I made a funnel using a piece of cardstock and placed it inside the white sock. When you have it to the size you like tie it off with an elastic. Pour more rice into the sock to make the head for the snow-lady.
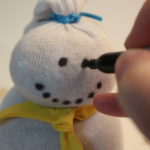
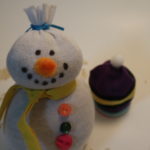
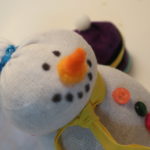
Draw dots for eyes and mouth with the black permanent marker. Glue buttons down her front. Tie a ribbon for her scarf-I used a scrap of bias tape from my sewing basket. Now you’ll need to make a carrot shaped nose. I glued 2 orange pom-poms together with a dab of hot glue and then trimmed it into the shape of the carrot. I thought it turned out pretty well. The hat is made out of the other colored sock. Just trim off a few inches from the toe area and roll it up once or twice. Hot glue a pom pom on the top.
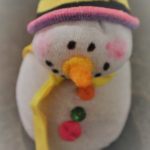
And that is how you do it! Pretty easy project the kids will enjoy making and a good gift for Grandma’s kitchen window.
I wonder if you could put him in the freezer and use him as a cold compress for the kids boo boos…..just a thought.
Decorating wooden memory or jewellry boxes. Easy Craft!

Pick up some plain wood boxes from the craft store or dollar store and paint gives it a make over! Jewelry box or memory box whatever you want to use it for!
You will need:
- A wooden box
- Craft Paint
- Paint Brushes
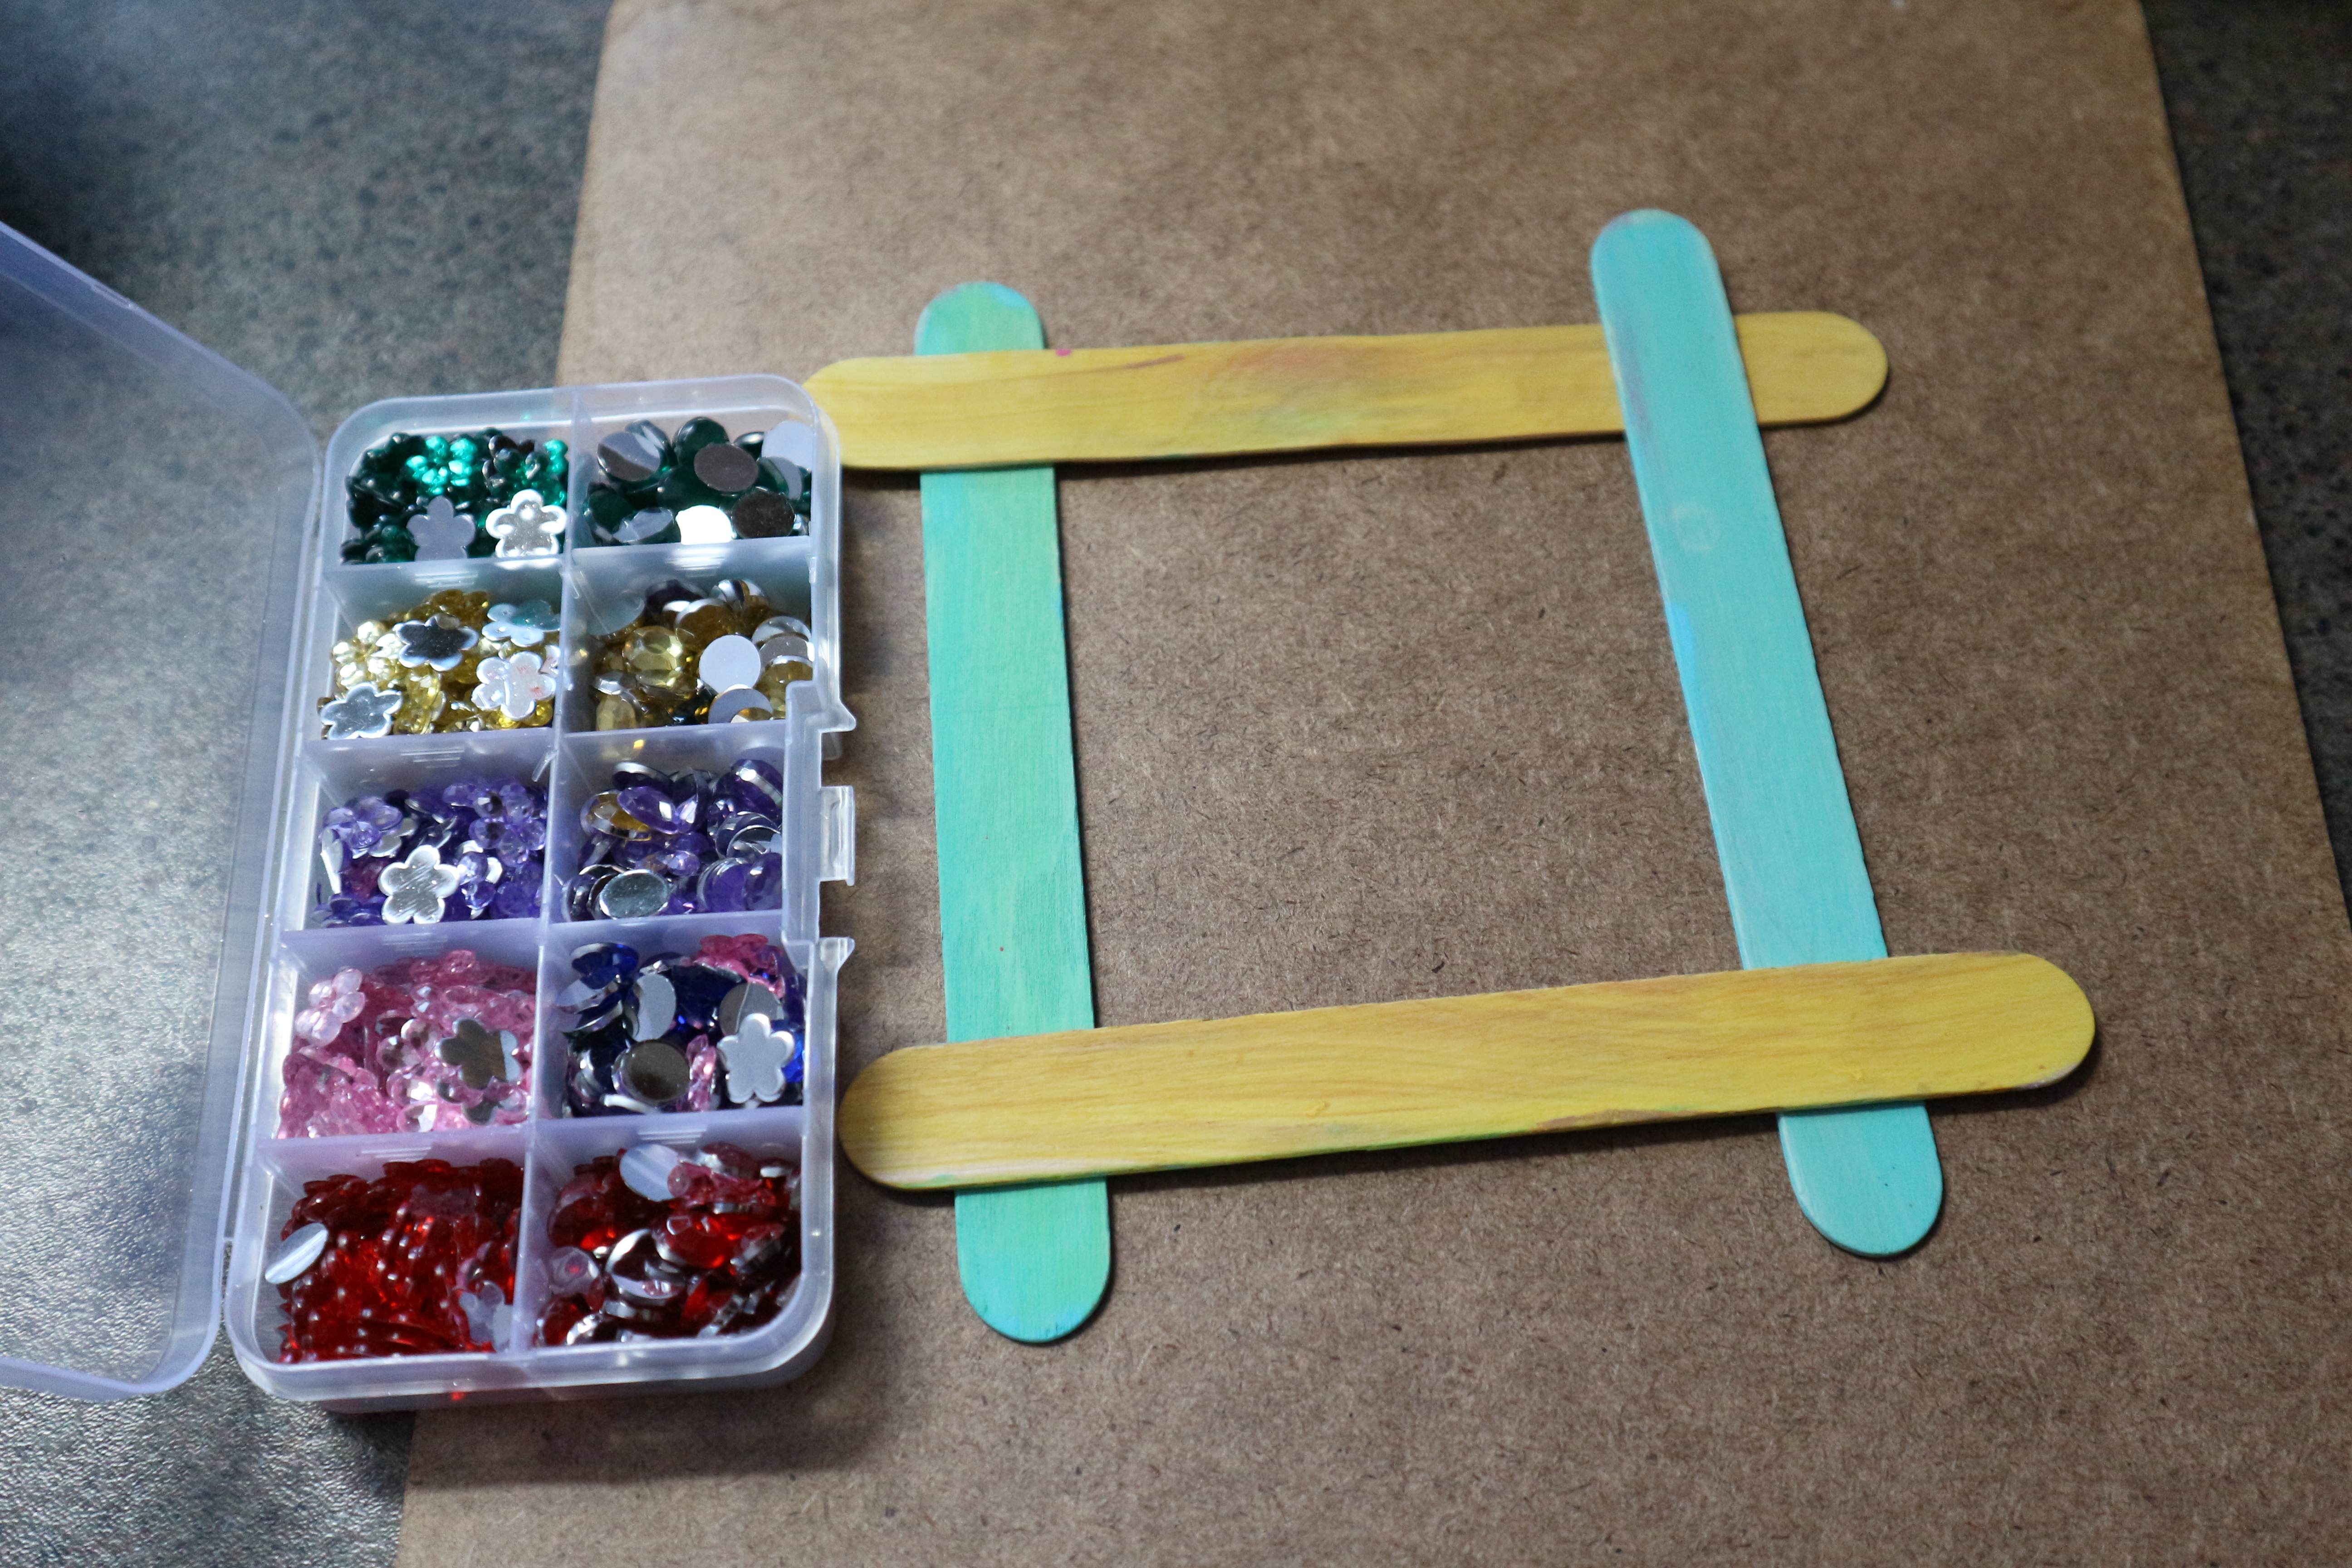
- Stick on Gems
- Clear Coat Polyurethane Spray or in a Paint Tin (Optional)
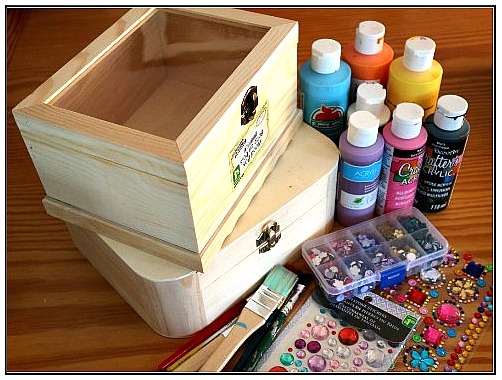
Start by peeling off all the price tags and labels. Choose the theme of your box. I love the cool whites but today we were feeling jazzy! My girls and I decided on bright colors…… pink, red, purple, navy blue and turquoise.
My box had a window to see the treasures inside so I painted the interior of the box also.
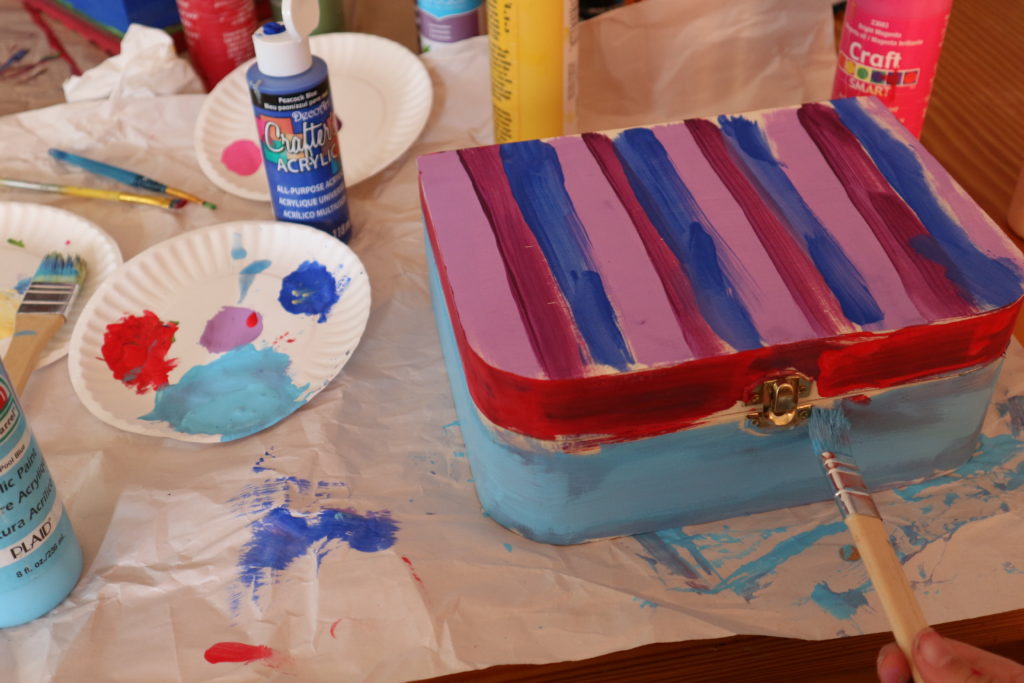 Protect your table because this can get messy!
This box got stripes on the top and color blocking for the bottom turquoise and the lid rim got a splash of red paint. Literally…LOL.
It looks a mess in the photo above but check out a sneak peak of her final results!
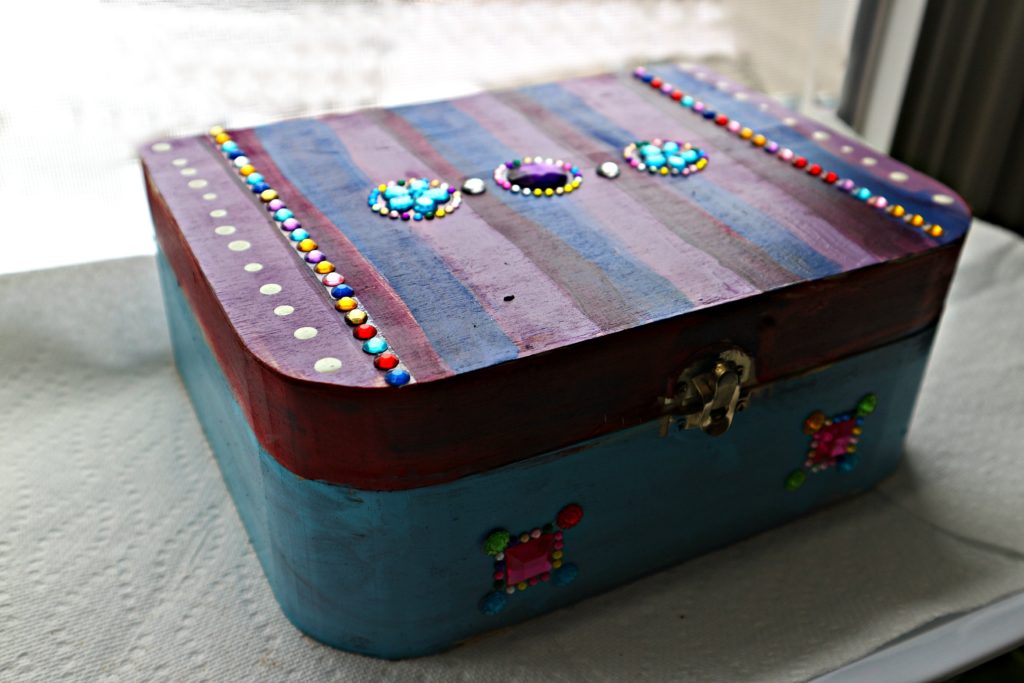
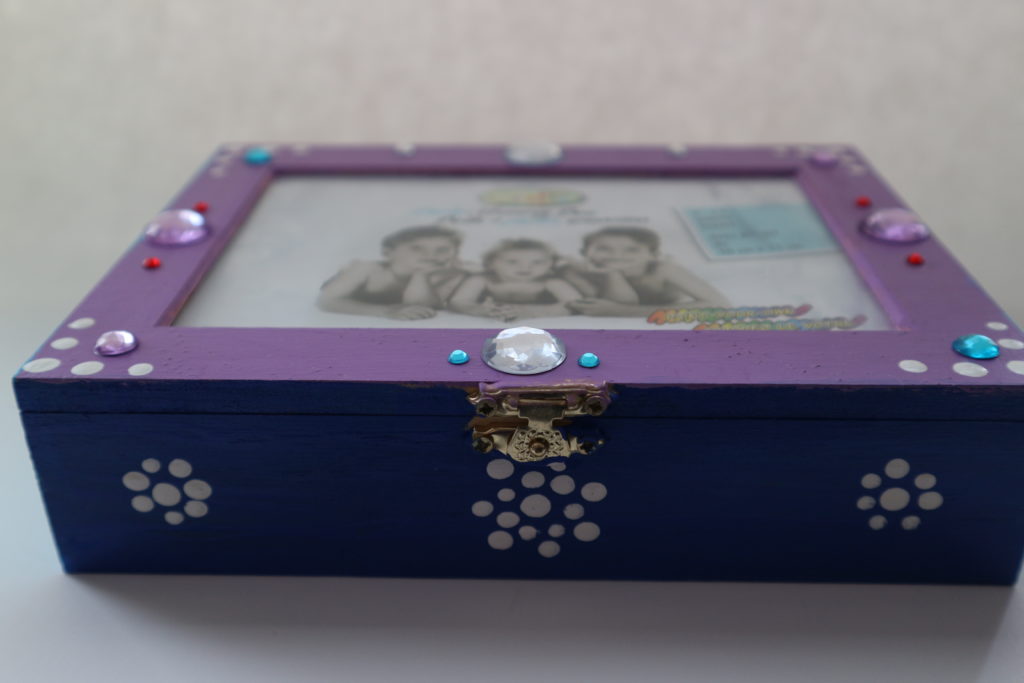
My 8 year old artist decorated this one. Using the gorgeous gem stickers (from the Dollarstore) distracts the eye from areas she colored outside the lines. But we are getting ahead of ourselves. Let’s get back to decorating it!
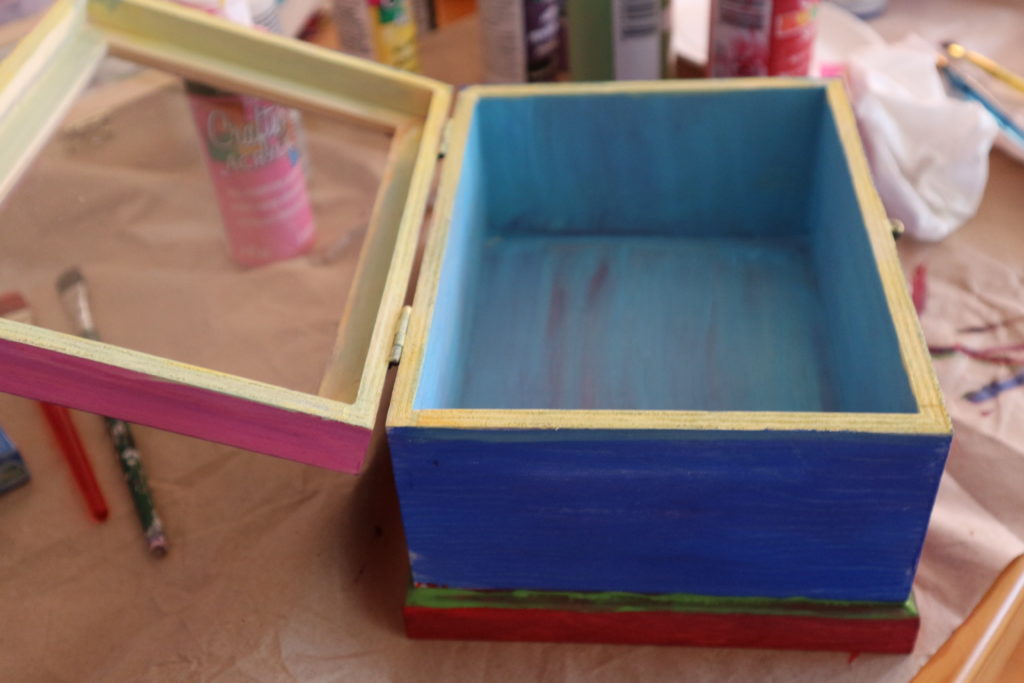
It’s completely up to you if you would like to pain the inside or not.
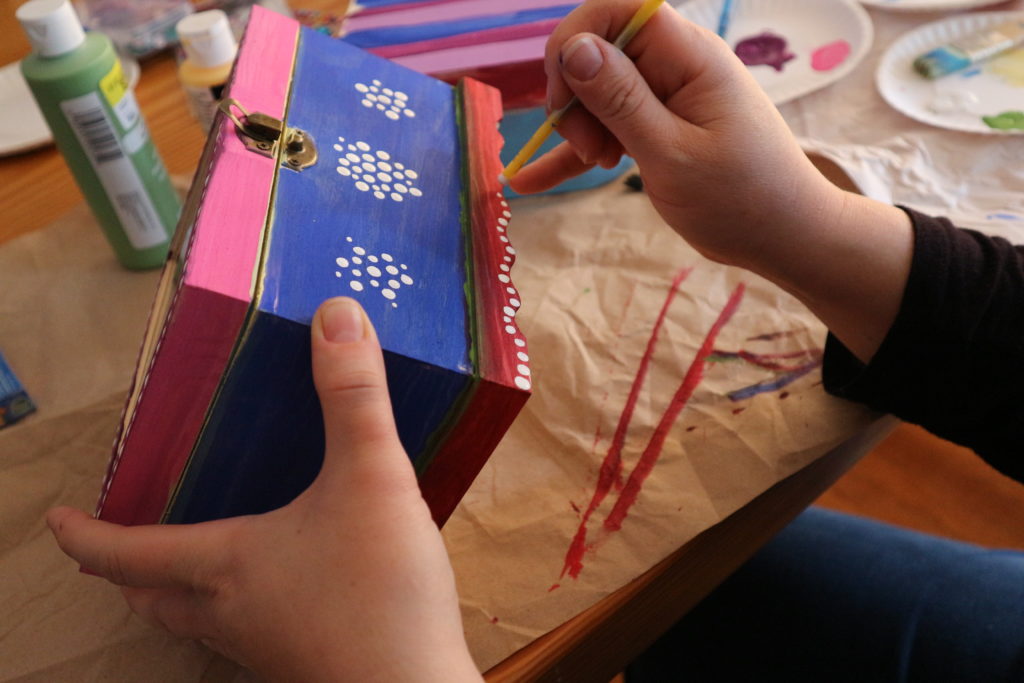
My favorite technique for adding dots is to dip the tip of the handle into the white paint and dot it on the box. Clusters of dots and curves of white dots.
After this dried I put a clear coat of polyurethane on the boxes just to make it a bit shiny and smoother for me to wipe and dust. You can skip this step if you don’t have it or put it on later. You can get it in a spray paint or a short tin of paint. If you decide to put on the clear coat it wont take much varnish or time since this project is small. You could do the inside of the box too while your at it.
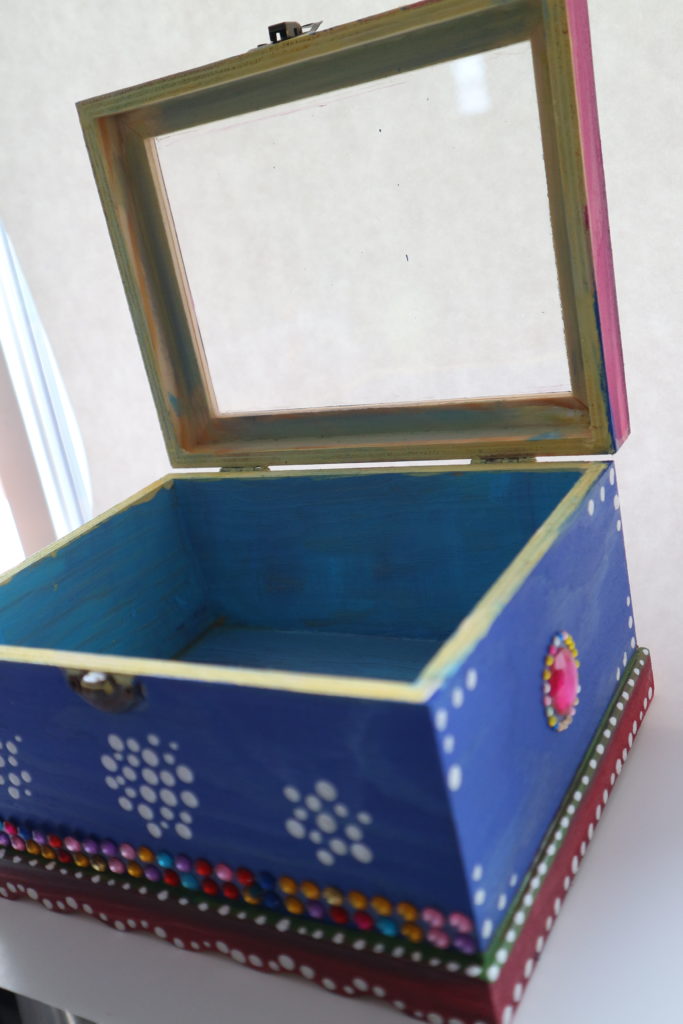
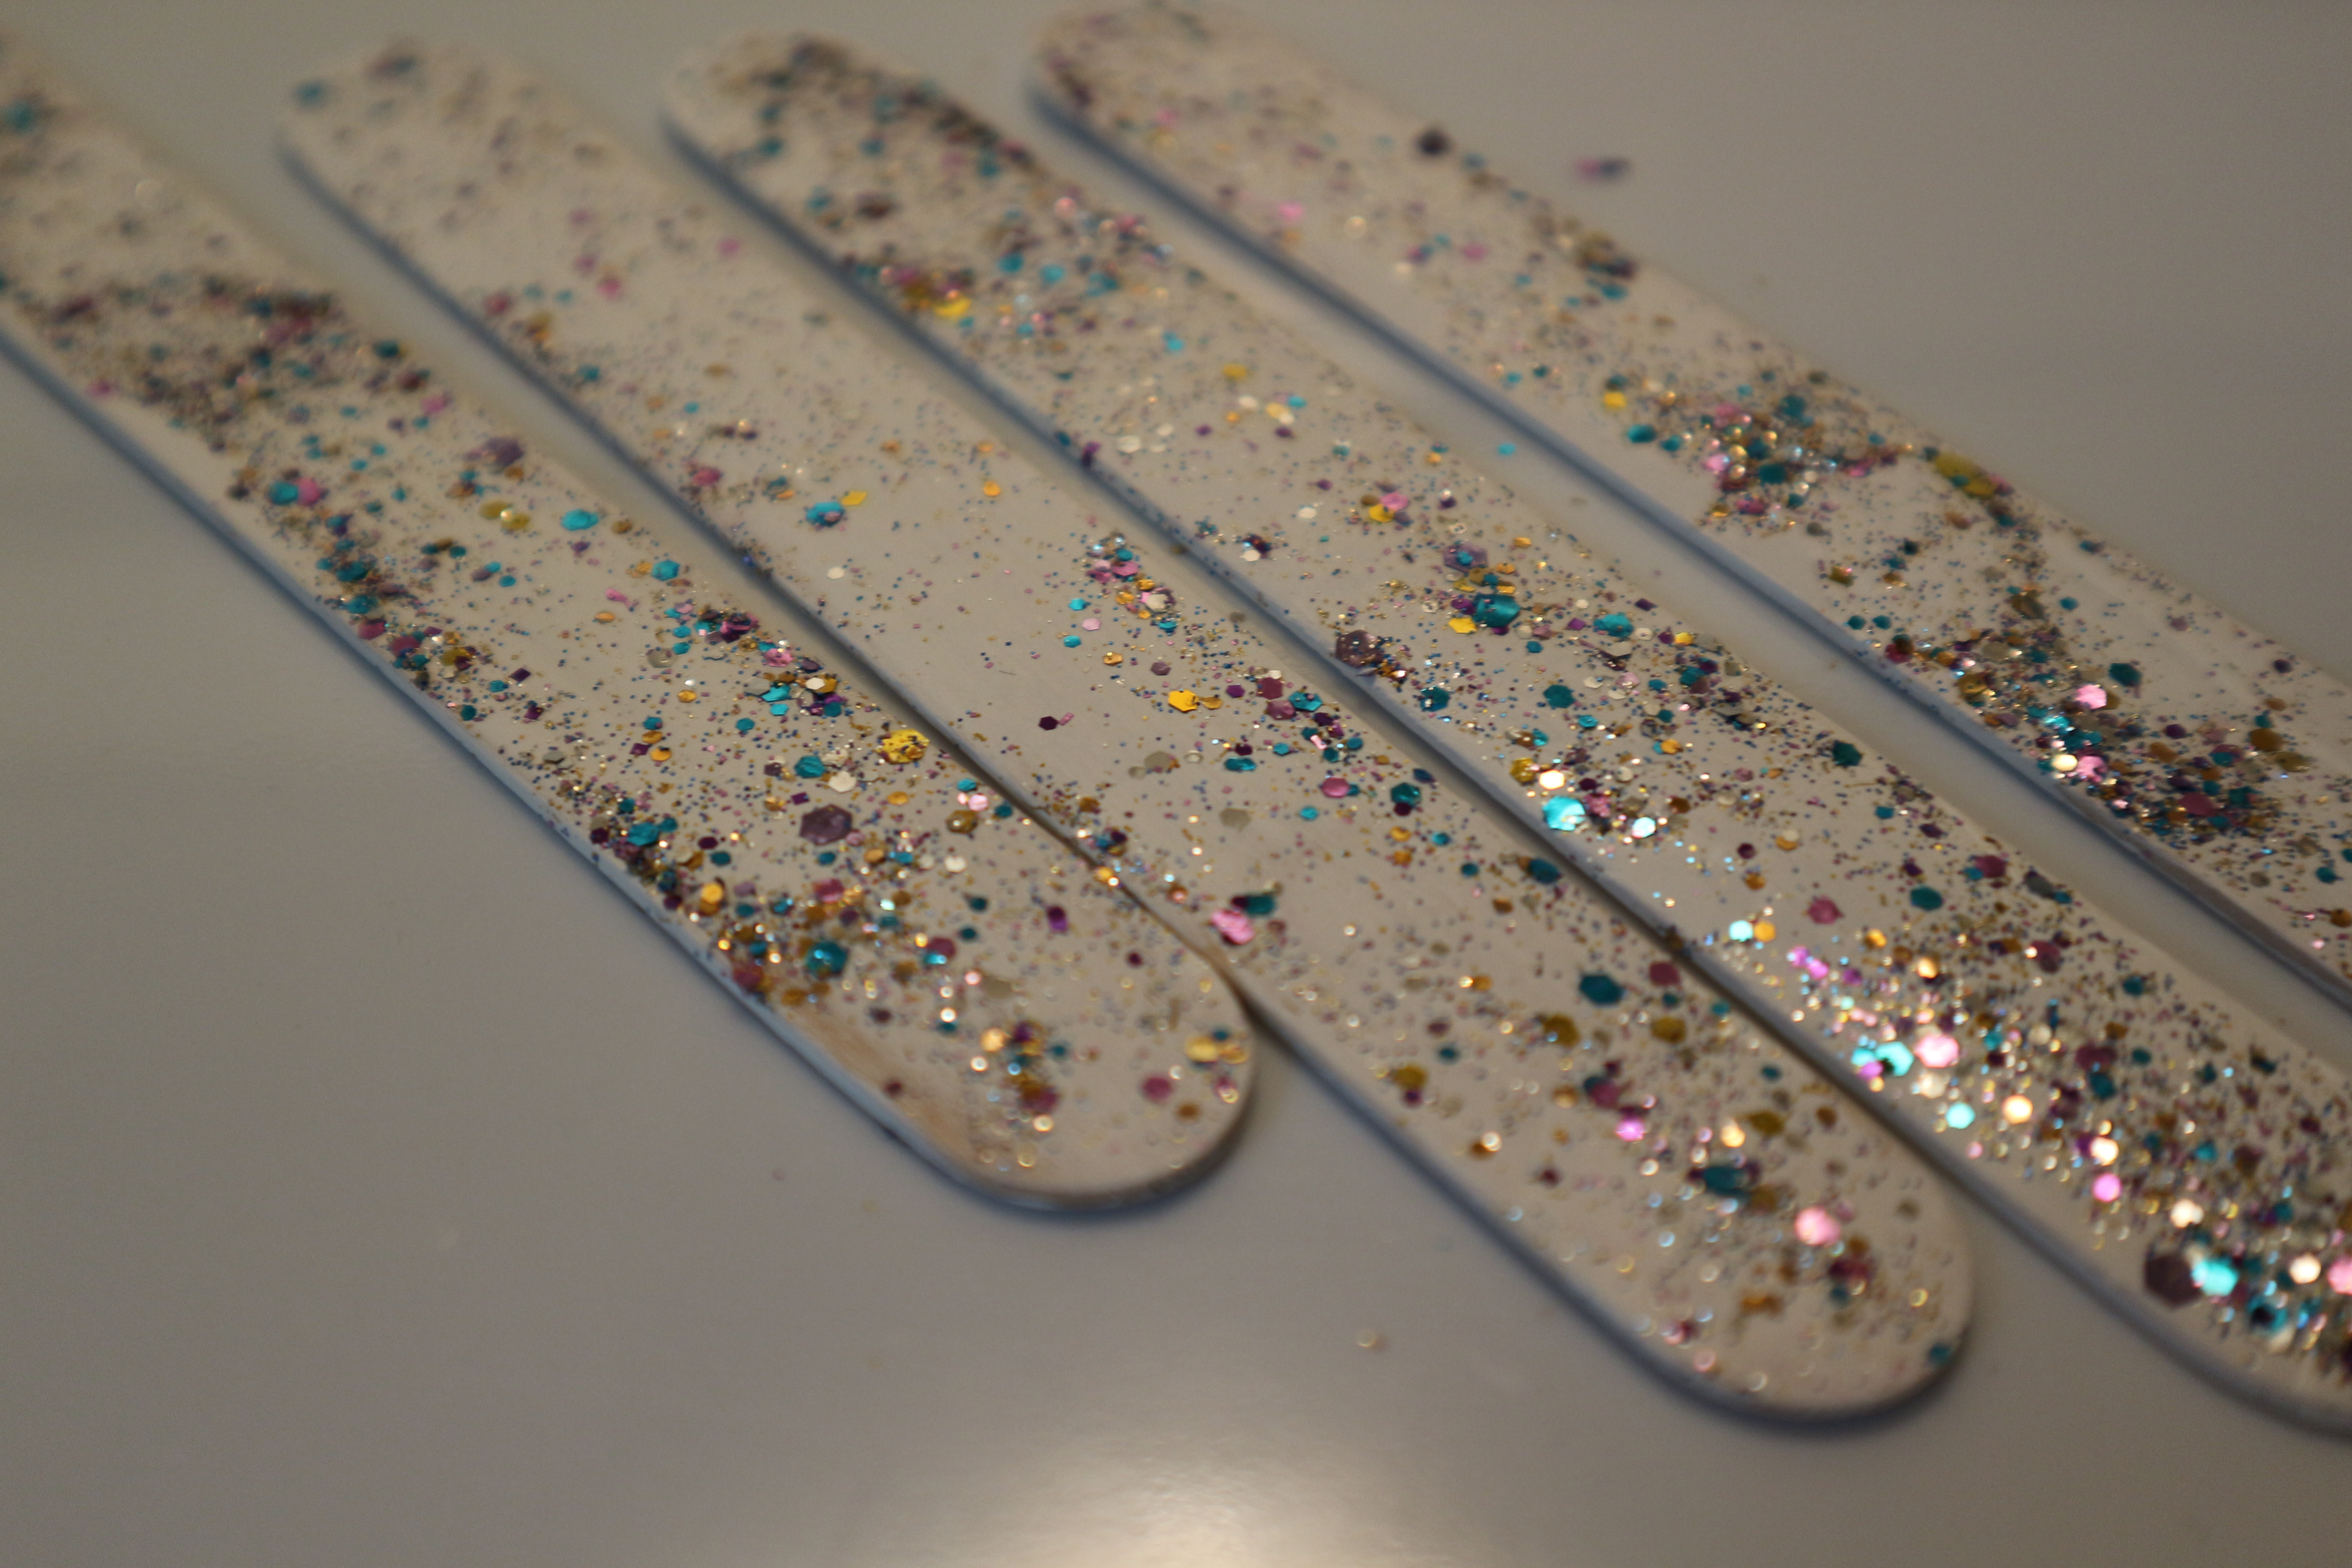
After the memory box is dry, we got out the sequins! These came as stickers with glue on the back. This is such a great cheat compared to gluing each one on.
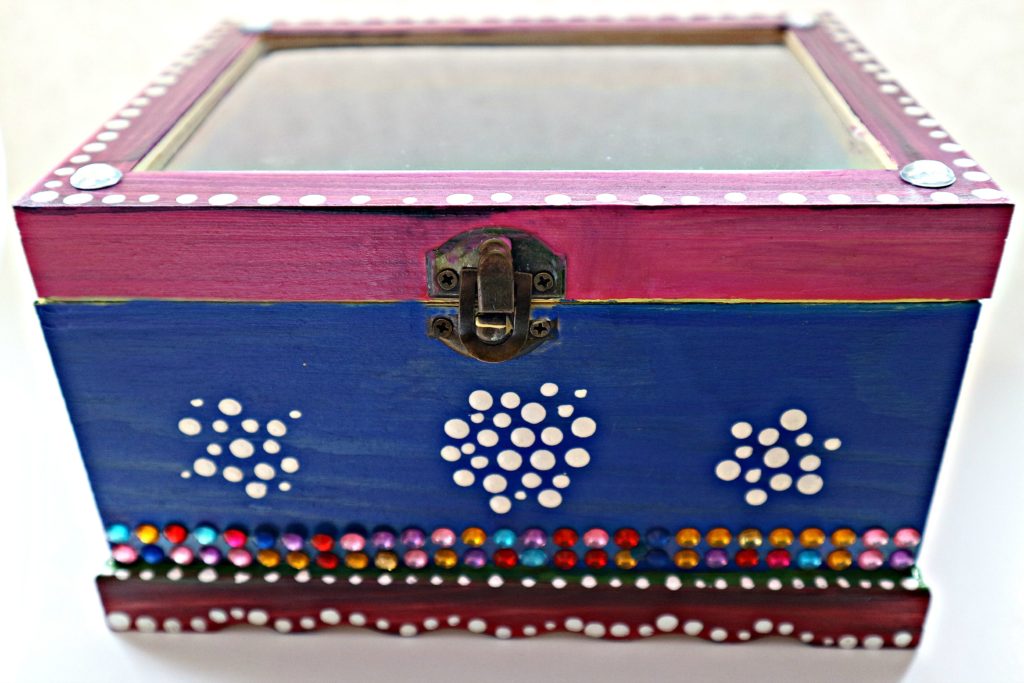
I was really pleased with how it turned out.
What a great time we 3 had decorating these!
Candy Box
My Miss M. plans to hide candy in her box. She is often given a treat by friends and not allowed to have it right away. Now she can put it in her box.
Treasure Box
Miss B. plans to keep special mementos in her box. She has photos and tickets and trinkets she wants to keep for happy memories.
Love Letter Box
I told them I planned to put love letters in mine and Miss B said “Mom no one writes letters anymore!” Shocking! Well fortunately my daughters do still write me love letters and their daddy does every now and again too.
Thanks for reading this! Leave a comment or pin this to pinterest.

Tea Cup Pin Cushion – DIY Easy Peasy!
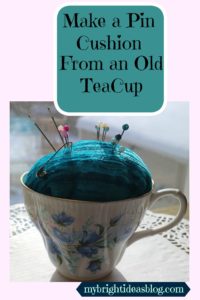
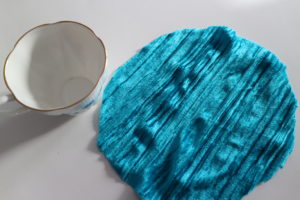
Use an old tea cup-even a broken one, or like mine one that is missing a saucer to make a pin cushion. Its a super fast craft for any skill level.
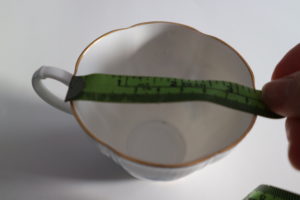
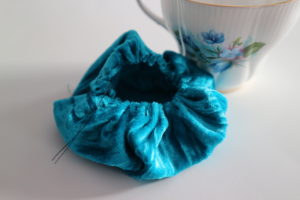
You just need: scrap of fabric, shirt, pillow case, napkin…some sort of cloth….you only need about 8 inches square piece of fabric for most cups. Also grab your measuring tape, stuffing, hot glue gun, a needle and thread.
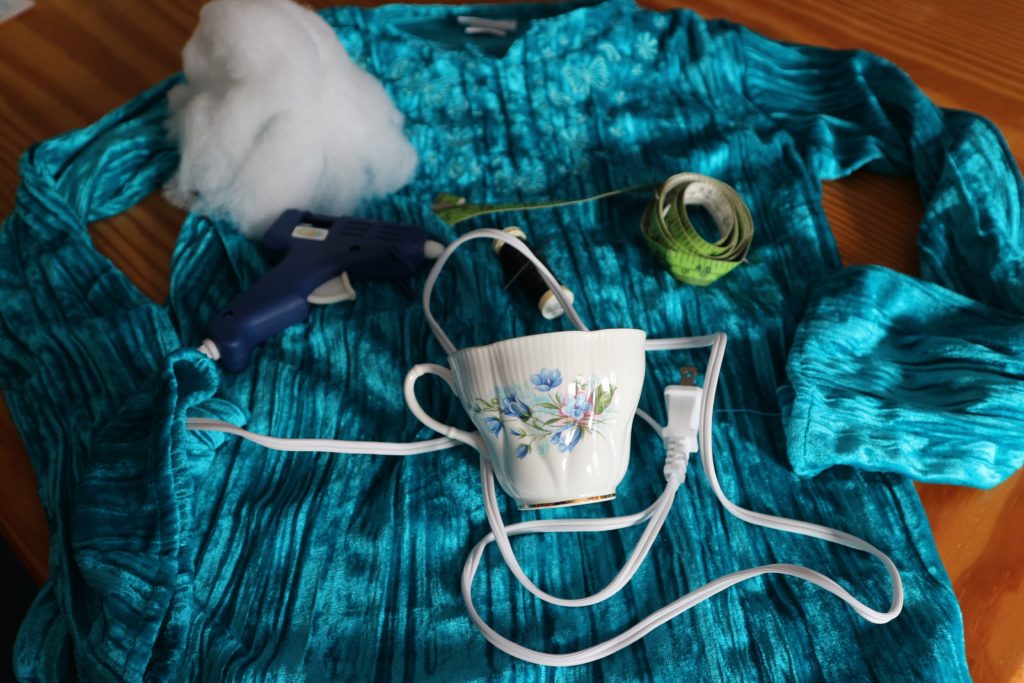


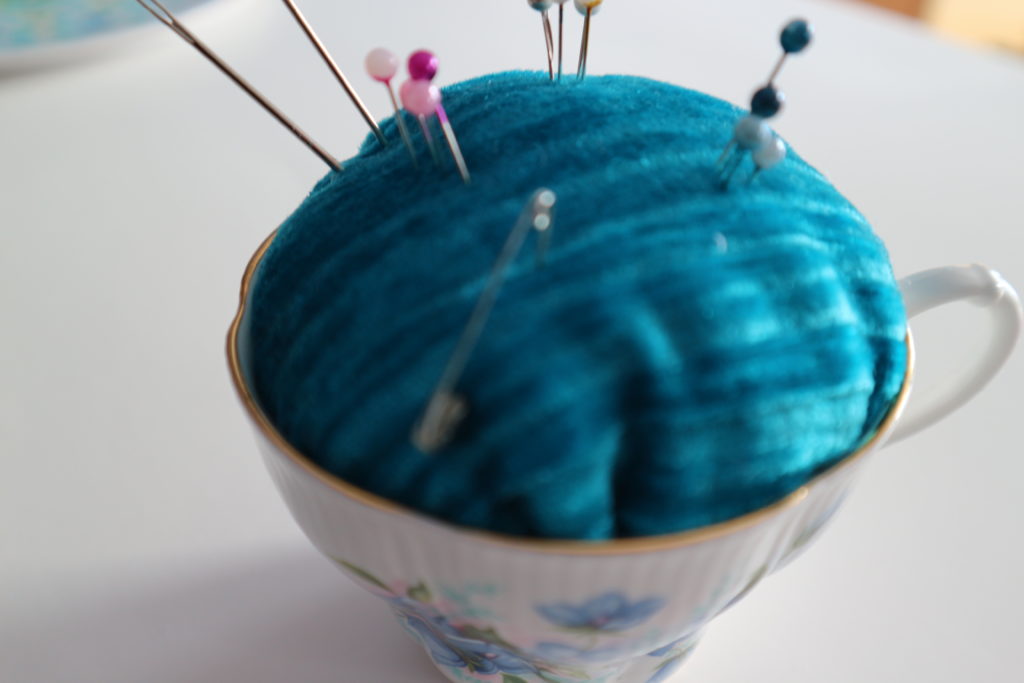
I chose not to glue mine into the tea cup with hot glue simply because my mom might flip out if she ever read this. She has two Royal Albert teapots that are absolute beautiful that leak tea on the table due to a tiny crack. I would love to make a craft out of that….I’m thinking a dainty ivy cascading out of it. Or drilling holes in it to put silver spoons dangling from below as a wind chime…. But she might faint if I asked for it. They cost a pretty penny back in the day and she has loved using them for her guests.

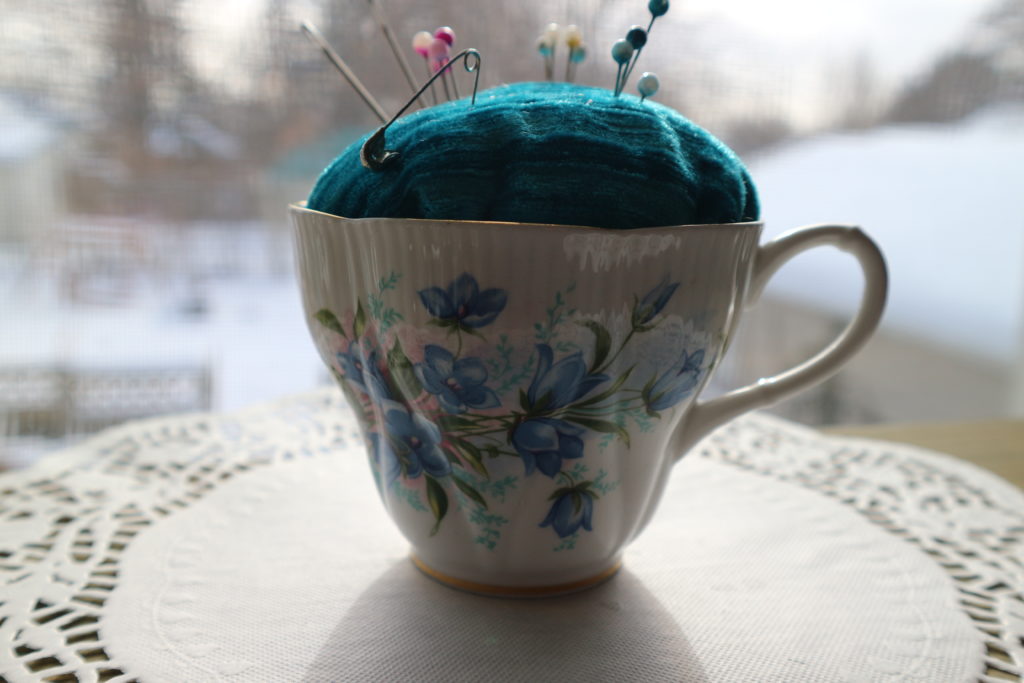
I have seen some tea cup pin cushions that were really glamorous. They glued the cup to the saucer and put laces and trims all around the base. The pin cushion also had a few decorative hat pins and some sort of tassel hanging from the handle. What a gift that would be for someone who still appreciates the dainty things in life. Have fun with this!
Sew a fleece snood-neck warmer in just minutes!
DIY Sew a Fleece Neck Warmer (Scarf Alternative) Snood
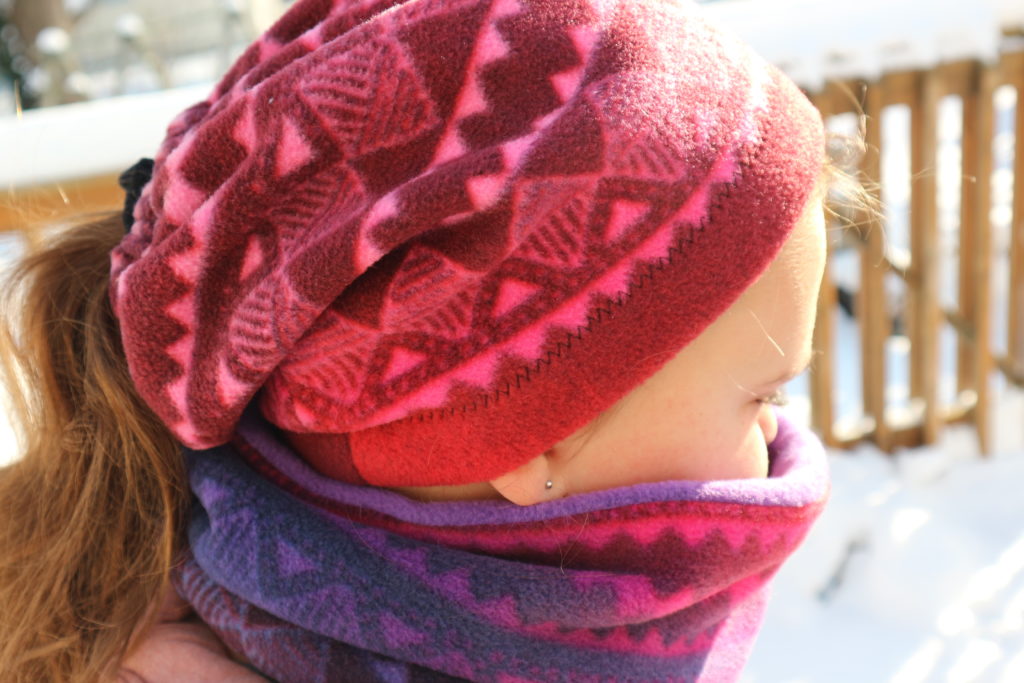
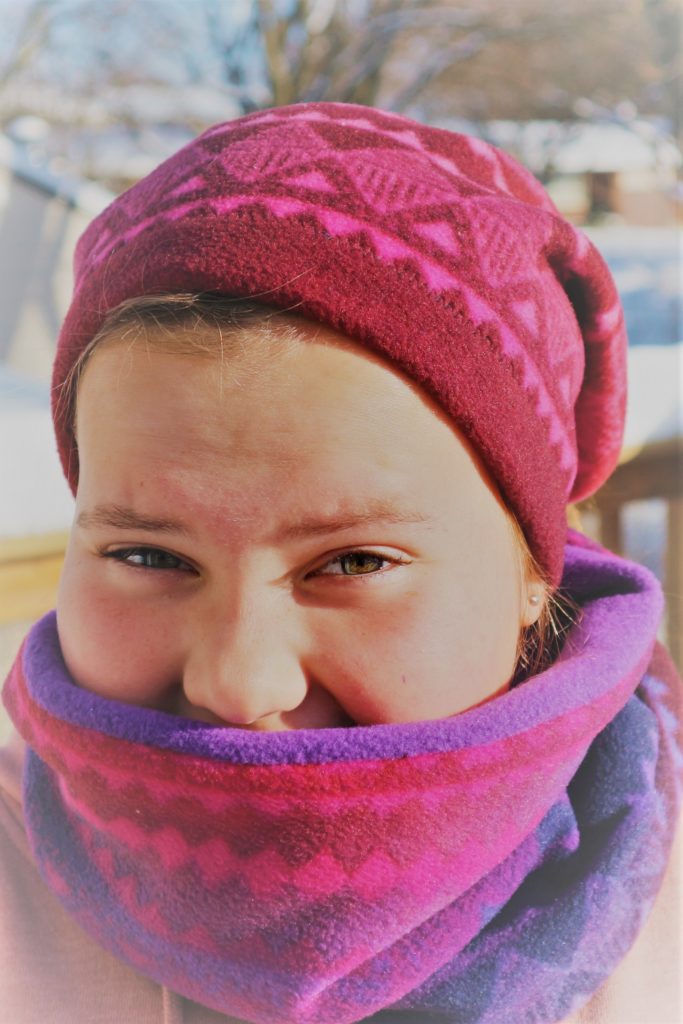
At the school my kids go to they prefer the children do not wear scarves for safety reasons…preventing a playful accidental strangling sounds like a good idea. In my part of Canada (eh!) we need our necks covered when its bitterly cold. So this neck warmer is a create idea for everyone in the family. Its ideal for toddlers though and their skill level and patience with getting on their winter gear.
This link will bring you to my instructions for the hat in this photo-it has a hole in the end so your pony tail can enjoy the outing too… http://mybrightideasblog.com/make-fleece-hat-wear-pony-tail/
So lets make us some Neck Warmers!
You will need:
- 2 pieces of fleece
- sewing machine
- pins
- scissors
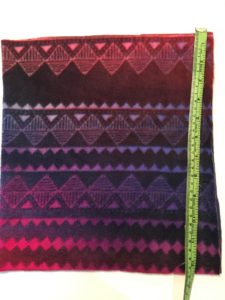
Adult 25 inches x 9 inches
Toddler ages 1-3 years old 21 x7 inches
Child 4-9 years old 23 x 8 inches
10 years old to Adult 25 x 9 inches
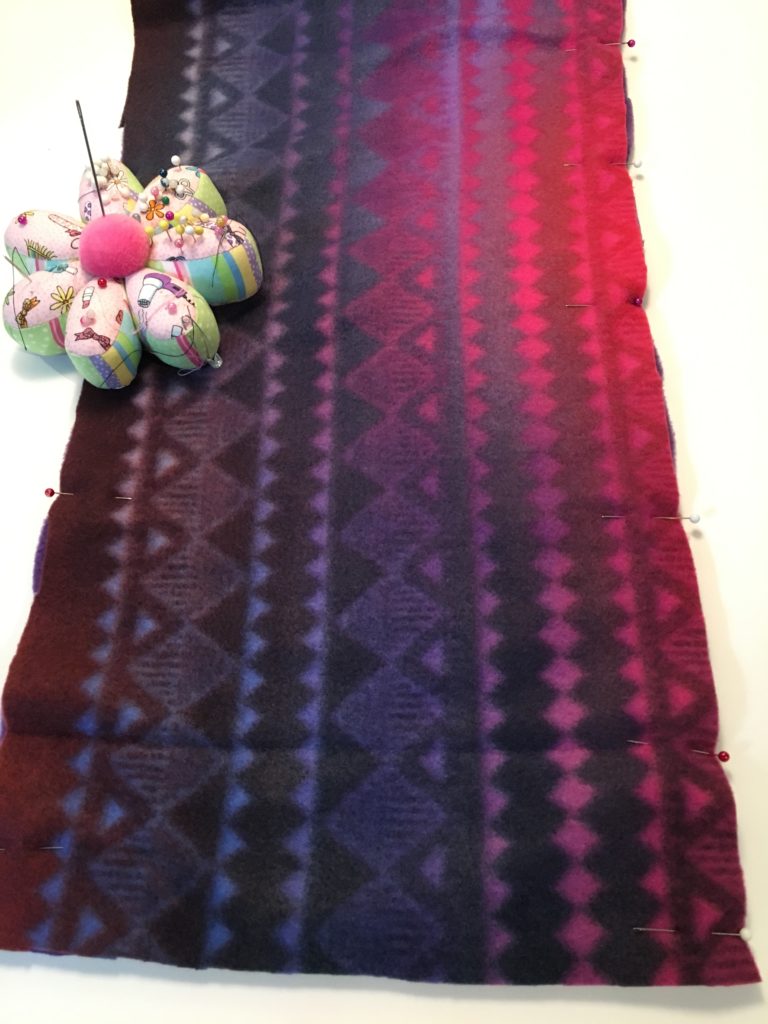
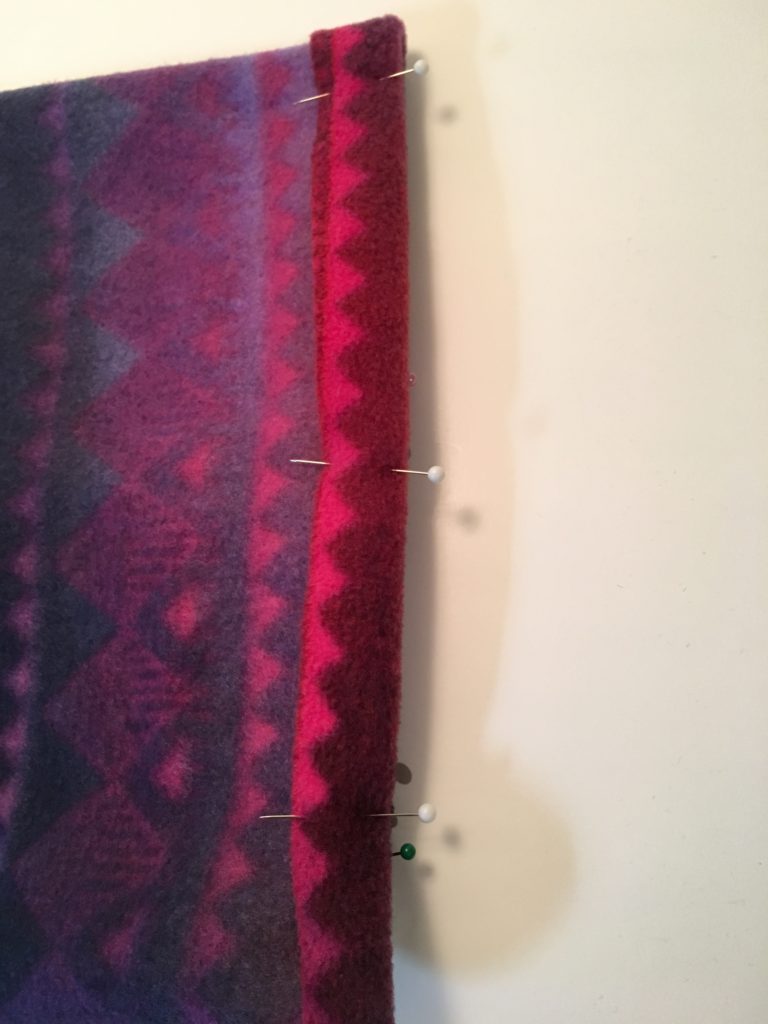
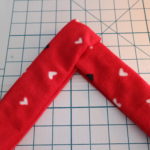
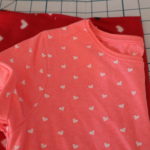
Cut 2 pieces of fleece to size. It can be all one color of fleece or 2 colors that compliment each other. We used the pattern fabric to match her hat and purple fleece for the inside.
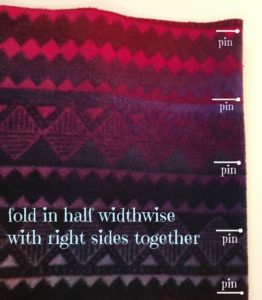
Make sure the stretchy-est direction is going lengthwise.
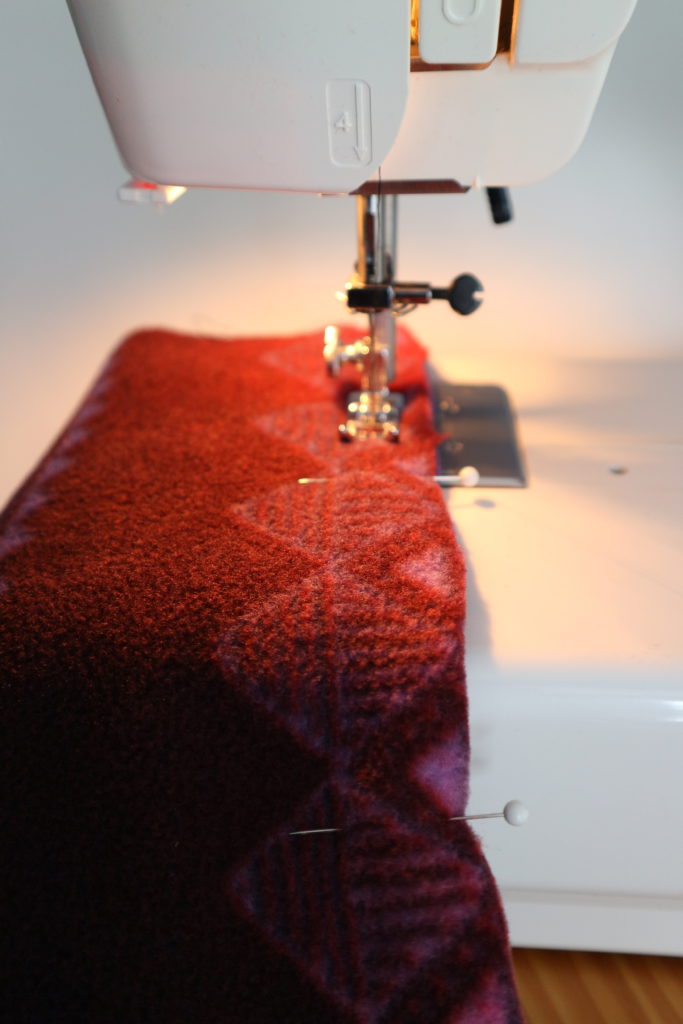
Sew a straight seam on both of the long sides of the fabric.
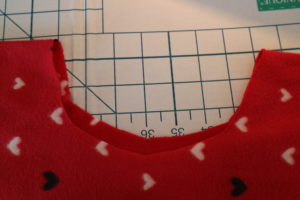
Place the right sides together and stitch down the long sides of the fleece.
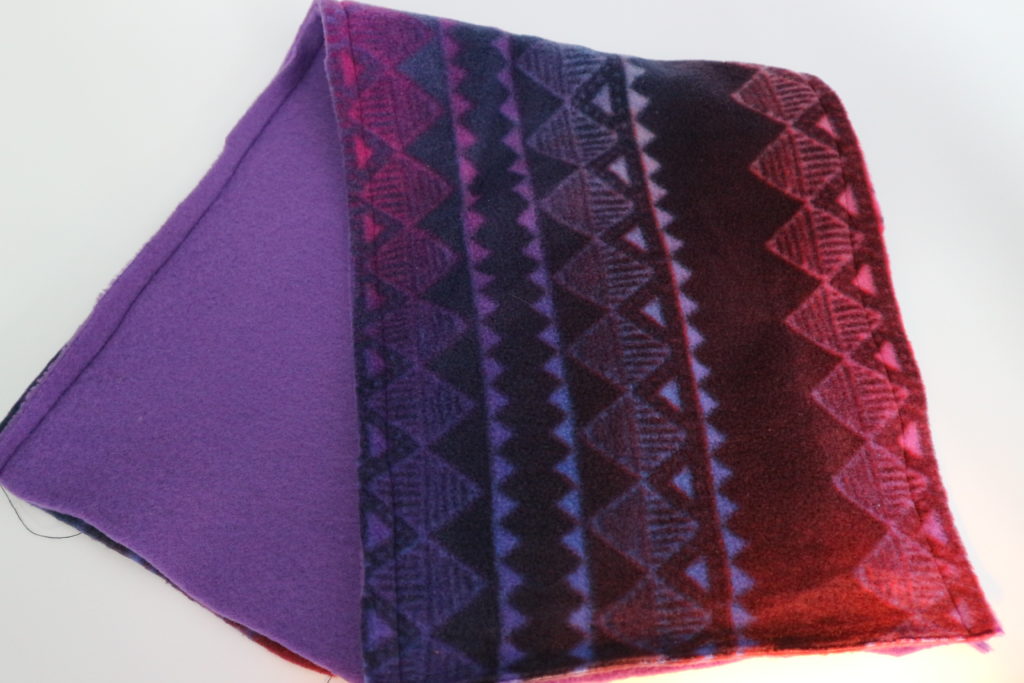
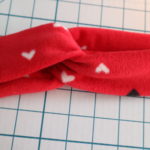
Reach in and grab the end and pull it halfway through the tube. You are pulling one end into the other so its now half the length.
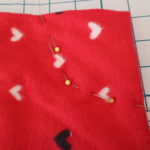
Match up the end seems and pin. Then pin all the way around the opening.
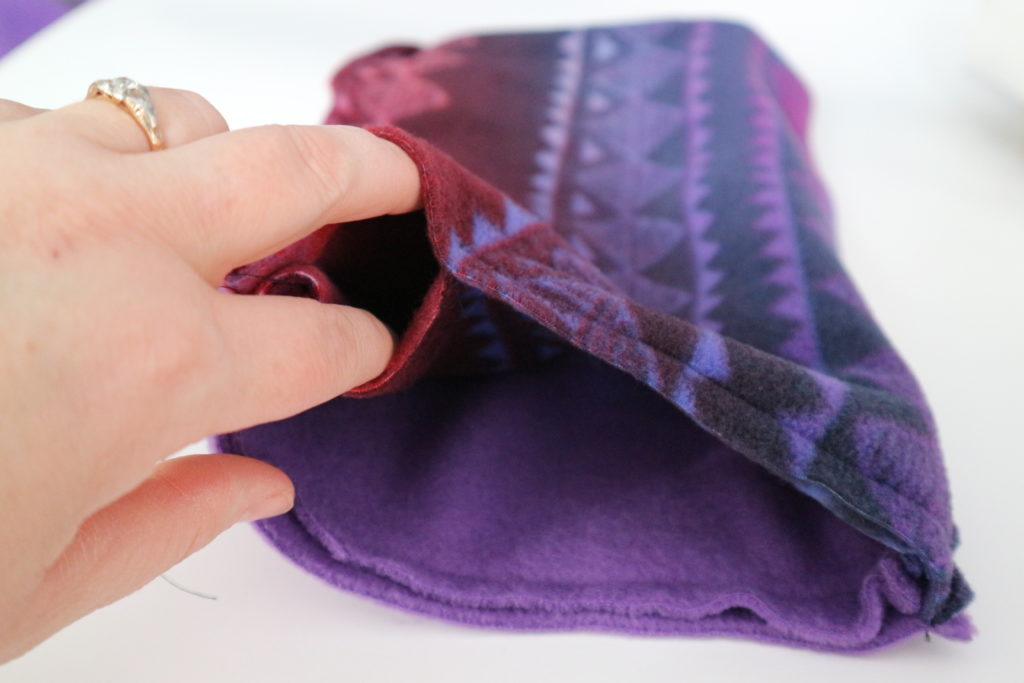
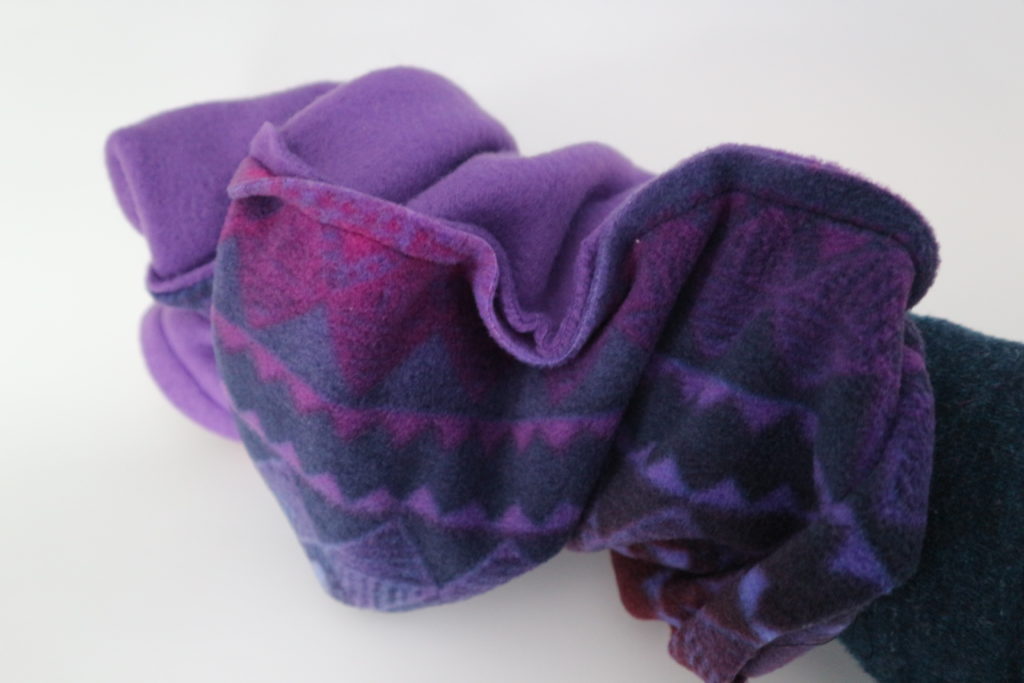
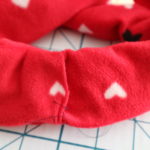
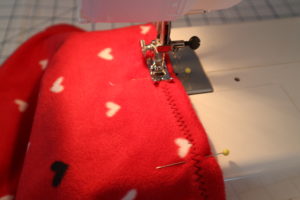
Sew these ends leaving an opening of 2 or 3 inches so you can turn it right side out by pulling everything through the hole.
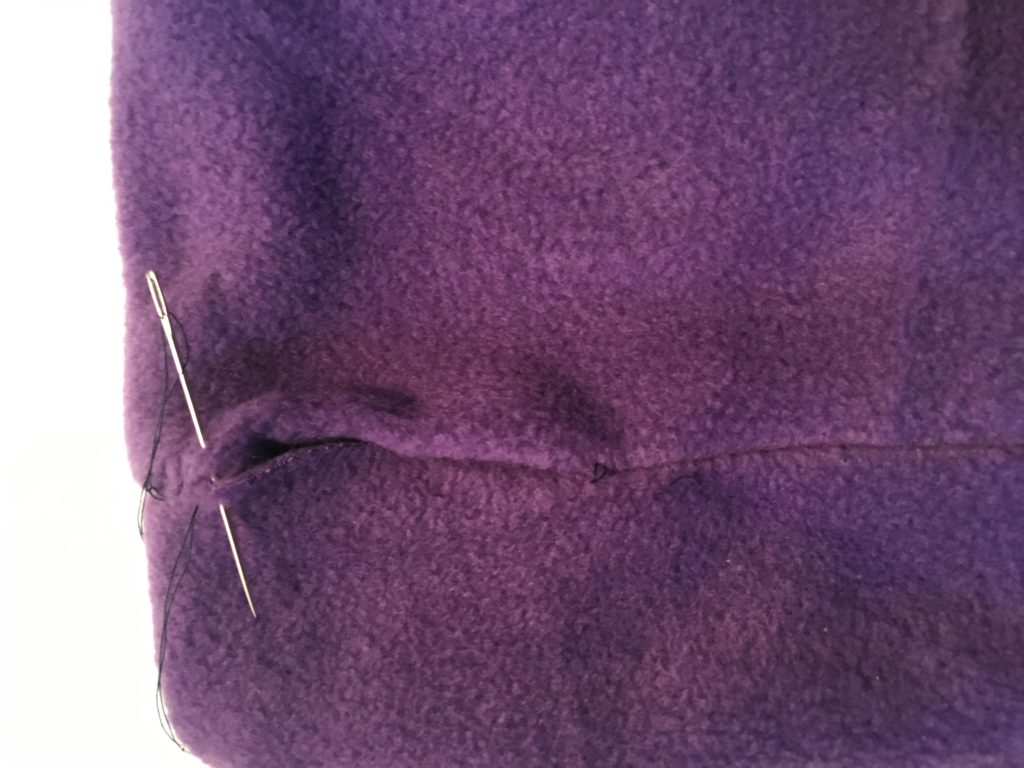
Once you have it right side out…sew the opening closed with a bit of hand stitching.
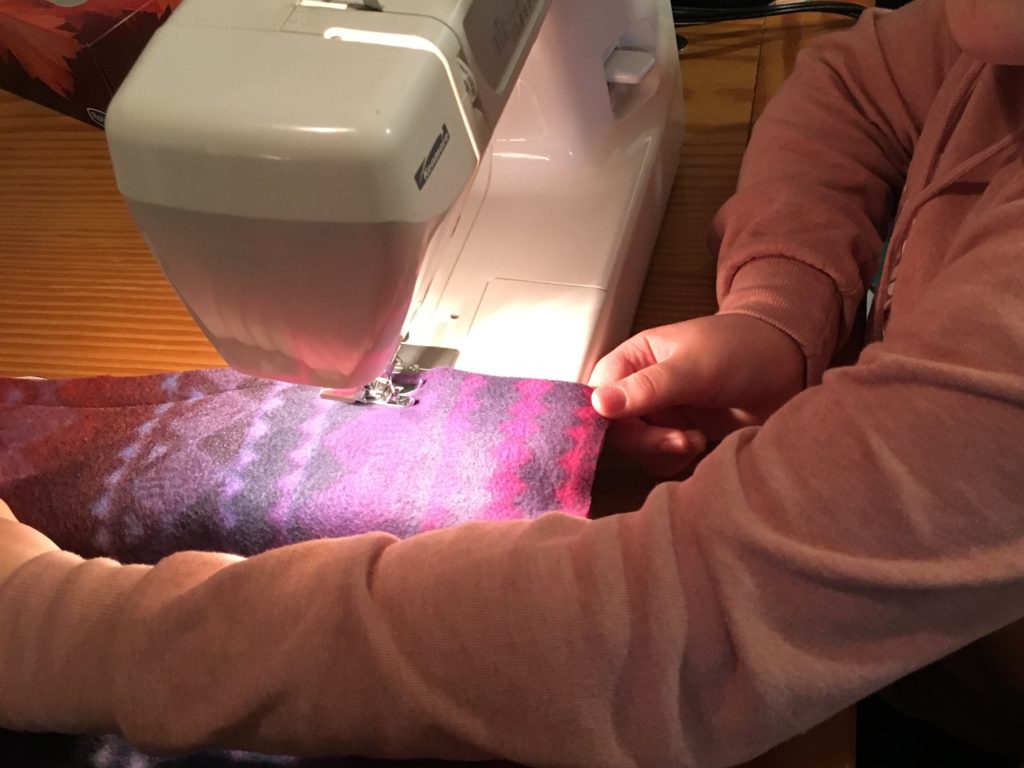
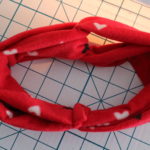
Voila! Anyone can make a neck warmer in an easy 10 minute project. This is an easy project to have your children do with you.
Also if you don’t live in the bitter north and want a scarf but not so warm make it out of a t-shirt fabric. Better yet make it out of an old t-shirt. Use up your scraps of fabric. I love this sort of thing for camping in September when its pretty chilly at night.

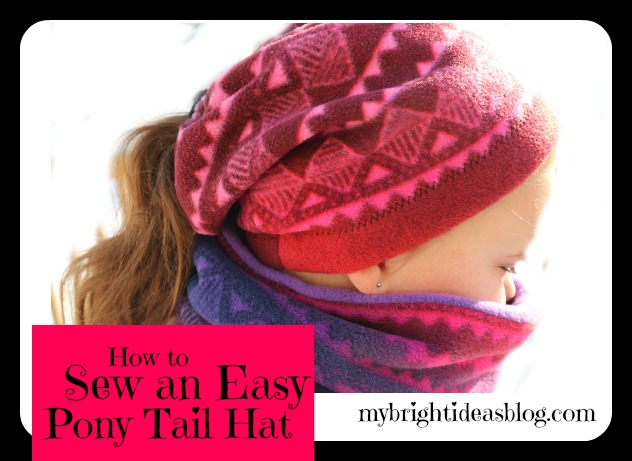
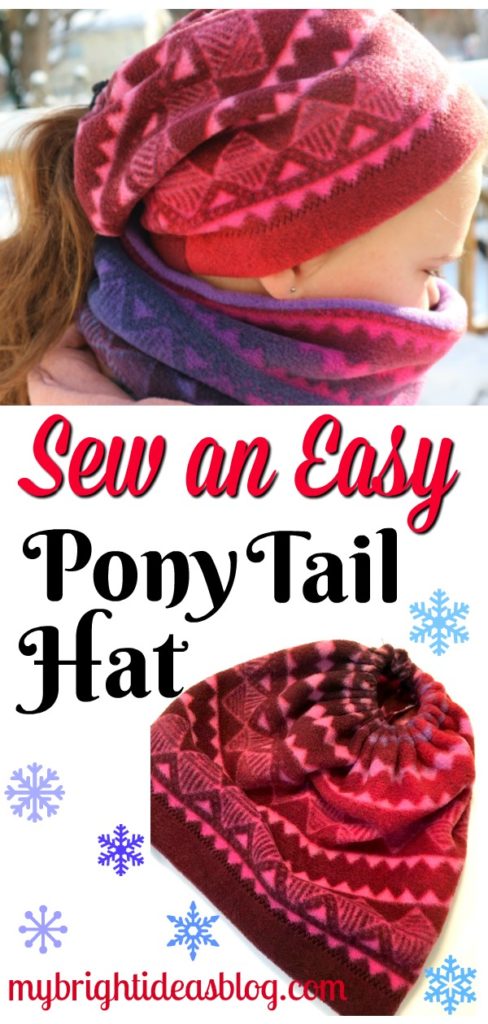
Make a Fleece Hat to wear With your Pony Tail

Pony Tail Fleece Hat
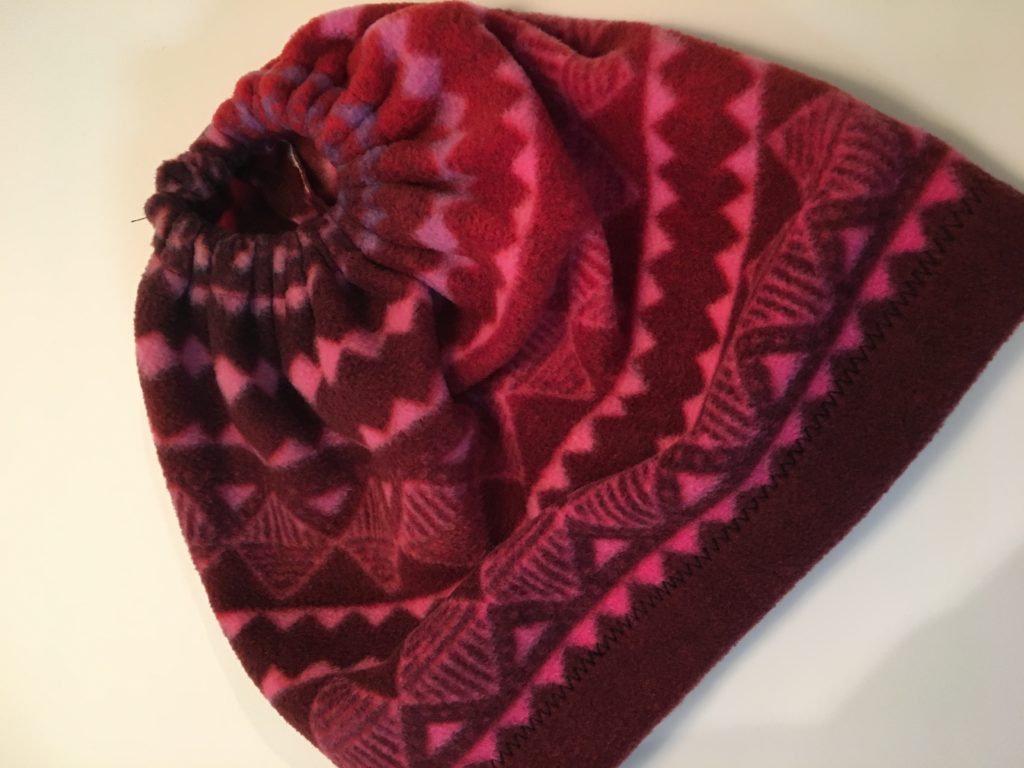
For gals with a pony tail you have quite the dilemma when you need to pop on a hat to go outside. To avoid a big lump on the back of your head we will make up a Fleece Winter Hat that has an elasticized end that allows you to pull your high pony tail or your messy bun out the top.
The cozy scarf/snood shown in the photo below is just as easy to make….just follow this link.
Let’s Get Started!
You will have this hat sewn up in 15 minutes! This is a great first sewing project if you are new at this or if you have a youngster you would like to teach how to use the sewing machine.
View from the front!
Let’s take a moment to give a shout out to my hat model Miss B. She was cold…those eyes are smiling but also pleading to get back inside!
View from the back! It’s a little slouchy and super easy to pop your pony head out of the back.
You will need:
- Fleece fabric
- Elastic
- Safety Pin
- Sewing machine
- Scissors
- Thread
Fleece Fabric
Start by measuring your head and work out your size OR just go with the below suggestions. Fleece is a very forgiving fabric. If it’s too small it will stretch and if it’s a bit too big it will sit nicely on your head.
A young child size hat cut fabric to: 20 x 12 inches.
My 7 year old was 21 inches x 12 inches.
My 10 year old was 22 inches x 13 inches.
An adult size hat cut fabric to: 23 x 14 inches.
Hubby had a big head and he was 23 1/2 x 13 inches.
 This hat is for my 10 year old so we measured and cut a piece of fleece 22 x 13 inches.
Fold the fleece in half with the right sides together.
Pin the side and sew using a ¼ inch seem allowance.
This is my 10 year old’s first time taking the sewing machine for a spin.
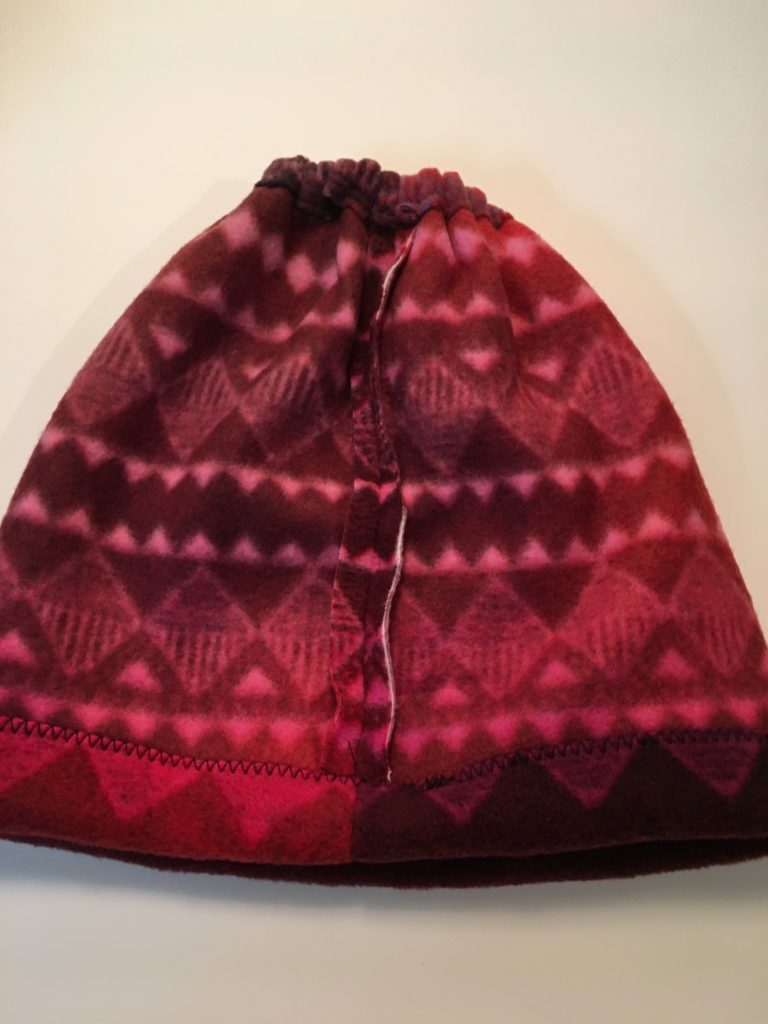
Fold over 1 inch on the bottom edge and pin. This will be the bottom edge of the hat.
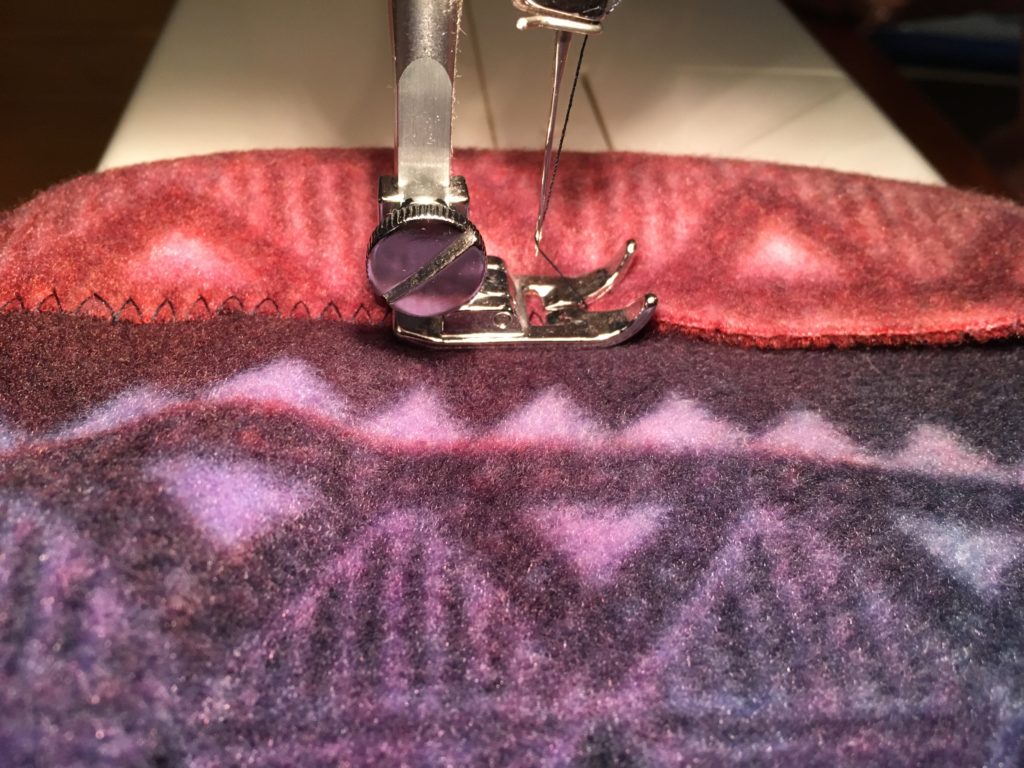
Fold the bottom cuff over an inch and sew over the edge with a zig zag stitch.
Again pin the edge of the other end for the top part of the hat.
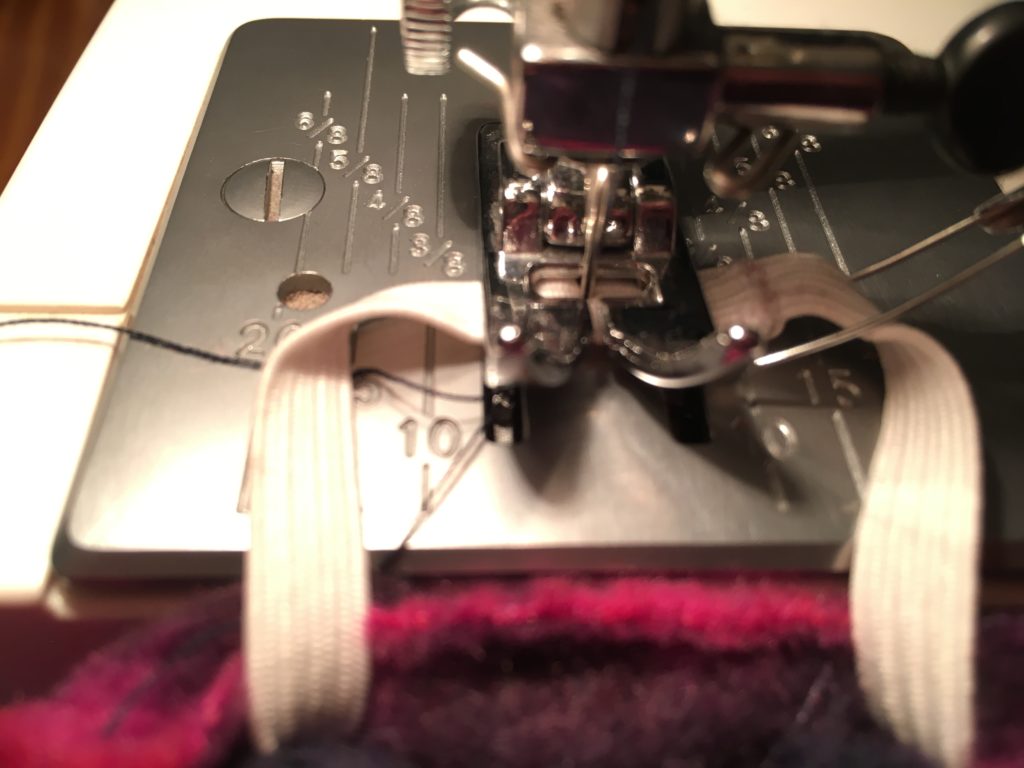
This time we did a straight stitch and stop sewing before you get an inch from where you started to sew. This will be our elastic casing.

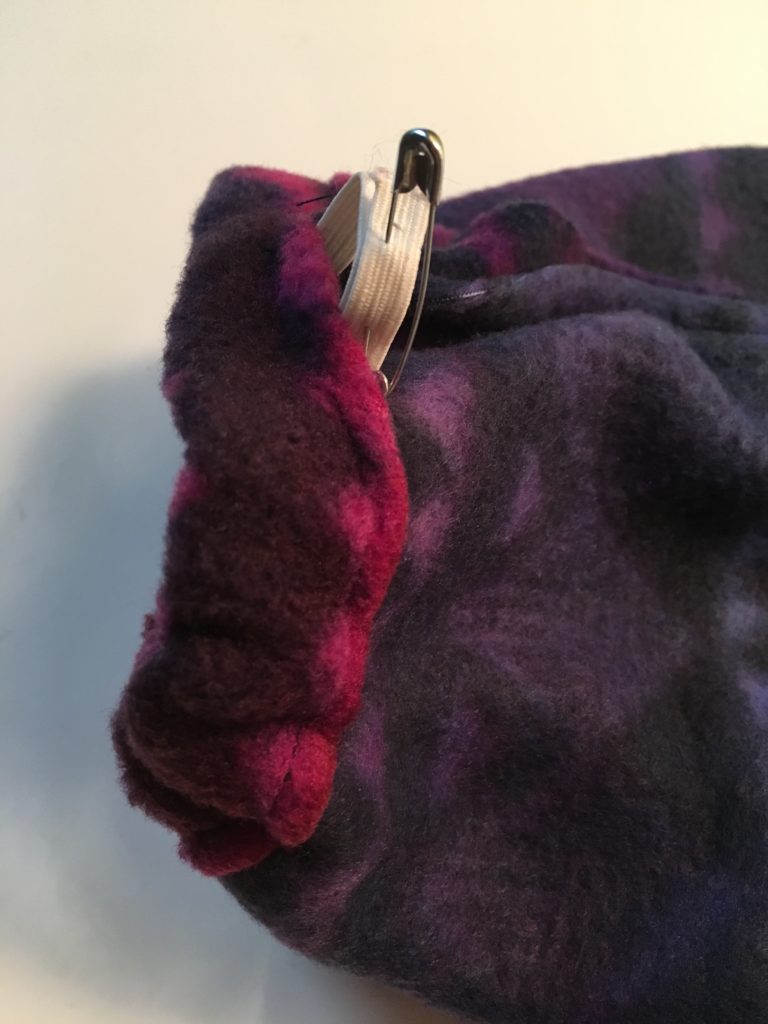
You will need a small piece of thin elastic but do not cut it to size until later. Pin the end of the elastic and use the pin as a tool to wiggle the elastic through the casing.
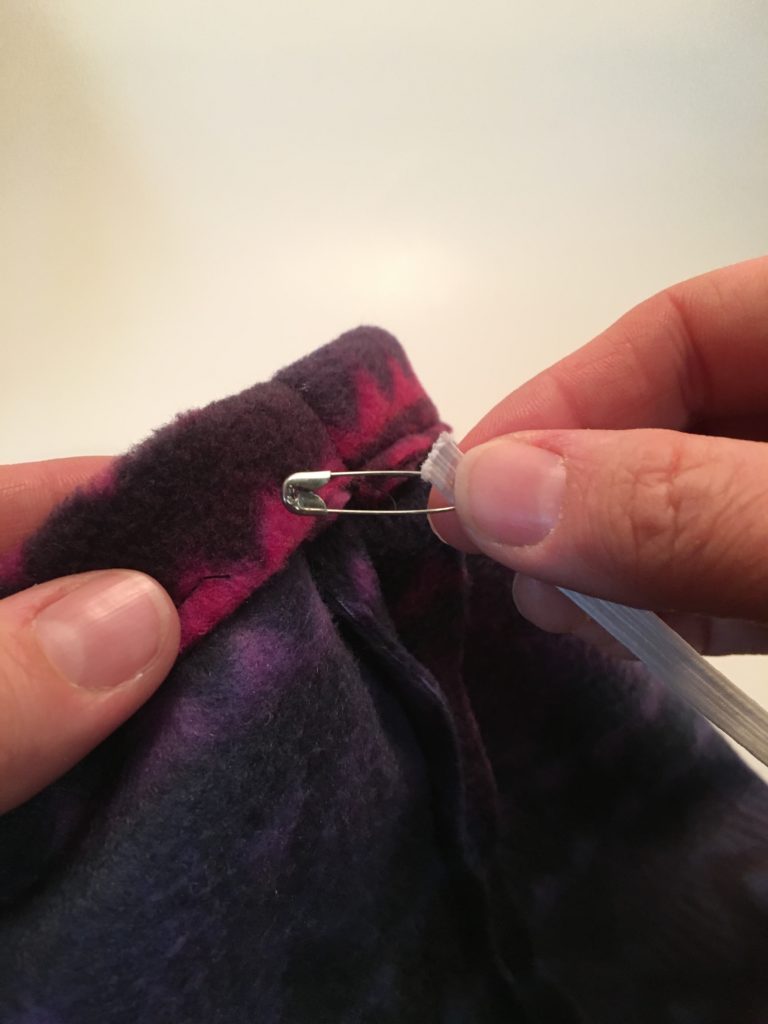
Slide the pin into the one inch gap.
Wiggle the pin all the way around. I apologize for my cuticles in this photo!
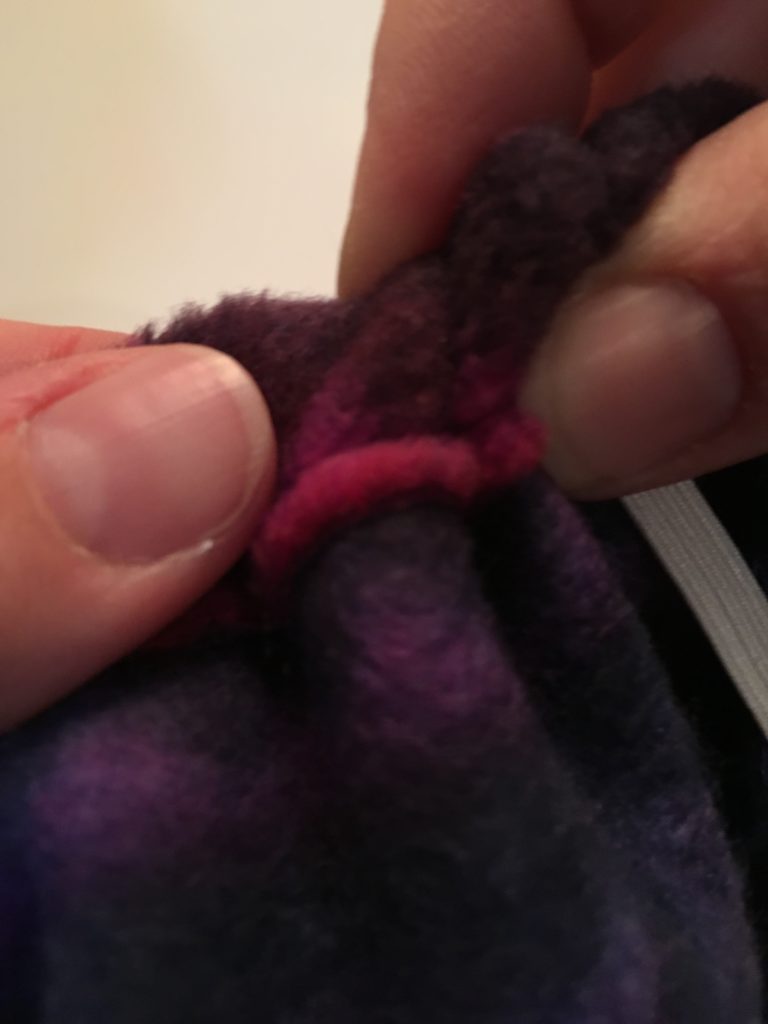
Overlap the ends of the elastic and pin together.
Secure the elastics with a few stiches forward and backward.
Hand or machine stitch the one inch gap closed.
Now, flip the hat right side out…how does it fit?
Wonderful job!
Now heads will be cozy and pony tails will be free!
Put it on your gorgeous head! Now get outside!
—
Easy to Make Fleece Hat with Flowers – Simple Sewing Project
Sew a Super Easy Fleece Poncho-Simple Starter Sewing Project

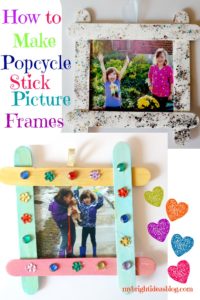
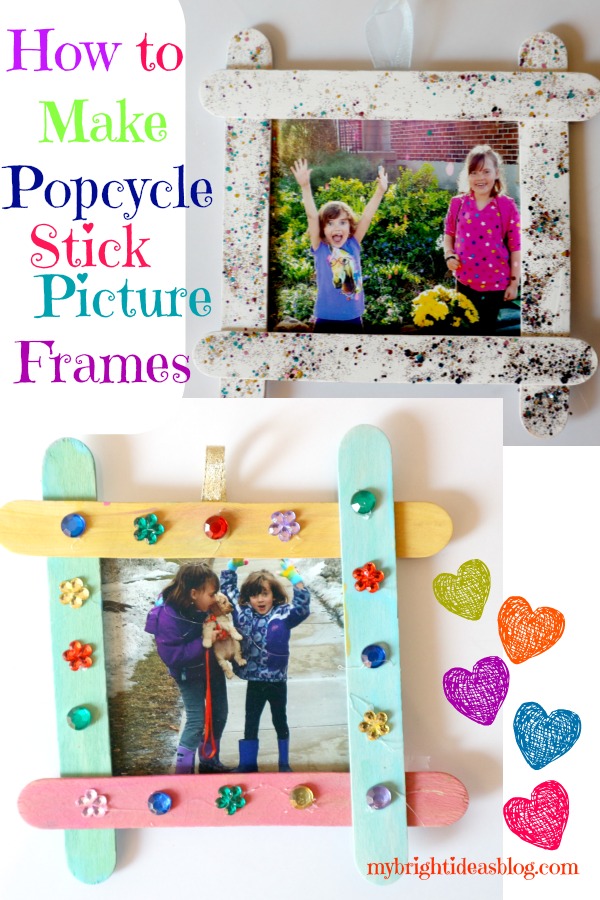
Popcycle Stick Picture Frames -Easy Kids Crafts
 What could be easier than this popcycle stick picture frame. Paint and decorate the popcycle sticks. Glue together to fit the photo you will use. Hot glue works quickly to attached the square of popcycle sticks. Hot glue a piece of ribbon on the back. OR strips of magnets if you would rather this be a fridge magnet.
You will need: wide popcycle sticks, glue or glue gun. Glitter glue, gems depending on how decretive you want to get-you could just let a toddler finger paint it.
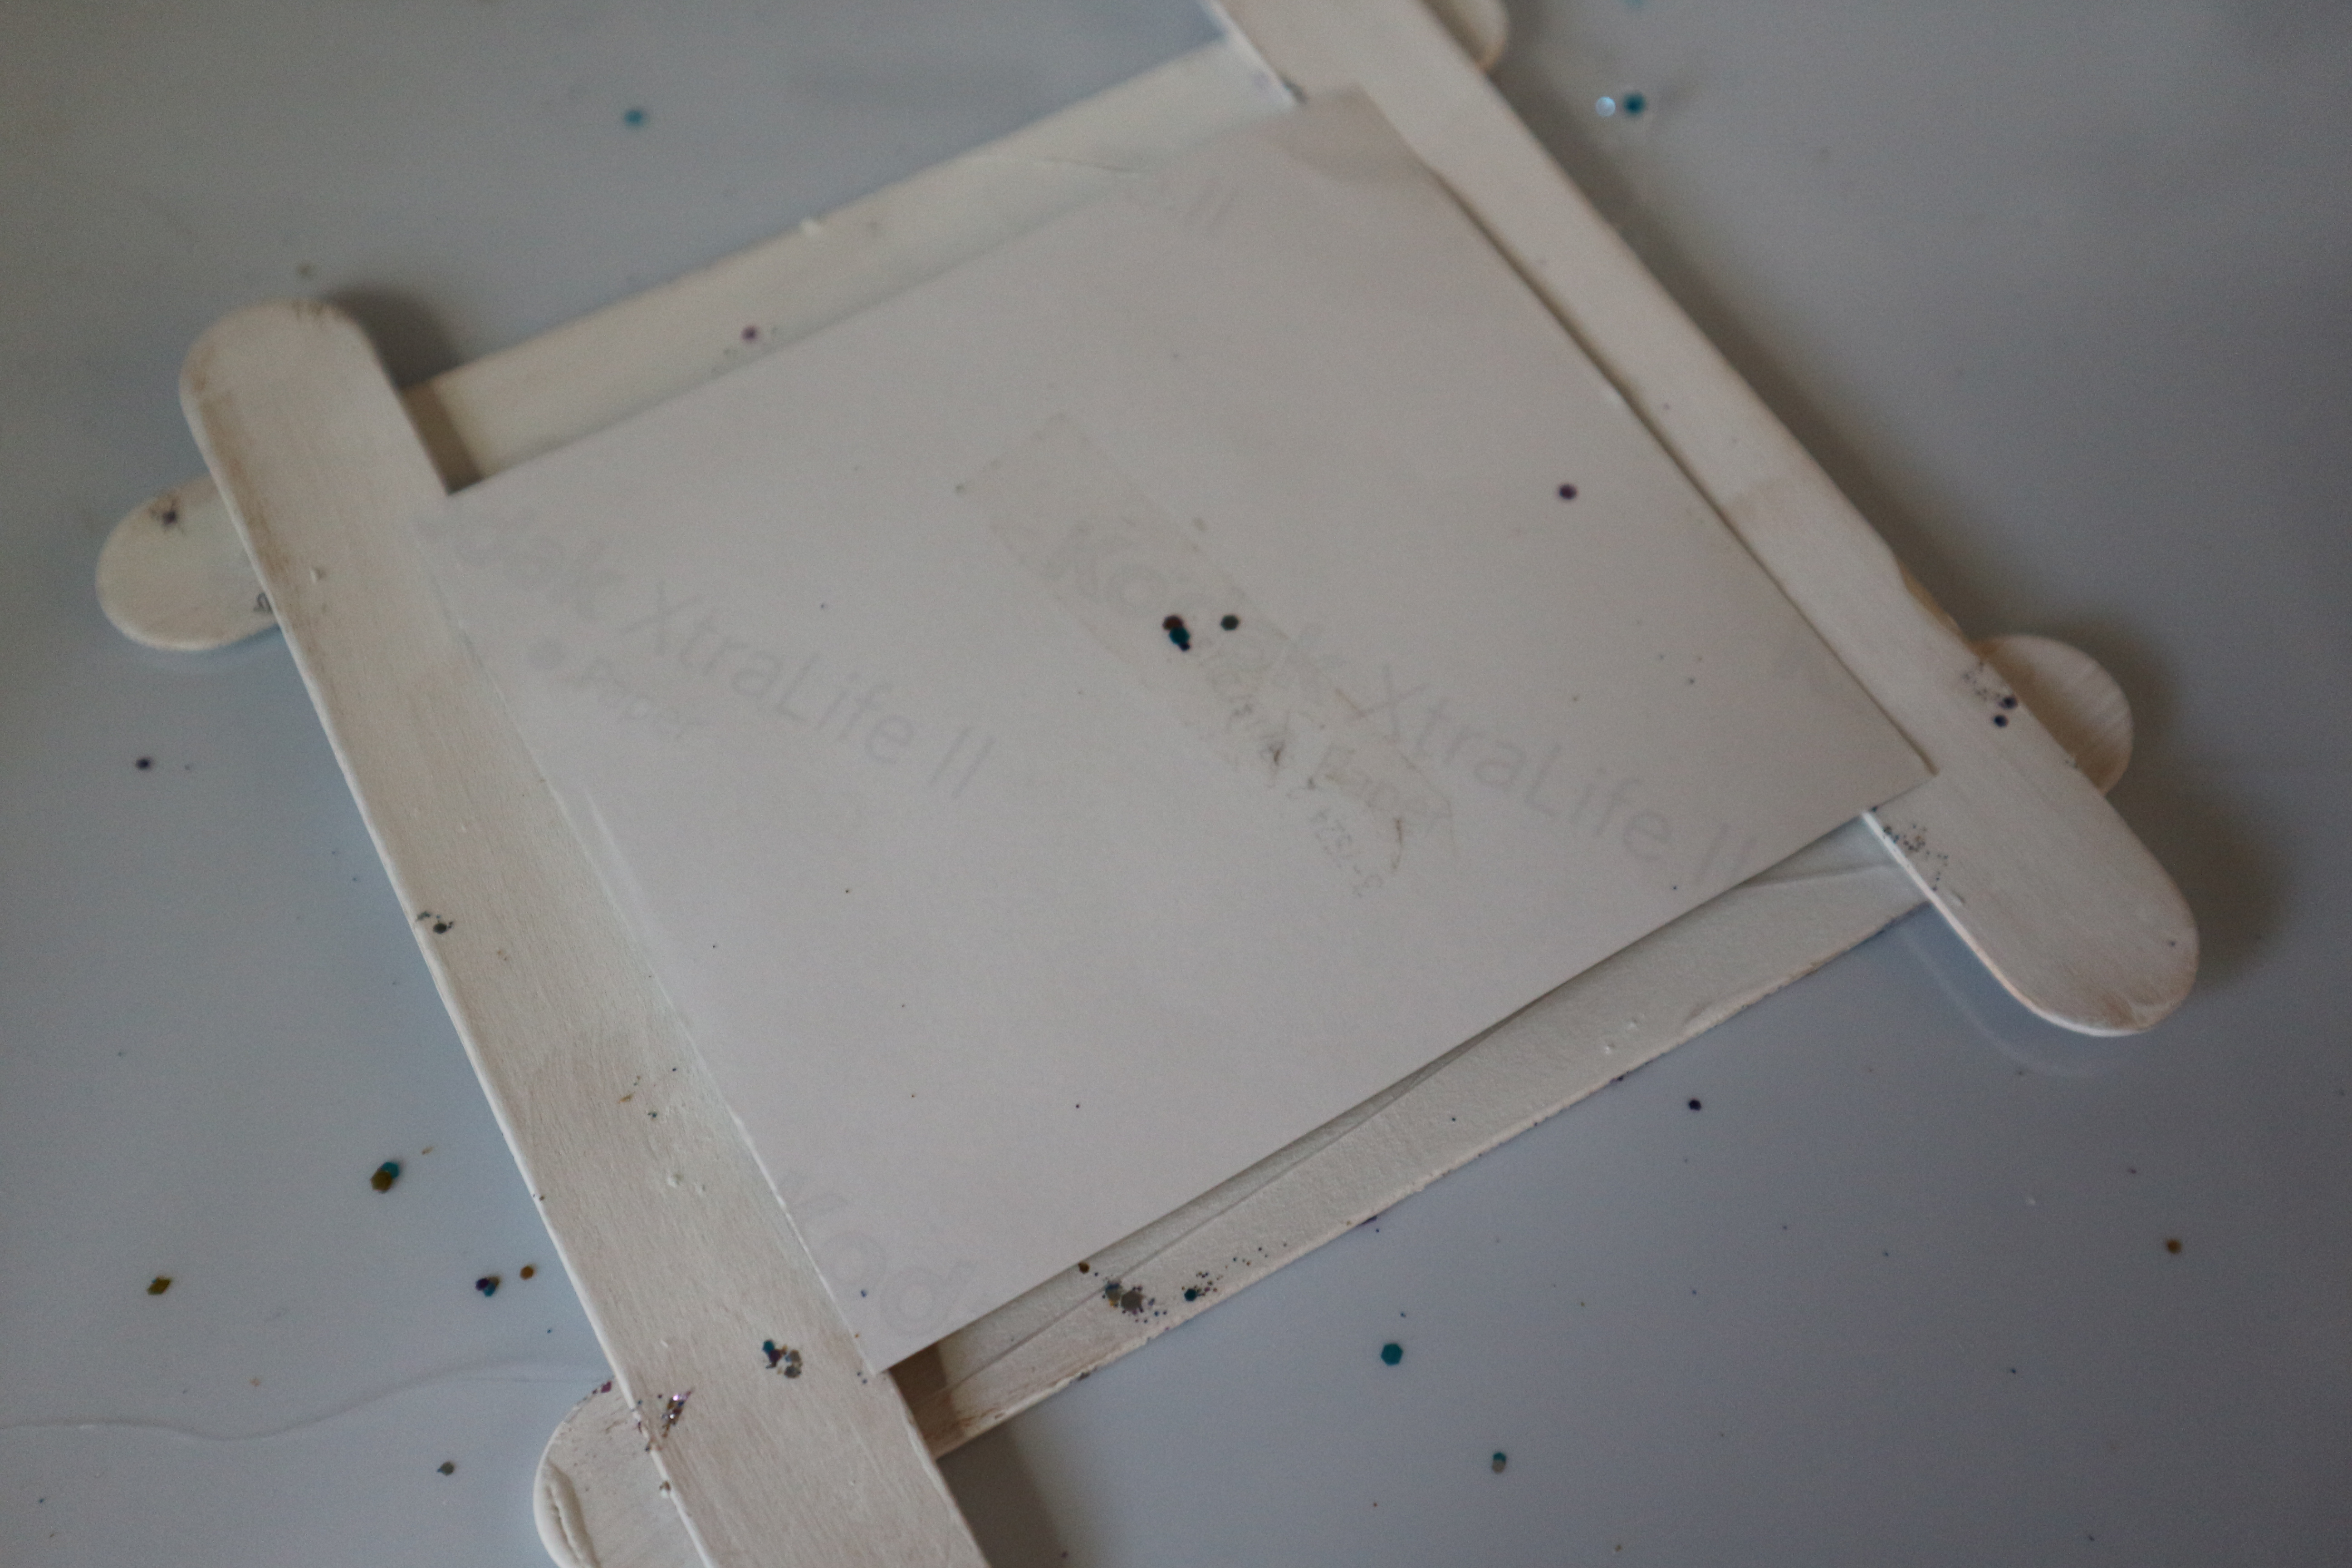
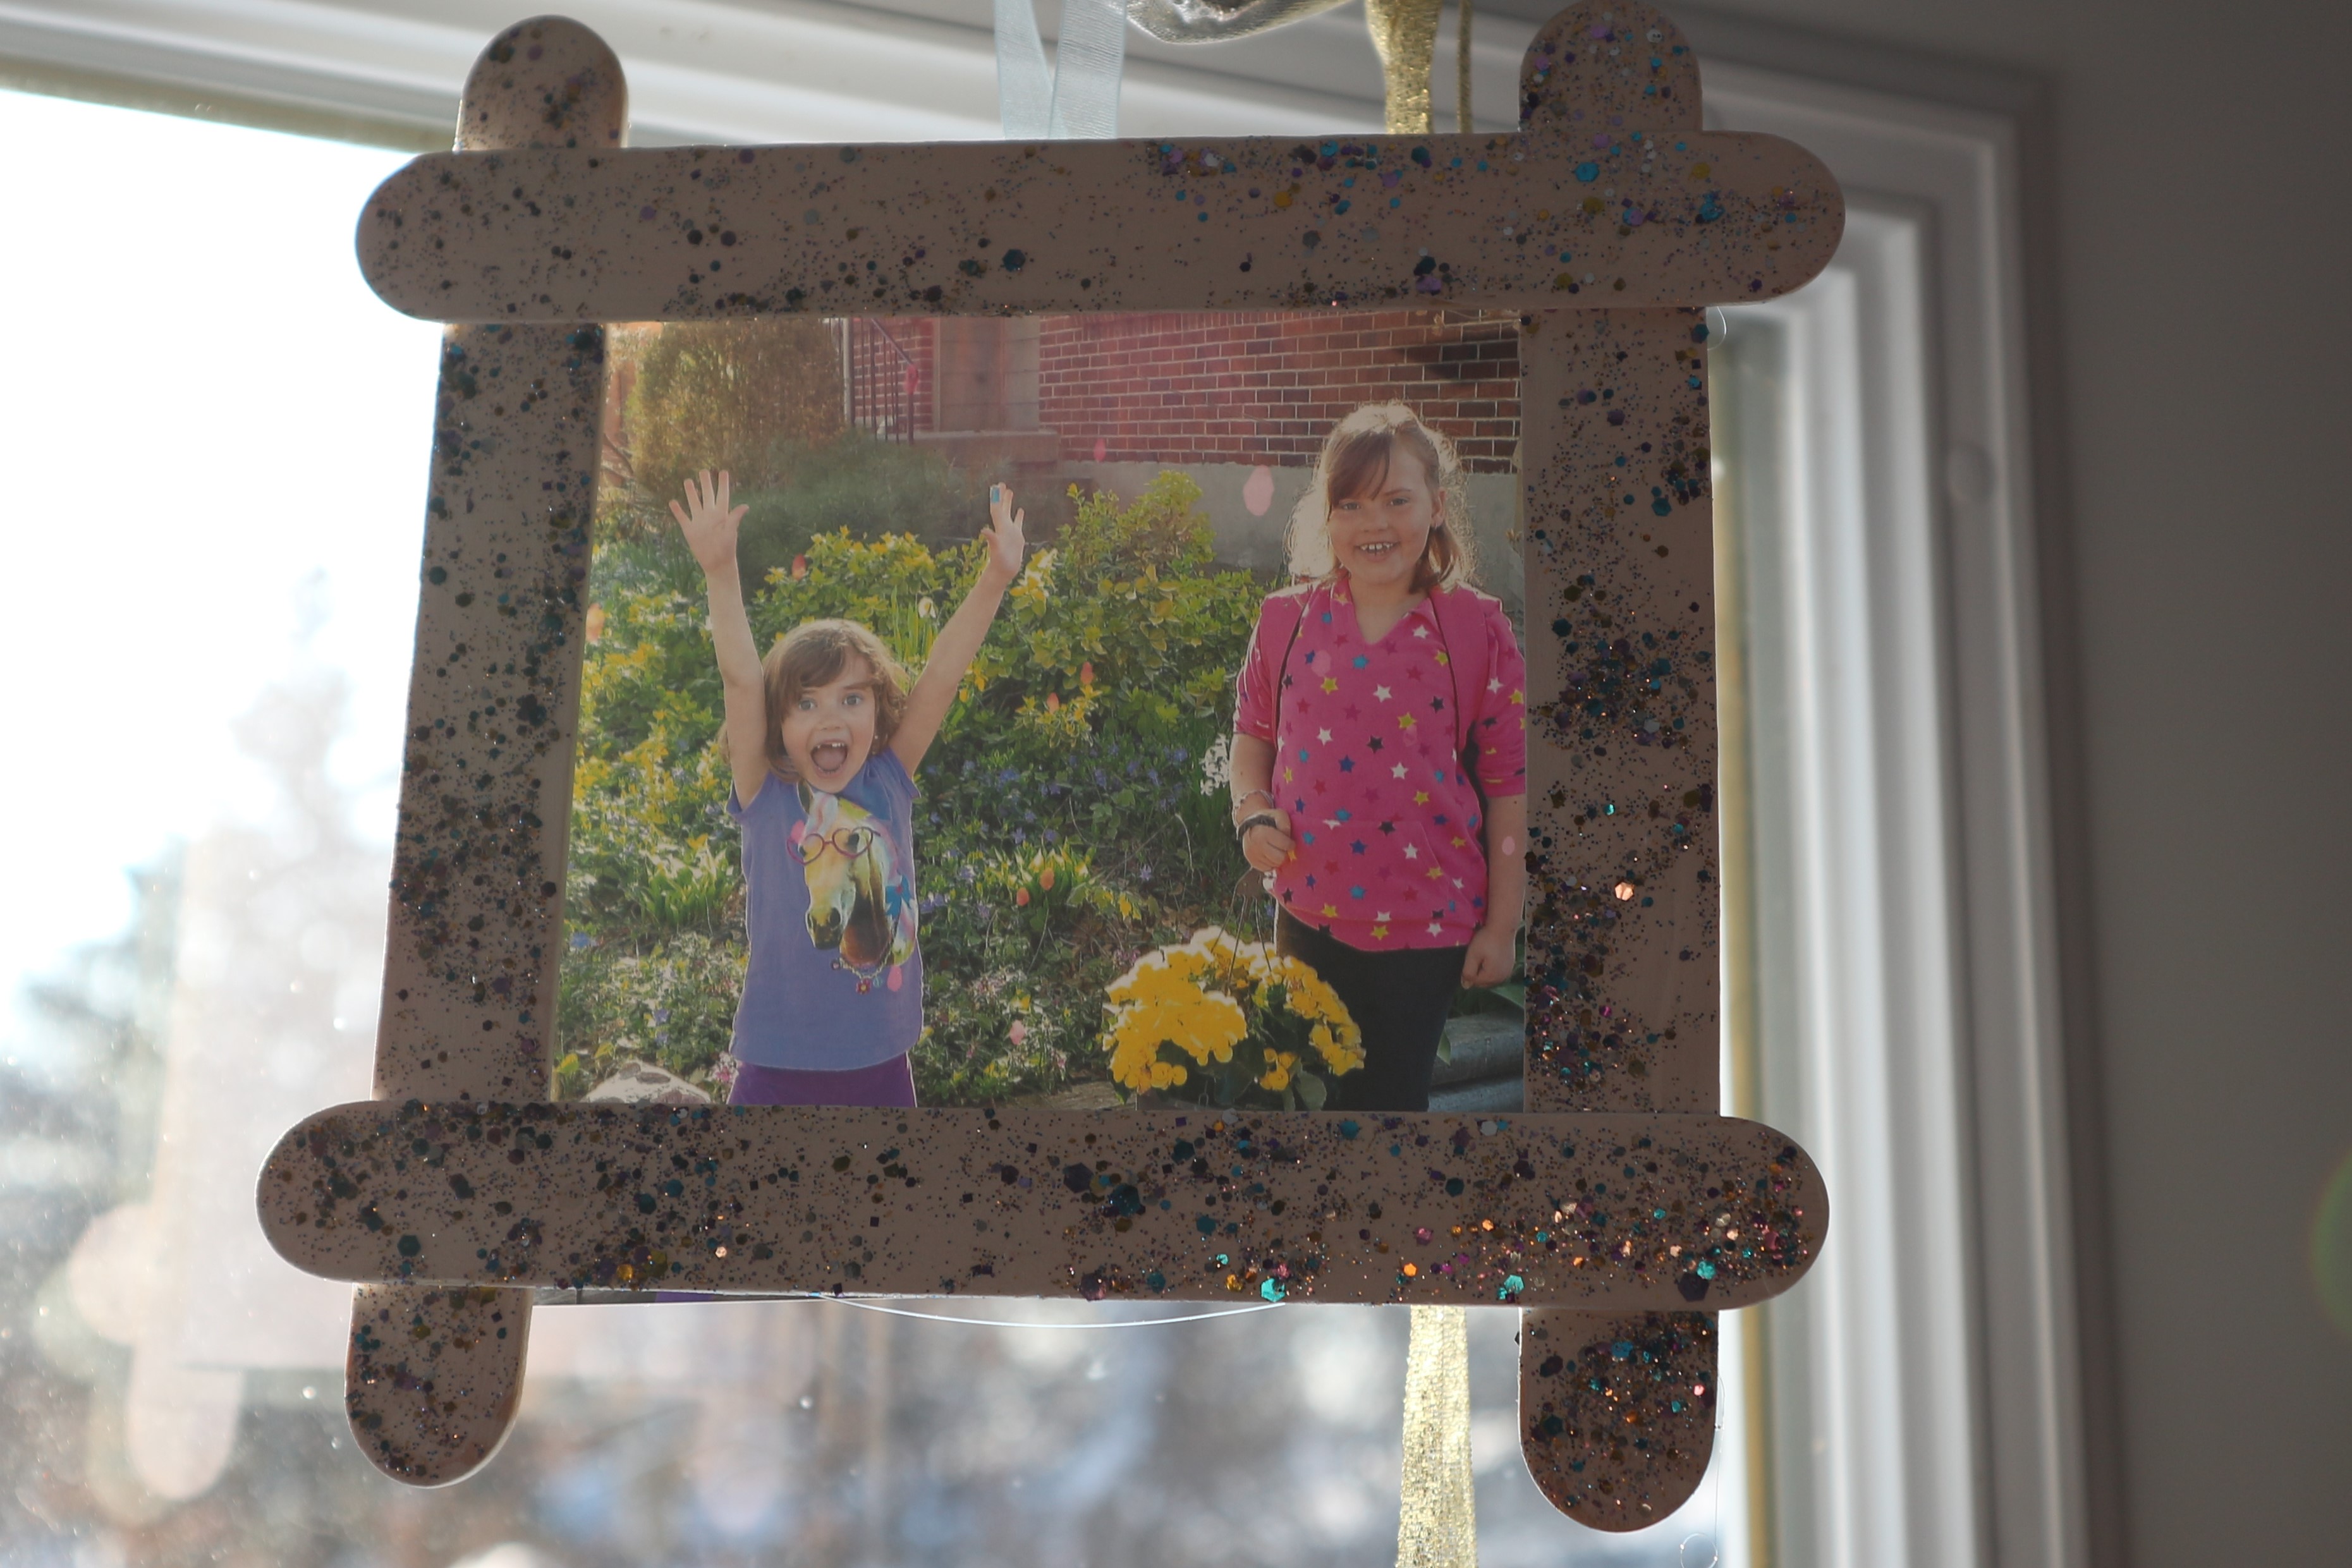
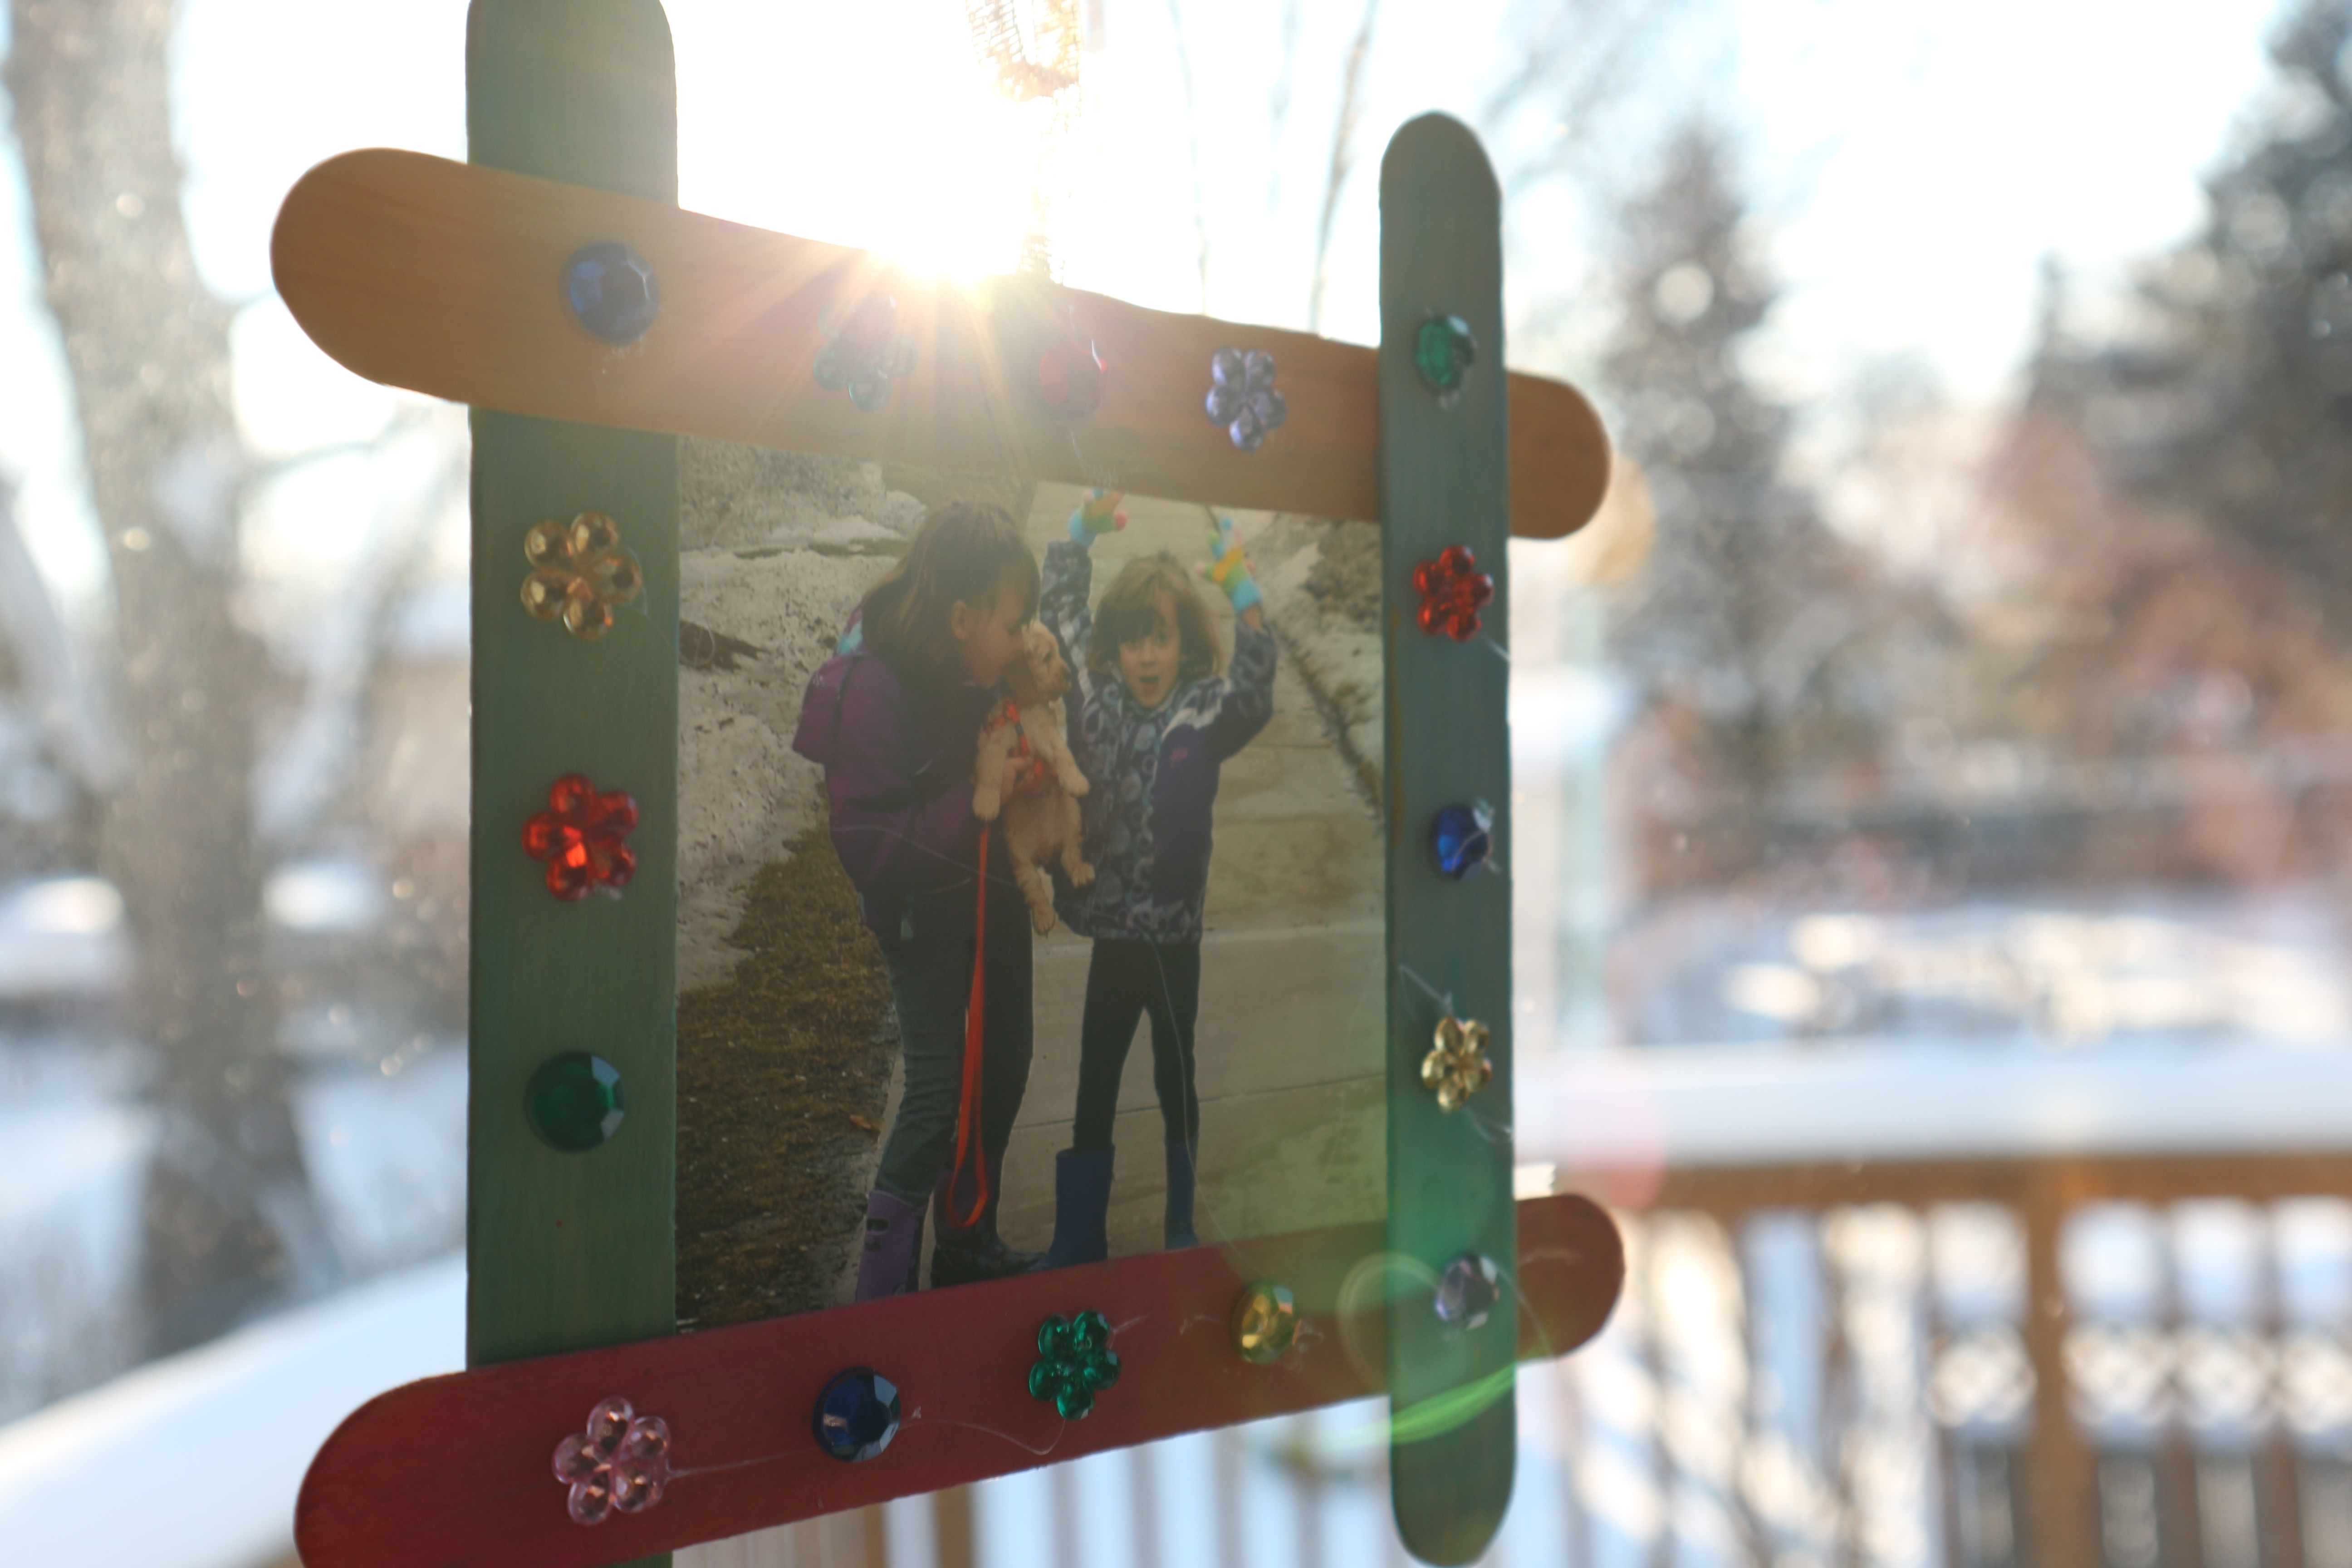
Secure the photo in place with a few pieces of tape. Hang it up and enjoy!
I did this for all of my daycare children back when I ran a home daycare. I strung them all across a string that was fastened to 2 screws so it looks like a bit of a clothes line. It had a really sweet effect. The kids all worked on their own frame and when it was time for them to leave my care and become school kids they took it with them and a scrap book of art I had saved. Ohhh…sentimental pause….. I wonder how my little friends are growing up…..sniff sniff…
…
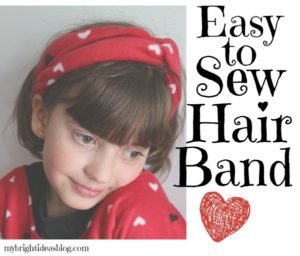
How to Sew an Easy Fleece HairBand
 Anyone can make this!
This super cute hairband was made from a left over piece of fleece from a poncho project Fleece Poncho Top in photo found at this link: http://mybrightideasblog.com/?p=218&preview=true

Miss M and I made her first sewing project the fleece poncho and with a few more minutes sewed up the co-coordinating headband.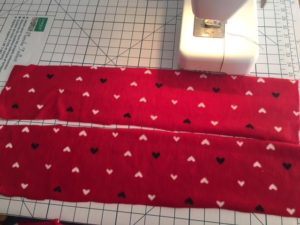
For a 7 year old head we cut 2 strips of fabric 5 inches by 20 inches. For an adult sized head cut 6 inches by 22 inches strips of fabric.
Fold each strip in half to lengthwise (right sides together) to form a tube and sew a seem.
Pull the end through the tube to turn it right side out.

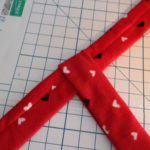
Lay one strip on the bottom with seam facing up. The other lay on top with the seam facing down. Fold the bottom one in half.
Fold the top one in half. Pull the ends even. Now its starting to take shape. Try holding it in place to see how if fits.
I tucked the ends of the right side into the left side and folded under the edge so it wouldn’t have any raw edges showing. Sewing a line across all the layers is a little tricky. Fleece or jersey-t-shirt material can be used and is very forgiving for sizing. You could use this idea for re-purposing old clothes.

Sew a Super Easy Fleece Poncho-Simple Starter Sewing Project
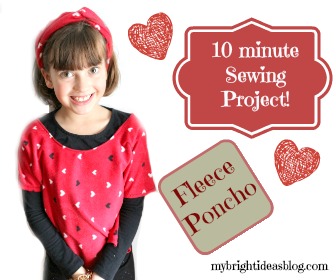
This fleece poncho type body warmer will take the chill off! Its so simple my 7 year old Miss M. did the sewing!
First step. Measure the approximate width over the shoulders for where you would like it to sit. Then measure the body length from the shoulder to around the waist. This is the kind of not very specific measuring I find myself doing all the time. A fitted dress with darts and zippers is not my kind of sewing.
We decided to go 25 inches wide and 20 inches from the shoulder to waist hips area (so double that).
This means you will need to cut a piece of fleece 40 inches by 25 inches.
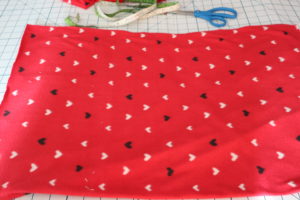
For the neck hole: find the middle and use a t-shirt to show how big the neck hole is and copy that onto the middle of the fleece. I like to fold the fleece in half so the neck will be easier to cut.
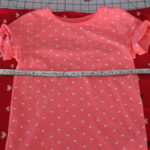
I went a bit bigger than the tshirt and wished I had gone a bit smaller instead. As long as it goes over the person’s head its great. If you make a cut that it too small you can try it on and then cut a bit more off.
You could leave all the seams unfinished if you would like because they won’t fray like cotton would. However, this was Miss M’s first time at the machine so we wanted some easy sewing. We folded the fabric over once and did a Zig Zag all around the straight edges.
Around the neck we folded over the fabric once and did a straight stitch.
Then we laid it out flat folded in half. We measured 7 inches from the shoulder and put a pin to mark it. Then 3 inches down add another pin. Sew between the 2 pins. We used a straight stitch-this part will be under the arms.
Miss M. pretended that it was a huge inconvenience to come over and take a few photos but she seems to have enjoyed herself.


The fancy hairband will be in this blog: http://mybrightideasblog.com/sew-easy-fleece-hairband/
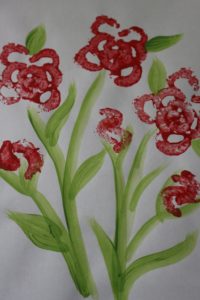
Celery Flower Painting – Easy Kids Craft
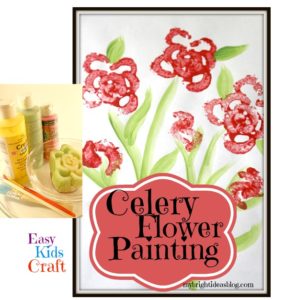
Do you remember doing potato paintings when you were a kid? I sure do and this is a new spin on it CELERY PAINTING! It creates a fun, flowery sort of painting. This craft is so easy a toddler could do it…and it will actually look quite nice in on the fridge.
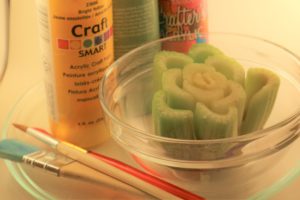
You will need paint, brushes, plain paper and celery cut off close to the bottom or if its another part of the bunch of celery put an elastic around it so it doesn’t all apart.
Start out by brushing some green flower stems onto the paper.
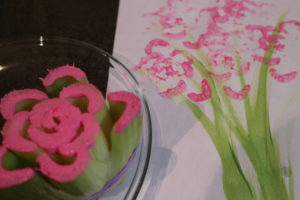
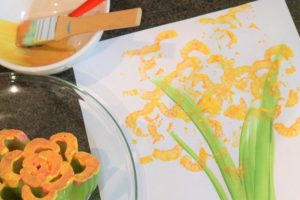
Paint the flat ends of the celery with your brush to make sure every end gets covered with a light coat of paint for a lighter effect like the yellow and pink roses above.
For a more defined flower use a sponge brush and a lot of paint and push hard on your celery to really put the imprint on. I pulled off two of the outer celery stalks and tried to make some rose buds also.
With a bit of help your toddler could have a lot of fun with this. An older child cold make something quite pretty for a gift to take to grandma’s house….you could even put some sparkle glue in the flowers after the paint has dried.
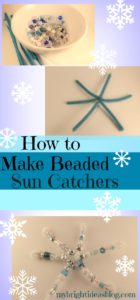
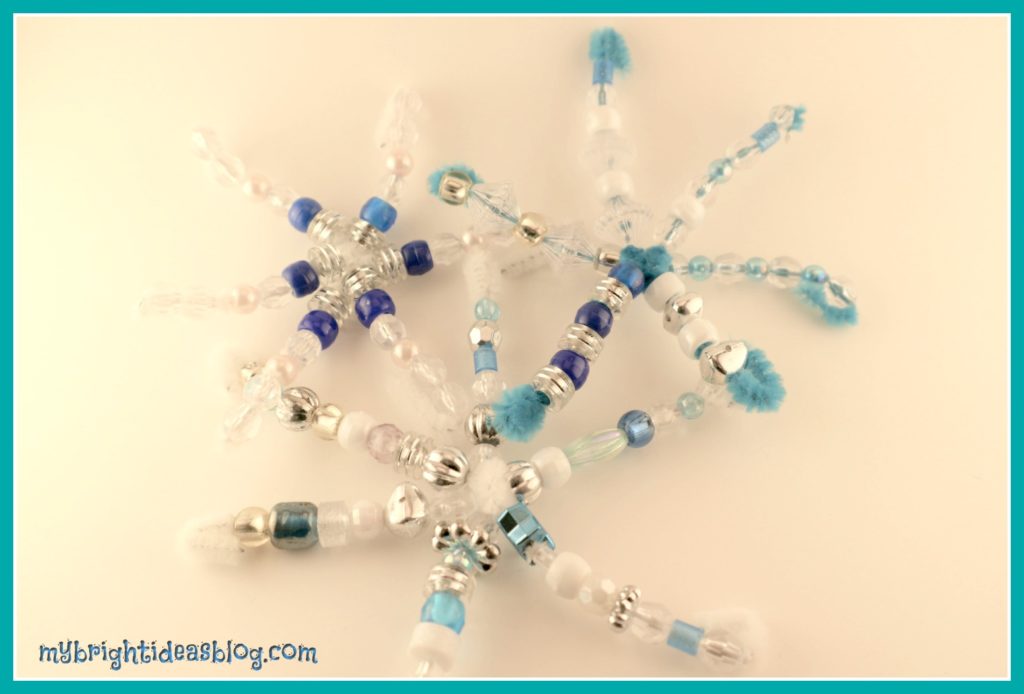
Beaded SnowFlake Suncatcher-Easy Craft for Kids!
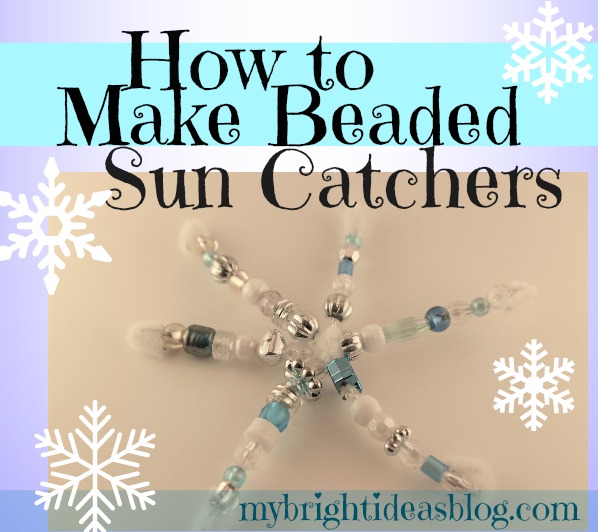
We love Beads and Pipe-cleaners are a craft cupboard essential. So on this snowy winter’s day the kids and I made snow flakes to hang in our windows-and we used just those 2 ingredients. Beads and Pipe-Cleaners! Sparkly beads look so lovely in the window-so this will make a gorgeous sun-catcher.
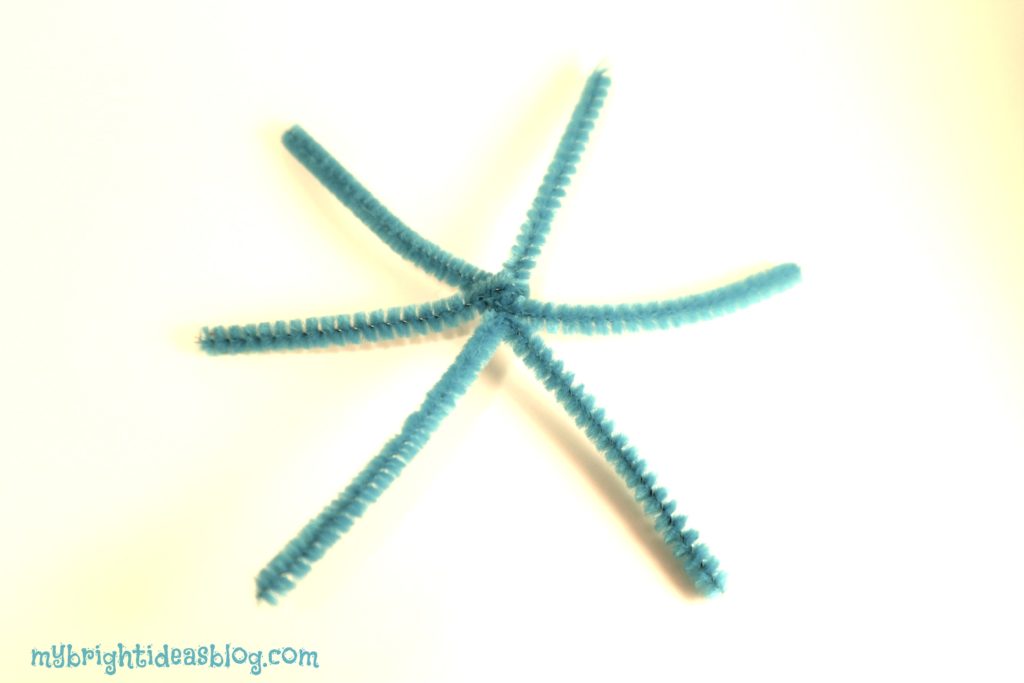
Cut a 3 pipe-cleaners in half. I think the sparkly style would have looked gorgeous but today we only found turquoise and white which both give a nice cool look.
Take the 3 half length pipe-cleaners and twist in the middle so they hold the shape of a snowflake.
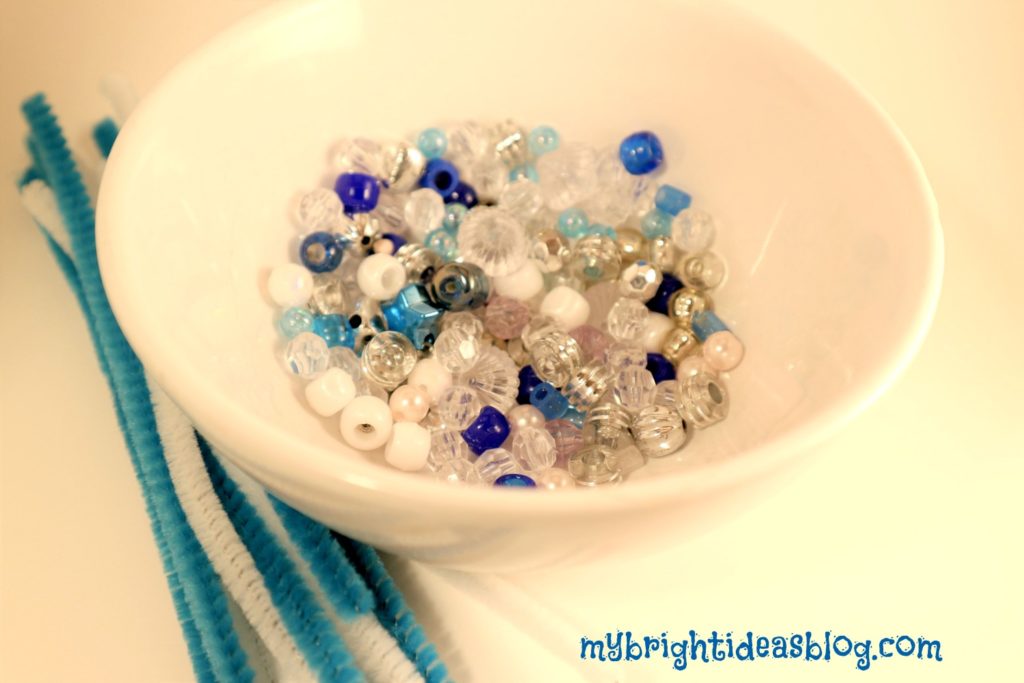
String on plastic beads. As long as the bead hole is big enough to slide a pipe-cleaner through it will work. But if your crafter is younger you may want to use pony beads-the type of plastic bead with big holes.
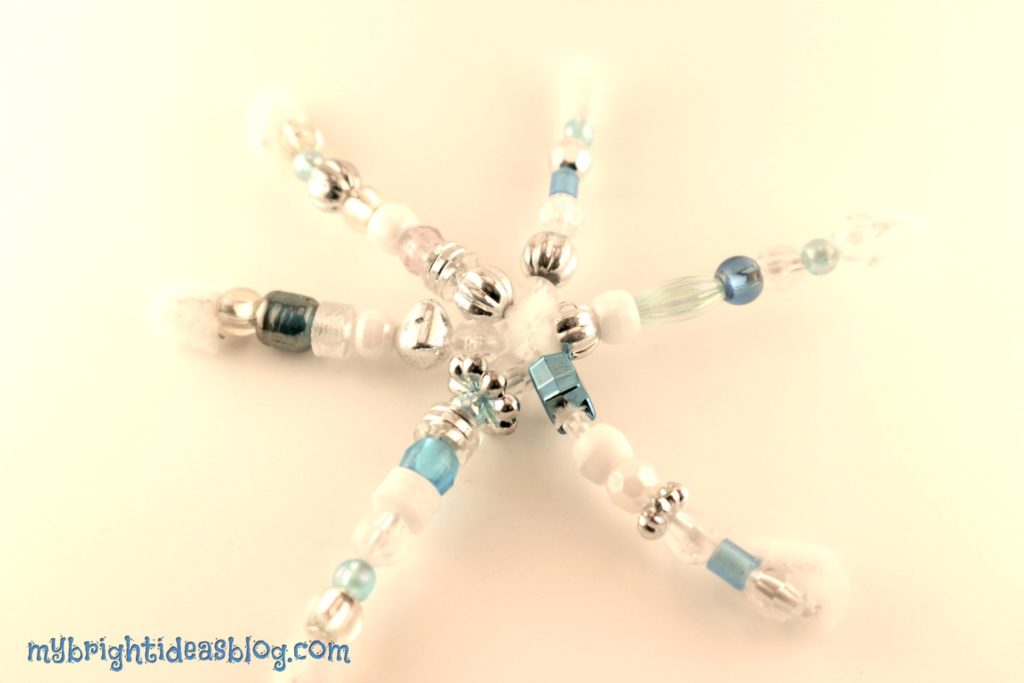
We chose white, clear, silver, turquoise and blue. As you get close to the end bend the pipe-cleaner so that the beads don’t slide off.
Find a scrap of narrow ribbon to tie to an end and hang from the window. Stand back and admire!
….