
Have you got some grumpy kids today? A lull in the summer getting them bored? Looking to jazz up a camping trip…Here is how to turn that frown upside down. Candy!
This is a true tale of 2 girls and a mom on a camping trip……. the kids were all “mom…what is taking so long…I thought you said we were going to the beach…..” whine, whine, etc, etc.
Daddy had to stay home and work so it was just me and my girls, and lets face it they are not very helpful. So after-breakfast clean up was taking a bit of time.
So when I said, “Who wants to help me with a blog post?” They immediately perked up! They knew there was a bag of candy bags from the bulk store that they were not allowed to touch.
All the treats for this project have holes in the middle so there is no need for mom to poke it with a sewing needle.
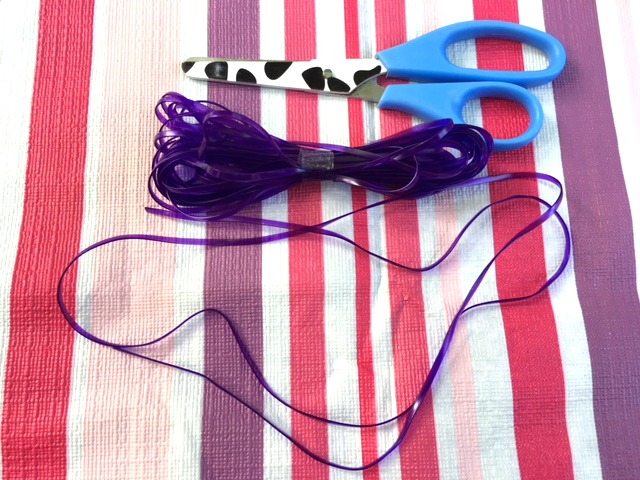
Here is what you need:
- treats with a hole in the middle
- cotton string or something to put the treats on (plastic lace was easiest)
- scissors
Shopping for Treats
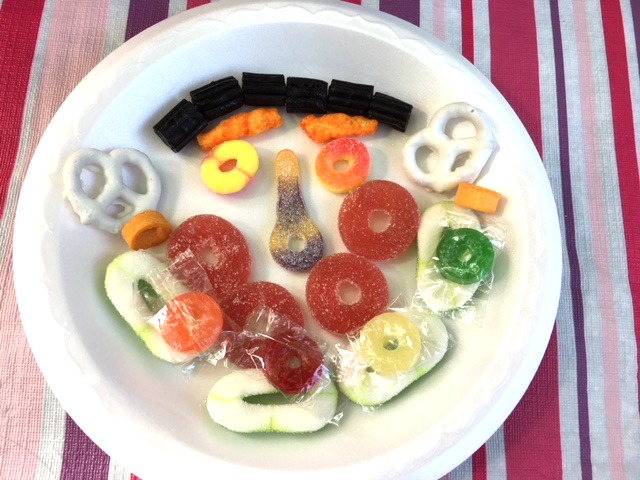
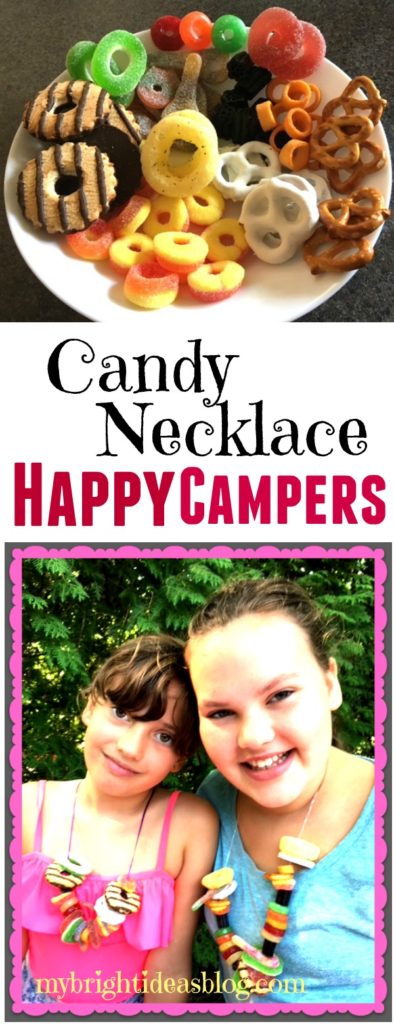
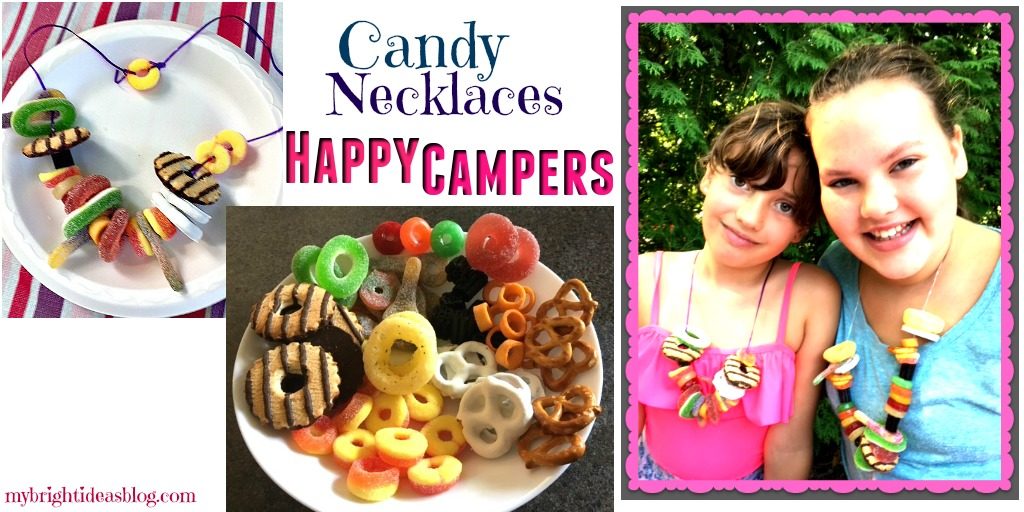
The first step, is to hit the bulk store and purchase any cookies, candies or cereal or candy that has a hole in it. I’ve got 2 kids so I bought 5 or 6 of each item-assuming that they will eat or break a few in the jewelry making process. I had lots of little baggies with just a few items in each.
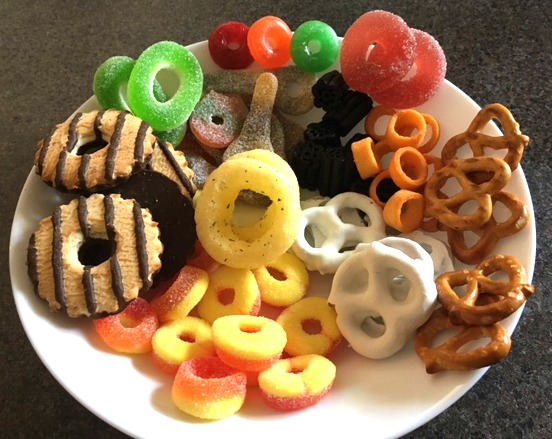
I picked all of these tidbits from our local Bulk Barn. Licorice, cookies, pretzels, sour keys, sour cream hoops, life savers, etc.
Choosing a String
Next you will need something to string your candy beads onto. You can use yarn or fine elastic or string or thread or plastic lace. We found that the easiest for the kids is the plastic lace. This is a rigid plastic that is often woven into bracelets. I picked up a variety of colours in a package from the craft section of the dollar store.
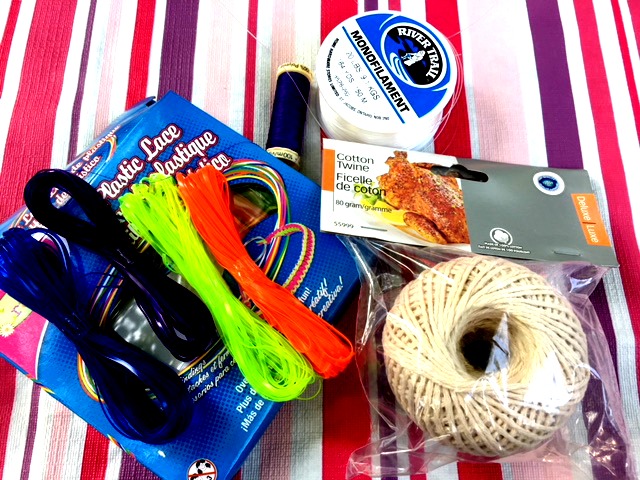
I like the idea of the cotton used in preparing turkey dinners, because you know it is intended for food handling. These will be your in the kids mouth after all. But it is a bit more frustrating for the kids to use. It unravels a bit so you need to twist it with your fingers or trim the ends a few times.
Now measure the length of string you’ll need. Make it long enough so your child can just pull it over their head when they want it off. If on second thought, you don’t want them to have access to quite so much candy-make it into a bracelet instead.
A Word Of Caution
This craft is meant for older kids rather than young toddlers. Please watch your child for choking and strangulation hazards. Be safe and have fun!
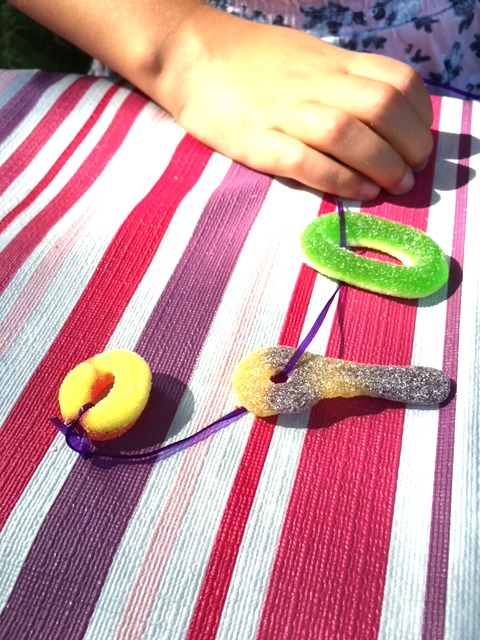
I didn’t think of this, the girls came up with the idea to tie the first candy as an anchor so the treats would not just fall off the other end as they string more treats on.
While you have them settled into this project its a fine time to give them a little speech about how thoroughly they should brush their teeth later. Or how you would like to increase their household chores…Groan….
Why not? It’s not like they are going to storm off….they have a candy craft in their hands…they have to listen!
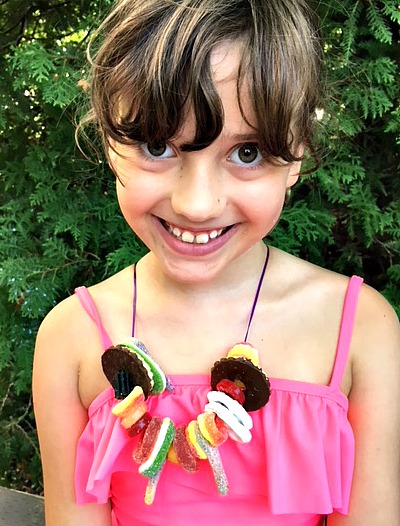
Keep on stringing on the treats and when you are happy with it, tie a knot. Now try on your delicious necklace or bracelet.

That is enough candy to last a week long camping trip. Do not eat all of it at once or your belly will hurt!

Now they are happy campers!
Besides camping trips, this is a great idea for a kids party, before a road trip or to pull out on movie night!
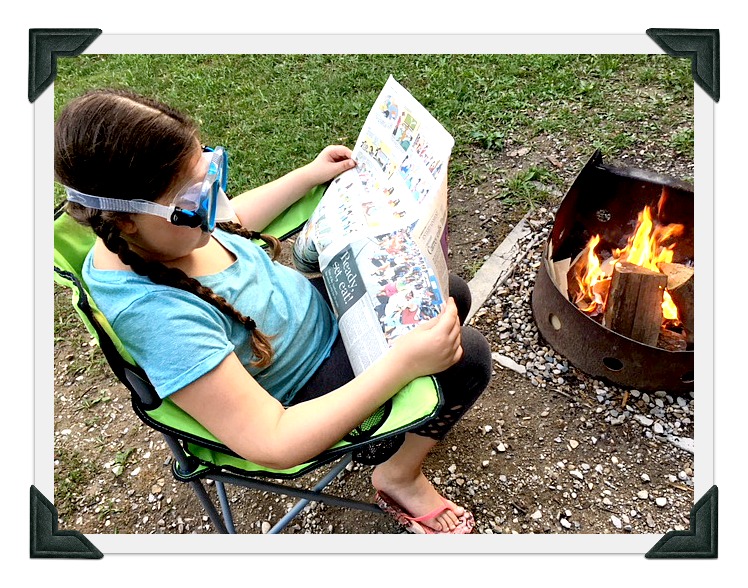 Don’t you hate it when your campfire gets smoke in your eyes? Not my girls! They grabbed their swimming goggles! Smart! Carry on reading the comics with happy eyes…
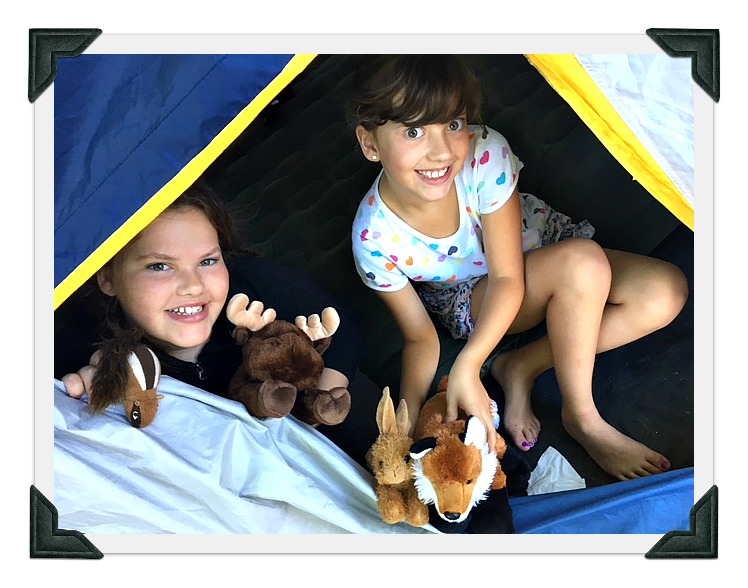 Miss B and Miss M made new acquaintances with some friends in the forest. A chipmunk, a moose a bunny and a fox. Are we the only family who needs a back pack full of stuffed animals on a camping trip?
Have a great summer and get out camping!

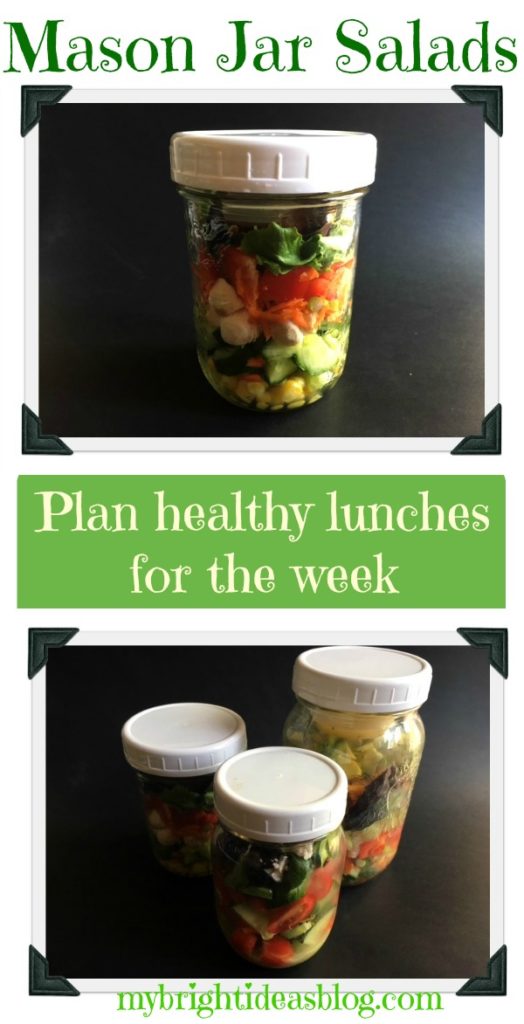
Make Healthy Lunches – Mason Jar Salads
 Its Sunday and that means its time to have a quick inventory of what we have for this weeks lunches. This past week I gave the mason jar salad idea a try and I loved that it was ready to grab and go. If you are making one salad you might as well chop up the ingredients all at once and put it into 5 jars to be prepared.
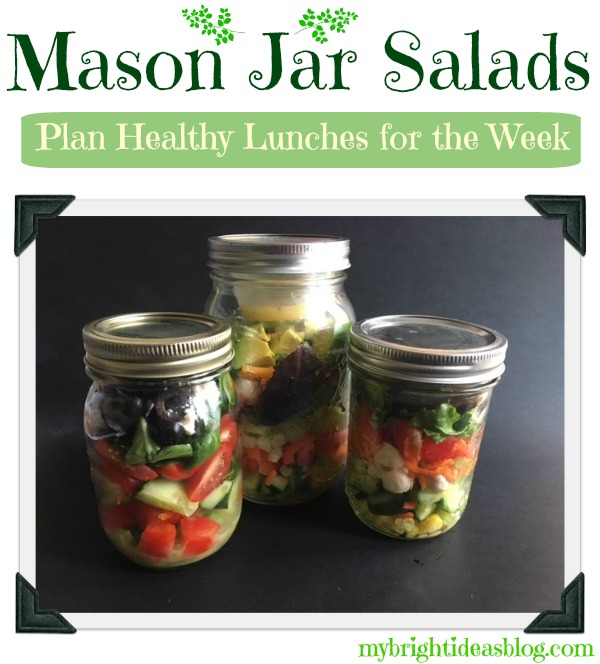
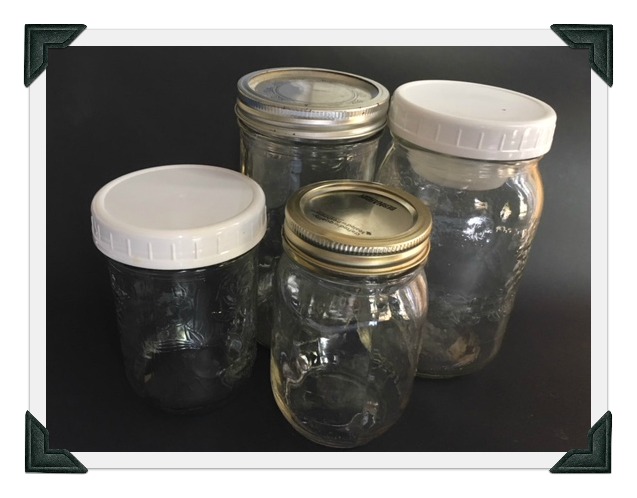
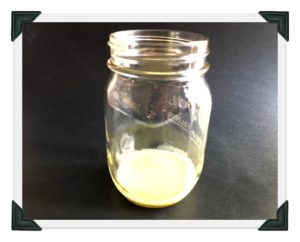
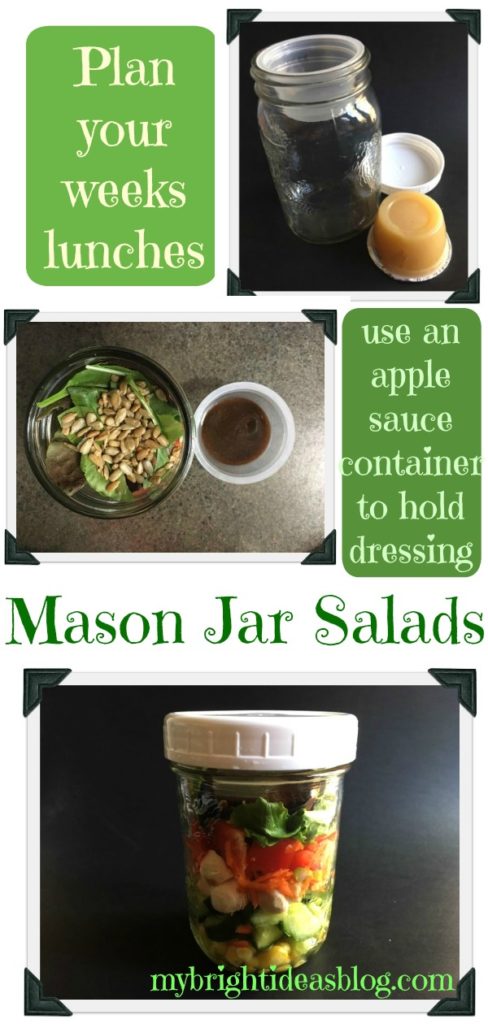
Start with clean mason jars. I experimented with wide jars and narrow to see what I prefer. Also different lid options are available. In the past we have taken juices in mason jars and found the metal ring lids to be a pain to fumble around with when you are on the go. The white lids are easy to find where ever you purchase mason jars.
 I noticed that the wide mouth jars fit an apple sauce container perfectly in the neck. This way you could put the salad dressing in separately or you could bring croutons without them getting soggy. How cool is that!
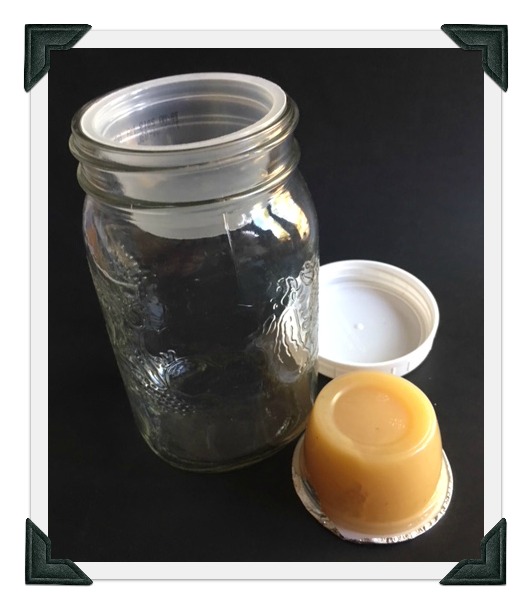 Alrighty, lets see what salad fixings we have in the fridge and get the cutting board and favourite knife. There is so many variations to this that you could make a different salad every day.
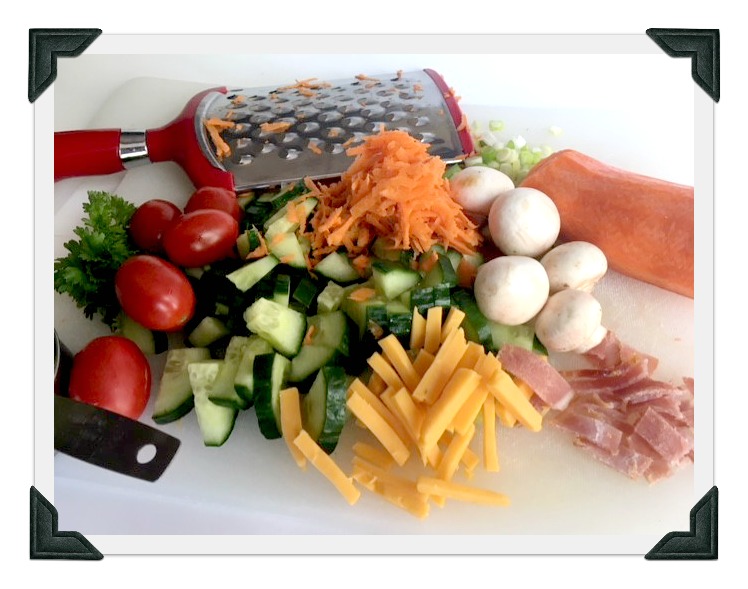 Here are my favorites…
Now we add the layers of salad to the jars. If you don’t happen to have an apple sauce container for your salad dressing, you simply put the dressing in the bottom of the jar.
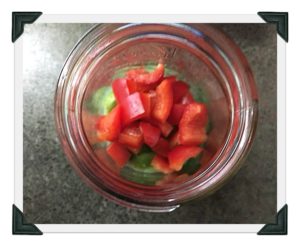

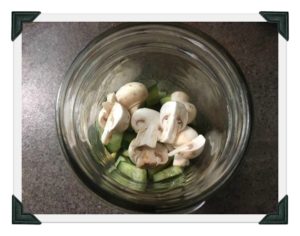
Put the heavier items on the bottom like peppers and cucumbers. Lighter things on top.

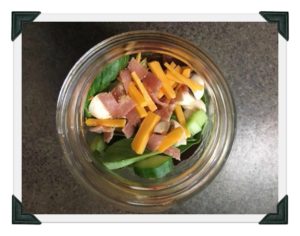
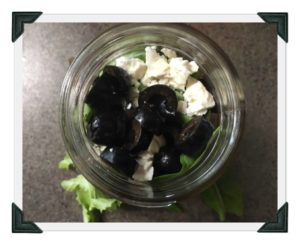
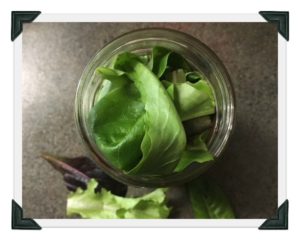
Anything that would be your toppings normally would go close to the top. Olives, cheese, nuts and seeds. Lettuce goes fairly close to the top and stays very fresh and crisp. Also the idea of having the salad dressing on the bottom is so that when you pour it out into a bowl in the staff lunch room the dressing is drizzled on at the end. However, I would skip the bowl (and the staff room) and consider just shaking it before you eat it and eat it out of the jar. Saves dirtying a dish and talk about fast food!
I love mason jars, I love not having to chop up a salad every day of the week. I would definitely recommend making your lunches ahead on Sunday so you can avoid the temptation to run for a burger drive thru at lunch. Grab your mason jar salad and go find a patch of grass to sit on. Kick off your shoes and really take a moment to relax and enjoy your lunch.
Have a great week!
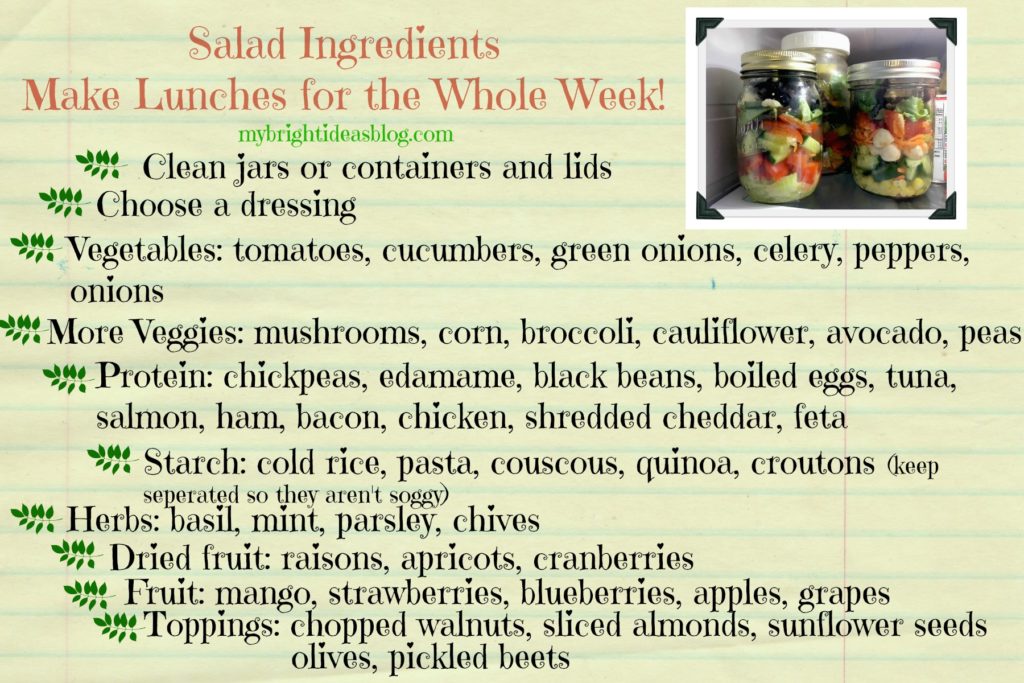
- Choose a dressing
- Vegetables: tomatoes, cucumbers, green onions, celery, peppers, onions, carrots
- More Veggies: mushrooms, corn, broccoli, cauliflower, avocado, peas
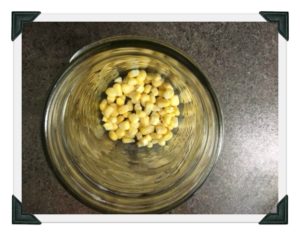
- Protein: chickpeas, black beans, edamame, boiled eggs, tuna, salmon, ham, bacon, chicken, shredded cheddar, feta
- Starch: cold rice, pasta, couscous, quinoa, croutons (keep separated)
- Herbs: basil, mint, parsley, chives
- Dried Fruit: raisons, apricots, cranberries
- Fruit: mango, strawberries, blueberries, apples, grapes
- Toppings: chopped walnuts, sliced almonds, sunflower seeds, olives, pickled beets
Marshmallow Snowman Edible Winter Craft Project
What a fun winter project to do with the kids! Snowmen made out of marshmallows!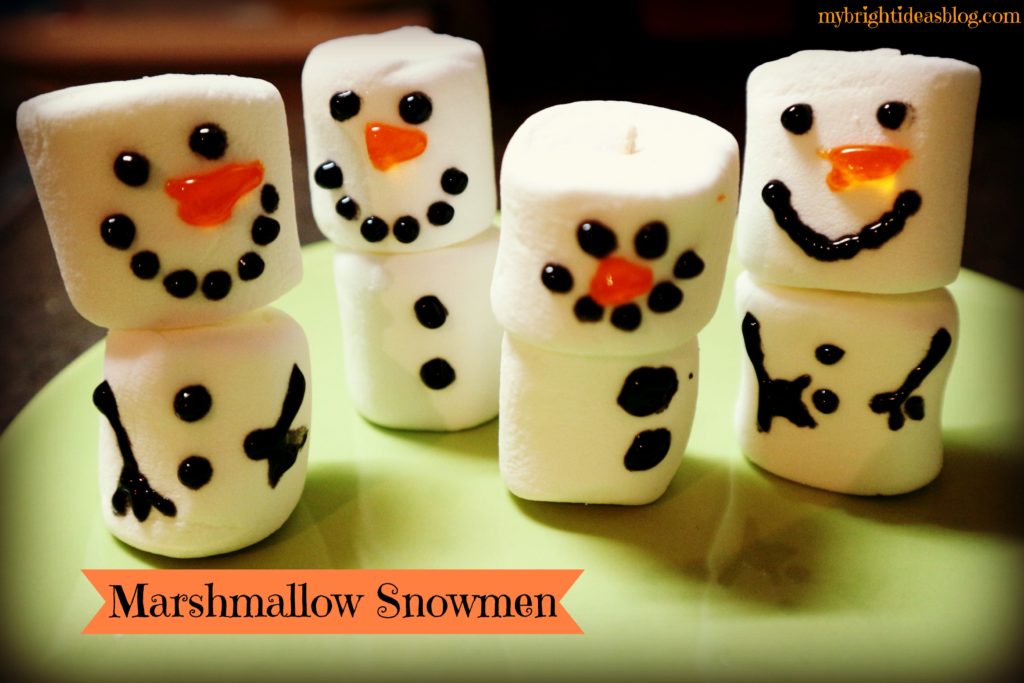 What a fun winter project to do with the kids! Snowmen made out of marshmallows!
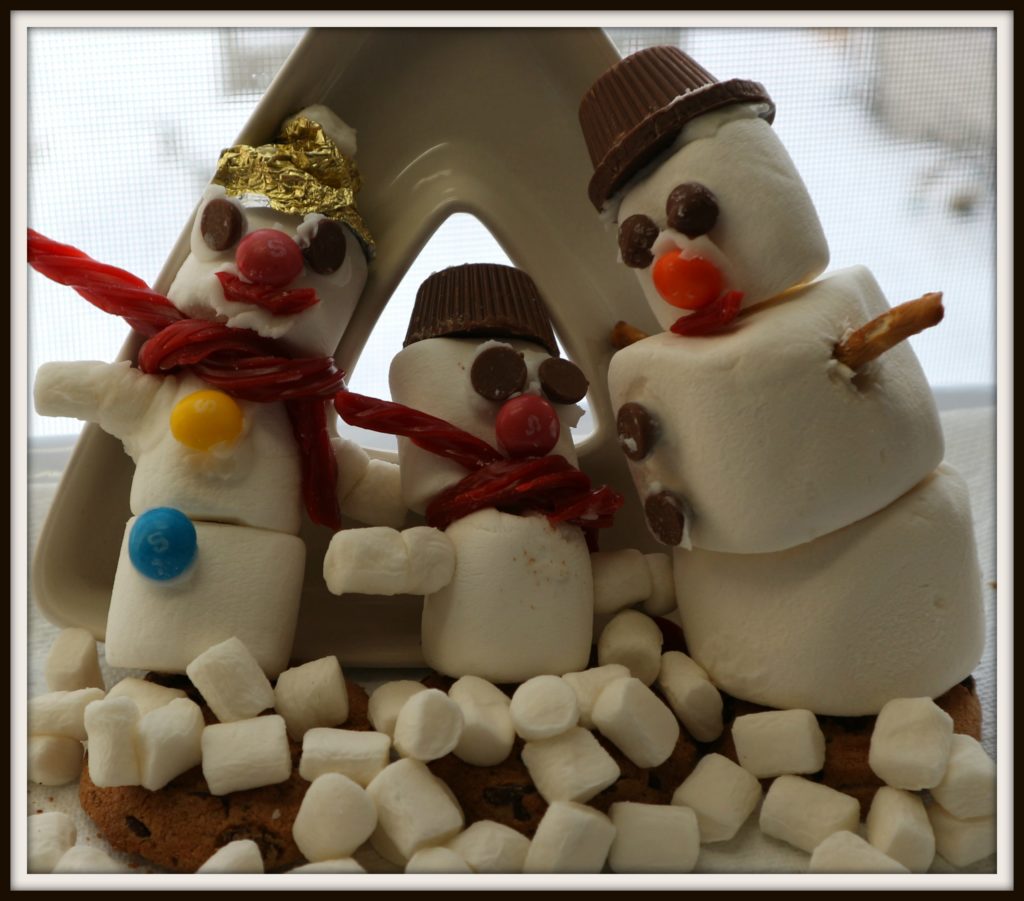
This post should probably be divided into 2 sections. The tidy marshmallow family made with toothpicks and icing gel. Or part 2 the crazy looking marshmallow family that was tipping over because of all the candy stuck to them. Much like a making a gingerbread house the second family though a bit ugly was very fun and creative to make….and nibble on.
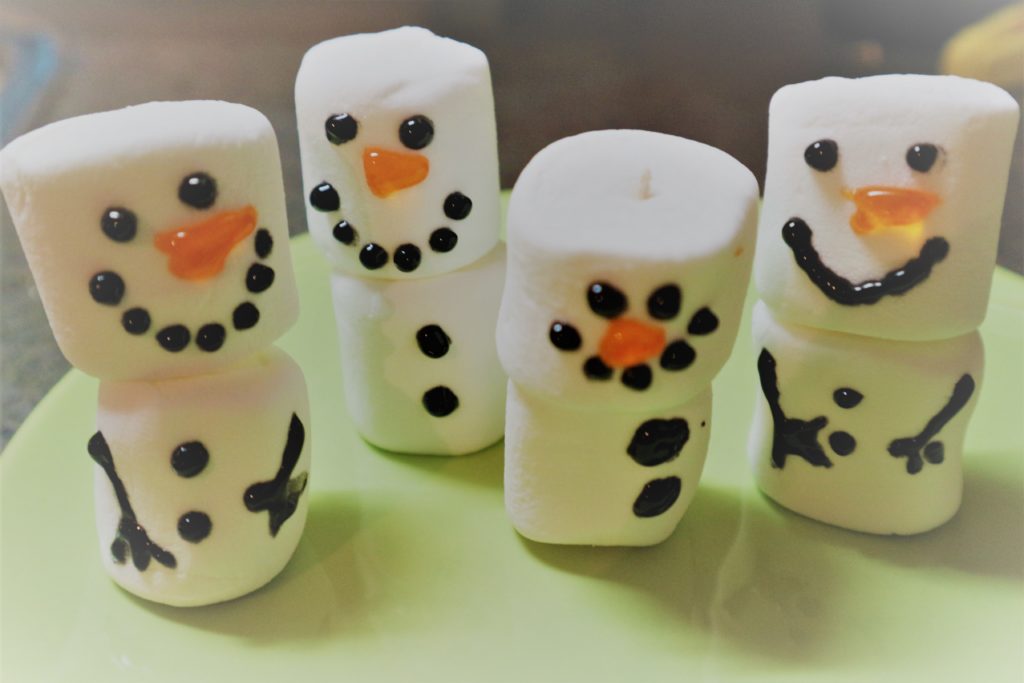
Marshmallow Snowman Part 1
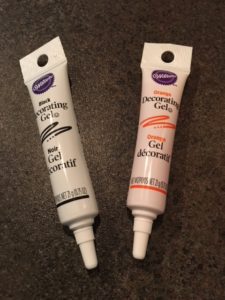
For this you just need marshmallows, toothpicks and Wilton’s decorating Gel in black and orange.
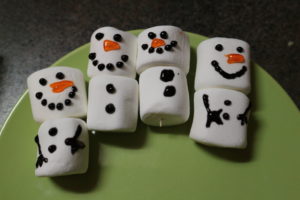
This is so easy! Just use toothpicks to connect the marshmallows. Draw on dots for the eyes, mouth and buttons, draw on stick arms (optional) and use the orange for the carrot nose.
It takes a few hours for the gel to set so try not to move them right away.
Marshmallow Snowman – Part 2
This time it was much more of an adventure – trying different things to see what would work.
I happen to have 3 sizes of marshmallows in the house-which never normally happen since I only buy one bag of them once a year at camping time for roasting on the campfire and s’mores. But we just made 2 batches of rice crispy squares for a class goodbye party for my daughter’s teacher.
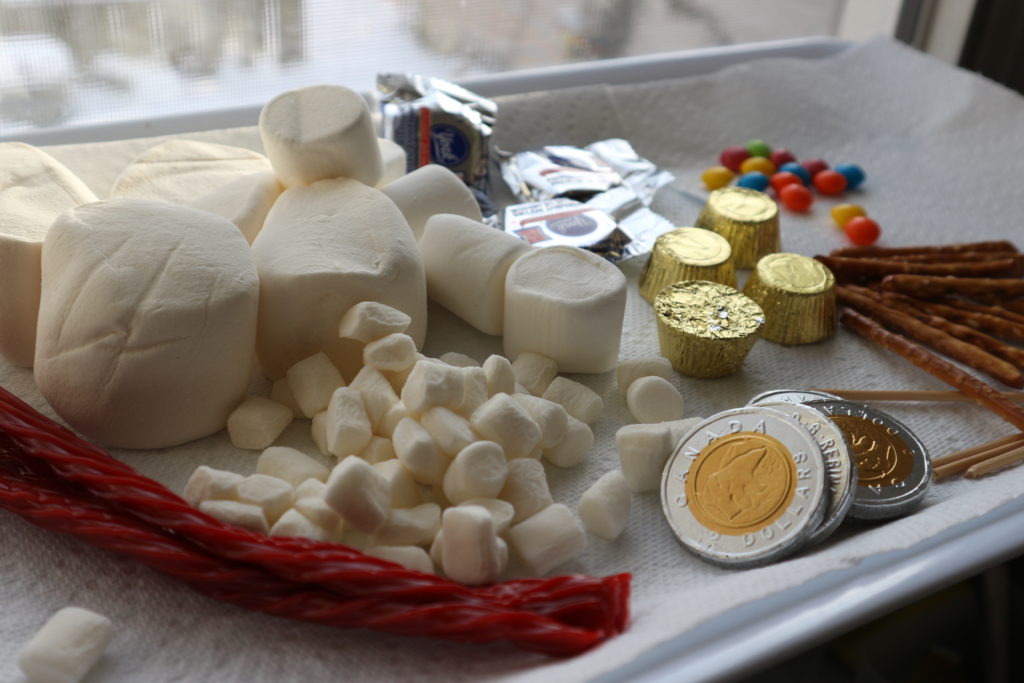
So gather up the supplies, marshmallows, skittles, pretzel arms, gold coins/pepperment patties etc. for hat, toothpicks to hold the body together, licorice and chocolate chips. I walked through the local bulk supply store and looked for things you would use for gingerbread house-like their icing for gluing buttons on.

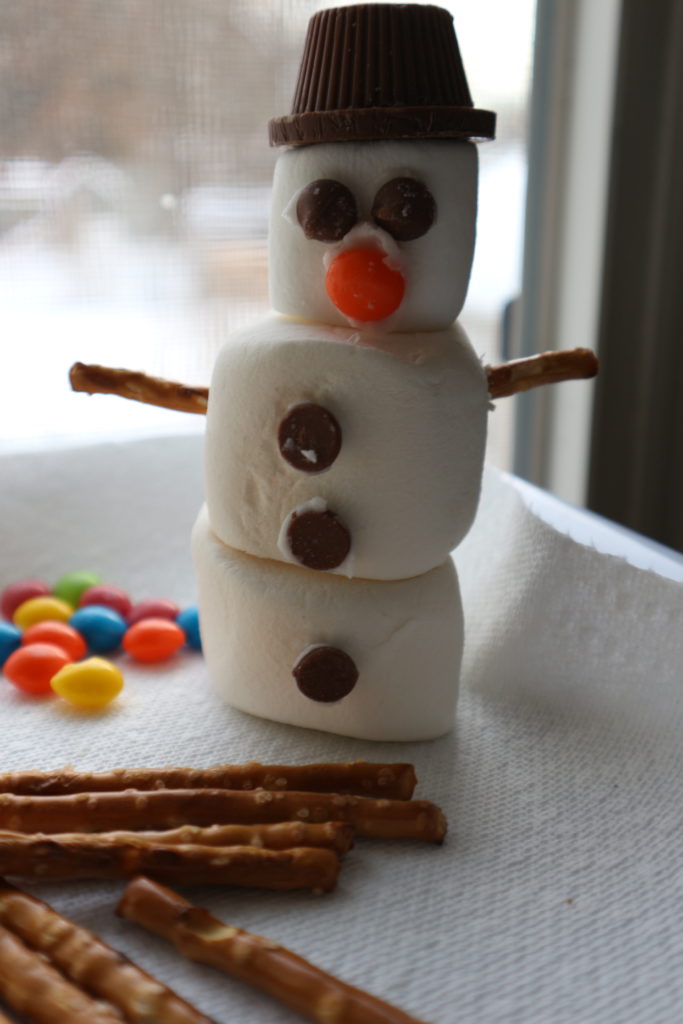
The chocolate hat made this guy very top heavy. For the gal on the left I ate a chocolate cup and turned the foil into her hat. Eating the snacks along the way is a bit of a problem when you only bought a few of this and a few of that. Tee hee….

Other snowy projects to try….