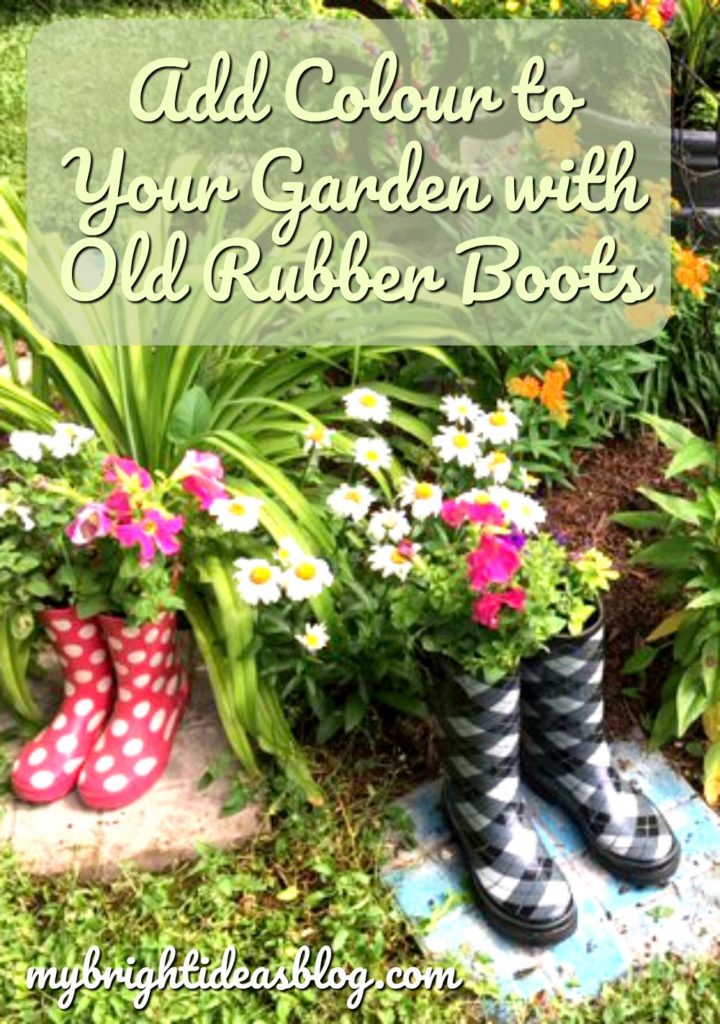
Check out the colour added to my garden by turning old rubber rain boots into flower planters!
In an effort to declutter (an impossible goal for me I’m affraid). We found some rubber boots that we no longer needed. Three pairs of wellies we don’t use because the kids outgrew them or we just realized even in the rain we have other footwear options we would rather wear. The patterns on two pairs were really cute and the third pair was a classic old black pair. Why not turn them into something fun!
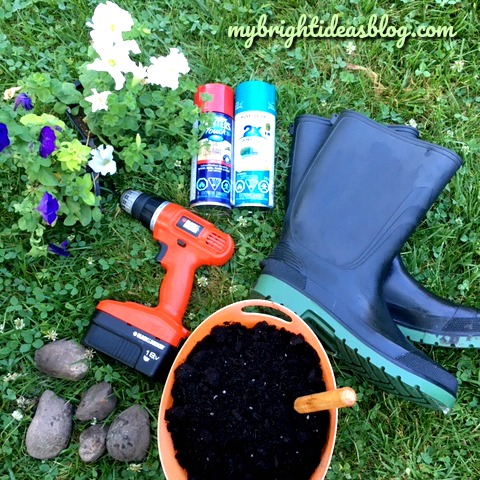
For this project you will need:
- old boots
- rocks
- sand/dirt mixture
- soil
- flowers (real or artificial)
- drill or screw driver
- spray paint (optional)
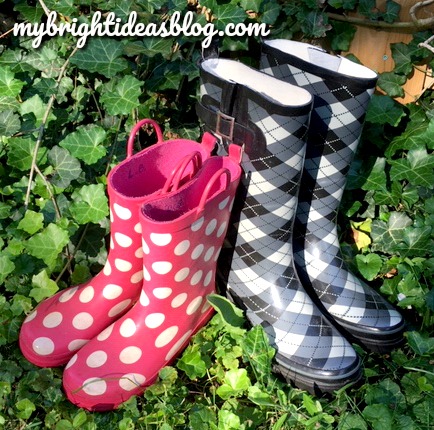
Don’t buy new boots for this project. If you don’t have any to upcycle go to the thrift store and look for a pair. They make rain boots in adorable colours and patterns, especially the children’s sizes. Even plain toddler yellow rain boots would look fantastic in the garden. I wish I had saved the girls smallest sizes. They were so adorable and small!
Before you get started, use a wet rag and wipe them clean…especially if you are spray painting them.
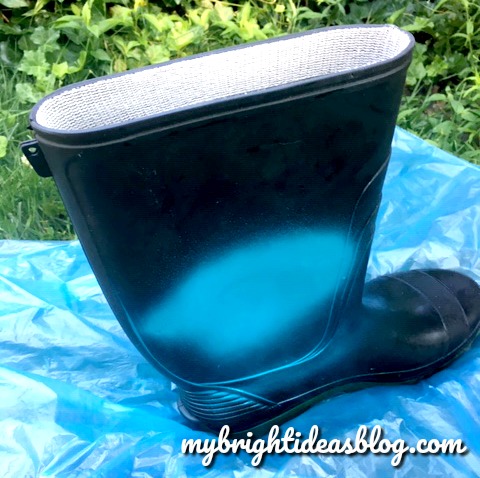
If you need to spray paint the boot, of course, do that next. Outdoors on a drop cloth or plastic. Don’t wait to start this project on the hottest day of the year. Our temperature yesterday was rising past 38 degrees Celsius (100.4 degrees Fahrenheit) and the spray paint would not dry! I have never had that happen before…and I have been spray painting things for years!
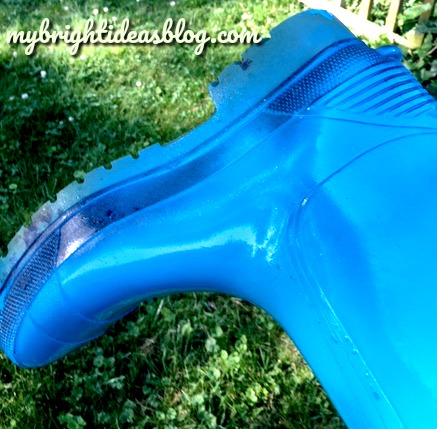
To get the bottom edge and toe of the boot put your hand right inside and turn it upside down for the second coat of spray paint. Allow to dry completely.
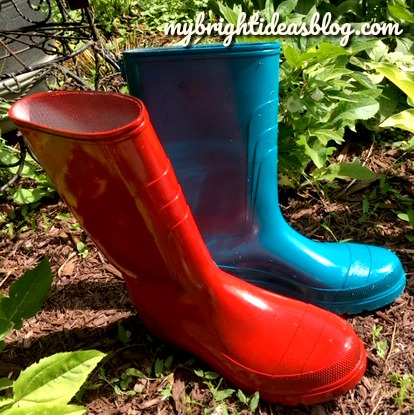
I painted one red and one turquoise. It doesn’t take much spray paint so you can use a colour in a leftover can from another project.
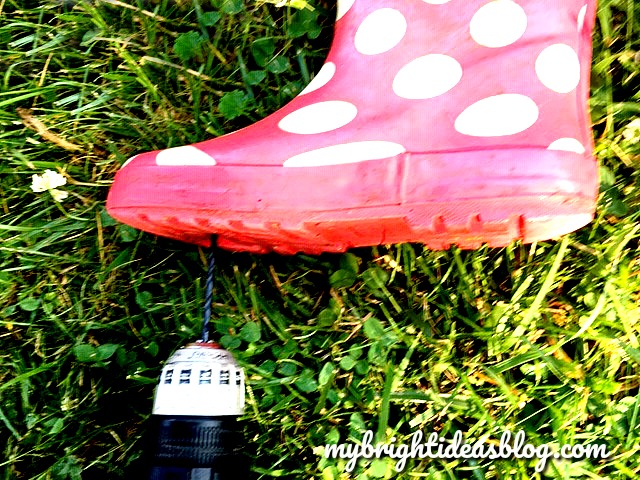
To prepare the boot for some drainage first remove any insoles and then put 3 or 4 holes in the bottom with a drill or screw driver.
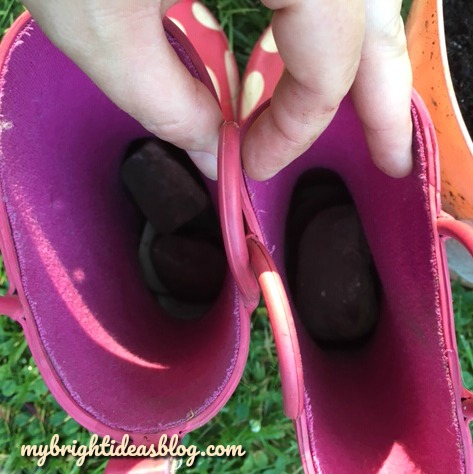
The next step is to put a few rocks in the bottom. This will help excess water drain away from the roots and to make it bottom heavy. If you happen to have sand or a mixture of soil and sand add a few inches of that over the rocks.
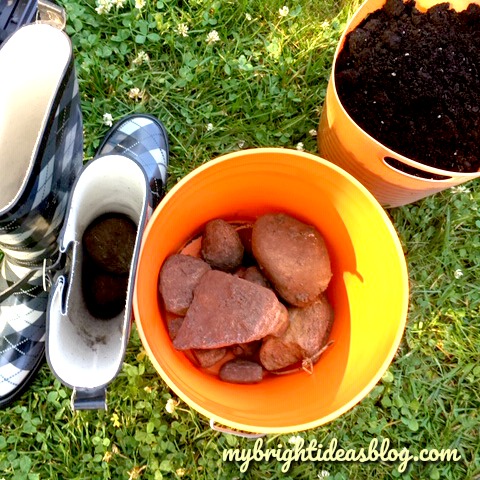
Then add the soil on top leaving several inches from the top of the boot.
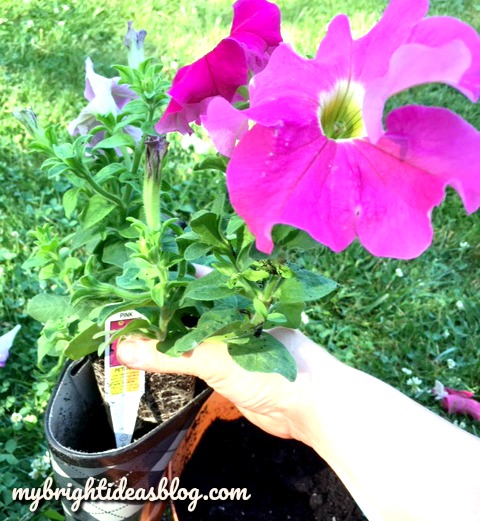
Next add some flowers. I chose petunias because they are so easy to care for and they will fill out the container nicely.
Place the flowers in the top of boot and add soil in any spaces around the plants.
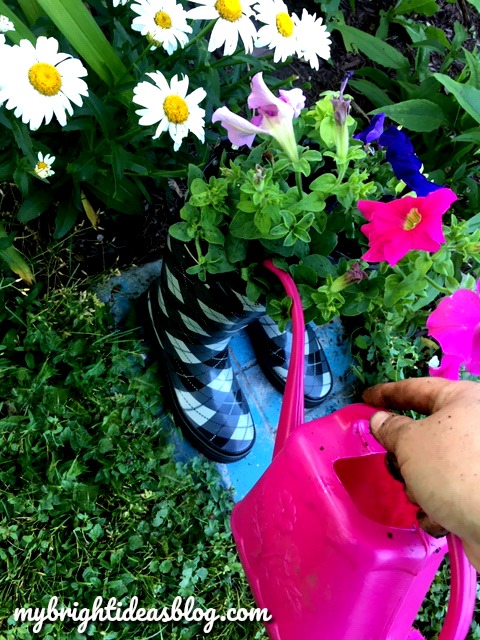
Thoroughly water! Every time you water it, have a look to see if the soil settled. You might need to add more soil. These are unusually tall planters.
Once every other week, add a bit of fertilizer.
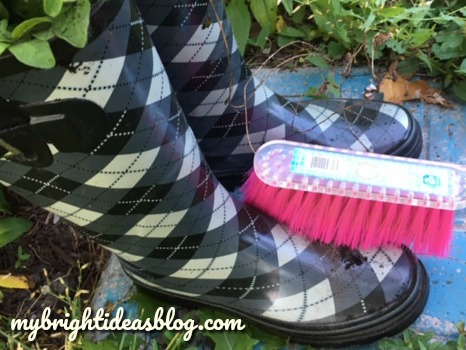
Get a whisk or small broom and clean up the boots.
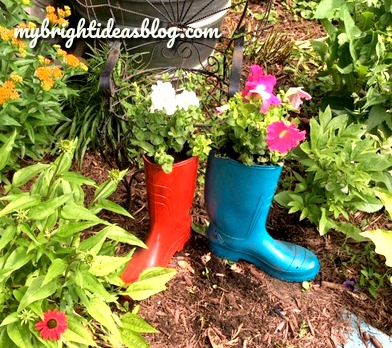
These would look great anywhere in the garden or next to a fence or on the front porch. Wherever you need some colour. I have a bare patch in a garden that looks like it needs a bit of colour.
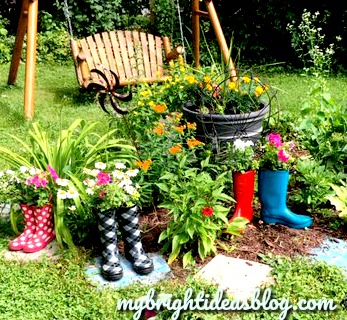
By dinner time, my daughter looked out the window and said, “what are all those rainboots doing in the garden?” Tee hee hee!
I love to add colour to the garden. Have a look at some of the other posts I have shared to show more ideas for colourful summer projects.

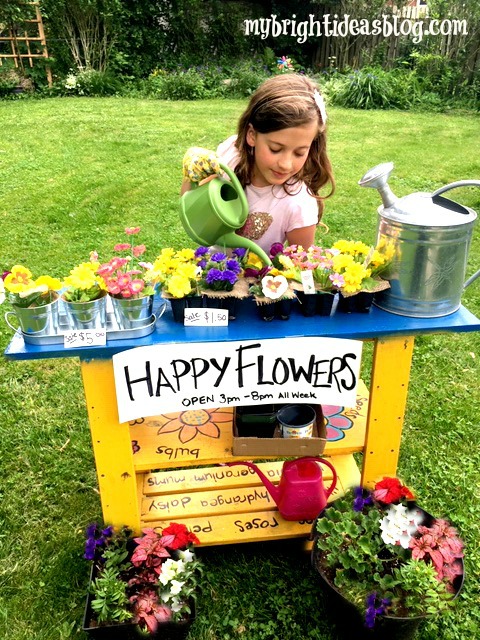
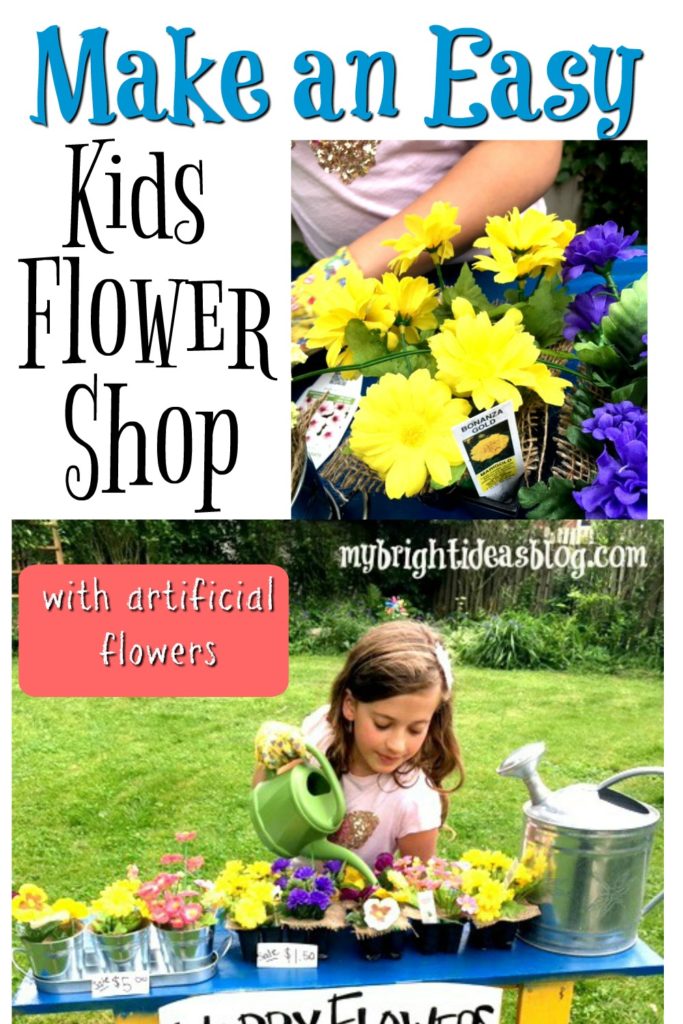
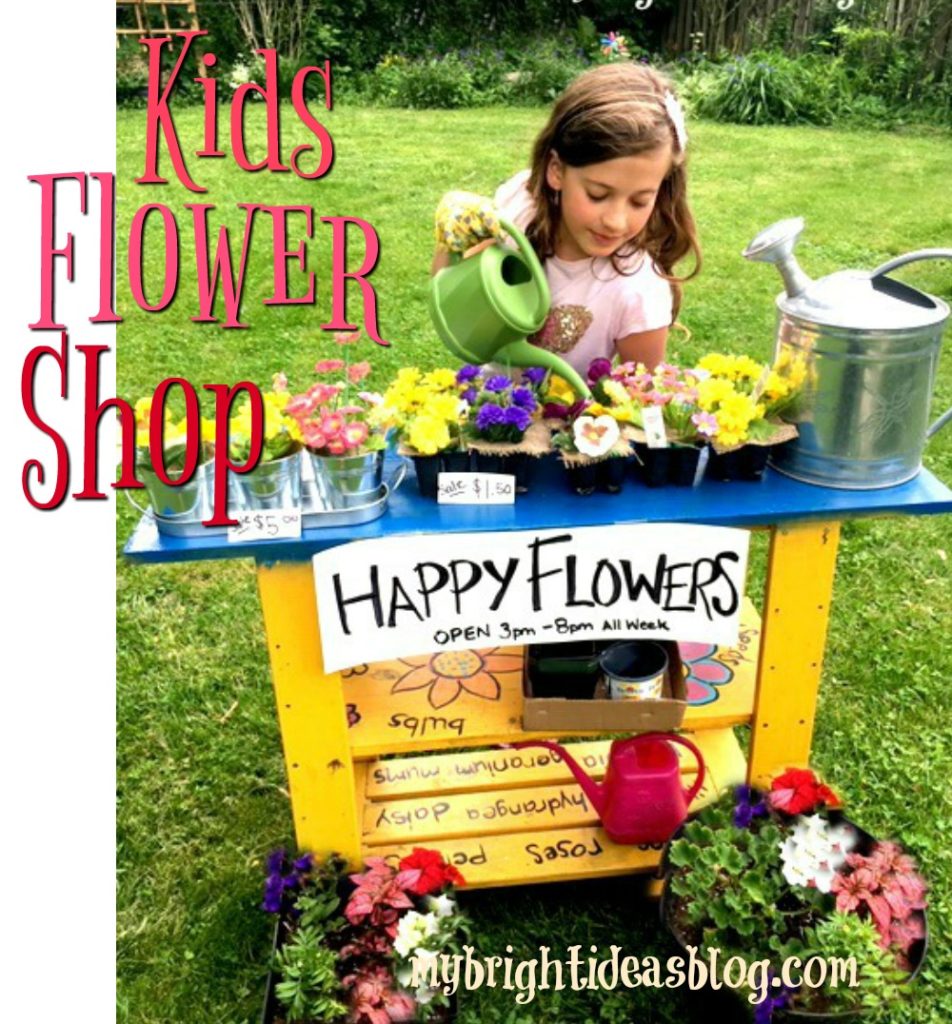
Create a Flower Shop Play Centre
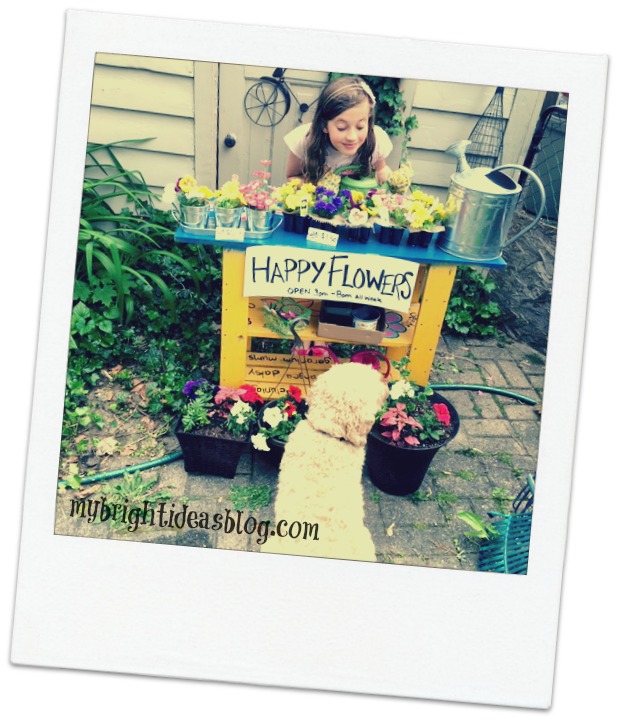
Watching my girls play in the backyard from my kitchen window sparked a great idea this week! Create a garden centre or flower shop for the kids. Using artificial flowers from the dollar store and a few other gardening things we can create a little centre for themselves. You can use real flowers too but this set up should last me a few years!
Several years ago I made a potting table out of a simple wooden shelf I wasn’t using anymore. Click on the link below to see how that was created.
Next we need some flowers! I went to the dollar store for a few bunches of flowers that looked like something I actually have in my garden.

For this project you will need:
- several bunches of artificial flowers
- empty plant containers
- foam knee pad or pool noodle
- scissors
- wire cutter snips
- burlap (optional)
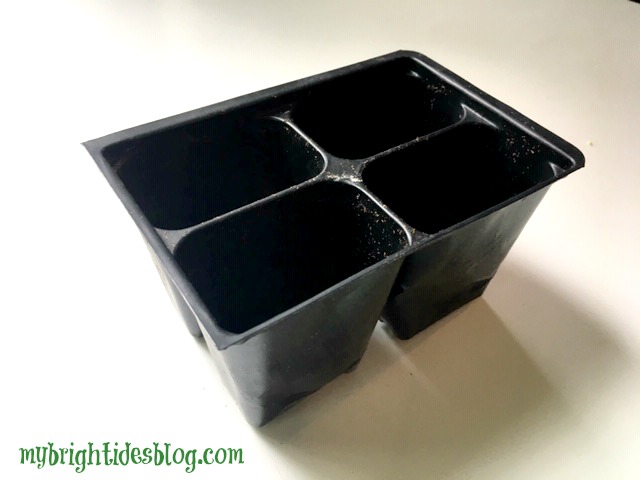
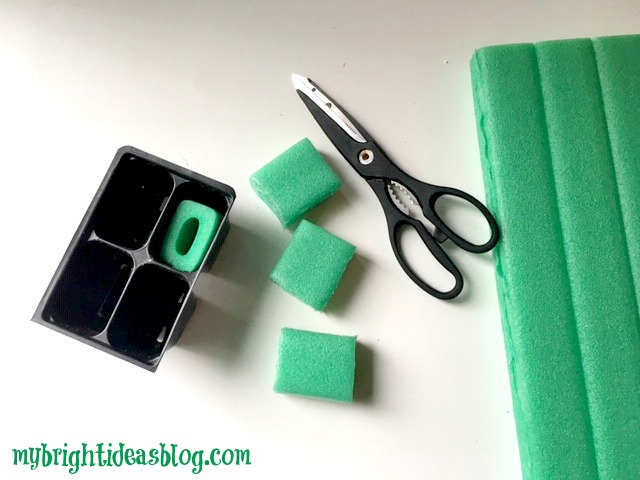
These are called 4 cell planter trays but you can use other sizes.
Every year the girls don’t want me to throw out the plastic containers that come with the little flower and vegetable plants we buy at the garden centre. They want all the little tags that come with them too so they imagine they are selling the flowers. After seeing them rearrange the empty containers imagining they had flowers in them-I thought why not get some dollar store fake flowers and make it more realistic for them.
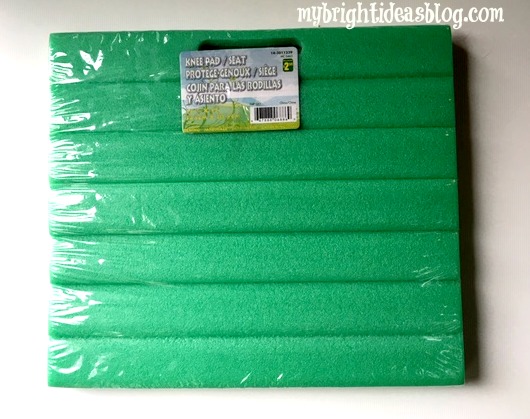 As I wandered around the dollar store I considered how I could get the flowers to stand up in the plant trays. I came up with this! A foam knee pad/seat pad.
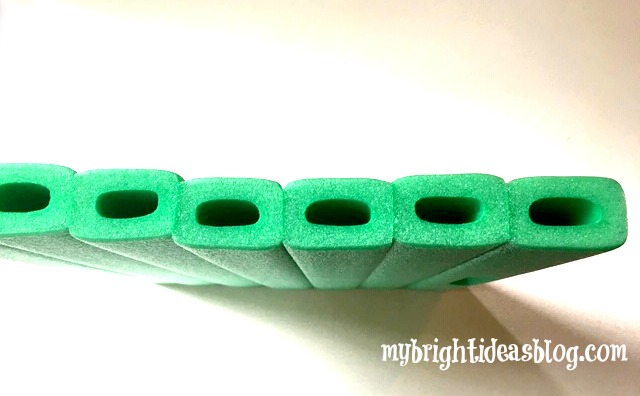
It’s similar to a pool noodle but I thought this size would fit really well into my plant trays and I was right!
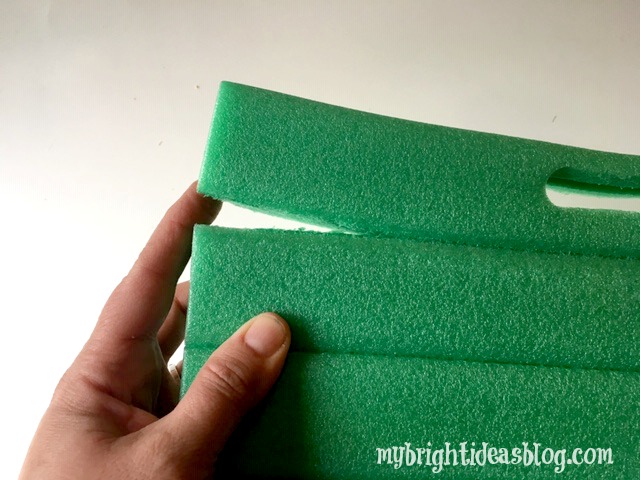
First of all, pull the sections of foam apart.
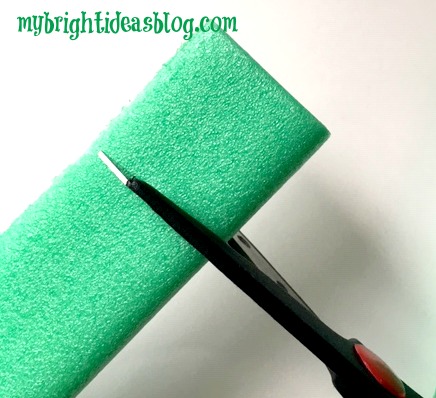
Then get your scissors and snip it 1 and 1/2 inches or 3cm long.
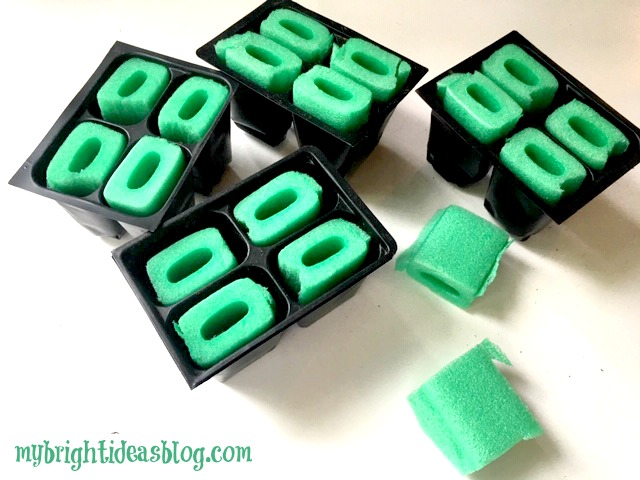
Test out the height and cut some more.
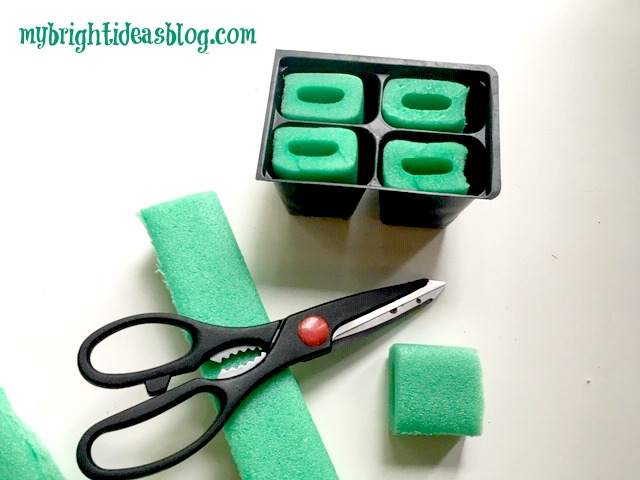
This is so easy. Just keep cutting off more. I wanted to give the at least 5 of these for their store. I might make even more…
Now for the flowers!
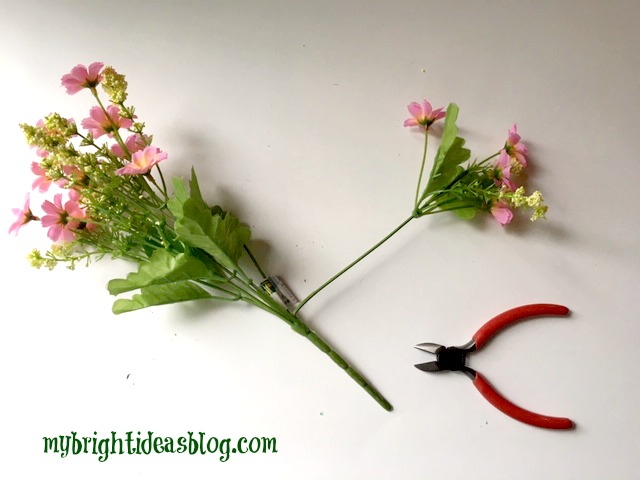
I started by bending out the branch of the flowers.
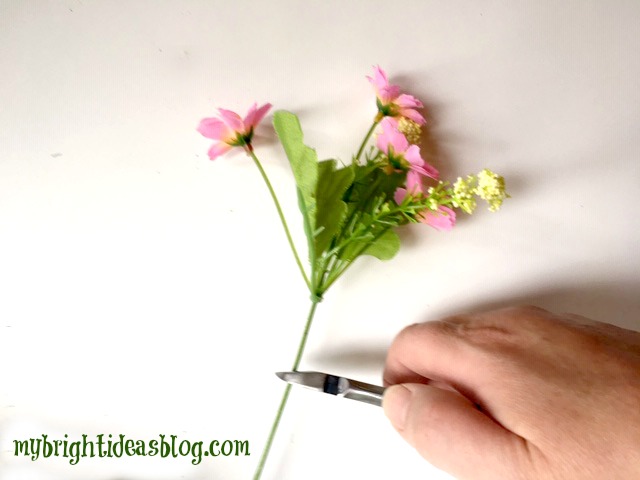
Snip it off several inches below the flowers. If you cut it too long, you can always bend the ends. I would rather they are too long than too short so the girls could make a little bouquet later or use them for something else.
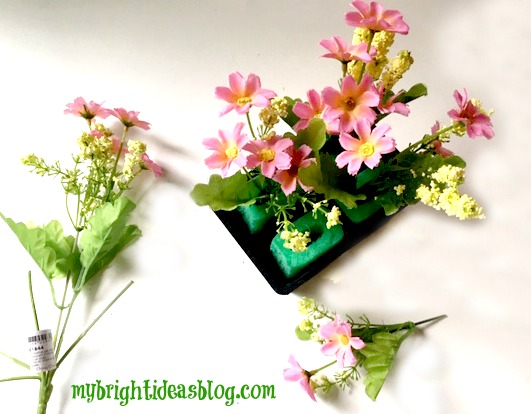
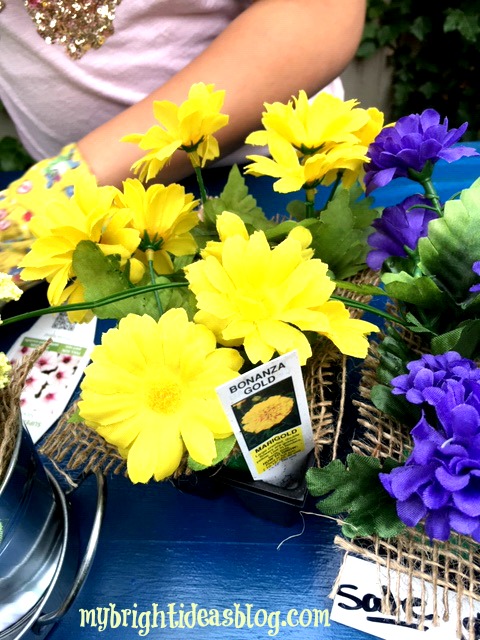
Now test it in the container and see how it looks.

This looked pretty good but I thought since I have a huge scrap of burlap waiting to be used. Why not add burlap to the top.
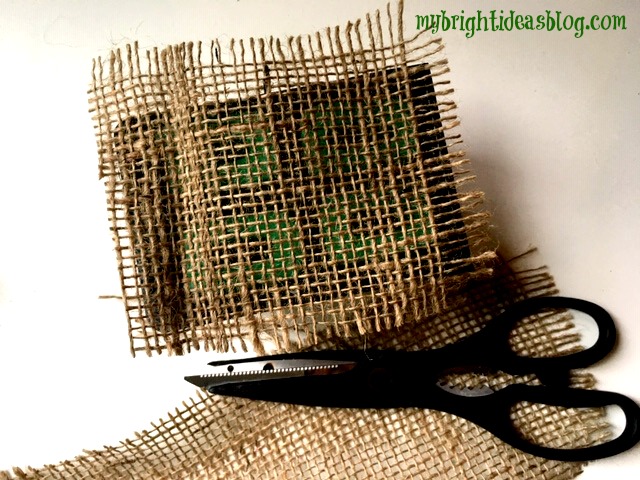
Cut that to size. It doesn’t have to be perfect.
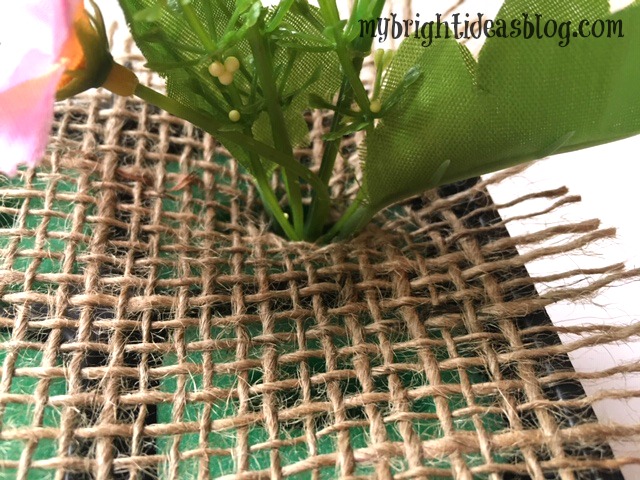
Next poke the flowers through the burlap.

Voila!
You could hot glue all of it in place or you could just leave it so the kids can rearrange it and tend to their flowers.
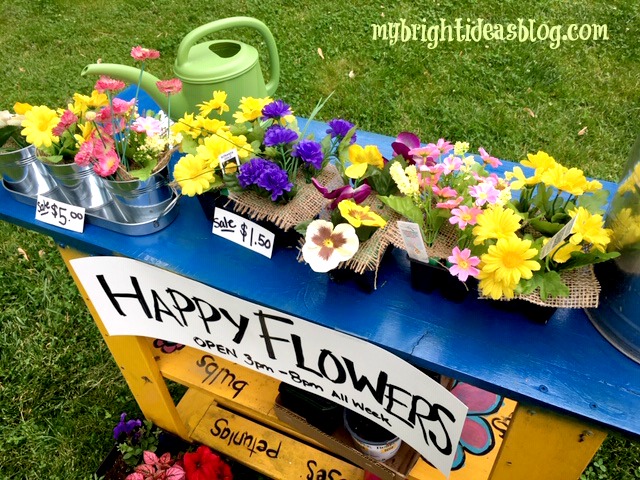
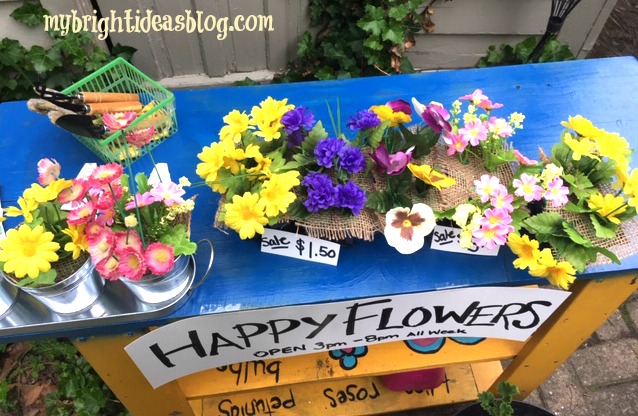
Next we set up shop on the table and added some signs.
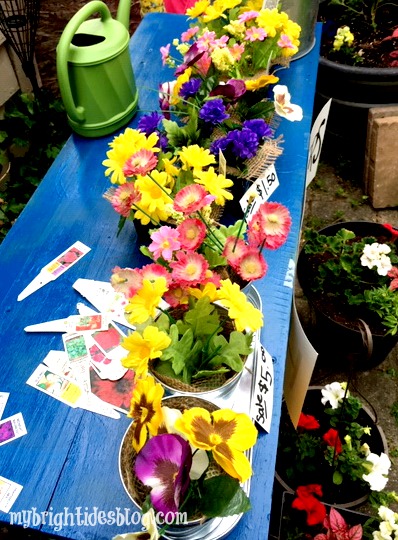
My kids also save all of the flower tags that come with every plant to tell you how much sun or shade it should get.
…So we tried to match up some to the colors of the flowers we had for our imaginary store.
If you don’t have the 4 cell-planters you can use any small containers. You could use a pool noodle or Styrofoam from packaging in a bigger one or several small pieces of foam to fill a bigger pot.
Also, look around for other gardening items you have for the store. We had gloves, a mini shovel and rakes and watering cans.
Hopefully, this inspired you to get the kids out playing with their imaginations.
…
How to Spray Paint Deck Chair Cushions
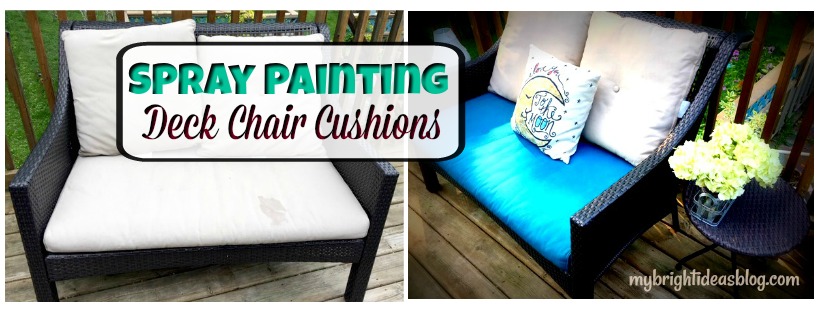
Have you had nasty stains on your deck chair cushions. Leaving them out in the rain is part of the problem, or people spilling their dinner, sticky fingers and the kids sitting on the chair immediately after applying spray on sunscreen…. Grrrr
So you could just buy new cushions but that is gonna cost ya! As a bit of a cheapskate I would like to get another 2 or 3 years out of these ones.
My solution is to spray paint…I tried 2 brands and let me tell you about how it turned out.
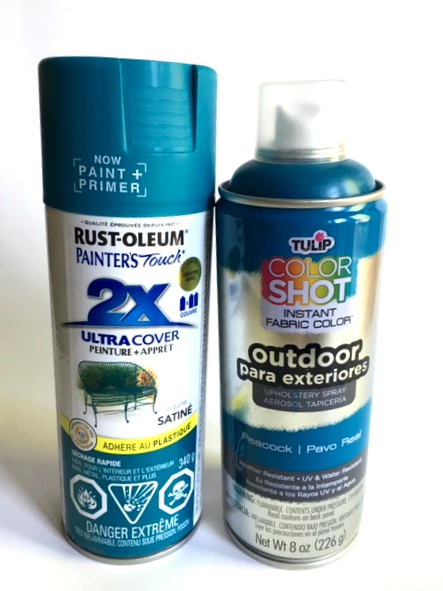
I’m comparing these 2 spray paints.
Rustoleum Painter’s Touch-Satin-Lagoon
and
Tulip Color Shot Outdoor Upholstery Spray-Peacock
The truth is the reason I tried 2 spray paints is not simply to experiment with different paints. I didn’t buy enough and ran out of my first bottle and couldn’t find another store that sells it. Fortunately, I found almost the identical color with another brand so I could finish the project.
So let’s get started!

So here is the beige cushions that I have started out with. We bought this loveseat from Canadian Tire 4 or 5 years ago…so it has really lasted well so far. In the back corner you can see the water damage….this is the good side.
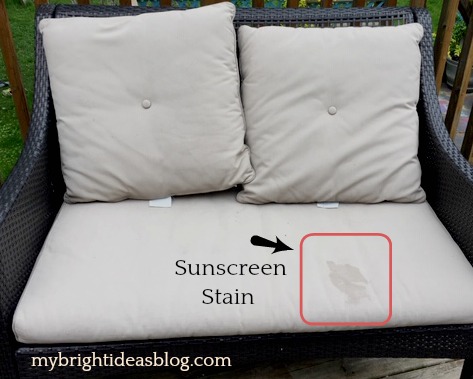
This year somebody left a big ugly greasy sunscreen mark. Hello summer!
If you chose a spray paint closer to your current cushion colour you might get away with just purchasing one bottle of spray paint but since my cushion is beige and I’m turning it so dark I need several coats. Definitely get 2 bottles.
To start with I bought one can of Tulip Color Shot Outdoor Upholstery Spray- in Peacock blue from Hobby Lobby.
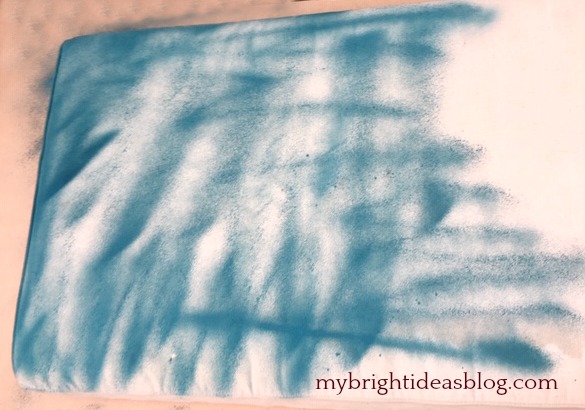
I love to spray paint things but this one is not even. This paint is supposed to make the fabric still feel flexible and nice to touch. But in my opinion, the way that it sprays is ineffective and wasteful.
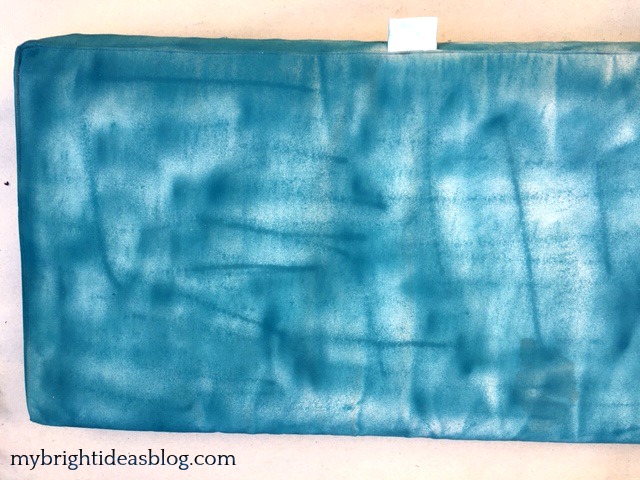
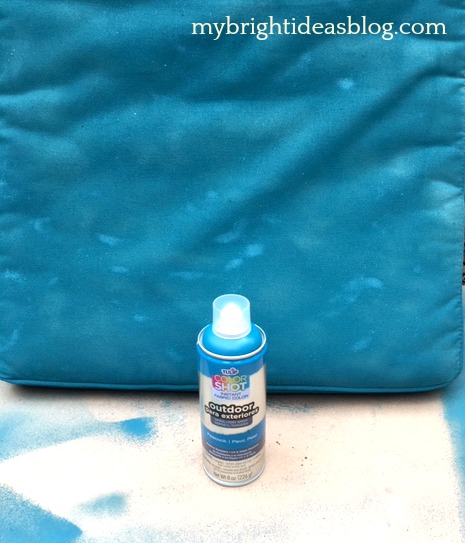
This brand does not spray wide so you will get lines like the photo above. This is what the cushion looked like when my hubby came home and saw it. He wasn’t loving this idea. Pretty much it looked like I ruined it and now I’m all out of spray paint. One can covered the one side of the cushion and part of the second side.
I’m an hour drive away from Hobby Lobby so trying not to panic… I let it dry for several days while I searched to find a local store that sells it. No one near me sells it!
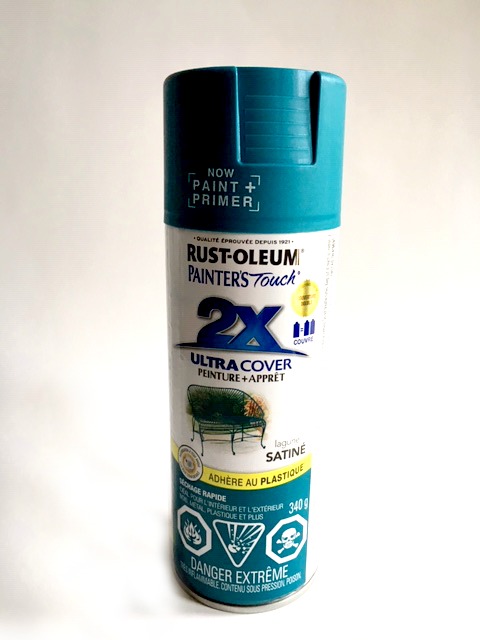
After checking 4 big stores I tried the little hardware store near to me. It has a great selection of spray paint. I took in my empty bottle and found a near perfect match with Rustoleum Painter’s Touch-Satin-Lagoon.
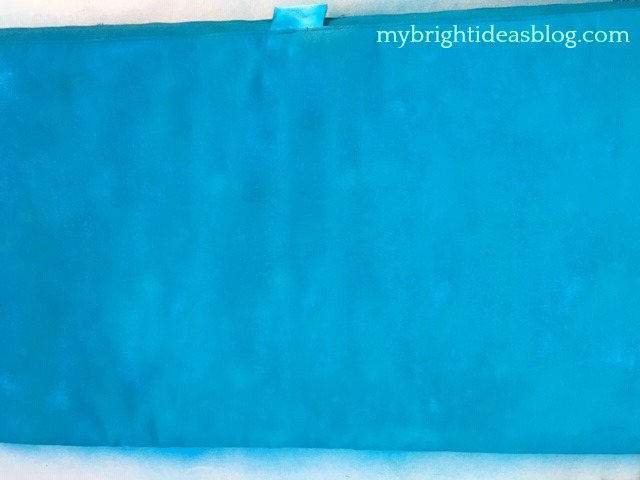
This spray paint has a wide even spray. It took a quick coat from this spray paint and it was nearly done. What a relief! An even and vibrant turquoise. After the paint dried it looked even better. It did need a little bit more coverage so it got another light coat of paint.
I would definitely recommend Rustoleum Painter’s Touch-Satin (Colour: Lagoon).

Looks fantastic right!?! Make sure you follow the instructions on your spray paint to see how long it would take to dry. I would make sure you have this project done several days before you have a backyard dinner party. You’ll want to make sure its fully dried. I have had no problems with the paint coming off on the pillows or anyone’s clothes. It’s really set and permanent.
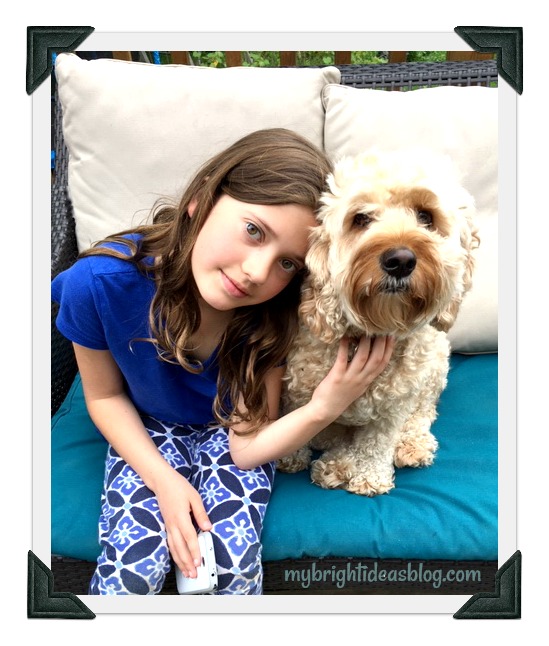
Gus approves of the new colour but lovely daughter M feels its not as soft to sit on. True enough, but I don’t mind how it feels. It’s a great solution to the stains and you can stretch the life of your current cushions for a few more years. Plus you could choose from a wide variety of colours and tape off sections to make your own designs.
Have fun adding color to your yard with spray paint…Lets see if I have some other ideas for adding color to things….
Air Plant Display Ideas
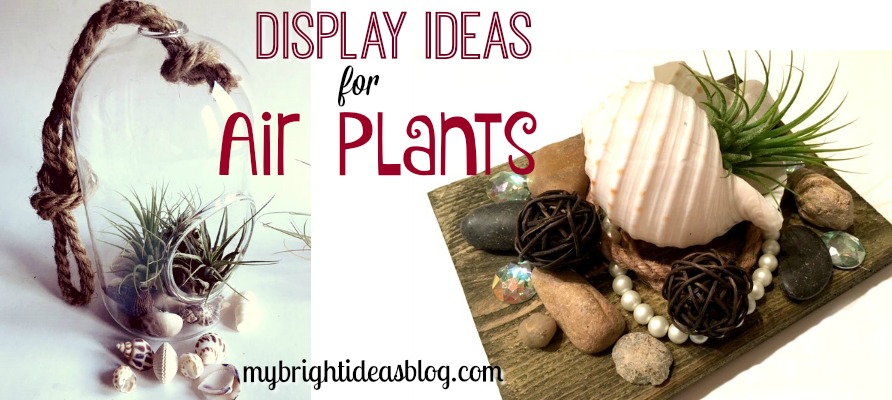
Have you gotten on board with the Air Plant craze? Air plants, are small aerophyte plants that do not need soil to grow. They absorb moisture from the air and indirect light for sustenance. The perfect plant!
Since air plants have no need to be in a pot of soil they can be put almost anywhere. Just so long as you remember to dip them in water once a week and allow the water to drain off.
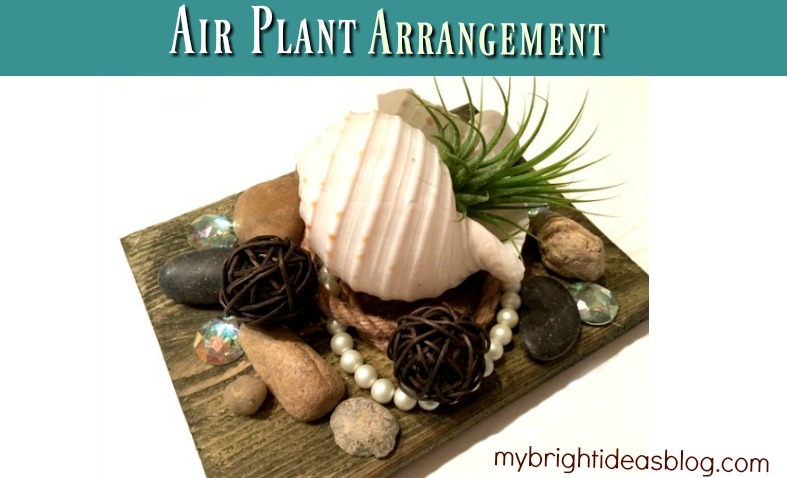
Today I’ll show you how to make an easy arrangement that looks a bit nautical by putting the air plant into a sea shell and accessories on wood or a plate.
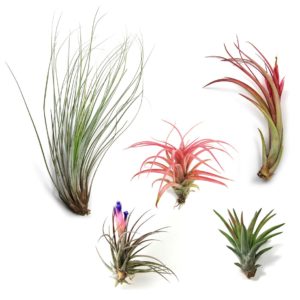
I found my first air plants at the garden centre this past summer and then spotted a shop in the local mall selling them. The ones I have access to sell for $4-$10 each.
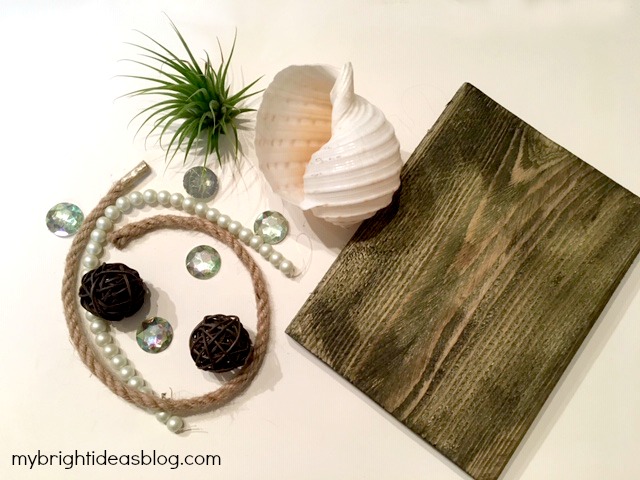
To make this you will need:
- an air plant
- a big shell
- nautical themed items: rope, glass gems, pearls, stones
- a block of wood, plaque or glass plate
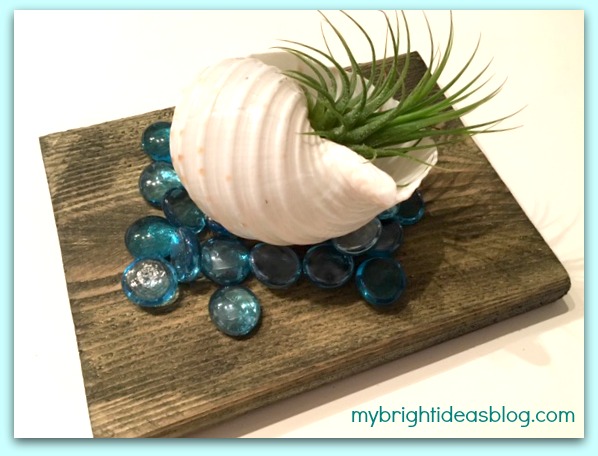
I always have scrap pieces of wood around in case of a sudden project inspiration. For this project I used a scrap approximately 6 inches by 6 inches. If you have a pretty plate you could easily use that too. I am tempted to check the thrift store for a beautiful, antique plate. For this first photo I just used turquoise glass gems.
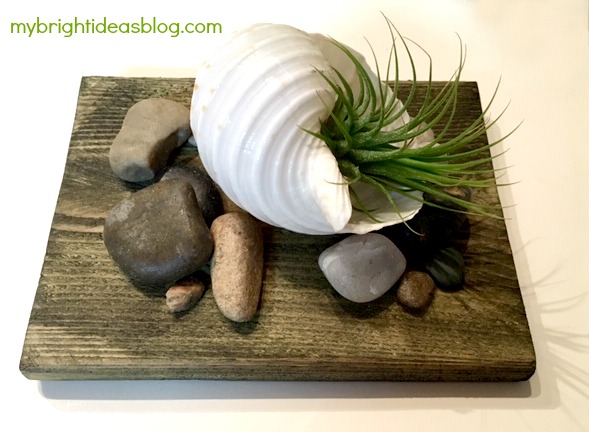
For this attempt I used river stones around the shell. I got them from the dollar store and the same with the gems.
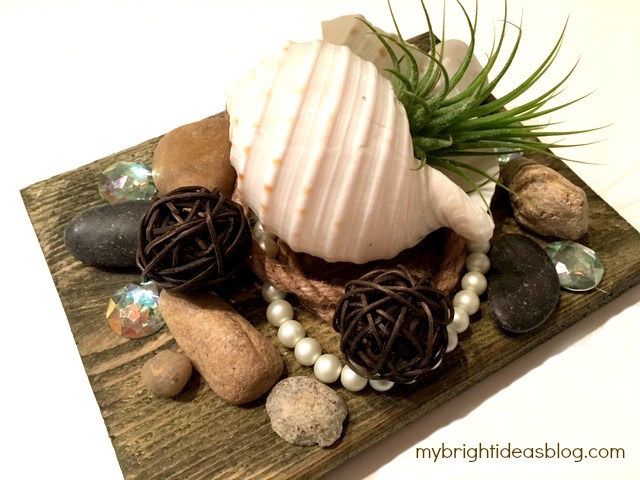
By adding pearls and rope with craft gems and stones I thought it turned out really nautical. Since none of these are attached to the board we can re-arrange them into another craft if I get tired of this one.
Here is another idea!

The photo above shows 2 popular air plant display options. The one on the left is plastic and from the dollar tree for $1. I wish I had bought 10 at that price since they were hard to find again. The one on the left is glass and from the garden centre for $8.99.
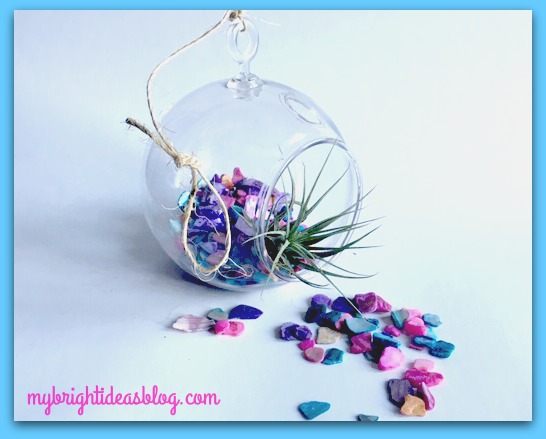
I used chips of shells that have been dyed for this one. Air plants make great gifts. Since this is plastic and needs very little care it would be easy for a child to care for or a friend in senior care.
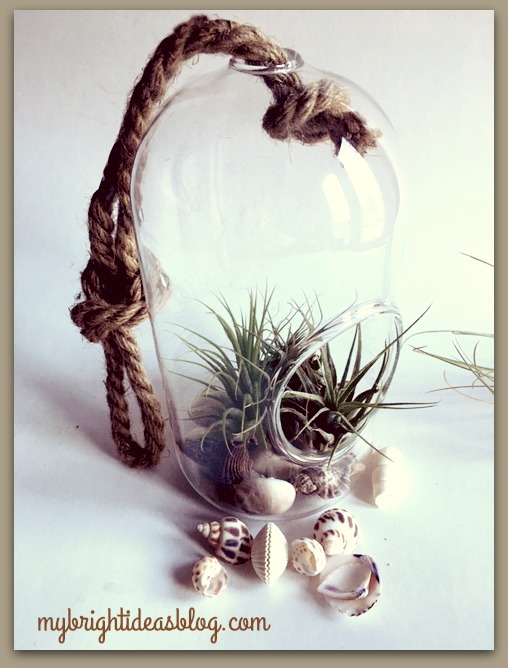
This one I used random shells in the base of the glass dome. I love the chunky rope and shells together-its very beachy.
I’m really excited to try some of the other plant ideas. I’ll let you know if they turn out well! Below are links to some of my other projects!
Nature Craft – Perfect for Earth Day Activity – Clay Imprints with Plants and Flowers
Plant Puns on Painted Potted Flower Pots – Adorable Gift Idea to Make Them Smile!


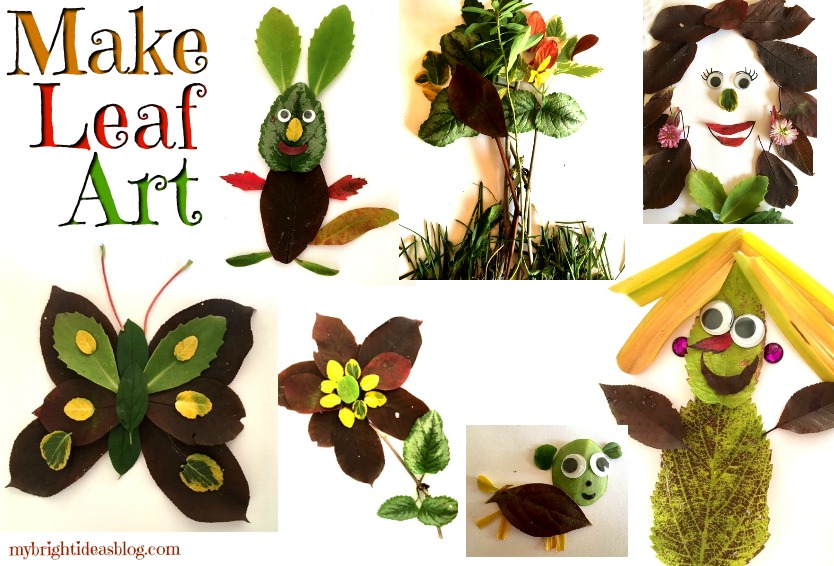
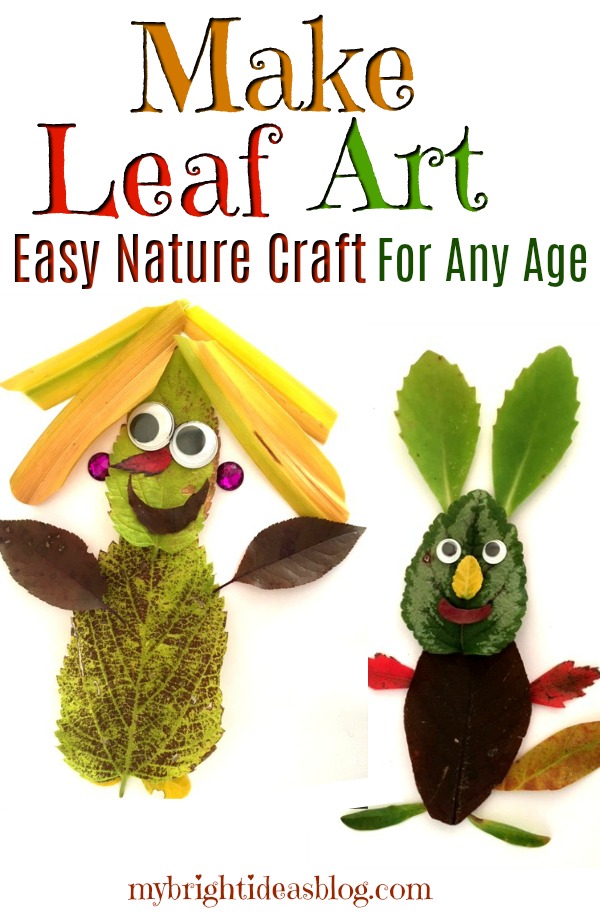
Make Leaf Art – Easy Nature Project!
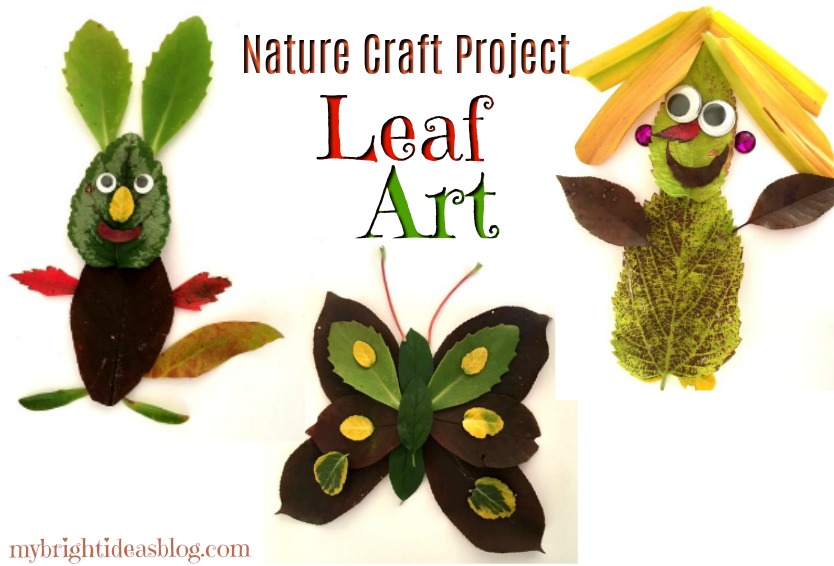
The Autumn season is here and the leaves are changing color and falling. This is a great time for a nature walk to collect and examine and reflect on the beauty of this season. Leaf Art!
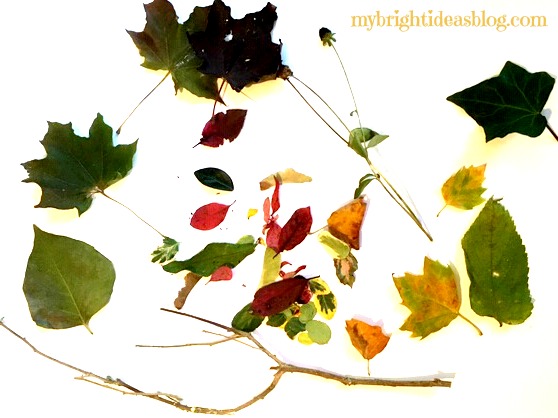
Start with some friends…any age will love this. Take a large clear bag and start to collect samples of nature.
What to look for:
- a variety of leaves
- pine cones
- pine needles
- acorns
- stones
- twigs
- a handful of grass
- small flowers
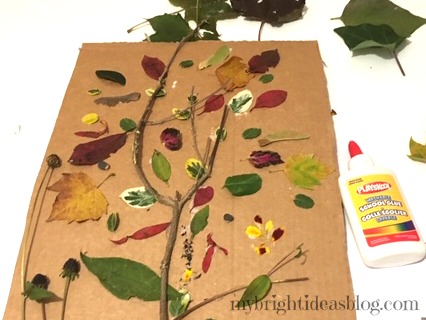
If your friends are little you might just want to use a piece of cardboard and glue your collection to the board. Puncture 2 holes near the top and add a string to hang it on the wall.
For Older Kids!
I think the older kids could do better. If you are over 5 you can make some really cool art from your nature walk.
Pressing the leaves in books: If the kiddies or you need a nap after the big nature hike-don’t feel bad its the fresh cool autumn air! If you want to work on the crafting stage on a different day….You could put the leaves between book pages for a couple of days to make them flat and a bit dryer. If you just leave them out til tomorrow they will begin to dry up and curl.
We decided to make our crafts immediately before they shrivelled. I took pictures of each leaf masterpiece to print out an autumn nature photo album later.
We took some great photos of vibrant orange and red leaves as the sun hit them.


I love this time of year! Now let’s make some leaf art!
Making Trees!
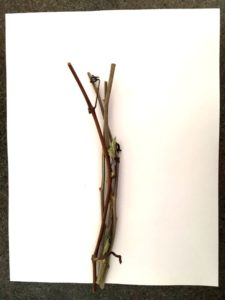


Put a few twigs as a trunk. Then add leaves to form a tree. You can glue the leaves or use double sided tape.
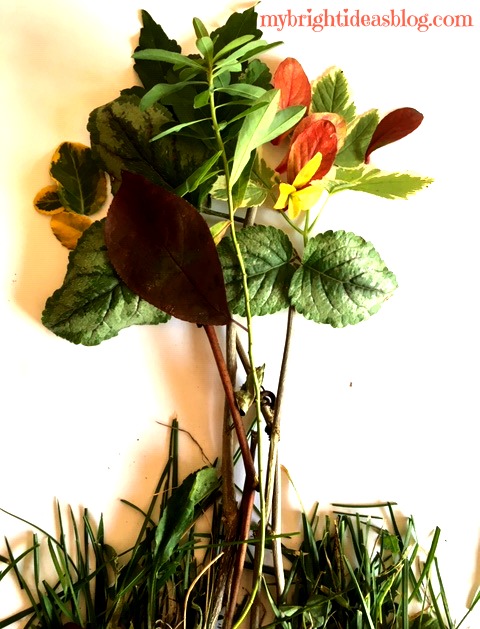
A collage of twigs and leaves make an easy tree picture. Change your leaves and your tree will look completely different.
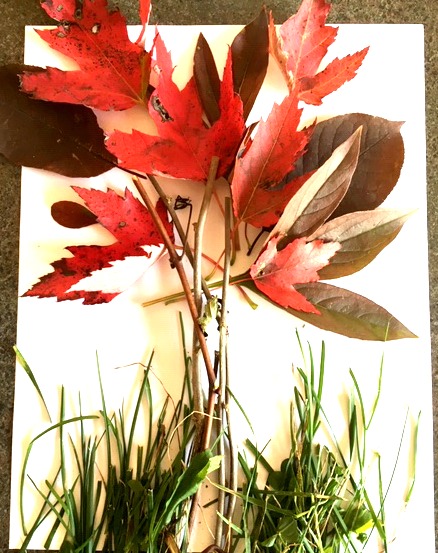
The grass can be trimmed with scissors.
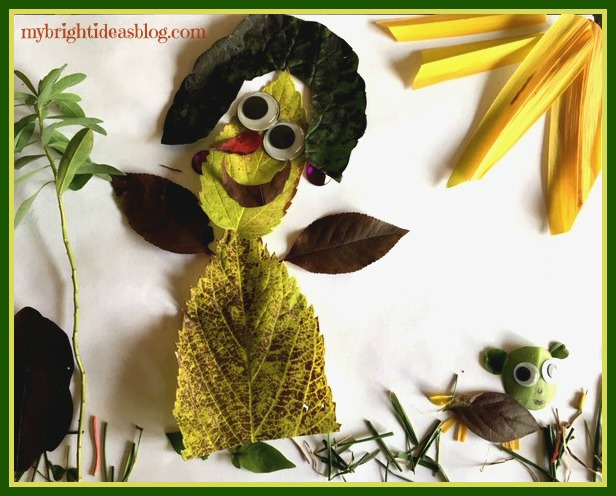
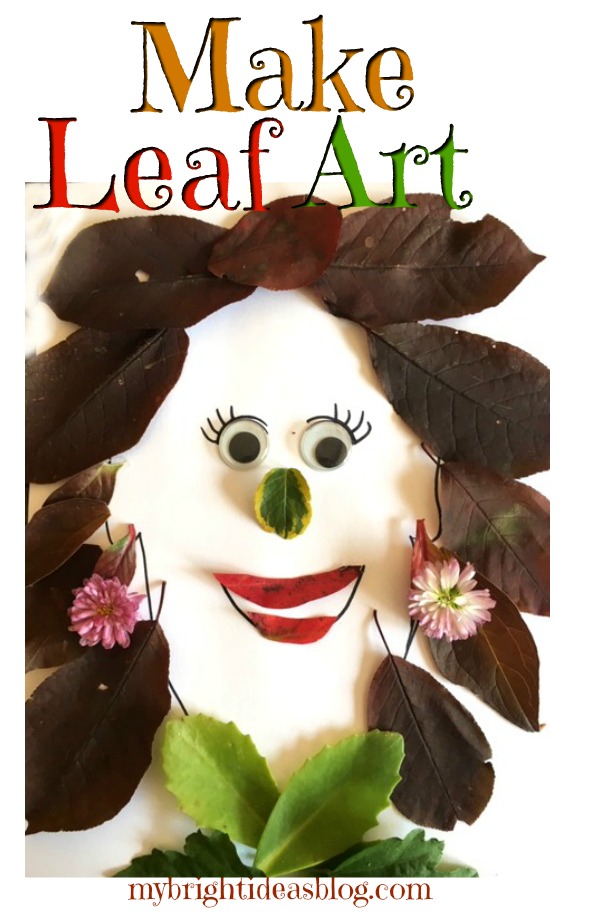
Making People!

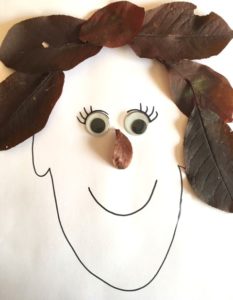
Draw a head on a page and then start making a self portrait. Huge googly eyes and flower earrings make this face stand out from the crowd.
Oh my days! It’s like looking in the mirror!
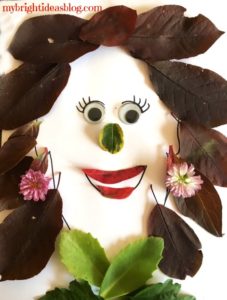
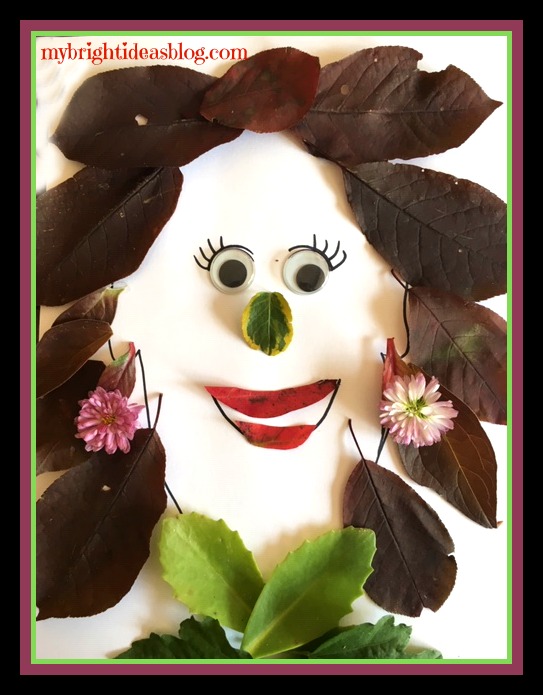
This one is for my 11 year older daughter who has lovely blonde hair and likes to have some sparkling earrings.
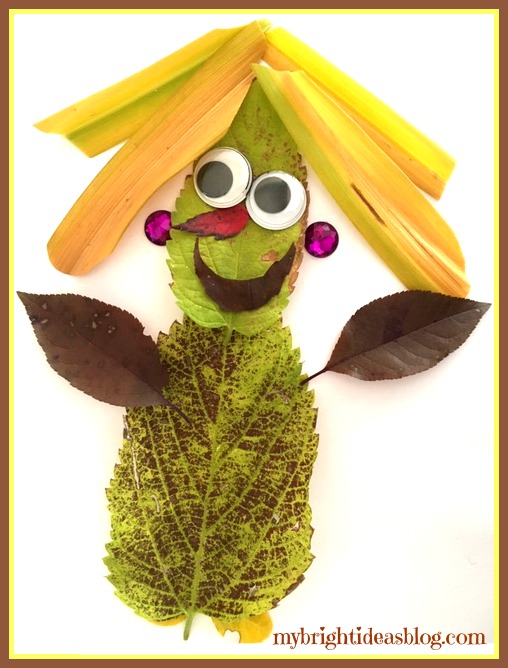
This one is for the youngest daughter. This is a picture of her and our little dog Gemma.
Making Animals!
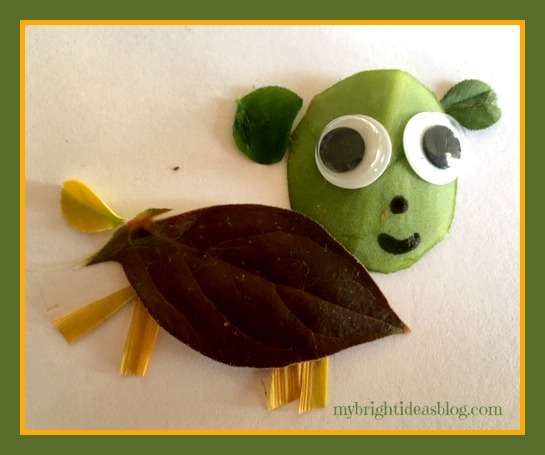
This is Gemma our little dog. Made by my younger daughter. I love the dog’s little round ears. That is made out of clover leaves. Notice that we used a sharpie (permanent marker) to make the mouth and nose. I also used scissors to make a the little legs.
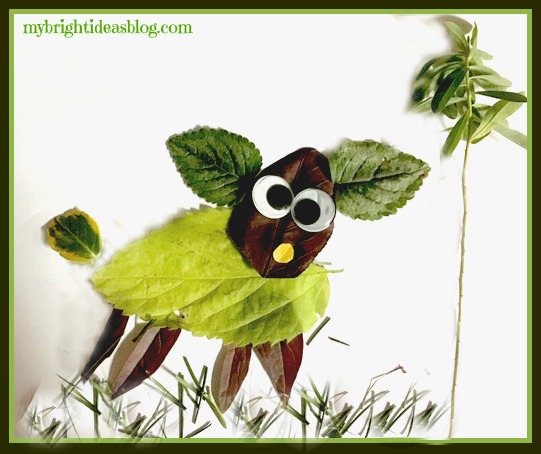
Our 11 year old made up this bit of art. It’s Gus our other dog. He looks like a surprised sheep! LOL!
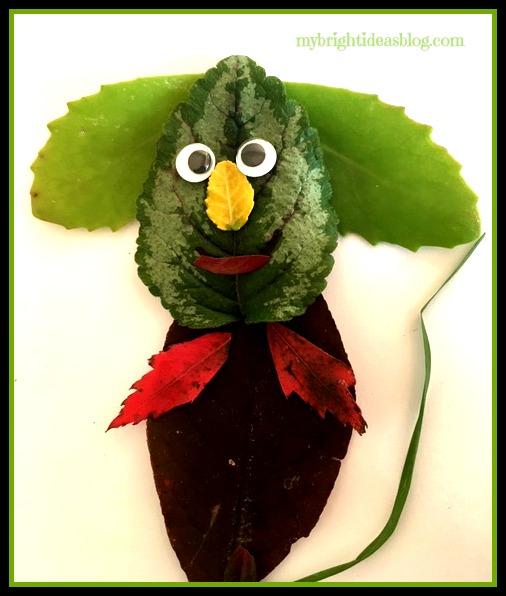
I think I thought this looked like a mouse but now he looks like a koala bear. Its the nose.
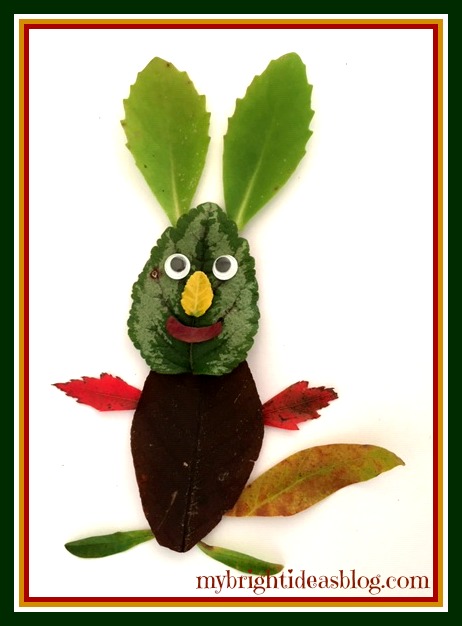
Turn the ears and it looks like a rabbit.
That is the highlights of today’s Leaf Art-Now to clear up the kitchen counter from these bits of nature so we can make lunch.
I hope you enjoyed this post. I had a great time making it.
If you are feeling stressed, get outside for a walk in nature and then craft with the leaves and twigs and grass you find. It’s my cure to melt away stress and have a blast with my family.
Have fun and see what you can make!
Here are some other NATURE craft projects!
Nature Craft – Perfect for Earth Day Activity – Clay Imprints with Plants and Flowers
…


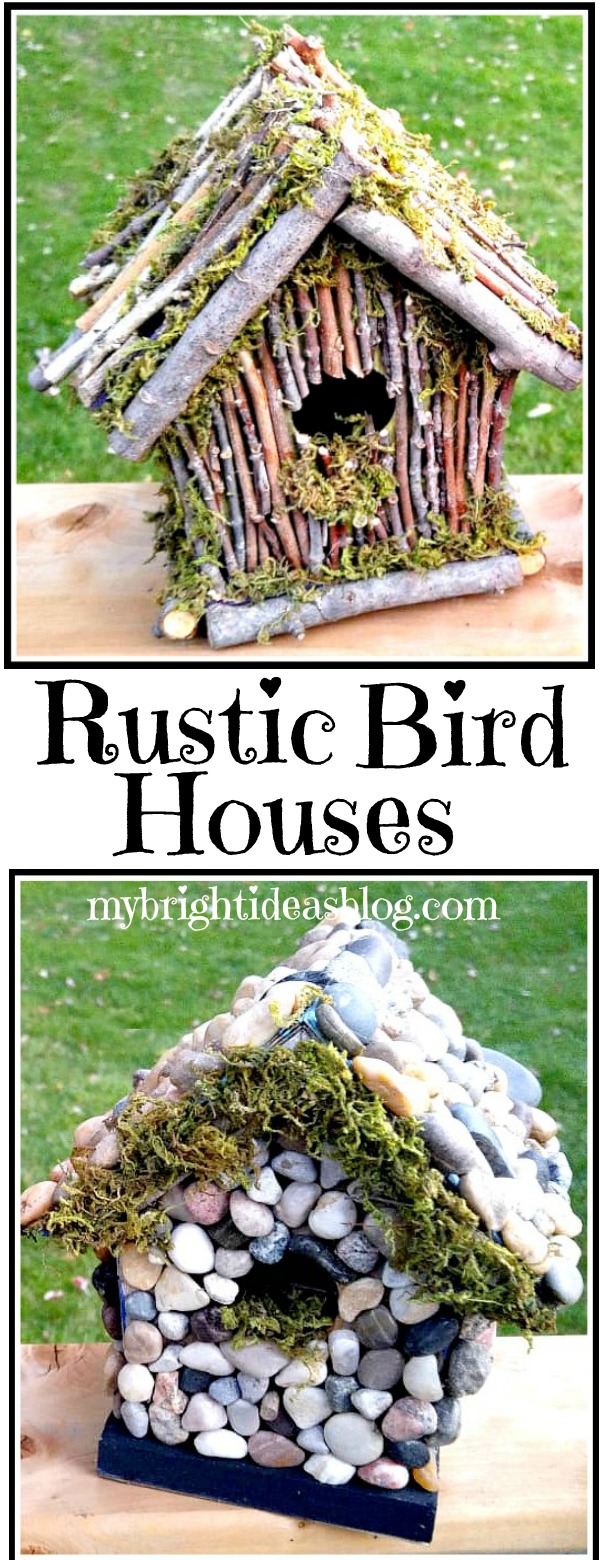
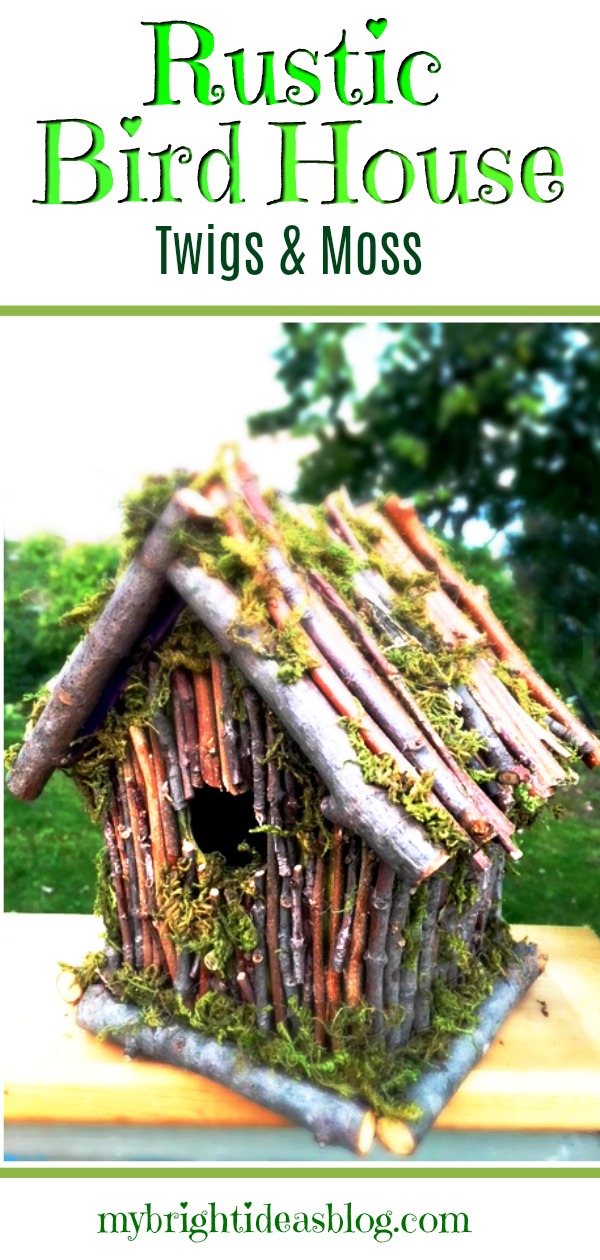
Rustic BirdHouse – Twigs and Moss
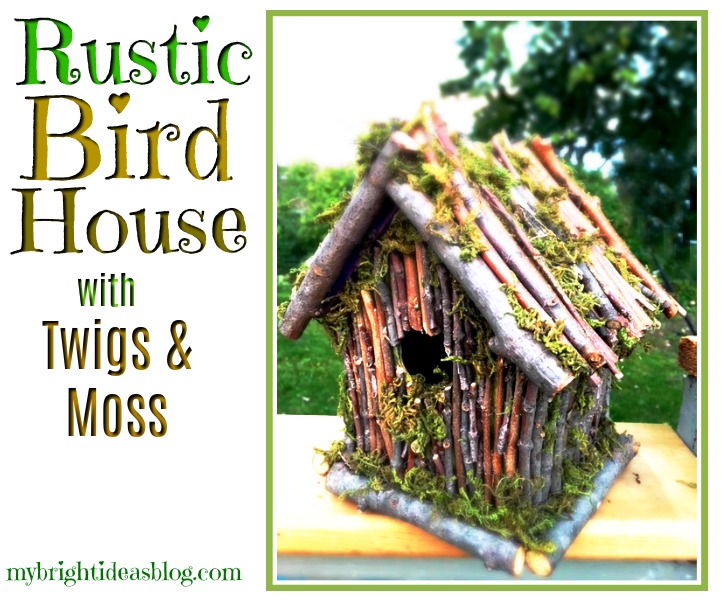
I’m loving sticks and twigs and rocks this year! So you’ll see a lot of these projects from this past summer and heading into the fall and winter. This is birdhouse project, I really enjoyed making and can’t wait to tell you about!
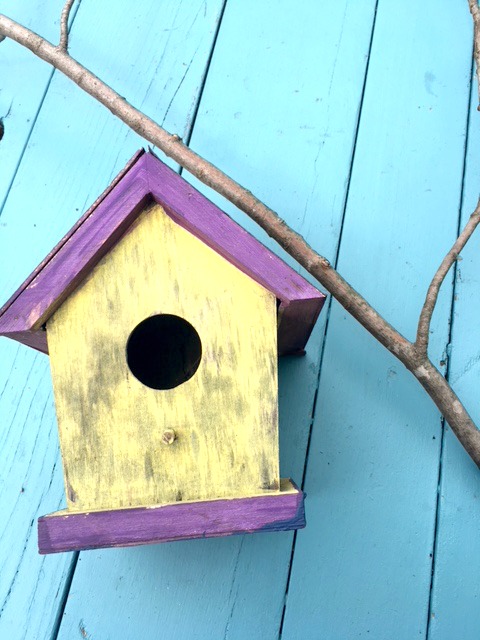
Two years ago my daughter and I painted a bunch of birdhouses and drilled them to the garage. It’s an old wooden garage with peeling paint so if we can distract your eyes from its sad, old, tired look we would! It should get knocked down and rebuilt but we would like it to last a few more years…so instead I’m decorating it.
See what I mean…
I apologize we got a bit sidetracked there. Back to the twig birdhouse. After two winters the birdhouse collection had gotten worn out and weathered. They were just cheap wooden ones from the dollar store and we didn’t think ahead to put extra clear coats over the craft paint to make them water resistant. That would have been sensible.
If you would like to try this you will need:
- a birdhouse
- outdoor paint or varnish to water proof it
- branches
- garden snips
- E6000 or other industrial glue
- natural moss
You can get inexpensive birdhouses at the dollar store but if you would like it last for years and years get the sturdy ones from the hardware store or make your own. Paint it or put a protective clear varnish so it will last a long, long time. I opted to use the old weather worn ones to try and upcycle it instead of throwing it out.
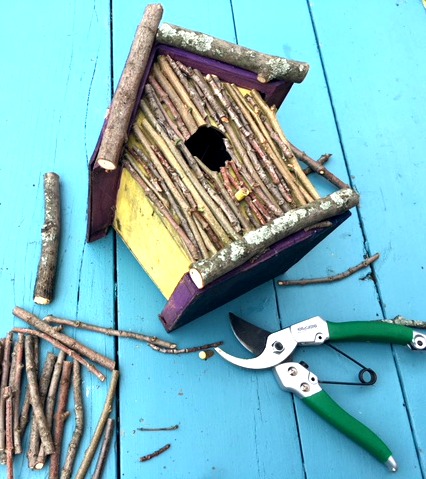
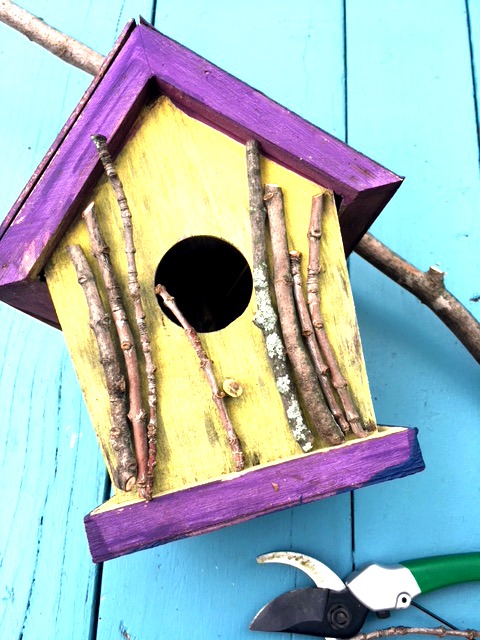
We needed to trim some out of control shrubs and some branches so this project was perfect timing. There was no measuring of the length just line up the twig to the area you want to put it and snip! When I had the area planned out I went back to glue it.
Using E6000 Industrial glue is stinky so I try to use it only outdoors. It is slow to dry but very secure. I have used a hot glue gun to secure sticks and pebbles to things like this before and within a few days it had pieces falling off. If your project is going to be indoors you could get away with quick drying hot glue.
I attached the sticks all over one side of the birdhouse and left it to dry.
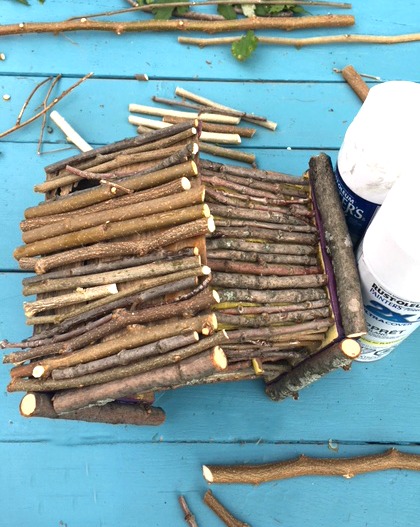
Each side needed several hours to dry. Then I came back to work on the next side. This really slowed down the process. It felt very relaxing making this natural project so I didn’t mind that it took me a few days.
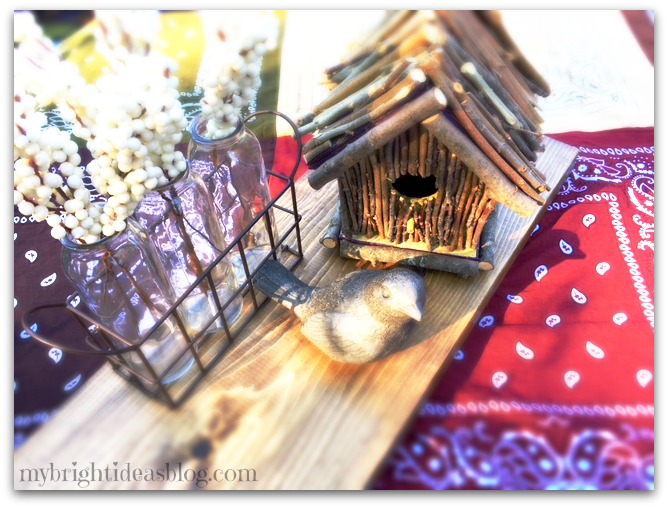
I was actually quite happy with it with just the sticks on the birdhouse. I took this picture a few weeks ago with my bandana table cloth post. It’s cute right!
But then….I had a vision of it with moss and the project took on its final stage….
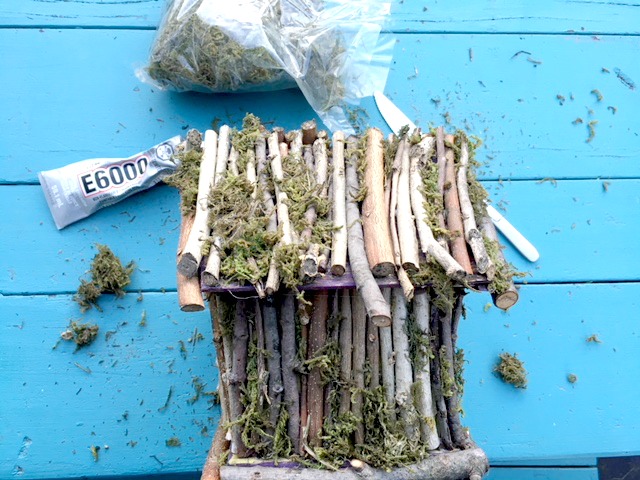
The moss is from the craft or dollar store and comes by the bag. It is quite loose and flakey so it will make a bit of a mess on your work space.
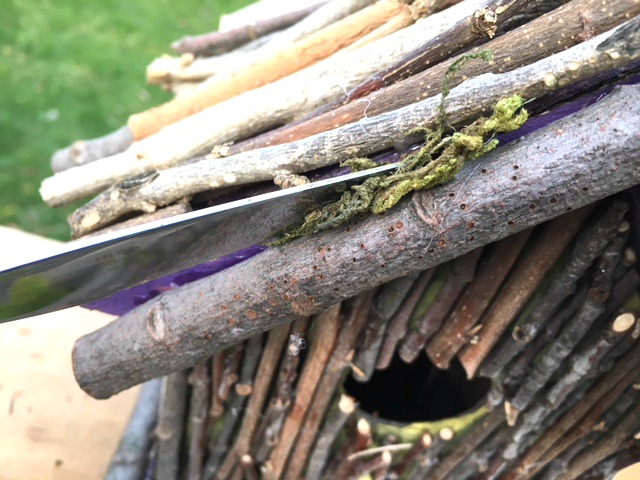
Anywhere I could see the old purple paint I put in some moss. This photo shows me sliding the moss in between each stick using a butter knife as a tool. I also used some dabs of glue plus jamming it in gaps between the twigs.
Heavy rains and wind may be hard on the moss. We will see how it lasts and maybe place it in a bit of a protected area of the garden. A covered porch would likely be ideal.

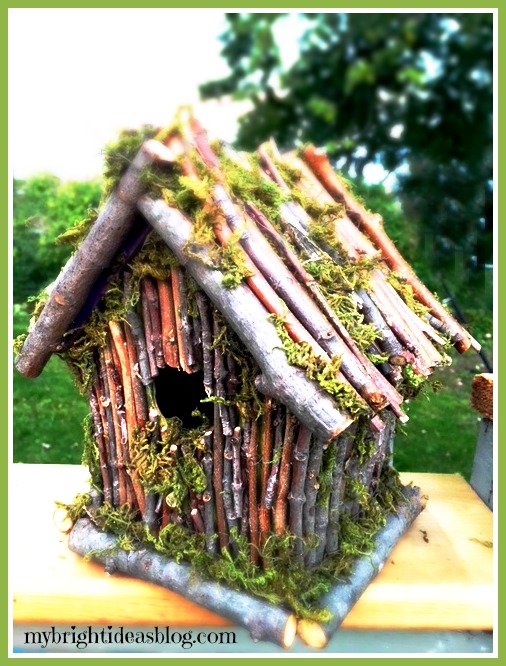
Isn’t that beautiful! I don’t know that any birds will actually want to use it but for a decorative addition to the garden I’m very pleased with it!
Thank you for reading to the end. I hope you enjoy your day. Before you go feel free to visit some of my other posts. Pin this to Pinterest or share it on your favorite social media.
…
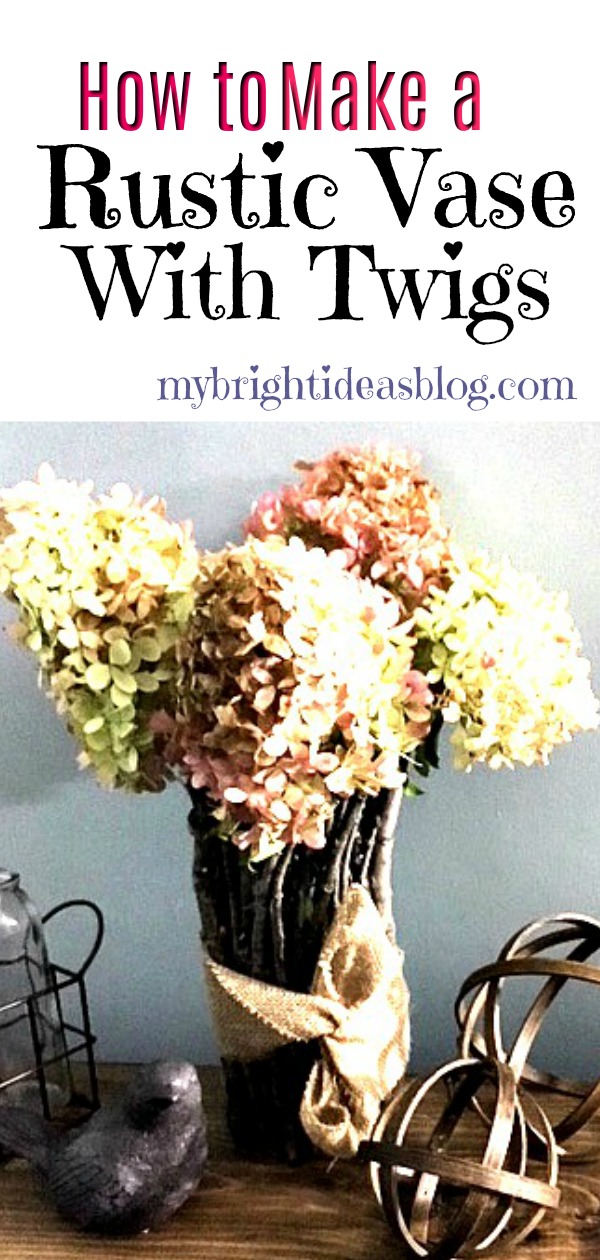
Make a Twig Vase – Super Easy DIY!
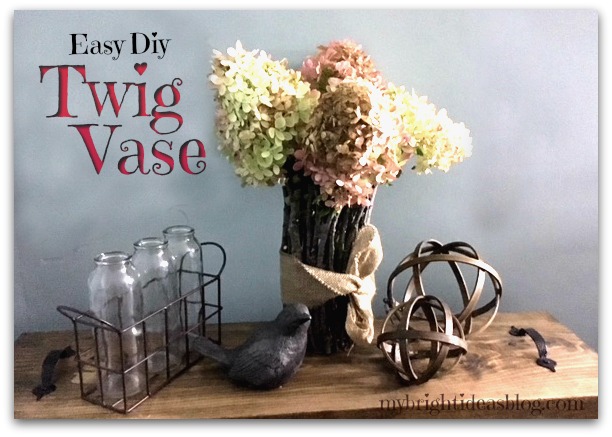
Here is a super easy, super rustic, super pretty twig vase! I am loving using twigs and sticks in crafts. It’s free! It’s also time to do some trimming in the backyard gardens so I get the job done and a craft project to do when the work is done!
You will need:
- an inexpensive straight vase
- twigs
- snips
- hot glue gun
- 6 or more hot glue sticks
- burlap or raffia
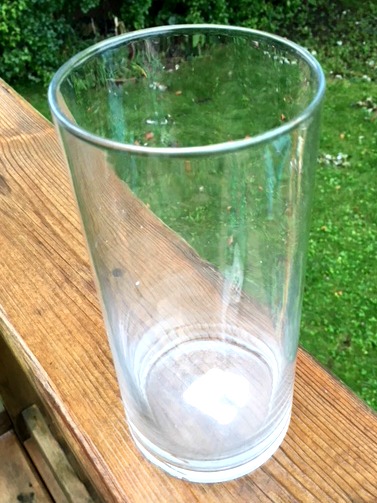
First, choose your vase. If you don’t have a tall straight vase already in the back of your cupboards then pop over to the dollar store, or a thrift store you will definitely find them there. I had this vase on hand. The Dollarama sticker was still on the bottom. $1.25. That is the total expenses on this craft if you already have the glue gun and glue supplies.
I love me a cheap craft!
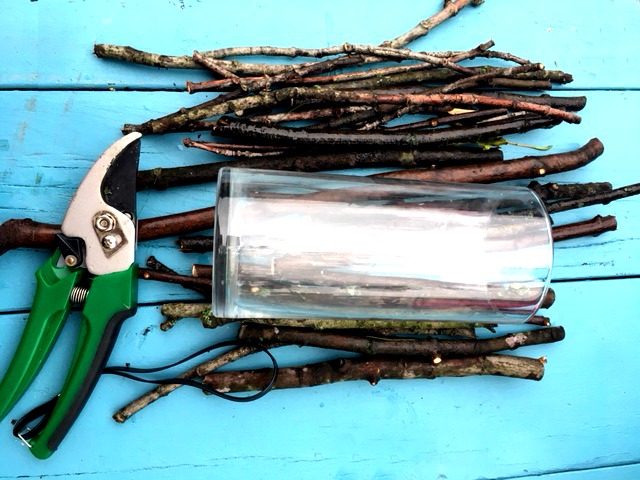
Using sharp shears, cut twigs in different lengths taller than your vase. Choose sticks that are as straight as possible. Trim off any side twigs as short as possible.
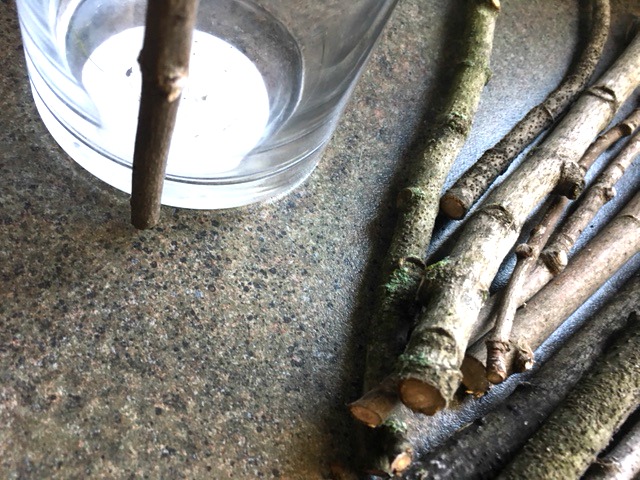
Plug in your glue gun. Set the twig in place and see where it will make contact with the glass of the vase. Add the glue in those contact places. I do this instead of running a line all the way down the stick. That is a lot of waste. Hold the twig in place 10 or 20 seconds while the glue cools. Mind your fingers!
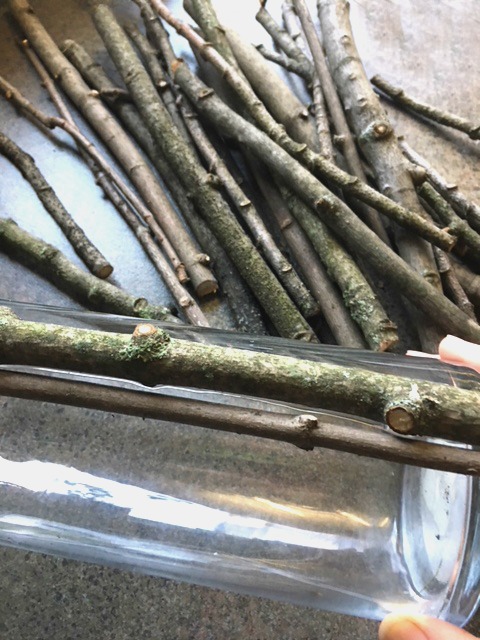
Work around the vase with each twig fitting tightly next to the previous twig. If there are spaces you can put a thin twig in later to fill in the gaps.
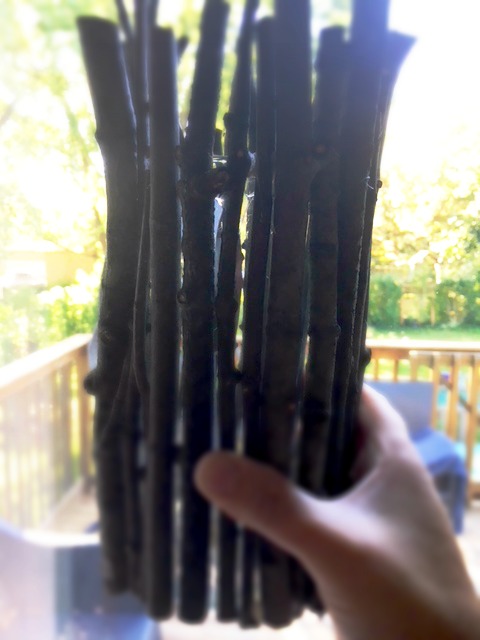
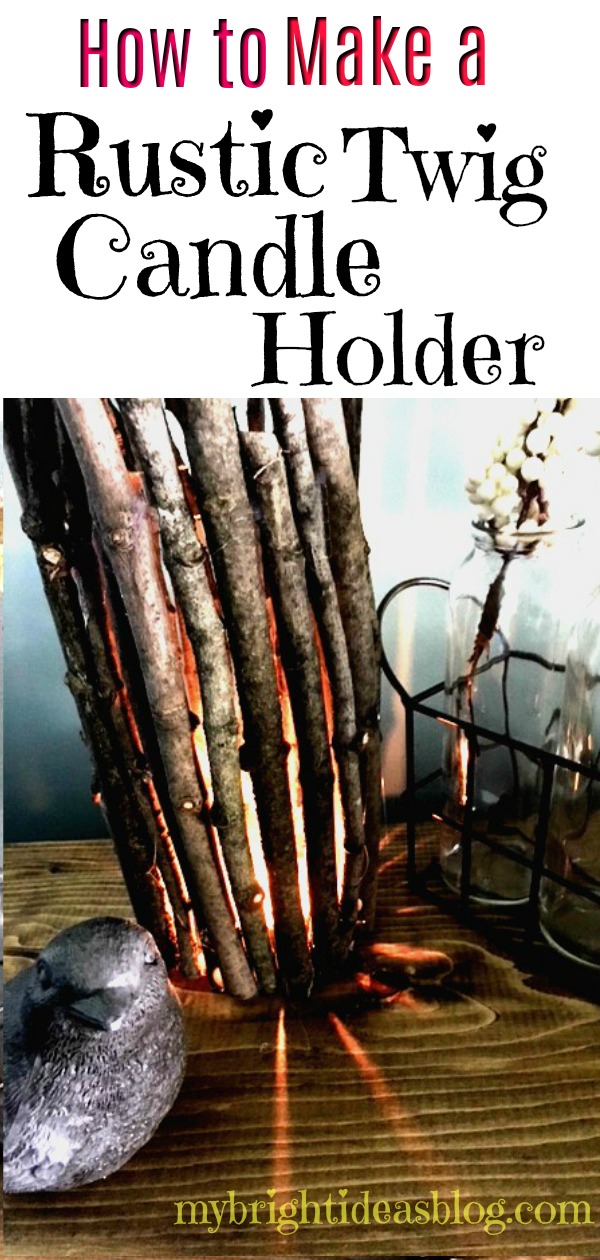
You will notice that the light does pass through the gaps. If that bothers you, cut a brown or black paper down to the vase size and slide it inside.
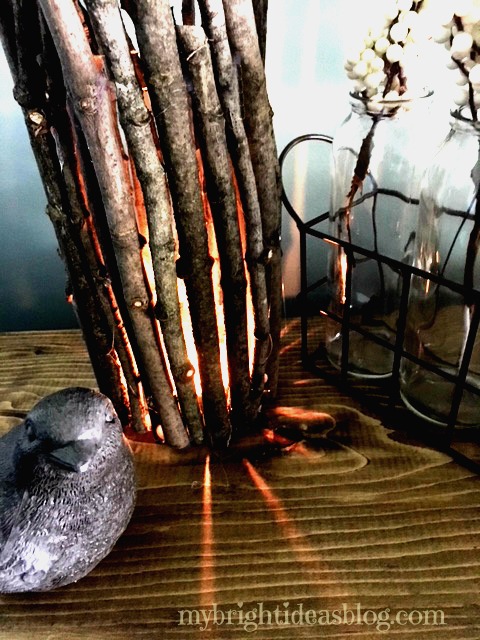
OR…you could embrace these gaps and use it as a candle holder. If you go this route please do not put paper in your vase. You will surely start a fire. Eek!
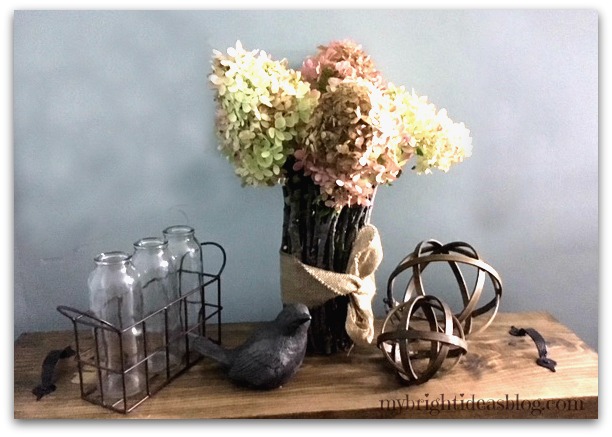
I didn’t mind the gaps in the vase so I skipped the paper and can use it with a tea light or with dried or artificial flowers.
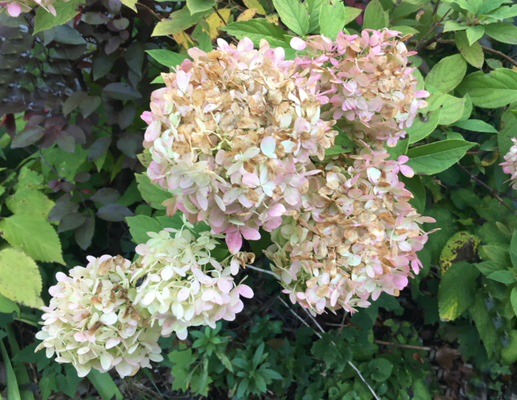
So to the garden we go for some flowers. I cut these hydrangeas. These are going to dry nicely in the vase and look the same for months and months.
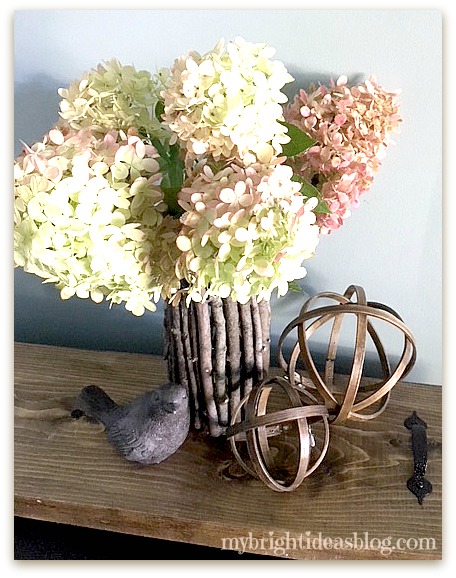
Isn’t that lovely? I hope you enjoyed this rustic twig/stick project. I really love making things with twigs.
Wait! Oh my days!!!! I forgot to put on the bow!
Cancel the photo shoot and back to the craft counter….
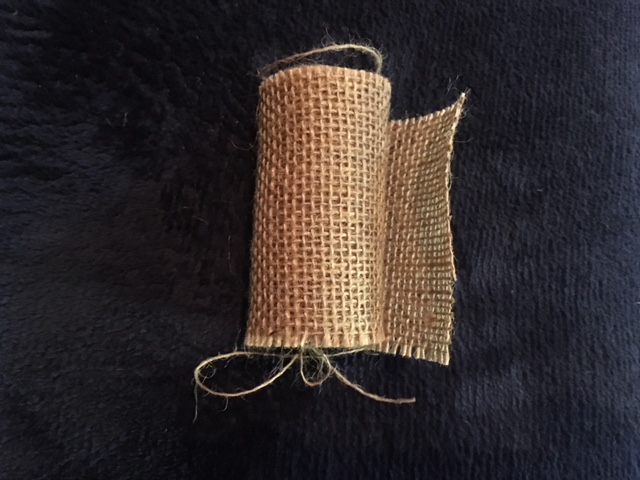
I know I have raffia somewhere but I can’t remember which craft bin I put it in. So instead I used this 3 inch wide burlap roll from the dollar store and wrapped it around the vase.
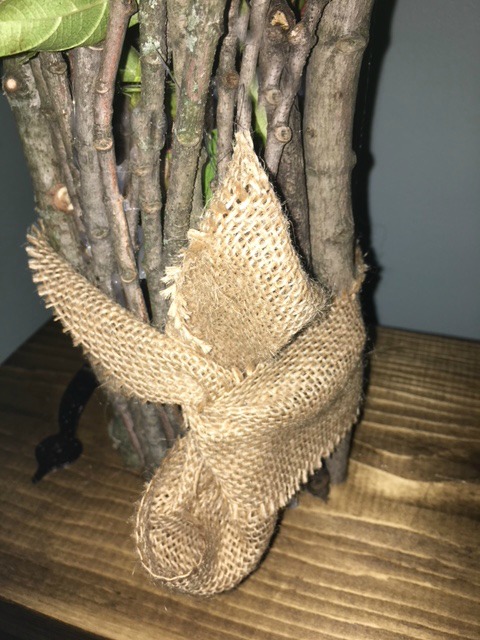
After tying it in a knot I tucked the ends under the centre. It looks like a bow but less bulky.
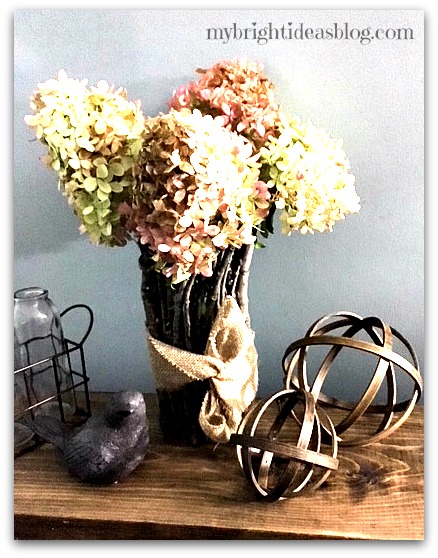
There now that is better! Its a lovely rustic vase perfect for this time of year!
I really appreciate you reading to the end and hope you will remember to pin this or share it on your favorite social media site.
If you would like to see how I made the orbs or wood tray in the photo above, click the links below.
Till next time!
…
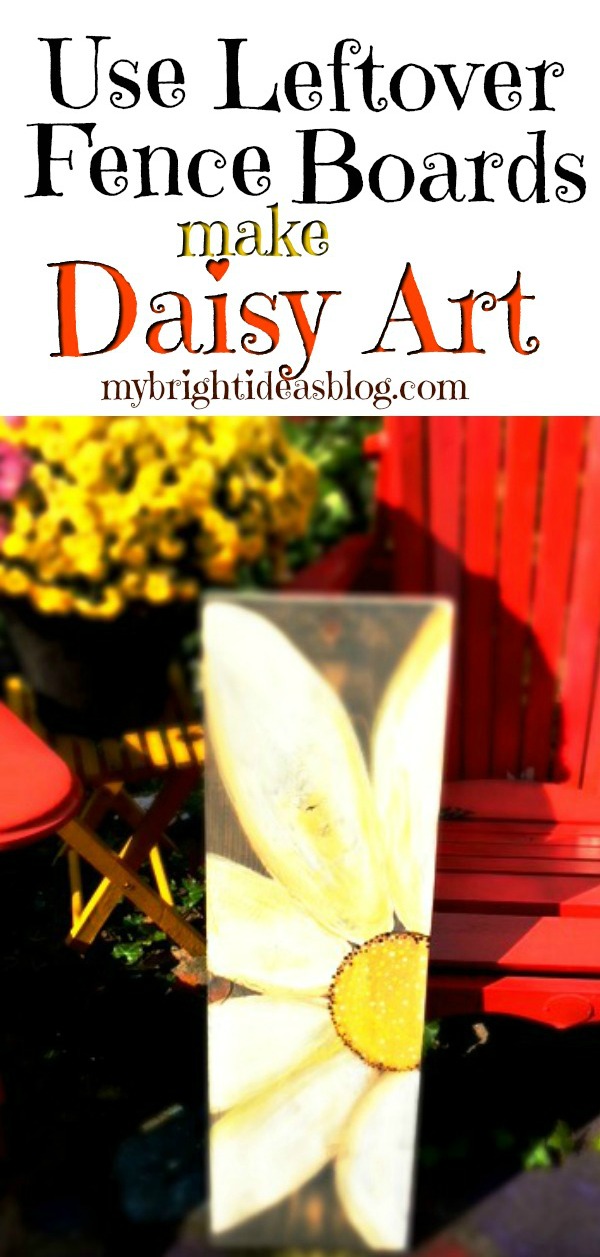
Outdoor Daisy Art – From Lumber Scraps!
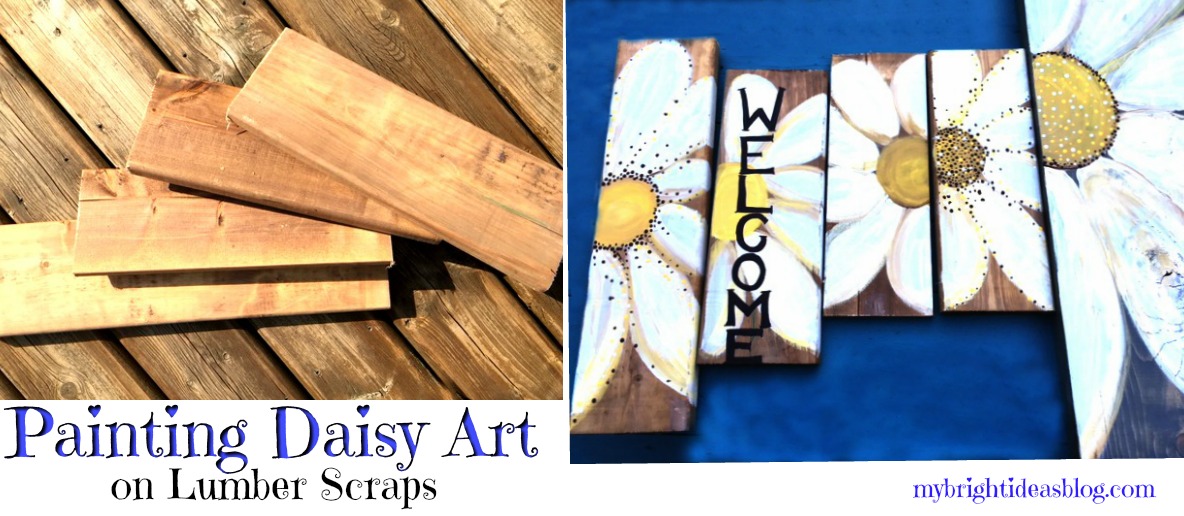
We have done a lot of wood projects this summer and the scrap pile is getting bigger. I am going to show you how to turn your left over wood scraps into painted daisy art that you can use indoor or outdoors. Grab your paint and brushes – lets get started!
You will need:
- lumber or fence boards
- sandpaper
- small and medium art paintbrushes
- craft paint-yellow, white, beige, black
- polyurethane (clear varnish)
- large brush (that you might throw out)
- hammer
- needle nose pliers (optional)
- picture hanging kit
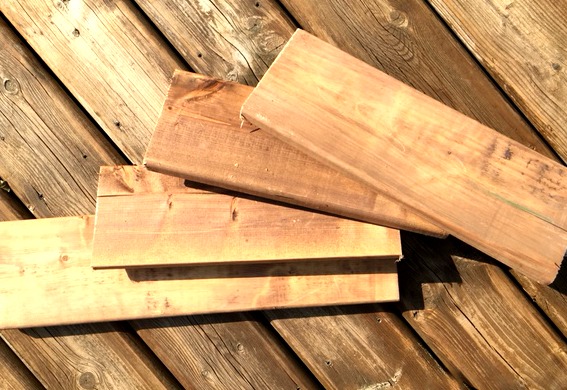
The wood in the photo above is scraps of pressure treated fence or deck boards. The size doesn’t matter-just work with what you have. Mine were approx. 5 1/2 inches x 14 inches (14cms x 36cms). They don’t need to all be the exact same.
Have a quick look at the ends of the boards to see if you have any jagged edges. If yes a quick swipe with your sand paper should remove the frayed bits. No splinters!
If you don’t have treated fence boards you can use bare lumber but put a bit of stain on to make it darker.
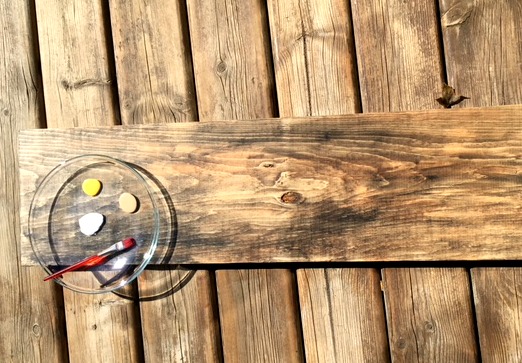
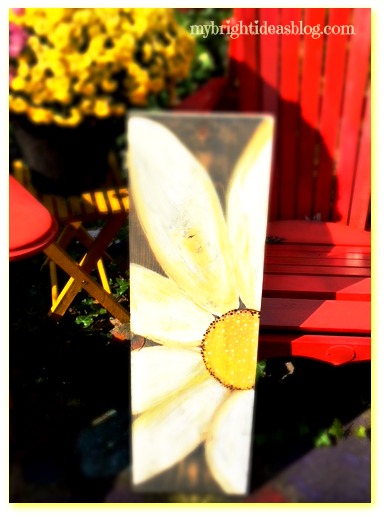
This board was not a fence board but rather a this piece of wood I was going to make another tray out of. It’s 9 1/4 inches wide and 35 inches long (or 24 cms x 89 cms). I had already put my favorite Jacobeen Miniwax on it. So it was ready to be used for something else but instead I put daisy on it for a much bigger version of the fence boards.
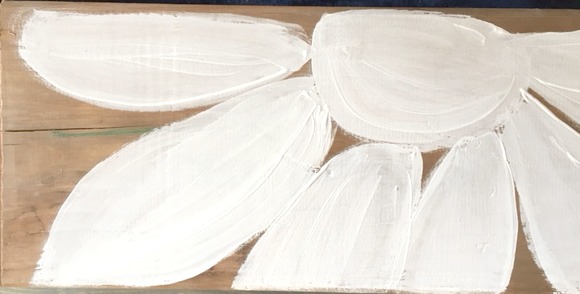
Start with white and paint the shape of the daisy. On this one I painted the centre white also.
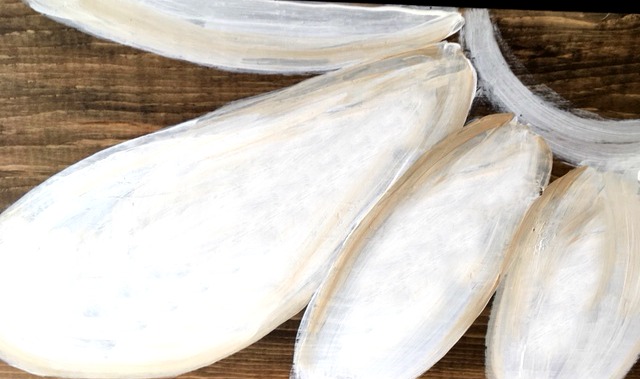
For this board I didn’t paint the centre till later. I double loaded my paint brush with white on the left and dipped a bit of the beige paint on the right side. I went along the edge of the petal to add some depth.
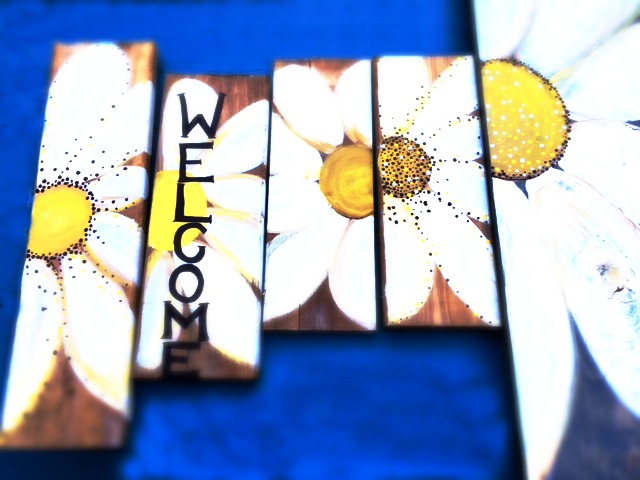
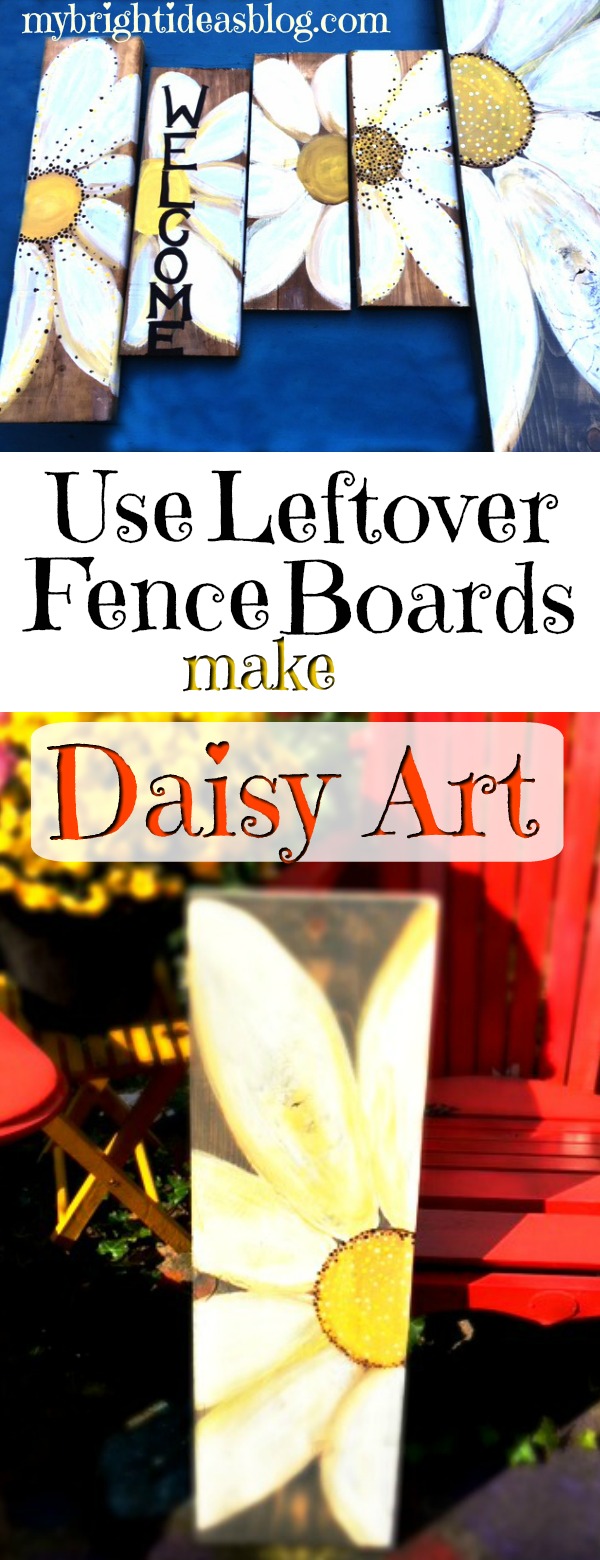
The centre part of the daisy was painted yellow. It doesn’t have to be perfect no one will look at it this close up. The brush strokes look great from a few feet away. If you turn it into a Welcome sign at your entry way or a backyard garden sign, it’s going to look great!
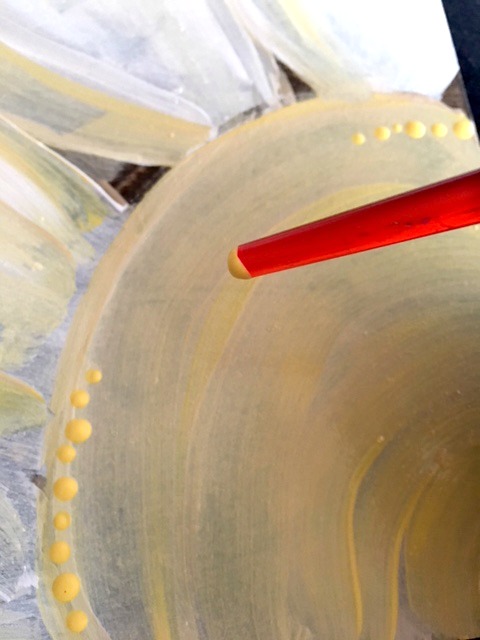
Using the end of the paint brush add dots around the edge of the circle. Some of the boards I didn’t put any highlight dots. The next photo shows I used brown and black dots to make it really stand out. Every board turned out differently.
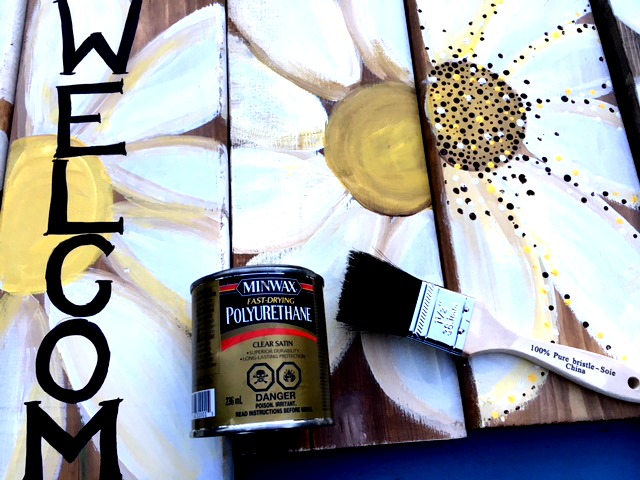
After the craft glue has time to be thoroughly dry, I painted on a clear coat of satin polyurethane. If this is going to be used outside it should have this protection on the front and back and edges. The fence board scraps will be weather resistant but the craft paint might crack in the rain. So this protection over the front and sides is worth the effort.
Oh and I hate cleaning polyurethane out of paint brushes so I just use the cheap brushes so I can toss them out. I have been known to wrap it in a baggy or cling wrap with an elastic band if I am going to need it again in the same day. I also store it that way in the freezer if I will need it again in a few days. If the paintbrush dries it’s hard not usable again.
If you get it on your hands. Make your way to the kitchen-without touching anything. Find a bottle of cooking oil (vegetable or olive have both worked for me). Put it on your hands and massage the oil in and watch the varnish come off your skin. Add hand soap and rinse off. Hands are clean and silky soft! Cool trick!
I made enough to give some away as gifts or put on the office craft table for sale. Since these were scraps and I had all of the supplies in my craft and diy corner…this would be a great item to make some money to sell….gotta support my craft addiction ssomehow!
To hang it or lean it…..mmmm.
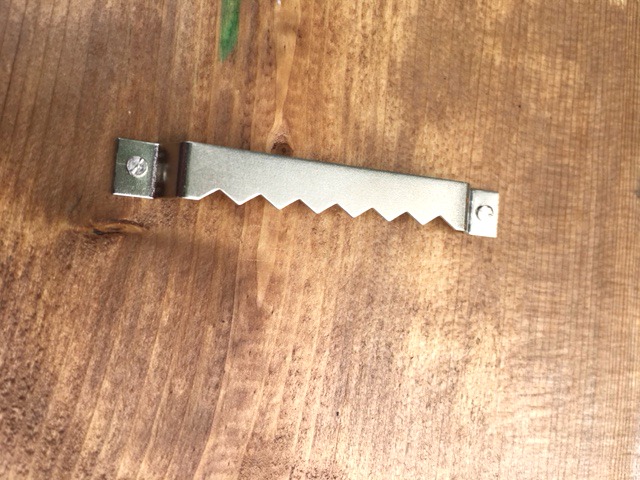
I used these inexpensive picture hangers and just hammered them into the back. The nails are the tiniest nails I’ve ever seen so I hit my fingers with the hammer about 5 times trying to get this nail tapped into the wood. I suggest getting some needle nose plyers to hold the nail while you get it started. Save your poor fingers!
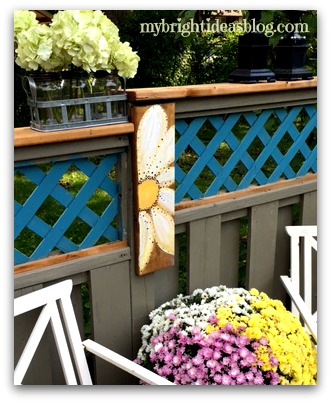
Around the patio we have a very old privacy fence. It has some ugly seams and badly matched up corners. Putting this as a plaque on the fence is a rather awesome solution!
This was super easy to make and looks great! Painting is so therapeutic. I highly recommend it!
Thanks for reading to the end folks! I hope you have a chance to pin this to Pinterest or share it with your favorite social media.
…
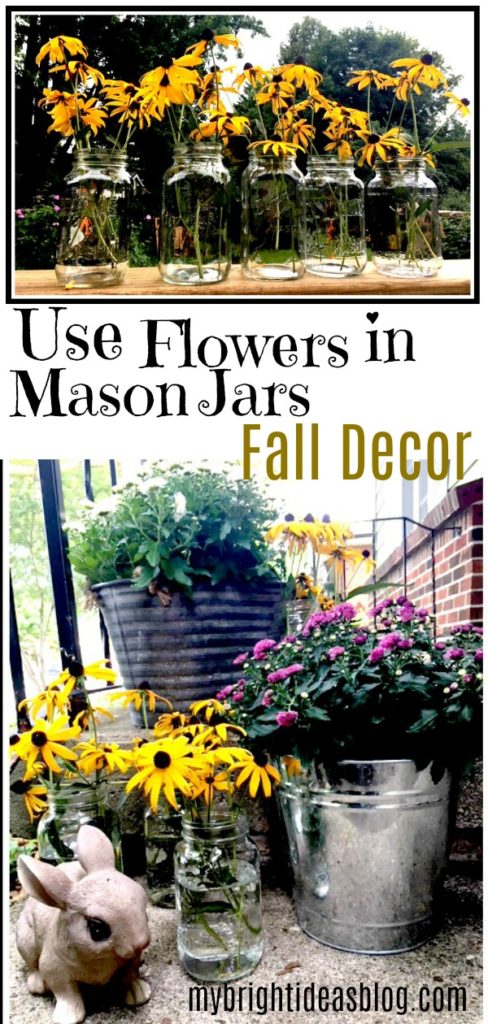
Use Flowers in Mason Jars for Fall Decor
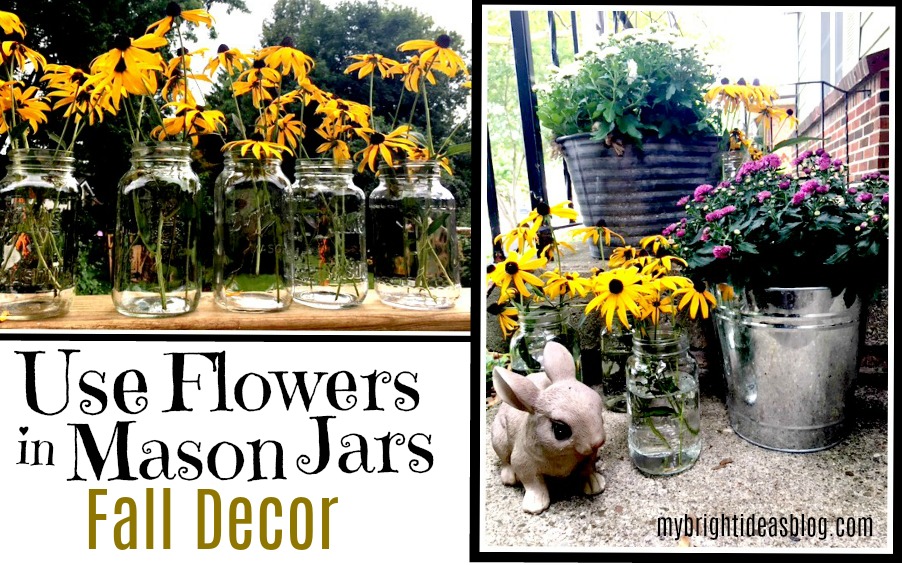
It’s early September and the summer is over. Even if the weather is still hot in your area like it is in mine-the garden is showing that its winding up for this year. Even when everything looks overgrown and scraggly you can count on your Black-eyed Susan’s for their bright cheery flash of yellow.
Have you got a porch, deck or entranceway that could use dash of colour? I recommend snipping some Black-eyed Susan’s and grabbing some mason jars. I’ll show you what I mean.
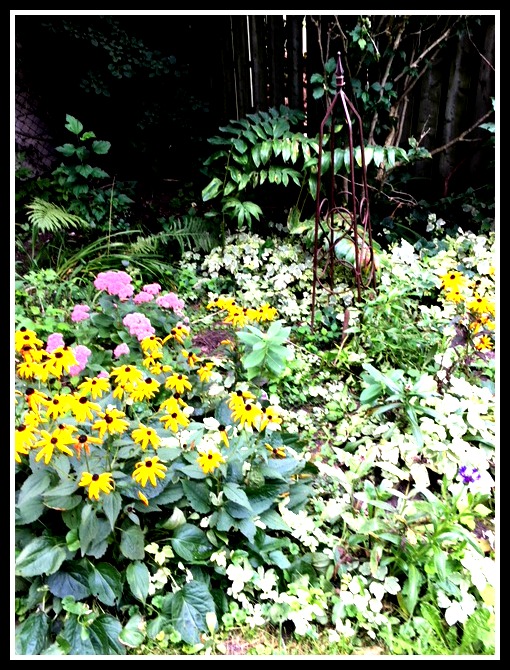
After a week away we came home to the garden that looks like this. It’s supposed to look like an English Garden. Ha ha hahaha! Sorry if you fell off your chair laughing hard while looking at my “English Garden”.
It’s gotten overgrown with weeds and plants choking out other plants. But because of those cheery yellow flowers, I don’t despair with this jungle garden!
I know, I’m a terrible gardener aren’t I? Well there are only so many hours in the day…maybe next year…
You will need:
- Mason Jars (or any other jars -empty jam and pasta sauce jars- you might have)
- Garden Snips
- Flowers
- Water
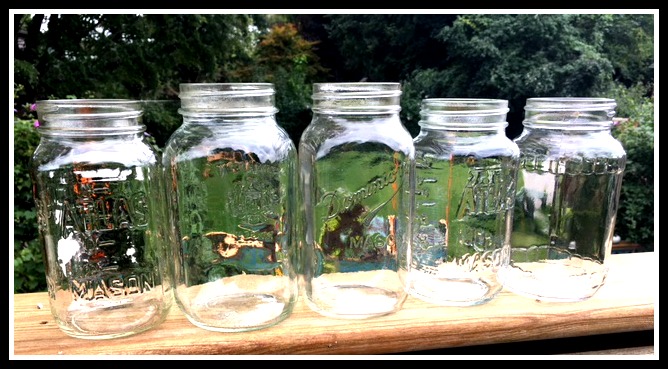
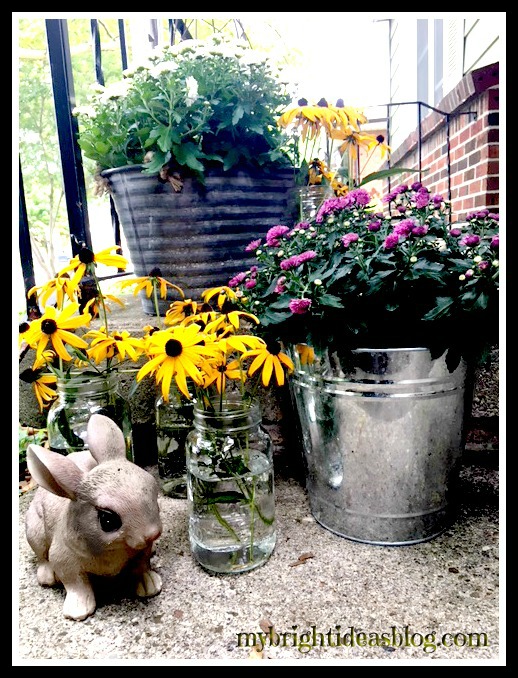
I have had this collection of mason jars for a while in a cupboard….. that I think they belong to my mom. Over time she has shared a lot of pickles and chutneys that she preserved and I have been a naughty daughter and not returned her lovely jars.
So I went to my overgrown garden with some garden snips (sharp scissors will do) and clipped a bit of the Black-eyed Susan’s.
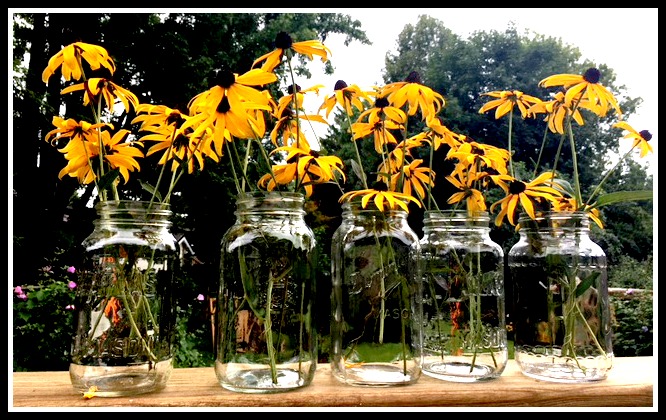
When company is coming this is a nice way for the kids to help roll out the red carpet-or rather the yellow carpet. Get them arranging some jars, add water and add flowers.
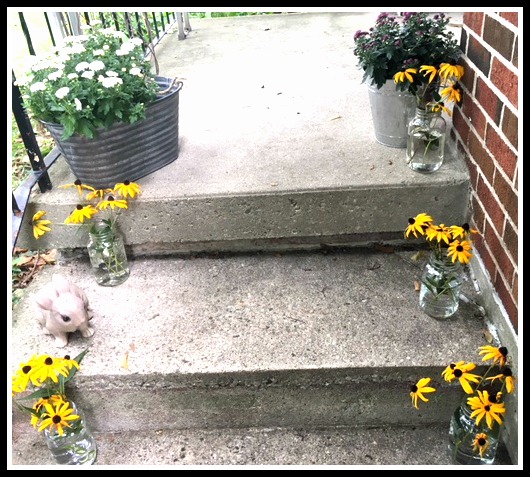
These could last for 2 weeks and if the Black-eyed Susan’s are still doing well you could cut more flowers and top these jars up with fresh cuttings.
It’s sad to see the summer close and flowers get scraggly-we need to face it, it’s the end of the season. 🙁
Using mason jars as vases is a great way to keep their cheerfulness and move that colour to other areas-indoors and outdoors.
Here is another Autumn Project!
Here are more Mason Jar Projects!
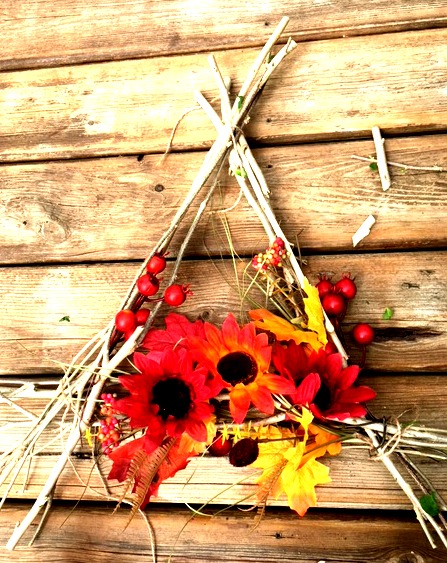
How to make an Autumn Wreath from Branches!
The other day, I was having a visit with my neighbour Tanya, and I looked at her door with a wreath that was way over due for a change. I think it she put it up in April….now its September…She mentioned that she should go shopping for an autumn wreath. I said Whoah! Don’t buy anything. Leave it with your buddy ol’ pal to make one.
I didn’t want to make it a typical round wreath but what could I do to make it different…but in-expensive….mmmm.
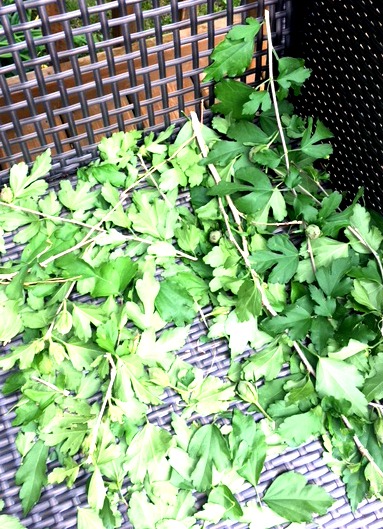
Meanwhile….my garden looks like a jungle. We have had lots of rain and sun and this means everything had big gnarly growth spurts.
When we purchased the house we were surprised that we had 25 Rose of Sharon bushes around the backyard. That is a lot of purple Rose of Sharons. They are pretty when they are in bloom and get quite full adding to privacy along the chain link fence. However, they do attract bees and the pods open and drop seeds and grow more and more and more.
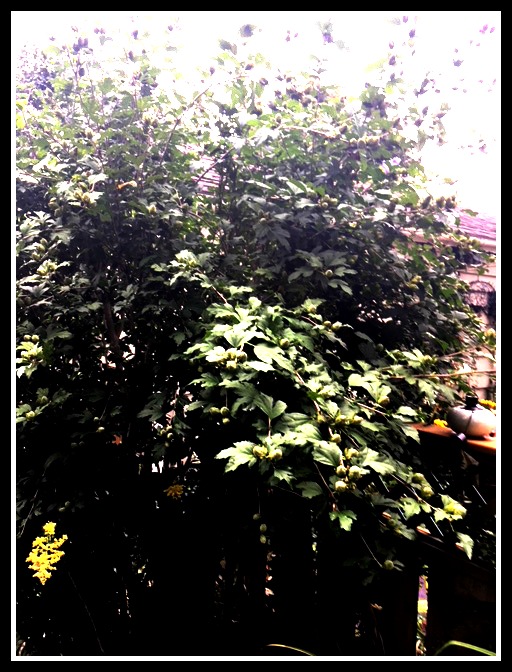
There is a lot of trimming to do….and did I mention there is 25 of these shrubs? Momma Mia that’s a lot of trimming to do this week.
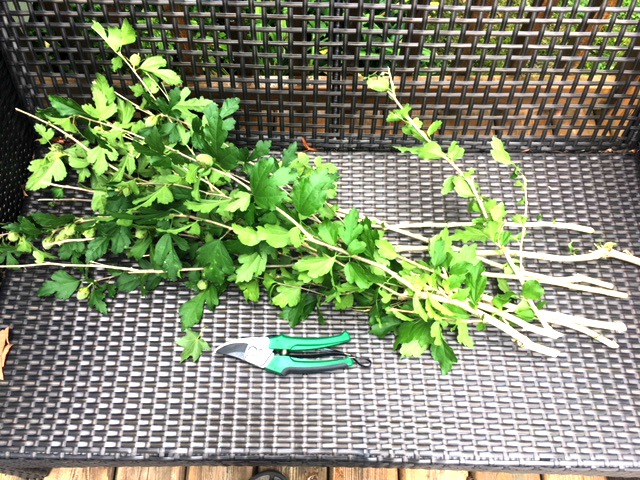
I was thinking about the promised wreath I wanted to make for Tanya. But I was looking at the trimming to do…wreath….trimming….and then it hit me!! Use the branches from the shrubs to make Tanya’s autumn wreath!
Supplies I used:
- Shrubs or Trees branches
- Garden Snips
- Twine or Rope
- Wire Cutters
- Autumn Flowers
- Glue Gun (I didn’t need it but I had it handy)

I pulled off the little branches and the leaves on 9 longish branches.

I put 3 twigs in a triangle shape and located some twine.
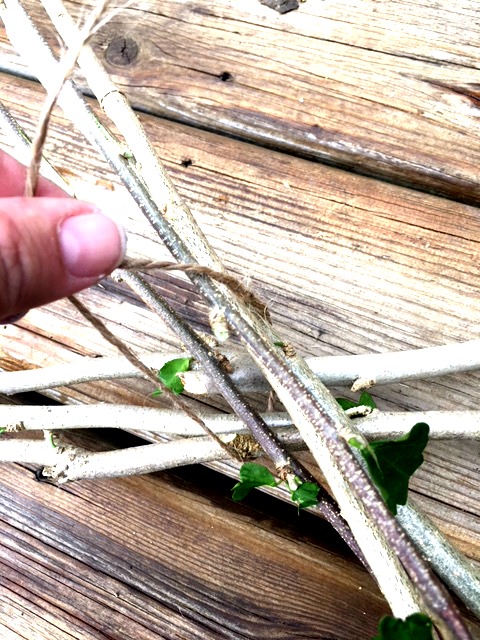
Twine is great for tying your sticks together. I better keep it handy for the rest of the trimming that is still waiting for me.
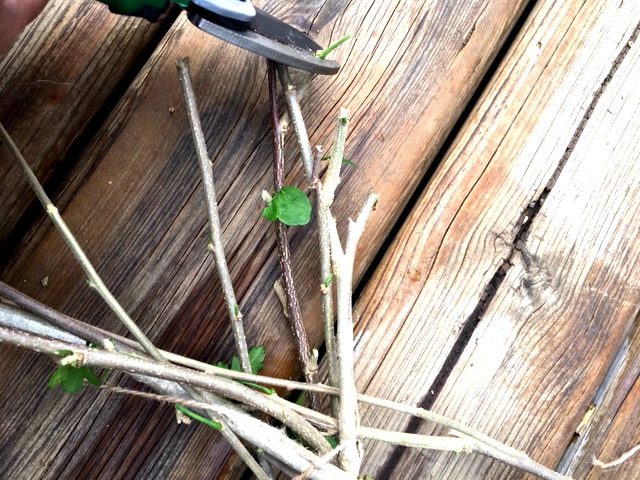
At first, I was going to keep the ends long and staggered but I decided to trim the ends down further.
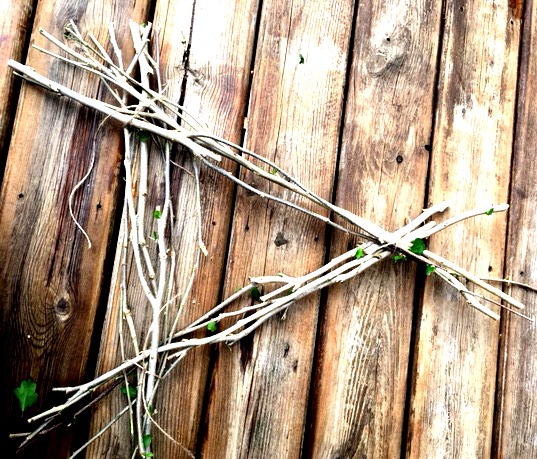
I like the rough ends but we don’t want to poke out Tanya’s family’s eyes!
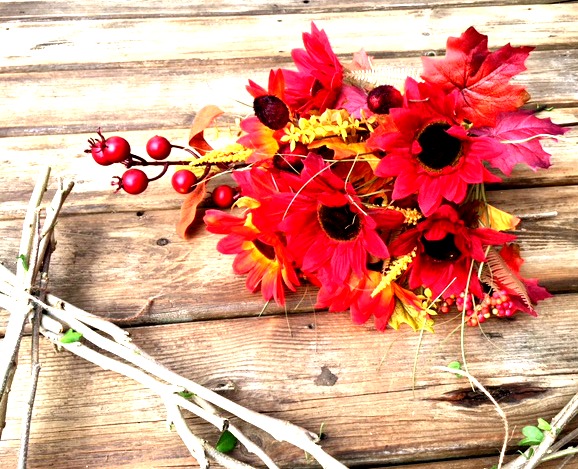
Time to add the flowers. I picked up a few bunches of autumn flowers from the dollar store. I only used a few sprigs from this lovely bouquet. I could easily make a few more of these as gifts (or to put on the craft table at work…of course). I spent about $10 on the flowers and twine so if I made another 3 or 4 that would make them each costing only $3 each. Cha-ching!
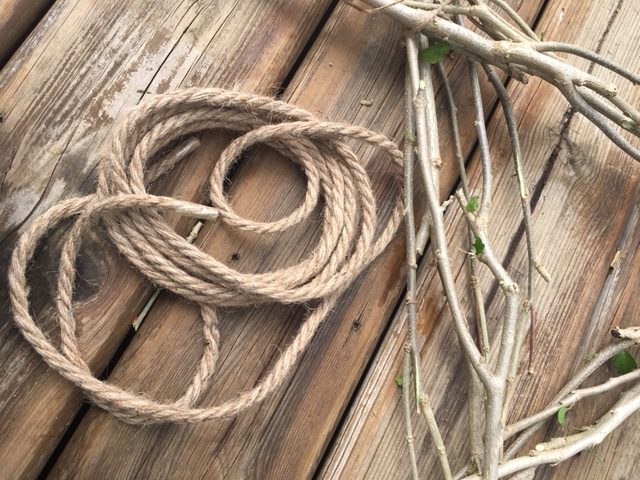
I had some thick twine that I used to reinforce the corners. Ribbon or lace would look cool too. Use what ever scraps you have.
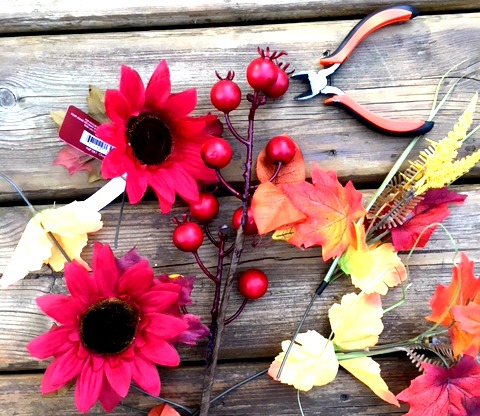
I didn’t need to use a hot glue gun because I wove the ends into the twigs and wrapped the wire of artificial flowers around the twigs. You might want to use a hot glue gun to secure short pieces to the twigs.
Since the sticks make up the base and they are free-from my backyard-this is quite inexpensive. I’ve got enough flowers left to make another 4 of these! Cool…any other neighbours with a bare front door?
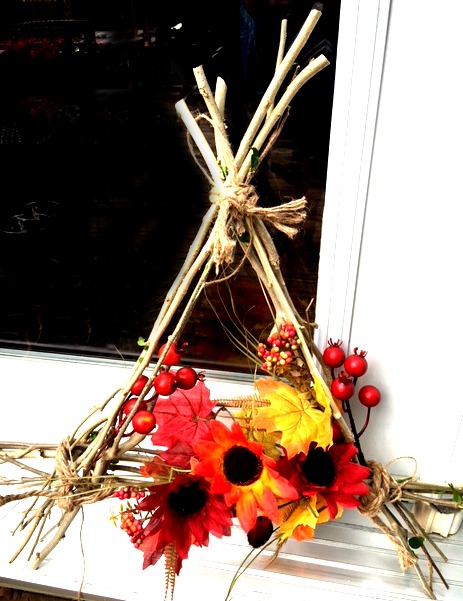
So rustic and woodsy.
Now who is going to clean up the left overs and finish the trimming….sigh…better get back to work.
See you again soon!