
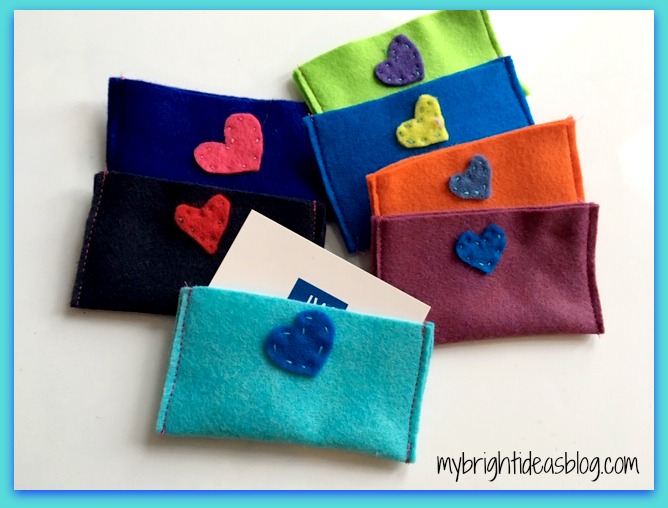
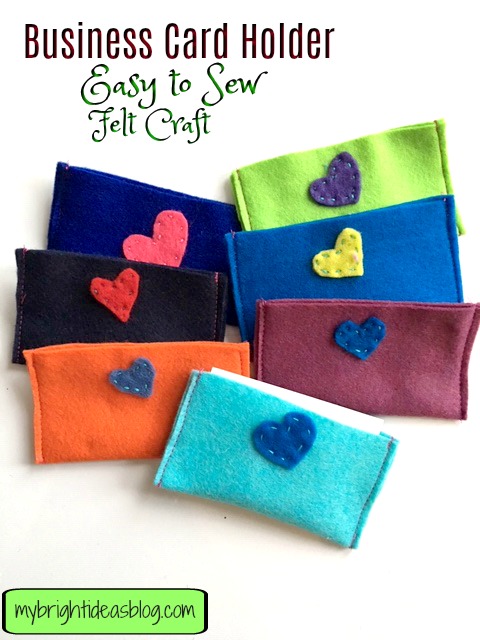
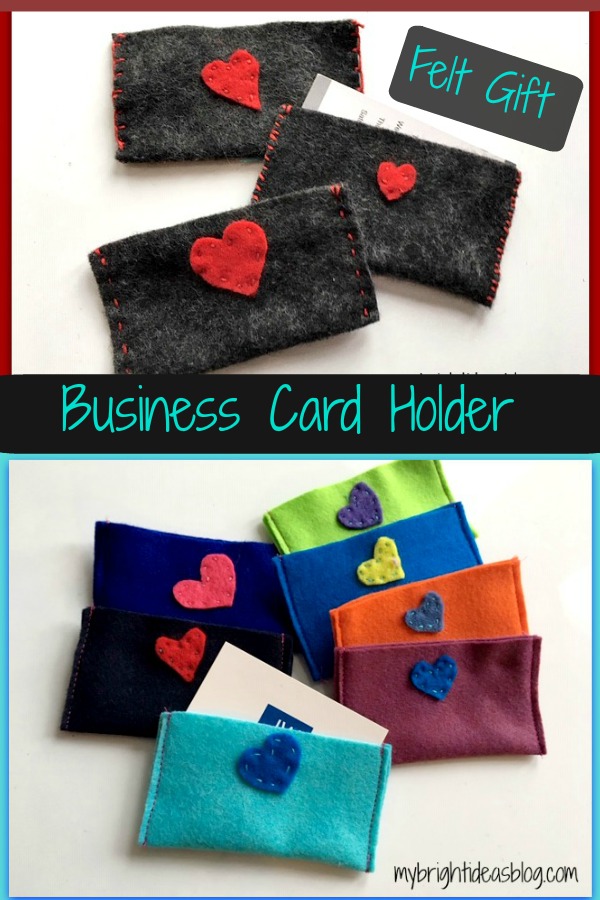
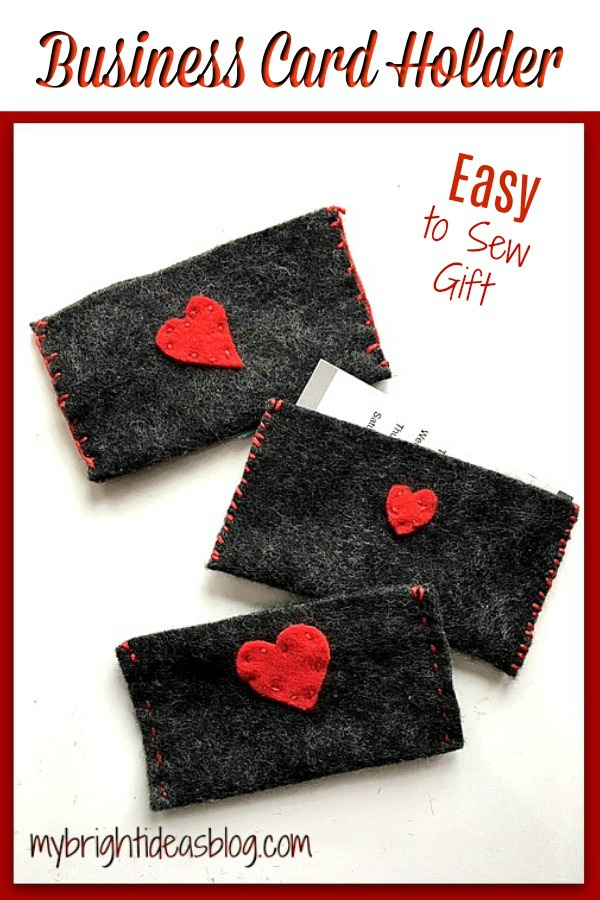
Learn how to make Business Card Holders out of Felt!
Looking for an Easy Sewing Project? Teach your child how to hand or machine sew with this quick gift idea. I’m going to show you how to make a felt business card holder with hearts or buttons for decoration and 3 ways to hand stitch.
We have a big event coming up where thousands of people from all over the world will be gathered and at the end swapping little gifts. So I have been searching for little homemade souvenirs for our family to give to the friends we meet. We might even get business cards printed-with our family email to put in the felt holder so we can become pen pals.
This seemed like an easy, fun, cute craft to make together. Plus teach some basic sewing skills…Brilliant!
You will need:
- 1 full piece of craft felt
- scrap pieces of felt for the heart
- scissors
- needle
- embroidery thread
- a business card
- sewing machine (optional)
- bright buttons (optional)
If you don’t already have felt and embroidery thread on hand you can get these from the dollar store, Walmart and craft stores.
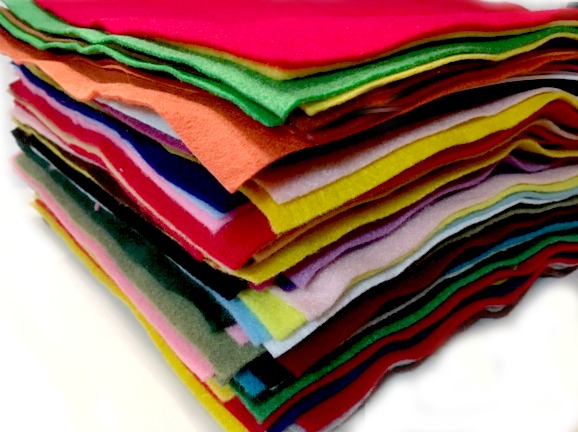
I must admit, I am a bit of a felt hoarder-so I have bought mine from several sources. I found the felt sold by Hobby Lobby for 33 cents was the best quality and value.
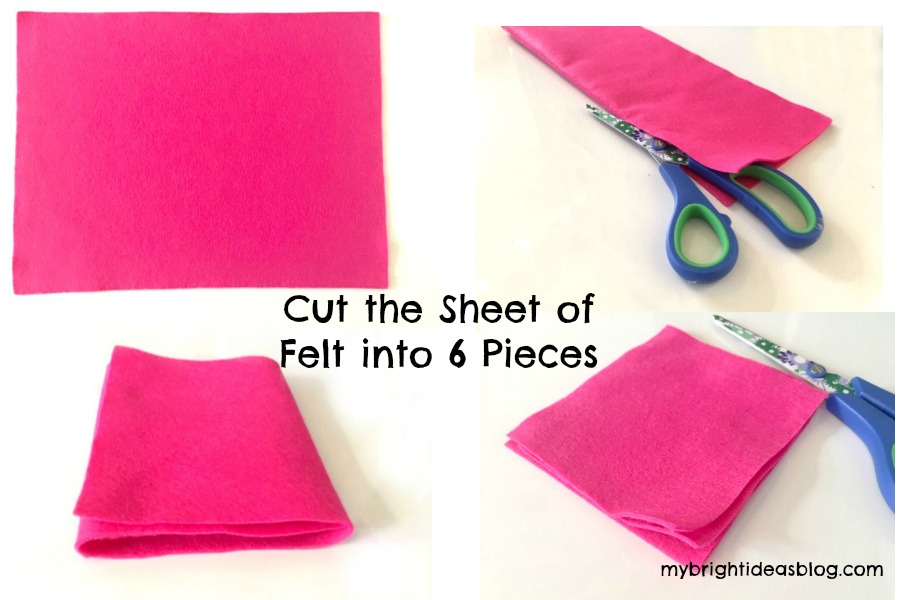
One sheet of felt is usually around 9 1/4 x 12 inches (24 x 30 cm). This is the perfect size to cut into 6 business card holders. Fold the sheet in half lengthwise and cut along the fold. Fold one of those pieces into thirds and cut on the fold. (bottom photos) In the end you should have 6 pieces 4 x 4 1/2 inches (10 x 12 cm).
Have a business card handy to make sure it fits.

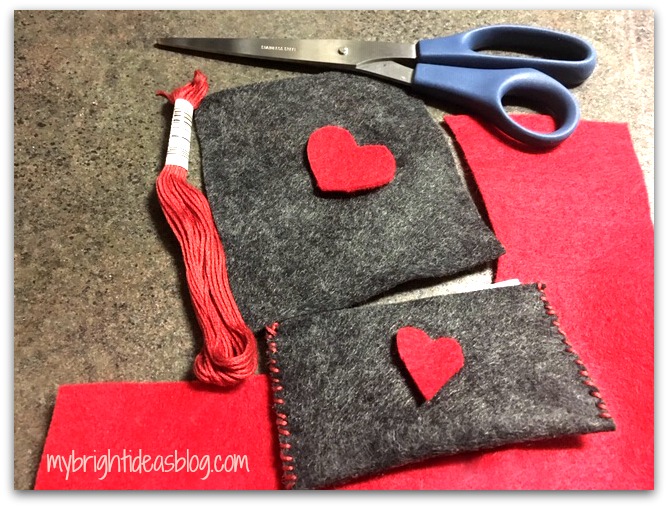
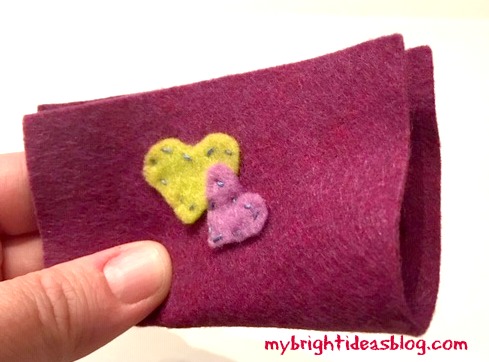
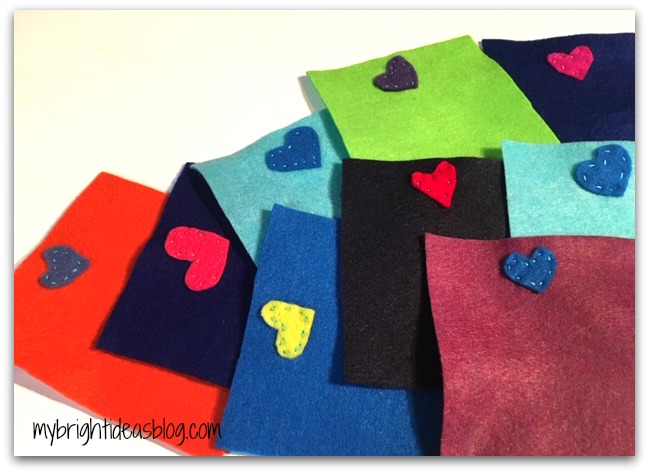
To get started cut small love hearts to decorate the outside of the card holder.
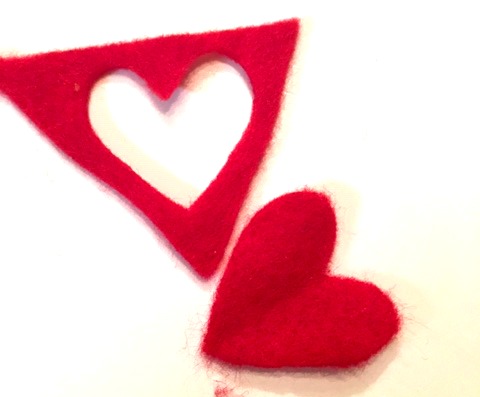
The easiest way to cut a heart is to fold the scrap of felt in half and then cut half the heart so both sides are the same.

Choose matching or contrast embroidery thread.
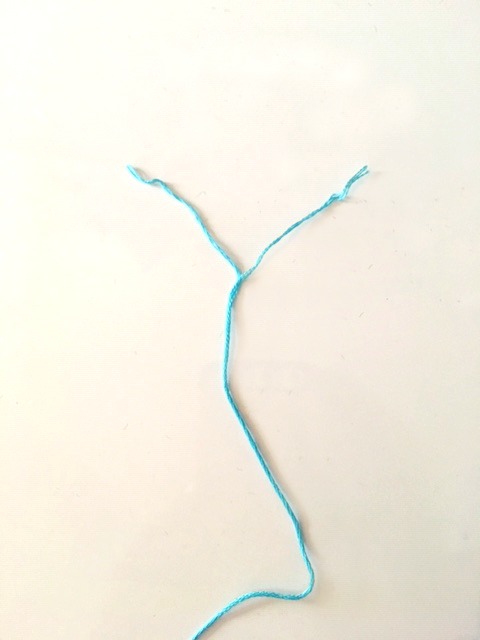
Divide regular embroidery thread into 2 sections of 3 strands each.
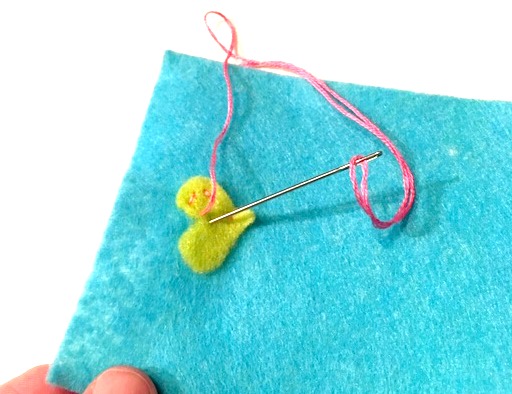
Knot the embroidery thread and begin sewing small stitches to attach the heart to the top of the felt.
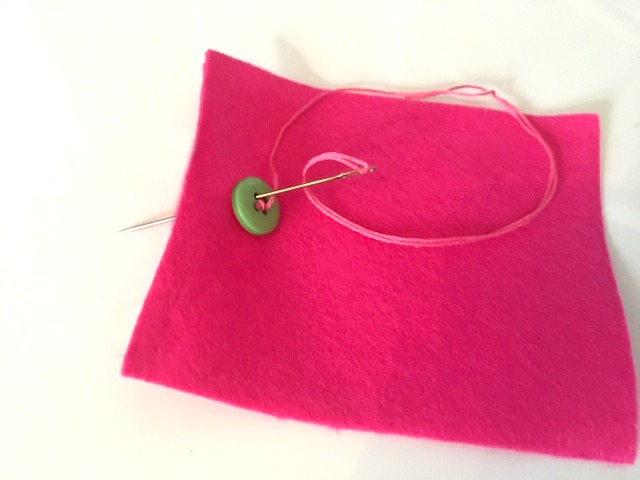
Another idea is just to sew a bright button on instead of a heart. Teaching your child how to sew a button on and a simple hand sewing could really be helpful later in life.
A side note: Would you believe that while I was proof reading this my hubby has handed me a pair of his work pants and a button that just fell off. That proves just my point-thanks dear!
Fold the felt in half to form the little folder to hold the business cards. Here are 3 options we tried for hand stitching.
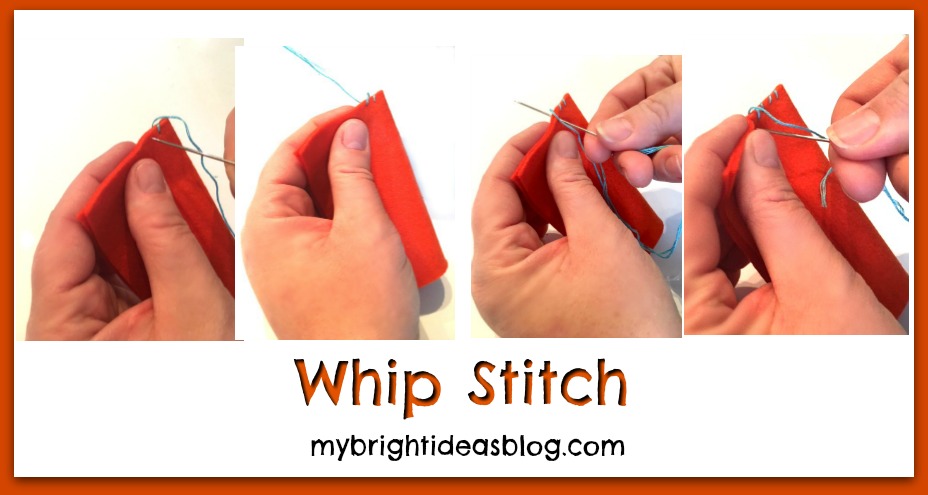
Whip Stitch: Knot the end of the thread and start on the inside of the fabric. Sewing in from the front and out the back and around. Back in the front a smidge to the left of the previous stitch.
![]()
Blanket Stitch: Start from the inside to hide the knotted end, then go through both layers. Stitches can be a bit further apart with the blanket stitch. Go in through the front of the fabric. As you pull the thread through, insert your needle through the loop and pull it securely to make your knot. Insert the needle into the front again the same distance from the previous stitches. At the final stitch go through a second time to make that knot and then insert your needle between the two layers of fabric and cut the thread.
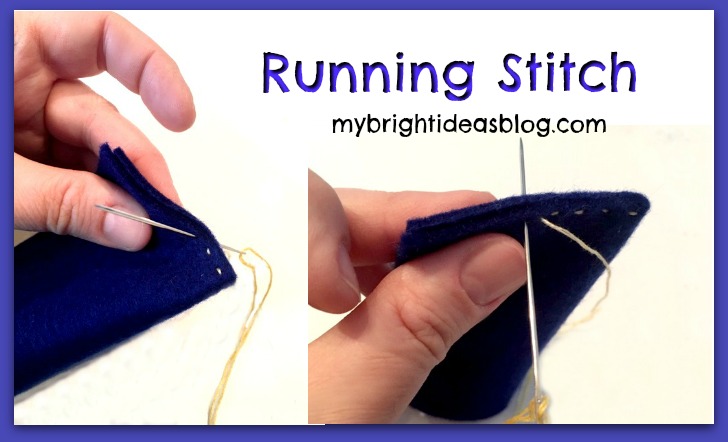
Running Stitch: Knot the embroidery floss and begin on the inside to hide the knotted end. Use a running stitch to go in and out all the way up both edges.
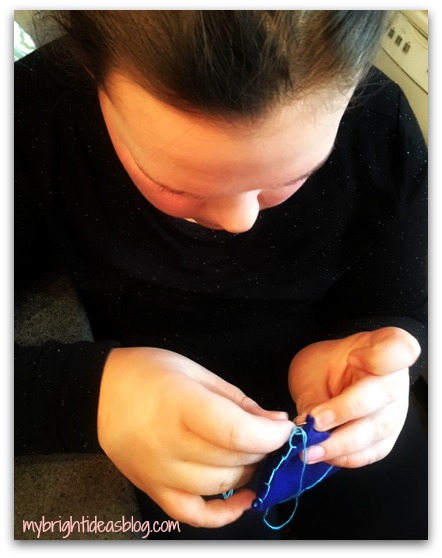
My 11 year old preferred the blanket stitch. Not bad for her first attempt.
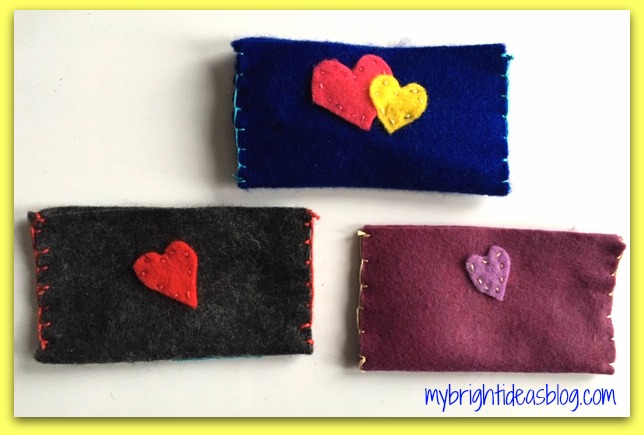
She also liked having one small heart over a larger heart.
The grey felt with red hearts with red stitching looks pretty good!
Option 2
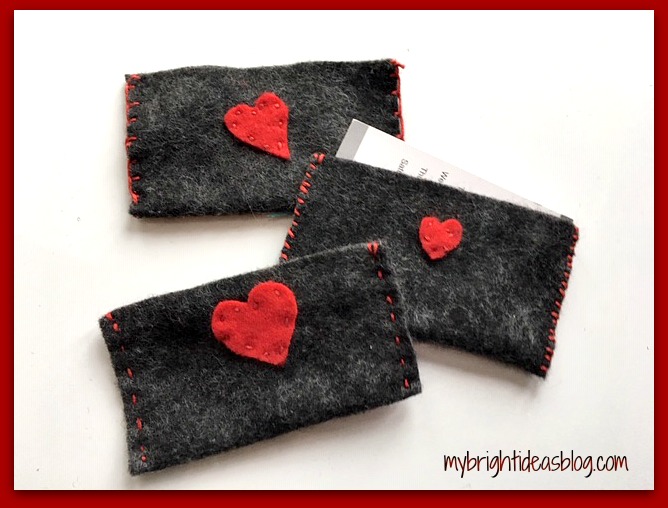
To make the process faster (as I mentioned we want to make a lot of them)…we sewed the hearts on first and got a little bit faster with each one.
We hand sewed 10 hearts onto squares of felt and ran them through the sewing machine to make a tidy edge.
Could this get any easier! What a great idea…I want to thank my friend Ashley for sparking this idea over dinner last week. Great food, lovely ladies and a bit of craft talk snuck into to the evening…my favorite!
On this blustery, winter day you might be inspired to work with felt too! I have added links to a few of my posts from last year for you skim through and see if an idea is sparked for you too.
Sew a Super Easy to Make Felt Crown – Add to your dress up clothes!
Follow me on Pinterest, Facebook, Instagram and Twitter!100th Day of School Celebration-Glue Buttons on a shirt for a Gumball Machine

Hey! Thanks for sharing, I also was trying to come up with something to give the friends that’s coming to visit us in Texas for the international convention and came across this page! Love this idea
Greetings to you in Texas! Thank you for leaving a comment. You have absolutely made my day!
The wads of knots on the inside of the kids gifts-will really bring some smiles. Have a wonderful time!
Hugs from the friends near Toronto!