
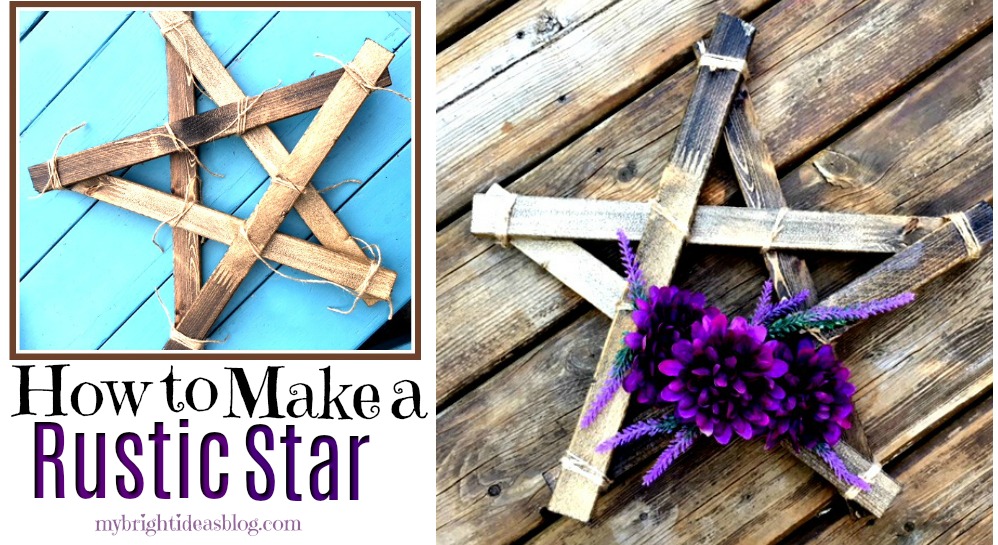
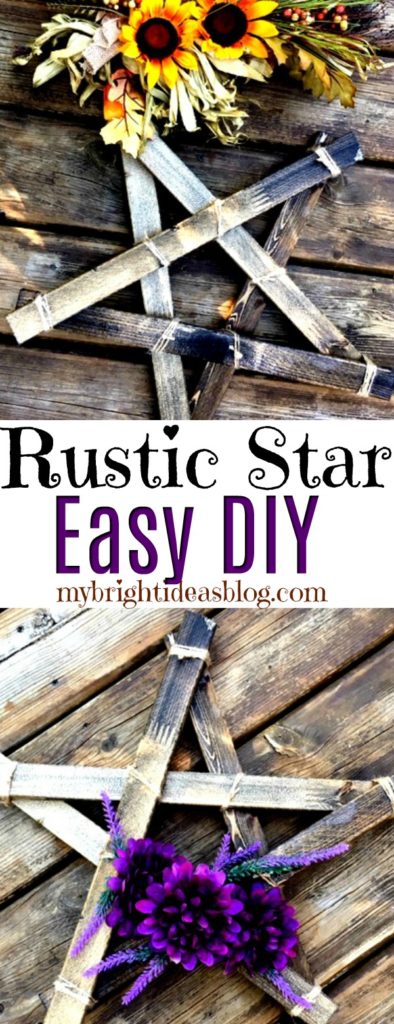
Have you seen these lovely rustic wooden stars and wondered, how hard can that be to make? Well let me tell you it’s ridiculous how easy it is to make this wood star.
Did I mention the wood cost is around $2.50? Say what….?!?!

You will need:
- 1×2 Board $2.50
- twine
- scissors
- stain or paint
- rag
- varnish
- paint brush
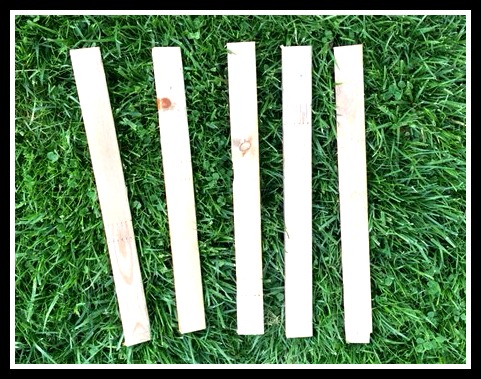
Cut the 1×2 lumber into 5 pieces 18 inches long. No wasted wood. Awesome!
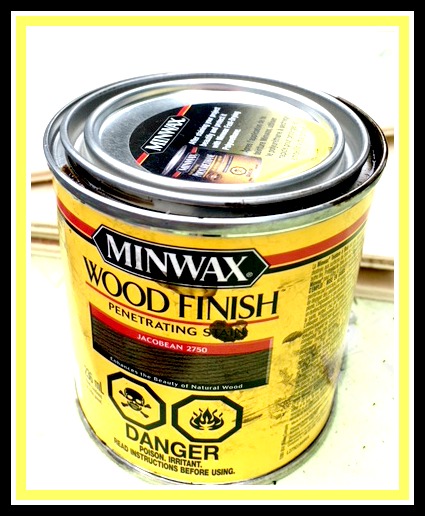
I used my FAVORITE wood stain Miniwax Jacobean – it has a dark walnut look to it that I just love! You could use paint instead. Dip a rag into the stain and rub it into the wood. Follow the instructions on the tin to leave it for the right amount of time to dry.
![]()
After allowing the stain to dry, I put on a coat of polyurethane. This adds a clear coat of protection if you plan to use it outdoors. If you intend to use it indoors like on a mantel you could skip it.
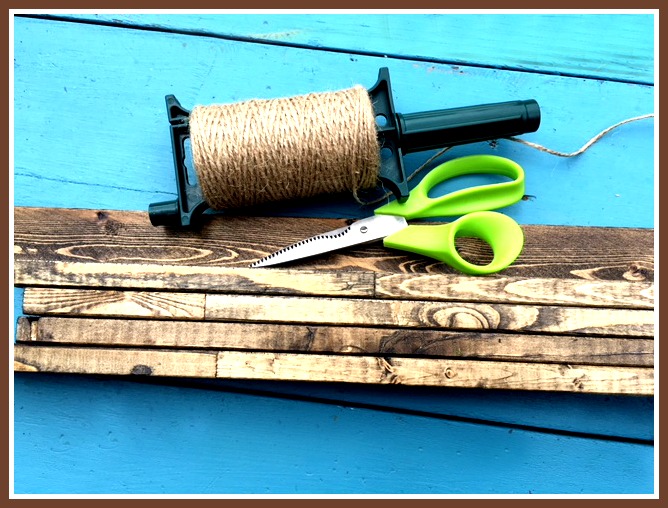
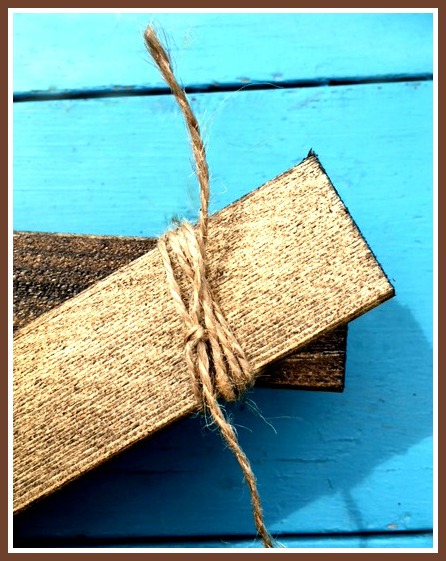
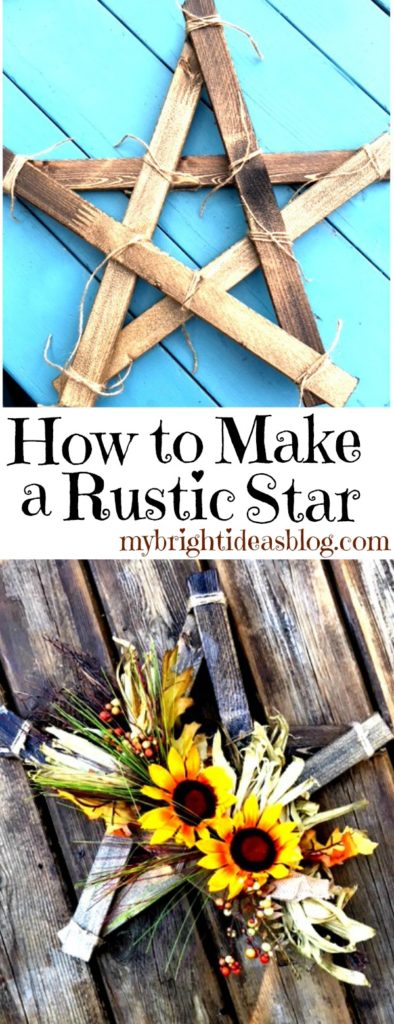
Gather your finished pieces, scissors and twine….
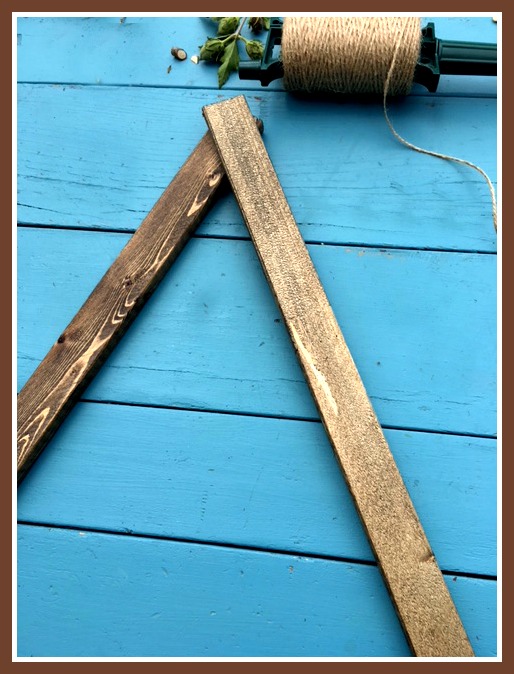
Place one piece on an angle to the left. Lean the second piece on top,angled to the right.
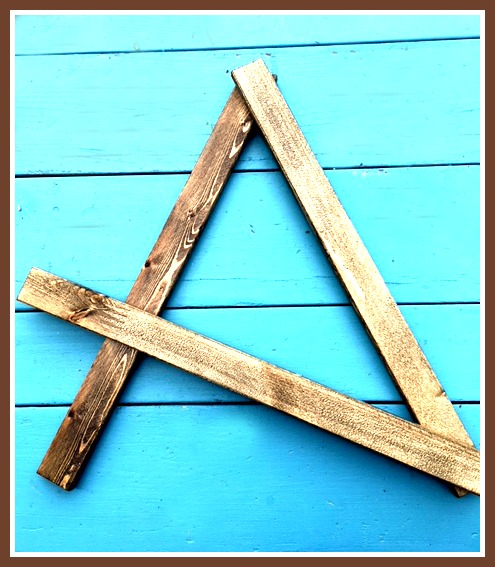
Add the third piece to the bottom right corner angled up.
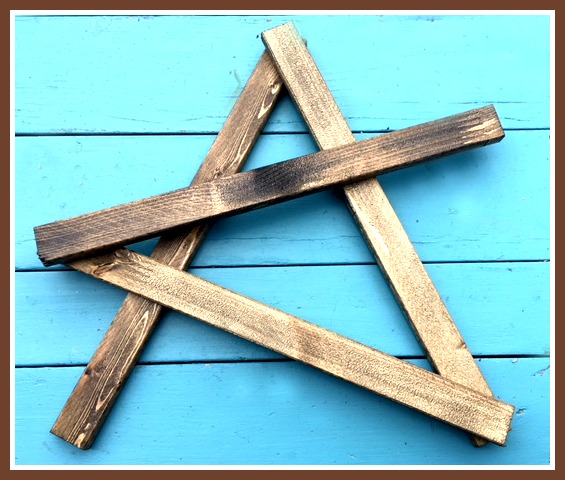
Next add the forth piece across….
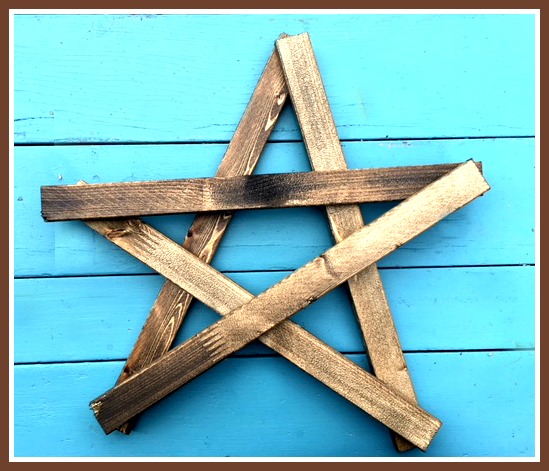
And lastly add the fifth piece of wood. If it doesn’t look exactly the way you meant it to, shift the corners a bit.
Tie twine around each end. You could also use industrial strength glue like E6000 with the twine, or skip the twine and use nails. I like the rustic look of twine.
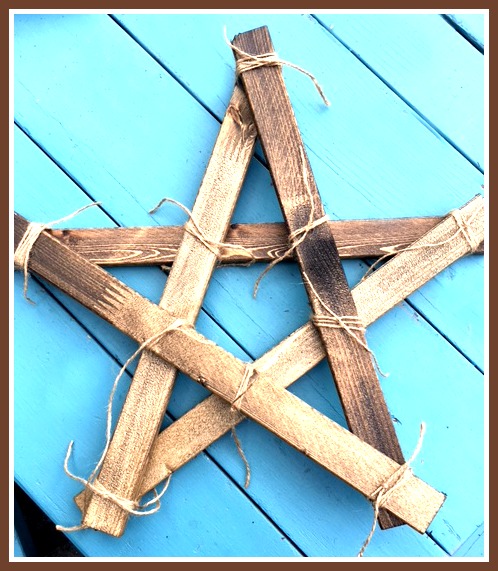
For extra reinforcement I tied more twine on the middle parts of the star. This extra twine made it very sturdy. Next use the scissors to snip the scraggly bits of twine close to the star.

I adore hydrangeas so I popped a few out of another arrangement and put it in on the star to test it out. Lovely, these are my favourite flowers.
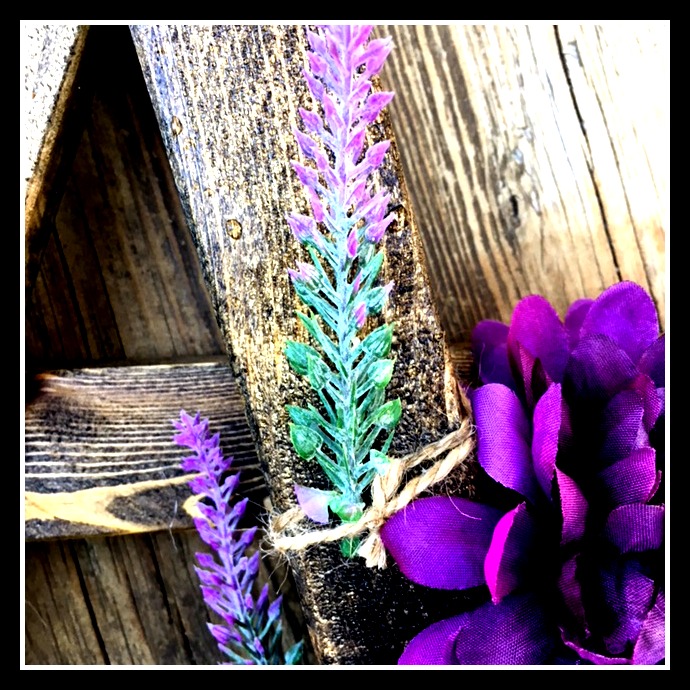
One nice thing about the twine is you can tuck your flowers into it and pull them out if you want to change flowers for the next season.
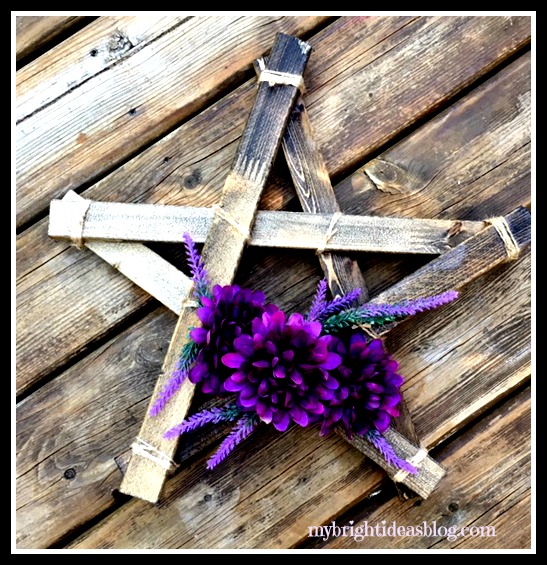
I picked up a bunch of purple flowers at Michael’s and took 3 flowers from the bunch and a few little wispy bits off to use for this one. This turned out to be the one I stuck on my living room wall.

This is a dollarstore ($4) autumn decoration I just tied on for fall.

This is so easy! The only thing that takes any time is waiting for your paint or stain to dry. The lumber cost is $2.50. The only thing cheaper than that is the wreath I made for my neigbour out of twigs!
Thanks for reading to the end! I hope you’ll pin this on Pinterest or where every you network with friends.
…


Great project! Thank you for sharing at Party In Your PJs!
Such a fun idea! Thanks for sharing at Vintage Charm!
Love it, especially since you can update it throughout the year to match the season!
I have a bunch of paint sticks laying around that I am going to use to make this. Great idea.
Great idea! Paint sticks are surprisingly versatile for a crafter!