
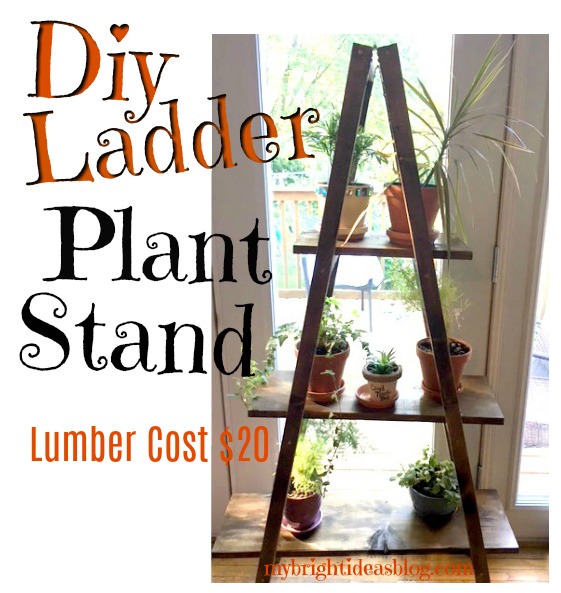
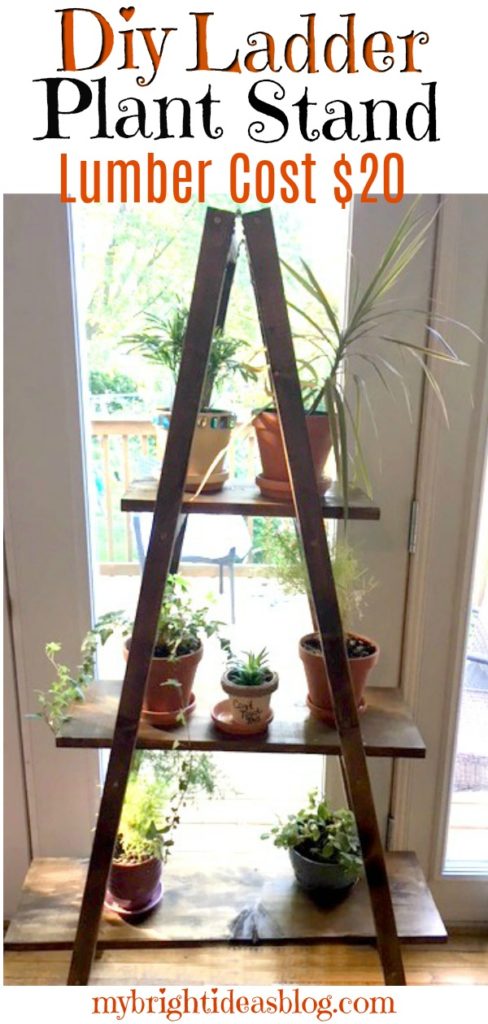
 How to make an amazing plant stand on a small budget.
Help! I’m becoming a crazy plant person! My collection of plants has been growing in the last 6 months and then the plants are growing bigger…so its getting a little overwhelming…they are on the kitchen counters, bookcases and dangling from window hooks. The back of the house by the deck gets the sunshine so they are all in the same area.
After spotting the ladder-style plant shelves made out of antique ladder…..I thought the ladder shelf would be the right solution for this nutty plant buying lady.
This photo from https://abeautifulmess.com/2013/02/nesting-ladder-display-makeover.html is what got me thinking about it. I love that they painted it mustard yellow!
Rather than go in search for a old ladder I went right to the lumber store to make my own. Just a few weeks back I made a blanket ladder and its virtually the same thing-add a hinge at the top and some cross boards across.
You can change your plant stand size to be taller or shorter and add another shelf if you prefer. My plant stand is 60 inches tall and at the widest shelf, 32 inches wide. As you can see it has 3 shelves.
You will need:
- 1 – 1x9x8 Board (this might be 1x10x8 but actually is 9 inches wide)
- 4 – 2x2x8 Boards
- 2 Hinges
- Sand Paper
- Tape Measure
- Pencil
- Square
- Drill/Screwdriver
- Mitre Saw (or get them to cut the pieces at the store)
- Stain (Miniwax Jacobean)
- Varnish (Clear Coat)
- Rag and Paintbrush
- Rubber Gloves
Cut Lumber
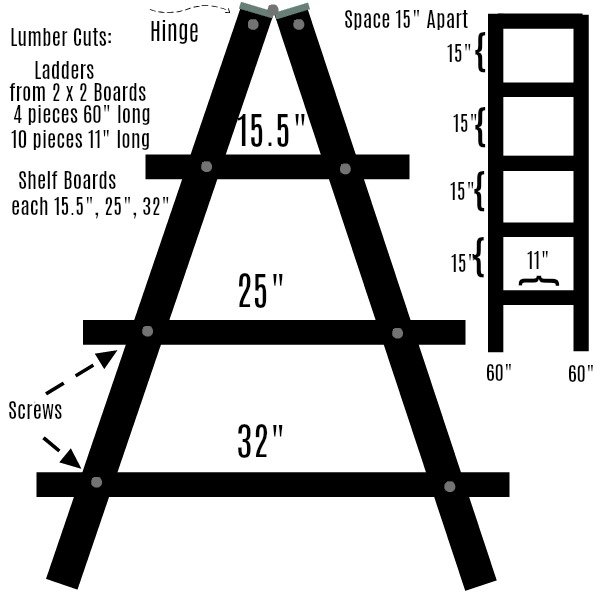
Cut the 2 x 2 boards:
- 4 pieces 60 inches (177 cms) long
- 8 pieces 11 inches (28 cms) long
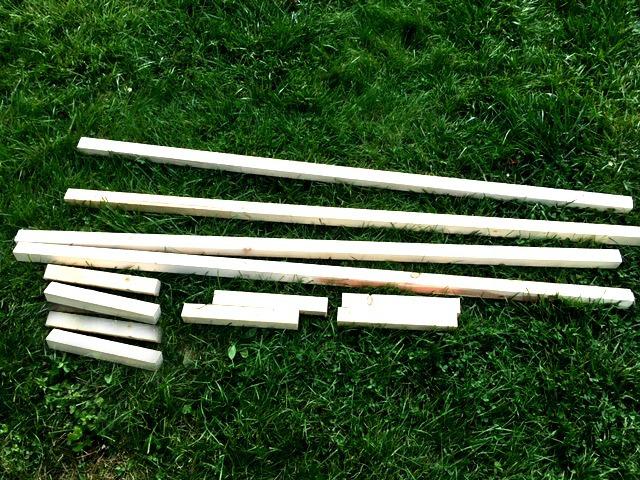
Next cut the 1 x 9 x 8 (or 1x10x8). This board was cut into 3 different lengths.
- Top – 15.5 (40 cm)Middle – 25 (64 cm)Bottom – 32 (82 cm)
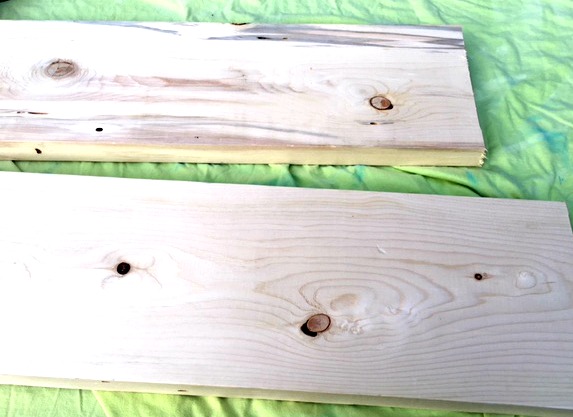
Sand any rough areas after the wood is cut. If you like the distressed look you could rough the boards up by hitting it with your hammer. Scratching with the side of a screw etc. I like the rough look with this dark wood stain but I don’t want slivers. So I just sanded the ends.
A sensible person might have put the stain on now before putting it all together. However, I wasn’t feeling sensible and wanted to see if this would turn out how I imagined it. So I put it all together first and stained it at the end.
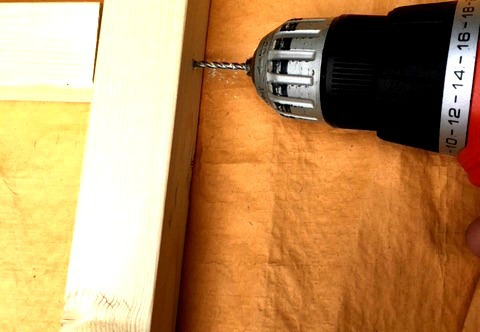
Lay out the pieces in place. Pre-drill where the screws will go. Using the 2 1/2 inch screws to attach the rungs into the sides. I put the first cross board right at the top. The next one was 15 inches below the first. The next one was 15 inches below and so on.
Now the 2 ladders are done. Lets move onto the hinges.
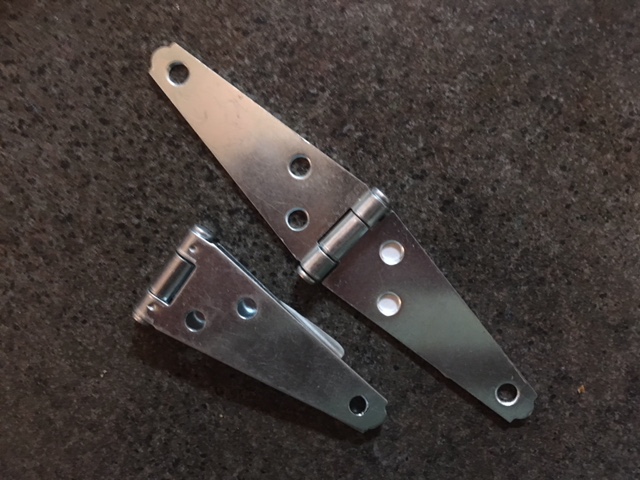
I chose these hinges because they are long and skinny rather than wide and short like the hinges on a cupboard.
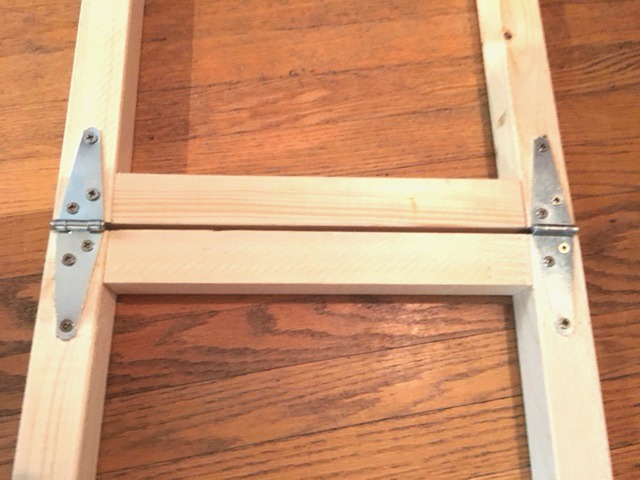
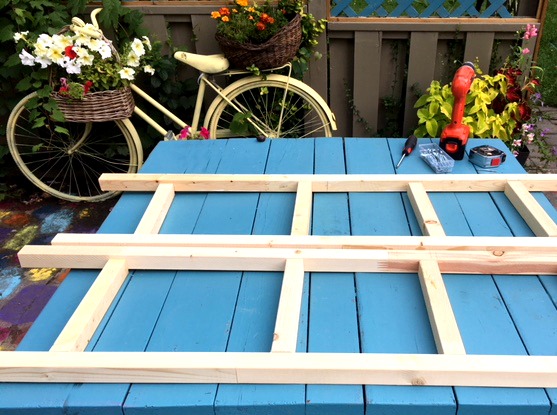
Lay the ladders head to head on a very flat surface. Set the hinges on top and screw them into the wood.
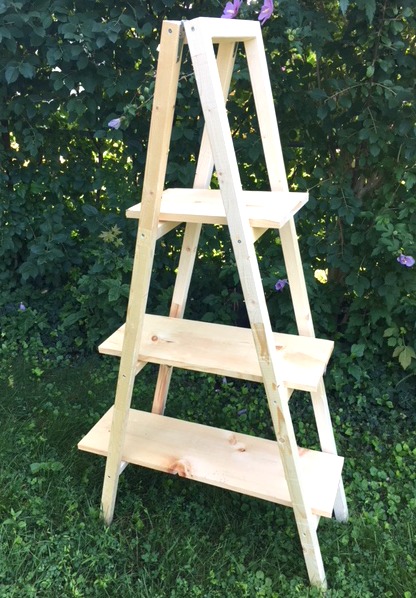
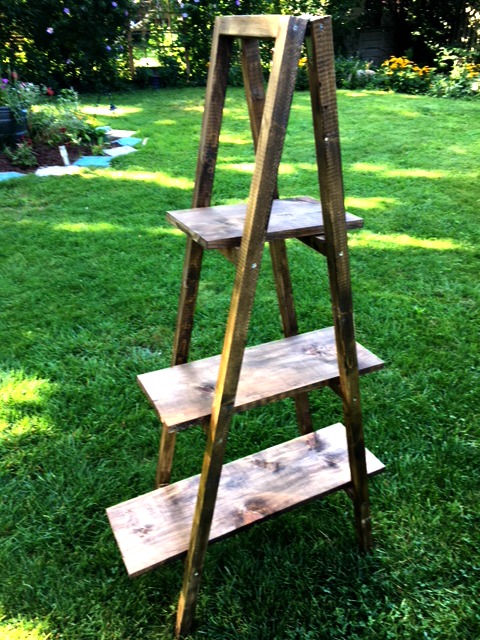
Now I could set it up and make sure I was happy with it before going to the finishing steps.
Yup, I’m Very Happy!!!! 🙂
Stain and Protect the Wood
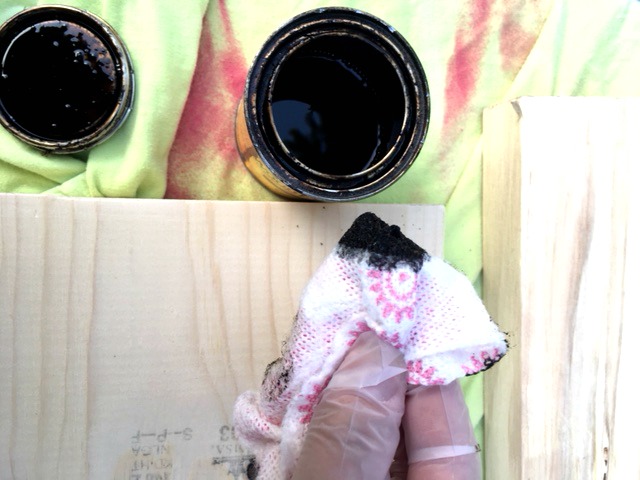
Almost done! Next we stain the wood. I used Miniwax “Jacobean” for a dark wood finish. I love this stain!
Wearing gloves, dip your rag into the stain.
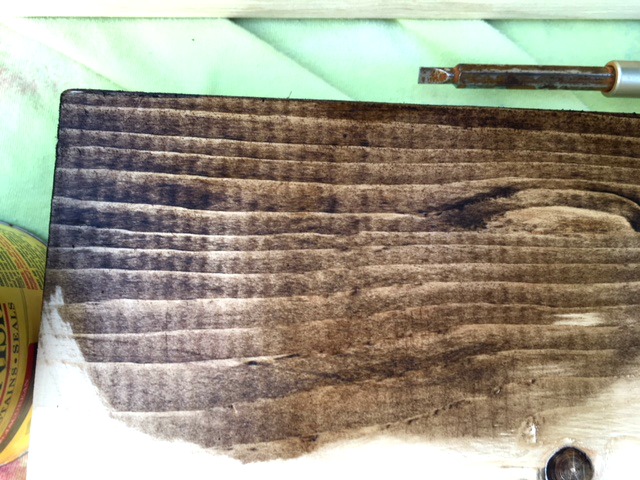
Rub the stain onto the wood. Now is when you will wish that you did this step earlier before the ladder was put together. There is lots of corners to do if its already put together so it adds time and work. Look at it from every angle so you don’t miss any sides.
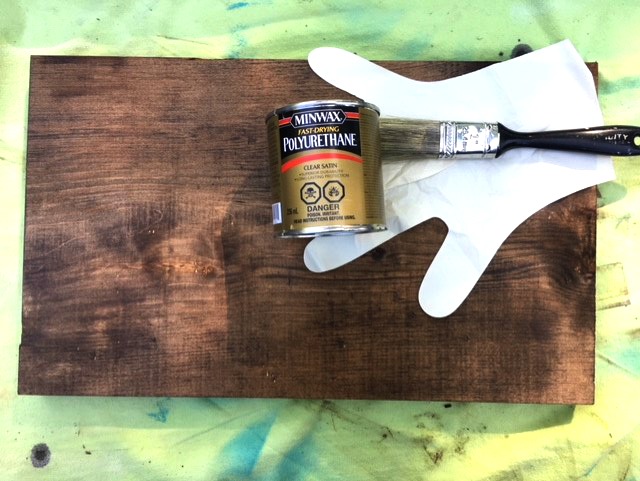
The final step is to put a clear coat. Since water could be spilling on the boards putting a clear coat of polyurethane is recommended. If you plan to put the shelf outdoors for a few months of the year you may want to put on a few coats.
I stained and allowed it to dry overnight. The next day I put on the clear coat and allow to dry over night.
It’s hard to be patient for the drying time when the rest came together so super fast!
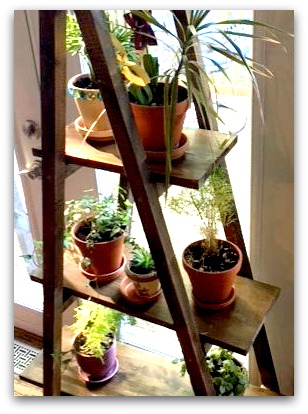
Now the happy moment has arrived to bring it inside and add the plants.
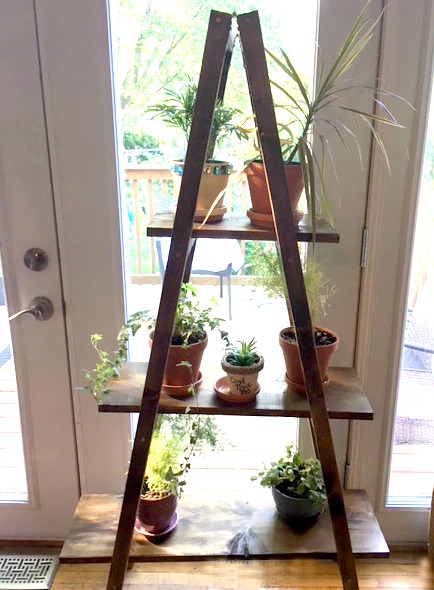
TA DA! Having all my plants together is going to make it so much easier to remember to water them all!
This project is so simple and easy to make and inexpensive. If you have a toddler at home you may want to keep an eye on them around a project like this. The shelves are just resting on the ladder rungs. To make it more secure you could put an L shaped bracket under each shelf. Its a ladder shape but no climbing on it kids!
Don’t Forget to Pin or Share this Post!
Previous Posts You Might Be Interest In…..
Plant Puns on Painted Potted Flower Pots – Adorable Gift Idea to Make Them Smile!


What a great idea! My first thought was-I need this for the Craft Fair/ Flea Market.
It’s folds so easily-Love It ! I found you at Nifty Thrifty Linky Party.
xo Lisa S
Thanks for stopping by and leaving a comment. I think it would be great for its portability too. If you only have it set up part of the year or move it to different parts of the house periodically, it will be super compact and easy to pack away when its not needed.