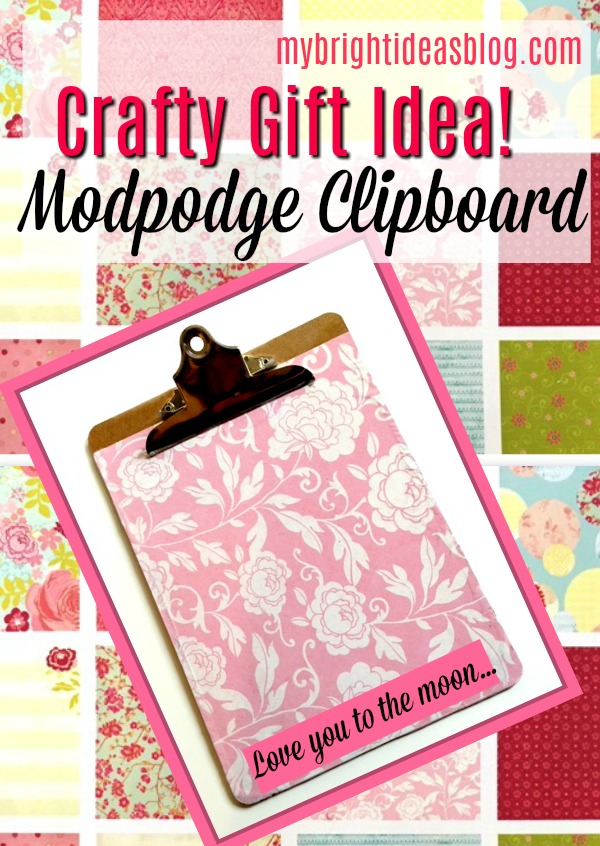

Upcycle a boring clipboard with Modpodge and Scrapbook Paper! Okay this is not my bright idea. Lot’s of people have done this so I got on “board” with the clip boards too. Tee hee hee!
 There are more than one style of clip on clipboards and you can do this with either style. I prefer the above style to hang on a nail with shopping and To Do: lists. If I’m going to add and take away pages frequently I would use the big solid clip style. Today we are jazzing up boring old clipboards!
You will need:
- a brown clipboard
- scrapbook paper
- pencil and scissors
- mod podge or craft glue
- 1 foam brush
- gift card or credit card (that you don’t want to use again)
- letter stickers (alphabet)
Size is important-use 12 x 12 sized scrapbook pages.
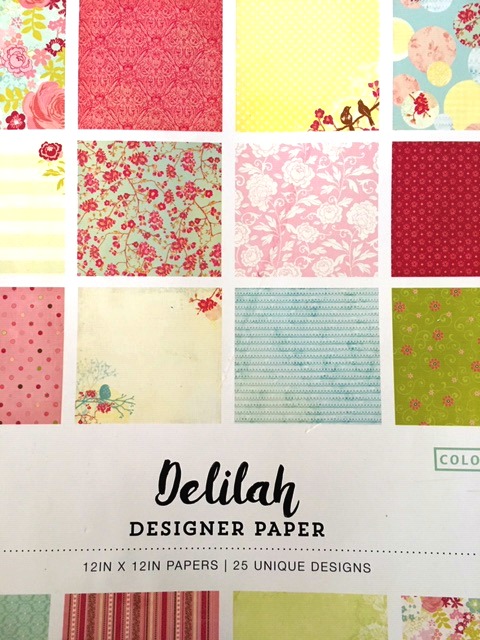
I found this book of scrapbook paper on at Walmart. The pages appealed to me because it looked like a spring country quilt. It has 50 sheets in the book and I think it cost $8.00. That is great value lots of left overs to make other items around my workbench to match!
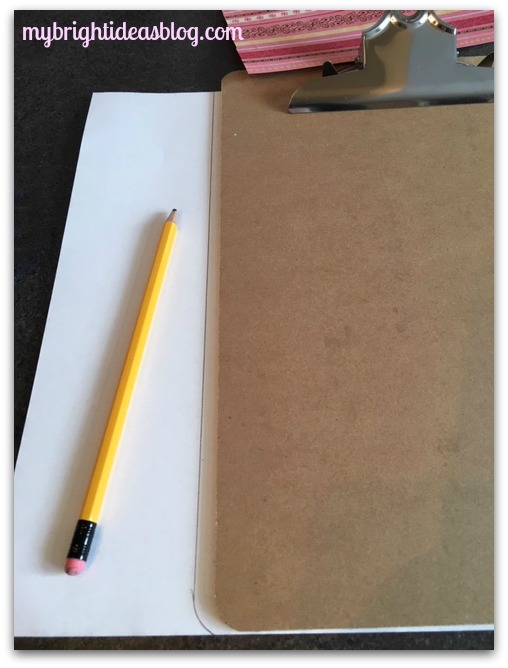
Trace the clipboard with pencil onto the back of the scrapbook paper. Carefully cut out the shape on your pencil line.
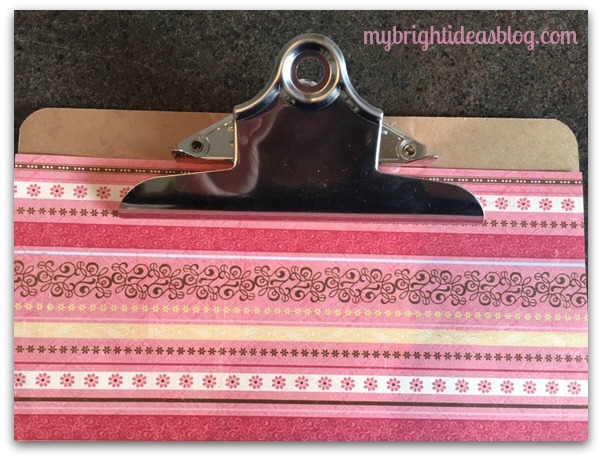
Before you add any Mod Podge test out the paper on the front. You can cut around the metal clips and/or add pieces to make it solid at the top. I was working with my daughters for their teacher’s gifts so I kept it simple and just pushed the page up to the clip. Trim any excess very close to the edges.

Spread Mod Podge on the front of the clipboard. It requires a lot because the clipboard will absorb a lot of the Mod Podge. You could probably prime the clipboard with paint to help this but it would add on an extra day for the paint to dry. We left this project to the last week of school and had to work quickly.
The next step is most important, so take it slowly. Have a helper hold the clip open for you. Sort of hover the page over the clipboard. When it looks perfectly lined up push it into the Mod Podge. It’s pretty impossible to move after this step so its a little nerve racking.
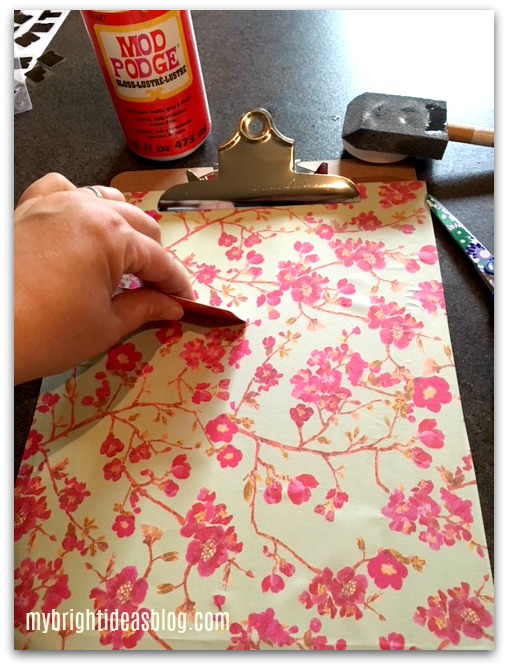
Use the gift card to smooth ripples and bubbles guiding them away from the centre and out towards the edges.
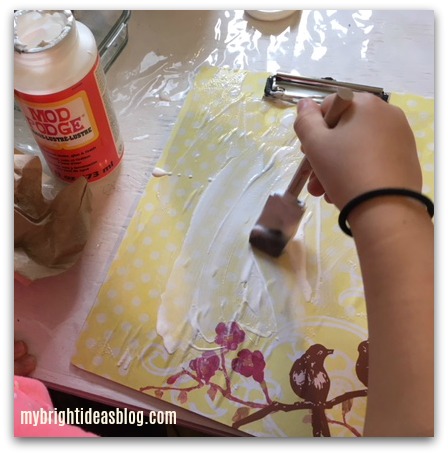
Apply a generous coat of Mod Podge, spreading it out and make it smooth and even. Avoid tiny bubbles. Allow it to dry thoroughly. This can take several hours. Apply another thin coat.
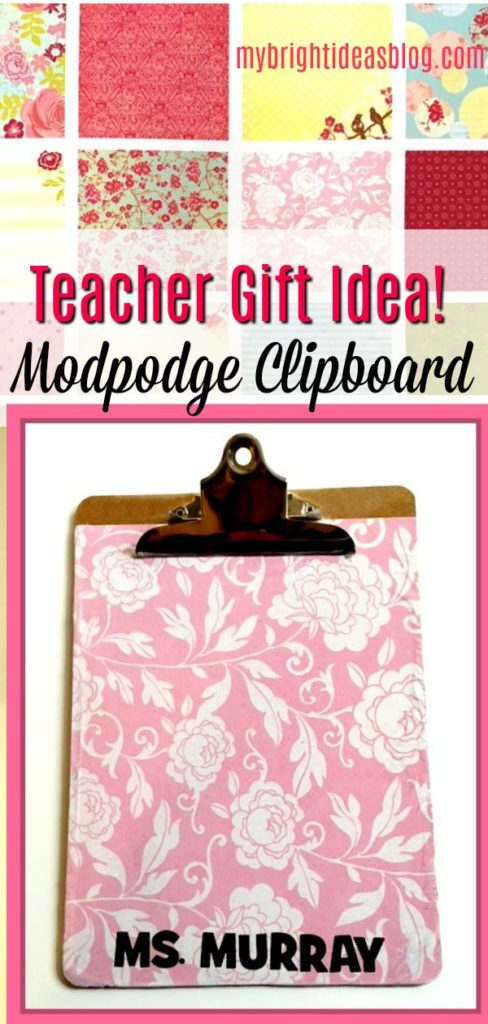
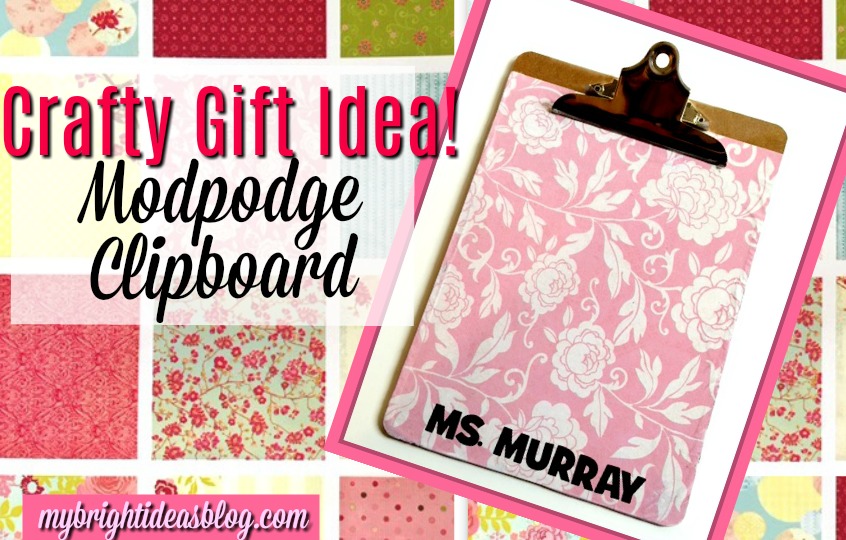
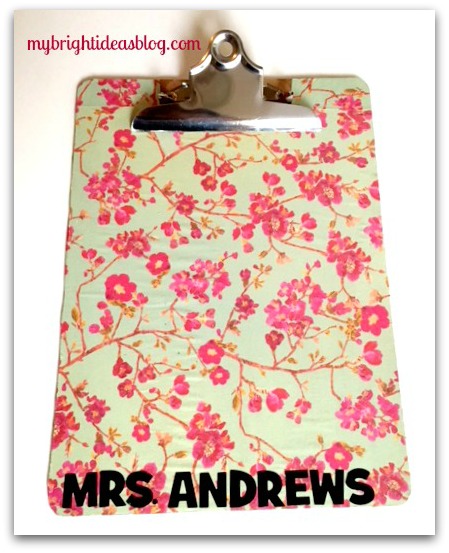 To personalize each clipboard we found some bold letter stickers in the craft department of the Dollar Tree. We bought several packs so we didn’t run out of letters. The girls had several teachers and school staff they wanted to make these gifts for. One teacher was leaving the school and getting married so instead of putting her married name on it…because we didn’t know it…we just put a message on it.
For the music teacher we put a page of music notes and the words to the song “The Lion Sleeps Tonight” on his clip board. She had noticed that was a favourite song of his. Nice touch right?!
The best teacher gifts are ones that are thoughtful, useful, original and a personal touch. My daughter was so delighted to see the music teacher carrying her gift on the first day of school in September.
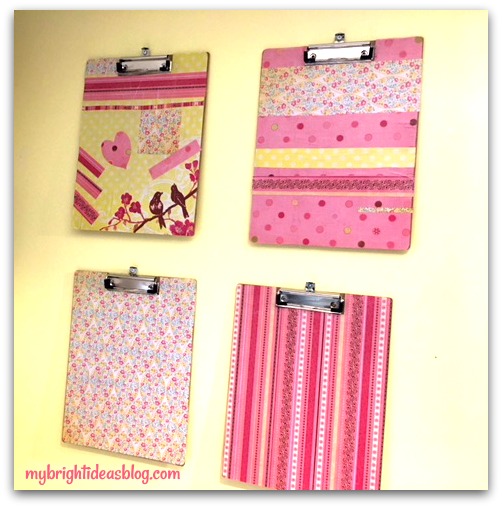
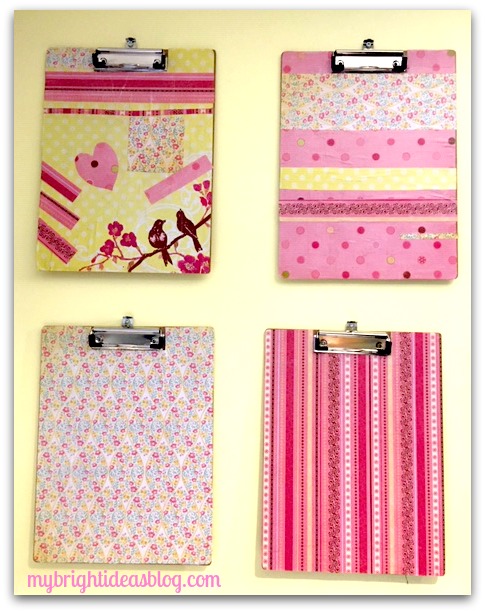 This collection of 4 clipboards are on my wall are next to my work bench. This is where I can post sticky notes, to do lists, clip my receipts.
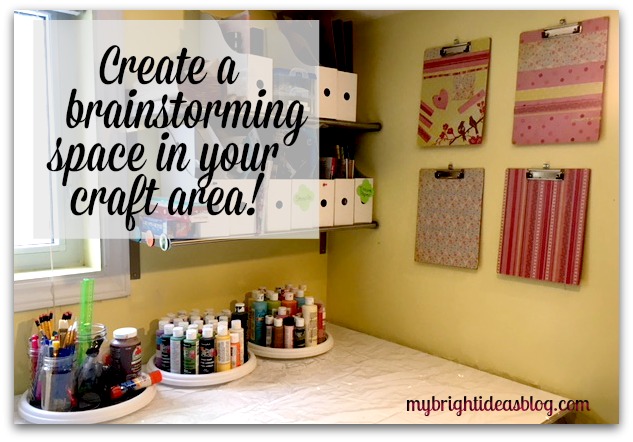 I love my lazy Susan’s for spinning around paint supplies. I won’t take a photo of the workbench today as it looks like a mad scientist’s lab (crafts more than science) has exploded. When you hop from Mod Podge to Rock Art to Sewing to Kids Crafts…the work tops gets a little nutso!
I hope you are inspired to make yourself a some clipboards for gifts or to use for yourself. The results are really cool!
Crafts Using Burlap and Buttons – Easy Project that Looks Great!