Make Glass Stone Gems into Gorgeous Magnets
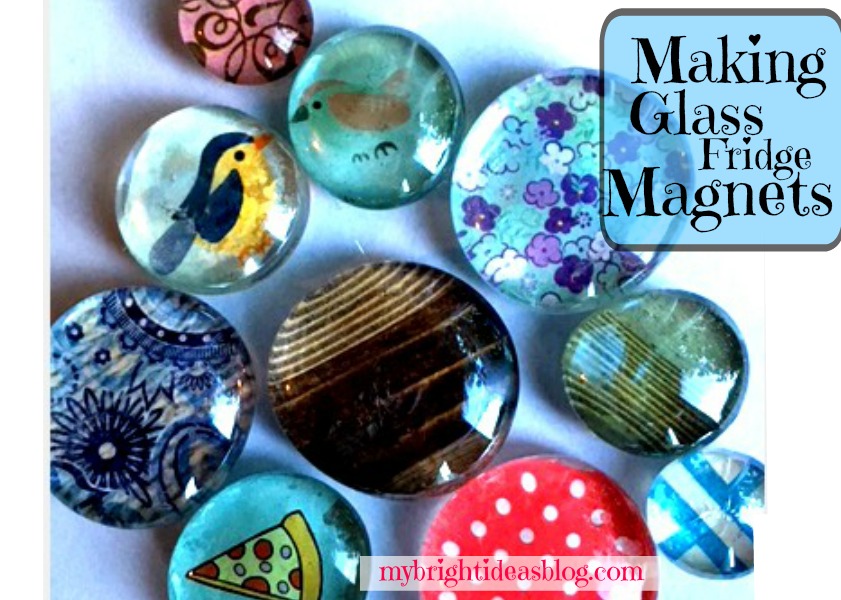
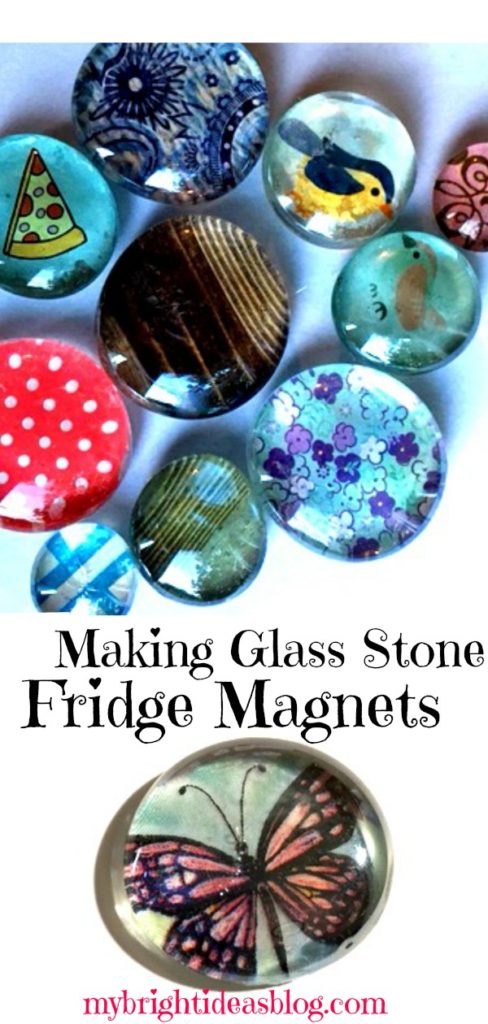
This craft is so crazy easy I can’t believe I didn’t make it sooner! Glass gems have a wonderful magnifying effect if you paint or glue a picture to the back of it. Then add a magnet to the back of it and you have a really cool fridge magnet gift or item to sell!
As I mentioned a week or two ago…the craft table at my work office is pretty empty so this is another project the kids and I have been working on to sell.
We will look at 2 ways to make a big impact with Glass Gem Fridge Magnets
Nail Polish Technique
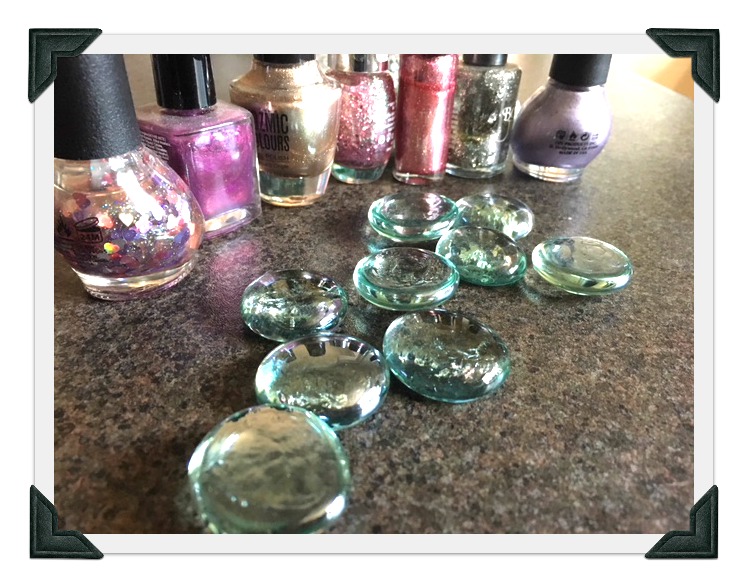 You will need:
- Clear Glass Gems (flat on one side)
- Nail Polish
- Tooth Picks
- E6000 Glue or Hot Glue Gun
- Magnets
I have worked with 3 sizes (3/4 of an inch, 1 inch and 1 1/2 inches) of clear glass gems for this project. The small and medium sizes I purchased from the dollar tree. The largest size is from Michaels. Both stores also sell the magnets in various sizes also.
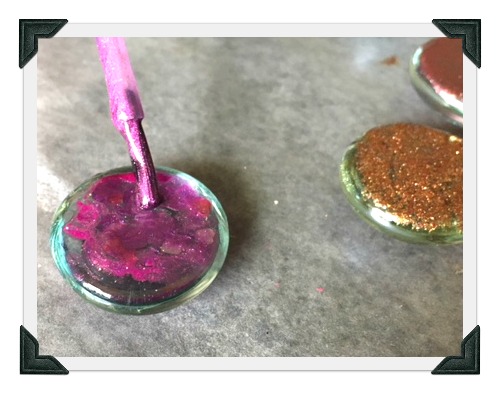
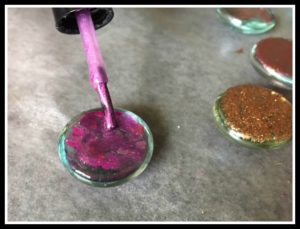
We really enjoyed using our sparkly nail polishes. Paint the bottom flat side of the stone with sparkle nail polish. If it seems sparkly but clear…allow to dry and put another solid cover over the sparkle layer.
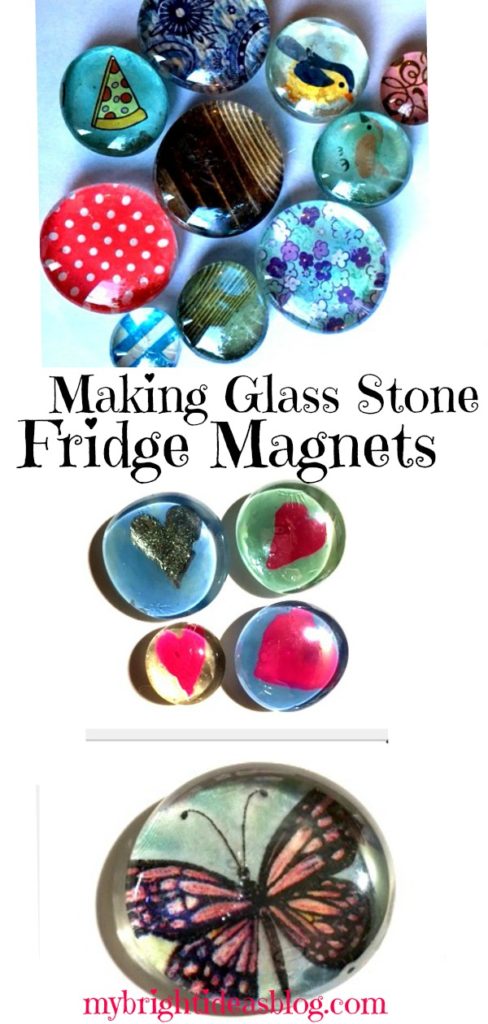
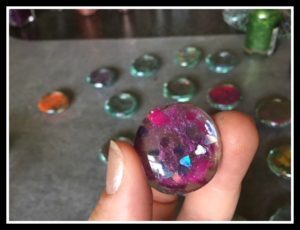
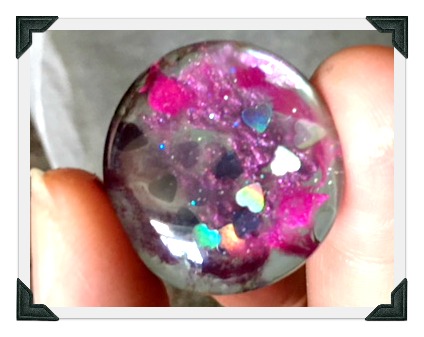 This is a pink love heart sparkle nail polish with clear and solid pink polish over top. When its dry it looks like its magnified.
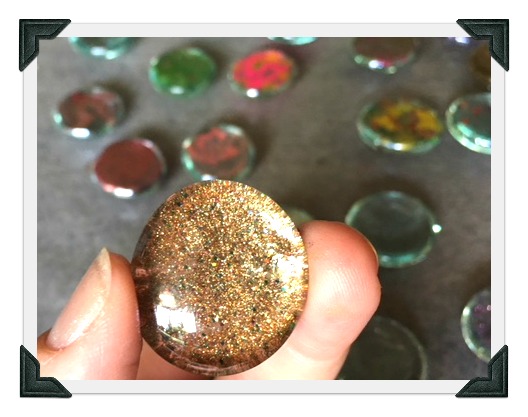
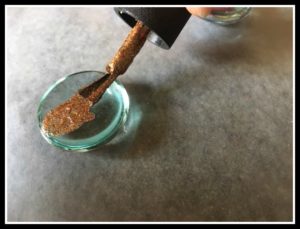
This glass gem has one thick coat of copper/gold nail polish. I love it! What a fabulous nail polish for these glass stone magnets!
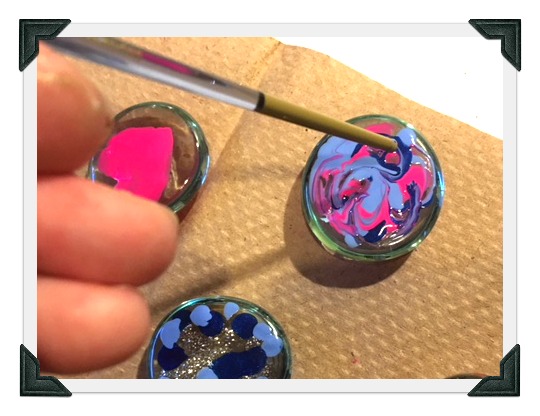
In the above photo you can see we put several dots on the glass stone and took a tooth pick (or end of a paint brush) and simply swirled the nail polish. The kids loved trying this!
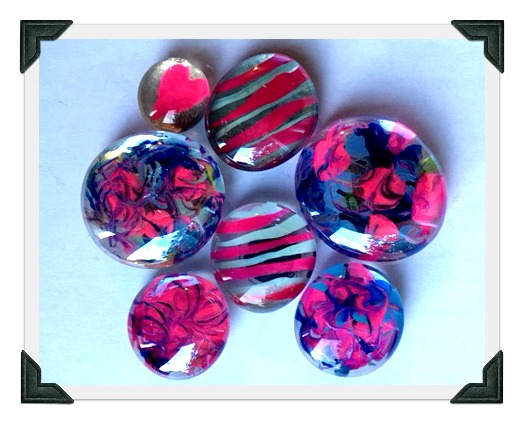
Swirls, stripes and love hearts…
To make the hearts, I took a pink bottle of nail polish and made a love heart on it. After it had fully dried I painted over it with silver sparkle, blue and turquoise for a really sweet gift magnet.
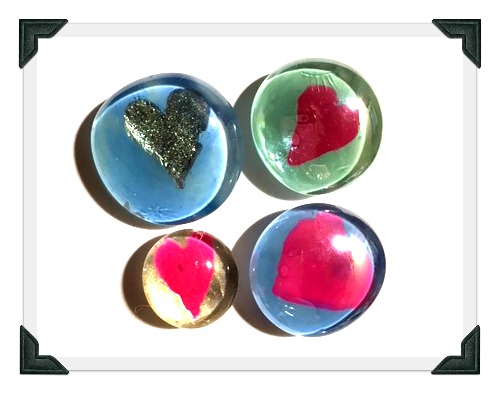 Allow all nail polish to dry fully and then glue the magnet on the back of the glass stone. For my nail polish magnets I used the E6000 glue which is very durable and very smelly. If you choose to do the same, open the windows and allow ventilation. It’s very smelly stuff. It also is slower to dry so watch that the magnets don’t shift while drying. I found that I needed to space the magnets apart during this process. If placed too close together the magnets would pull towards each other and not dry in the middle of the glass stone. Do not touch for several hours or leave to dry overnight. Using a hot glue gun instead will fix the stinky and shifty problems. But watch your fingers. Neither glue option is great for the kids, so I would recommend the grown ups do the gluing.
Seriously though, open the window. Between the smells of all the nail polish bottles and the E6000 glue you are sure to have a headache and get grouchy. Not allowed! This project is too awesome to get grouchy!
Now lets move on to another lovely option….
Paper Technique
You will need:
- Patterned Paper or Napkins
- Scissors or hole punch
- Glue or Mod Podge
- Paint Brush or Sponge Brush
- E6000 or Hot Glue Gun
- Magnets
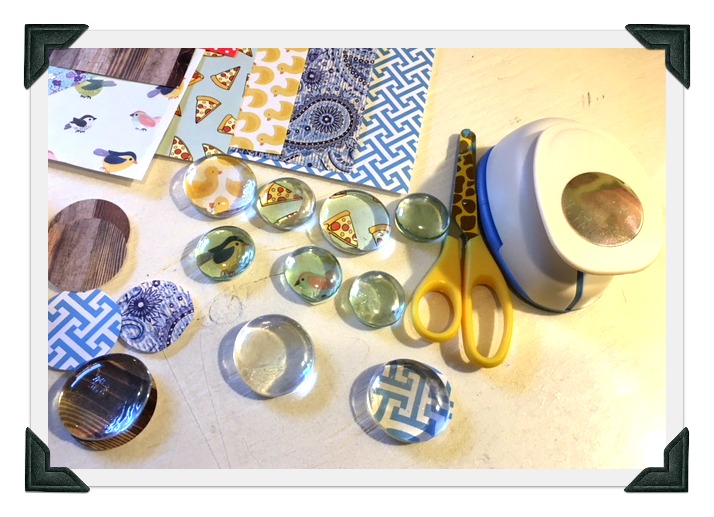 The variety of designs of scrapbooking paper is perfect for this project. But you could also use colorful napkins, tissue paper, photos, something special you draw or you print off. You just need to cut it to size and glue it on.
If you have a hole punch the right size by all means use it for a perfect circle. If not just use scissors and cut it slightly smaller than the stone.
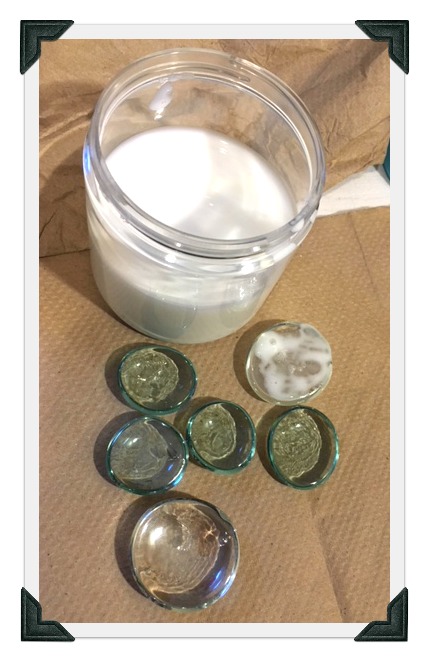 Brush mod podge or glue on the flat side of the glass stone. Add the paper circle with design facing down. When you are finished and flip it over it will show the beautiful paper through the glass.
Press the paper down. Brush on another coat of glue.
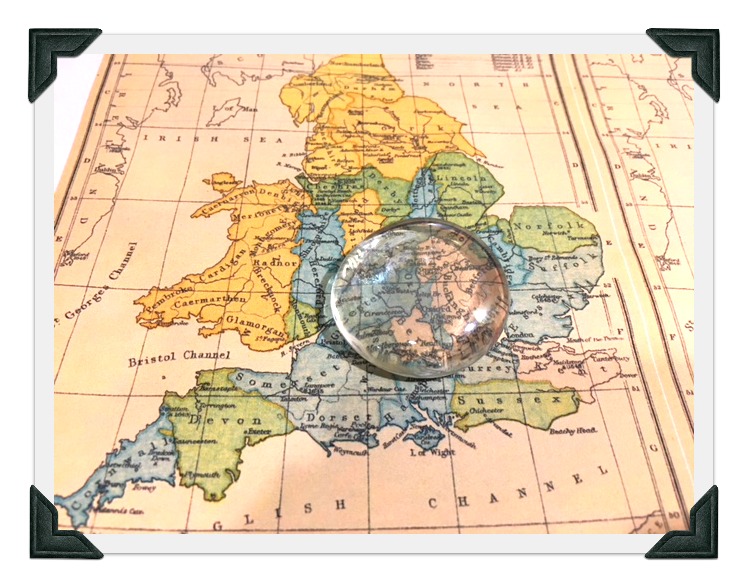 One of my favorite things was using a map. What a fantastic souvenir of a trip! Use the maps and train tickets or even concert tickets for your fridge magnets.
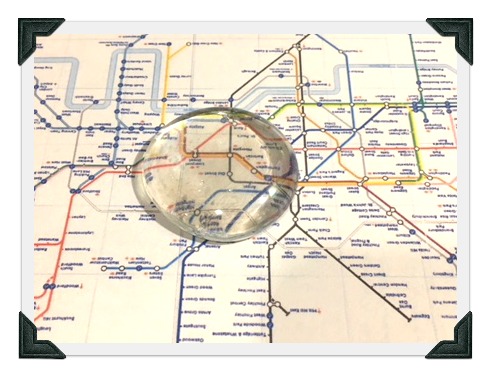
This is a map of the London underground. I wonder if it’s upside down in this picture. LOL!
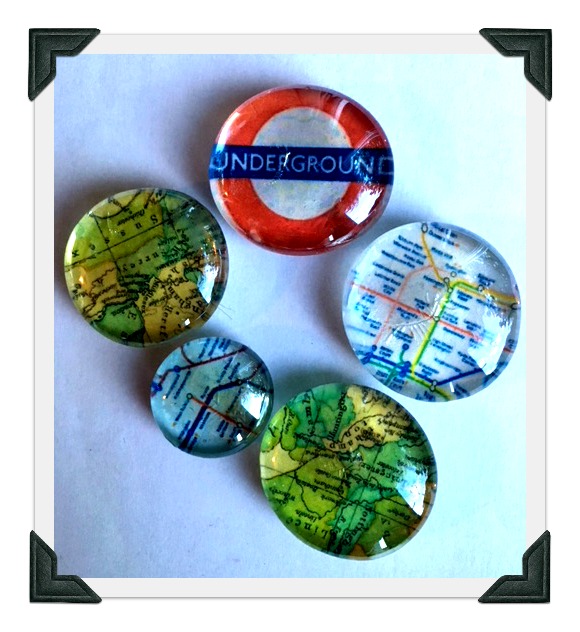
Dinner napkins come in beautiful patterns and I’ve just discovered you can glue/mod podge them to decorate all sorts of crafty projects. Hip hip hurray! Check out the butterfly magnets I made from napkins.
I cut down the napkin to size and removed all the layers of paper except the top one. This is like gluing tissue paper so handle with care.
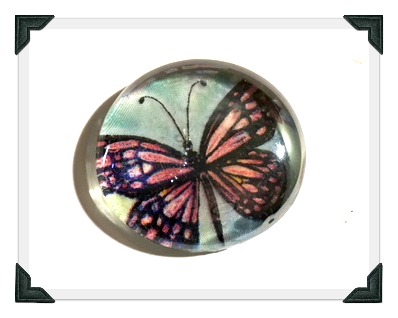 I recommend putting a layer of glue on the stone gem and add the tissue or napkin on top. Then after it is fairly dry, I would put another coat of glue on top of the paper to seal it from this side. If you put it on too soon it could shift or tear the tissue.
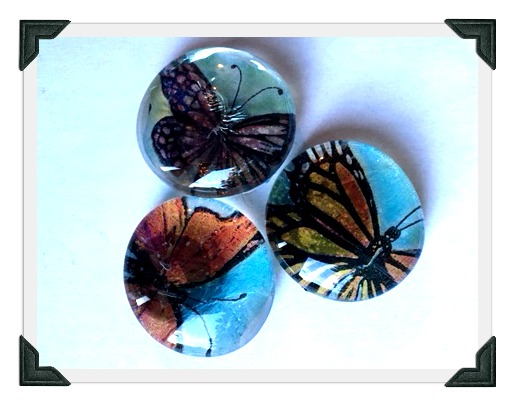 When it is all dry glue the magnet to the back. As you can see from the butterfly on the bottom left of this photo-the magnet may show through the finished design. This is because the tissue was so thin it made it a bit transparent. I could have prevented this by putting a bit of paper on the back or even adding a coat of opaque paint or nail polish.
This project is a bit addictive! So its a good thing we are taking them to the craft table at work and sharing their beauty with others. To display these for sale we are using an inexpensive cookie sheet.
As we have invitations to parties and BBQ’s this summer this is a great hostess gift for the kids to show their gratitude.
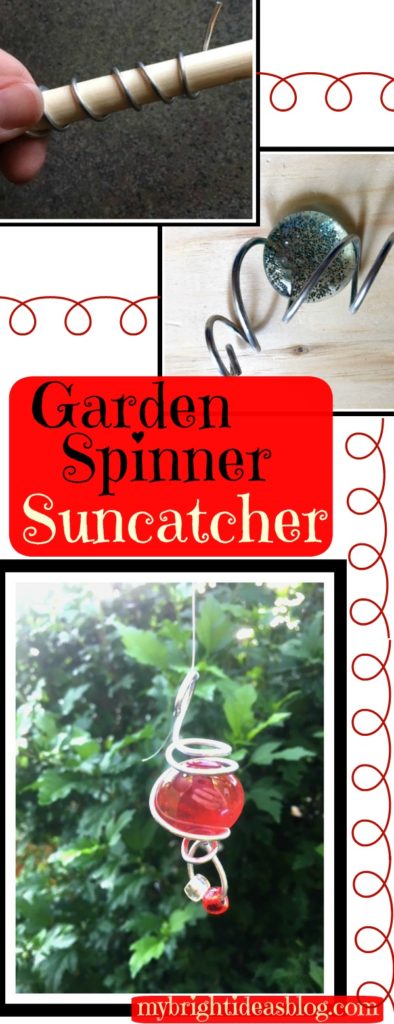
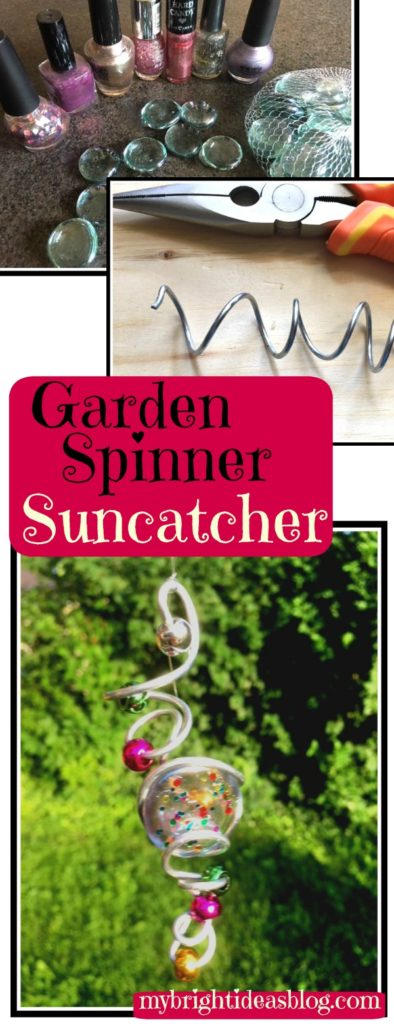
Check out this previous blog post where I also used the nail polish gems with wire for a suncatcher for the garden.
…
Make Memory Wire Bead Bracelets
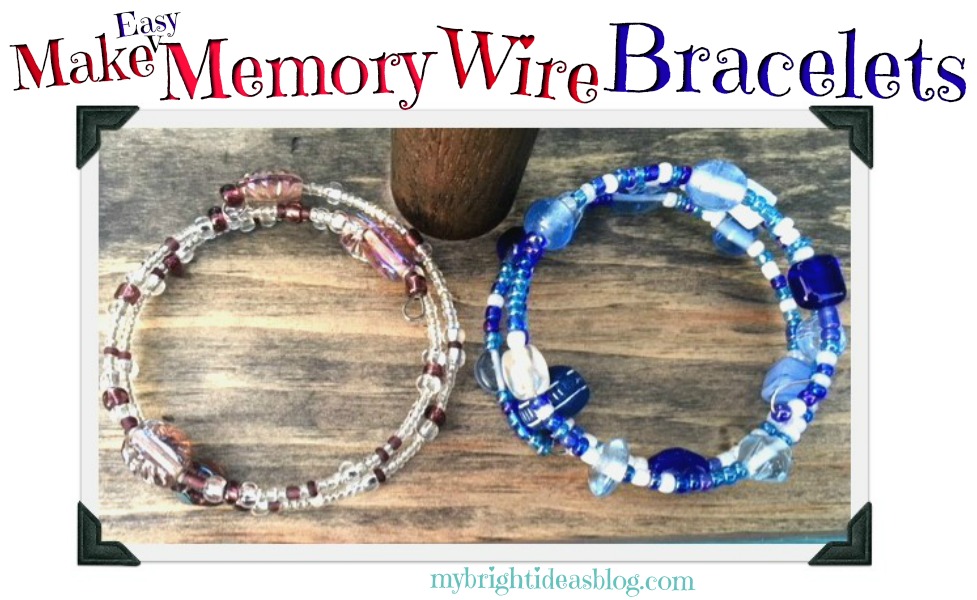 Making Memory Wire Bracelets
Do you need a GREAT gift idea that is easy enough for a child to make? Want to make a craft you could sell? This post is for you!
What got me started on this idea is the craft table at my work (I work in an office at a financial institution). We have a table that any staff member can put out crafty items and a price tag and see if anyone in the building wants to purchase it. For some reason everyone else has taken their stuff off the table and now its just things I have made. Its a little embarrassing. Seriously, besides a few crocheted baby items everything else is mine! So what can I do to make it less empty and pitiful? Hmmm think think think… Add more stuff silly!
Its summer so I have done is enlisted my kids to make a few items. I pay for the supplies and they get crafting and then they get added to the table. The kids will get a bit of money if things sell. I was thinking of asking $5.00 for these. Everybody loves bracelets right?!
You will need:
- various small beads (check out the dollar store or upcycle old costume jewelry)
- memory wire (bracelet size)
- rounded pliers that twist the wire
- pliers that will cut the wire (if you only have a pair of needle nose pliers you can still do this project)
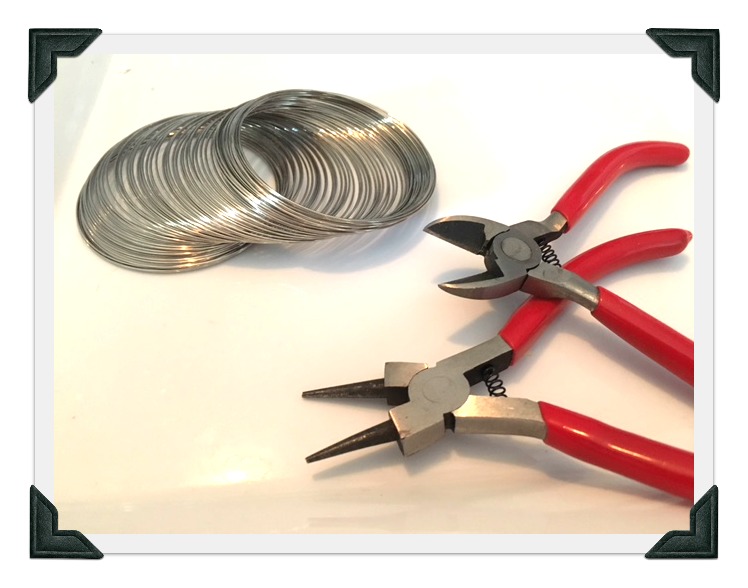 What is Memory Wire?
Memory wire is coiled stainless steel wire. Do you remember the child’s toy SLINKY? Its just like that but meant for jewelry making. The fairly fine wire holds its coiled shape. This makes it, hands down, the easiest product to string beads onto.
For this project I would suggest two pairs of pliers. One to cut the wire and a round nose pair of pliers for a loop at the end. If all you have is a pair of needle nose pliers you will be able to make it work.
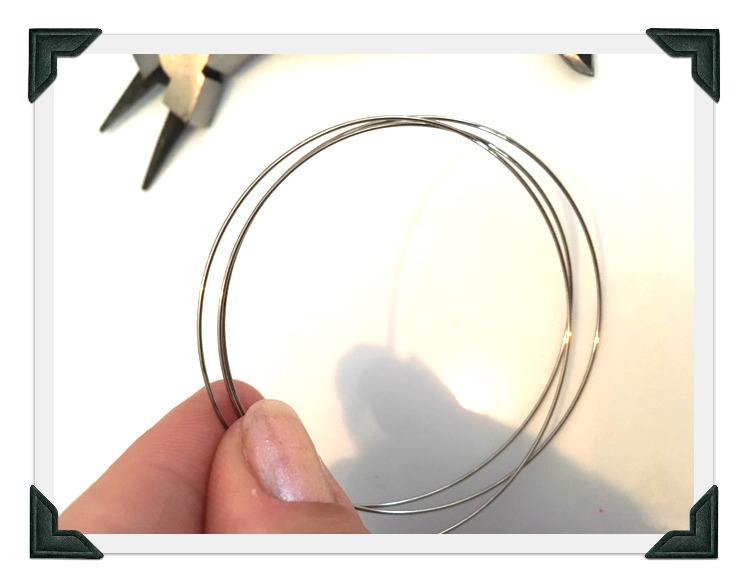 Measure 3 to 5 rings of memory wire and cut the wire.
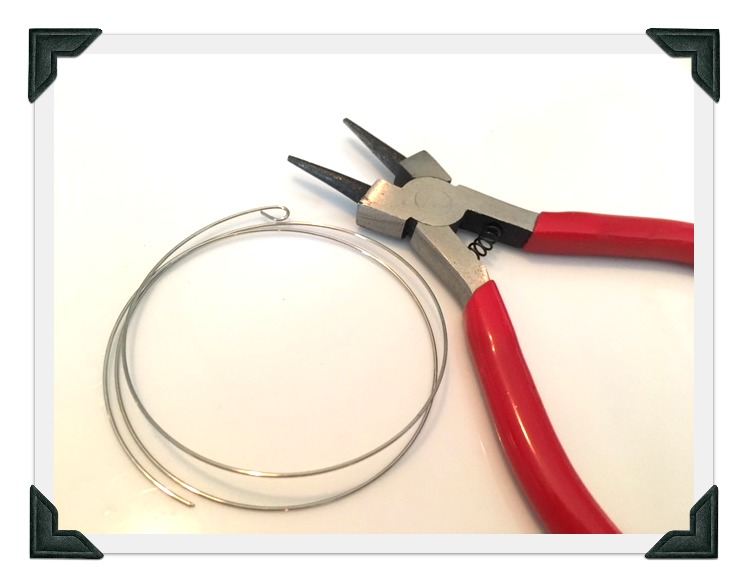 Use the round pliers to bend the end of the wire to make a small loop. This is so that the beads won’t fall off the other end. Now your are ready to begin adding beads!
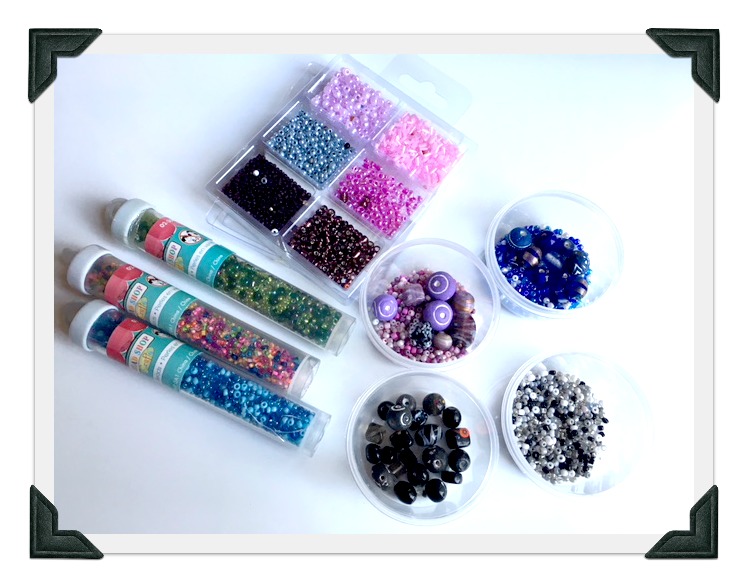 These beads were all $1.25 from the Dollar Tree. I was quite impressed with their glass bead options. Of course, the big craft stores will have a lot more…aisles and aisles of beads in fact. But they will cost more….so look for coupons.
Another option is to go to thrift stores (or your old jewelry drawer) and find old necklaces and bracelets that are wanting to be upcycled. I have lots of necklaces that I made years ago and I love the glass beads but I’m not into them as necklaces any more. Snip the wire or string and empty them into a bowl and reinvent it into a new memory wire bracelet.
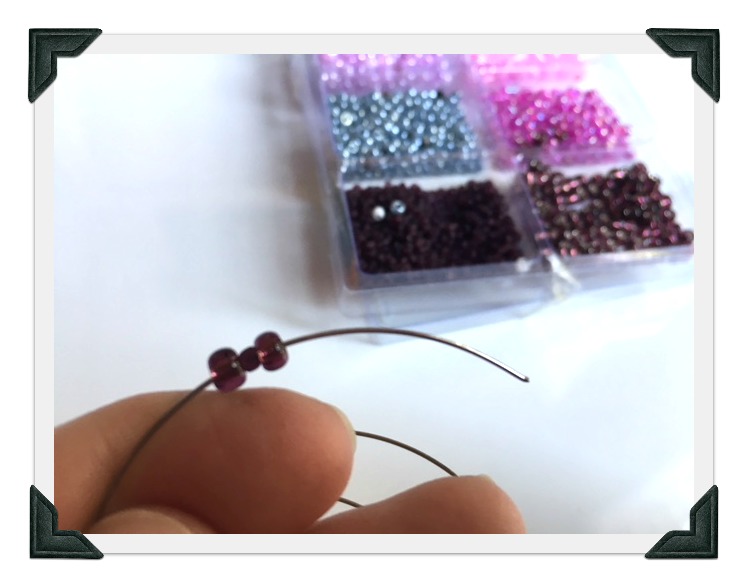 Start with a few beads and slide them around to the bottom. Double check that they are secure with the loop to stop them at the bottom of the coil.
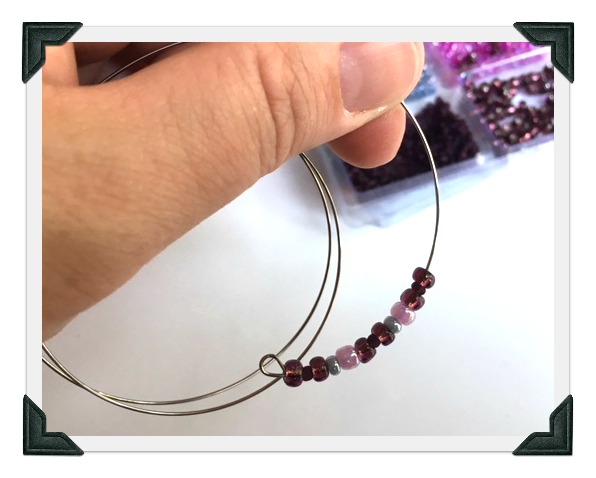 Use a pattern or just go freestyle and grab whatever beads come out of the jar.
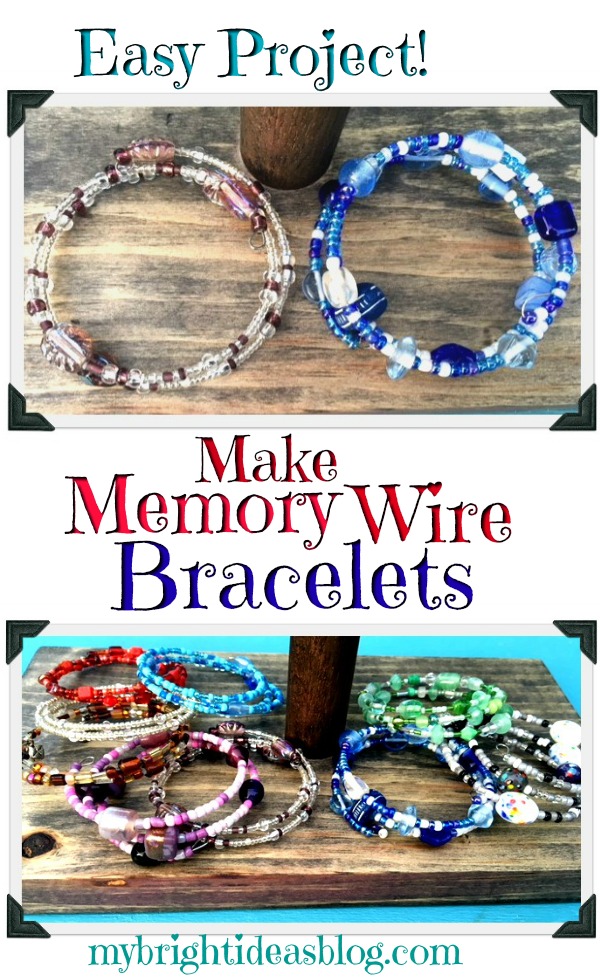
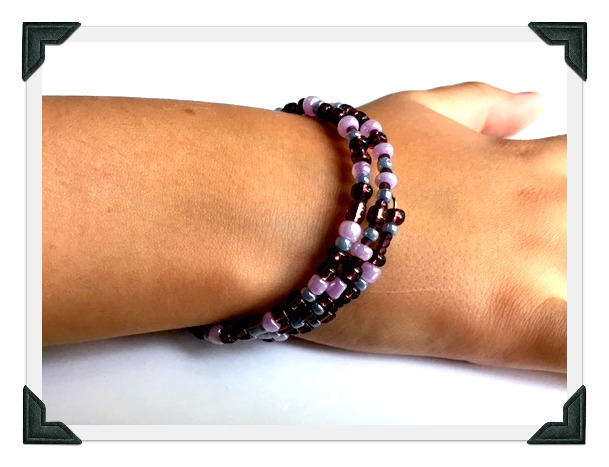 This one is was all small seed beads. It has a nice dainty look to it. These were from a Dollar Tree package so probably all in all this one cost about $.30 to make. We are going to bring it to a play date tomorrow for my 8 year old’s little friend Lilly. Cool gift made by a kid!
Is that one a little too dainty or boring?
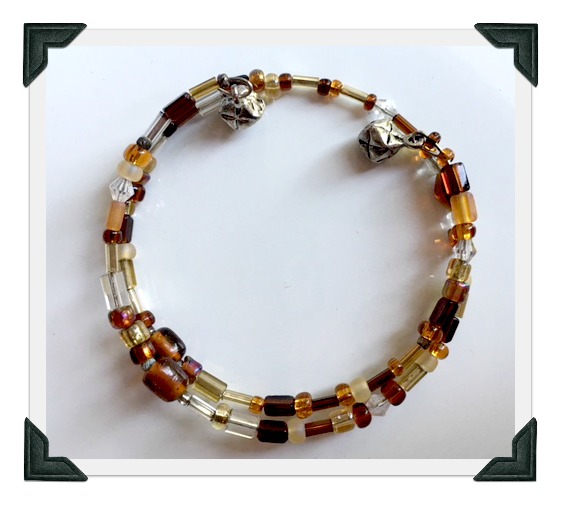 This one has a mixture of brown and clear glass beads all random and mixed up. Notice the dangle beads on the end?
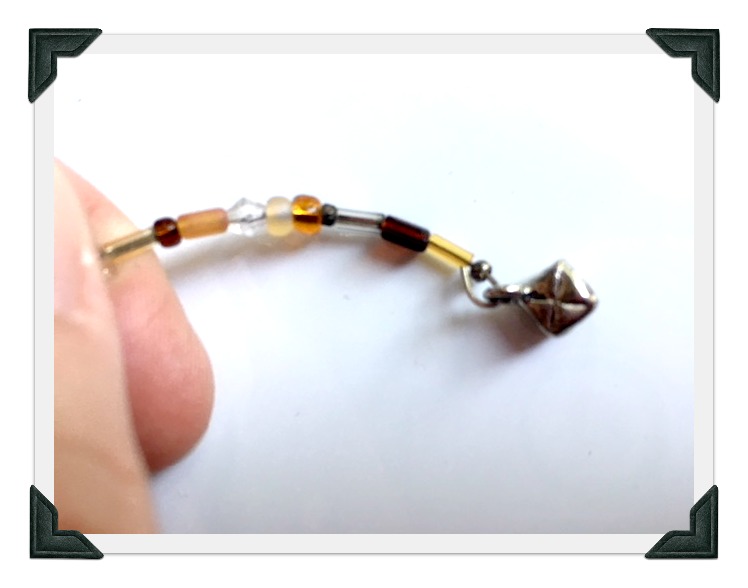 Its so easy to pop a charm or fancy bead on the end of the bracelet.
Every single bracelet will be different. You decide what size and shape. Glass beads, plastic beads, wood beads.
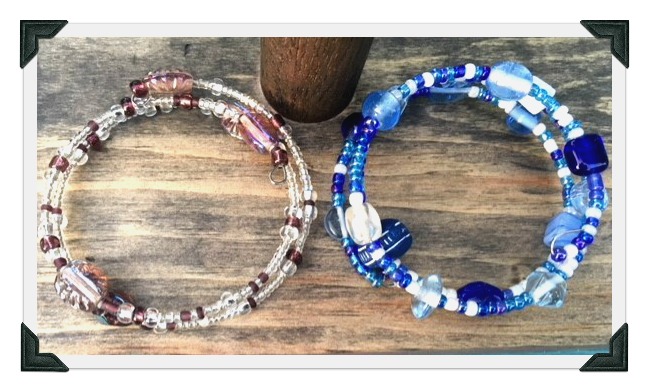
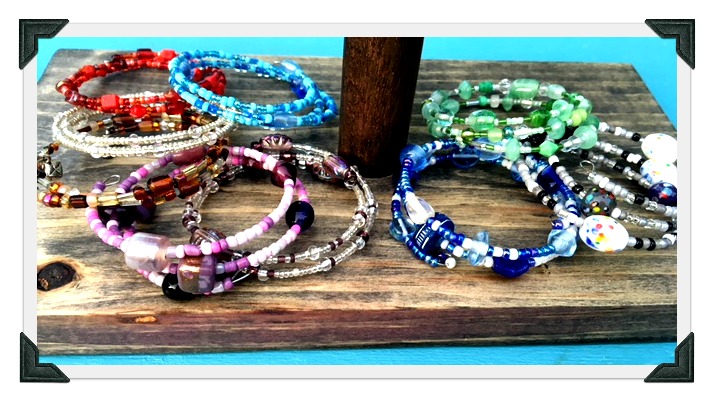 As you can see from this picture of the completed bracelets….sometimes we used a pattern and sometimes we just pinched up a bunch of beads and just put them on the wire randomly.
 As you are nearing the end of the wire leave an 1/2 inch or 1 cm at the end.
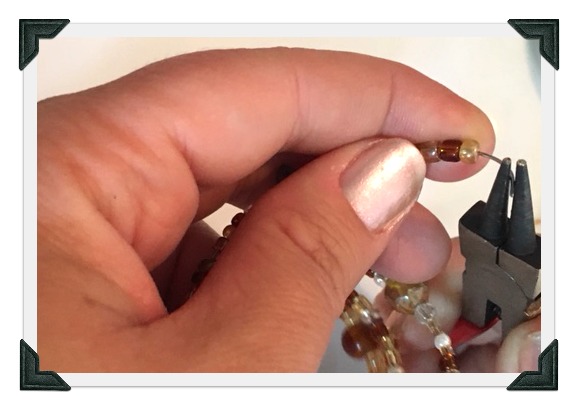 Using the round-nose pliers pinch the end of the wire and bend it around to form a loop.
Bend it closed. The example below still shows a gap. Pinch it closed tightly-you may need to do the final squeeze with another style of pliers.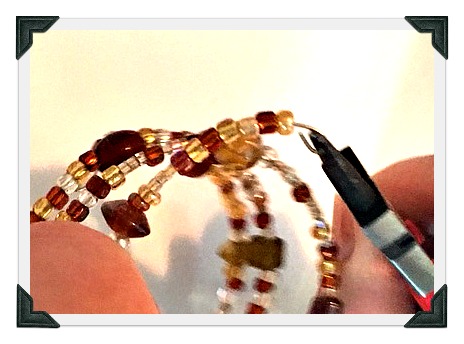 Here is a picture of my 11 year old working on a blue bracelet. I’m telling you this is a great gift project for kids to do.
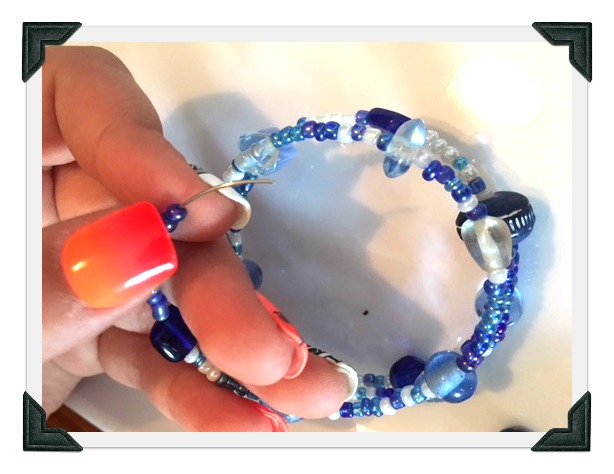 Summertime means stick-on fake nails. Try not be distracted by my daughter’s orange nails. My girls are obsessed with fake nails. But then they quickly want them off. This means they will leave scattered plastic nails on the coffee table or their bedside table. This makes their mother CRAZY-CRACKERS!
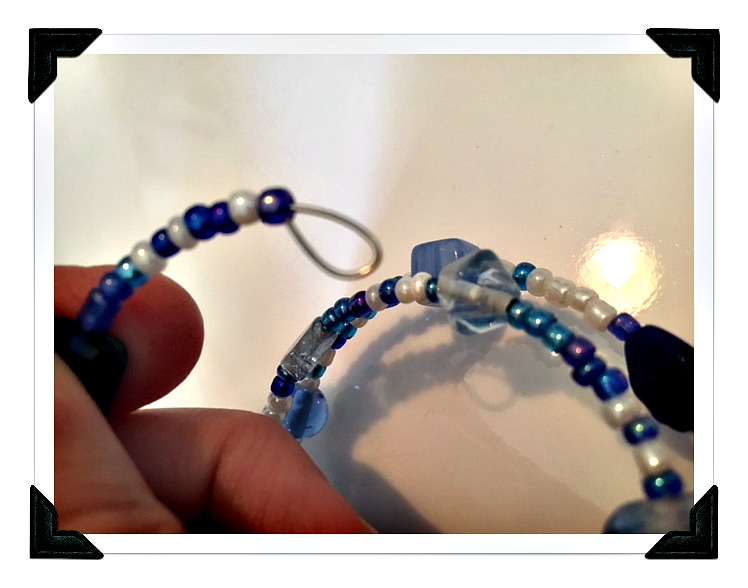 Its that easy! Now the 8 and 11 year old’s can sell or gift their beautiful bracelets. Even younger children could do this if you help with bending the wire at the beginning and end of the project.
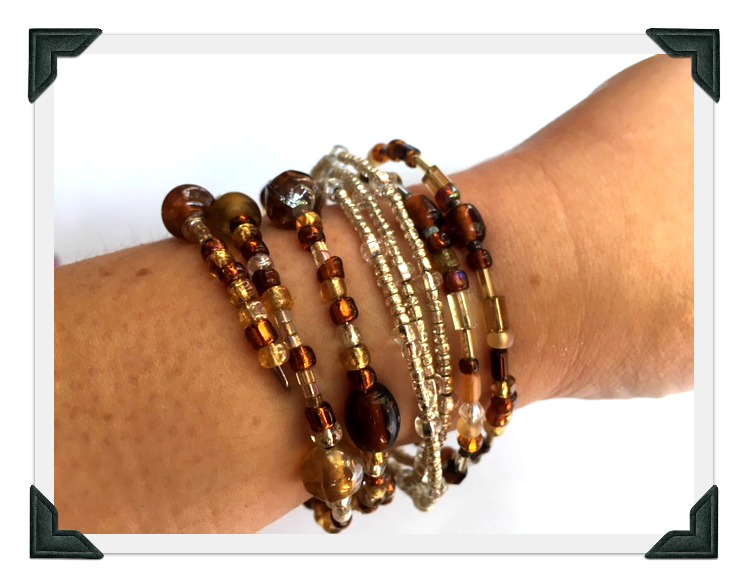
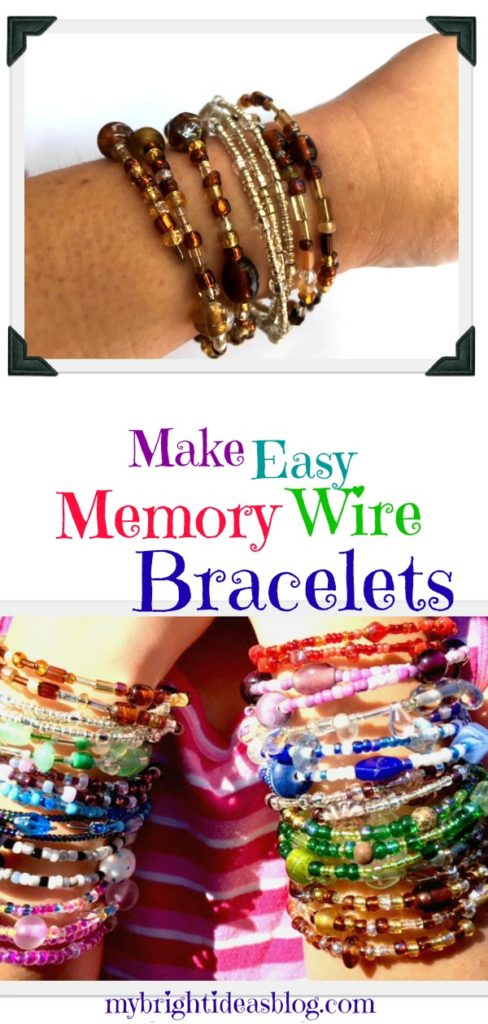
Forget about the kids I love making these! I put 3 together for this photo.
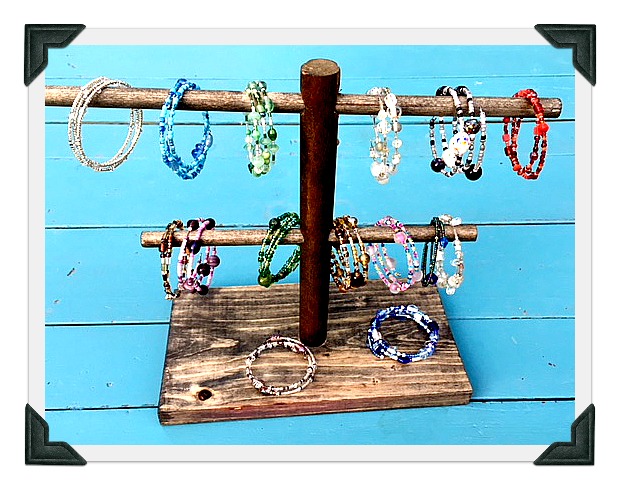 Check out the jewelry stand I made out of scraps of dowel and wood. Its perfect for displaying the finished bracelets on the craft table.

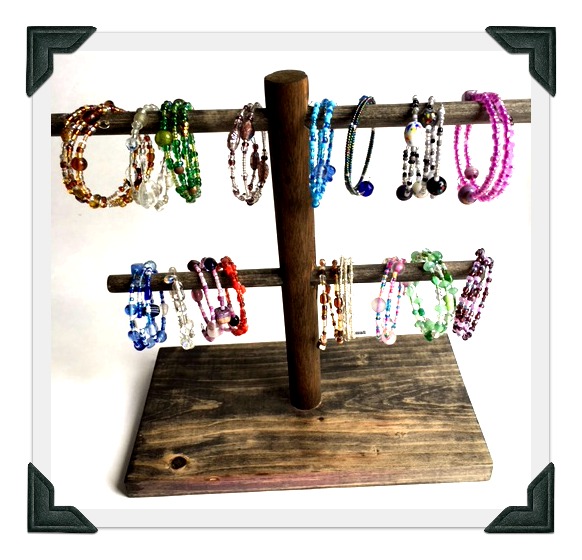 I hope you enjoy making this super easy project. Its rather addictive!
…
…
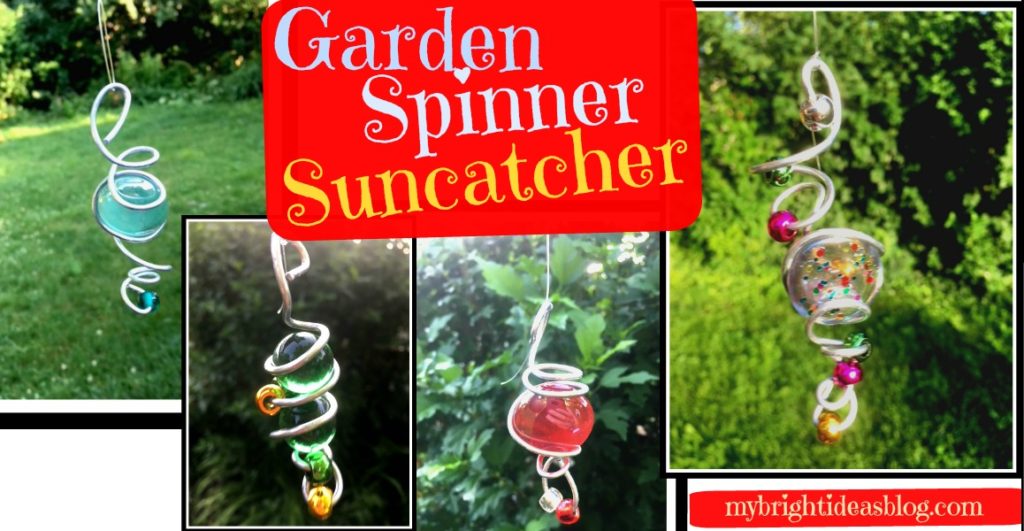
Make an EASY Garden Decoration From Wire, Marbles and Beads
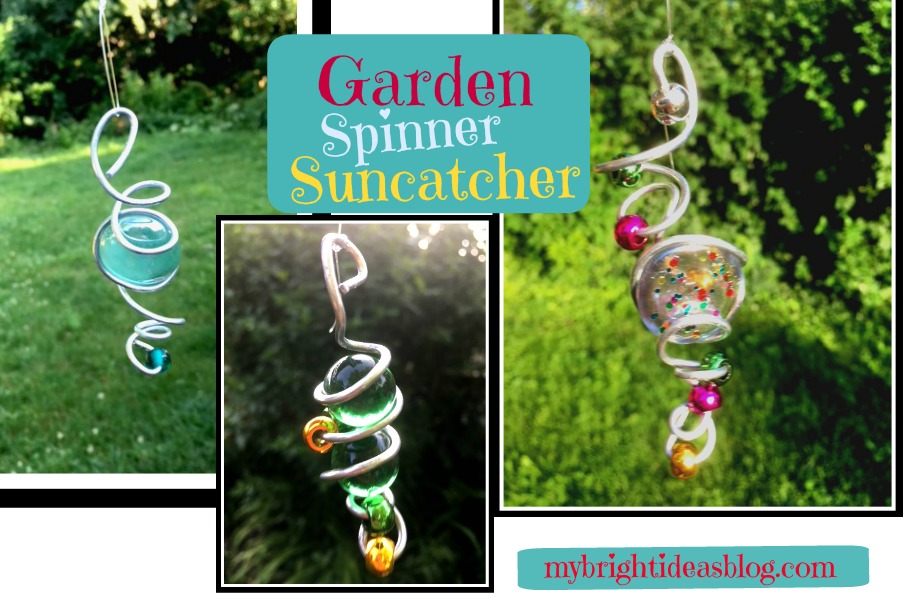 Wire Art – Suncatcher / Wind Spinner
This gorgeous craft will make you feel like an artist and is easily made in just 15 mins! Make it in the summer for the outdoors to spin in the breeze or in the winter hang it in the window as a sun catcher.
You will need:
- marbles, beads, glass stones
- sparkly nail polish
- Galvanized Steel Wire 14 Gauge
- 2 pairs of pliers, one with wire cutting edge or wire cutters
- clear fishing line
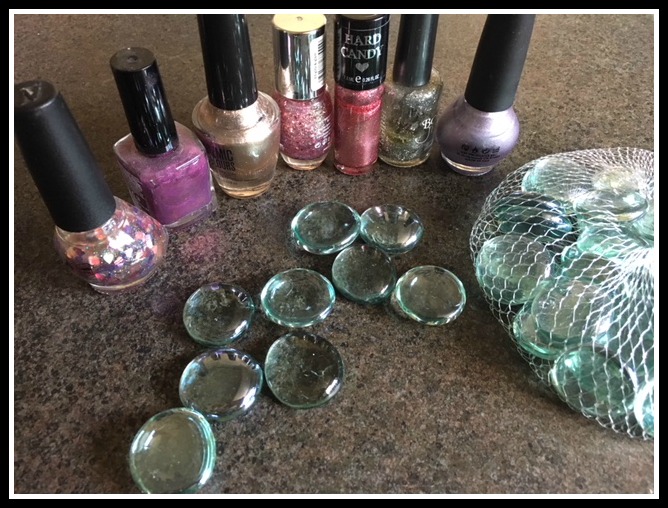
Simply get started with a bag of medium sized flat glass stones from the dollar store. Put a piece of newspaper or wax paper down to protect your work space.
Paint one side of the stone with sparkly nail polish. Allow to dry.
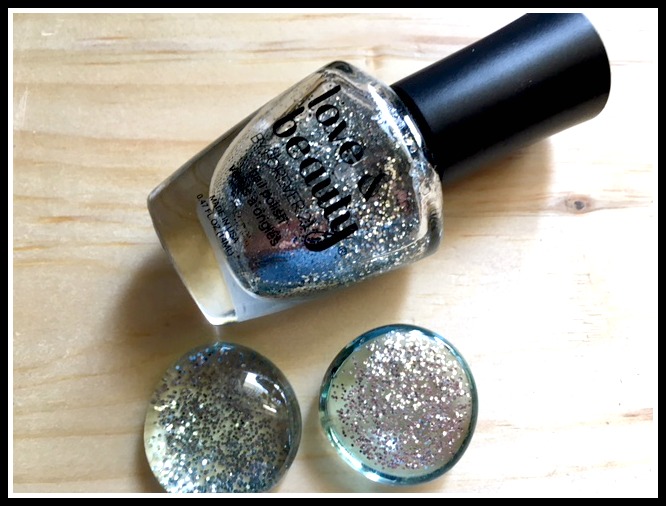
If you paint the flat bottom side of the stone the glitter shines through so you only need to paint one side. You could do a similar effect by putting glue on the stone and dipping it in a bowl of glitter. We went with nail polish which dries so quickly and we have lots!
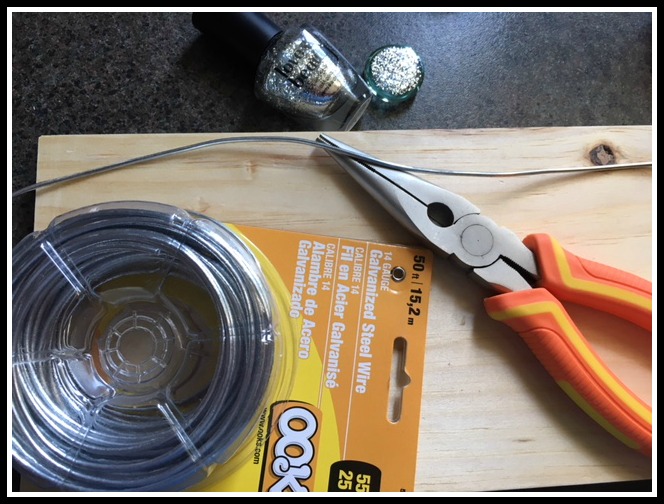
After your stones or marbles are ready, cut a 12 inch length of wire. We used 14 Gauge Galvanized Steel Wire. You can cut your sizes longer or shorter depending on your own preference. At times the ends can be a bit sharp so protect your surface by using a scrap of wood or a cutting board.
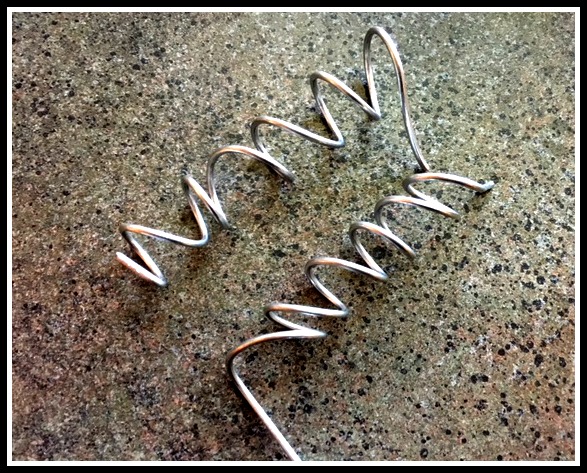
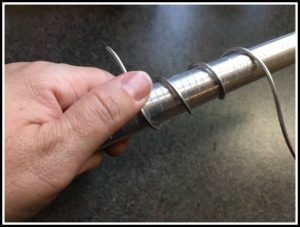
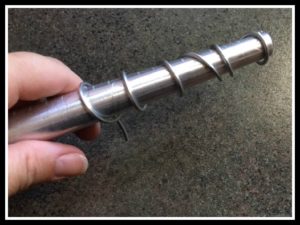
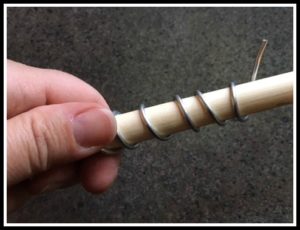
If you don’t have a jewellers mandrel you can look around the house for something similar. I had a wooden dowel that looks just like the handle of a wooden spoon. Find something to wrap the wire around and use the pliers to further twist and squeeze the wire into the desired shape.
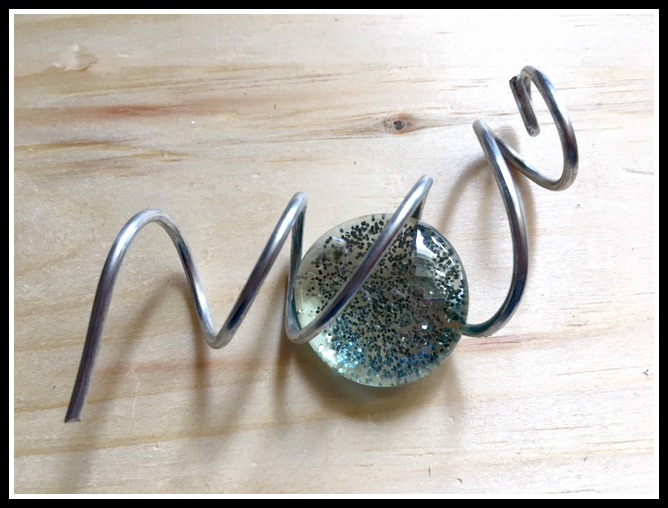
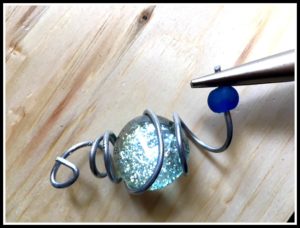
Using flat glass decorative stones will require you to flatten the wire slightly to hold it in place. If you are using marbles the twists will be nearly perfect for sliding the marble in and pinch the wire slightly to hold it in place.
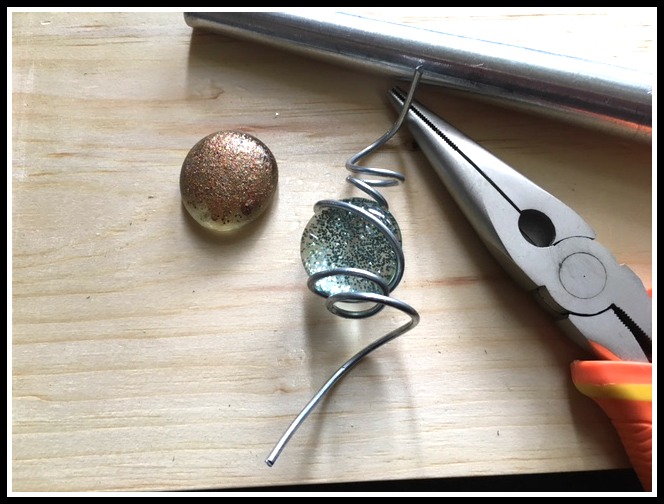 My first attempt at this was a bit frustrating. As I pulled one part of the wire the shape would change and the stone would fall out. But then I got the hang of things. Once you see how cool it looks as the spiral gets a bit crazy it feels like your making a real piece of wire art!
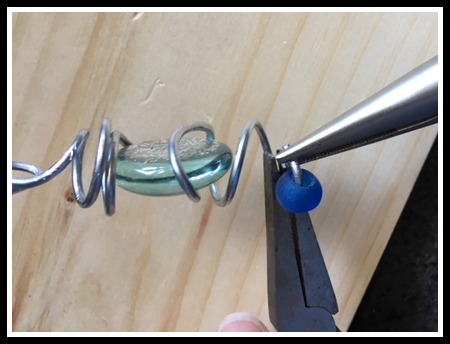
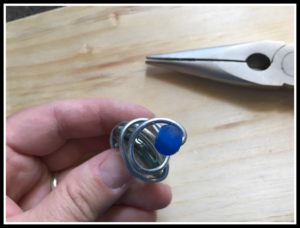
You may need to use a use both of your pliers to twist the wire how you want it. This will help to focus bending a particular section of the wire without affecting another part of it that you are already happy with.
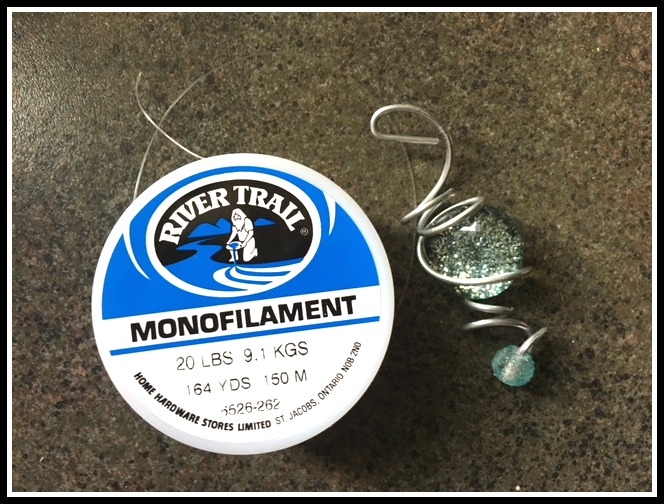
Cut a length of clear fishing line. This is a must have for your craft supplies if you don’t already have it. You can get fishing line from the hardware store, craft store and dollar store. It has many uses including bracelet making or hanging decorations from the ceiling when your having a party.
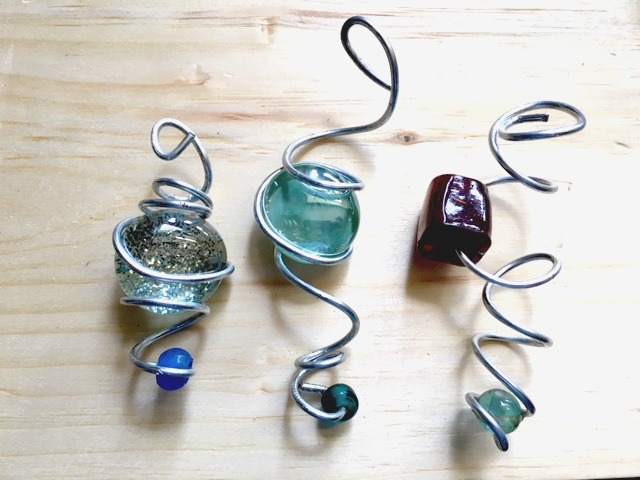
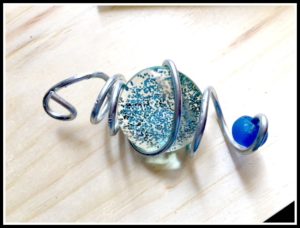
I like how each one turns out completely different. Shape the wire in a tight spiral or loose and whimsical. Add a bead on the end. Or several beads throughout the wire. Use a giant bead instead of a flat stone. Or use marbles!
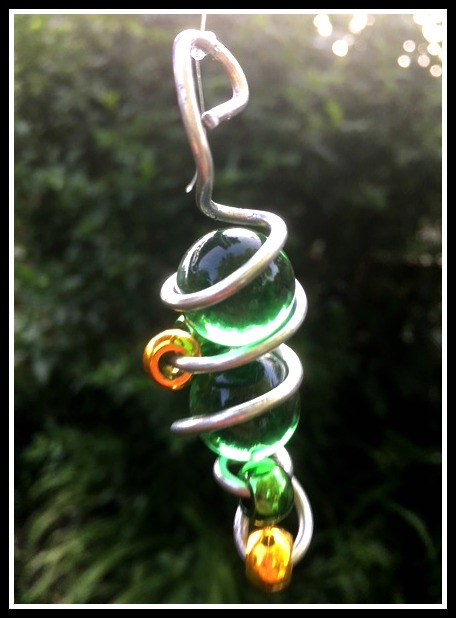
These are dollar store marbles that you might put in the bottom of a vase. I need to locate some play marbles and see if we can find some cool ones.
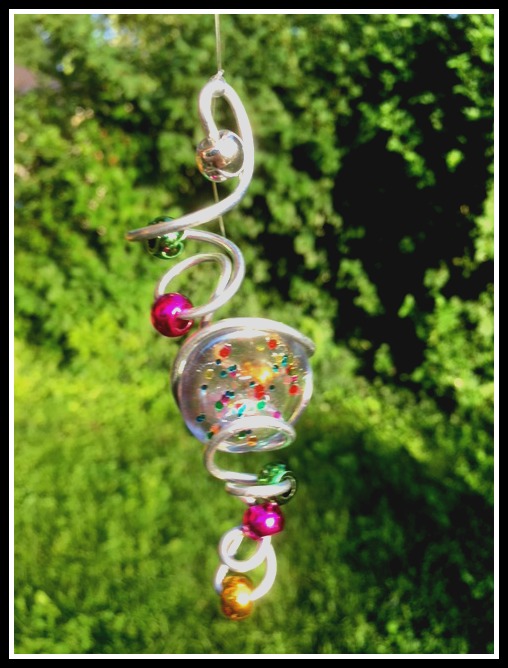
These shiny beads are metallic pony beads and very inexpensive (around $3 from Walmart if I remember correctly)For this wire project the hole needs to be fairly wide. Choose beads with big holes if you are using glass beads. I had these left over from a previous bracelet making project. The nail polish used here is a speckled multi coloured one. It looks fantastic in the sun!
So there you have it! Every one of these turns into a unique bit of wire art. Hung from a branch with fishing line will have it spinning in the breeze.
I hope this inspires you to make some wire art suncatchers/wind spinners for yourself. I just made 10 and I’m so pleased with these I think I will keep on making them and try selling them at the craft table at work.
Don’t you love it when a craft exceeds your expectations! You really should try this!
…
Mason Jar Tissue Holder

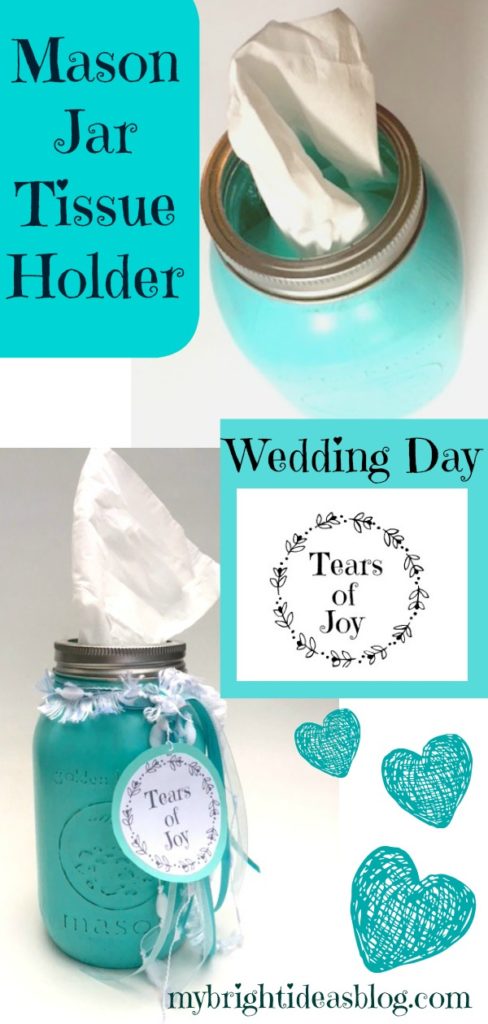
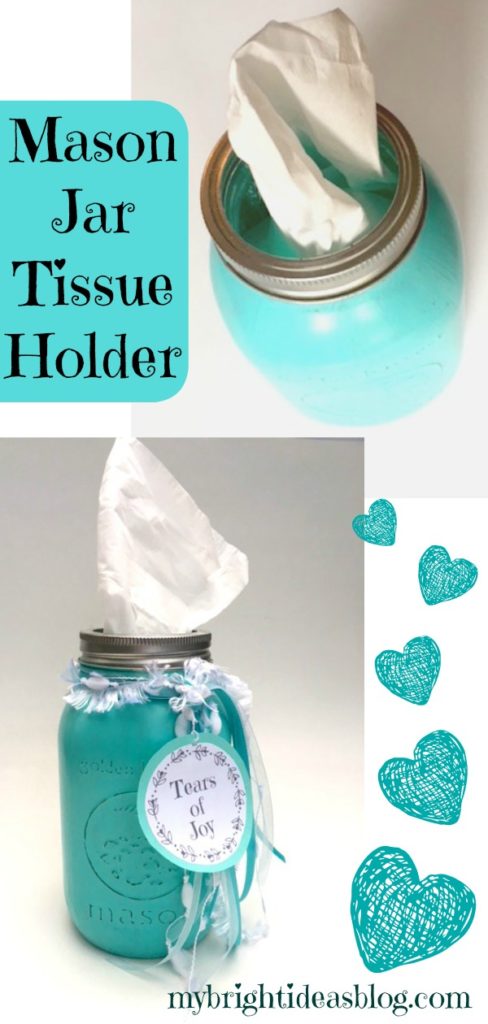
Tomorrow a friend’s daughter is getting married and I’m going to pop around to their house today to drop them of this mason jar tissue dispenser. Even for friends who aren’t prone to crying – weddings and daughters and stress and wedding parties and lack of sleep can bring out the tissues for anyone. Might as well be prepared with a jar of tissues that match the day!
You will need:
- goo gone or lift off if there is any sticky label residue
- rubbing alcohol
- a mason jar
- multi-surface paint (or glass paint)
- paint brush or sponge
- sand paper or emery board
- box of tissues
- wide mouth jar band
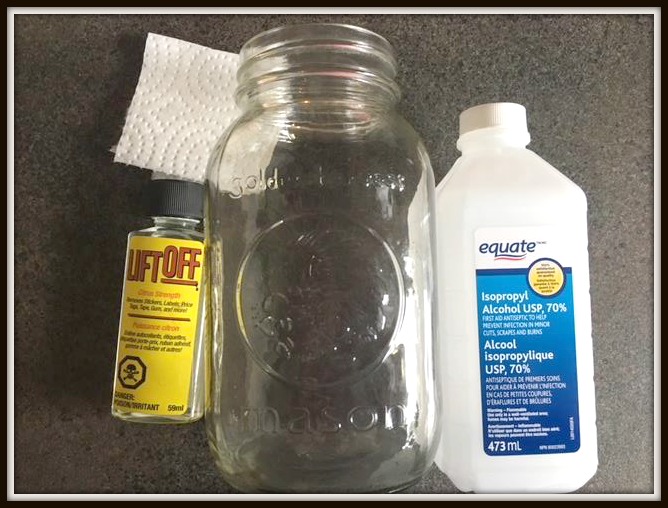
First of all, we need to clean and dry the mason jar. If there is any sticky residue from previous labels take if off with goo gone or lift off – then wash with soap and water. Wipe the outside of the jar with rubbing alcohol.
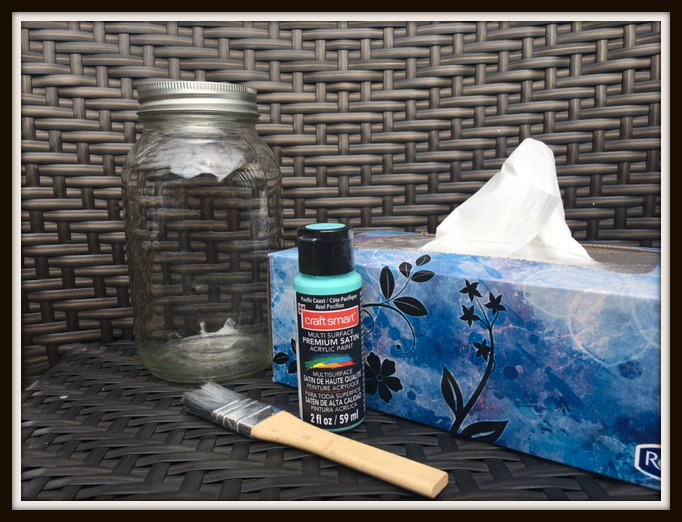
I used a multi-surface, acrylic craft paint from Michael’s-“Pacific Coast”. It was not expensive approx. $3.50. It can be used on fabric, glass, ceramics, wood, metal, plastic, terra cotta etc. 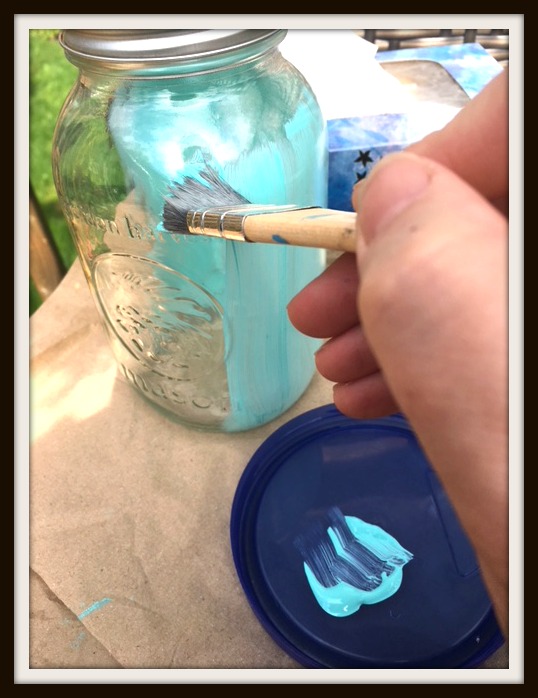
Using a paint brush or sponge, paint the jar and allow to dry. Most likely you will require another coat of paint. It dries fairly quickly. Leave over night to really allow the paint to dry thoroughly before moving on to the next step.
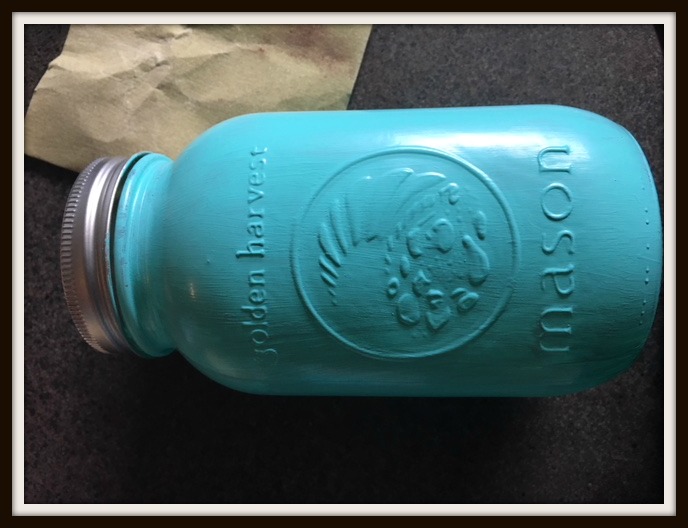
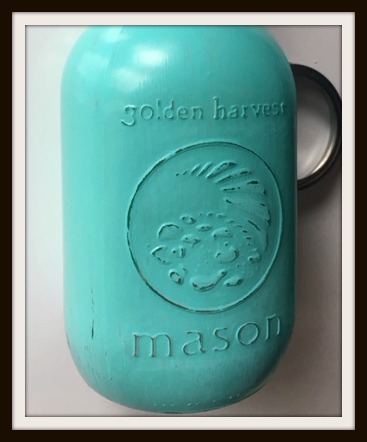
Using an emery board or sandpaper, gently rough up raised lettering.
Next we add the tissues!
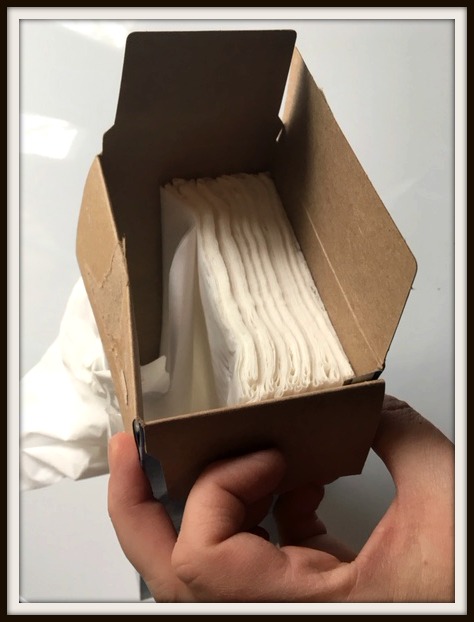
Open the box of tissues at one end. Remove half of the tissues, keeping them in a stack. Keep the top tissue slightly pulled up.
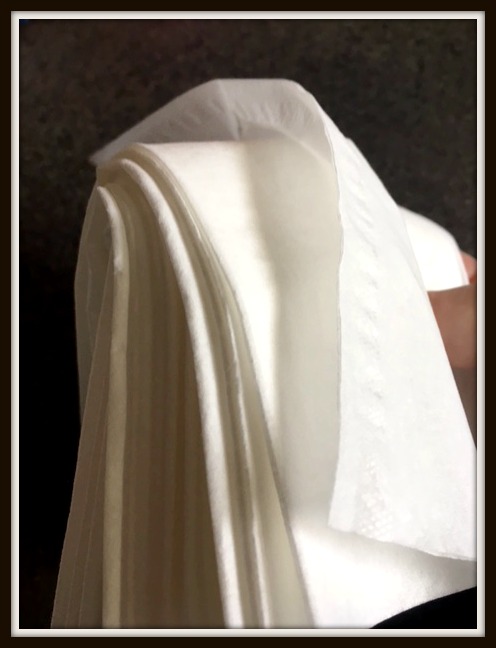
Fold the stack of tissues in half-keeping that top tissue easy to grab.
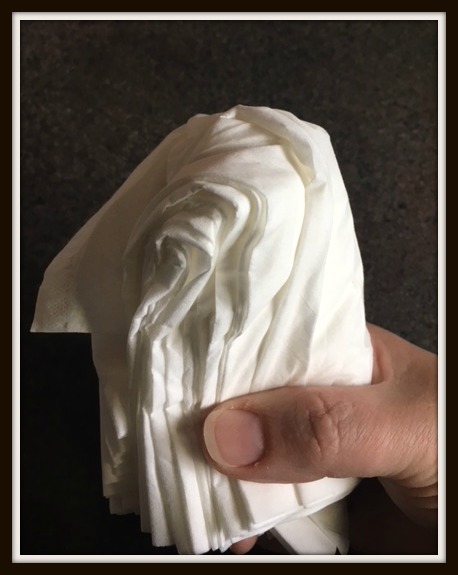
Fold it again so it will be slim enough to slide through the neck of your jar. Then gently wiggle the top tissue upwards. Test to see if the next one will follow.
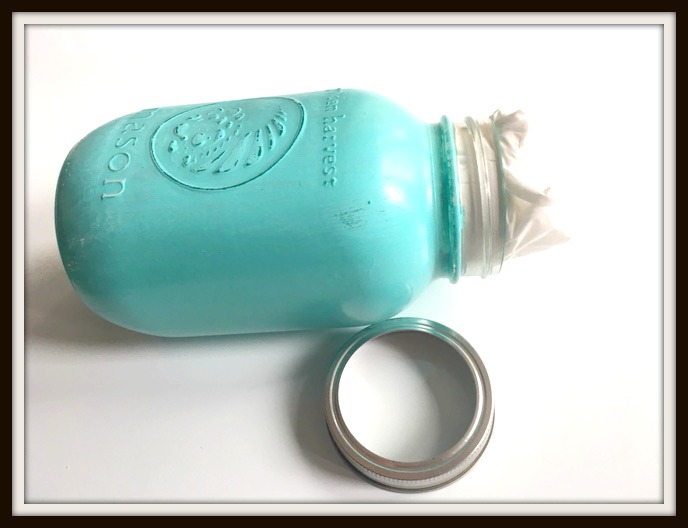
Screw the ring lid back onto the jar. I like the silver ring lids that come with new jars. If your ring is looking shabby or you want a dramatic look you could easily spray paint it black or soft white before screwing it back onto the jar.
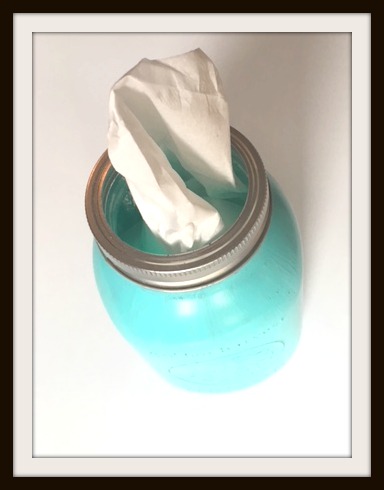
Looks good!
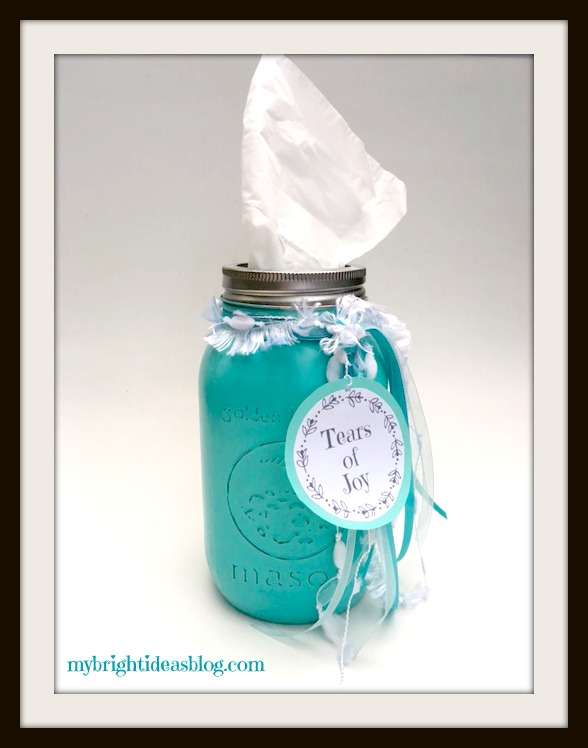
I added a little bit of random white and matching ribbons and simply tied a not around the neck of the jar. I also printed a little note that says “tears of joy”. Using a glue stick I pasted that onto a piece of coordinating cardstock. I punched a tiny hole in the papers and tied it into the ribbons.

Just a quick footnote!
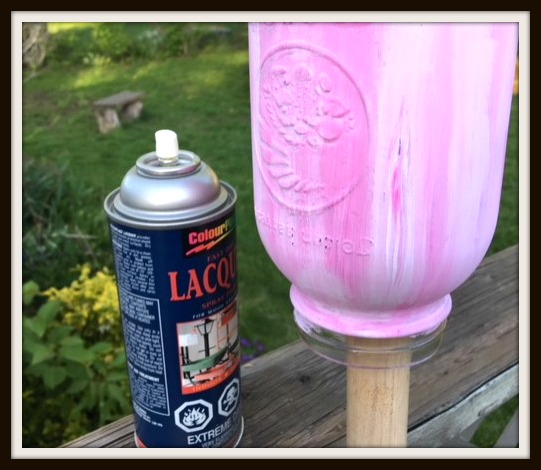
With this pink jar I tried painting with regular pink and white craft glue. It worked but it was a very mat finish so I put it on a broom handle and sprayed it with a clear topcoat. This had the desired finish and kept my hands free from the paint.
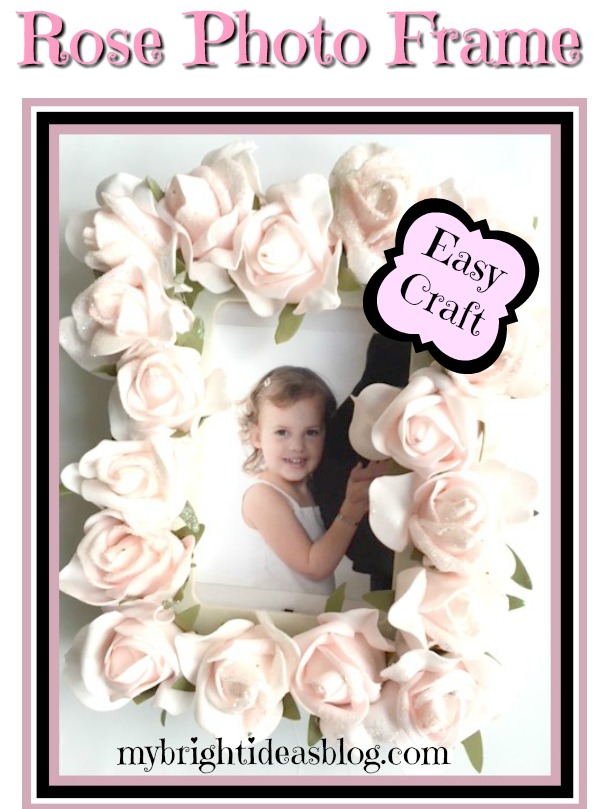
Make a Lovely Rose Picture Frame!

Hello there crafty darlings! Is it wedding season or baby season in your circle of friends? If you are looking for a lovely gift idea…I have just what you need! An easy craft that just requires a few dollars at the craft or dollar store and your trusty hot glue gun. Plug in the glue gun and lets get started!
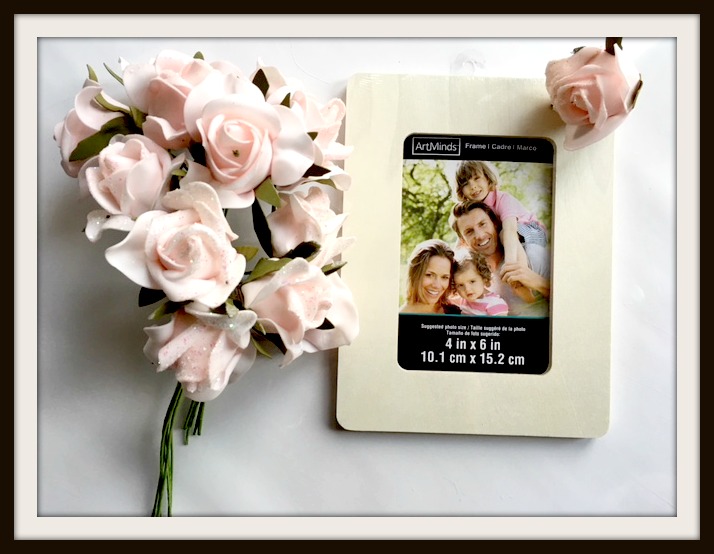
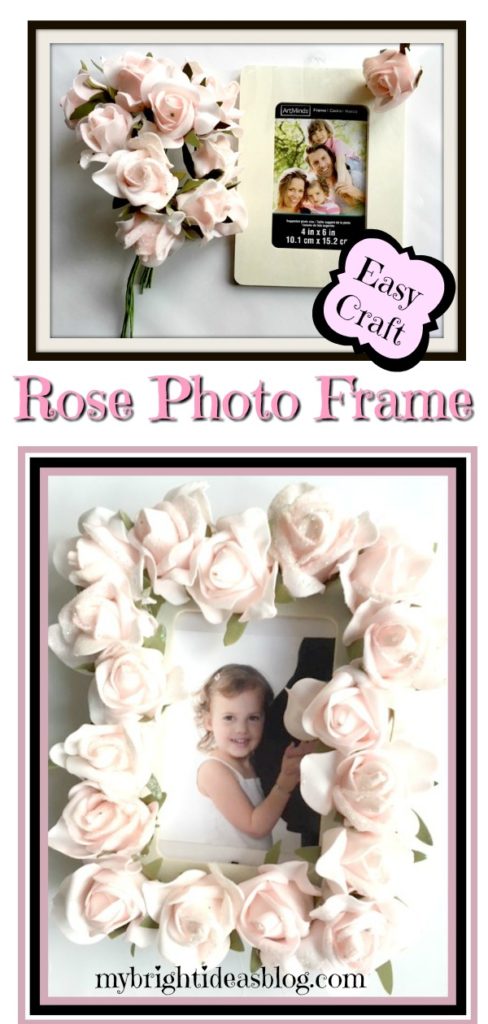
This project needs just 4 things.
- Roses ($3.75 Dollarama 3 bunches at $1.25 each)
- 4x 6 Wooden Picture Frame ($2.00 Michaels)
- Hot Glue Gun
- Wire Cutters
I discovered some pretty dainty pink roses at my dollarstore. Each bunch had 6 flowers and I used 18 flowers for this project.
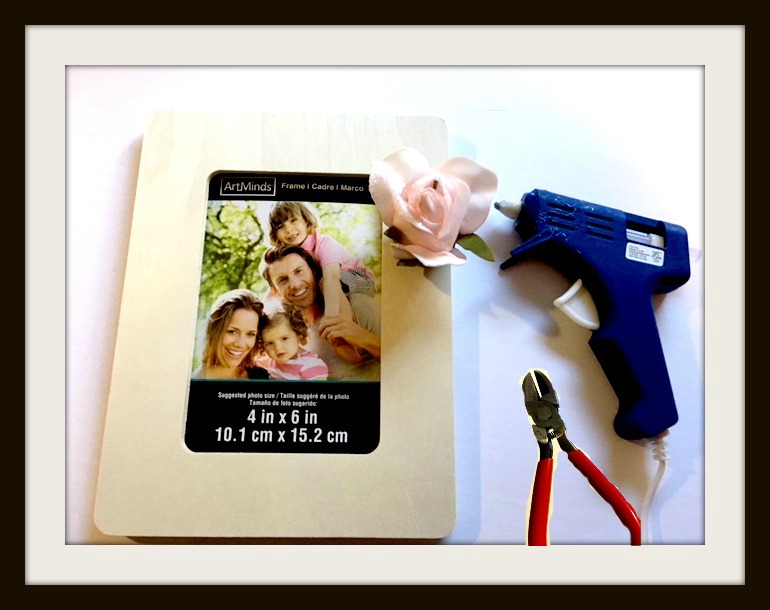
The first step is to trim the stem with wire cutters/pliers and bend the wire stem to the side. This style of flower sits very flat on the photo frame making it easy to glue. Wow this project is so easy!
I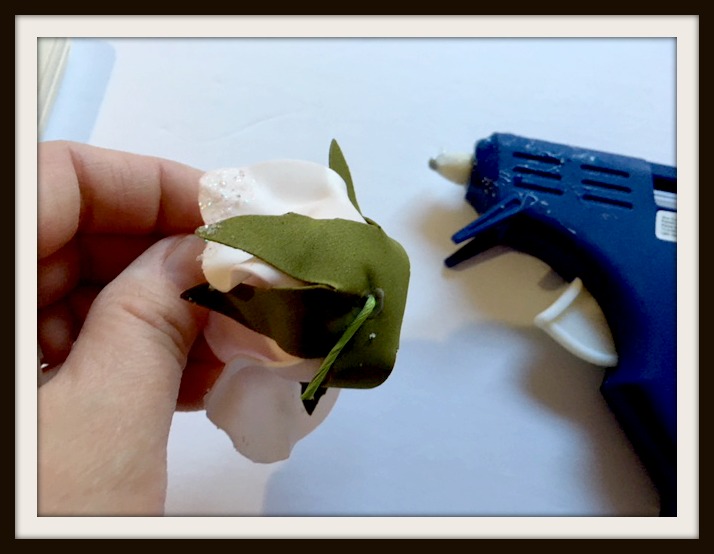
Next lay out your flowers and see how snuggly you want them to fit. Begin gluing the flowers on.
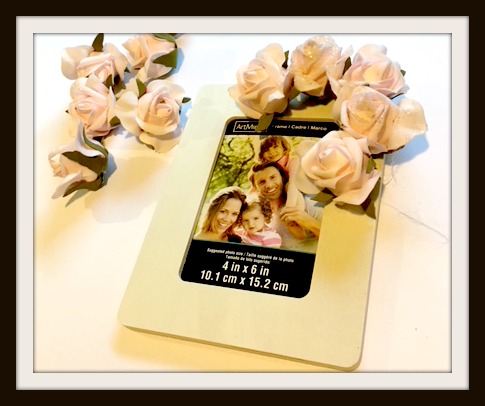
Now pause to admire the beauty and simplicity of this gift. Will you put a photo of the happy couple in the picture frame or their wedding invitation? Or will you put the birth announcement or leave it empty for the expecting parents? Or did you see my last post about putting gift cards or cash in photo frames to add to your thoughtful prezzie. http://mybrightideasblog.com/give-a-money-gift-in-a-picture-frame/
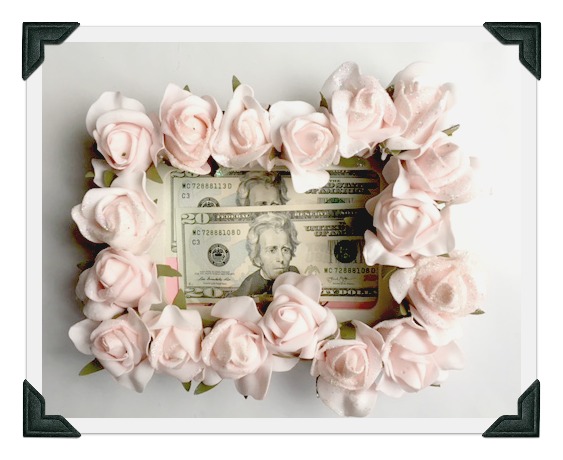
Voila! This project is done in 5 minutes and off you go to the baby shower with your gorgeous homemade picture frame.
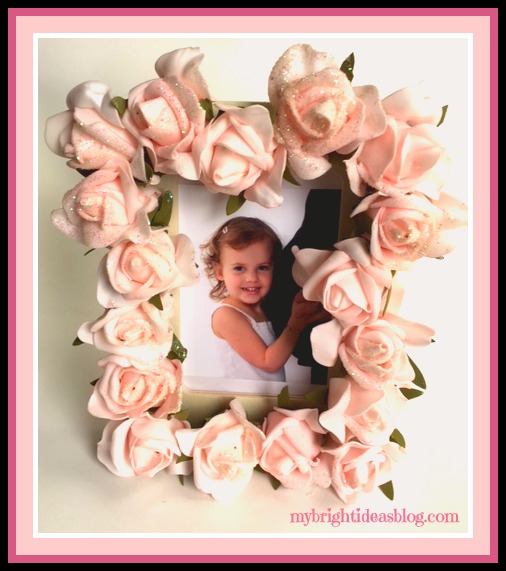
Did you see the tummy sticking out in the photo above? That is my belly growing my second daughter. In the end I’ve decided to give the rose photo frame to Miss B to put in her bedroom. She often remembers the happy times when she was an only child. LOL! This is a nice keepsake to remind her that she was very excited to be a big sister. This kiddo was soooo bald as a baby-not a stitch of hair but here she is a nearly 3 years old and it started to come in beautifully! It’s now 8 year later and her hair is long and luscious! Golly doesn’t time fly!

Wherever you are-I hope you have a super day! Thanks for stopping by!
Crafts Using Burlap and Buttons – Easy Project that Looks Great!
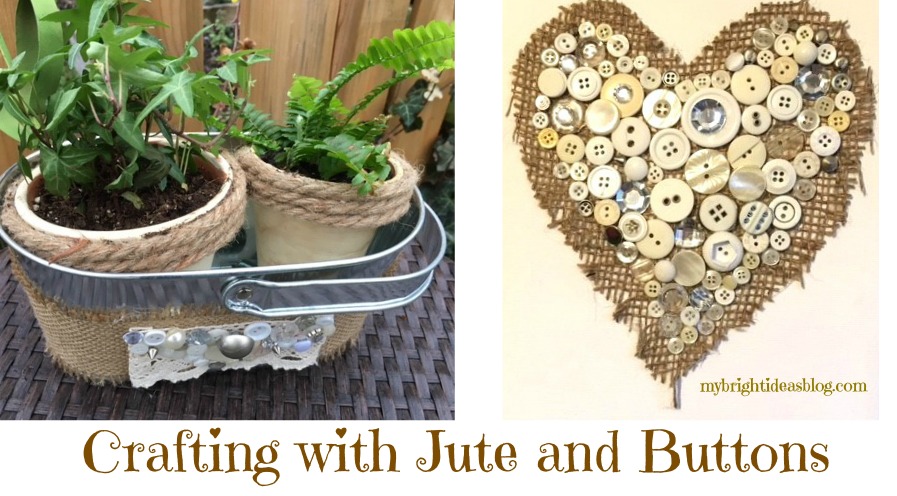
Is it a new trend that burlap and jute are in so many crafts? Maybe this has been around a while and I’m just noticing it. The crafts on Pinterest with both jute/burlap and buttons are really catching my eye. So I thought it was high time to get on this button-burlap-jute wave! :o)
Project #1 – Jute and Button Wall Art
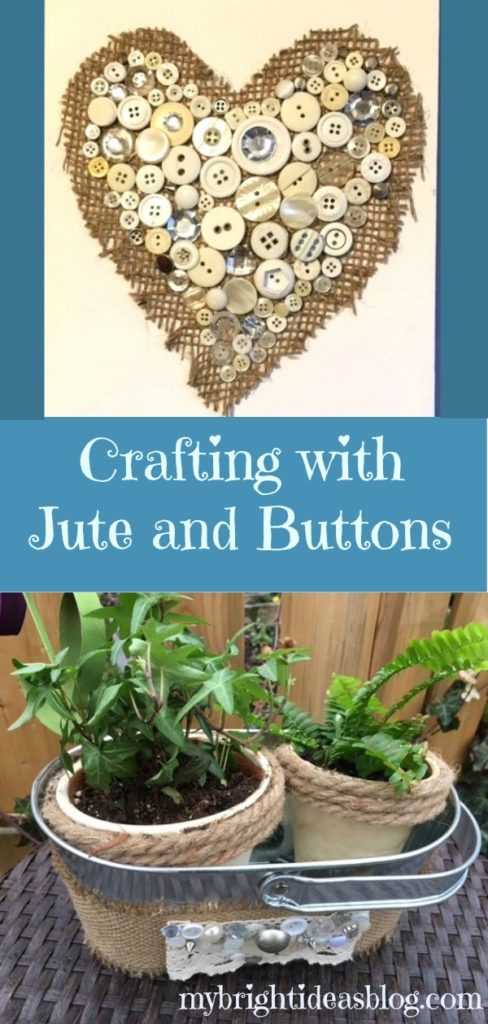
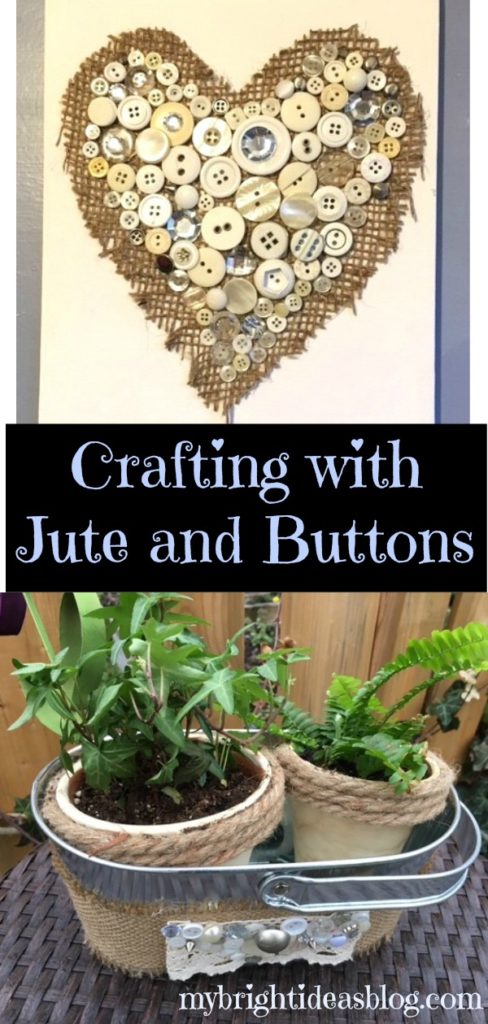
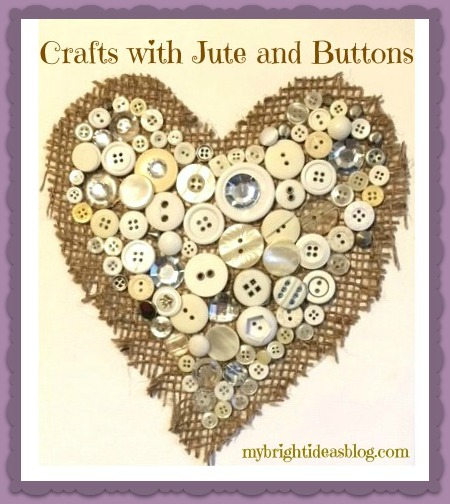
You will need: Burlap/Jute, Mixed Buttons, 8×10 Canvas, Hot Glue Gun or White Glue and Paper
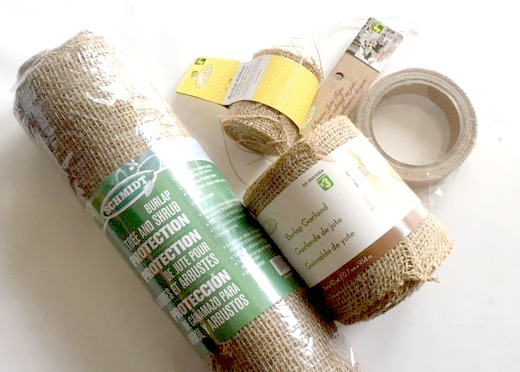 The local Dollar Store had several options…in both the garden area and the craft sections. For this project I cut up the big burlap bag that you would cover your shrubs with for the winter. There is still plenty of fabric left over I could still use it in the garden or other crafts.
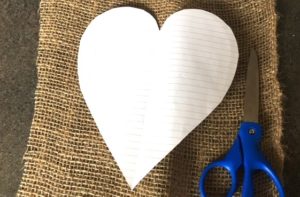
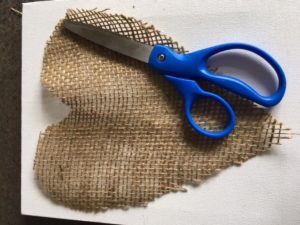
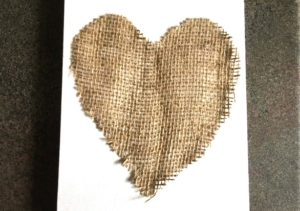
I cut a heart shape on paper first and then used it as a template for cutting out the burlap. Then I put a few dabs of hot glue on the 8×10 canvas to flatten the burlap into place.
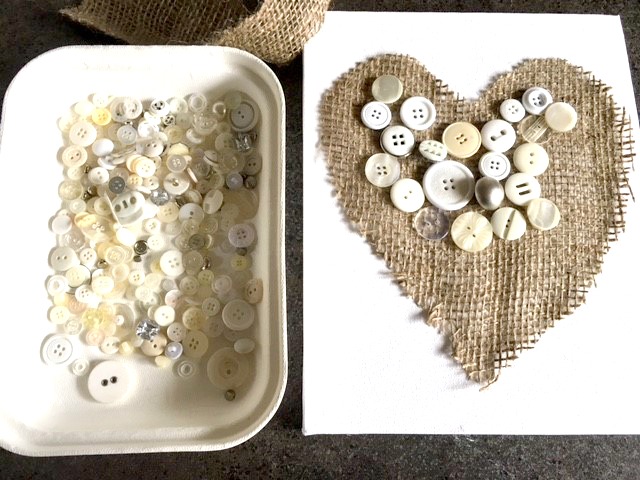
The buttons I used were all cream color or silver. They came as a bag of buttons from my Dollar Store for $1.50. There are some nice Pinterest posts with examples of art made with colorful mixture of buttons-I might try a colorful one next time. Start by gluing the biggest buttons in the centre and work outwards with the smallest buttons.
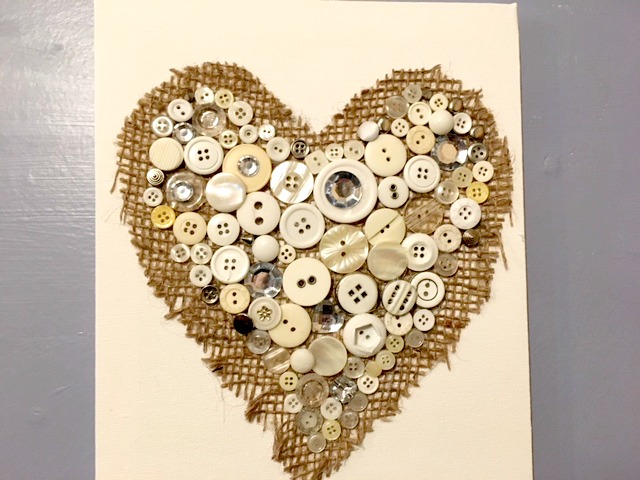 Watch your fingers while you glue the buttons on! Using the hot glue gun might be a bad idea for the small buttons. I like the speed of hot glue drying but since the project lies flat you could easily use regular white glue and spare your fingertips.
Project #2 – Jute Wrapped Tin Flower Pot
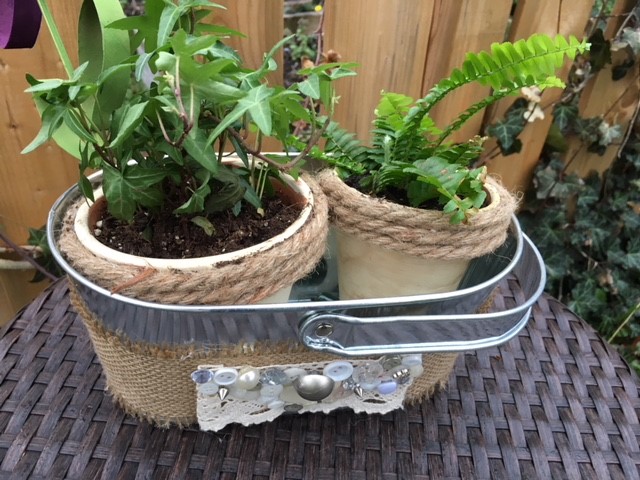 For this project you will need: Jute Ribbon 3 inches wide, a bit of lace, mixed buttons, flower pot (mine is a tin bucket style) and hot glue gun.
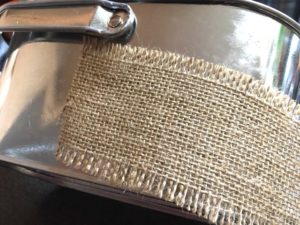
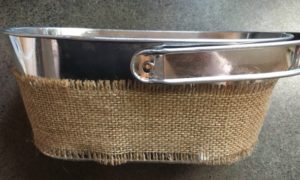
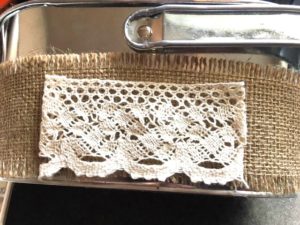
Using the hot glue gun attach the jute with a dab of hot glue on the back of the aluminum tin. Wrap it around the container and glue it flat. Mine puckered at the bottom so I pulled the jute snuggly and added more glue to secure it flat. I had a few inches of lace that was glued to the front of the container.
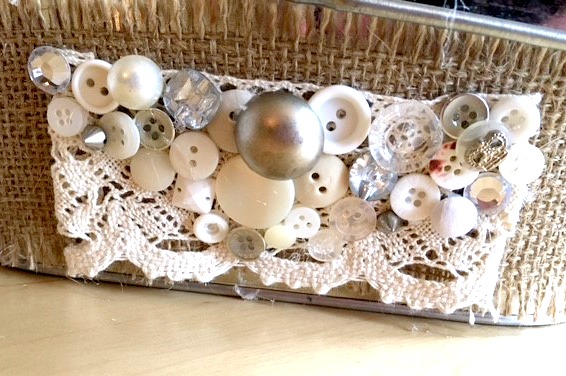 Then add on the buttons.
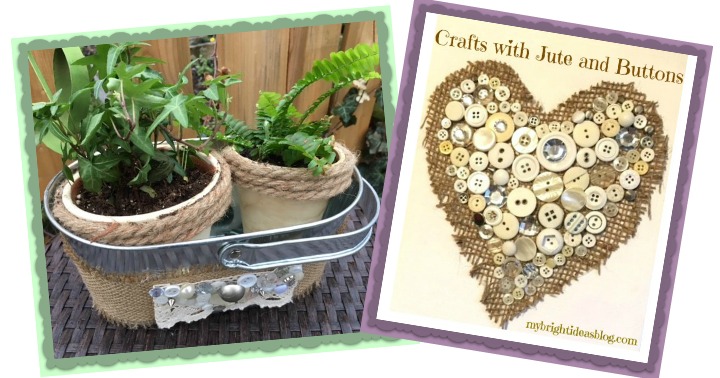
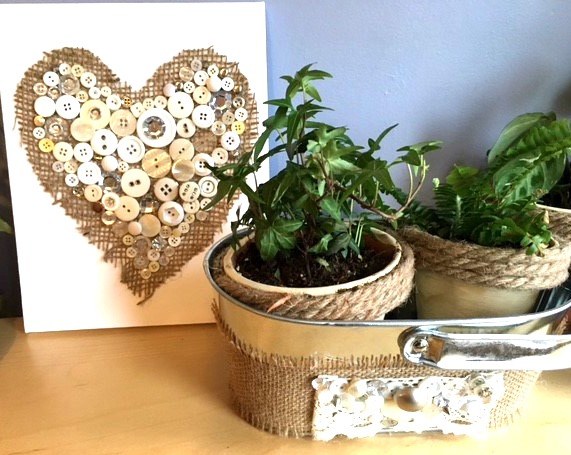 I really like how these turned out and I think I might have some follow up projects with more glue and buttons. I would love to get a few bags of vintage buttons from a thrift store and mix it with broken jewelry to make a more sophisticated eclectic bit of art. On my to-do list are button bracelets and hairbands for the kids. I’ll let you know how that turns out later!
Have a super day!
….
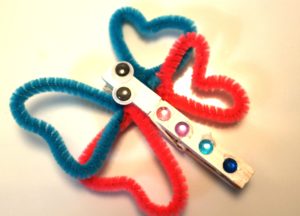
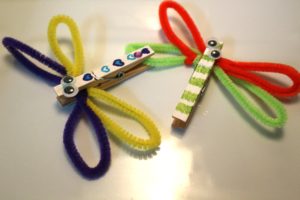
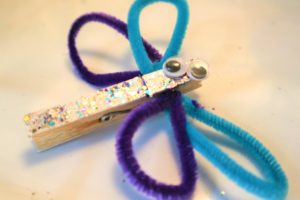
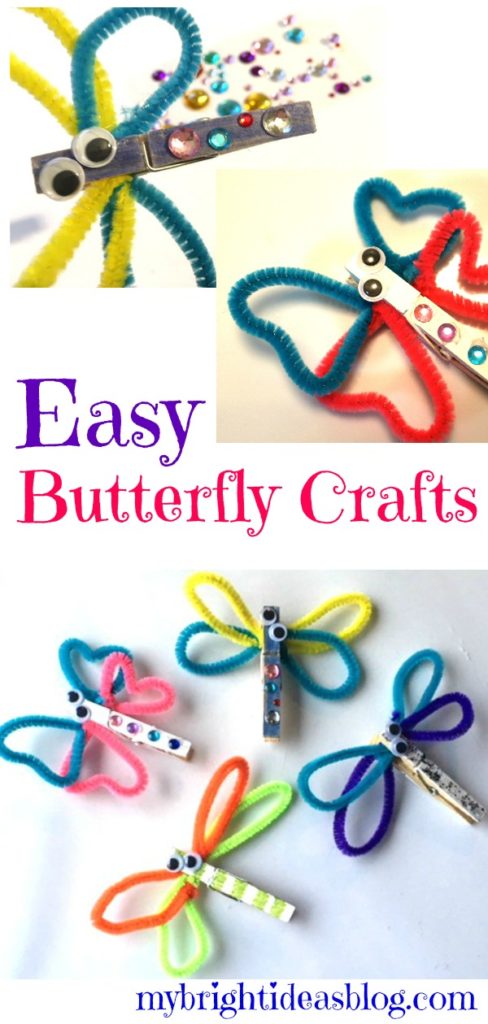
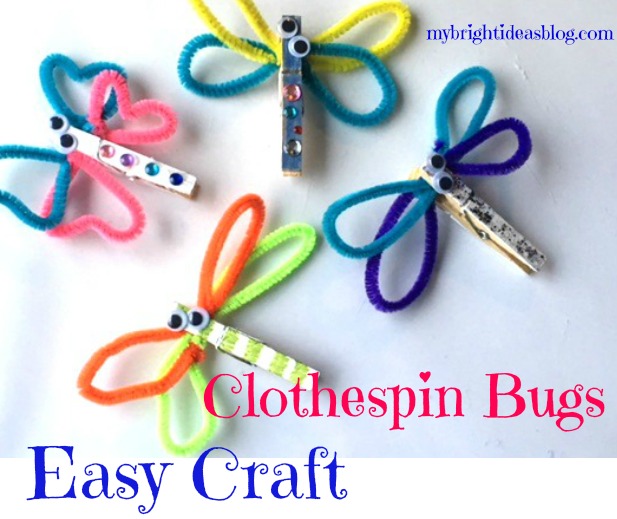
Make a Clothespin Butterfly and Dragonfly
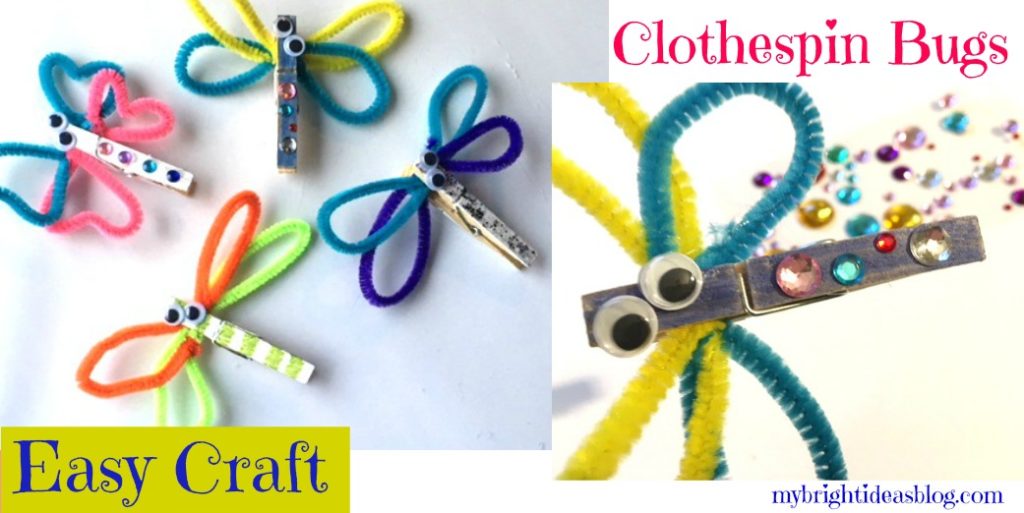
Butterfly and Dragonfly Clothespin Craft
I’m longing to dazzle you with a blog post that has homemade jewelry or reinvent something with scrap wood or a wonderful garment made from a curtain and an old pair of jeans…sigh. But alas, between work and volunteering at the kids school there is no time for more than making a pipe cleaner butterfly and dragonfly. Oh well, its good to take a few minutes out of this busy, busy week for some crafting.
For this super cute project you will need:
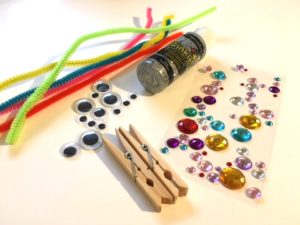
- 2 pipe cleaners
- a clothes pin
- 2 small googly eyes
- paint, sparkly glue, gems to decorate it
- hot glue gun or white craft glue
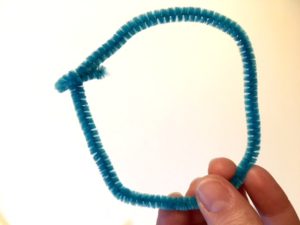
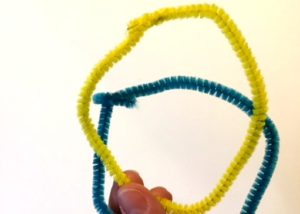
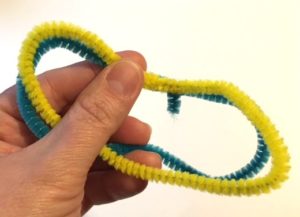
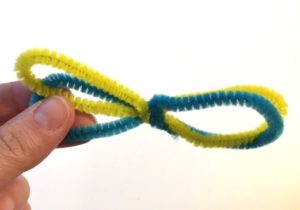
To get started take a pipe cleaner and shape it into a circle. Bend and twist the ends to close the circle. Repeat this step with a second pipe cleaner.
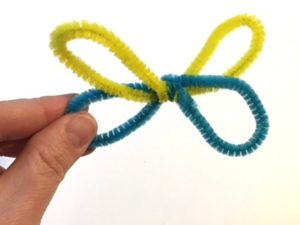
Pinch the circles in the middle and twist the pipe cleaners. Twist again to form the middle of the butterflies wings. As you can see I arranged the pipe cleaners so the yellow made the upper wings and the blue made the bottom wings.
This middle of the wings will be pinched by the clothes pin when opened. You can do that now or wait until after you finish gluing everything on.
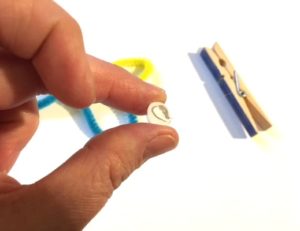
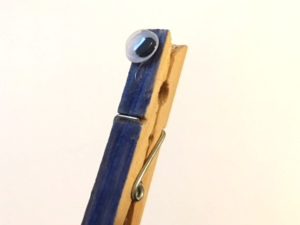
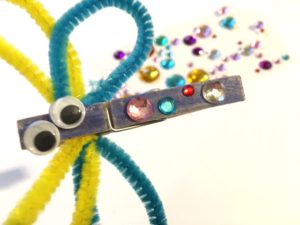
Add a dab of hot glue to the small googly eyes and secure them on the clothes peg. I added some gems from a sheet of stickers. This is a pretty easy project even for youngsters. They should use regular white glue and not hot glue guns.
One option to change the wings, is pinch it in so its heart shaped. This way it’s a bit more butterfly-like. Narrow wings look more like dragonflies. Add what you like to decorate the critters. We could easily turn this into a fridge magnet by gluing on a magnet to the back.
Have fun with this easy project and have a super day!
…
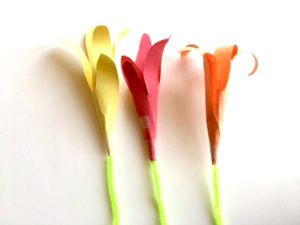
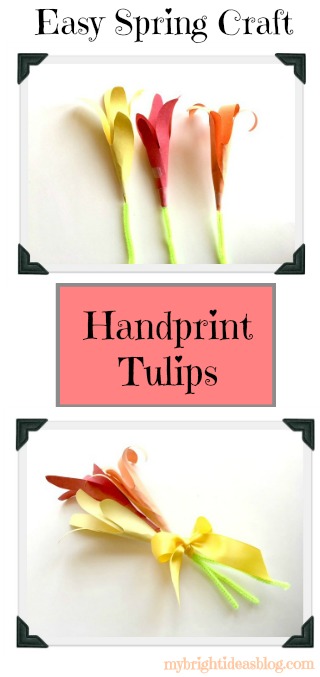
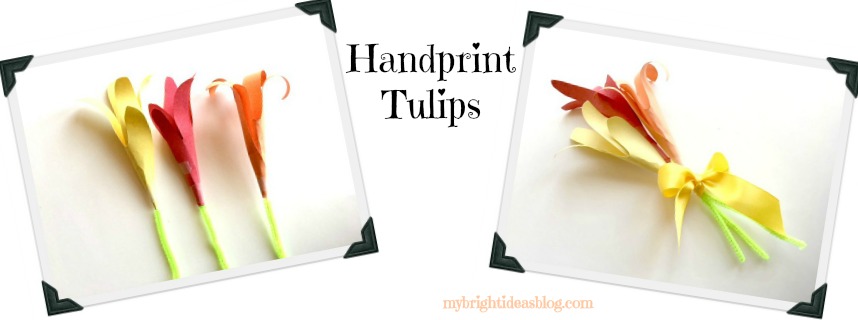
How to Make a Paper Tulip Flower with Your Hand-Easy Spring Craft!
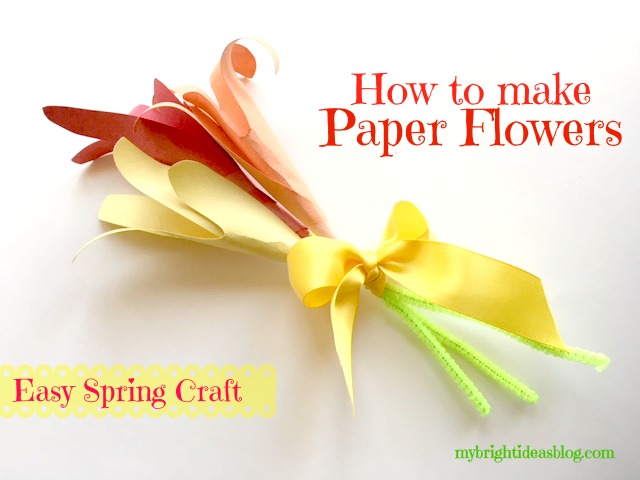
Here is an easy spring craft! TULIP FLOWER made with your child’s hand print, paper, pipe cleaners. It’s so simple!
In a few days our school has a Spring Party where we like to have several stations for the youngsters to work on. Each year we need a craft table with a an easy project. To make it easy for the children to do and take with the project home immediately we avoid things that have white craft glue or paint. I’m happy to say I have found an idea that will be Spring themed, with just a few supplies and no drying time. Whoohoo!
This is what you will need:
- Colored paper (red, yellow, pink, orange, purple)
- Green and yellow (or orange) pipe cleaners
- Pencil, tape, scissors
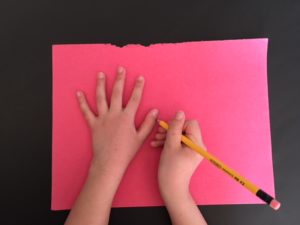
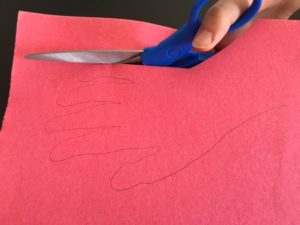
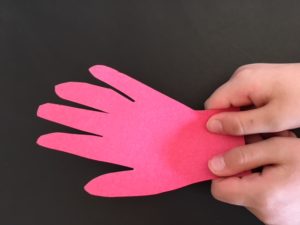
Trace the child’s hand on colored construction paper. Cut the hand shape out.
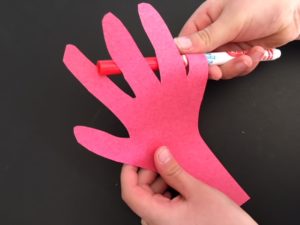
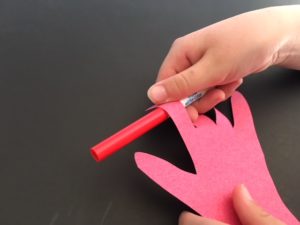
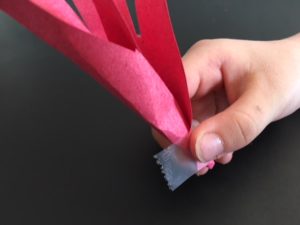
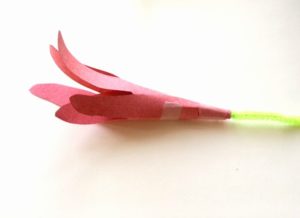
Use a round pencil to form a curl each finger outwards. Wrap the bottom of the hand around itself so you have a tiny hole at the bottom. Add a piece of clear tape to hold it in place.
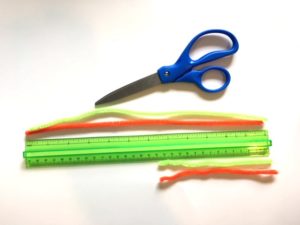
Pipe cleaners usually come 12 inches long (30 cms), so cut the pipe cleaners in half.
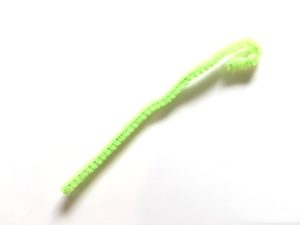
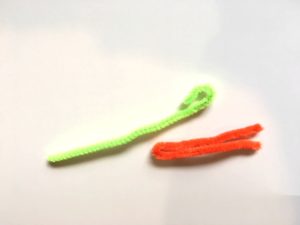
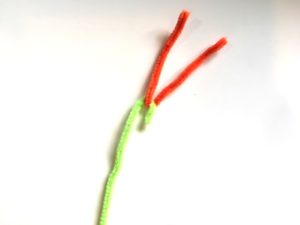
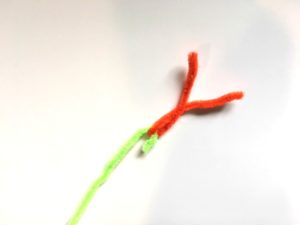
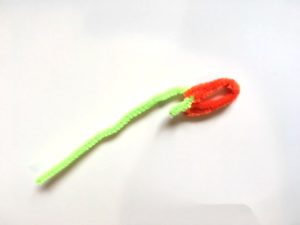
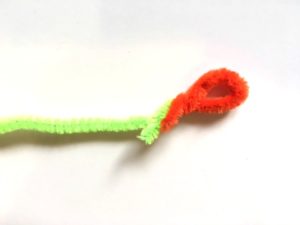
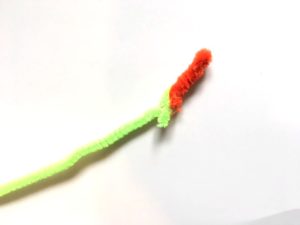
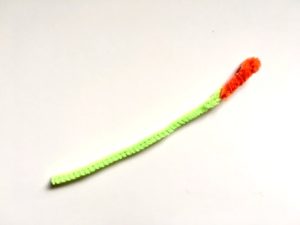
Bend the end of the 6 inch (15 cms) green pipe cleaner so you have a hook shape. Bend your orange or yellow 6 inch pipe cleaner in half to make a V shape. Twist the orange pieces together, then bend in half and twist again. Then twist 4 or 5 more times so the orange piece is tight. Next we need to twist the green hook end to secure it.
Slide the pipe cleaner stem in through the gap at the bottom of the flower so the green part is below the flower and the orange part is sticking up through the centre of the flower.
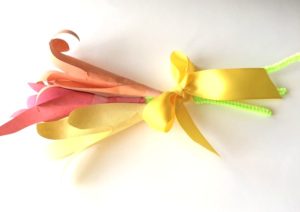
Add a ribbon if you make a few for a bouquet of flowers. That is all there is to it.
…
Make an Earth Day T-Shirt – Green Tree Hugger Easy Project
Another Earth Day T-Shirt Post!
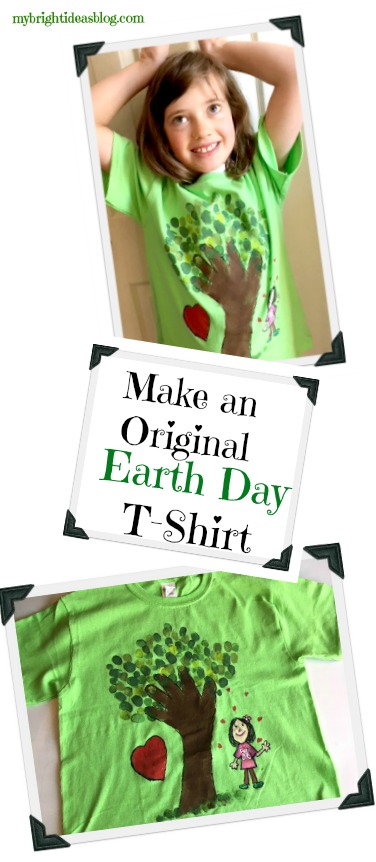
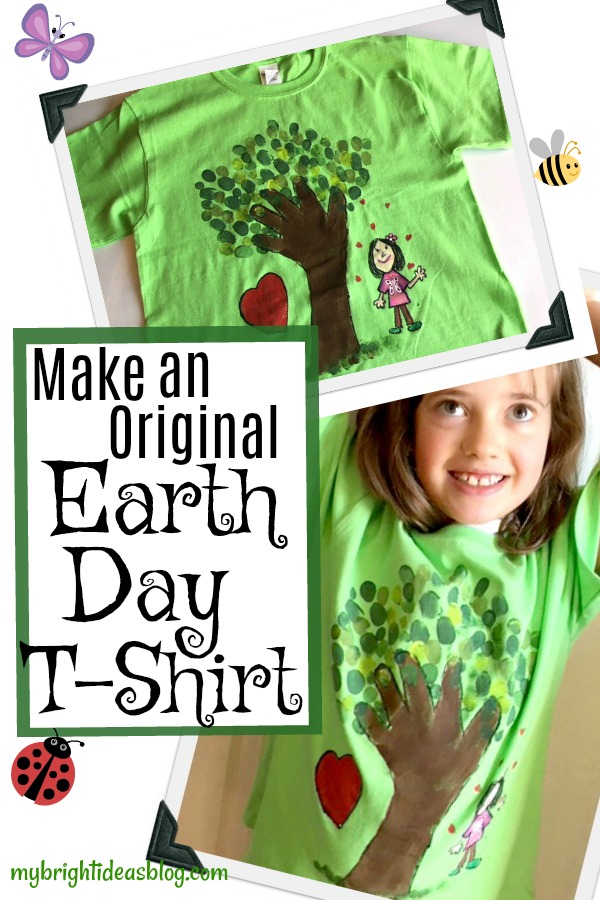
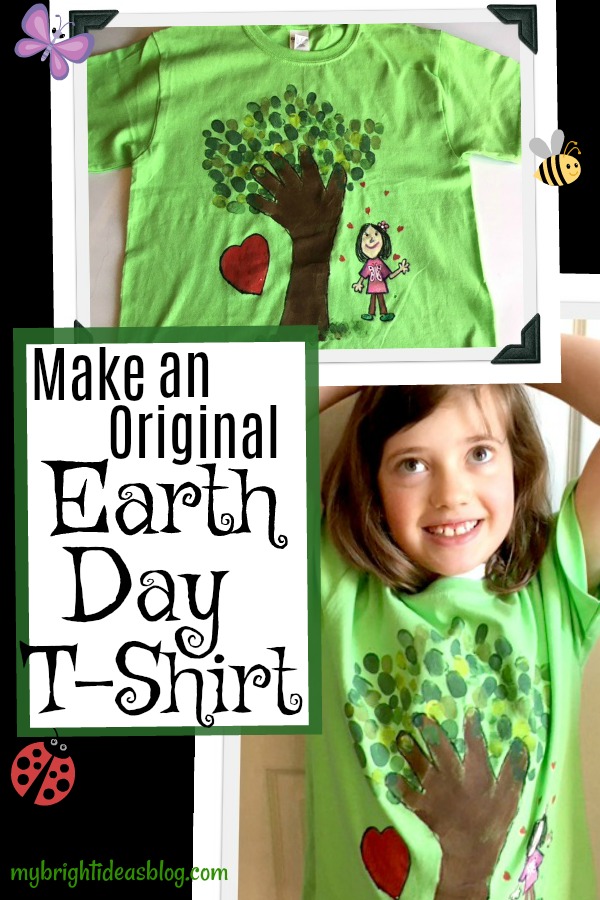
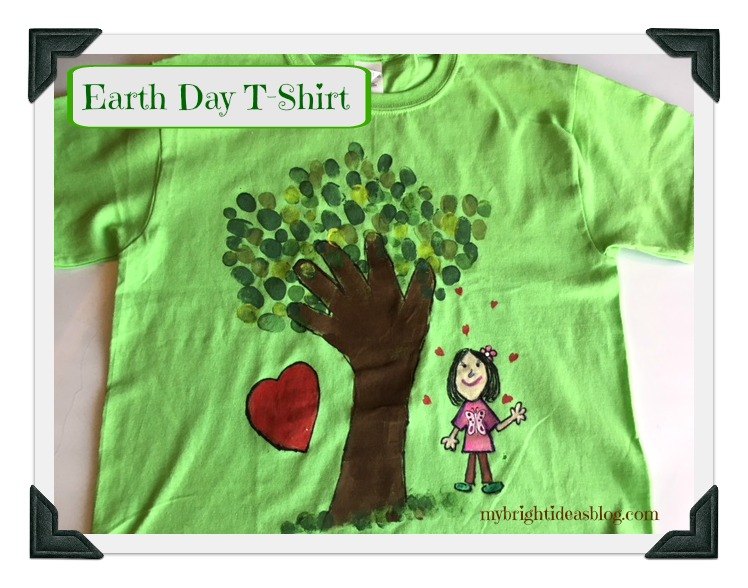
For a while I have been eyeing making this Tree T-Shirt idea-you simply trace your child’s hand and a bit of their arm to make a tree and branches. Thumbprint in a few shades of green paint for the leaves. You could leave it there or keep going by drawing a picture or writing a “green” Earth Day message next to it.
For this one you just need:
- a sharpie (red and black)
- craft paint -browns and greens (optional more if you paint more on the shirt)
- paint brush
- your kids arm, hand and thumb!
I know this is easy enough to follow with just the photos but I’m not a woman of few words. :o)
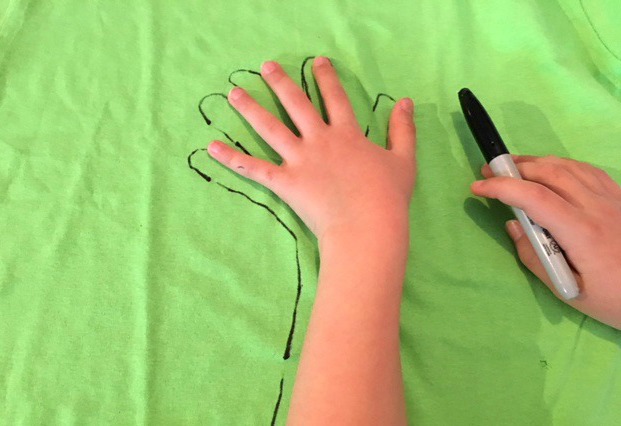
Trace your child’s hand.
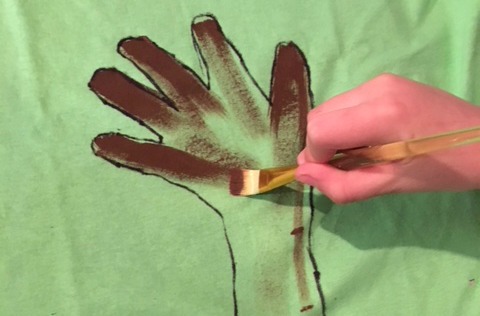
This is the tree trunk and branches so paint it brown.
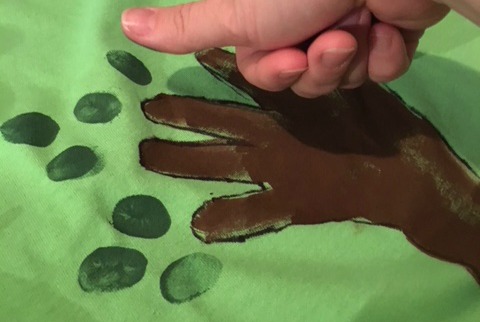
Use your thumb and dip it in green paint to make leaves.
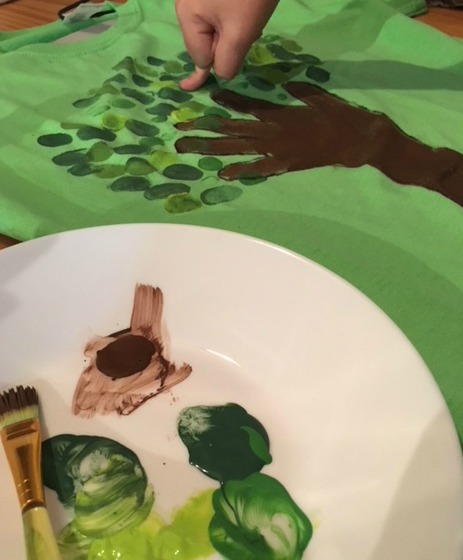
Next put a few shades of craft paint on a plate and dip your child’s thumb into it to make thumbprint leaves. I must admit I did a lot of this part as this darling kiddo didn’t want to get too messy. Of course, I didn’t mind, finger painting is good fun!
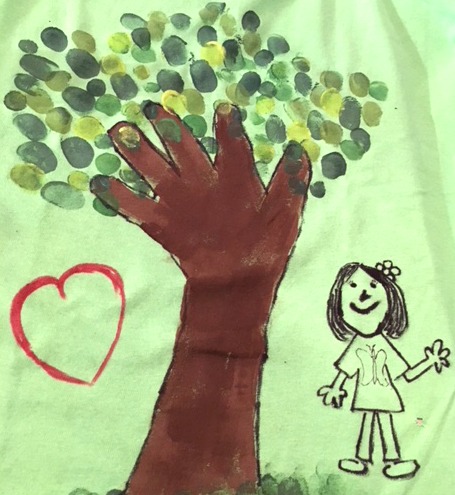
Add a few thumb prints at the base of the tree for grass. Miss M decided not to have words on this T-shirt but a self portrait and love hearts. We drew it on with a sharpie and then found the craft paints were best to color in the clothes and hair and heart etc.
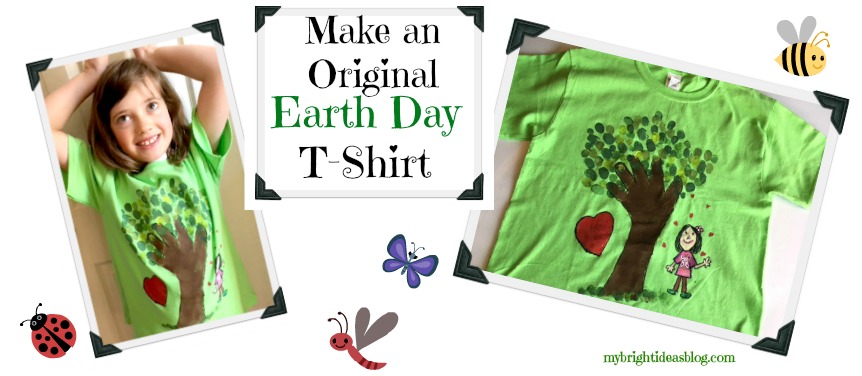
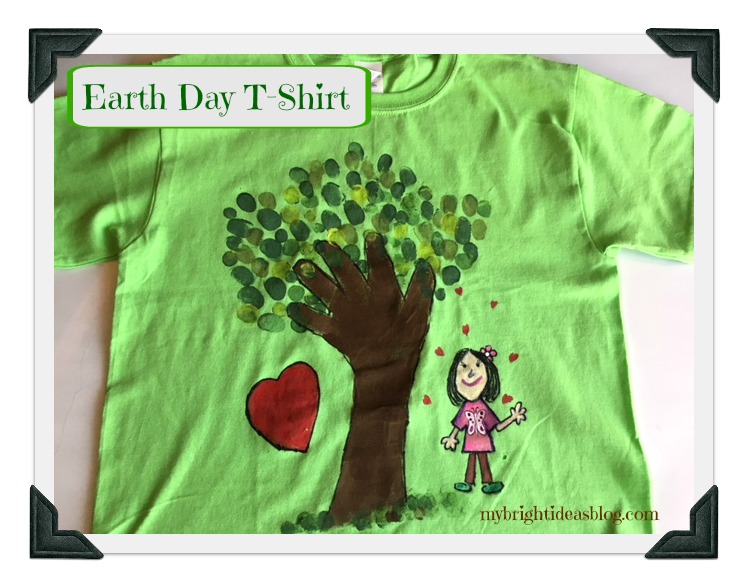 She was very pleased with the results and wore it to school the next day. The entire week was full of earth day activities so she was really into it. We love nature, we love the earth, we love hugging trees.
This shirt is big enough to wear again another year.
Below are some more nature crafts or earth day ideas! Have a look!
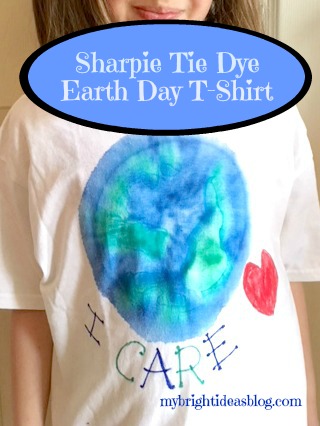
Did you see the earlier earth day shirt we made? It’s the planet earth made with blue and green sharpies-and it says “I care”. Check it out!
Nature Craft – Perfect for Earth Day Activity – Clay Imprints with Plants and Flowers
Easy Vermicomposting! How to start an indoor Worm Compost Bin!
…
Make an Easy Earth Day T-Shirt
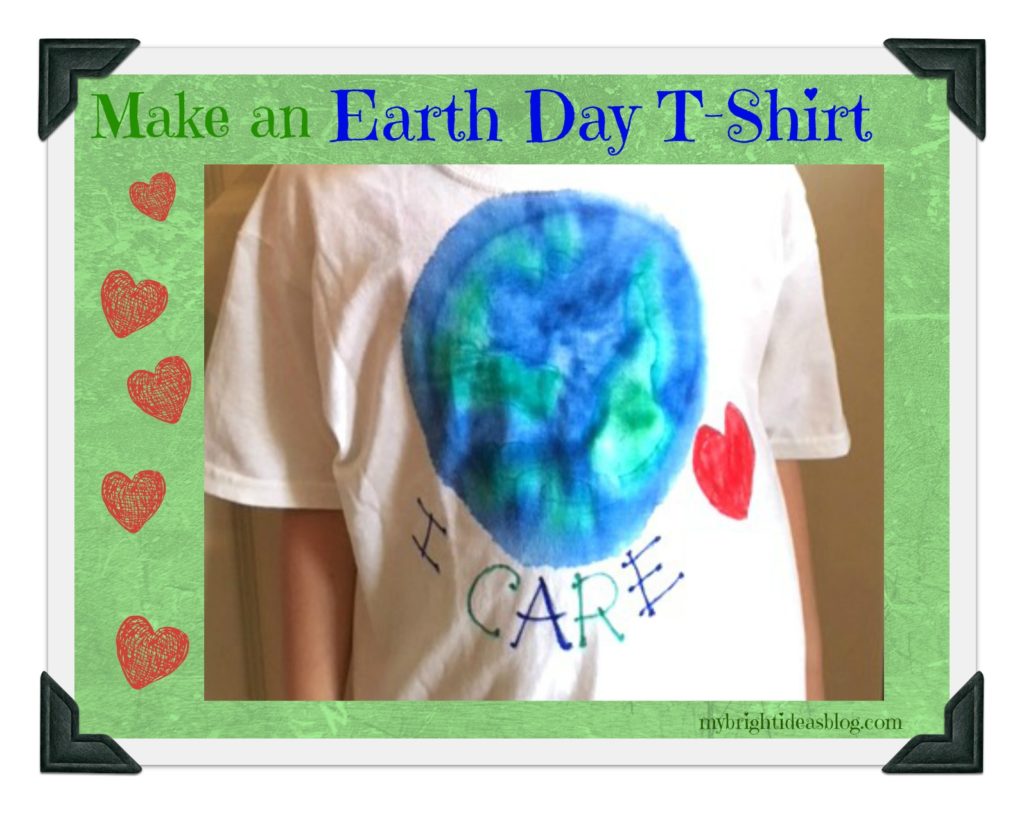
Earth Day is nearly here and a certain little lady in my house is really into it this year. She is throwing interesting facts about what happens to a recycled bottle and other tidbits into breakfast conversation. I love it!
So we whipped up a T-shirt project in just 10 minutes and let it dry overnight and she is wearing it today. Bam! It’s that fast!
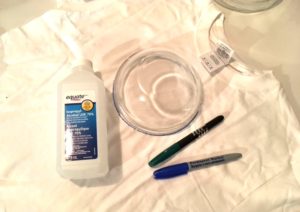
You will need:
- T-shirt
- Rubbing Alcohol
- 2 Bowls
- Elastic Bands
- Sharpies or Permanent Markers (Green, Blue and Red)
- An old Medicine Dropper that you don’t need back after the project
First of all, we should have ironed the t-shirt but it was already after bedtime so its crumpled.
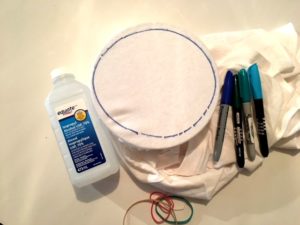
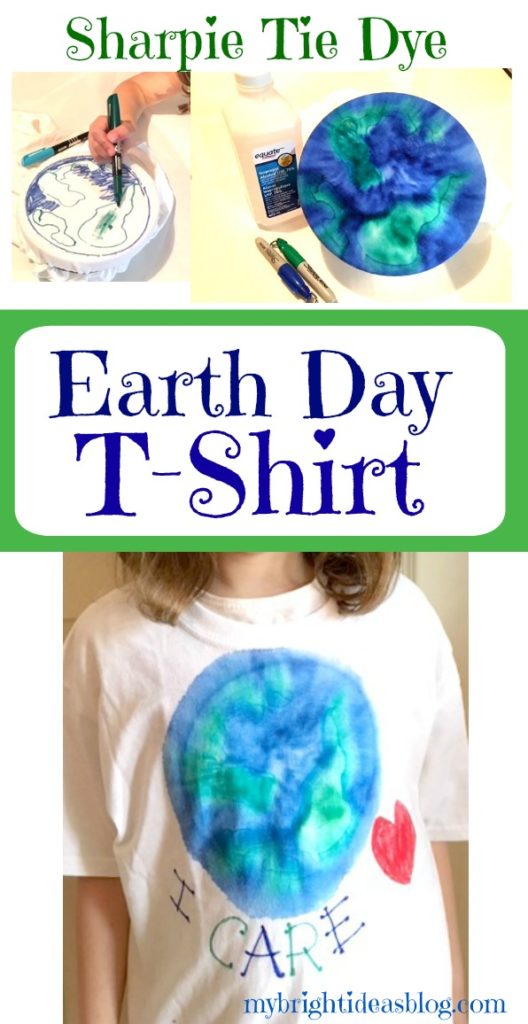
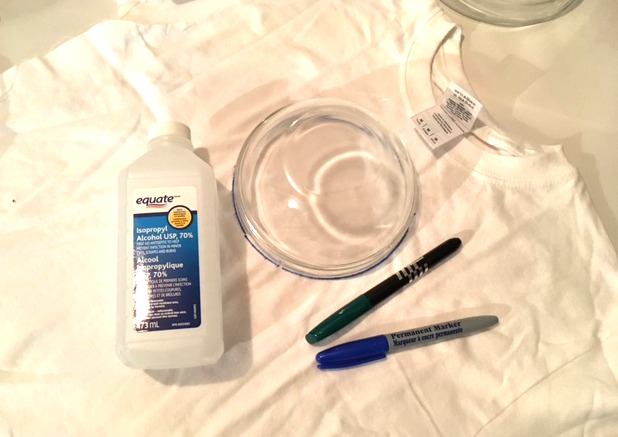 Trace a circle with a medium sized bowl or plate. Be careful, you are using a permanent marker.
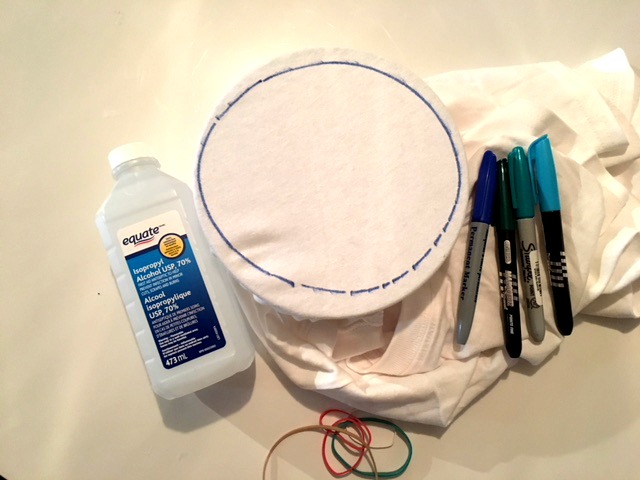
Next we used a slightly bigger mixing bowl and put an elastic around the t-shirt to help lay it flat and keep the project from bleeding out of control.
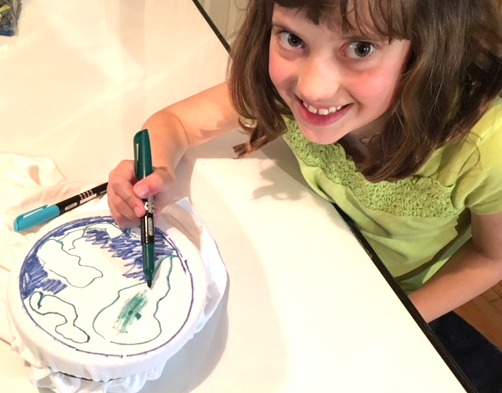
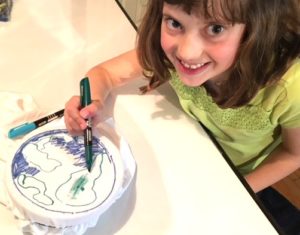
This is where the kids can really have a part! We have the earth-loving-tree-huggin child draw the earth within the circle with blue and green permanent markers. Color in the area as best you can, so there isn’t much white.
Do you recall this project where we watched the sharpie’s cool effect when we add rubbing alcohol? Have a look if you missed it.
This next step involves rubbing alcohol so this should be done by grown ups in a well ventilated area.
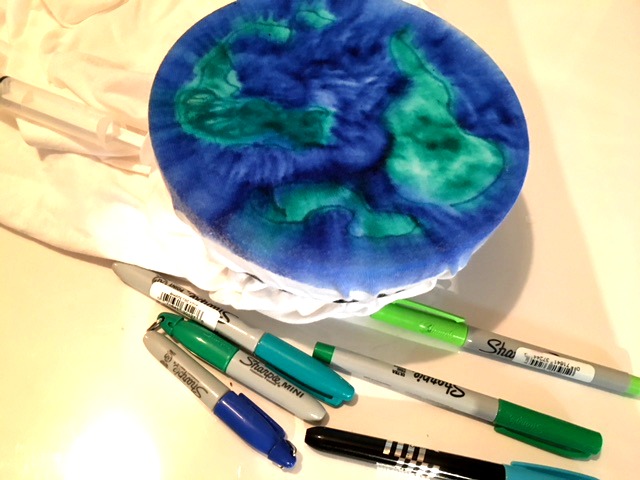
Using a dropper to control how much rubbing alcohol comes out-slowly add the alcohol and watch it blend the colors.
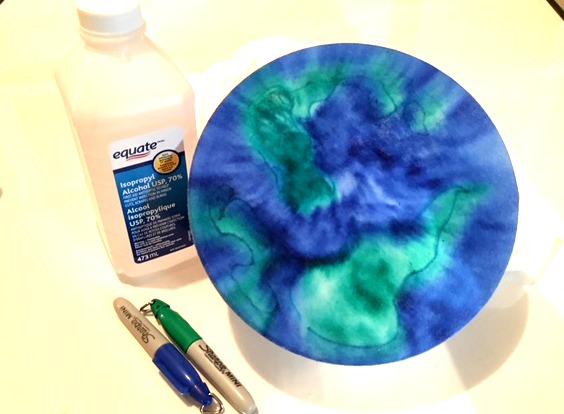
Watch the colors blend for a super cool effect.
Remove the bowl and hang on a hanger for 20 mins while it dries. Better yet put it outside so you don’t smell the alcohol.
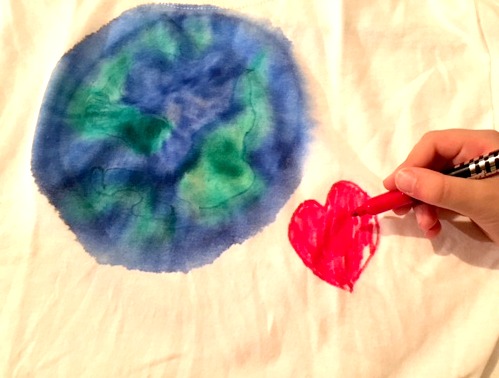
Lay it flat with a piece of cardboard in the middle so they color doesn’t bleed thru to the back.
Add a love heart with red permanent marker.
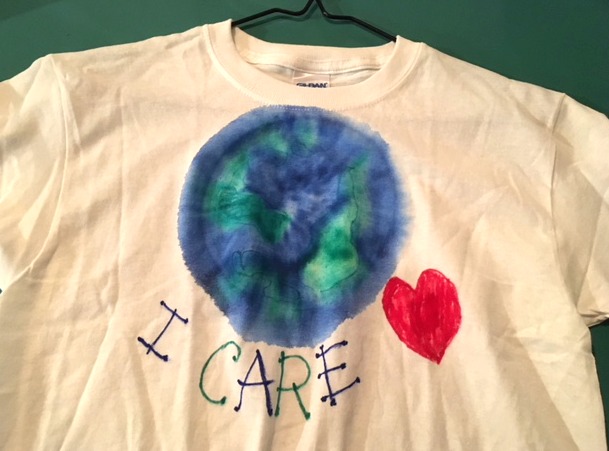
Add your message. We decided to write. “I care”.
It doesn’t take long for the rubbing alcohol to evaporate to be nearly dry.
Here are a few more recent projects for Earth Day you might enjoy!
Nature Craft – Perfect for Earth Day Activity – Clay Imprints with Plants and Flowers
http://mybrightideasblog.com/easy-vermicomposting-how-to-start-an-indoor-worm-compost-bin/
…

