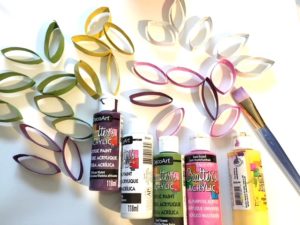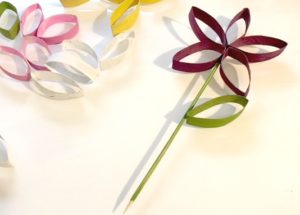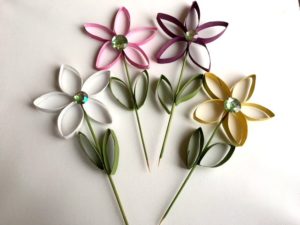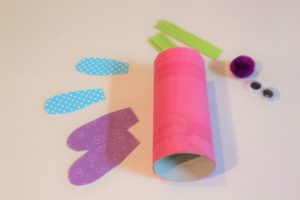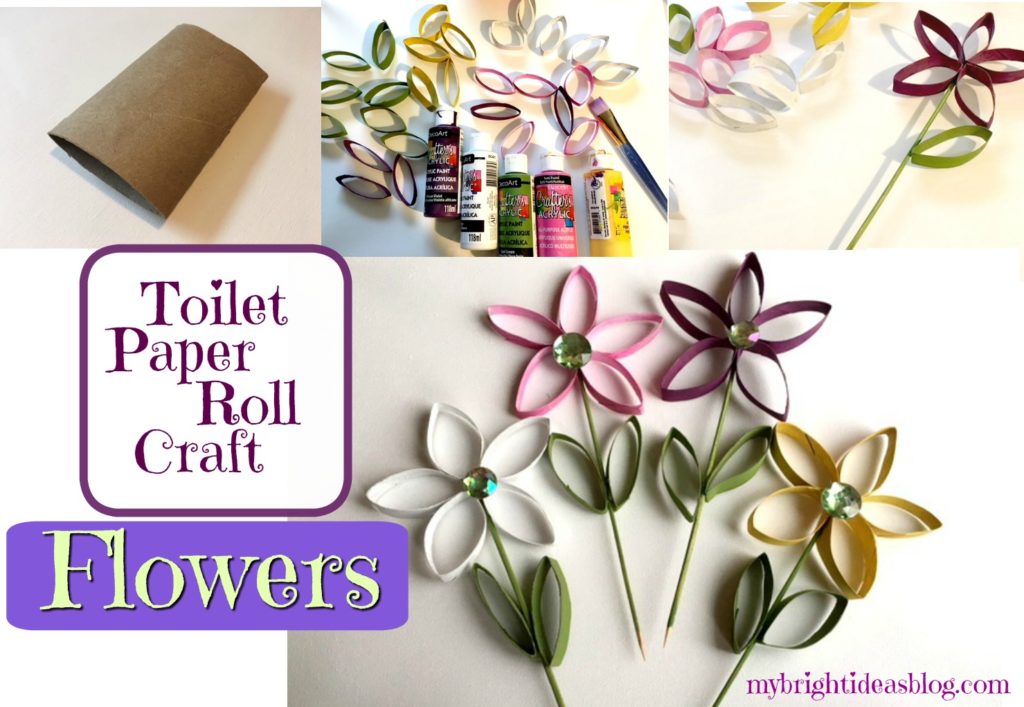
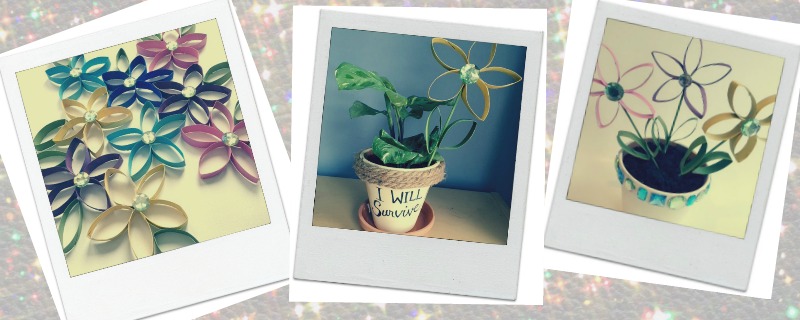
Looking for something to do with all those toilet paper rolls that your hoarding? Or am I the only one who doesn’t toss them directly into the recycle bin? Well all it takes is one toilet paper roll to make 5 flower petals and 2 leaves.
What a nice idea as we welcome Spring…ignore the fact that I’m posting this in mid April and we are shut in from an ice storm. Not to worry, Springtime will be back tomorrow.
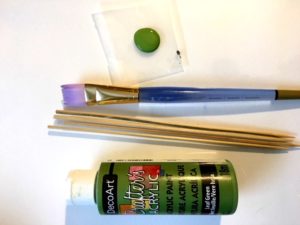
For each flower you will need: 1 toilet paper roll, ruler, scissors, glue gun, craft paint and paint brush. For the stem I used a wooden skewer but for safety sake you could use a popsicle stick. For the flower centre I used a big shiny gem but you could use a pom pom or button.
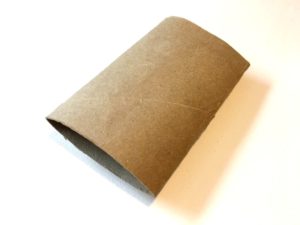
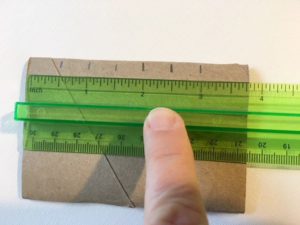
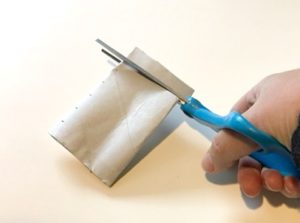
To begin you need to flatten your cardboard roll. Next measure and mark approximately 1 cm or 1/2 inch. It doesn’t have to be exact but we want to end up with it cut into 7 equal pieces.
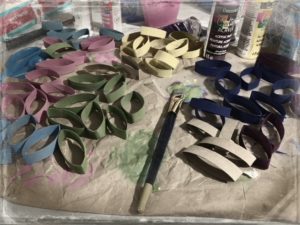
Take 5 pieces of the cardboard tube and paint them all the same color. This will be the flower petals. Paint the remaining 2 pieces green for leaves. I was surprised at how messy you can get trying to paint this. Paint the inside first then the outside. Then paint the stem skewers or popsicle sticks green. As I mentioned I did use skewers but my 8 year old was poking her big sister with it reminding me how dangerous this would be in a toddlers hands. So as a safer option I would choose a popsicle stick. They come in a few sizes-if you can get the long skinny type like they have at Starbucks that’s what I would choose but any kind would work. Now allow everything to dry thoroughly.
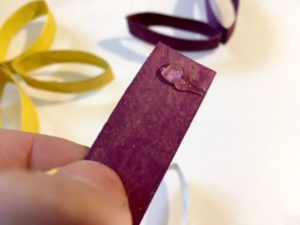
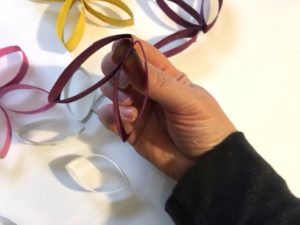
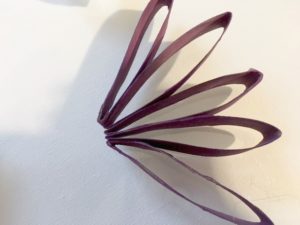
After the petals have had a chance to dry we begin to glue the first two together. Put a dab of glue on the end of one and pinch it with another while it dries. Add a dab of glue to the next one and pinch them together. Add on each one the same way until all 5 petals are glued together.
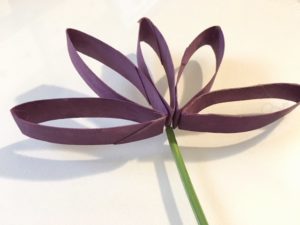
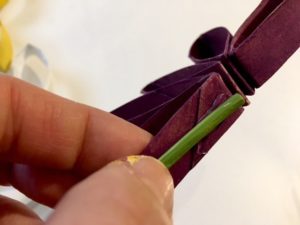
Place the stem in the middle of the petals and add a dab of glue to it. Pinch the daisy petal to the stem. Add a dab of glue on the other side of the stem and pinch the other petal to stem. This will complete the daisy shape. Put a dab of glue on the stem and place on the leaves-one at a time.
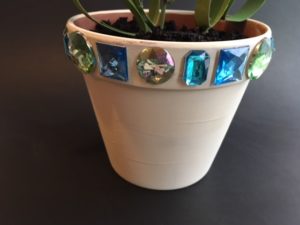
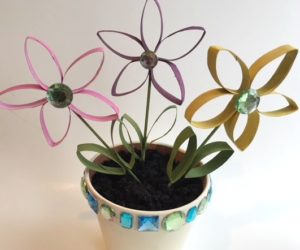
To finish it off glue the gem (or button or pom pom). Now you can pop it into a plant and give it away as a gift. I had extra gems and a flower pot handy so I hot glued the gems all around the flower pot too. It was so easy that I am in the process of making a bit of wall art out of the daisies.
Here is another post using toilet paper rolls.
Toilet Paper Roll Crafts-Use your loo roll tube for easy Crafts!
…
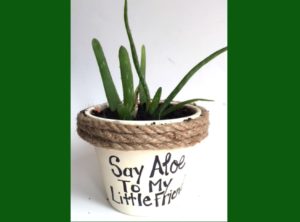
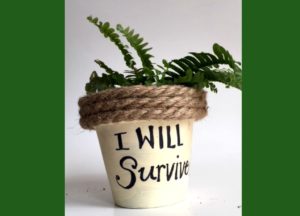
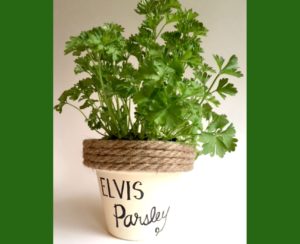
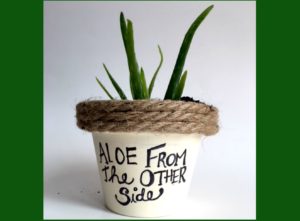
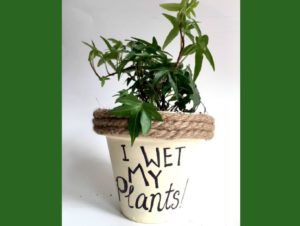
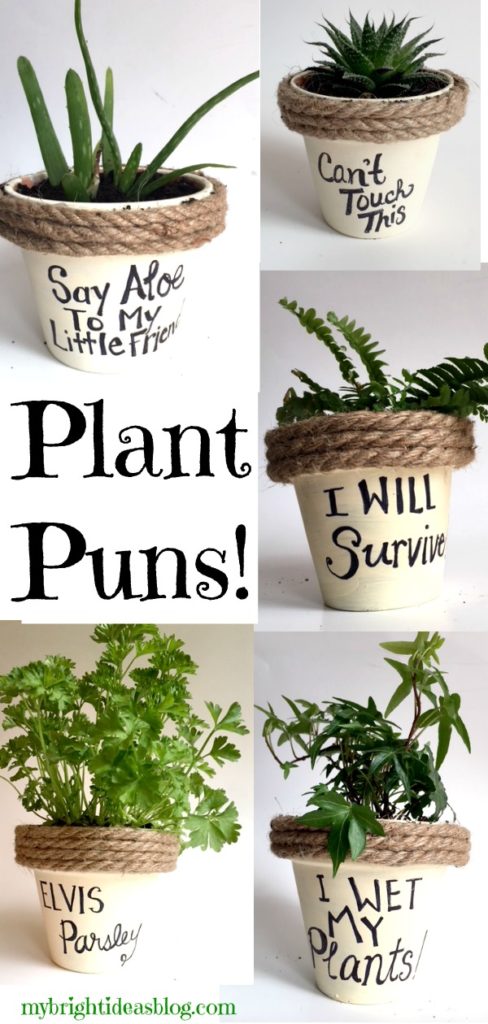
Plant Puns on Painted Potted Flower Pots – Adorable Gift Idea to Make Them Smile!
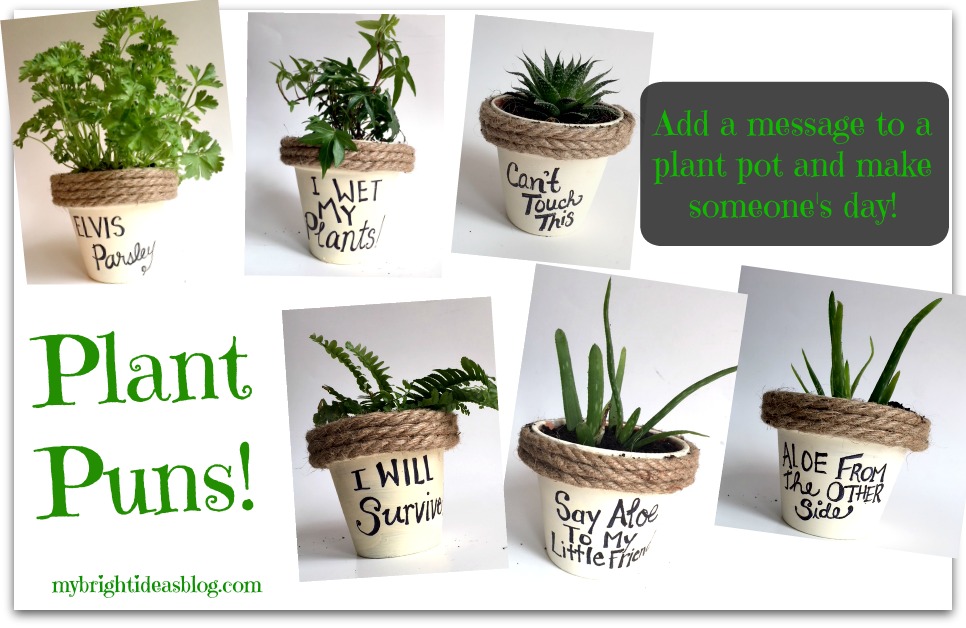
Say that title 4 times fast “Plant Puns on Painted Potted Planters”..now that is a tongue twister!
So I was talking crafts with a friend at the office and she showed me these painted terracotta plant pots. What a great gift for someone who is leaving the office or a friend who is down or recovering from illness. It’s an awesome gift that is guaranteed to put a smile on their face! :o) In fact that friend just had her final week at our office as she moves onto another part of the company and I surprised her with the Elvis Parsley flower pot. She loved it! Plus its edible so that is a gift that keeps on giving!
You will need:
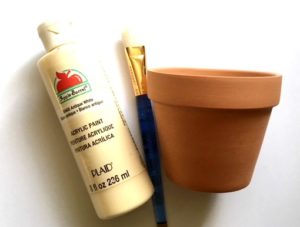
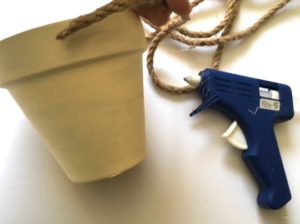
Terracotta pots, white or cream paint and paint brush, natural jute rope, hot glue gun and 2 sticks of glue, pencil and Sharpie, a herb or plant and a catchy pun to write on it.
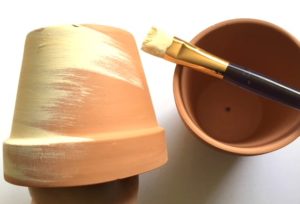
Start by painting the empty terracotta planter pot a white or cream color with a regular craft paint. Allow this to dry for several hours.
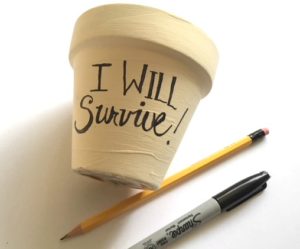
You can choose to write the message on now or after you hot glue the rope. Decide where you would like to write the message onto the pot. I recommend that you write it very lightly in pencil first. Also make sure that the ends of the rope don’t end up at the front of the planter. If you make a huge mistake-like miss a letter in a word. Try to save the project by painting over. If that doesn’t cover it you could change the colour to a dark blue, brown or black and use white paint for the lettering. Waste not!
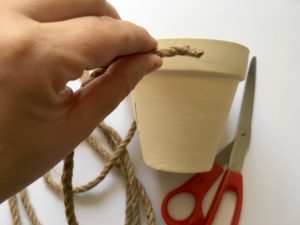
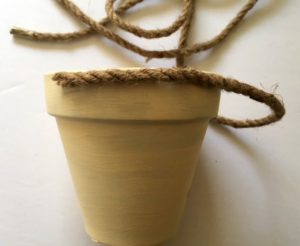
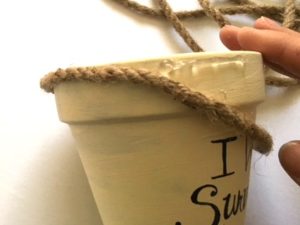
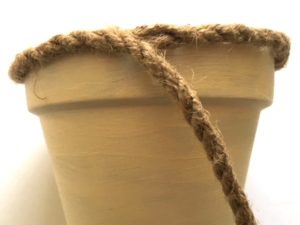
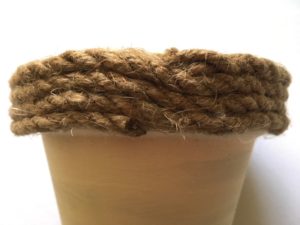
Trim the end of the rope on an angle. Begin by gluing the rope around the top of the flower pot. Since hot glue dries so quickly I would put a 2 inch line of glue and then press the rope into the glue for a few seconds. When this is cooled add another 2 inch line of hot glue and press the rope into the glue. Repeat all the way around the pot until you have filled the rim of the planter and the ends meet up. Trim the end of the rope on an angle and glue the ends down. Watch your fingers!
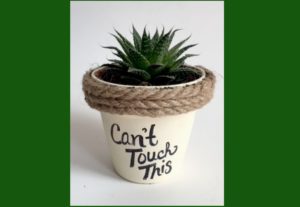
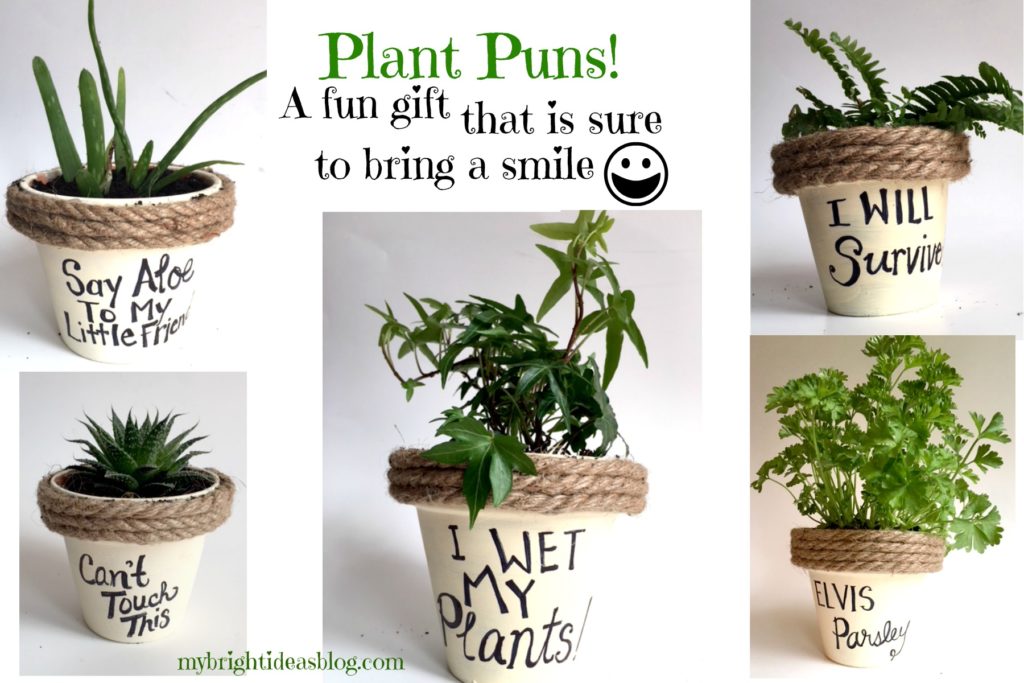
Lastly, you need to put your plant in the pot. Add a few pebbles in the bottom, then soil, then the plant and a bit more soil to fill the gaps. Awesome! Here are some more that I did this week.
The planter that says “can’t touch this” is meant to be a cactus but there was wasn’t any available at the store so this succulent is acting as a stand in.
This has been a lot of fun. Last night we had a family dinner and I took an Elvis Parsley to my mom’s house. It got a laugh out of the group. If you are looking for a silly hostess gift or housewarming gift I highly recommend giving Elvis.
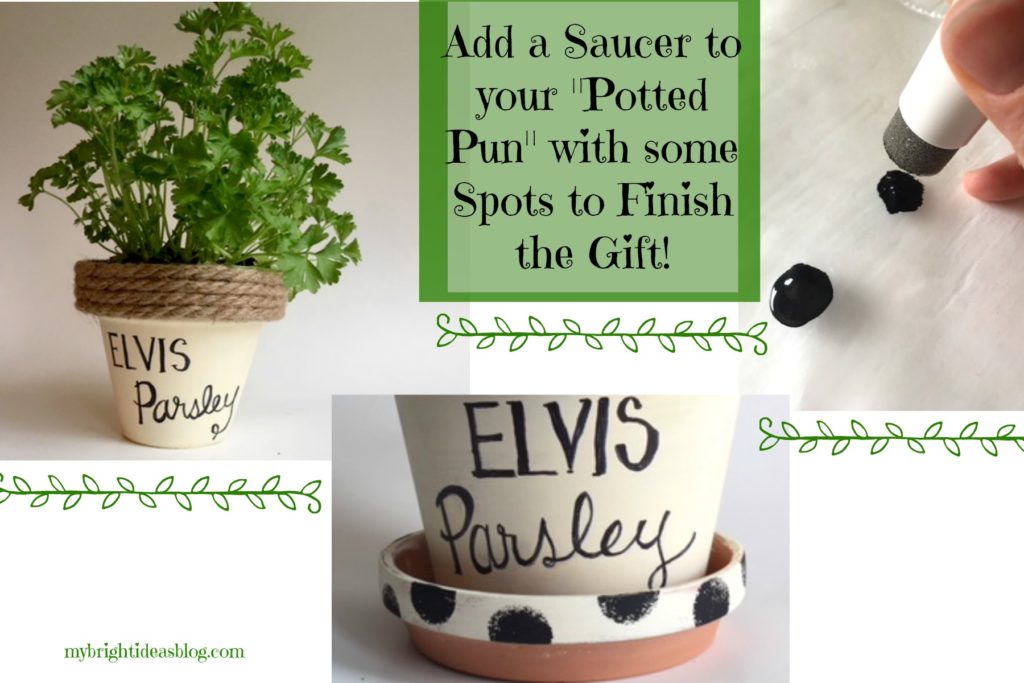
Have fun with your painted potted plants!
…
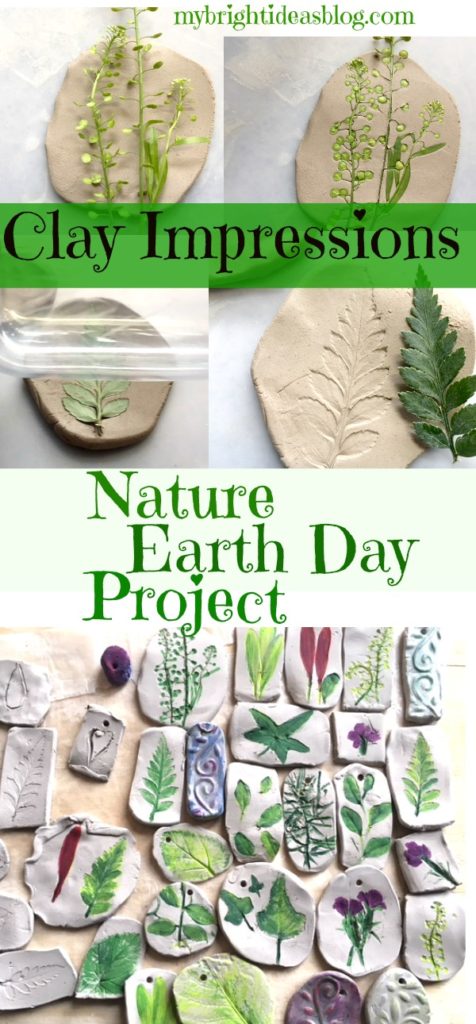
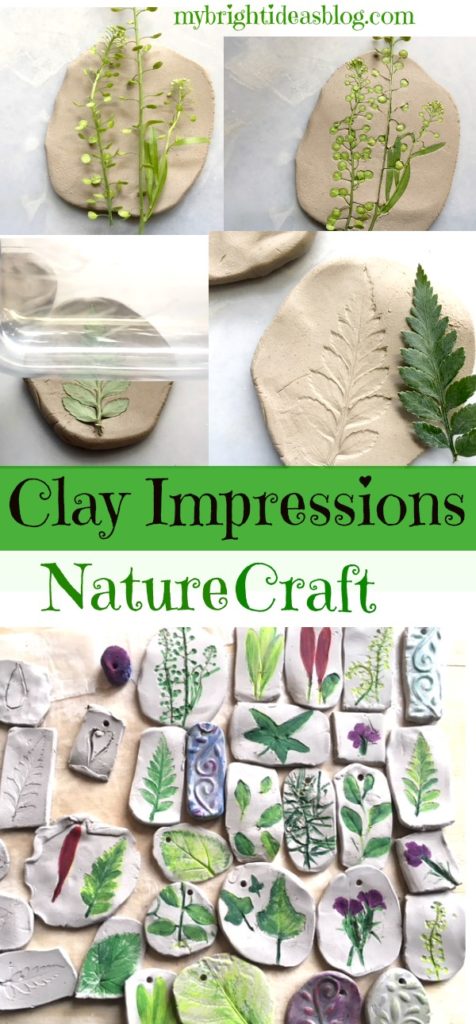
Nature Craft – Perfect for Earth Day Activity – Clay Imprints with Plants and Flowers
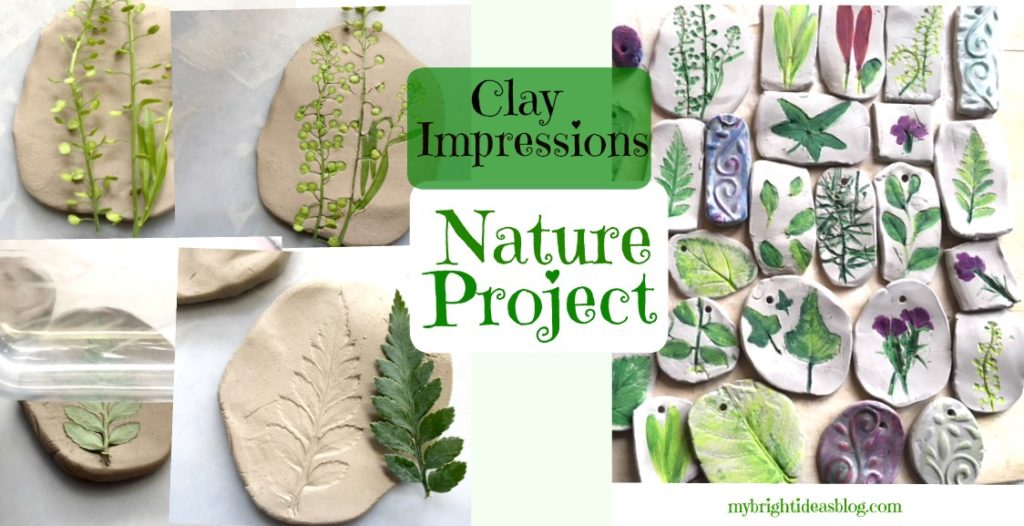
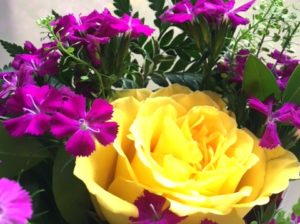
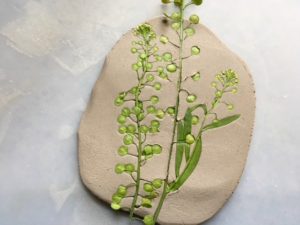
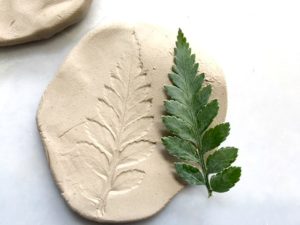
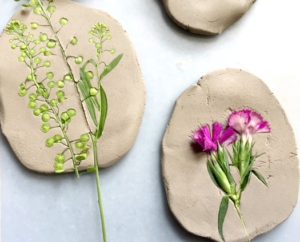
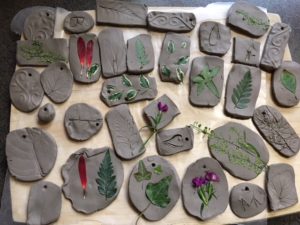
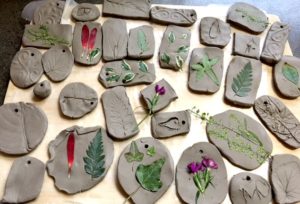
I wanted to blog about a natural craft for earth day and discovered clay impressions of plants and leaves and flowers. What a great idea! The only problem is that its just the very beginning of spring and the garden is ugly. Except for a few crocuses there is nothing nice around my home. I popped into the florist shop (Regency Florists) nearby and asked if they had any flower scraps like a bit of fern that we could use for this craft project. The lovely young lady made a little bouquet of scraps for free! How lovely is that! We are going to take her one of these lovely creations as a thank you gift.
Supplies
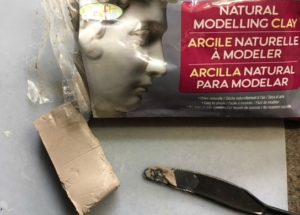
So you will need CLAY and a very smooth surface to work on. If you have a clear bit of plastic table cloth or a very smooth kitchen cutting board-either will work. You also need some flowers or plants, a rolling pin or water bottle that has smooth sides. Later when the clay is dry you may want to use some craft paint to add the green or flower color. Also if you want to turn it into a mobile or wind chimes you might need a chopstick or skewer to poke a hole in it.
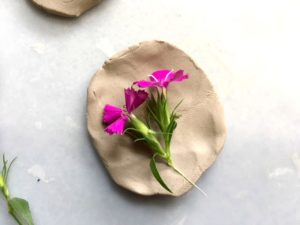
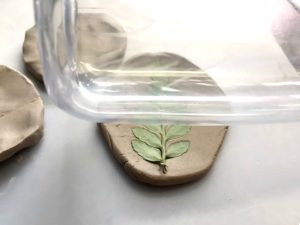
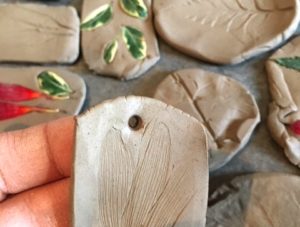
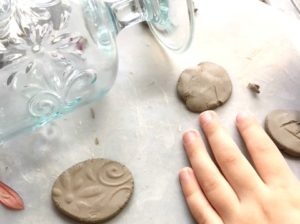
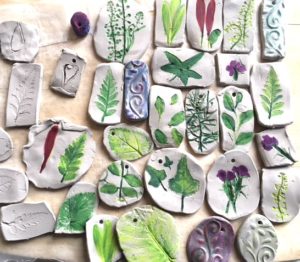
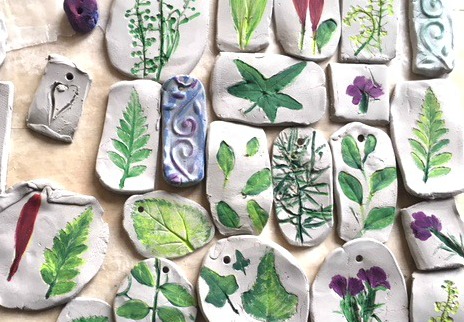
Our clay is from the dollar store craft aisle. We just slice off chunks and made different shapes with it. Then we rolled it flat. Next we place a bit of plant or flower onto the clay and rolled over it gently with a smooth water bottle. Pull the plant off the clay and admire the details now imprinted in the clay. If you want to add a hole-this is the time to grab your kebab skewer or chopstick.
Allow the clay to dry overnight. It should feel completely dry before you paint it. I just used regular craft paint.
This would be a lovely gift from a child to a teacher or grandparent. Its a great craft for all ages though. I highly recommend for adults to give it a try. Its very therapeutic! This project has a lot of possibilities so let your imagine go wild. Find things around the house with interesting textures to imprint the clay.
Have fun!
…
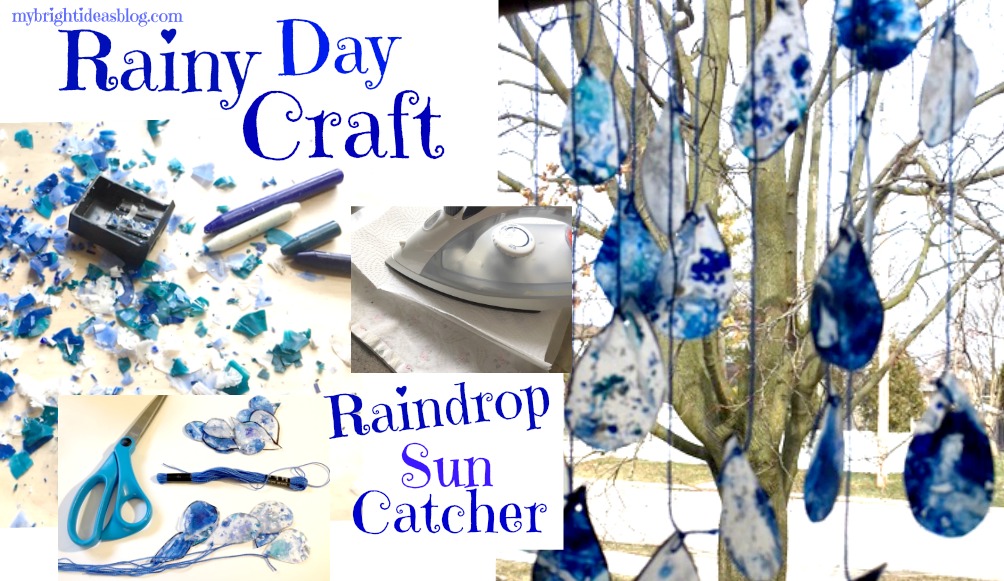
Rainy Day Kids Craft – Raindrop Sun Catchers
 Is it raining near you today? It is spring so we are going to have a lot more to come. Rain and sun is what is going to make my brown lawn green and that naked tree grown luscious leaves. In the meantime, let’s make the best of it with a cool craft.
You will need:
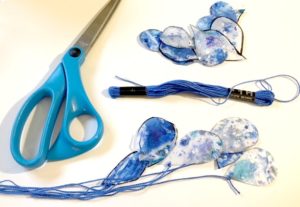
Several shades of Blue Crayons, Wax Paper, Iron-set to low heat setting, Old tea towel and Paper Towel, Scissors, a Pencil Sharpener, String or Yarn or Embroidery Floss (Blue) and a Hole Punch.
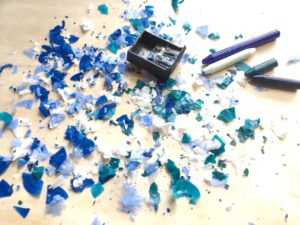
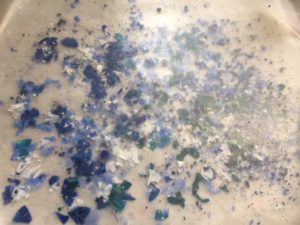
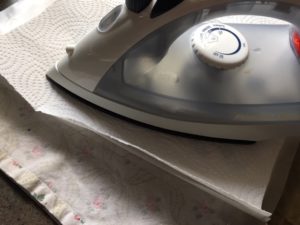
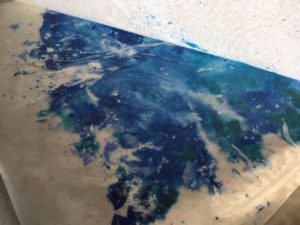
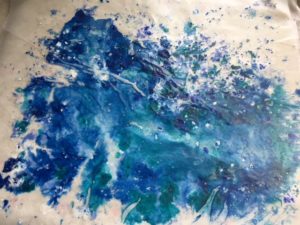
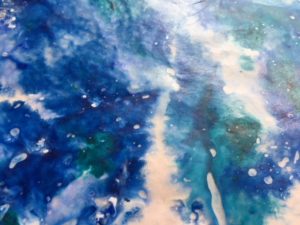
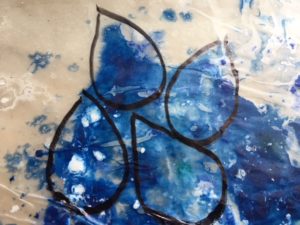
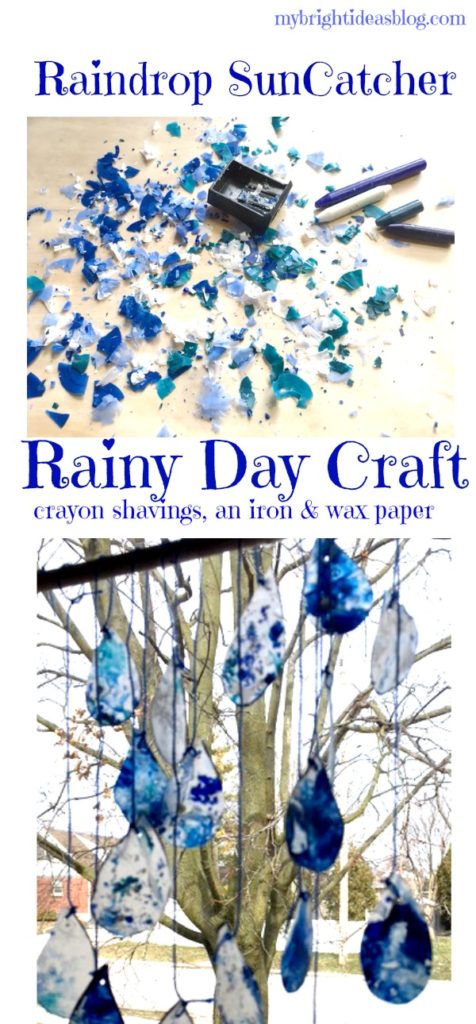
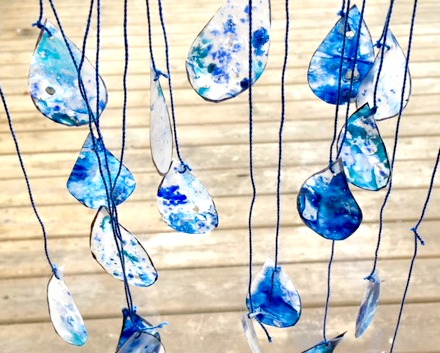
Choose some blue crayons and peel off the paper so they are ready for sharpening. I chose several shades of blue, turquoise and white. Lay out a piece of wax paper and sharpen the crayons overtop of the wax paper. Spread the shavings out. Next cut another piece of wax paper the same size and place it on top of the shavings for a crayon shavings sandwich. I did the craft on a wooden cutting board with a tea-towel under the wax paper and paper towel on top of the other wax paper. The shavings move around a lot so you may end up with some melted to the towels. My main thought was trying to protect the iron from permanently melting crayons to it. Now you make a quick run over the top layer with the iron. Adults should do the ironing-start at lowest setting if it doesn’t seem warm enough increase a bit at a time.
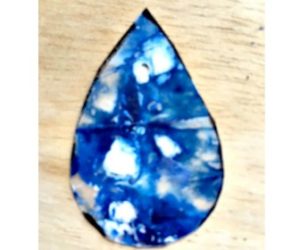
Draw a raindrop shape onto the wax paper and cut out the water drop shape. Next use a hole punch to pop a hole in the top of the raindrop. String up the raindrops and tape or wrap it around a stick or dowel or wooden spoon. If you haven’t got anything to use just put it with a line of tape right on the window. If I had blue painters tape I would have just put a line of that on the window.
 The sun is trying to push through the clouds!! Better hurry and grab a kiddo and doggo and get out for a walk….
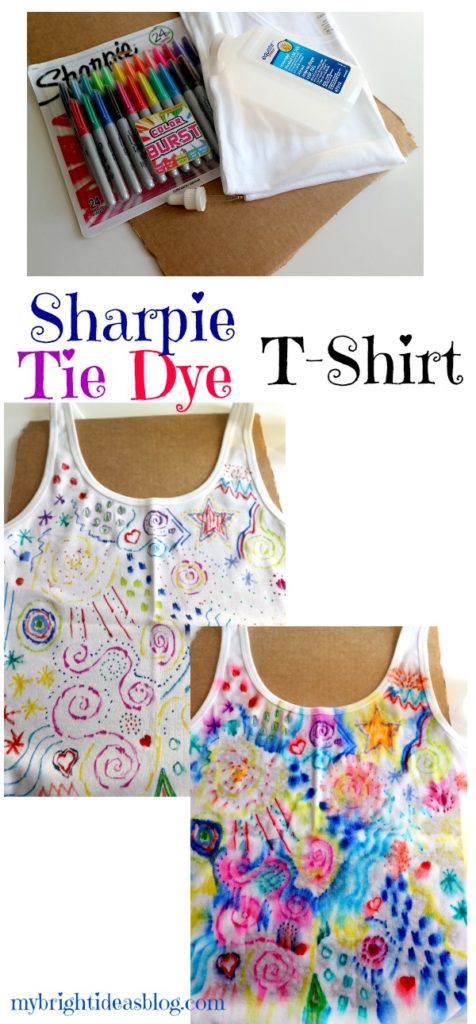
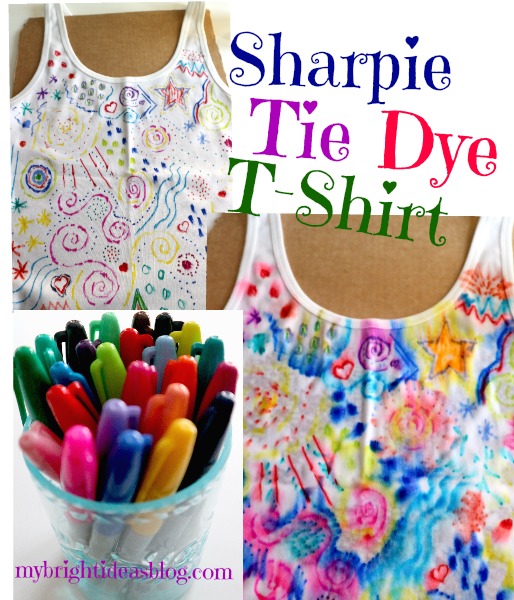
Sharpie Tie Die Coloured Shirts
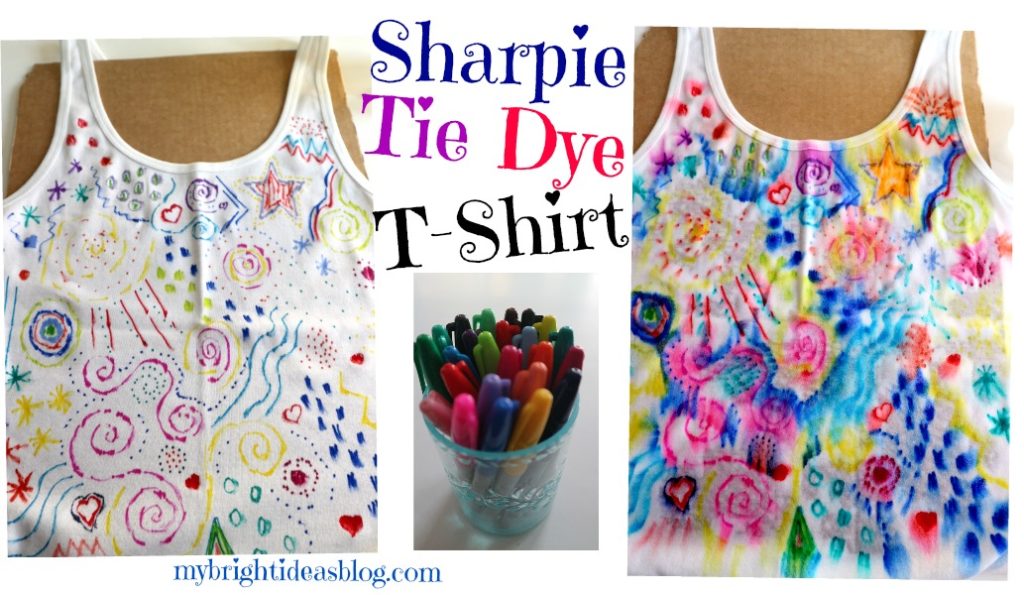
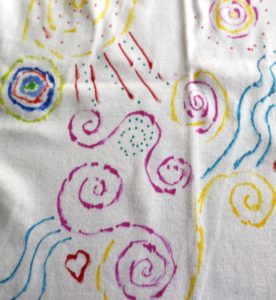
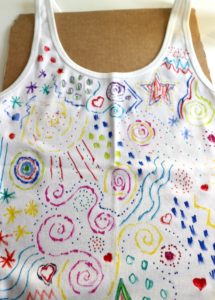
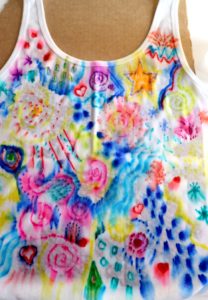
There is so much you can do with Sharpie permanent markers! For this project I wanted to see for myself what happens when you mix sharpies with a white tshirt and drops of rubbing alcohol. I was hoping for a vibrant a tie dye effect. It turned out pretty cool!
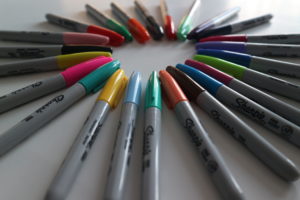
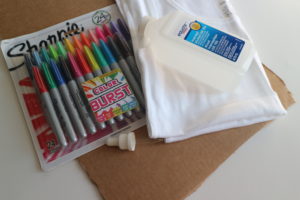
For this project, you need permanent markers (like Sharpie’s), a plain t-shirt, rubbing alcohol, a piece of cardboard or plastic to put between the layers of t-shirt so it doesn’t bleed through to the back side of the shirt. You will also need an eye dropper or baby medicine syringe (safety note-throw it out after using it for this project) for dropping rubbing alcohol onto the artwork you create.
Its harder to write on a t-shirt than you might think. Fortunately, I was just aiming for some funky designs that would look bright when the colours were all blurred together. This would be very cool on a cotton pillow cover or canvas running shoes!
The rubbing alcohol is really quite smelly and I drenched my shirt in it because I loved the process-it’s like watching fire works! When I made this shirt I was battling a cold and my nose was stuffed up…but when my family came home they said it was really strong. It might be better to do this when the windows can be open or even as an outdoor project.
The best thing about this wearable art is that every one will be an original!
…
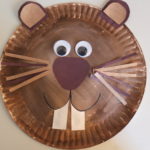
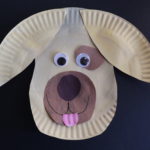
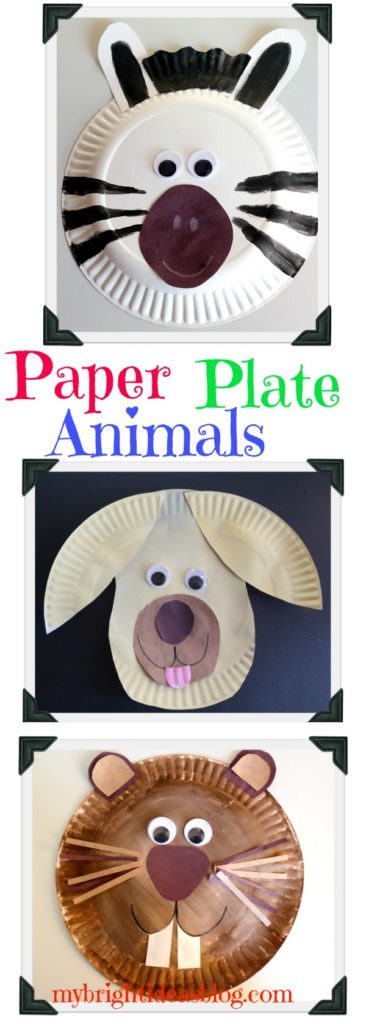
Paper Plate Animals Groundhog Zebra Dog
It’s March Break this week! That means it’s time to look around the house for easy, inexpensive crafts using things we already have. My favorite go-to craft items are paper plates, lunch bags and coffee filters. There is so much you can do with these basic household items-and no trip to the craft store is required. Endless possibilities!
Today lets talk about the sturdy paper plate! For crafts, I like the thin ones that makes you nervous at a picnic that your coleslaw and hot dog are going to fall off the plate and onto your sandals. EEK! They might not be great for dinner in the park, but that is what makes them so perfect for crafting.
For these three crafts we have used a thin paper plate, paint and brush, construction paper, scissors and glue, big googly eyes and a black marker.
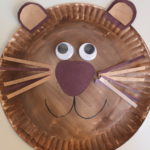
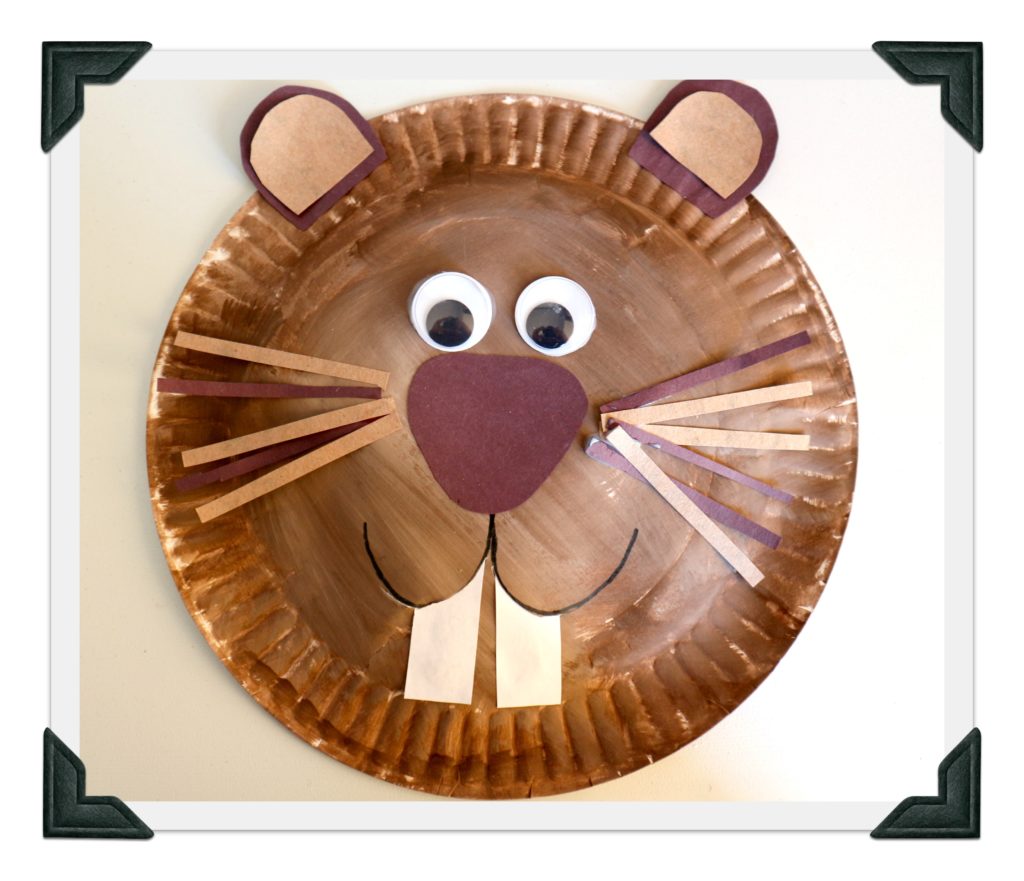
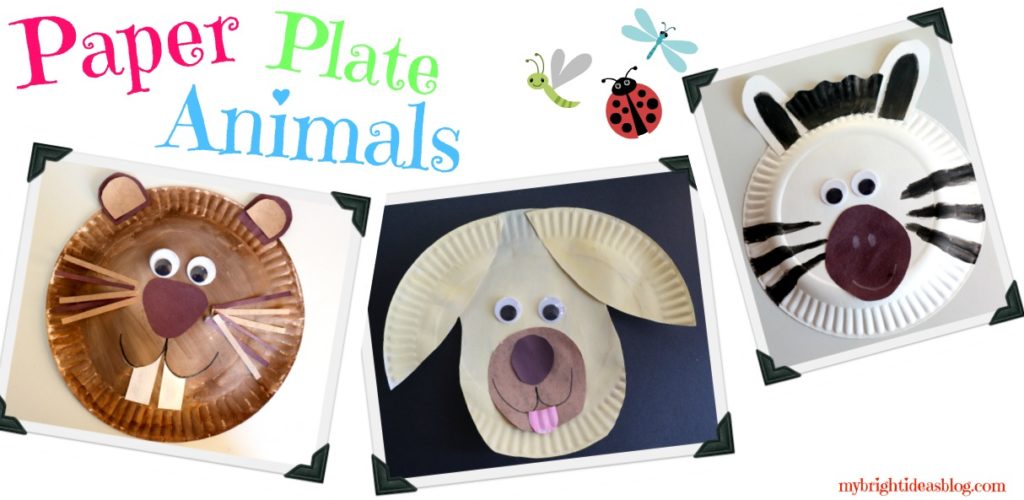
This brown paper plate animal was meant to be a beaver, but it could easily be a bear or groundhog if you want it to match a hibernation theme or a book you have read. Here I used 2 shades of brown for the ears, slivers of paper for the whiskers a brown nose that looks like a triangle with soft edges. After drawing on the mouth, you can slice a slit thru plate along the mouth line to slide the white teeth through and add a dab of glue on the back to keep them in place.
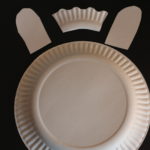
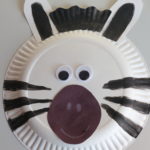
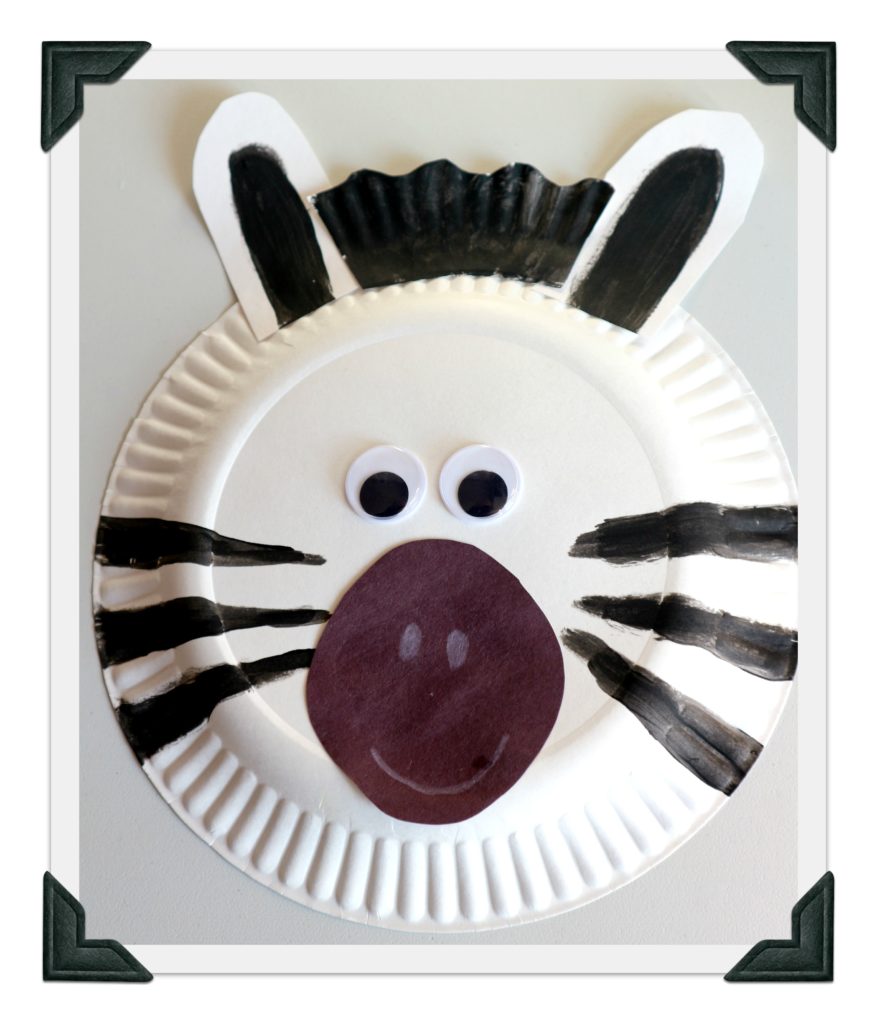
This is a paper plate zebra. Just add a scrap off of another plate, paint it black to be his mane and some ears. Add black stripes with a marker. The nose is sort of an oval/diamond shape. Use a white crayon or pencil crayon to make his mouth and nostrils. I love big googly eyes to add to my crafts but you could draw on eyes if you’re out of googly eyes.
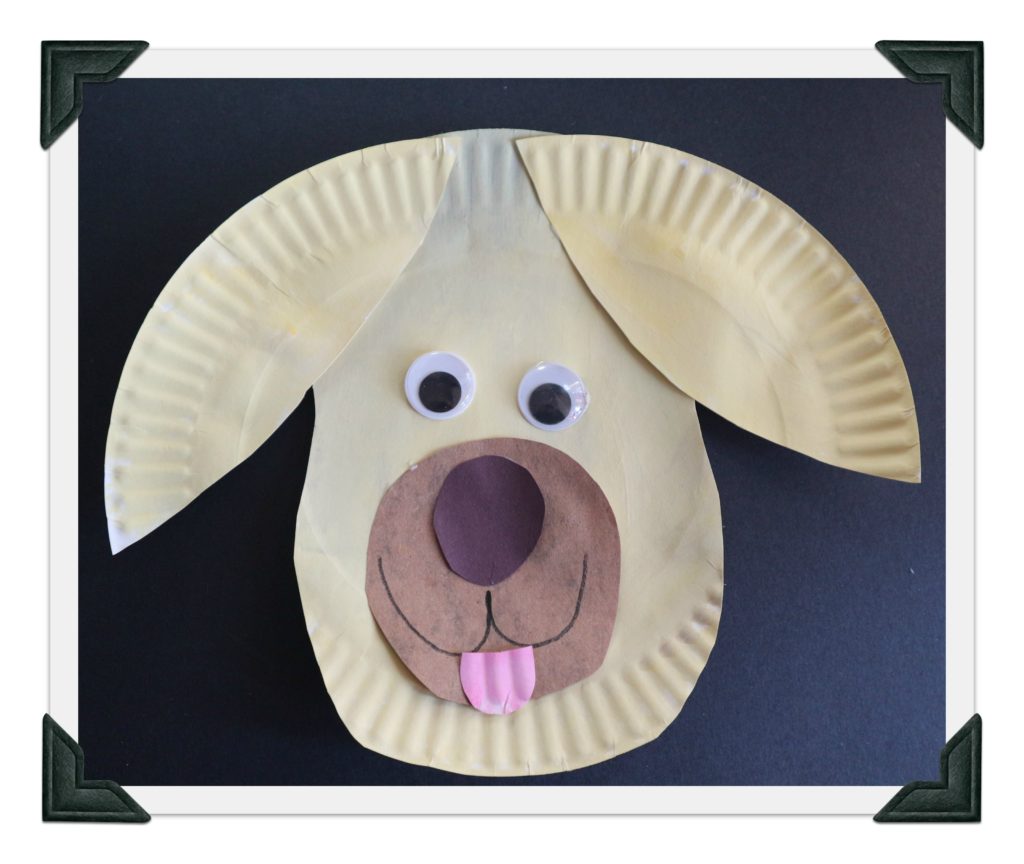
This dog looks like our Gus. Gus badly needs a haircut at the moment-he is bringing in all sorts of dirt.
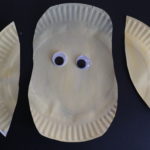
For this dog paper plate craft we painted him a creamy yellow and added a big, round, brown snout cut from construction paper. The nose is simple circle of black paper…but a big pink or black pom-pom would be cute too. We put a brown patch under the googly eye and had his tongue sticking out. Again you could slice a line in the paper plate to have the tongue look like its coming out of his mouth.
Have fun with your kids and crafts this March break!
…
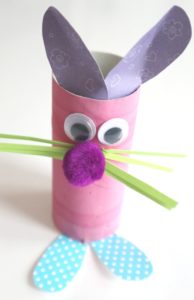
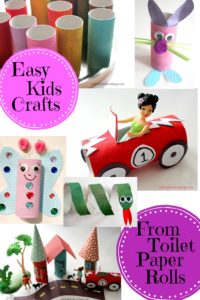
Toilet Paper Roll Crafts-Use your loo roll tube for easy Crafts!
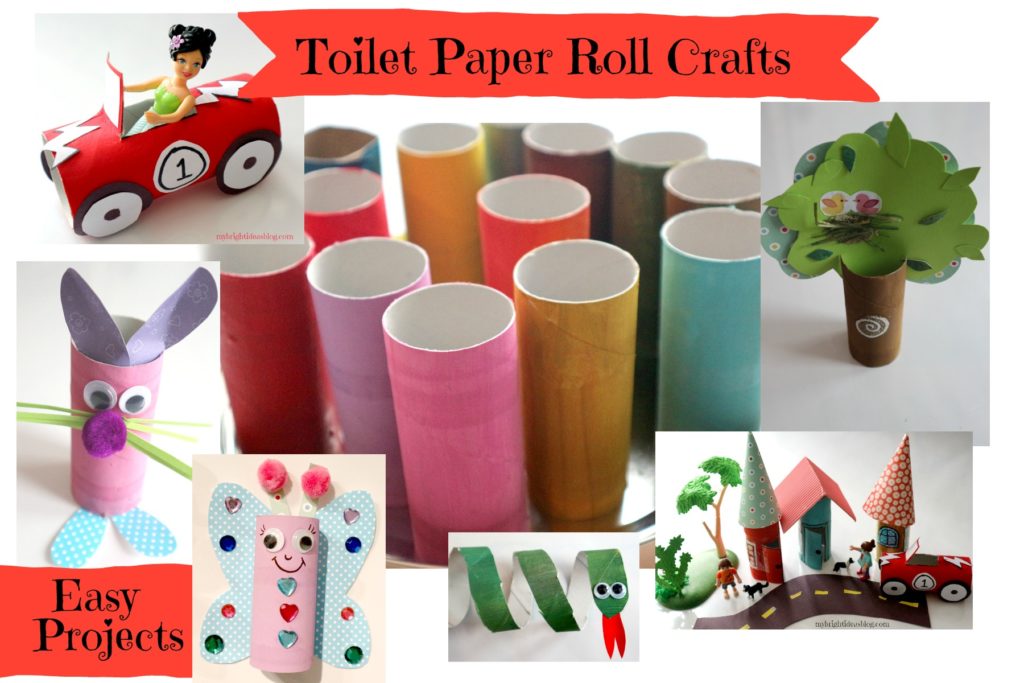
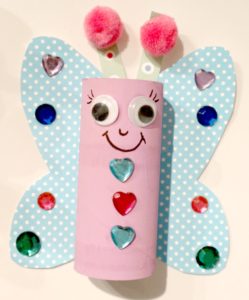
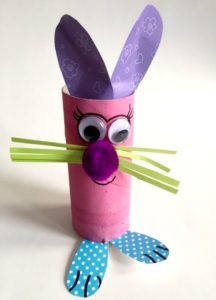
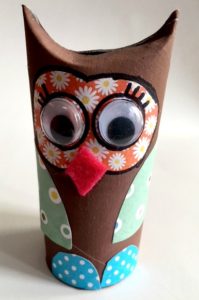
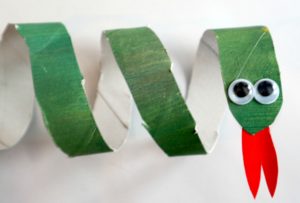
Are you collecting toilet paper rolls for kids crafts?!? Of course you are! Here are some ideas for what to do with them.
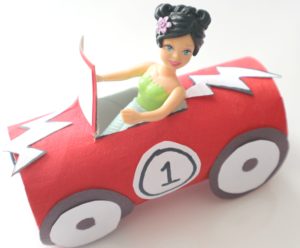
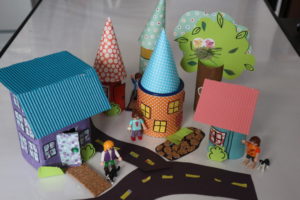
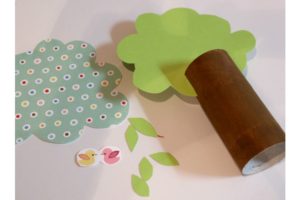
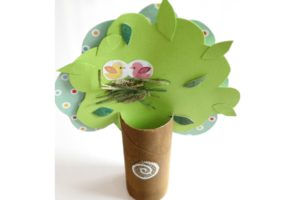
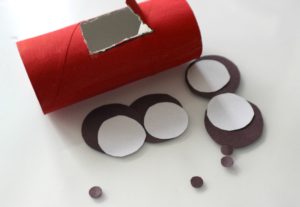
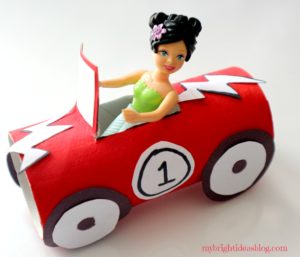
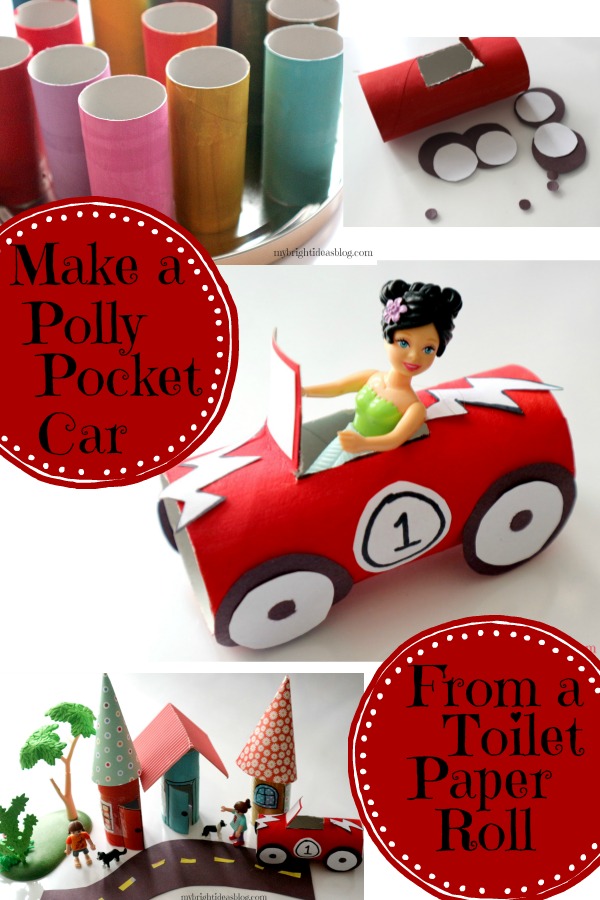
There is just so many things you can make once the ideas start to roll in. I started with the polly pocket race car, then a tree, several houses and a road. Using tea tins and boxes I made some different shaped houses. Several toilet paper houses too.
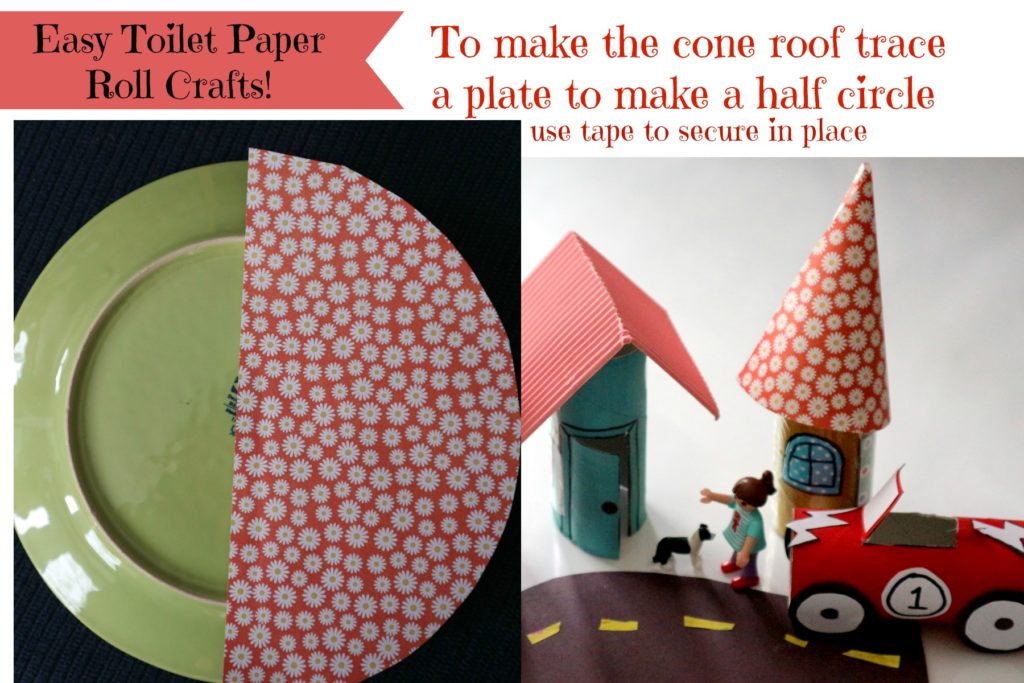
Cruising through pinterest I can see a lot more ideas and not to worry I have plenty of toilet rolls saved for more crafting. March break is this week and that is the perfect time to get out the cheap crafts and paints and glues and make a toilet paper roll community. Have Fun Everyone!
…
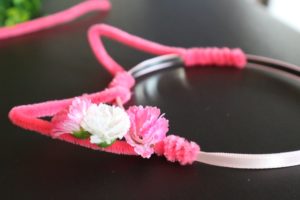
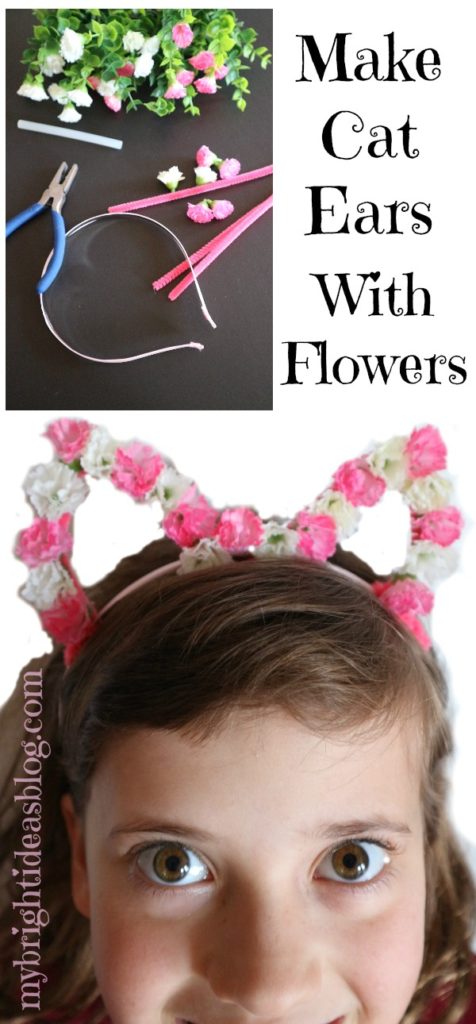
Easy to Make “Kitty” Cat Ear Hairband with Flowers
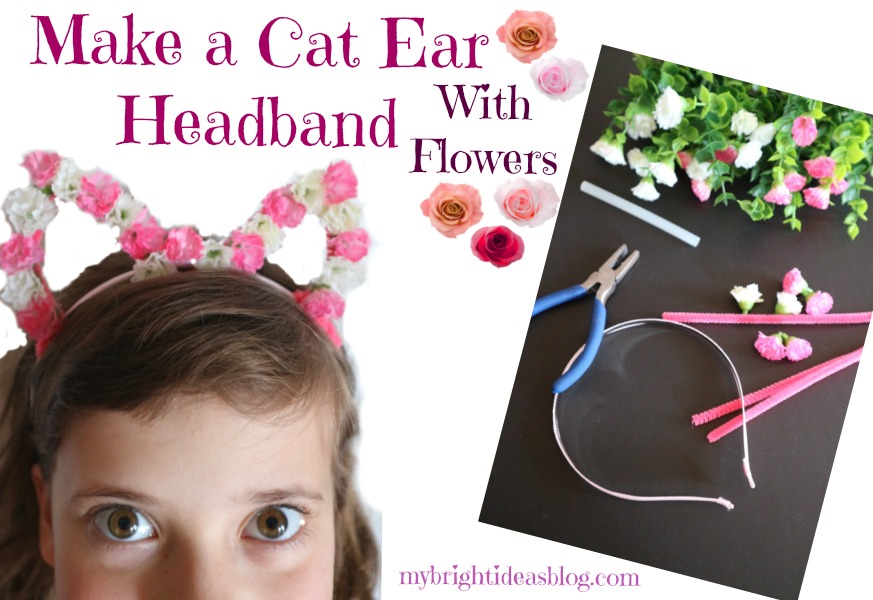
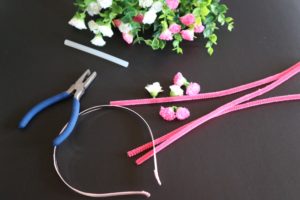
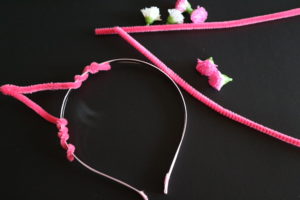
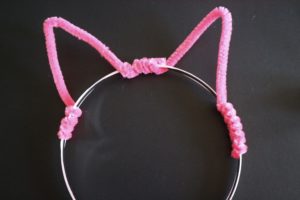
My kids tell me that cat ear hairbands are what everyone is wearing to school. So make one that is springy with flowers and pipe-cleaners. You will need:
Artificial plants with small flowers, a plain hairband, 2 matching pipe-cleaners, hot glue gun and scissors.
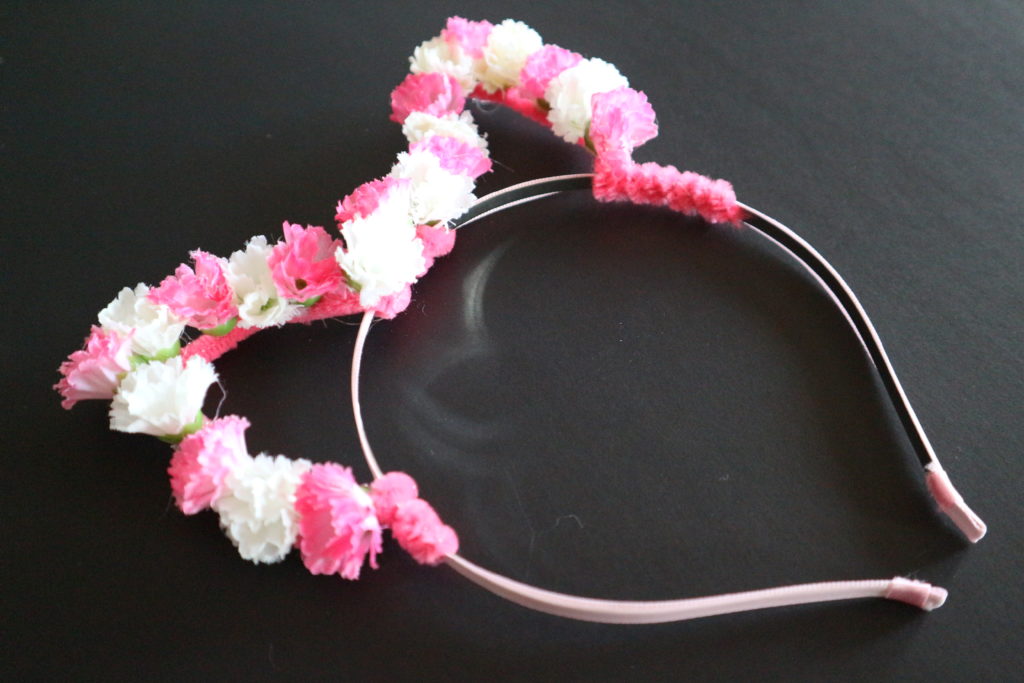
Use one pipe-cleaner to make each cat ear, wrap the wire tightly then use plyers to pinch it tight so it doesn’t poke you in the head.
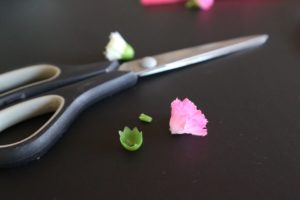
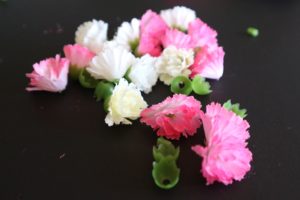
Pop the flowers off the stems and trim off the little green nub. This will make the flower sit flat when you glue it on but it will also make the flower fall apart a bit so put a dot of glue on the flower and attach the green plastic end back on. Then glue the flower into place.
Remember to pull all the glue strings off from the hot glue gun. I always miss some! This would make a fun project for a girls playdate or visit to grandma’s. Have fun!
….

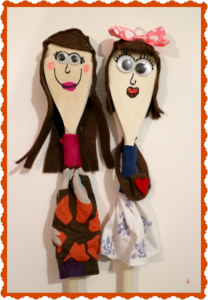
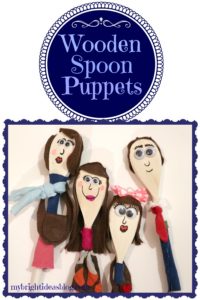
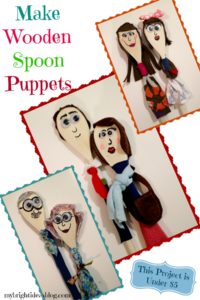
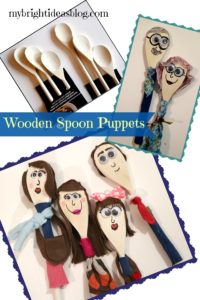
Wooden Spoon Puppets! Easy Fast Fun Inexpensive!
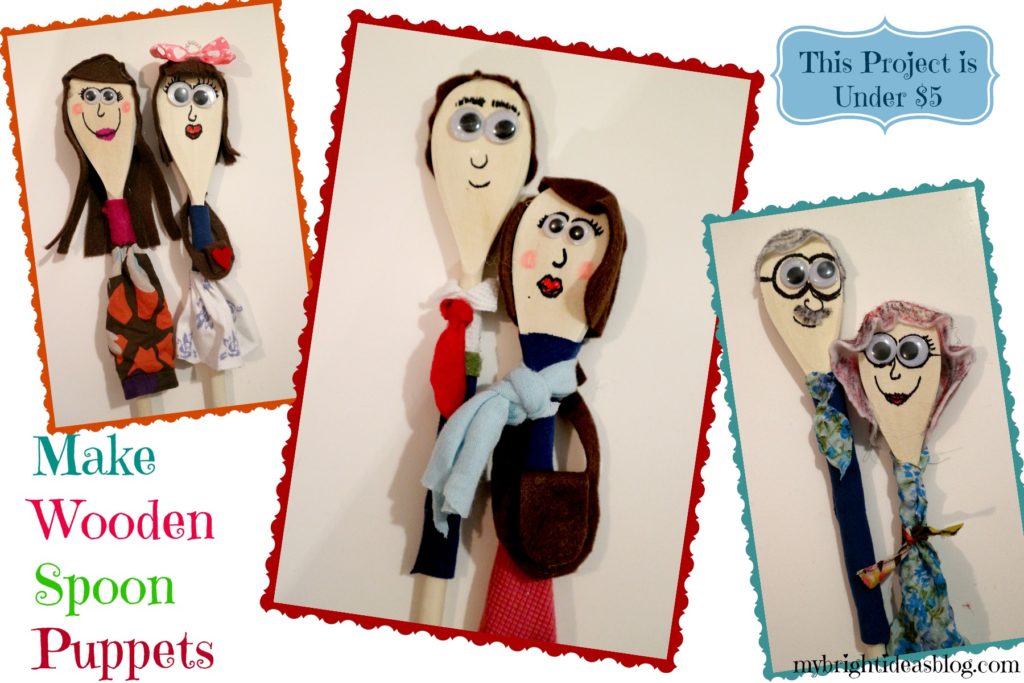
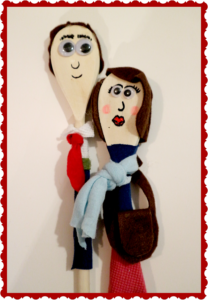
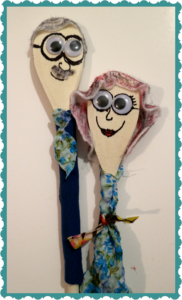
I was researching some puppet theatres to make and came across the easiest puppet idea ever! All you need is some wooden spoons, a sharpie, scraps of fabric, googly eyes and your hot glue gun.
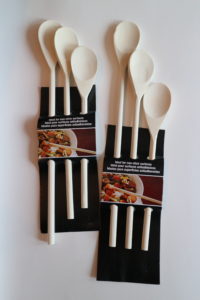 The wooden spoons I used were 3/ $1.50 making this an inexpensive craft. The shape of the spoon makes a perfect head shape. Some spoons have wide handles too that would be great for drawing on the clothing but these cheap and cheerful spoons were very skinny.
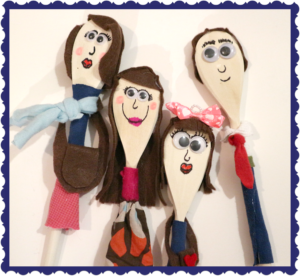
First I added googly eyes and then I drew on the rest of their faces. The hair was a bit tricky. I used pieces of felt for it although you could use yarn or sewing trims.
Clothes are pretty easy just cover up the spoon with a scrap of fabric and hot glue it in place. Its actually easier than you might think to make a shirt and tie.
This is the sort of craft that will actually stick around a long time after you make it. You have made an actual toy. I was thinking this is the sort of thing you could take on a camping trip instead of Barbie’s or dolls with all the little bits and pieces that you might lose.
..
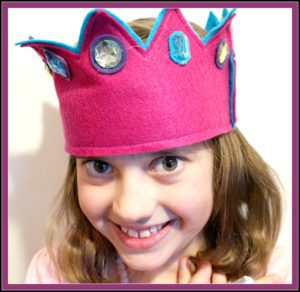
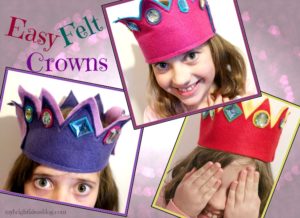
How to Make a No Sew Felt Crown for under $3
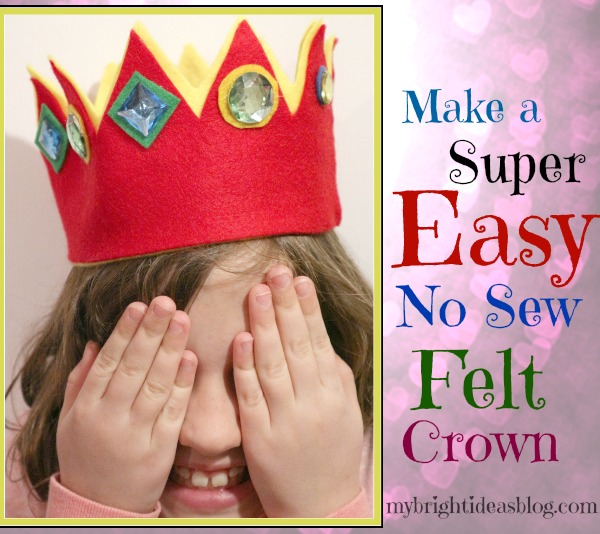
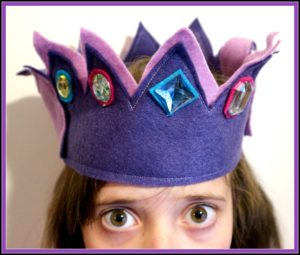
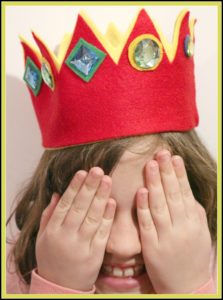
Today we are making a “no sew” felt crown. I tried to be mindful of the cost and simplicity of this project in case you need to make 10 of these for a children’s princess party.
Here is what you need:
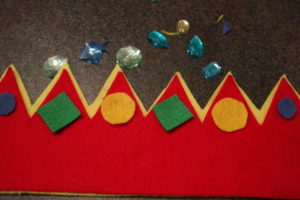
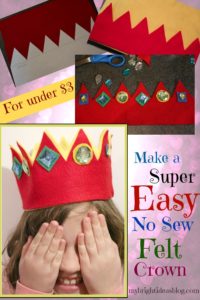
A piece of craft felt can cost $.50-1.25 depending on where you are buying it. For each crown you will only need 2 rectangles of felt-I used different bright colors. You will need some gems, scraps of felt and your hot glue gun.
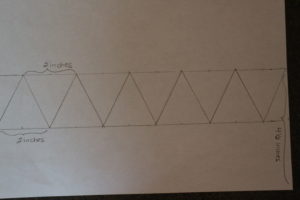
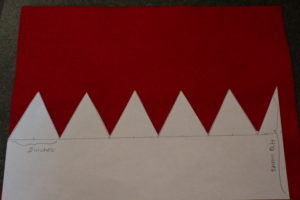
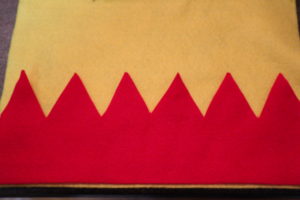
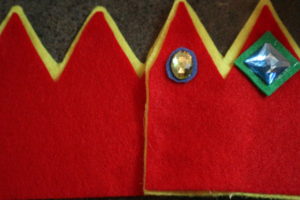
Make a template using a 8 1/2 by 11 standard piece of paper. Measure 4 1/2 inches from the bottom and draw a line. Draw another line 2 inches below that. Put a mark every inch along both lines. Then using your ruler create a zig zag. This measurement should make it possible to do this twice on a felt rectangle that measures 9′ x 11 1/2″. To make sure you don’t cut into the other half you could cut the felt in half lengthwise before you cut the zig zag, If your felt isn’t as wide as mine just shorten the bottom portion of the template. Do the same with the second color that you have. This extra layer will stiffen the project so it can support the gems. It also makes it really pop with the extra color.
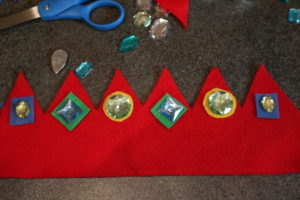
Now comes the fun part! Sort out how you would like to place your gems. Cut pieces of felt out of scraps to place under the gems. Using the hot glue gun, glue the layers together. Then glue on the felt circles and triangles into place, and followed by the gems. This is when I borrowed my daughter’s head for a sizing. Overlap the edges and glue in place. I only put gems on the front of the crown, if you were going to put them all around its important to not have glue gems on the part that is going to be under this over lap. So if I were going to put gems all around I would only put it on the 4 middle zig zags for the back part of the crown.
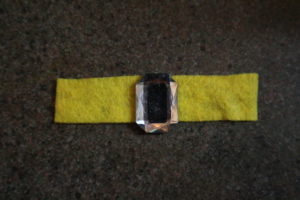
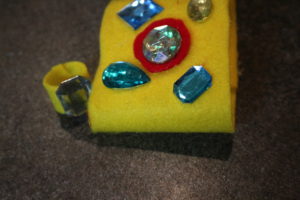
While you have the felt and gems out and the hot glue gun is still hot…you might as well make a ring and bracelet too.
…Here is a link to another post with identical looking crowns but using the sewing machine to sew the felt together and add a Velcro closure.http://mybrightideasblog.com/sew-a-super-easy-to-make-felt-crown/

