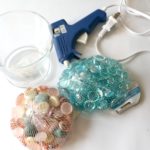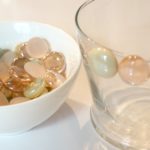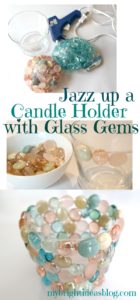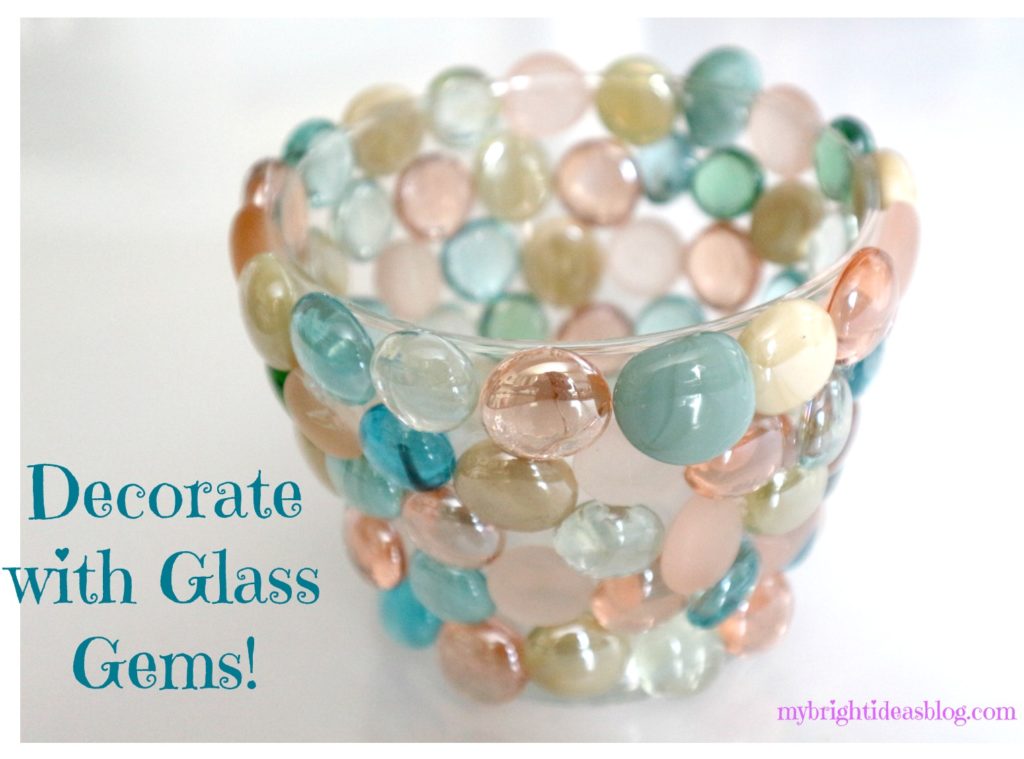
When I saw this bag of glass gems at Michael’s craft store I had to get it even though I didn’t know what project to use it for yet. The beads had pearl and pink and turquoise….so pretty!
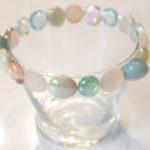
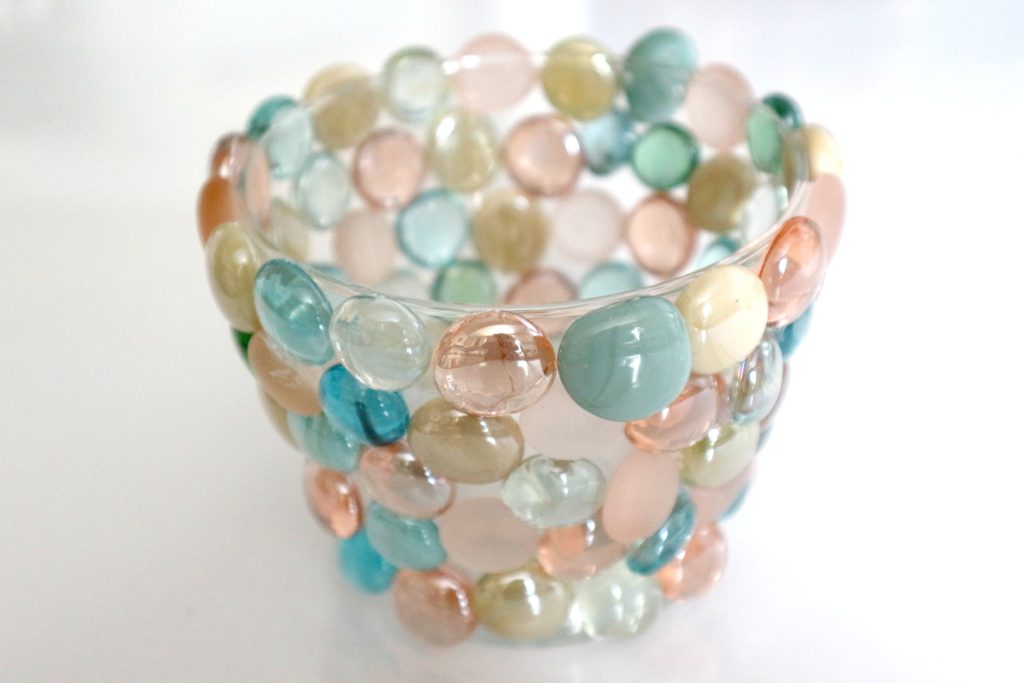
The vase is small either for short cut flowers or its a candle holder…I’m not sure. One bag of gems was enough to cover this vase…candle holder…for simplicity lets call it a vase.
It doesn’t really require instructions its so easy. Alternate the gems for variety. Try to save some smaller ones so you can fit them into the small spots. I found the ones on the bottom wanted to pop off because the edge is a little rounded. So another glue might be better for a curvy vase. Or just put it in a place that won’t tempt your children to touch it.
…
100th Day of School Celebration-Glue Buttons on a shirt for a Gumball Machine
It looks like next Monday will be the 100th school day for 2018! Where has the time gone?!?!
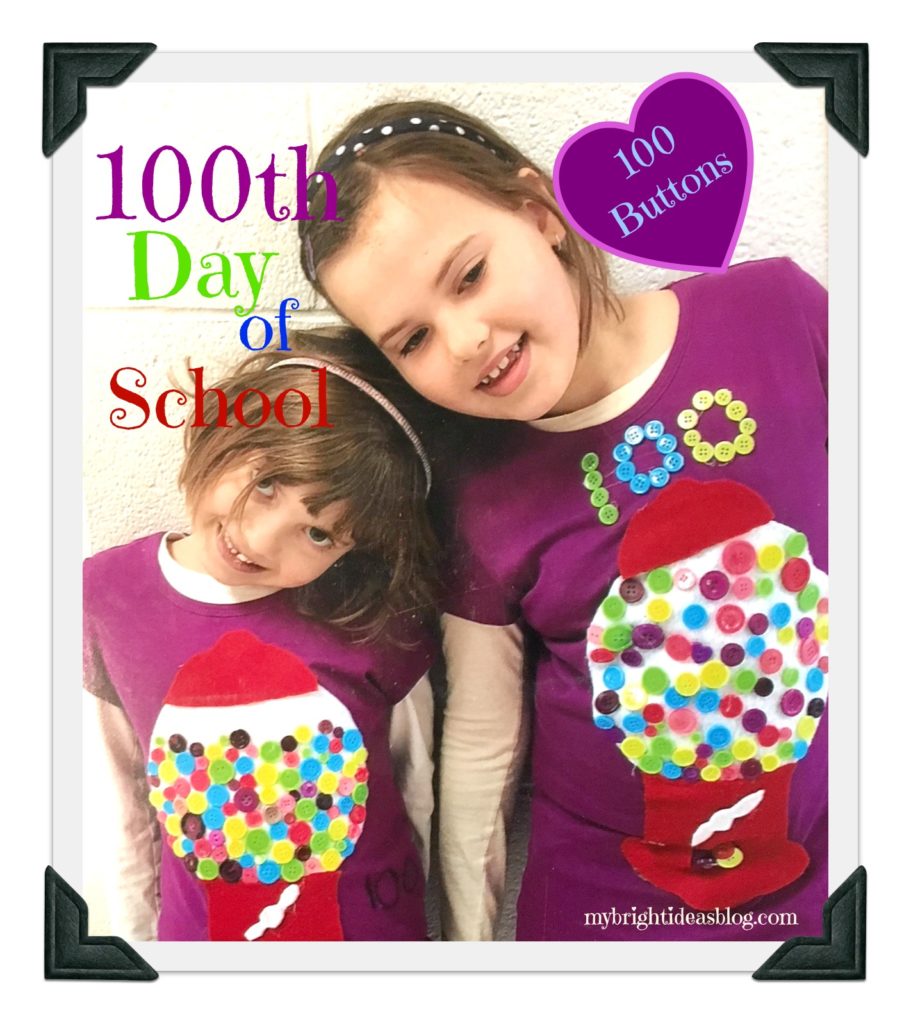
Once a year the school has a nice way to spice up a dreary February by celebrating the 100th day of school. Its a great excuse for extra math too as they find all sorts of ways to come up with the number 100. Teachers from Kindergarten to Grade 2 seem to get into it the most with assignments for parents to help their children glue 100 cheerios to a page or 100 googly eyes to a t-shirt. What we did for the girls a few years ago was put 100 buttons on a t-shirt looking like gum balls in a gumball machine.
Simply take a piece of in-expensive white felt and cut a circle (trace a plate). Take a piece of red felt and cut out the bottom and top of the gum ball machines. We didn’t realize the date had snuck up and with one night to do this I hot glued everything in place. I could have sewed on the felt and buttons but that would have taken some time but made them more wearable. We put it on plain purple t-shirts from the craft store….purple is always a great choice and the bright colours pop! Their teachers were really delighted by the effort we put into making t-shirts for the theme.
COST
The cost to make this…$5 t-shirts….$2 felt…..$4 for buttons in 4 colors from the dollarstore which was enough for both girls tops. So less than $20 for both girls. You could cut the cost in half if you use t-shirts that you already have. Use one that they are just about to outgrow anyway! The photo was taken by the teachers and emailed to me-how sweet!
Painted Ceramic Bowls – Paint Your Own Dishes Your Way!
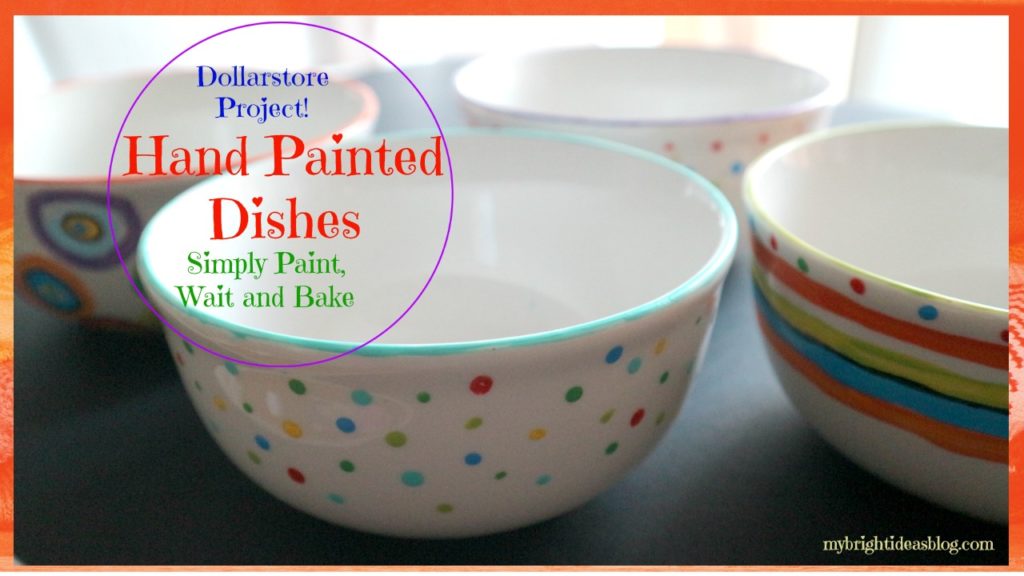
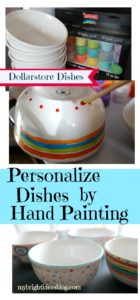
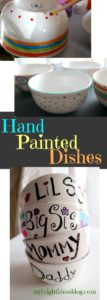
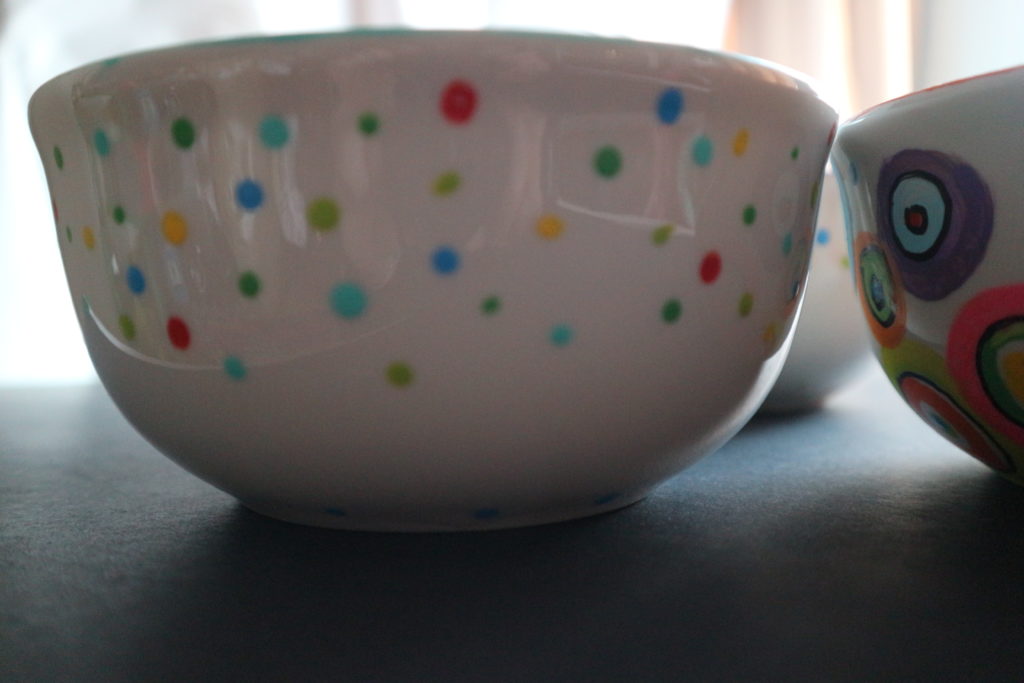
Hand Painting your own dishes is so easy! I had no idea you could just write or paint a message on a dish and bake it and you have a personalized dish, vase, mug… You can buy plain bowls and mugs anywhere. These were from Dollar Tree for $1.25.
I had so much fun painting the first 4 bright colored designs I sent out the hubby and kids to get us another 4 so we could all decorate our own!
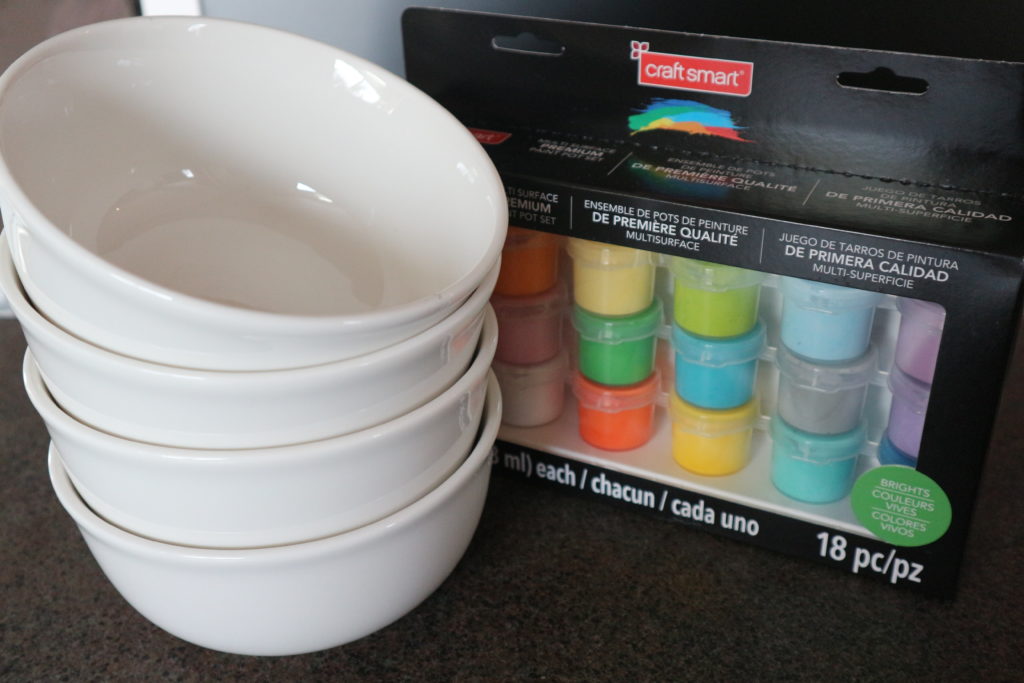
In the paint section of your craft store there is several kinds of paints that can use on glass and ceramics. You can choose from pots of paint like the photo above or pens/markers.
Multi-surface pens are also found in the paint section. They can be used for writing on metal, ceramic, glass etc. The pens cost approximately $5.99. I purchased one black one.
The pots of paints cost more….$20 if I remember correctly. But I had a 40% off coupon so I got one that has 18 small pots of “Brights” paint in the kit by Craft Smart.
You will need:
- Multi-Surface Pens and Paint
- Art Paint Brush
- Plain Dishes
- Toothpicks
- Oven
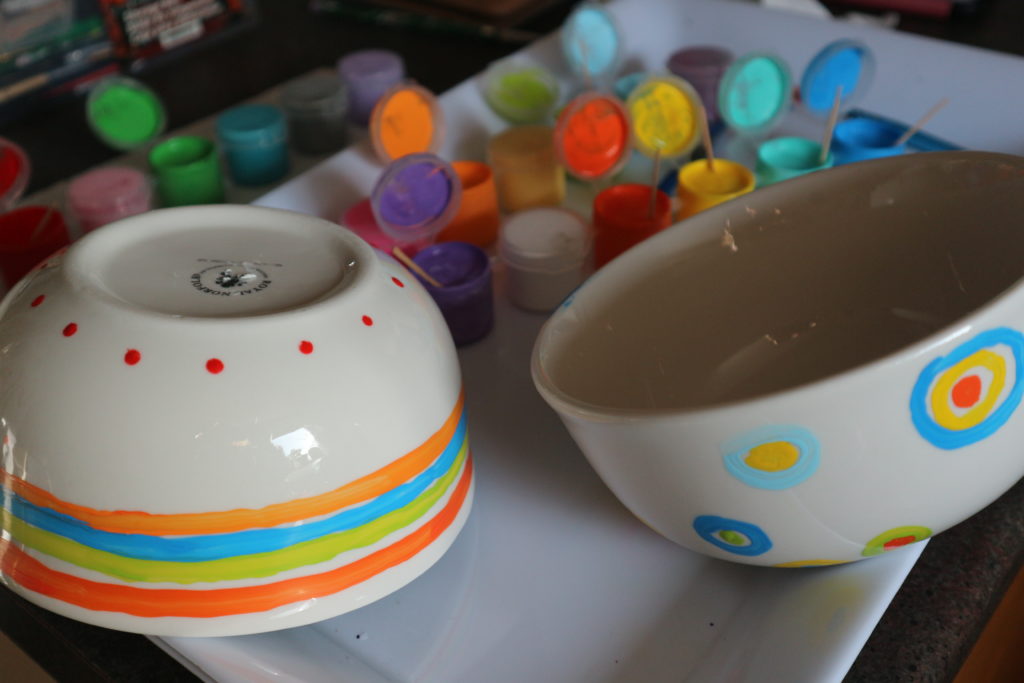
I mentioned to have some toothpicks handy because each little pot will need to be stirred after opening.
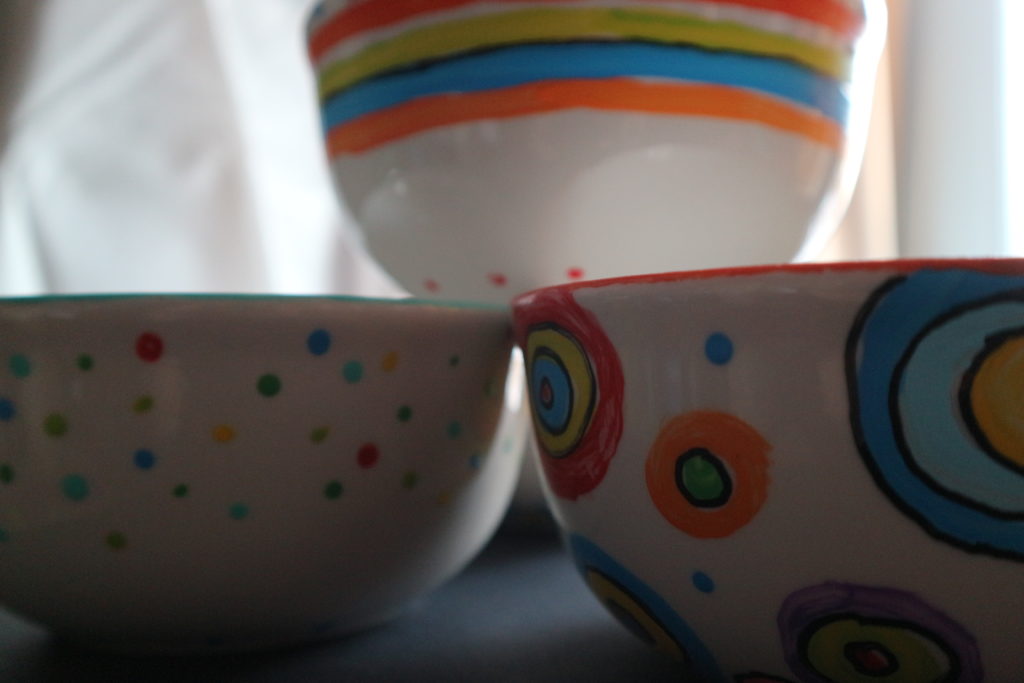
Decorate the bowls in whatever style you wish.
Just a word of caution, the marker dries immediately, where as, the paint in the pots could be wiped off if you realized you needed to fix it. Holding the bowl while painting is tricky-you really need to watch that you don’t smear it.
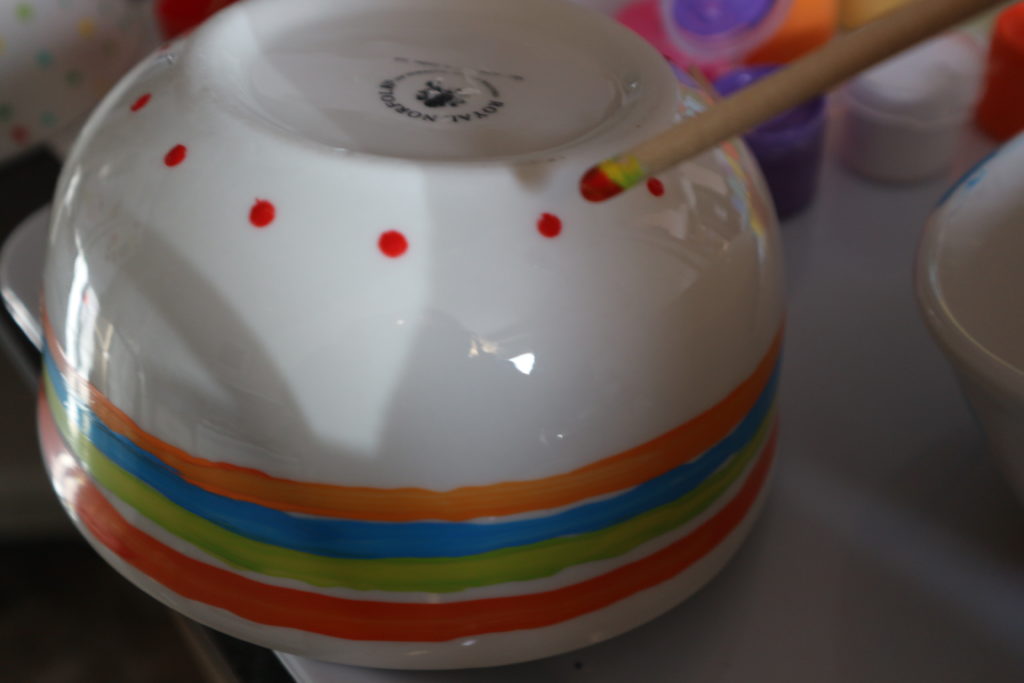
Here I am dipping the end of a paintbrush to make perfect dots.
“Craft Smart” Paint says:
Durable, weather-resistant satin paint. Excellent adhesion on glass ceramics, wood, metal, rigid plastic, fabric, canvas, paper and terra cotta. (Well doesn’t that just bring 100 projects on the to do list to your mind)
Directions: Water-base, apply 1-2 coats until desired coverage is achieved. For glass or ceramics, first clean surface with alcohol. For top rack dishwasher-safe finish: Let paint cure for 72 hours. Place in a cool oven, heat to 350 degrees F (176C) for 30 mins. Cool in oven.
So you waited 72 hours right?
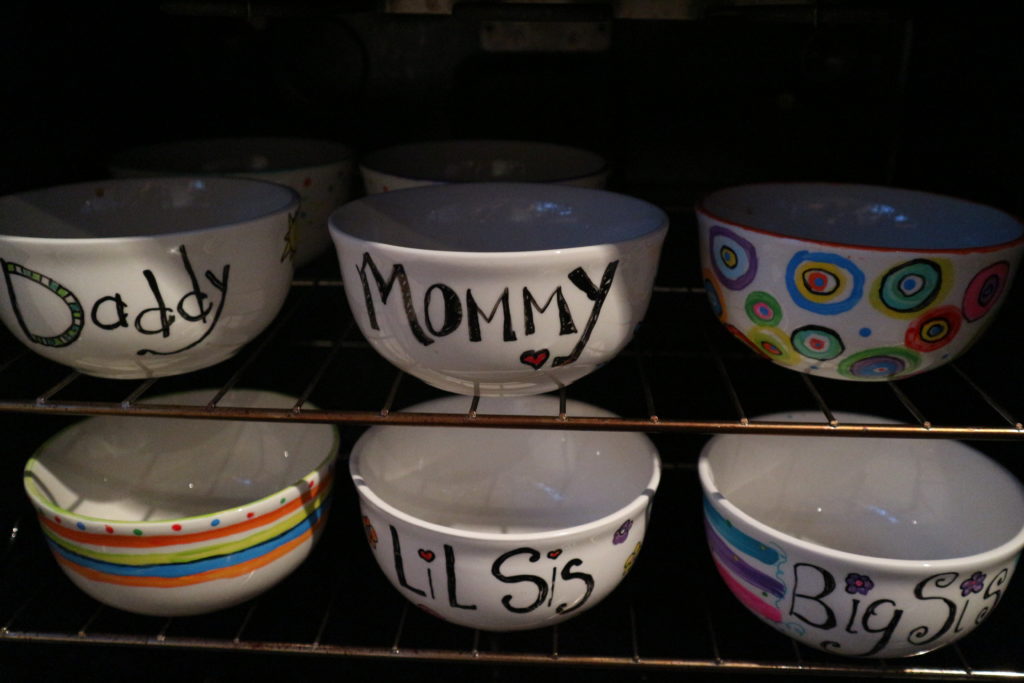
Then you can put the bowls in the cool oven and turn on the stove to 350 degrees. After the 30 mins is done, turn off the oven and allow to cool in the stove before moving.
I know I’m being repetitive but you gotta follow the instructions. If your paint is another brand follow what it says to do.
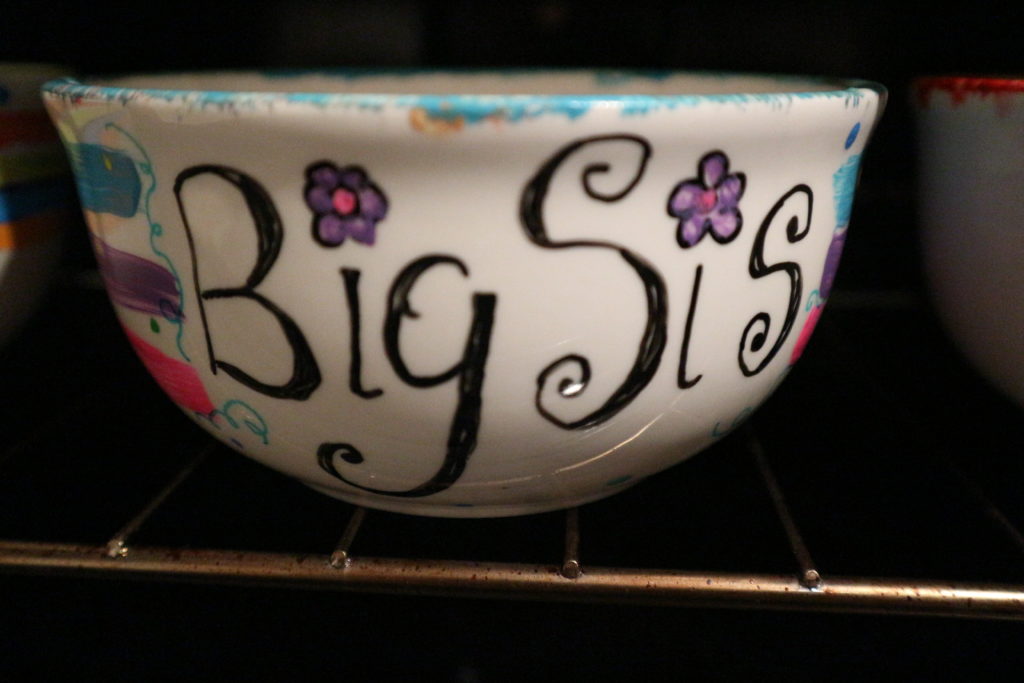
This super cool project does require some time. If you are planning to put a message on a vase you are bringing flowers in to an anniversary party on Saturday you need to plan ahead and paint it by Wednesday to let it cure for 2 days and then bake…and cool.
Also, it doesn’t say this is “food safe”. So I wouldn’t put it on the inside of the bowls, mugs and middle of plates your eating off of. Maybe I’m being over cautious….I like to be on the safe side.
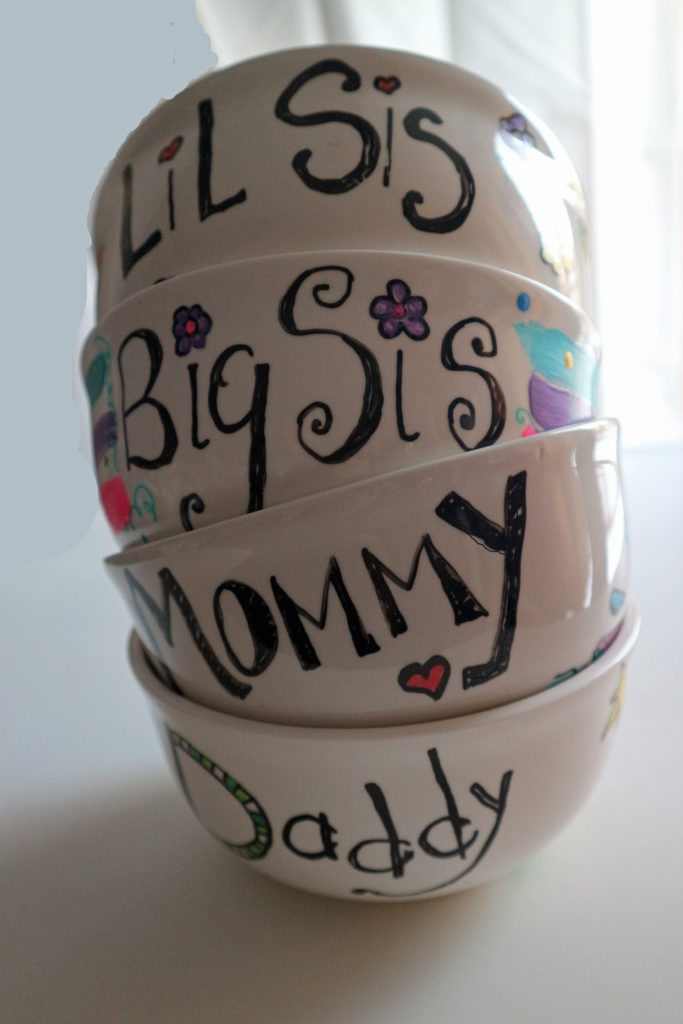
Now we have a cereal bowl personalized for everyone!
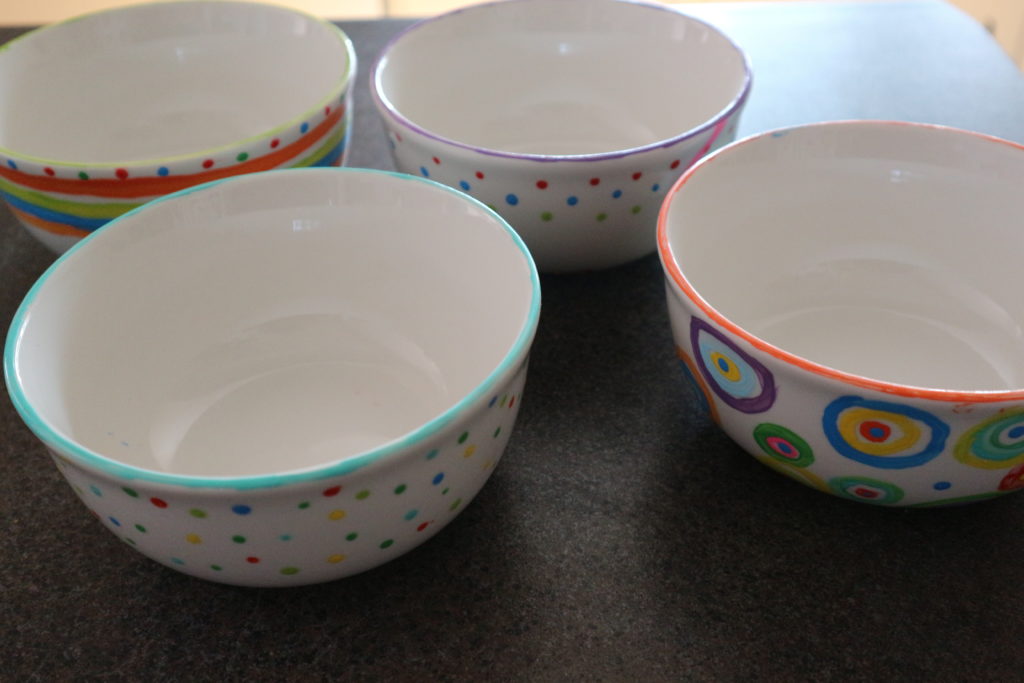
I loved this project and now I want to do more! Next Dog Bowls!
Please pin this or share it with your social media friends.
Clothes Pin Snowman – Make Easy Kids Craft
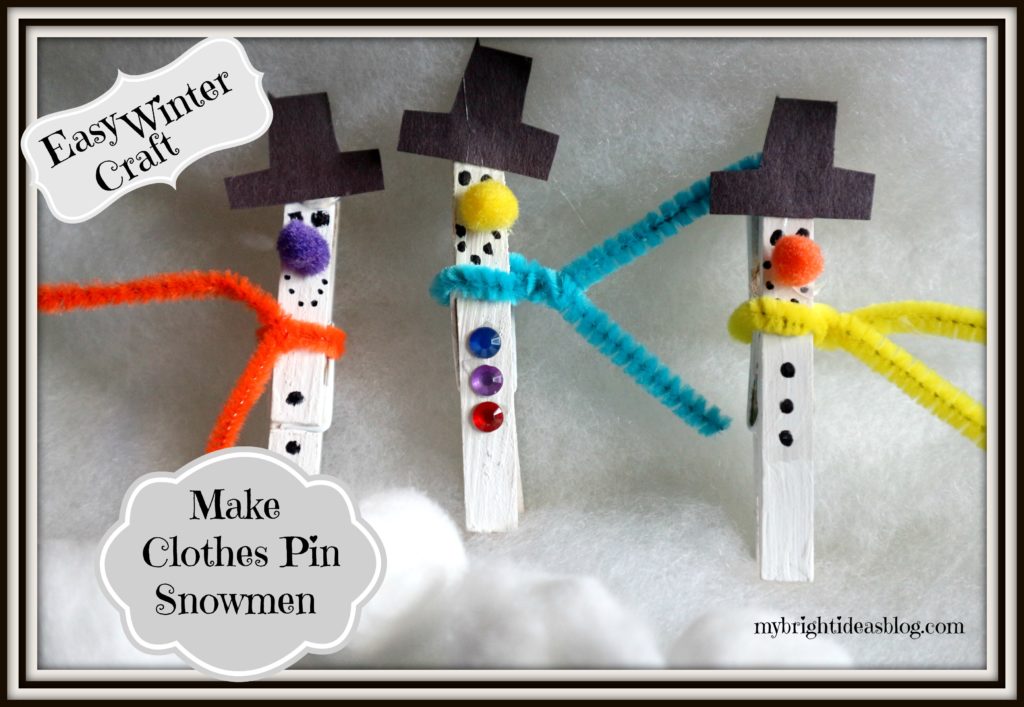
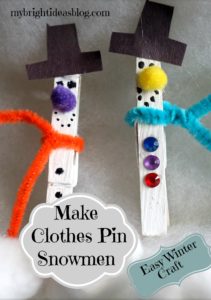
It’s the adorable pompom nose that really got me wanting to make this quick and easy children’s craft. Paint a clothes pin white and start building a snowman.
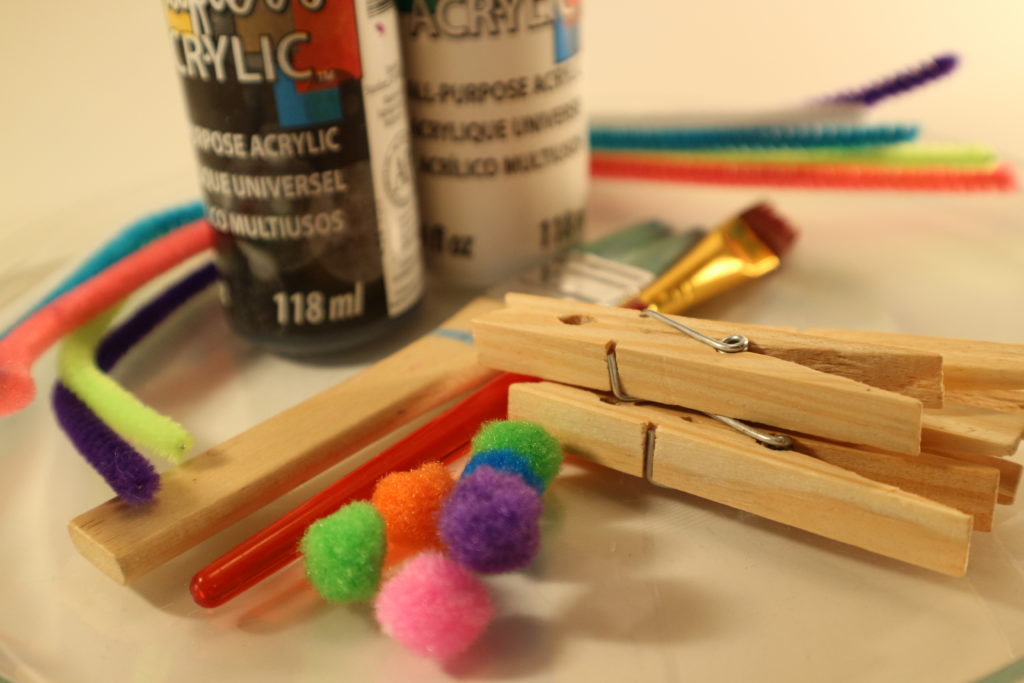
Gather up your usual basket of crafts. You’ll need pipe cleaners or a bit of yarn for the scarves. Clothes pegs, paint brushes, white paint, a black sharpie and little scraps of black paper or felt for the hat.
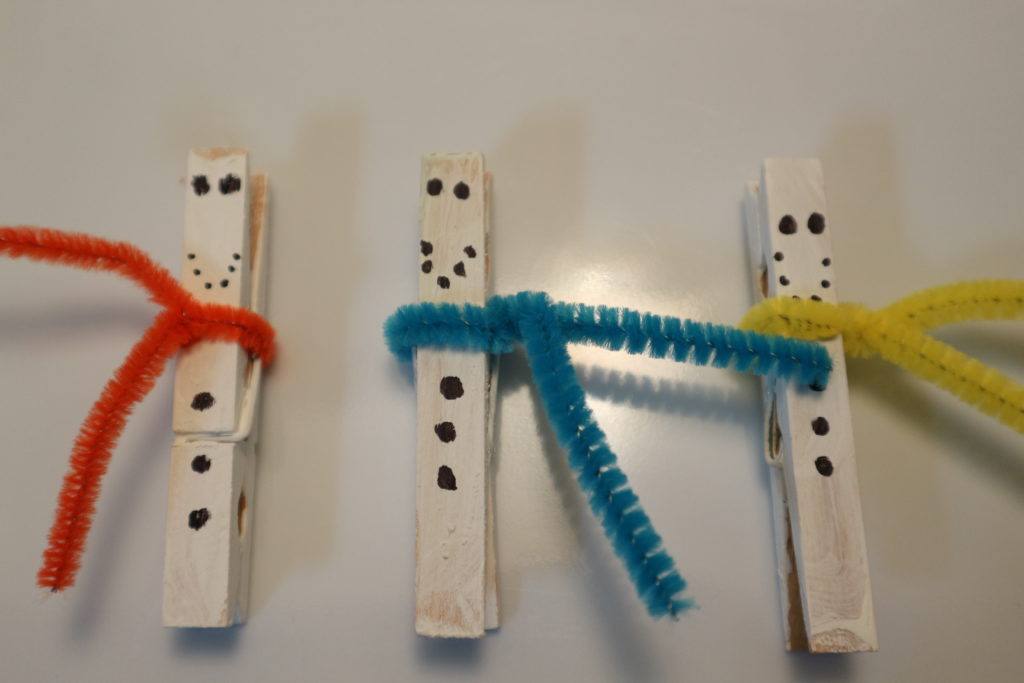
Paint your clothes pegs white and wait at least an hour for drying time.
Cut off a bit of yarn or half of a pipe cleaner and tie your snowmen a cozy scarf. Take your black marker and make his coal eyes , mouth and buttons.
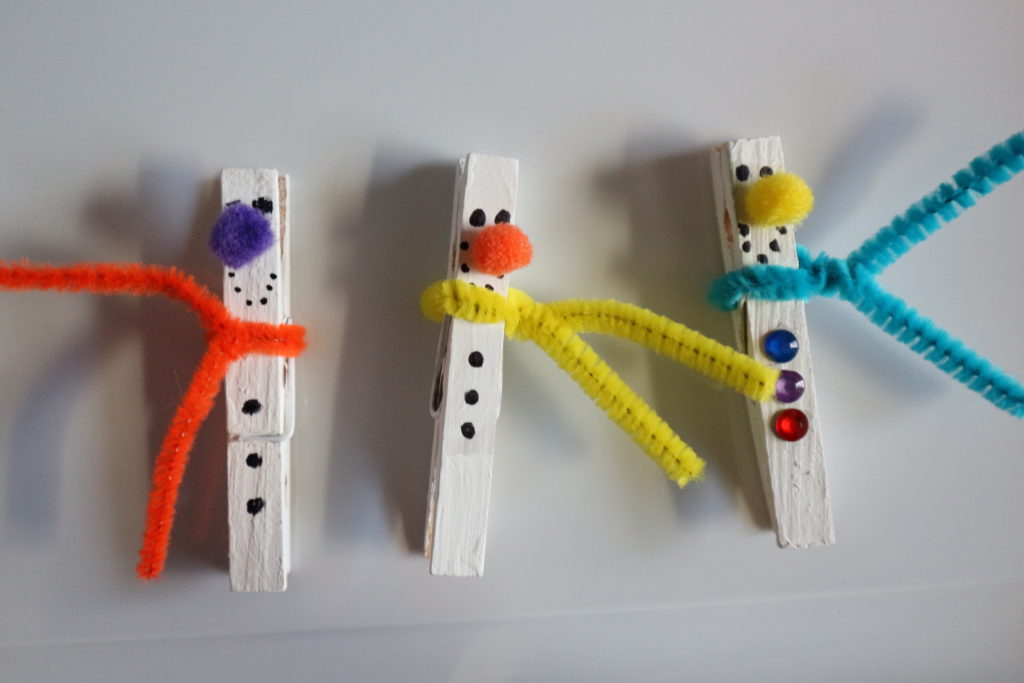
Take your black marker and make his coal eyes , mouth and buttons. One of my snow men felt he wanted to dress it up a bit and put on some small rhinestones. Glue on the pompom noses. I thought originally that they should be orange noses for a carrot but my craft kit only had one orange one left.
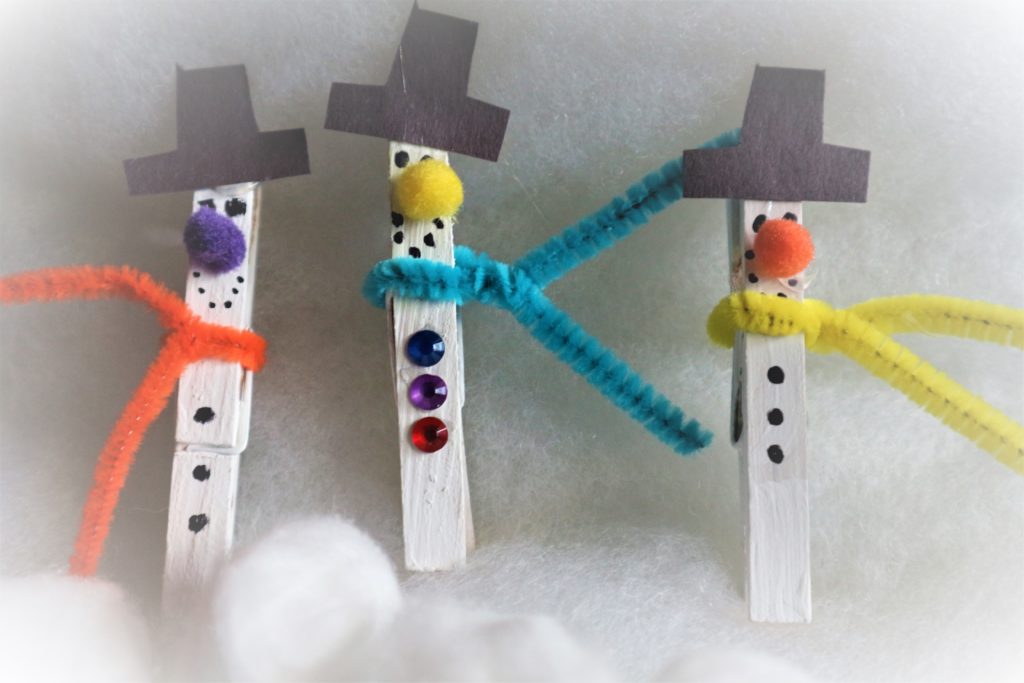
Finally I put on some little hats to finish off the outfit. Super cute kiddie craft!
Make a Felt Pizza Toy in minutes – No sew
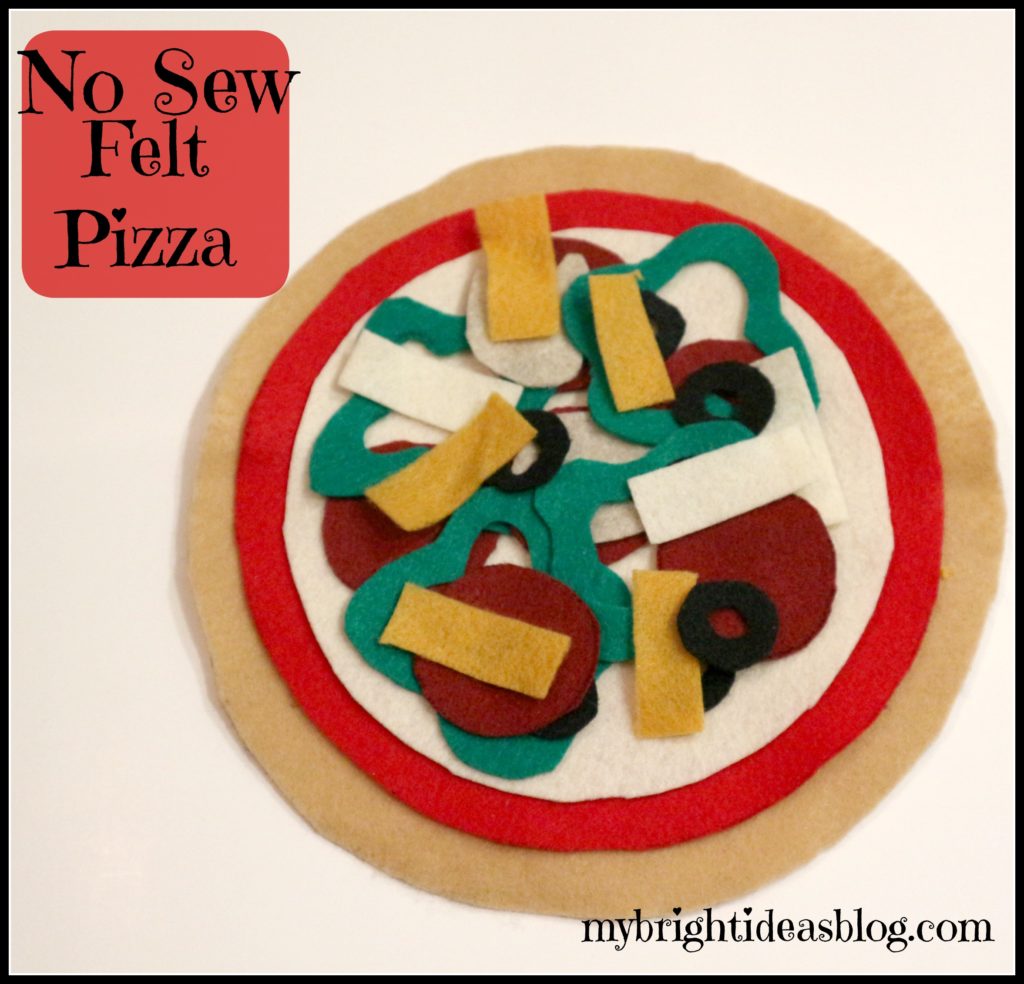 How to make an easy, no-sew felt pizza! It’s super easy and fun to make with very little skill needed. Since kids are always trying to imitate parents in the kitchen this will be a hit!
You will need felt in the following colours:
- 1 tan/light brown for the crust
- 1 red for pizza sauce
- 1 white/cream for mozzarella cheese
- dark red for pepperoni
- green for peppers
- grey for mushrooms
- pink for ham
- black for olives
- yellow for pineapple
- orange for extra cheese
- PLUS – bowls and plates to trace for big circles
- marker
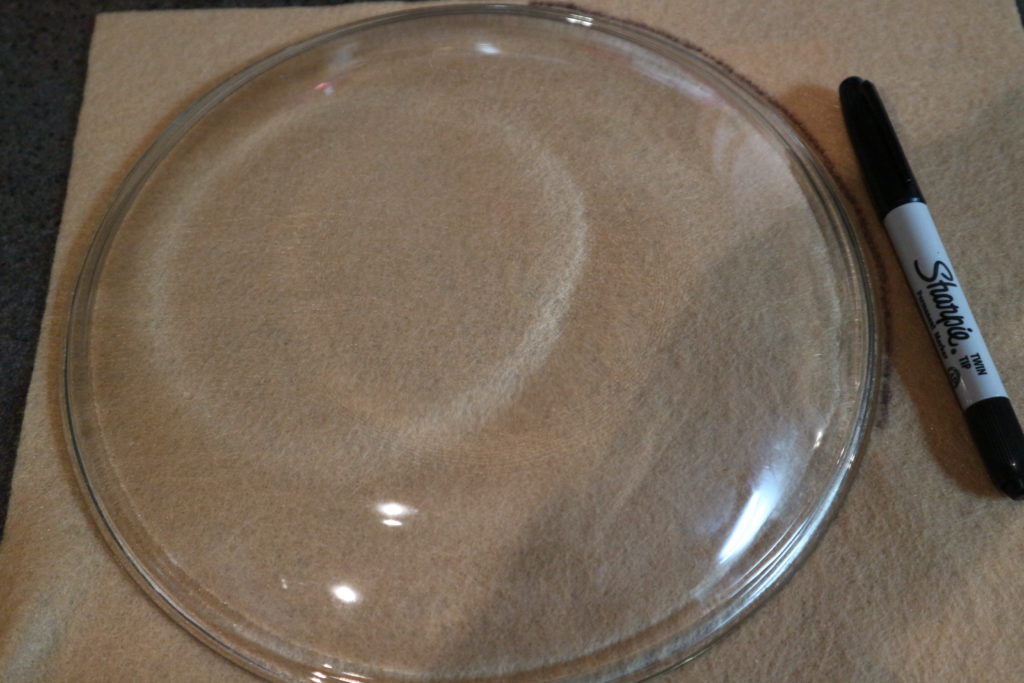
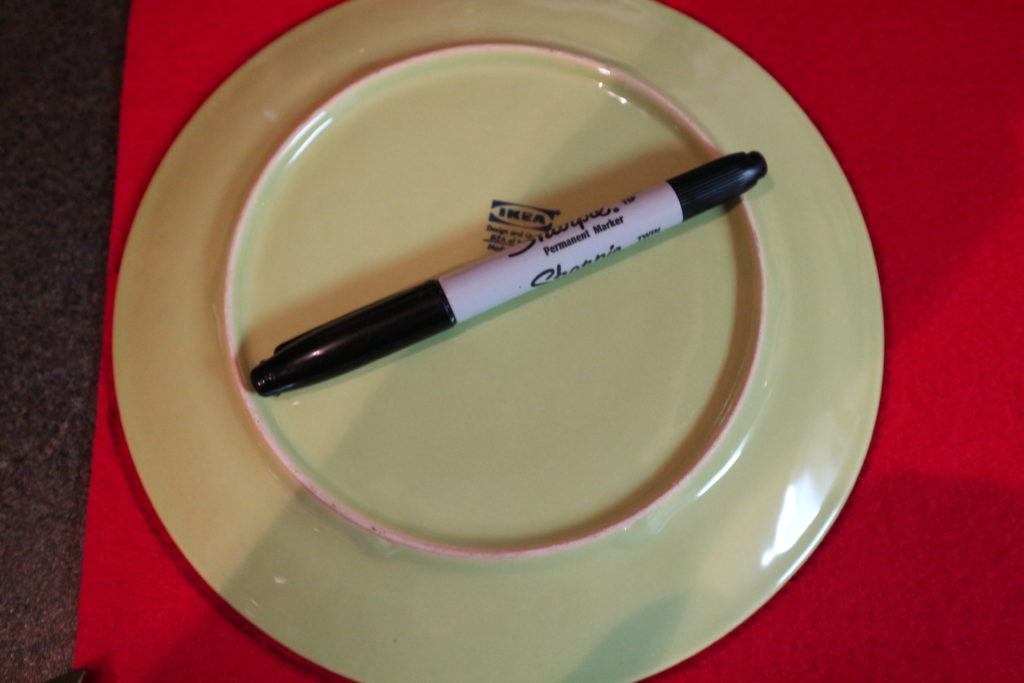
Cream Felt-Pizza Crust: Trace a large bowl or plate for your crust.
Bright Red Felt-Pizza Sauce: Using a plate or bowl slightly smaller than the last one, cut a slightly smaller circle.
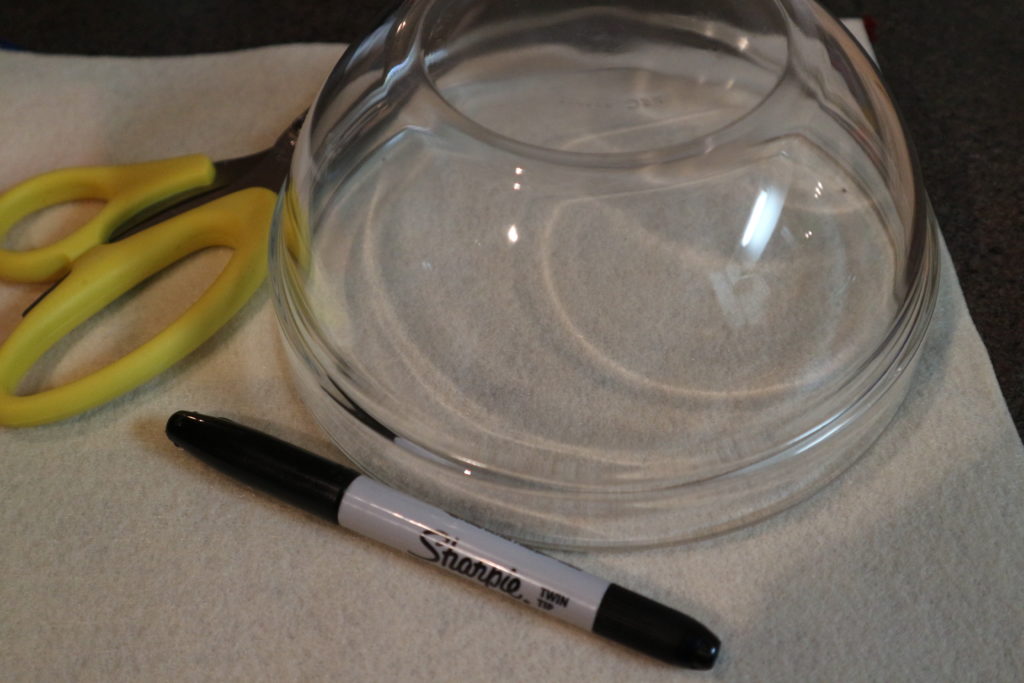
White Felt-Mozzerella Cheese: Cut the cheese…tee hee…out of a piece of white felt. Trace a slightly smaller plate or bowl than the piece of pizza sauce red felt.
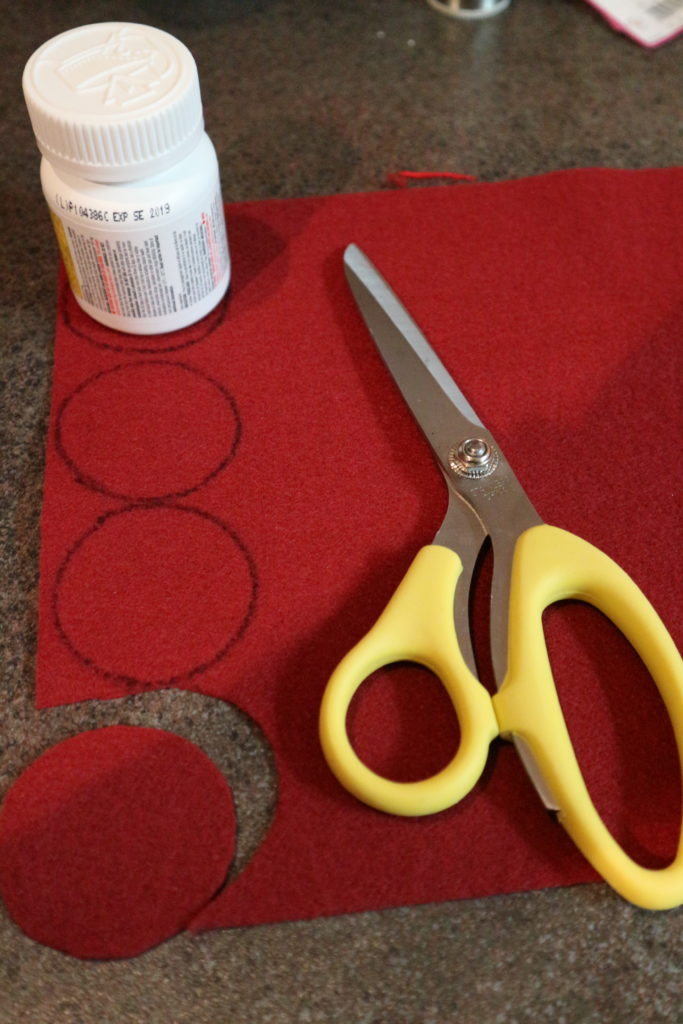
Dark Red Felt-Pepperoni: Cut 6 circles tracing something small like a vitamin bottle.
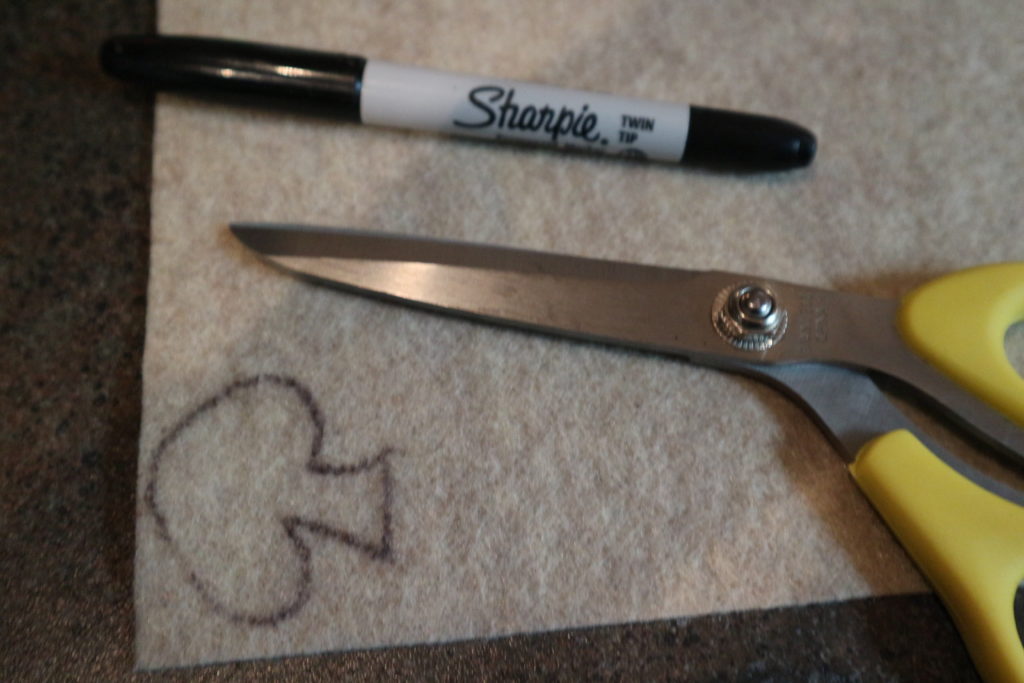
Grey/Beige Felt-Mushrooms: Draw a mushroom shape and cut it out. Cut 5 mushrooms.
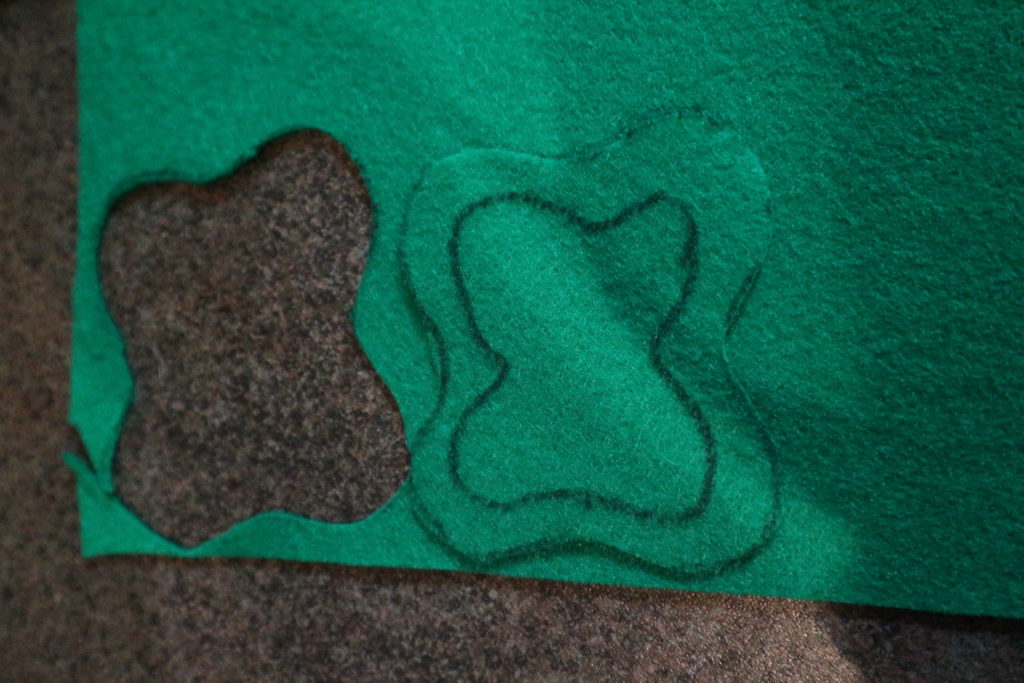
Green Felt-Peppers – It looks like a wiggly square, then outline it again and cut it out. Cut 4 peppers.
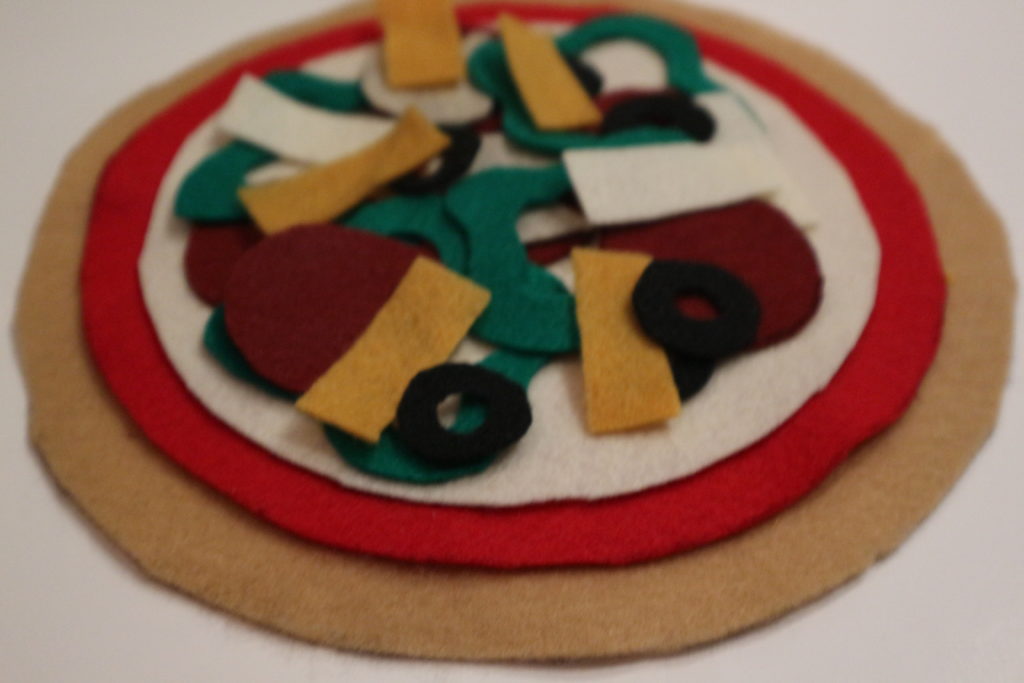
The rest of the toppings are up to you….
Black Felt-Olives: Cut a small circle and trace it a second time. Cut 8 olives.
Orange and White Felt-Grated Cheese: Cut long rectangles for some shredded cheese on top. Cut 6 of each.
Pink Felt Squares-Ham: Cut into squares-6 pink ham squares will be enough.
Orange/Yellow-Pineapple: This begins a great debate about whether you should have pineapple on a pizza. I’m for it! Hawaiian Pizza is my favorite. If you feel the same cut 6 pineapple pieces.
Store your pizza pieces in a large ziplock bag.
Decorating wooden memory or jewellry boxes. Easy Craft!

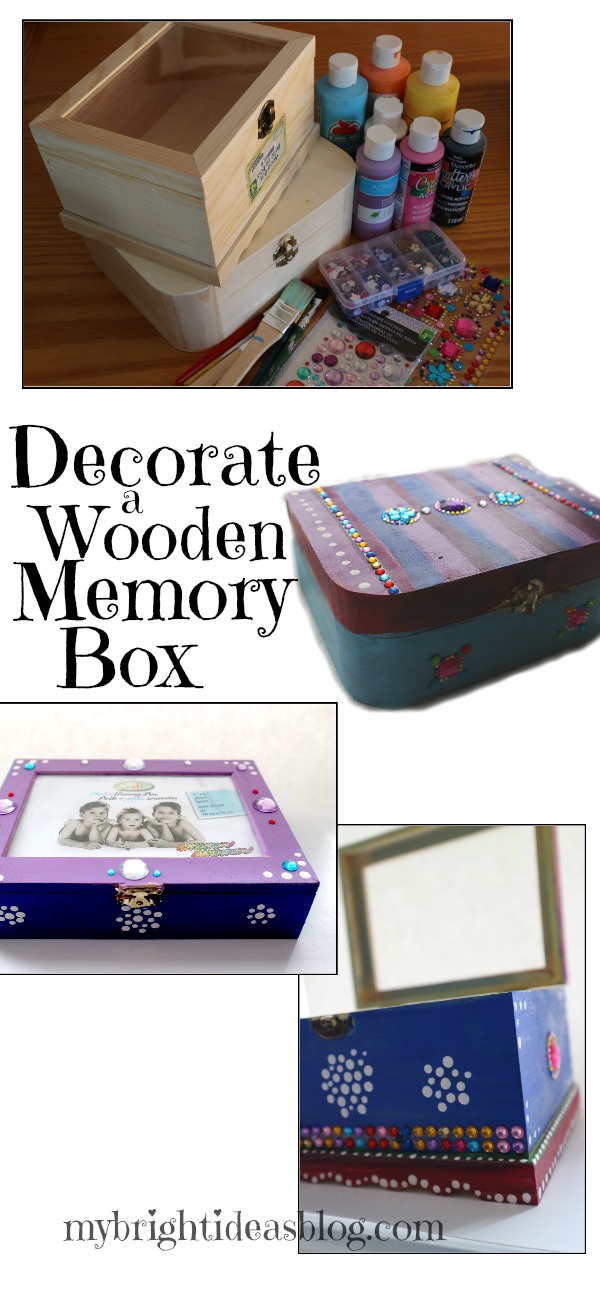
Pick up some plain wood boxes from the craft store or dollar store and paint gives it a make over! Jewelry box or memory box whatever you want to use it for!
You will need:
- A wooden box
- Craft Paint
- Paint Brushes
- Stick on Gems
- Clear Coat Polyurethane Spray or in a Paint Tin (Optional)
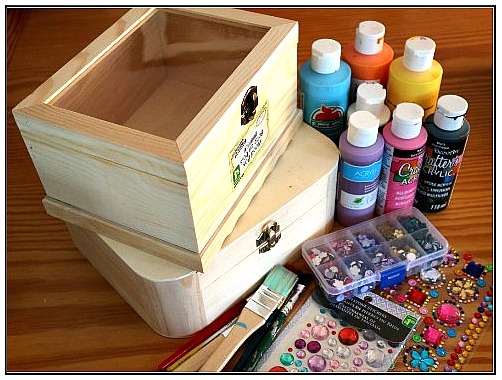
Start by peeling off all the price tags and labels. Choose the theme of your box. I love the cool whites but today we were feeling jazzy! My girls and I decided on bright colors…… pink, red, purple, navy blue and turquoise.
My box had a window to see the treasures inside so I painted the interior of the box also.
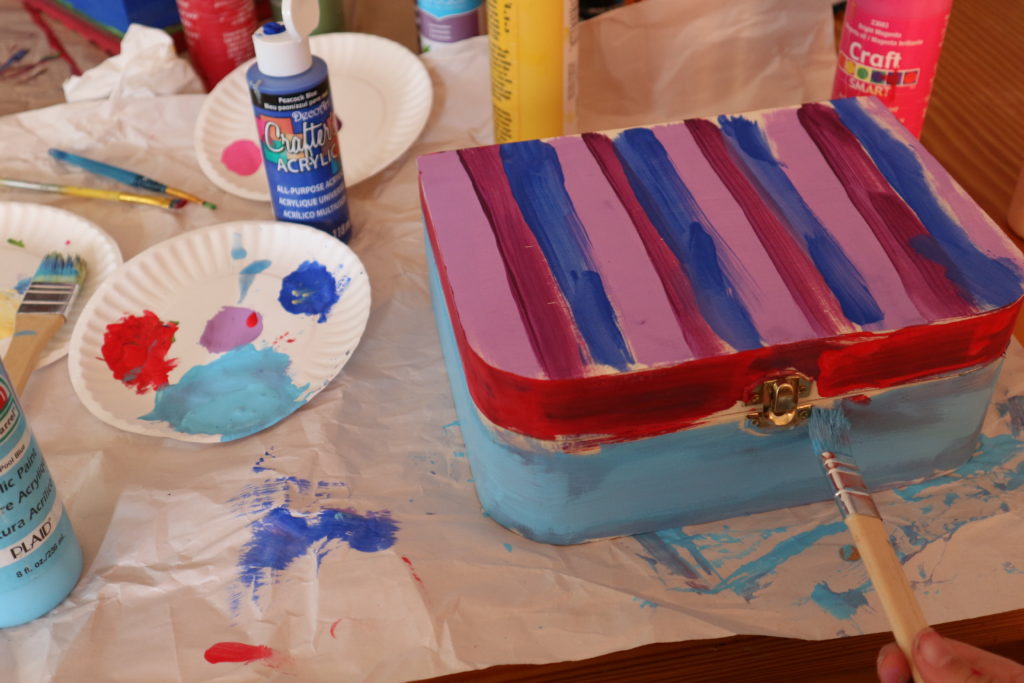 Protect your table because this can get messy!
This box got stripes on the top and color blocking for the bottom turquoise and the lid rim got a splash of red paint. Literally…LOL.
It looks a mess in the photo above but check out a sneak peak of her final results!
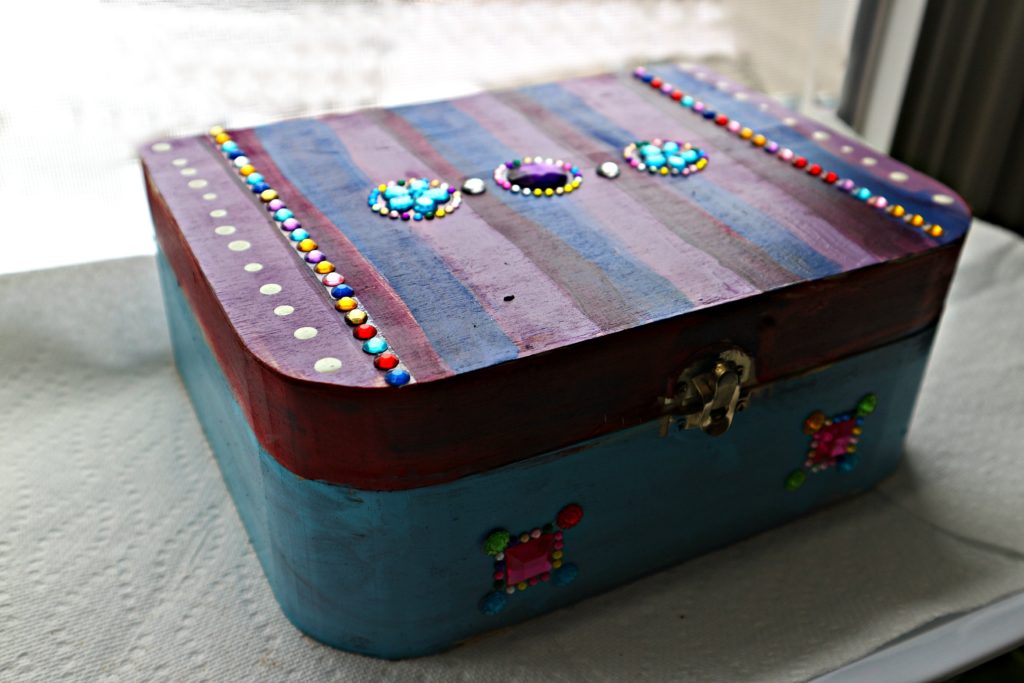
My 8 year old artist decorated this one. Using the gorgeous gem stickers (from the Dollarstore) distracts the eye from areas she colored outside the lines. But we are getting ahead of ourselves. Let’s get back to decorating it!
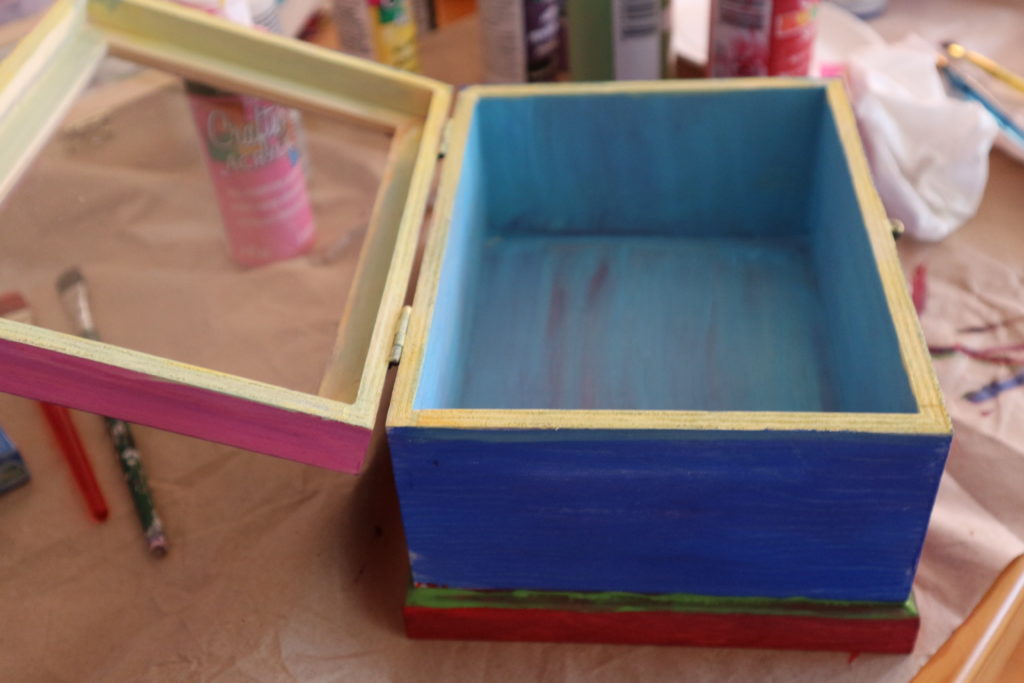
It’s completely up to you if you would like to pain the inside or not.
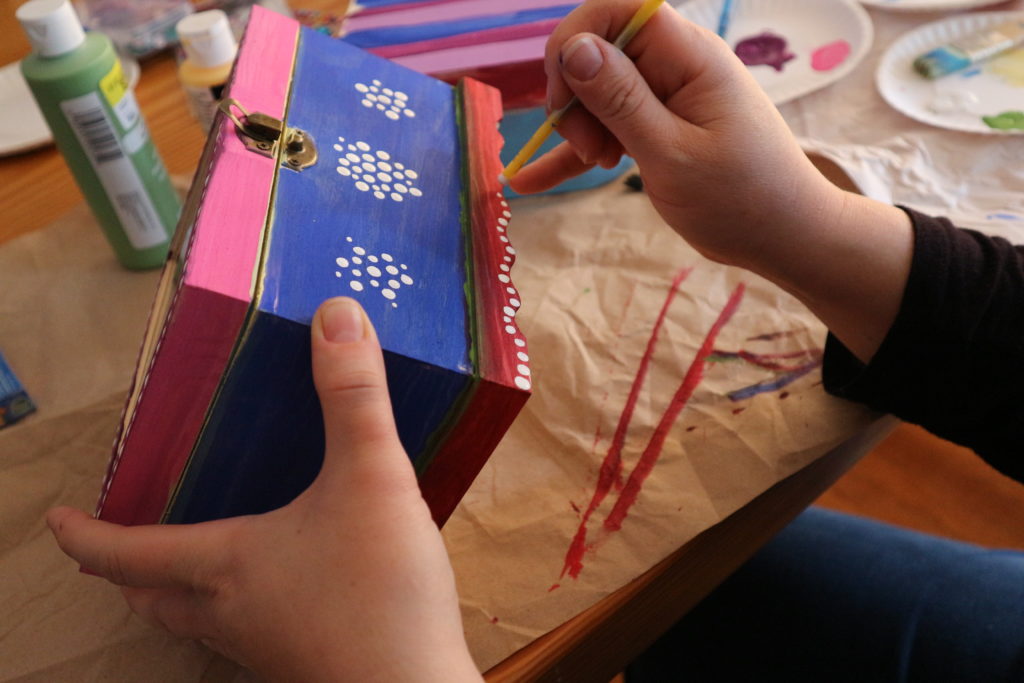
My favorite technique for adding dots is to dip the tip of the handle into the white paint and dot it on the box. Clusters of dots and curves of white dots.
After this dried I put a clear coat of polyurethane on the boxes just to make it a bit shiny and smoother for me to wipe and dust. You can skip this step if you don’t have it or put it on later. You can get it in a spray paint or a short tin of paint. If you decide to put on the clear coat it wont take much varnish or time since this project is small. You could do the inside of the box too while your at it.
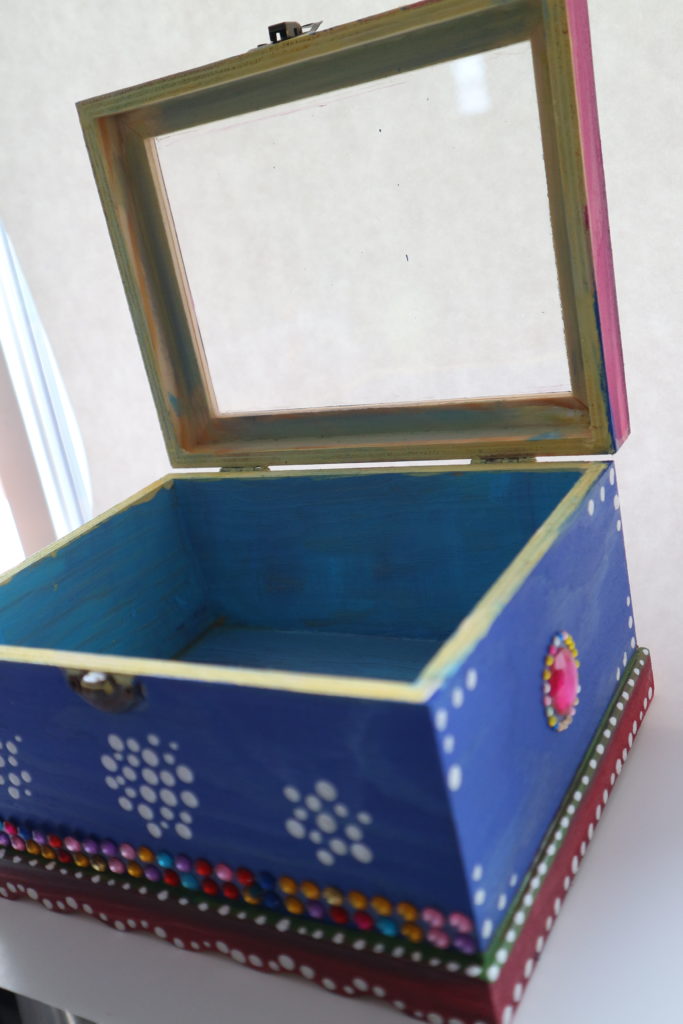
After the memory box is dry, we got out the sequins! These came as stickers with glue on the back. This is such a great cheat compared to gluing each one on.
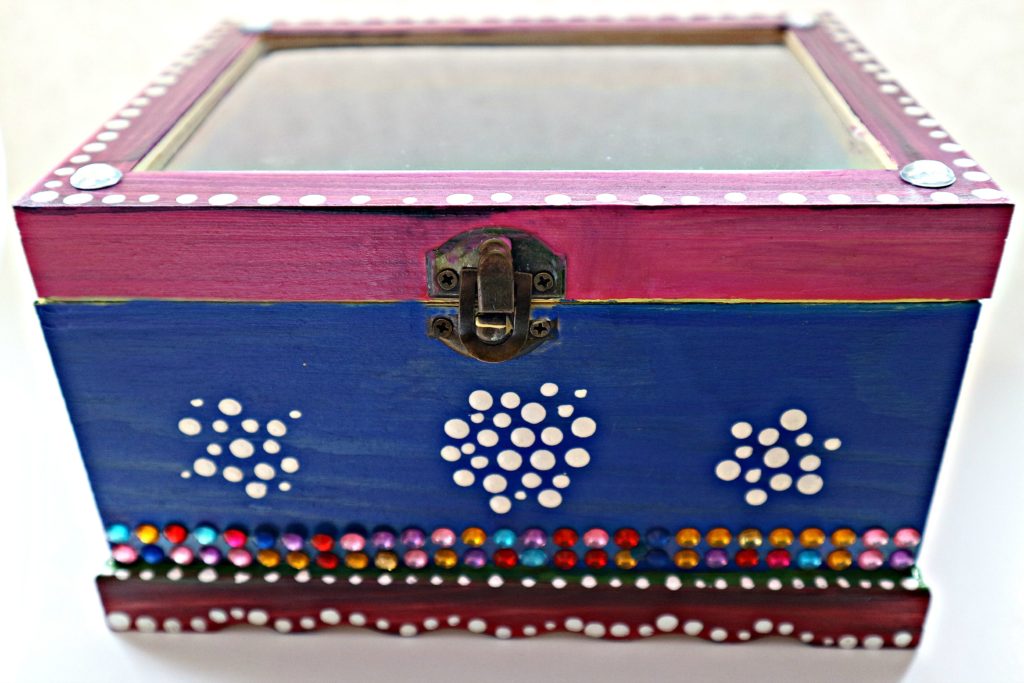
I was really pleased with how it turned out.
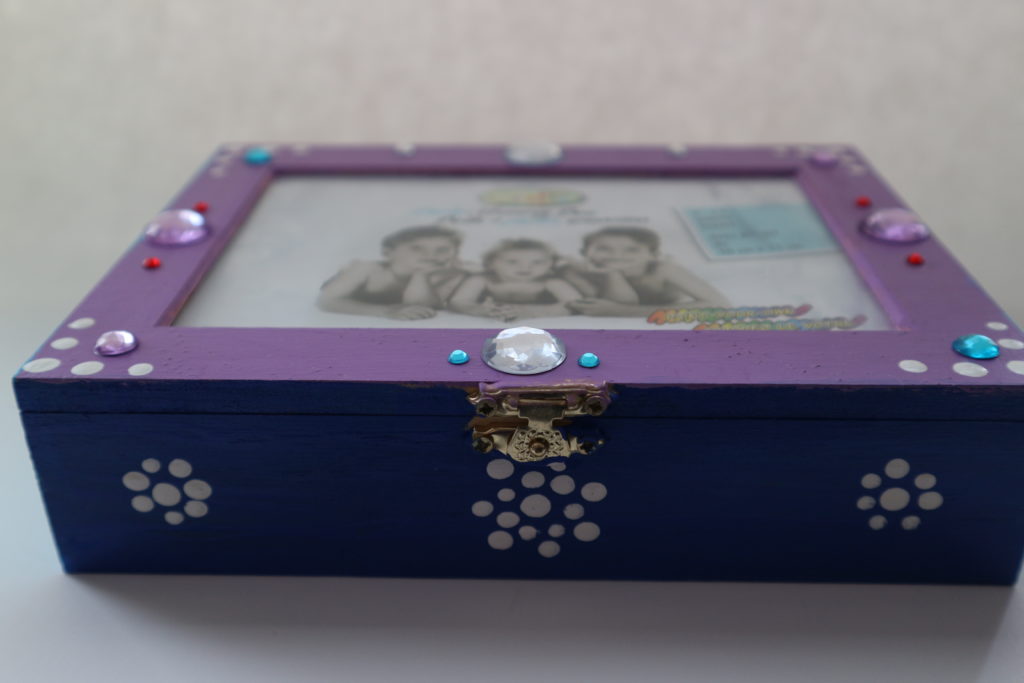
What a great time we 3 had decorating these!
Candy Box
My Miss M. plans to hide candy in her box. She is often given a treat by friends and not allowed to have it right away. Now she can put it in her box.
Treasure Box
Miss B. plans to keep special mementos in her box. She has photos and tickets and trinkets she wants to keep for happy memories.
Love Letter Box
I told them I planned to put love letters in mine and Miss B said “Mom no one writes letters anymore!” Shocking! Well fortunately my daughters do still write me love letters and their daddy does every now and again too.
Thanks for reading this! Leave a comment or pin this to pinterest.
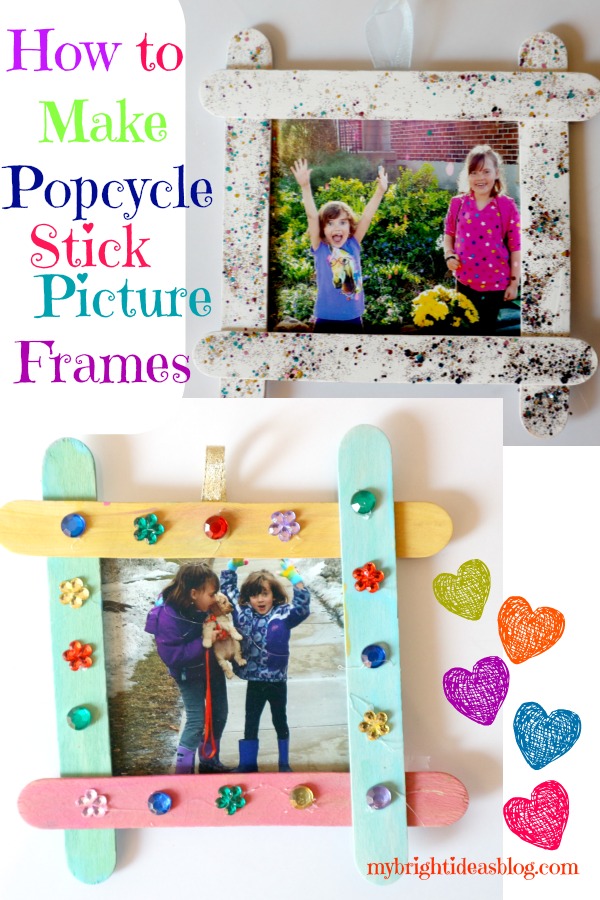
Popcycle Stick Picture Frames -Easy Kids Crafts
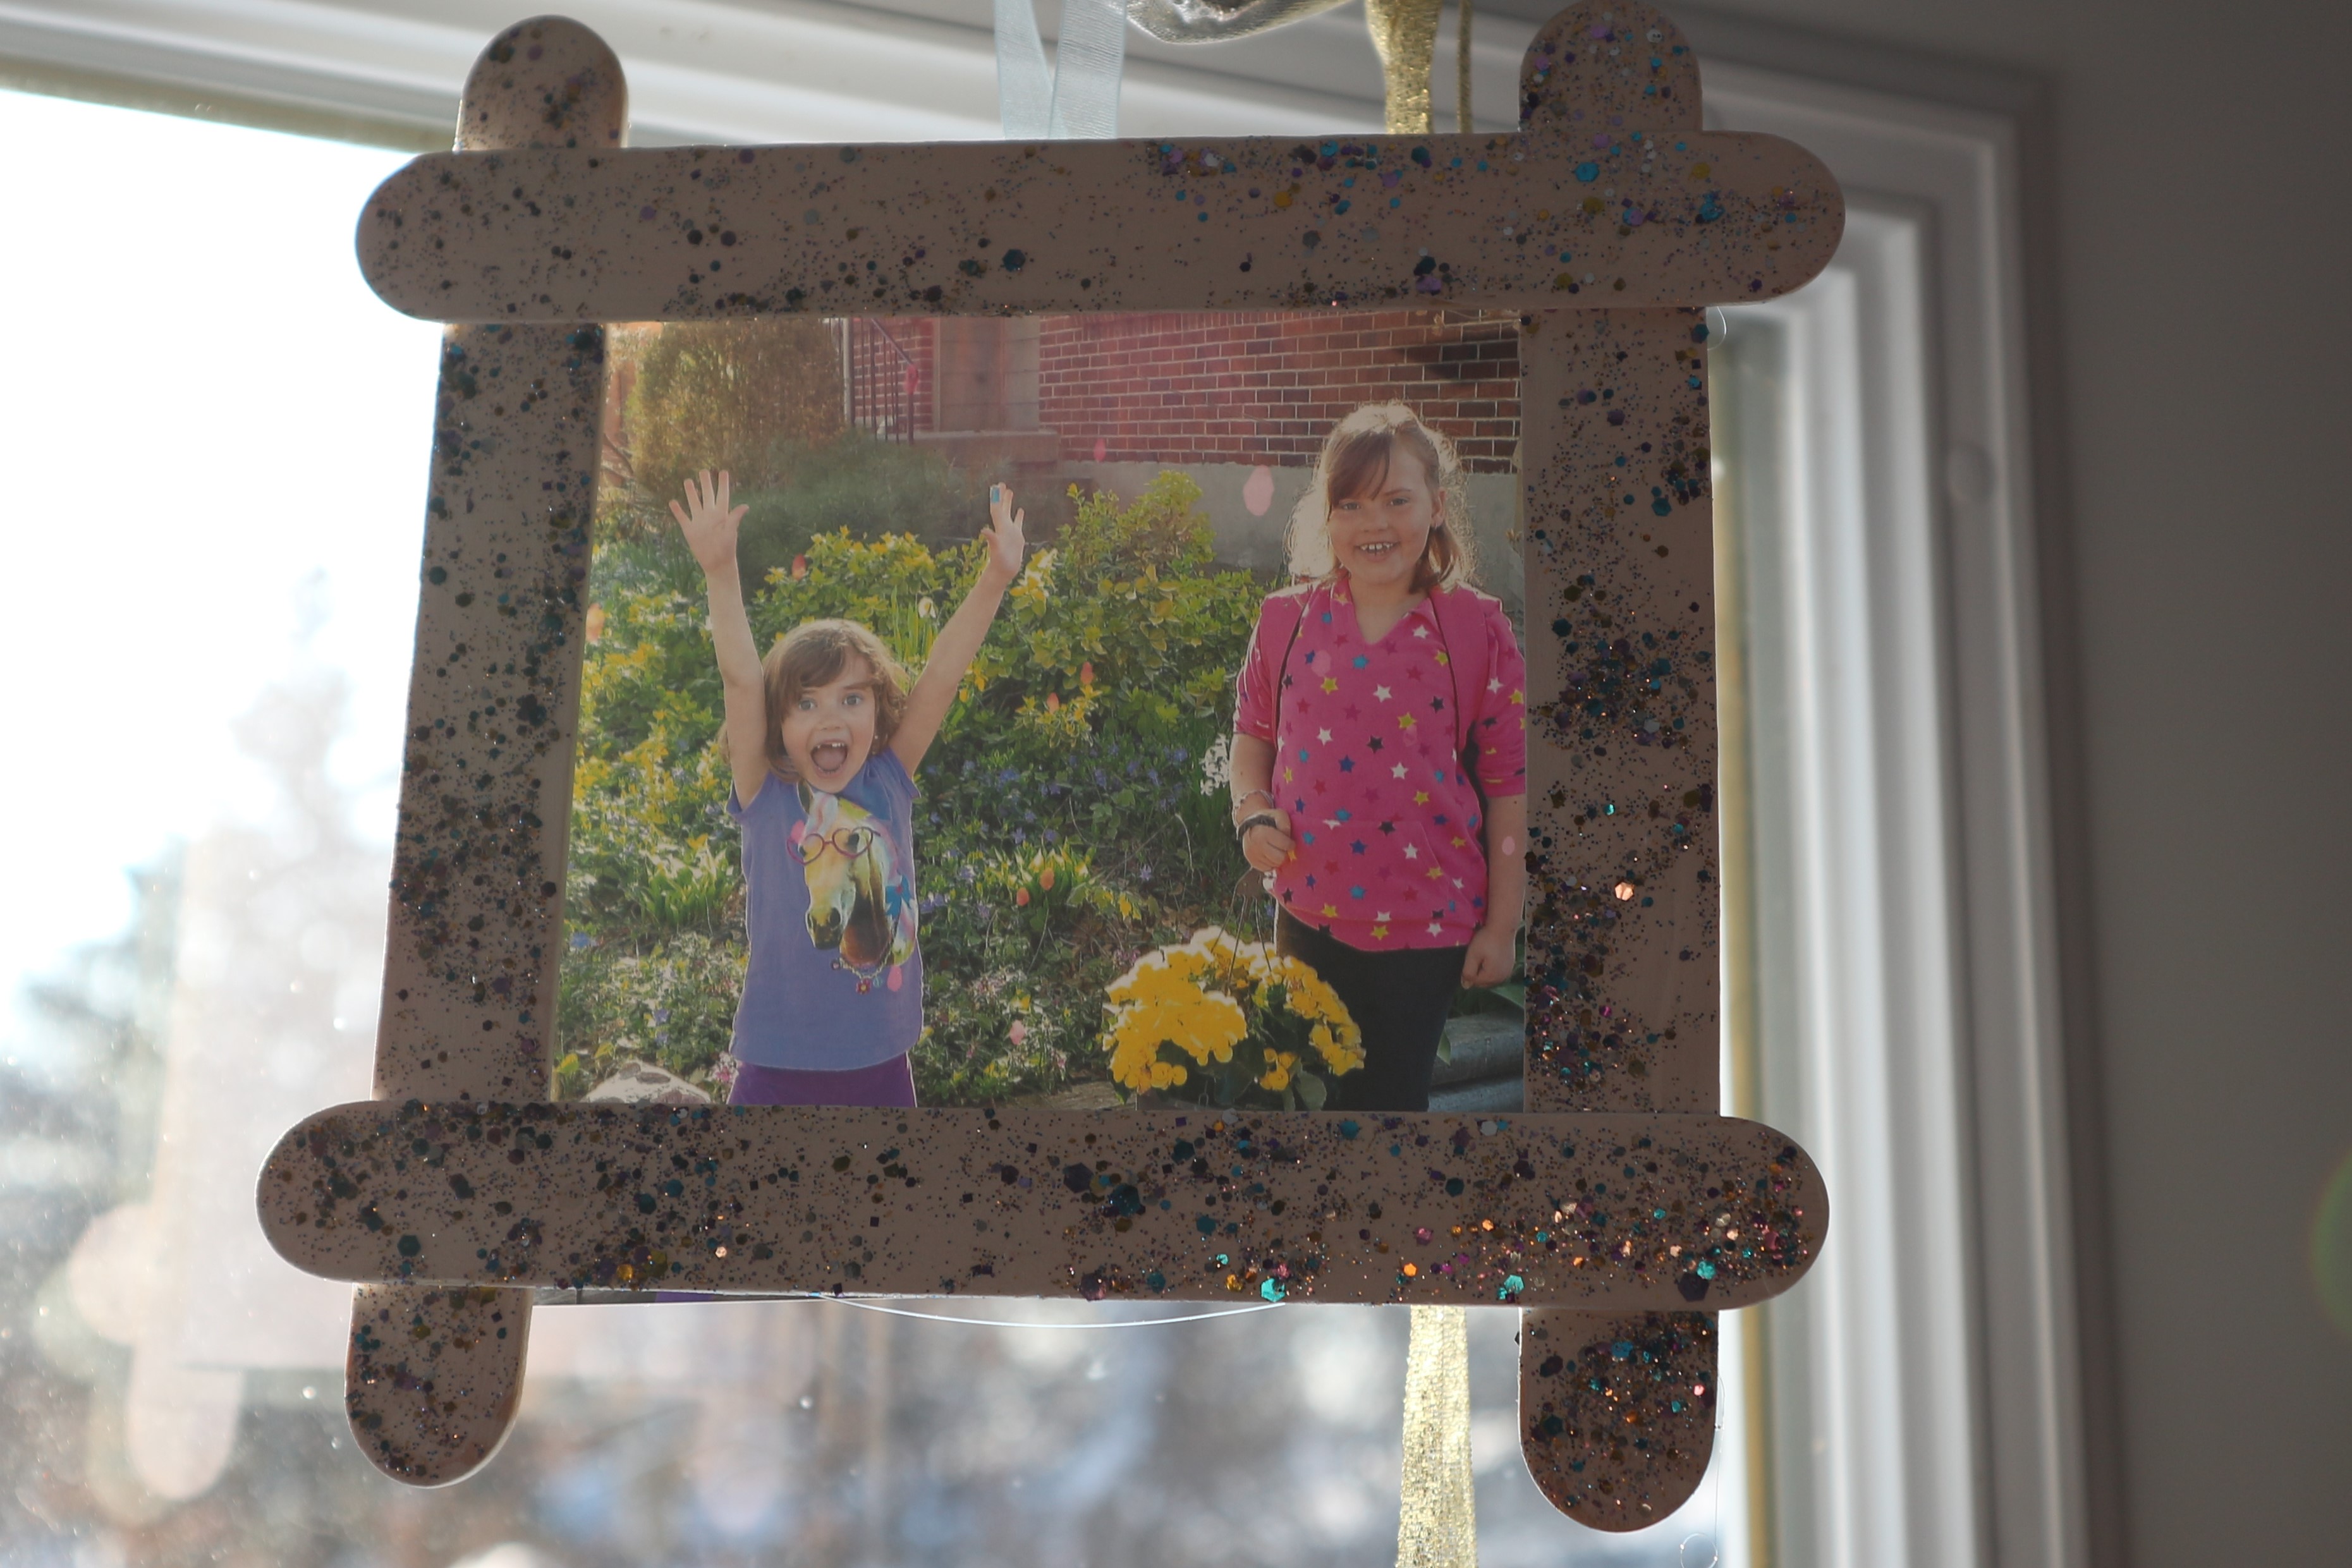
 What could be easier than this popcycle stick picture frame. Paint and decorate the popcycle sticks. Glue together to fit the photo you will use. Hot glue works quickly to attached the square of popcycle sticks. Hot glue a piece of ribbon on the back. OR strips of magnets if you would rather this be a fridge magnet.
You will need: wide popcycle sticks, glue or glue gun. Glitter glue, gems depending on how decretive you want to get-you could just let a toddler finger paint it.
Secure the photo in place with a few pieces of tape. Hang it up and enjoy!
I did this for all of my daycare children back when I ran a home daycare. I strung them all across a string that was fastened to 2 screws so it looks like a bit of a clothes line. It had a really sweet effect. The kids all worked on their own frame and when it was time for them to leave my care and become school kids they took it with them and a scrap book of art I had saved. Ohhh…sentimental pause….. I wonder how my little friends are growing up…..sniff sniff…

…
Celery Flower Painting – Easy Kids Craft
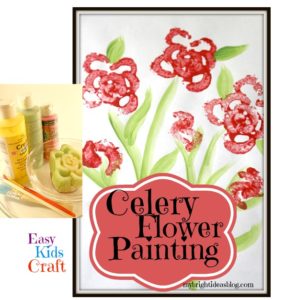
Do you remember doing potato paintings when you were a kid? I sure do and this is a new spin on it CELERY PAINTING! It creates a fun, flowery sort of painting. This craft is so easy a toddler could do it…and it will actually look quite nice in on the fridge.
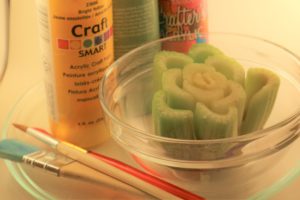
You will need paint, brushes, plain paper and celery cut off close to the bottom or if its another part of the bunch of celery put an elastic around it so it doesn’t all apart.
Start out by brushing some green flower stems onto the paper.
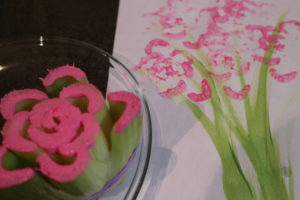
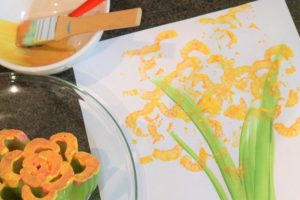
Paint the flat ends of the celery with your brush to make sure every end gets covered with a light coat of paint for a lighter effect like the yellow and pink roses above.
For a more defined flower use a sponge brush and a lot of paint and push hard on your celery to really put the imprint on. I pulled off two of the outer celery stalks and tried to make some rose buds also.
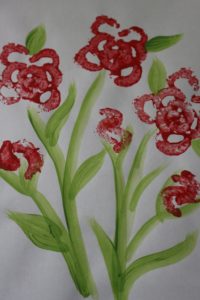
With a bit of help your toddler could have a lot of fun with this. An older child cold make something quite pretty for a gift to take to grandma’s house….you could even put some sparkle glue in the flowers after the paint has dried.
Beaded SnowFlake Suncatcher-Easy Craft for Kids!
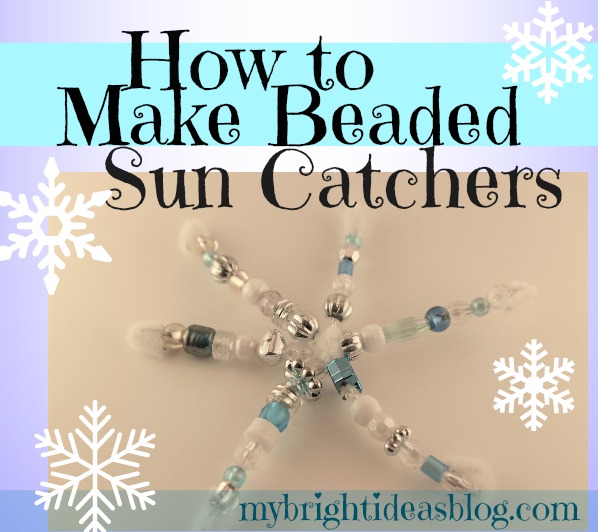
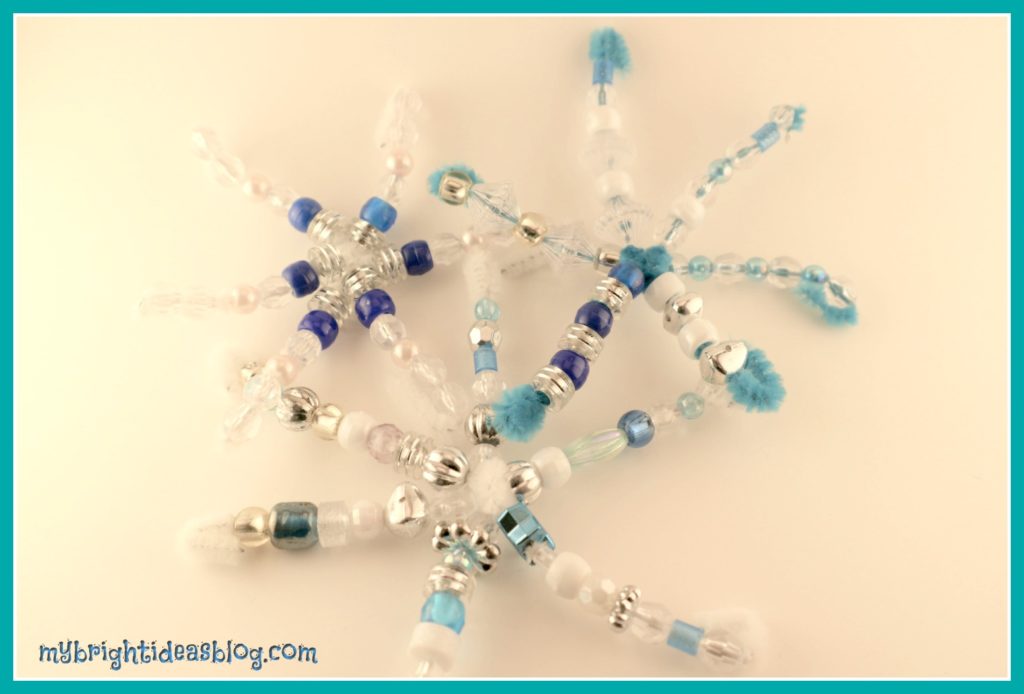
We love Beads and Pipe-cleaners are a craft cupboard essential. So on this snowy winter’s day the kids and I made snow flakes to hang in our windows-and we used just those 2 ingredients. Beads and Pipe-Cleaners! Sparkly beads look so lovely in the window-so this will make a gorgeous sun-catcher.
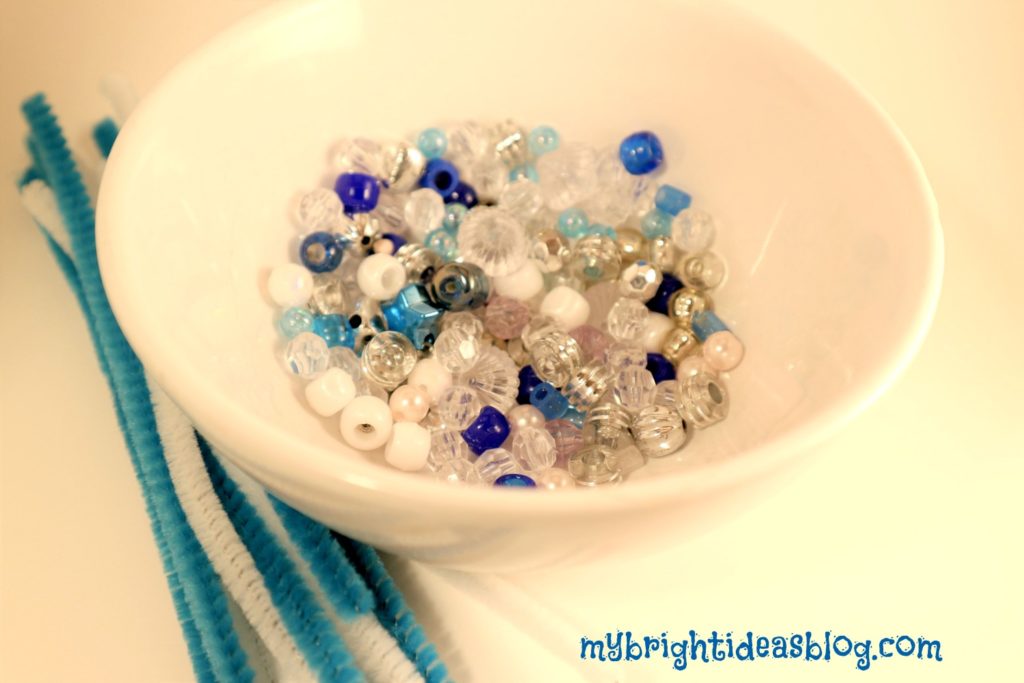
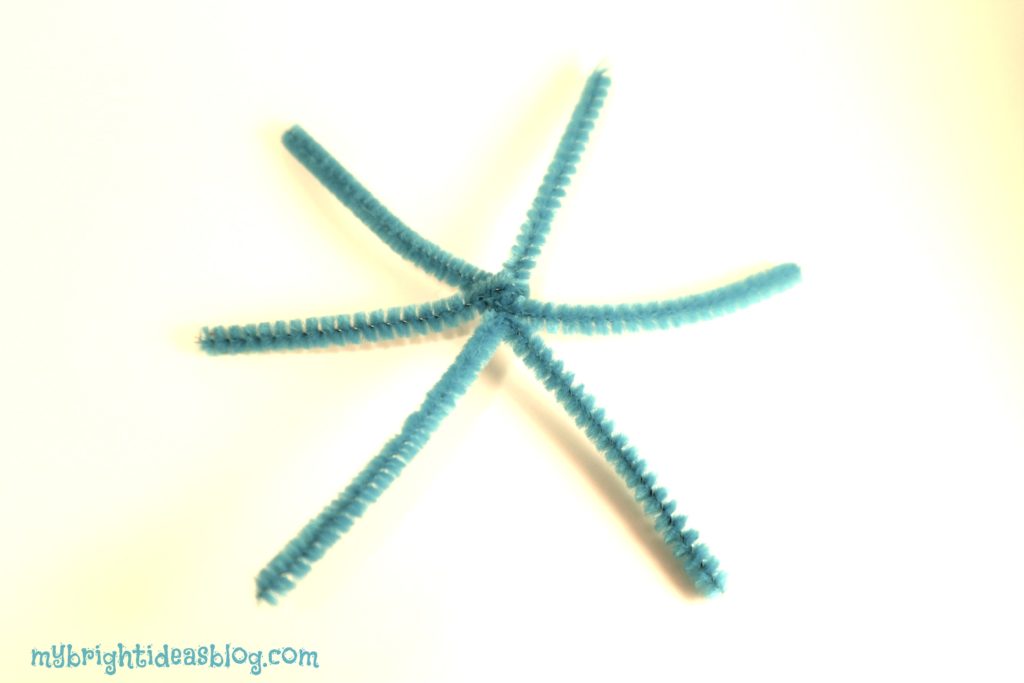
Cut a 3 pipe-cleaners in half. I think the sparkly style would have looked gorgeous but today we only found turquoise and white which both give a nice cool look.
Take the 3 half length pipe-cleaners and twist in the middle so they hold the shape of a snowflake.
String on plastic beads. As long as the bead hole is big enough to slide a pipe-cleaner through it will work. But if your crafter is younger you may want to use pony beads-the type of plastic bead with big holes.
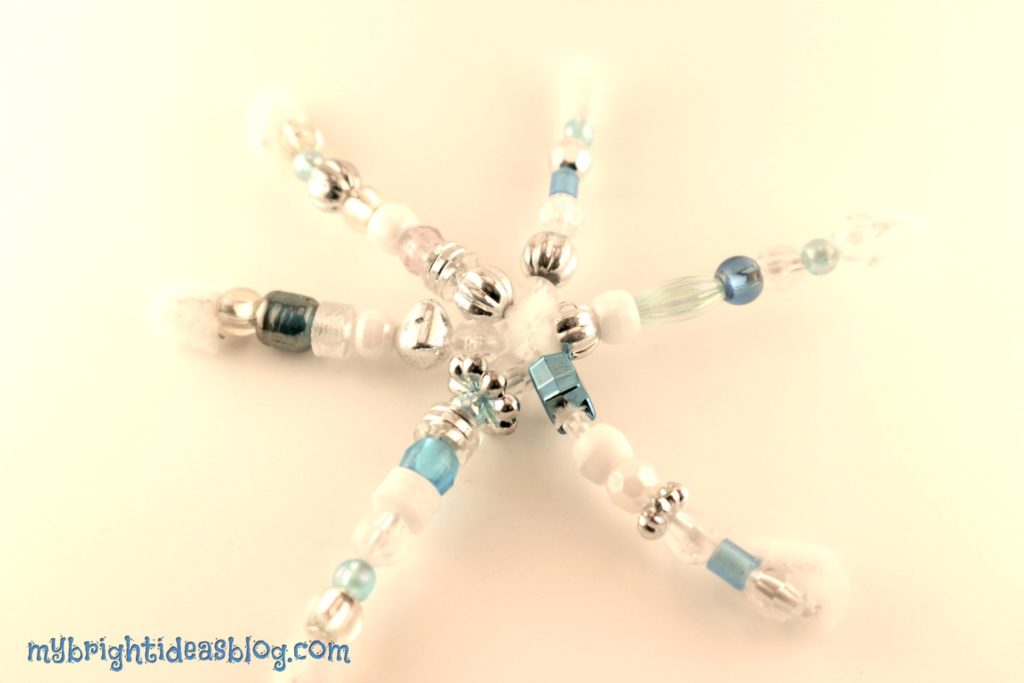
We chose white, clear, silver, turquoise and blue. As you get close to the end bend the pipe-cleaner so that the beads don’t slide off.
Find a scrap of narrow ribbon to tie to an end and hang from the window. Stand back and admire!
….

