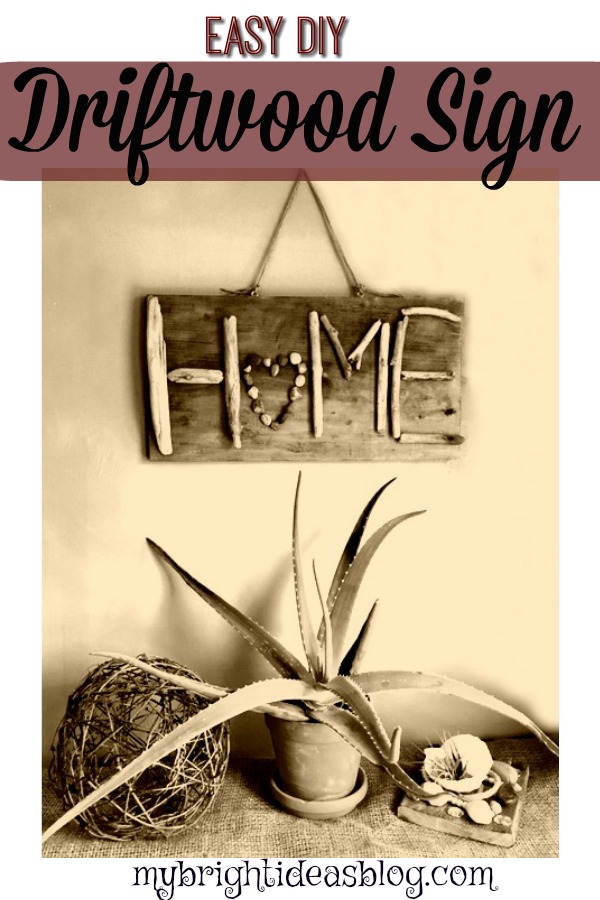
I’m trying to be patient for spring to come but its just early March and it snowed all day….sigh.
Fortunately, I am hoarding craft supplies…including driftwood from trips to the shores last year. So let’s put it together for another rustic, nature craft.
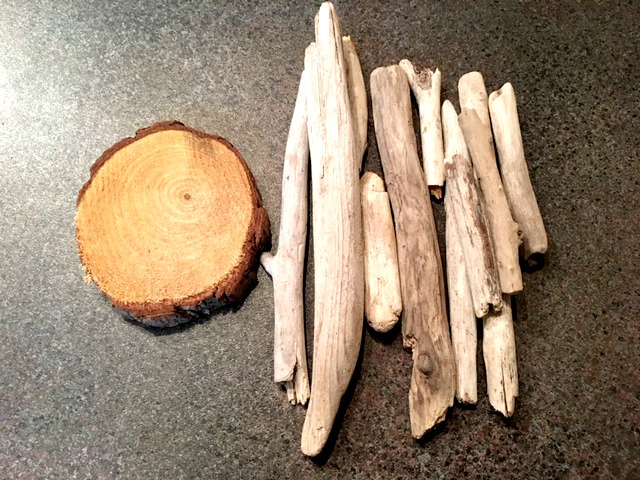
Gather your supplies.
You will need:
- Driftwood
- Wood Slice or Stones
- Wood Scrap
- Wood Stain
- Rag and Gloves
- Eye Hooks
- Twine
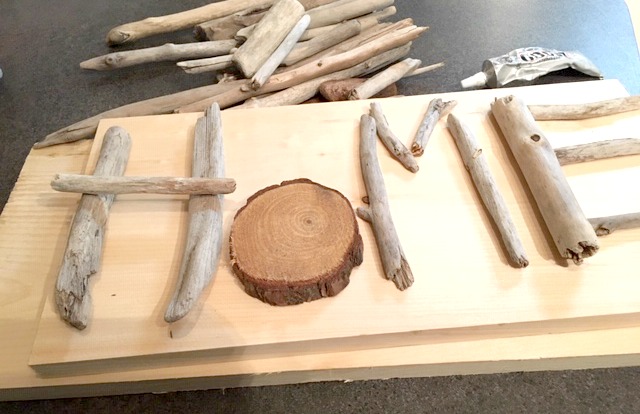
Start by finding a scrap piece of lumber that will match the size of your driftwood. Lay out your pieces of driftwood to arrange them and make sure they fit! My board is 9 x 18 inches (23 x 46 cms) and its a pretty good match for my driftwood pieces.
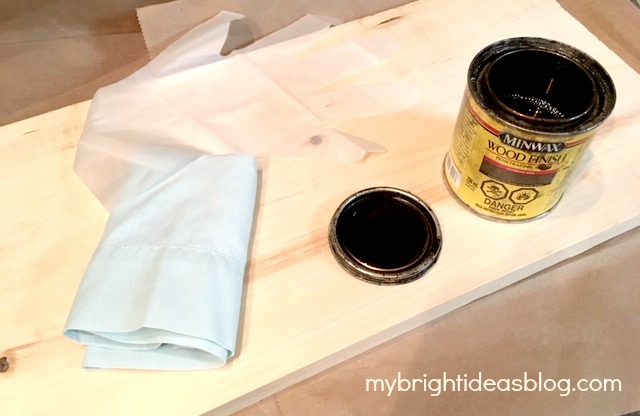
As always, I used my little pot of Miniwax Jacobean stain. I love this dark shade.
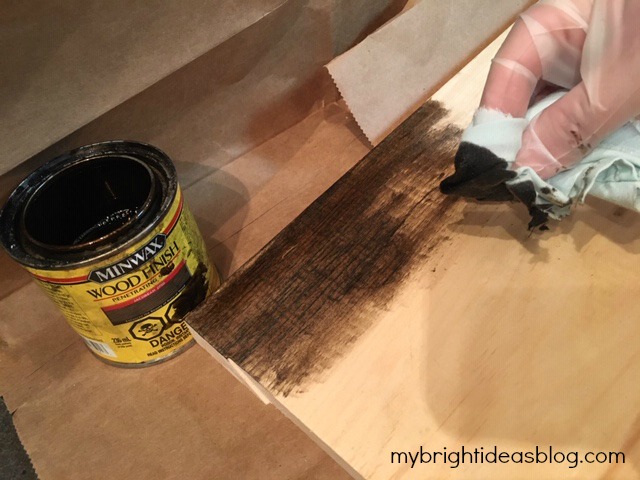
Apply with a rag or brush in the directions of the grain. Allow the wood to dry according to the instructions. My stain can says to wait 8 hours before applying a clear polyurethane. I didn’t add a clear coat because I like the mat finish.
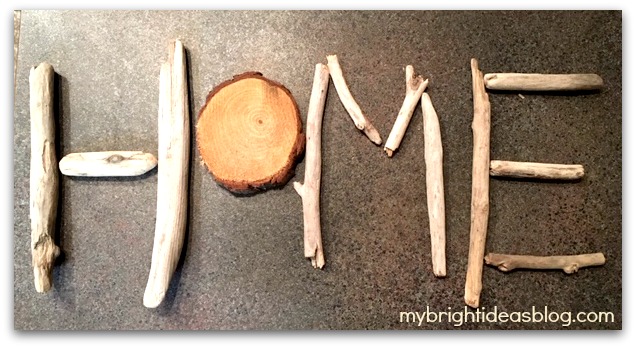
Here I am playing with the driftwood while the stain dries. I’m so impatient.
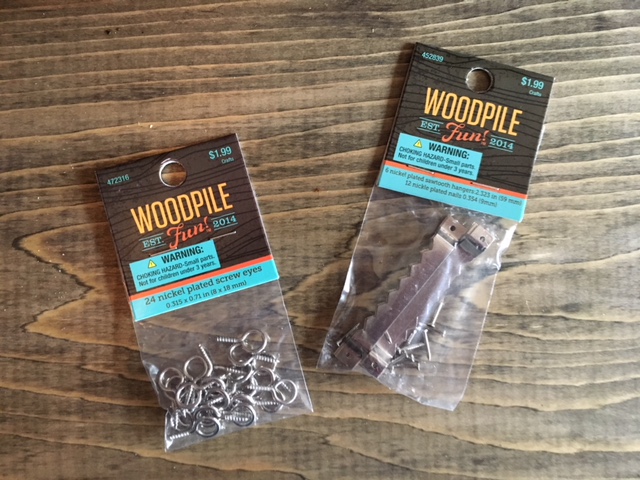
Now that its dry you should decide on how your going to hang the sign up.
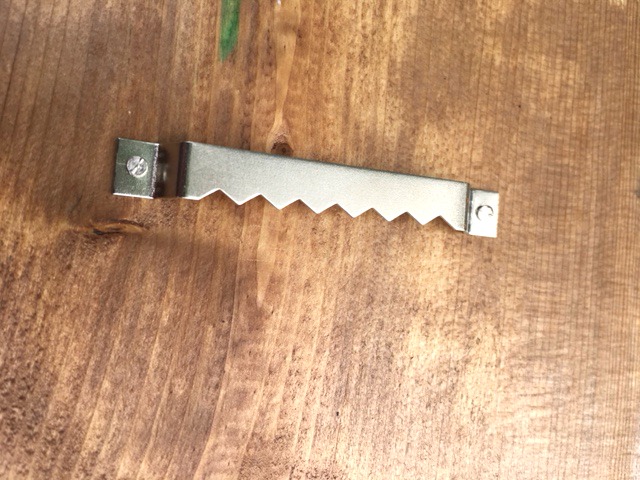
Hang it like a picture?
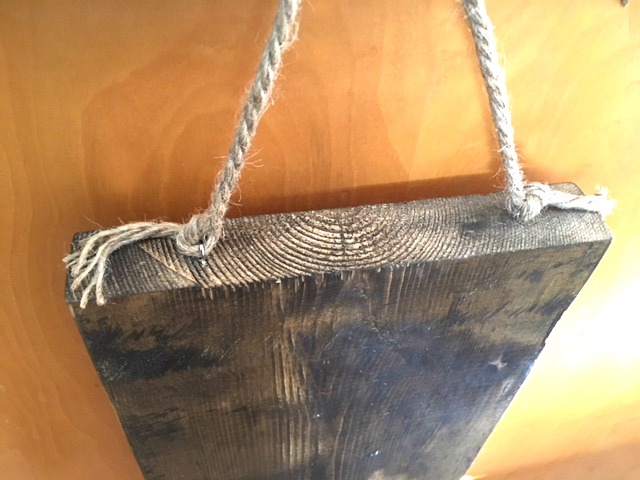
Or like a sign with screw eyes and a bit of twine or jute rope? I’ve used the above options on several projects.
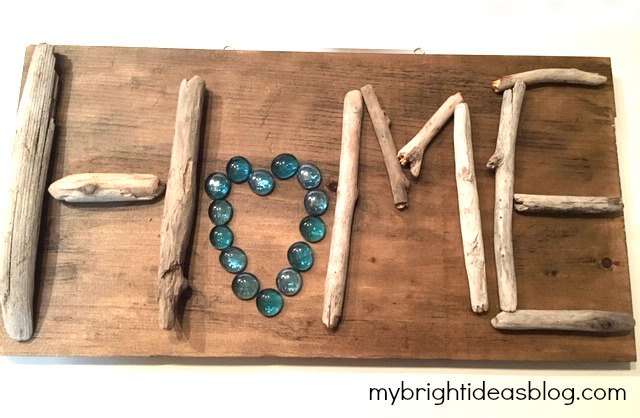
Now the stain is dry and I can pull it all together. I found some blue glass stones? Hmmmm. Tempting to use them but I wanted to have this look natural.
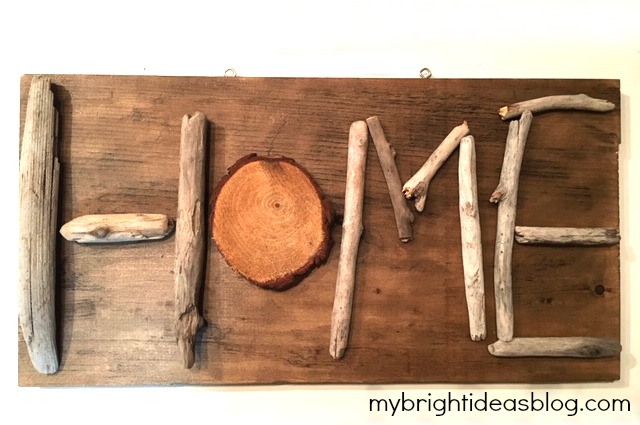
I also like the wood slice for the “O”. That is natural.
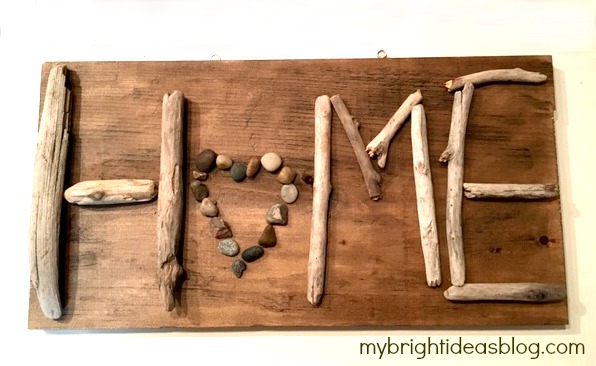
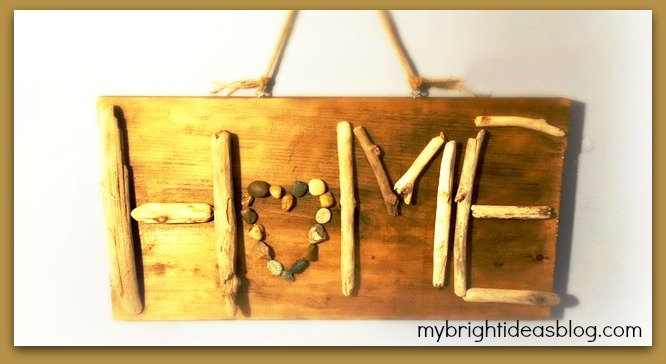
But after deliberations, I settled on small pebbles in the shape of a heart.
You can use your hot glue gun to attach the pieces to the wood. I might put this on the craft sale table at work so I used E6000 glue which is a very stinky permanent adhesive glue that will not pop off like hot glue can when it gets moved. Crack a window or work in your garage…it’s pretty strong smelling stuff.
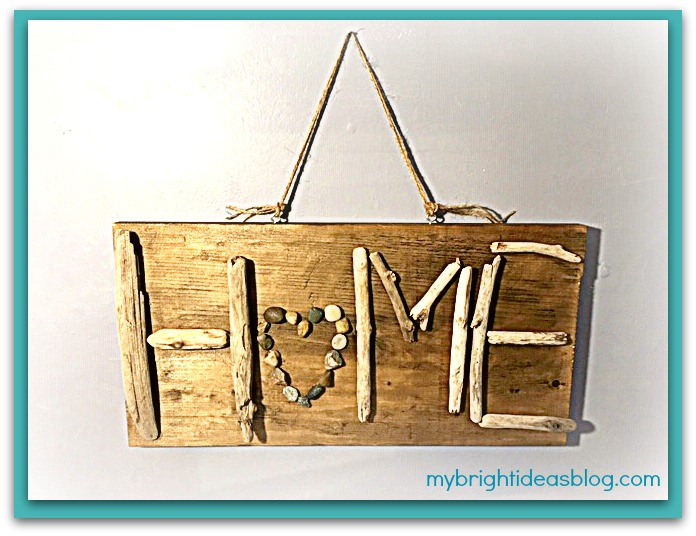
And that is all there is to it!
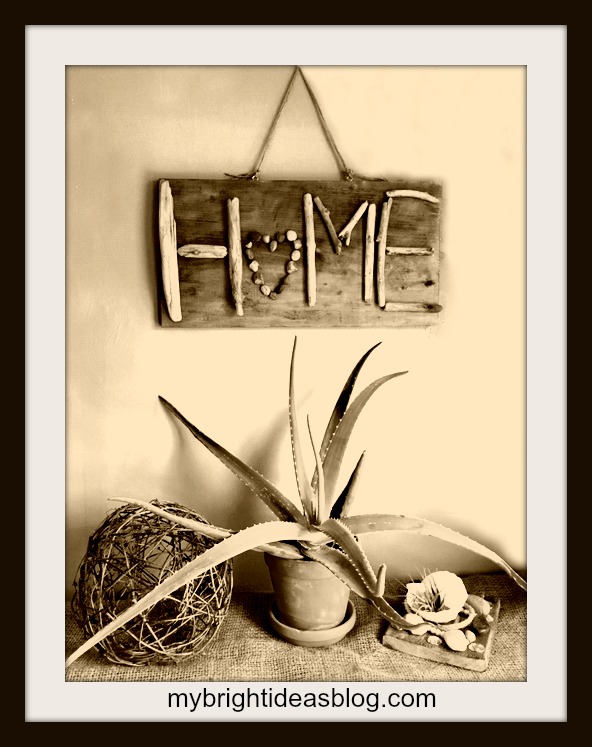

Here are some other similar projects I have posted you might like….

