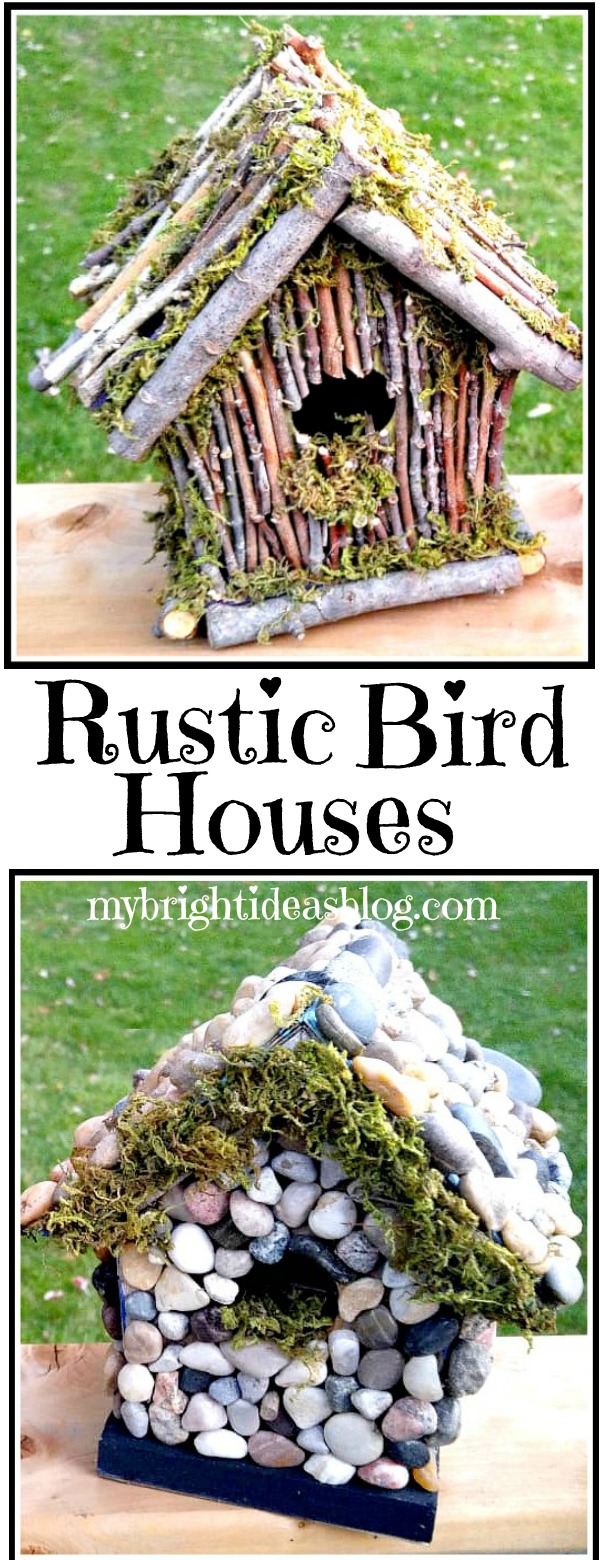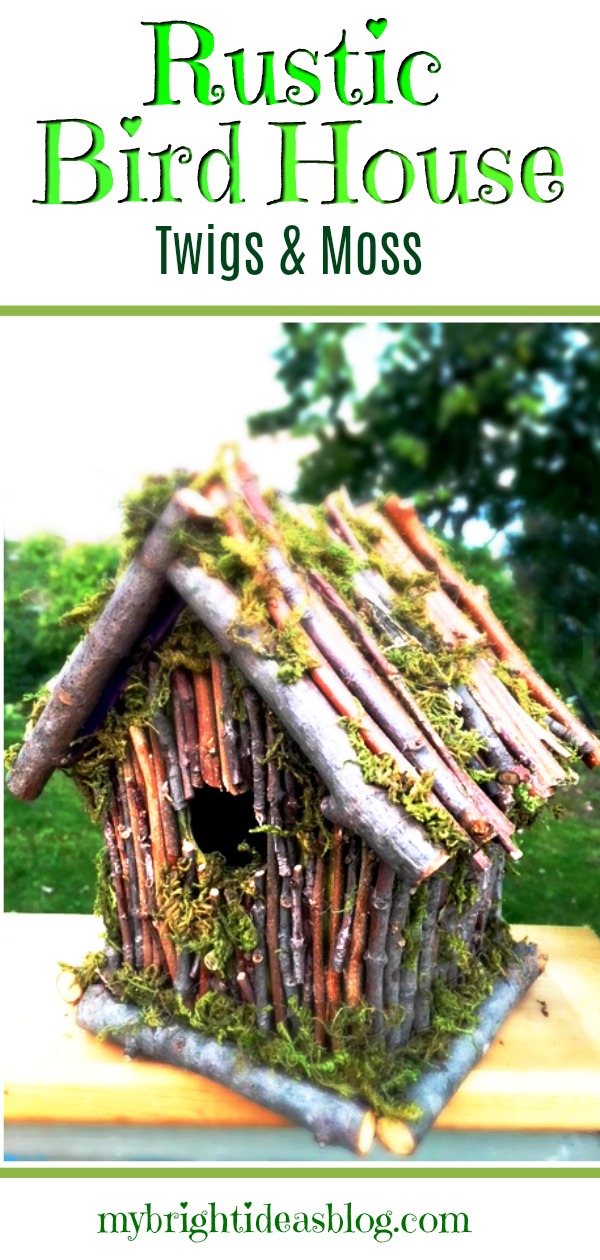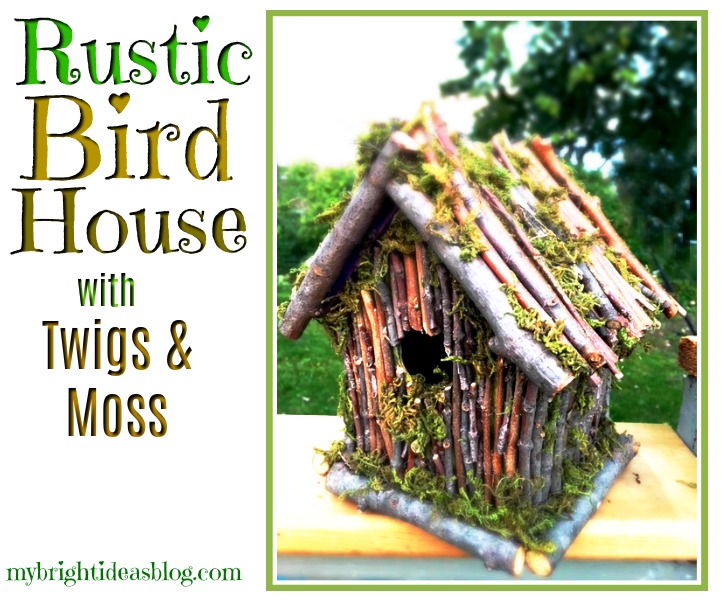
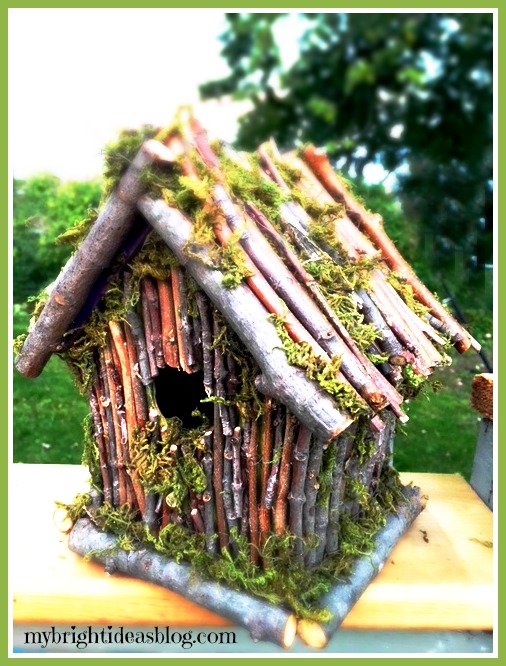
I’m loving sticks and twigs and rocks this year! So you’ll see a lot of these projects from this past summer and heading into the fall and winter. This is birdhouse project, I really enjoyed making and can’t wait to tell you about!
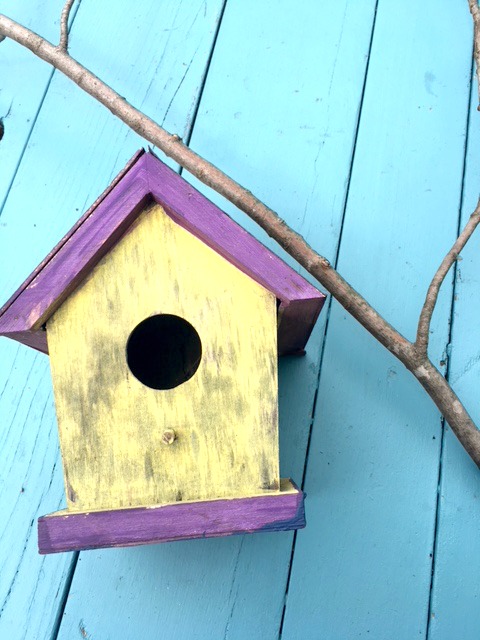
Two years ago my daughter and I painted a bunch of birdhouses and drilled them to the garage. It’s an old wooden garage with peeling paint so if we can distract your eyes from its sad, old, tired look we would! It should get knocked down and rebuilt but we would like it to last a few more years…so instead I’m decorating it.
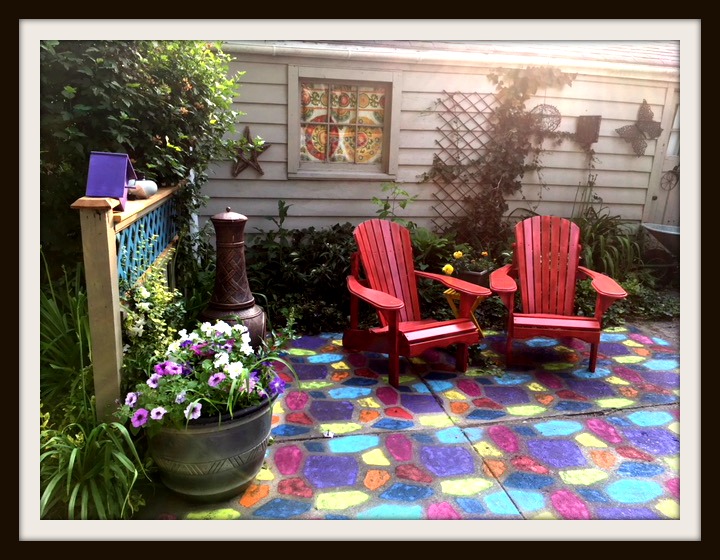
See what I mean…
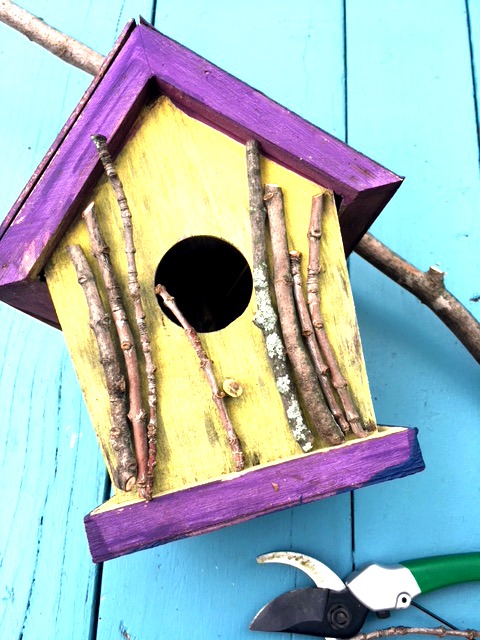
I apologize we got a bit sidetracked there. Back to the twig birdhouse. After two winters the birdhouse collection had gotten worn out and weathered. They were just cheap wooden ones from the dollar store and we didn’t think ahead to put extra clear coats over the craft paint to make them water resistant. That would have been sensible.
If you would like to try this you will need:
- a birdhouse
- outdoor paint or varnish to water proof it
- branches
- garden snips
- E6000 or other industrial glue
- natural moss
You can get inexpensive birdhouses at the dollar store but if you would like it last for years and years get the sturdy ones from the hardware store or make your own. Paint it or put a protective clear varnish so it will last a long, long time. I opted to use the old weather worn ones to try and upcycle it instead of throwing it out.
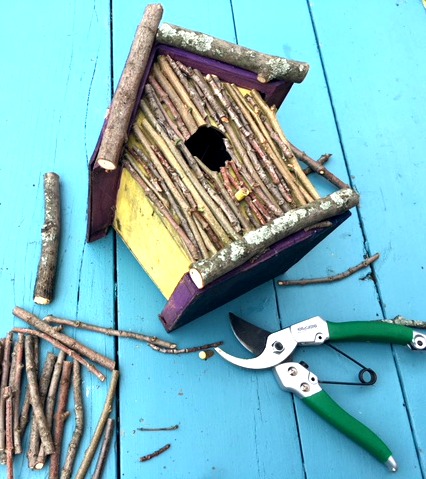
We needed to trim some out of control shrubs and some branches so this project was perfect timing. There was no measuring of the length just line up the twig to the area you want to put it and snip! When I had the area planned out I went back to glue it.
Using E6000 Industrial glue is stinky so I try to use it only outdoors. It is slow to dry but very secure. I have used a hot glue gun to secure sticks and pebbles to things like this before and within a few days it had pieces falling off. If your project is going to be indoors you could get away with quick drying hot glue.
I attached the sticks all over one side of the birdhouse and left it to dry.
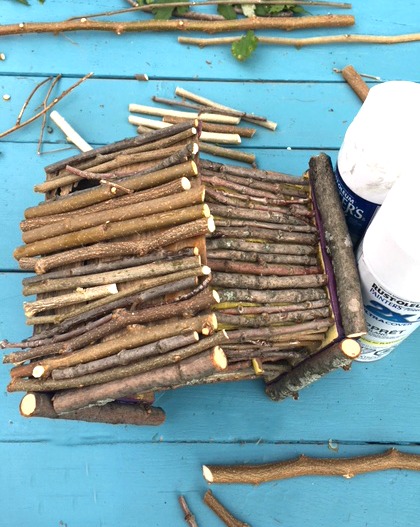
Each side needed several hours to dry. Then I came back to work on the next side. This really slowed down the process. It felt very relaxing making this natural project so I didn’t mind that it took me a few days.
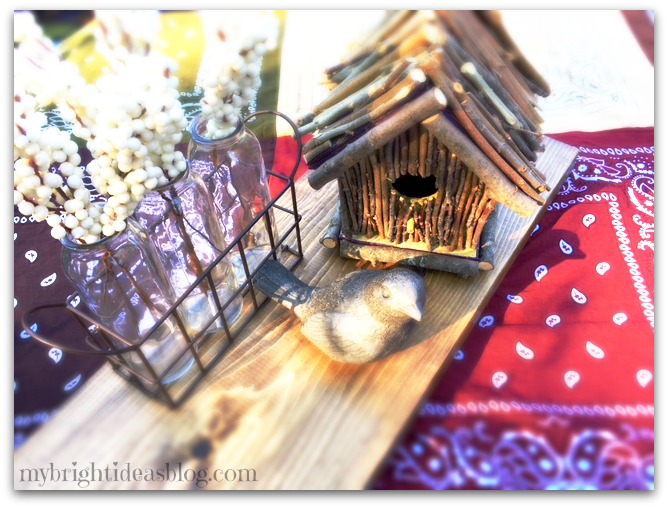
I was actually quite happy with it with just the sticks on the birdhouse. I took this picture a few weeks ago with my bandana table cloth post. It’s cute right!
But then….I had a vision of it with moss and the project took on its final stage….
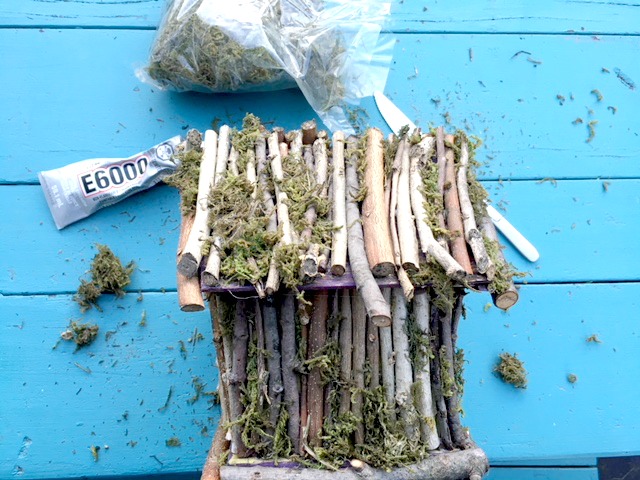
The moss is from the craft or dollar store and comes by the bag. It is quite loose and flakey so it will make a bit of a mess on your work space.
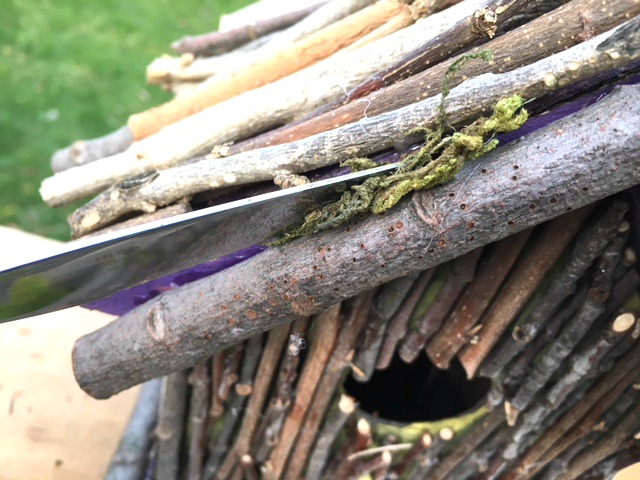
Anywhere I could see the old purple paint I put in some moss. This photo shows me sliding the moss in between each stick using a butter knife as a tool. I also used some dabs of glue plus jamming it in gaps between the twigs.
Heavy rains and wind may be hard on the moss. We will see how it lasts and maybe place it in a bit of a protected area of the garden. A covered porch would likely be ideal.
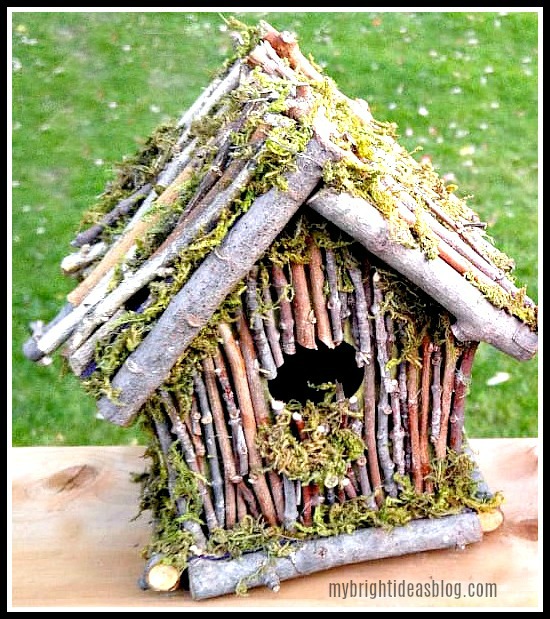
Isn’t that beautiful! I don’t know that any birds will actually want to use it but for a decorative addition to the garden I’m very pleased with it!
Thank you for reading to the end. I hope you enjoy your day. Before you go feel free to visit some of my other posts. Pin this to Pinterest or share it on your favorite social media.
…

