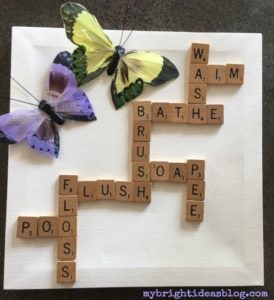
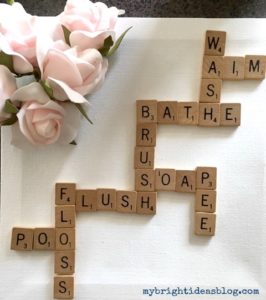
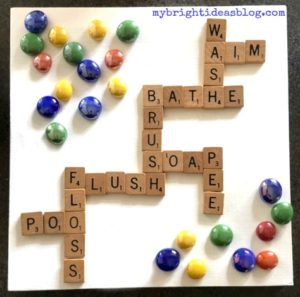
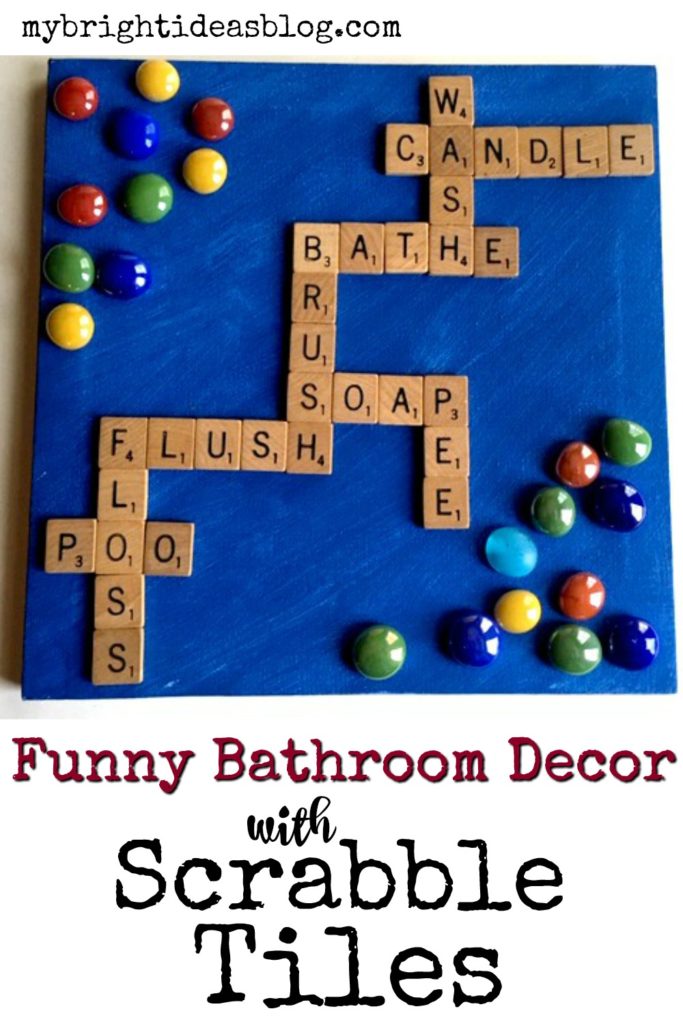
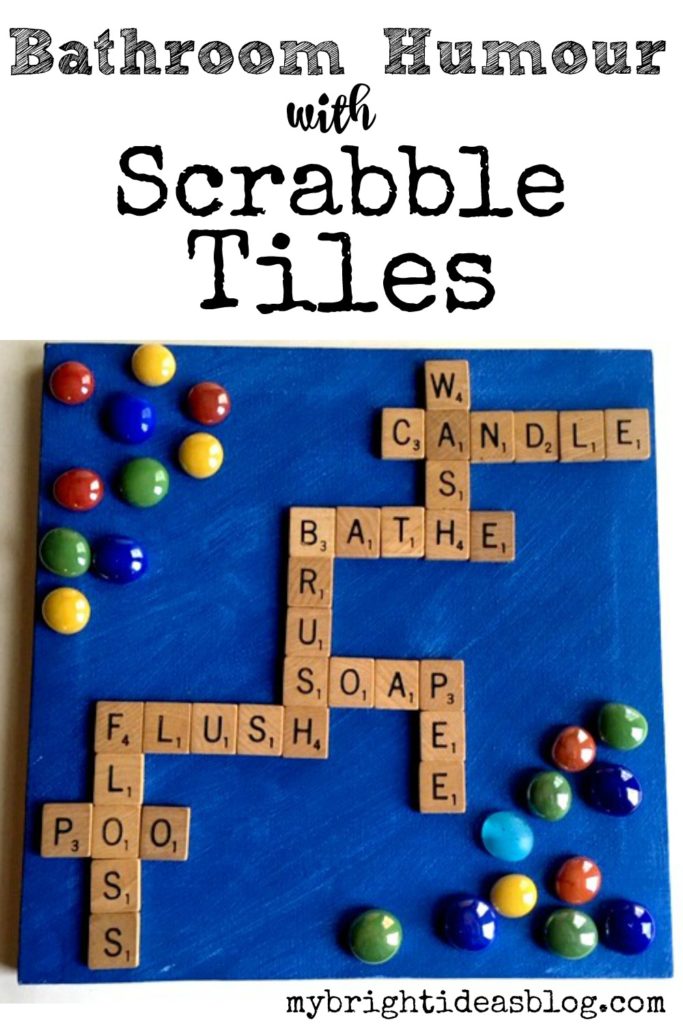
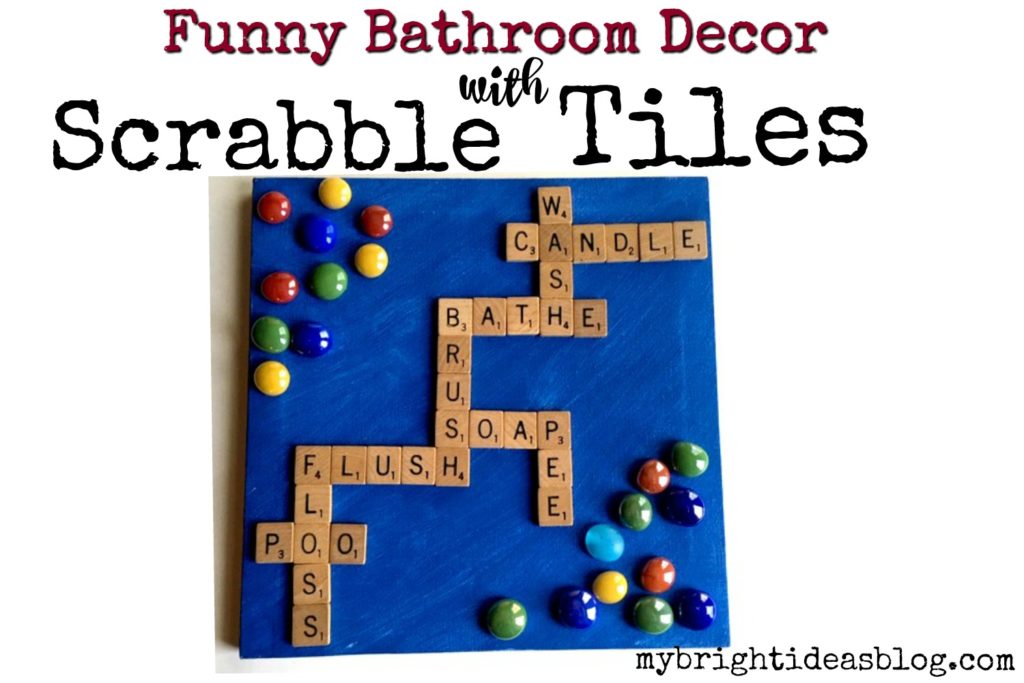
Here is a fun idea for using scrabble tiles to make a bathroom sign that will make your guests chuckle!
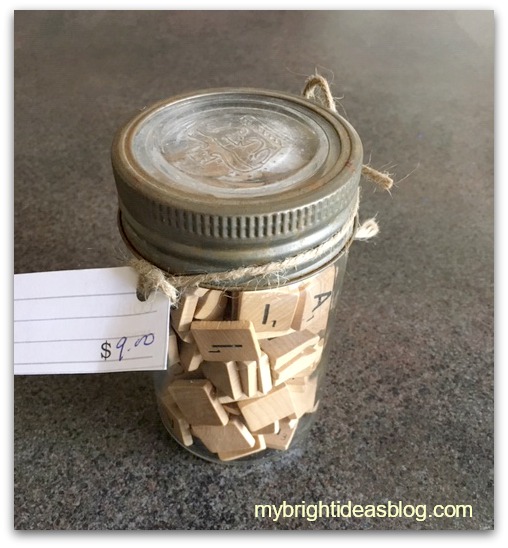
A while ago, I found this jar of scrabble tiles at an antique store. I could probably find scrabble tiles for a cheaper price in an old board game box at a thrift store but this cool old jar reminded me of my mom’s canned peaches…so I bought it.
For this craft you will need:
- scrabble tiles
- blank canvas
- craft paint and paint brush
- hot glue gun
- glass stones or other decorative items
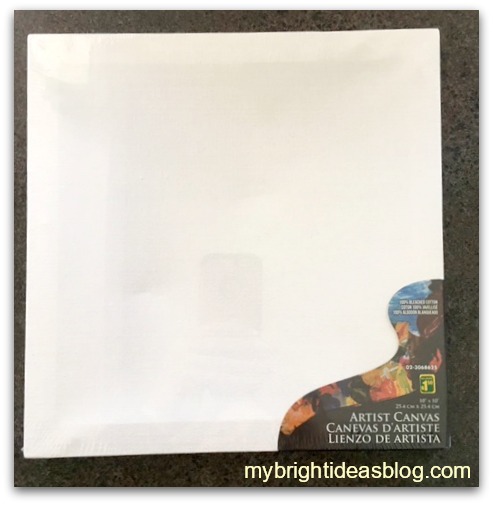
I used a 12×12 blank artist canvas from the dollar store. Nothing but the best! Tee hee.
It would be sensible to paint your canvas right away so that it’s got time to dry.
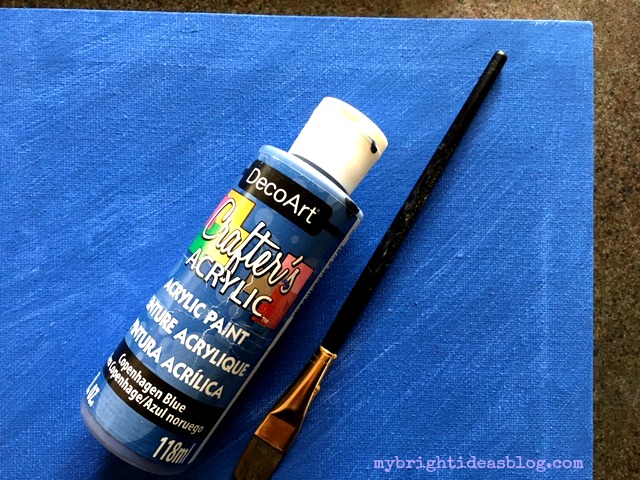
“Copenhagen Blue” craft paint, my brush, canvas, hot glue gun and glue are all dollar store supplies. I was really tempted to leave mine white so I didn’t paint it right away. But later I changed my mind. This meant that I needed to slide all the tiles off and paint it before I could glue it on.
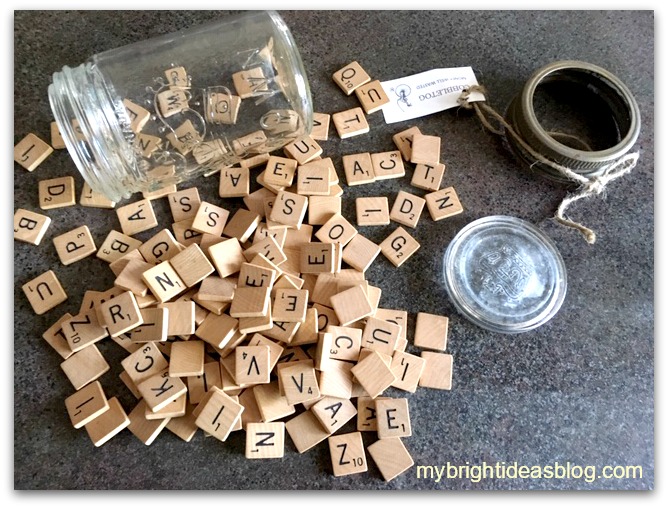
Now for the fun part!
Spread out your tiles and see what sort of bathroom words you can find.
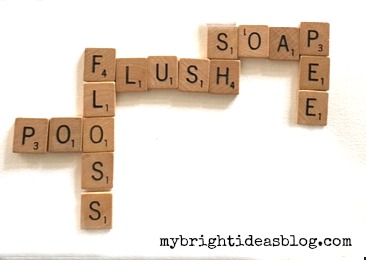
Pee, poo, aim and flush are my best toilet words. Shower, wash, bathe (or bath), soap, bubbles, shampoo, tub etc. for the bathtub words. Brush, floss, gargle, spit for the dental hygiene words.
After you have found the letters to your favorite words you need to make them line up with other words on your canvas or board. This can be a bit frustrating.
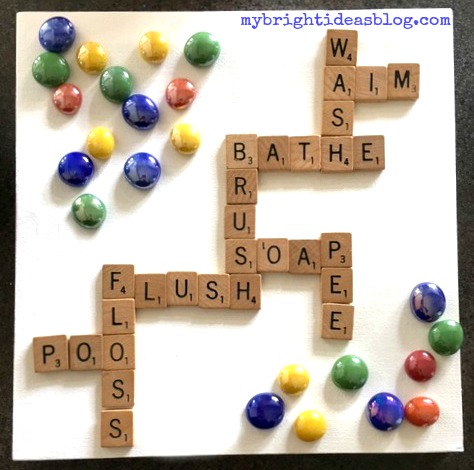
I tried some random craft supplies before I settled on the bright glass stones and blue paint.
Since I hadn’t painted it yet I needed to carefully remove the tiles and set them aside while I painted my canvas blue. It dries very quickly.
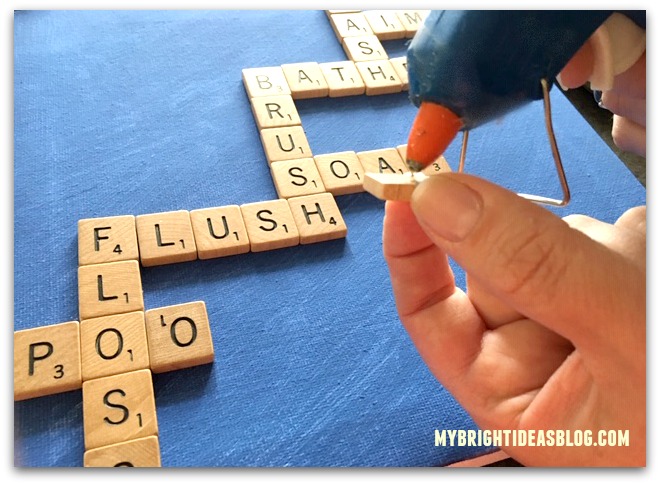
Then I recreated the words in the right order and using a hot glue gun, glue each peice into place.
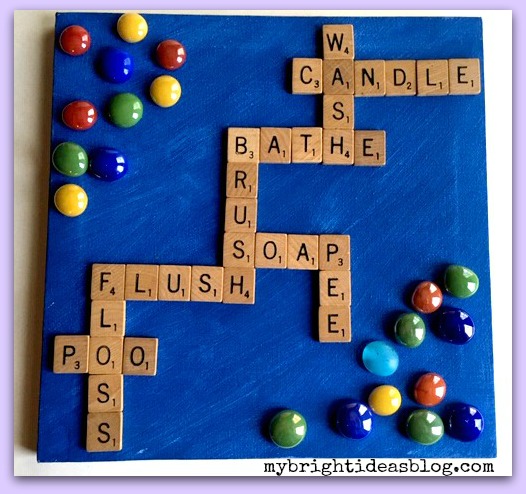
And there you have the final product! I thought the blue represented water and the glass stones were bubbles.
…
Toilet Paper Roll Daisy Wall Art
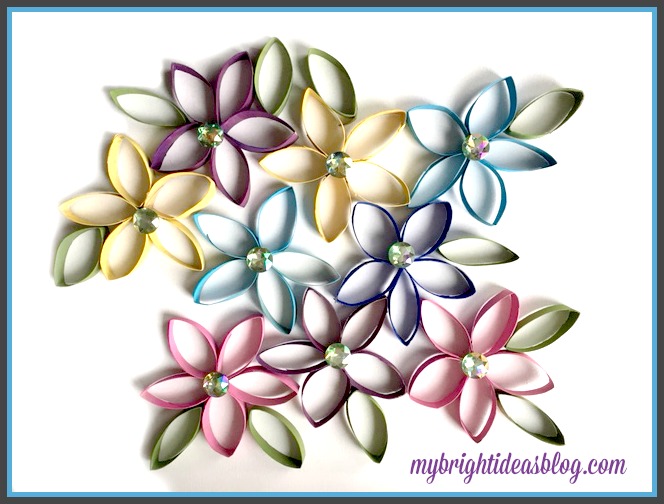
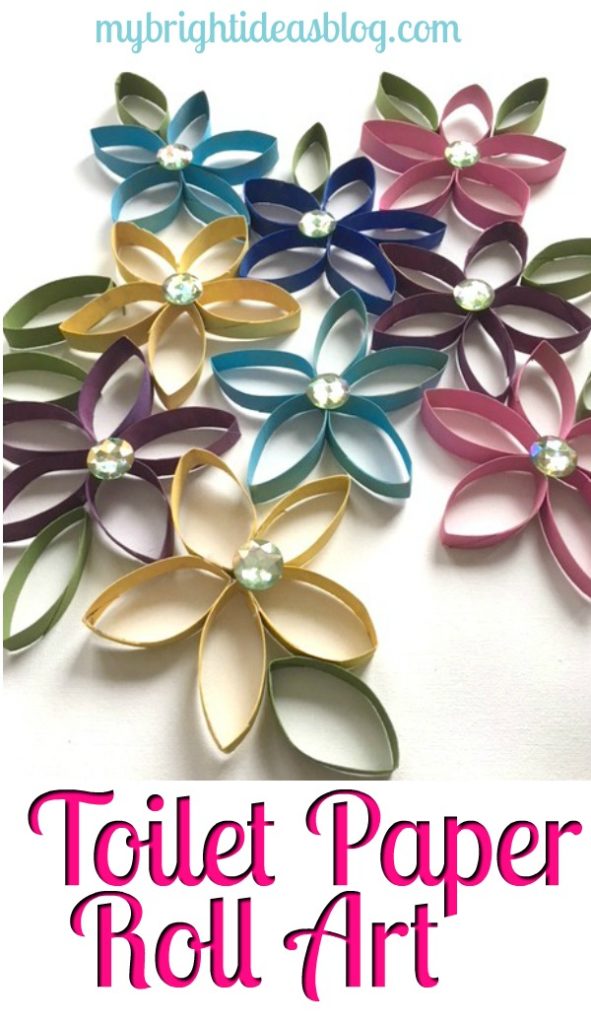
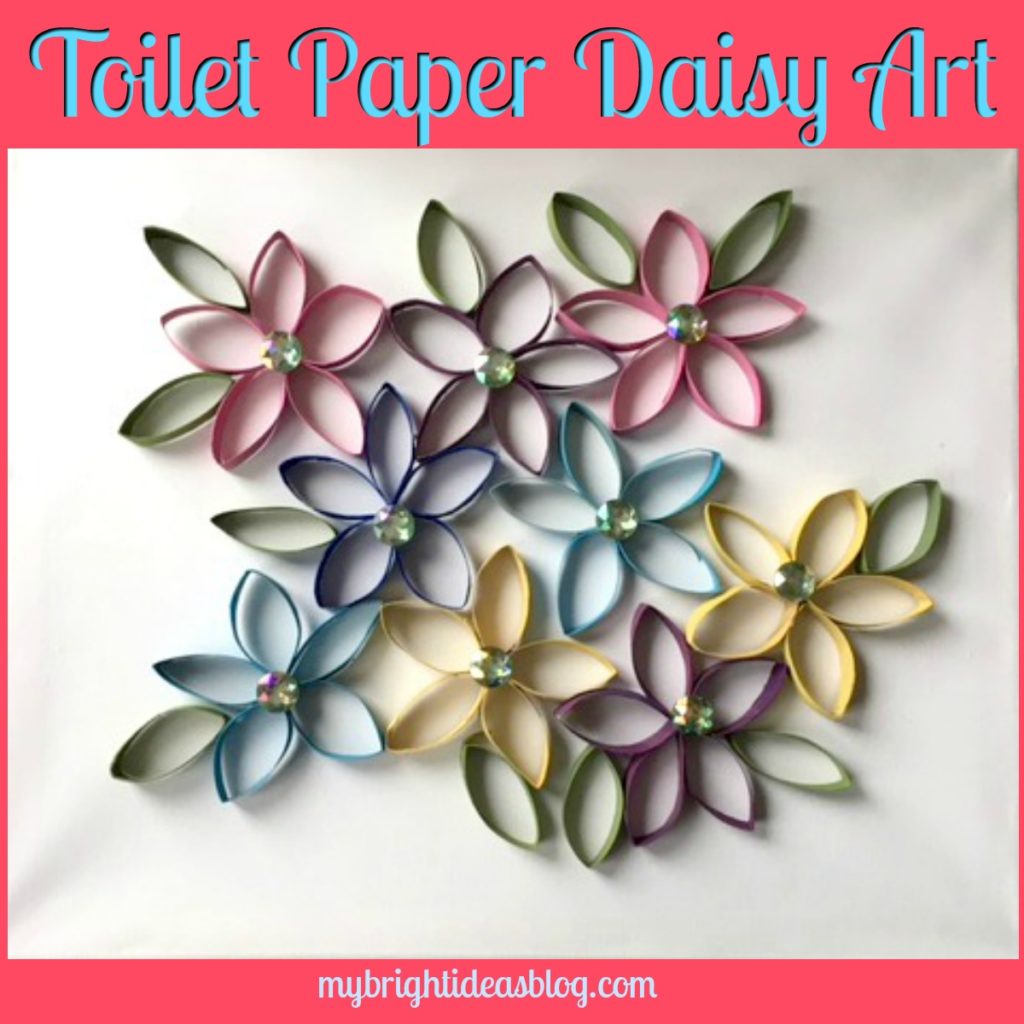
Last year I did a post on making daisy flowers out of toilet paper rolls. I do love to save my toilet paper rolls for crafts so I had plenty more to continue on with more flowers. So this time we are gluing the flowers to a canvas and making a picture to hang in a little girls bedroom.
You will need:
- large white canvas
- 9 toilet paper rolls
- hot glue gun and glue sticks
- craft paint and paint brush
- big gems
For this project you need a plain white canvas from the dollar store ($4). Everything else you likely have in your craft cupboards. I followed the same instructions from the previous daisy toilet paper project. Each daisy makes 1 flower plus 2 leaves.
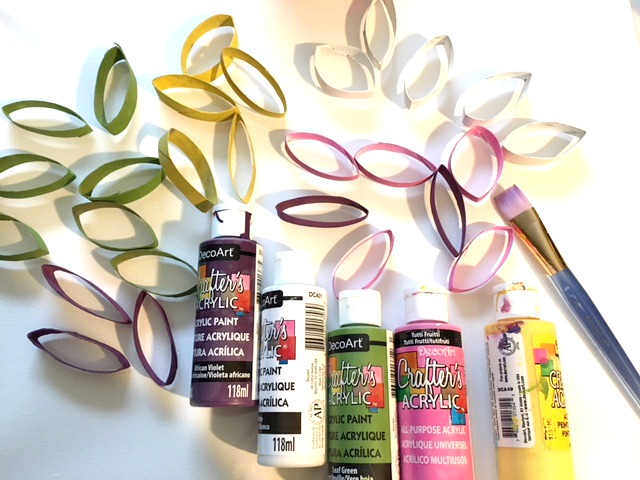
To make this I used 9 toilet paper rolls. I painted: 2 purple, 2 pink, 2 yellow, 2 turquoise and 1 royal blue. I cut the rolls first and painted after. But you might think its more efficient to paint first and then cut and then touch up the edges afterward. Fortunately , the paint will dry quickly.
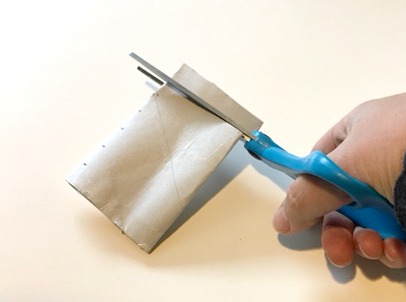
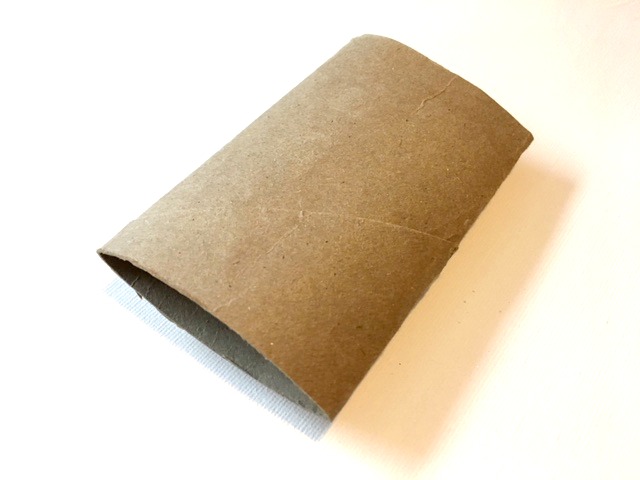 Flatten your toilet paper roll.
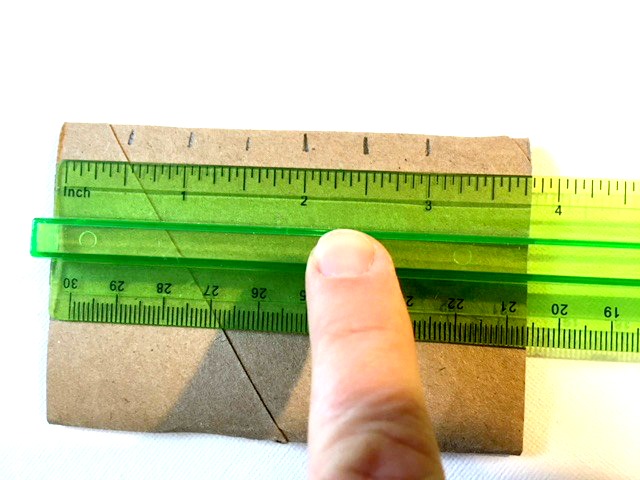 Mark cutting lines 1/2 inch apart.
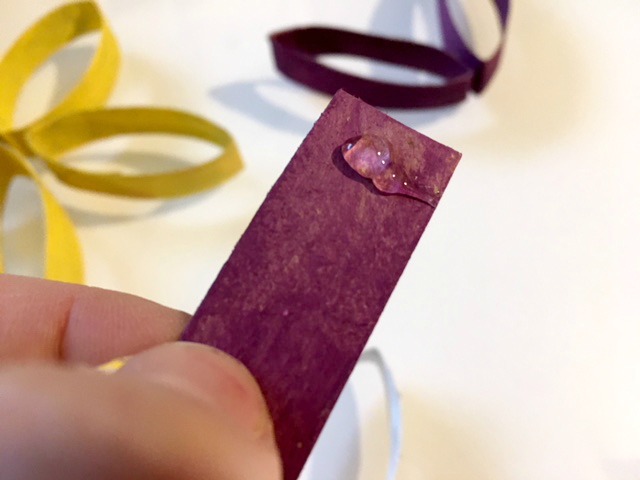
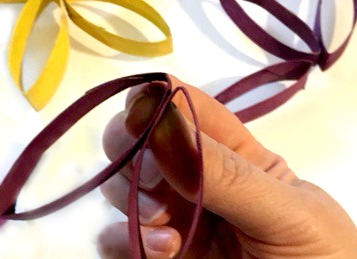
Pinch two petals together. Hold a few seconds while the hot glue dries.
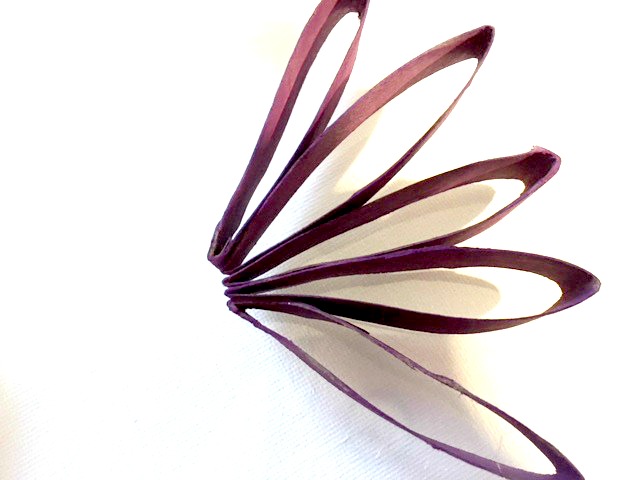
Glue and pinch all 5 petals together. Pull the two outside petals toward each other and glue them together.
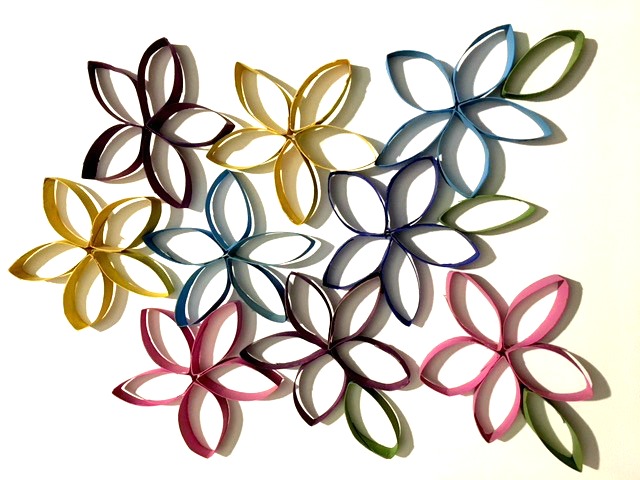 Lay out your flowers and leaves and add a dab of glue to attach them to your canvas.
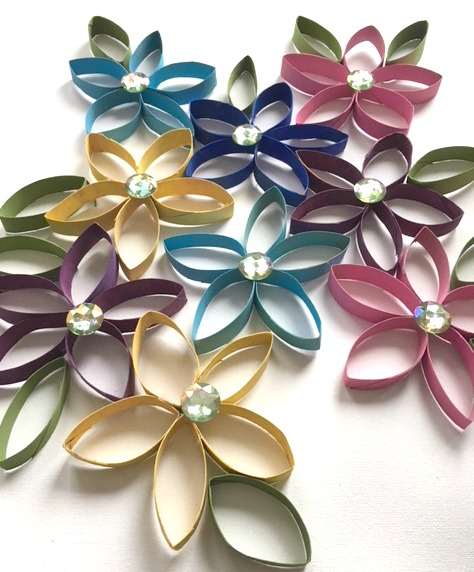
Add a big gem to the centre and attach with hot glue.

Hang your canvas on the wall. Super easy! If your young child is going to do this, please help with the hot glue gun or use white glue.
Look below for more toilet paper roll and Springtime craft ideas!
How to Make Spring Flowers Craft From Painted Toilet Paper Rolls
Toilet Paper Roll Crafts-Use your loo roll tube for easy Crafts!
Crafts Using Burlap and Buttons – Easy Project that Looks Great!
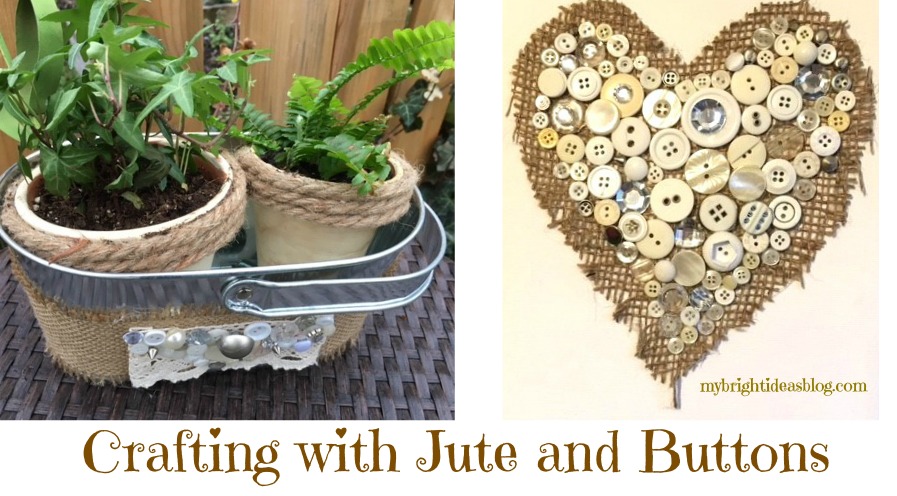
Is it a new trend that burlap and jute are in so many crafts? Maybe this has been around a while and I’m just noticing it. The crafts on Pinterest with both jute/burlap and buttons are really catching my eye. So I thought it was high time to get on this button-burlap-jute wave! :o)
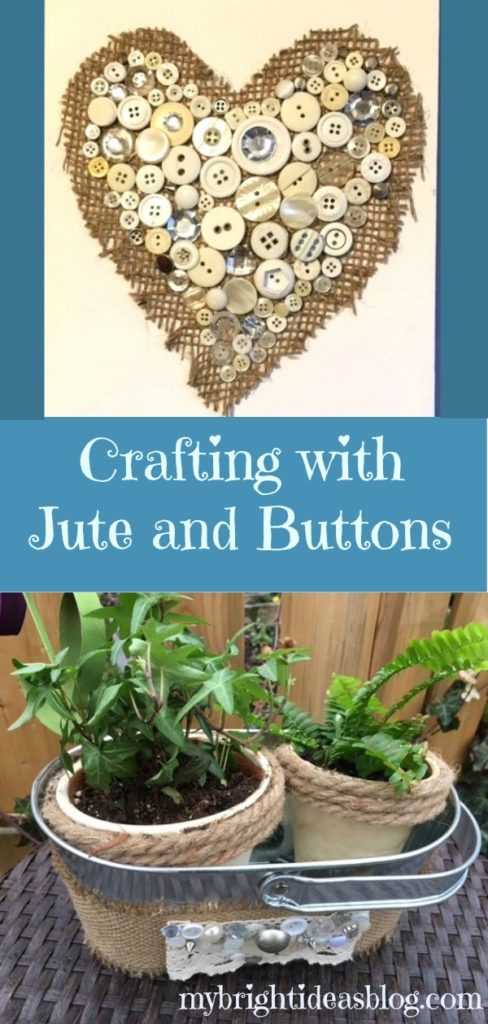
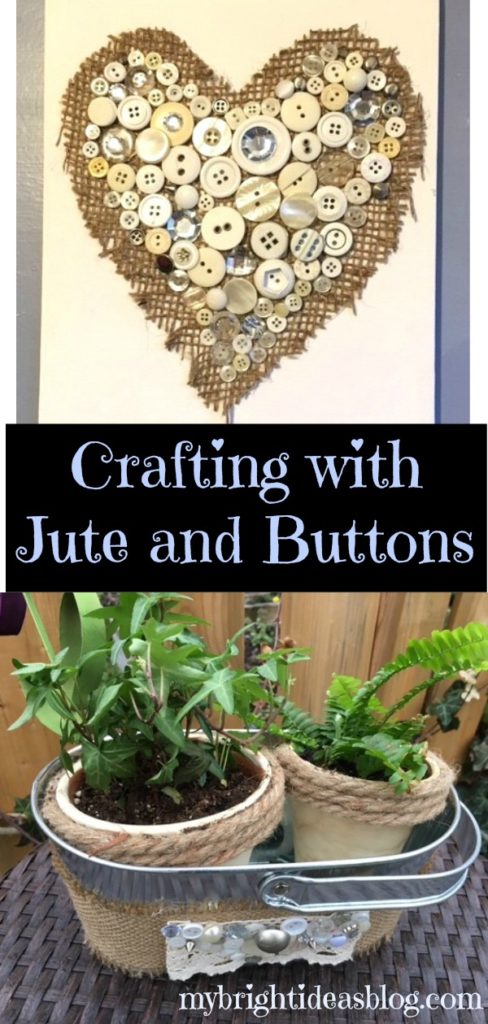
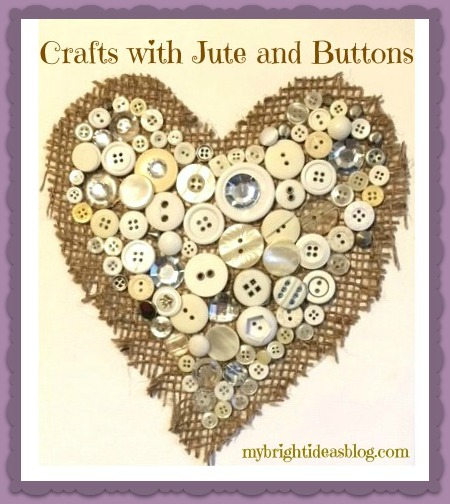
Project #1 – Jute and Button Wall Art
You will need: Burlap/Jute, Mixed Buttons, 8×10 Canvas, Hot Glue Gun or White Glue and Paper
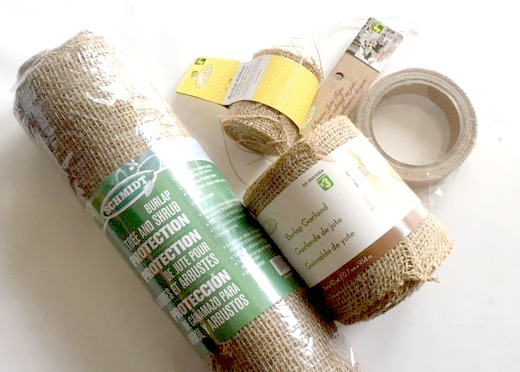 The local Dollar Store had several options…in both the garden area and the craft sections. For this project I cut up the big burlap bag that you would cover your shrubs with for the winter. There is still plenty of fabric left over I could still use it in the garden or other crafts.
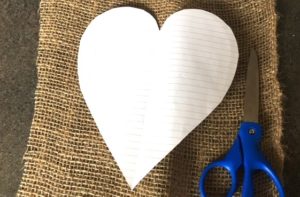
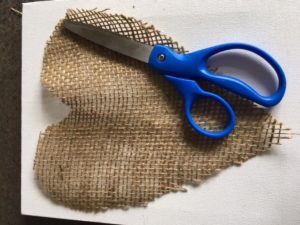
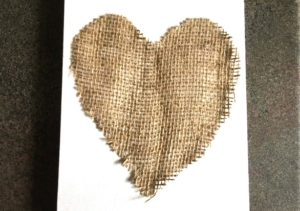
I cut a heart shape on paper first and then used it as a template for cutting out the burlap. Then I put a few dabs of hot glue on the 8×10 canvas to flatten the burlap into place.
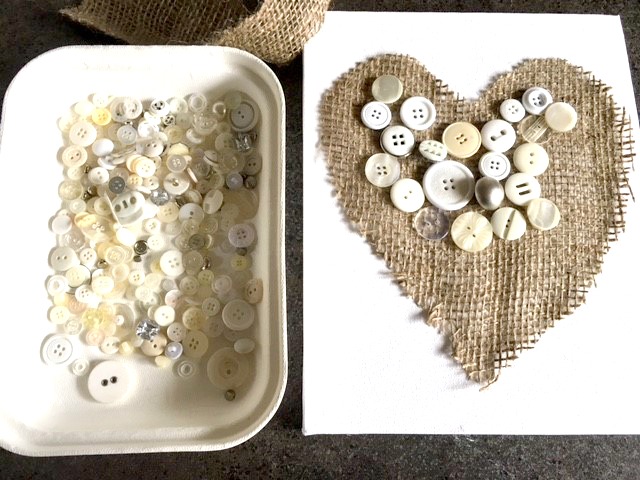
The buttons I used were all cream color or silver. They came as a bag of buttons from my Dollar Store for $1.50. There are some nice Pinterest posts with examples of art made with colorful mixture of buttons-I might try a colorful one next time. Start by gluing the biggest buttons in the centre and work outwards with the smallest buttons.
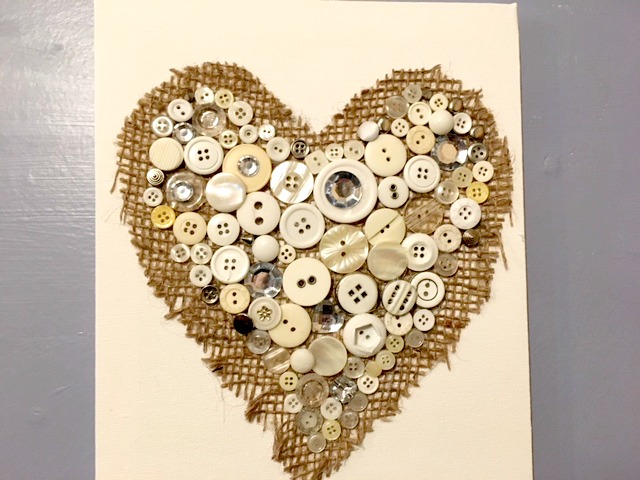 Watch your fingers while you glue the buttons on! Using the hot glue gun might be a bad idea for the small buttons. I like the speed of hot glue drying but since the project lies flat you could easily use regular white glue and spare your fingertips.
Project #2 – Jute Wrapped Tin Flower Pot
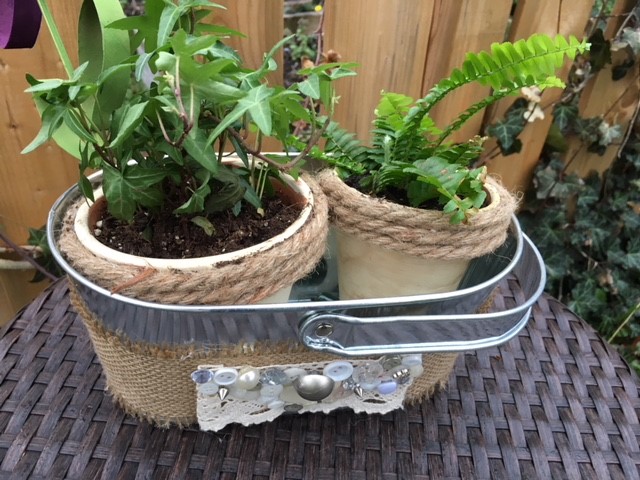 For this project you will need: Jute Ribbon 3 inches wide, a bit of lace, mixed buttons, flower pot (mine is a tin bucket style) and hot glue gun.
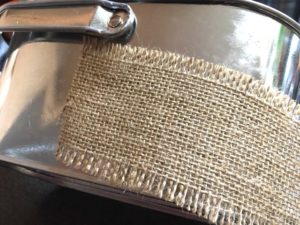
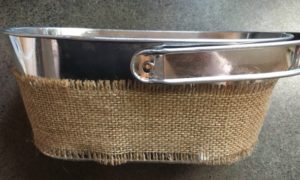
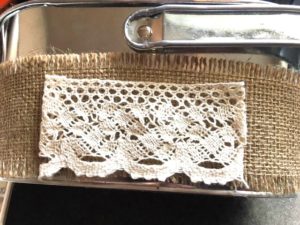
Using the hot glue gun attach the jute with a dab of hot glue on the back of the aluminum tin. Wrap it around the container and glue it flat. Mine puckered at the bottom so I pulled the jute snuggly and added more glue to secure it flat. I had a few inches of lace that was glued to the front of the container.
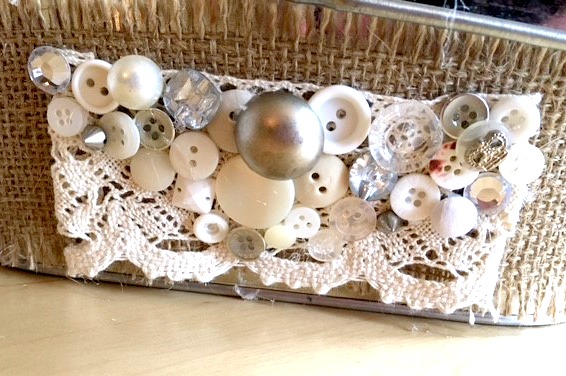 Then add on the buttons.
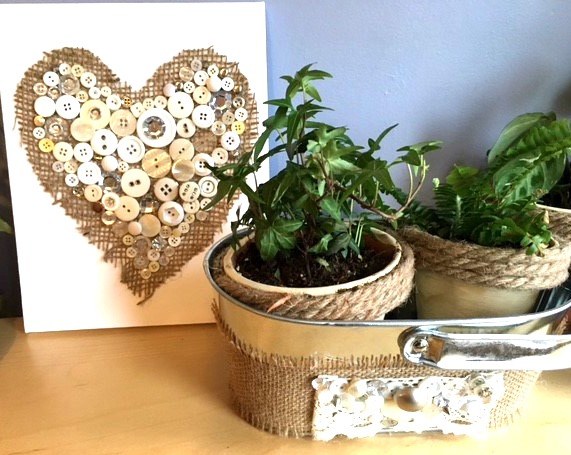 I really like how these turned out and I think I might have some follow up projects with more glue and buttons. I would love to get a few bags of vintage buttons from a thrift store and mix it with broken jewelry to make a more sophisticated eclectic bit of art. On my to-do list are button bracelets and hairbands for the kids. I’ll let you know how that turns out later!
Have a super day!
….

