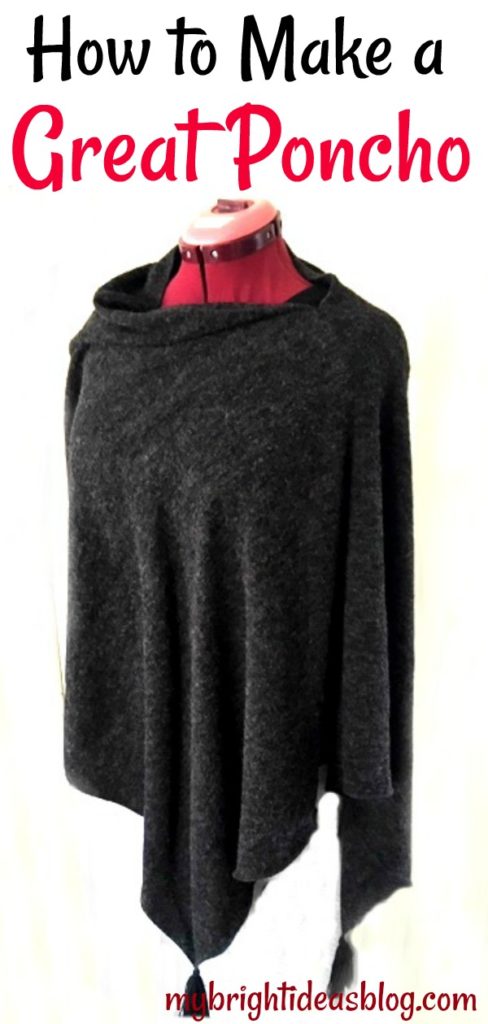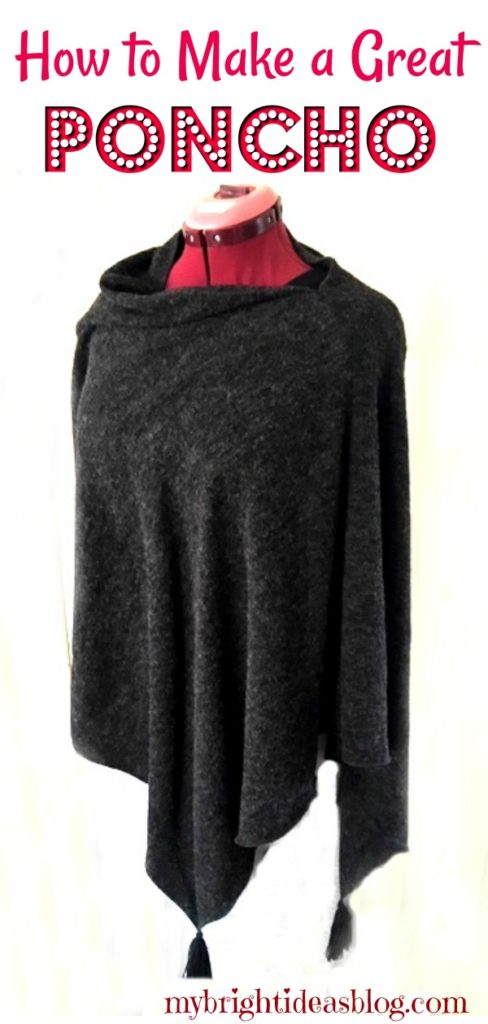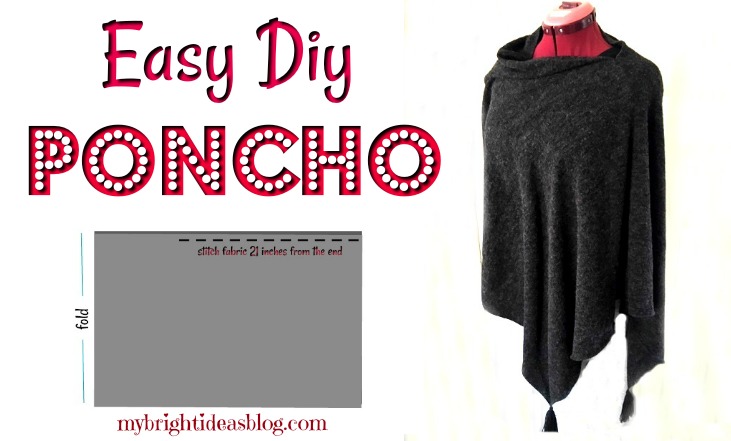
This has got to be the easiest poncho plans ever! Using fleece or another stretch fabric means that you don’t need to hem it. So all it takes is one simple seam and you have a gorgeous poncho you will love to wear!
You will need:
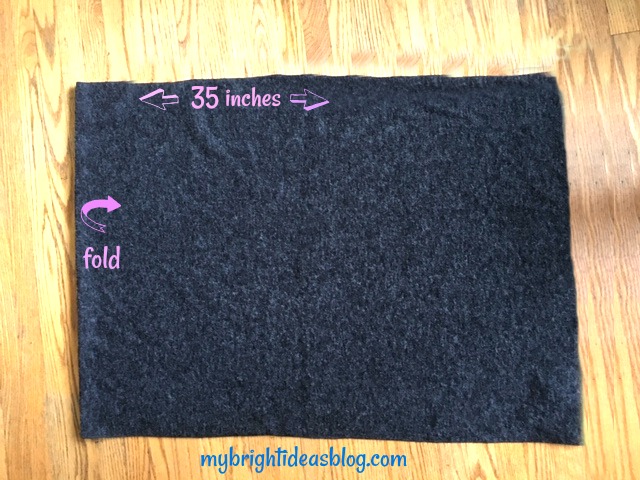
- t-shirt, sweatshirt or fleece fabric 25 inches wide by 70 inches long (64 cms x 178 cms long)
- sewing machine
- 2 purchased tassels (I’ll get working on a DIY for making a tassel soon)
- needle and co-ordinating thread
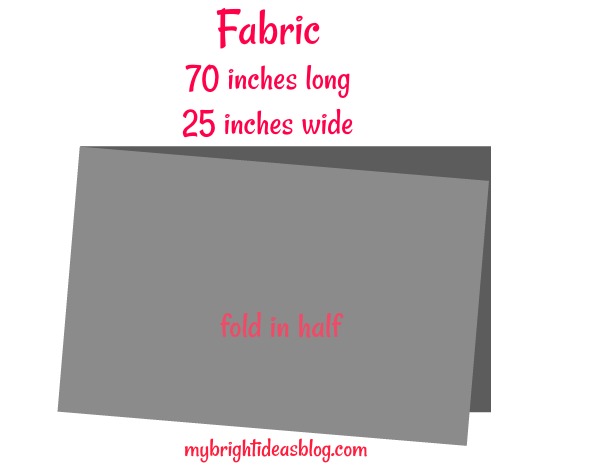
Start by cutting your fabric to size. Cut it carefully to be completely straight. We aren’t planning to hem the fabric so take your time to make the cut as perfect as possible.
Then fold it in half.
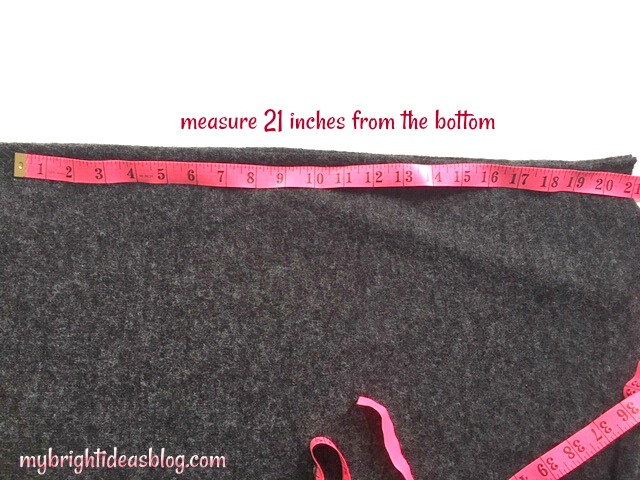
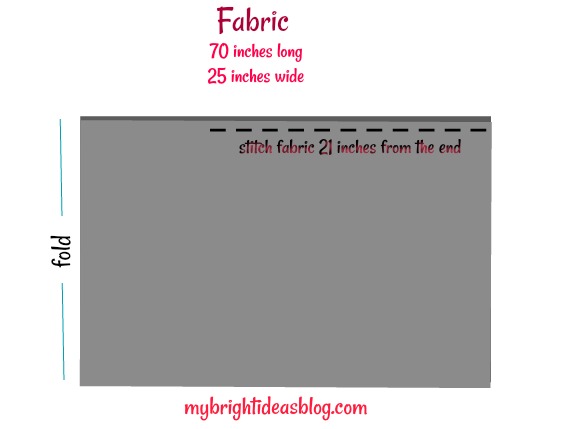
With the fold on the left, measure 21 inches from the right edge of the fabric and pin it together along the top edge.
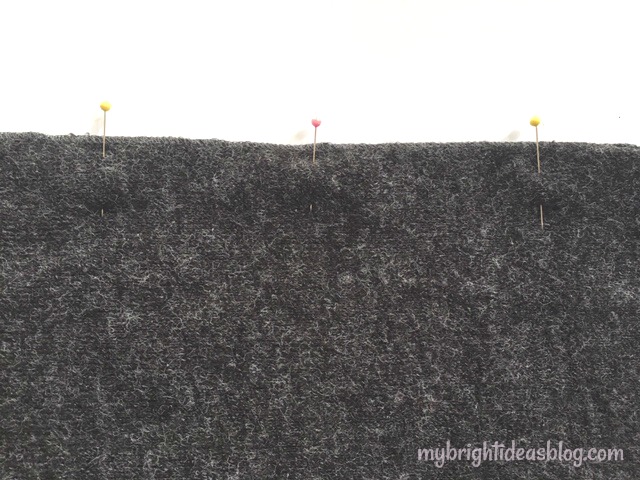
Leaving 14 inches for your neck hole, sew the remaining 21 inches. This is the one seam that you need to sew for this awesome poncho.
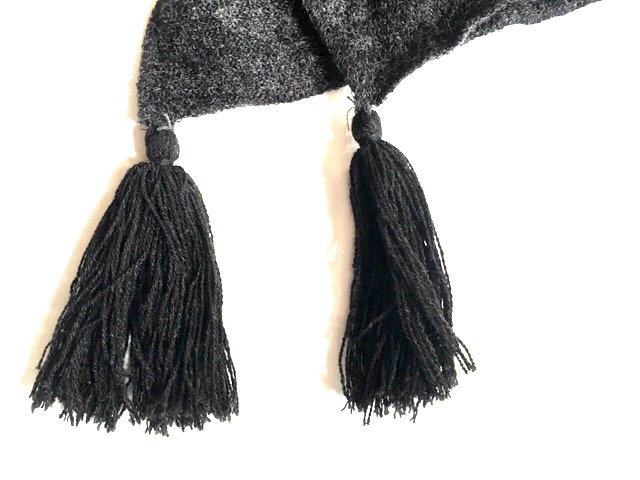
Now add on the tassels-by hand stitching them onto the bottom right corners. This is completely optional. If you don’t have purchased tassels you can skip it. I will make a post about making a tassel soon and link it to this post.
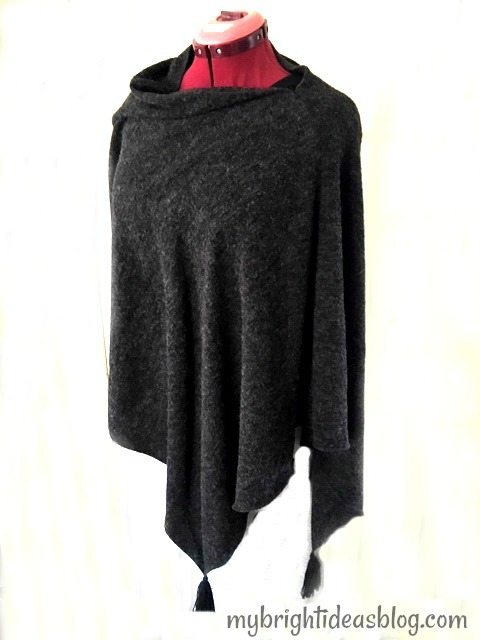
That is all there is to it! This poncho will look great with jeans and boots or dress it up for fancy occasions. If your office is chilly you could have one of these in your desk drawer. You should make a few!
Thanks for reading this post and I hope you will share it with your friends by social media or Pinterest.
Sew a Super Easy Fleece Poncho-Simple Starter Sewing Project
Make a Fleece Tied Blanket – Easy No Sewing
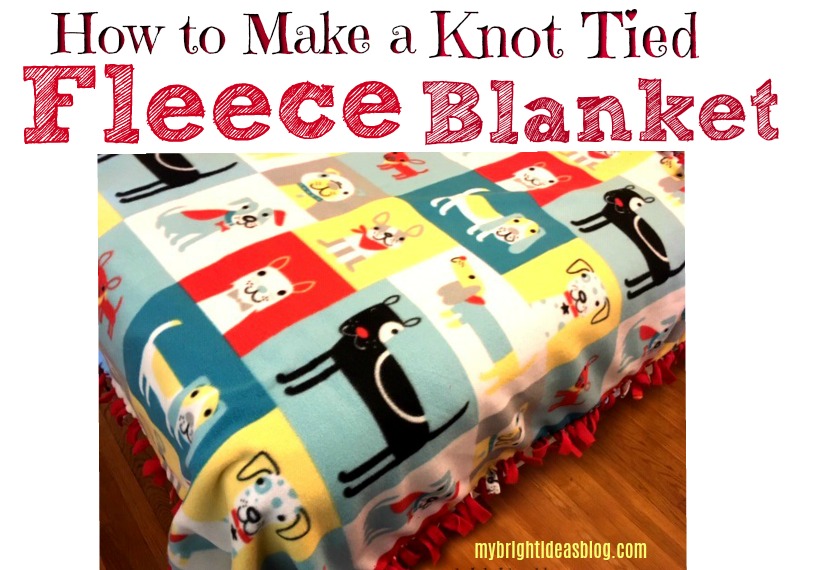
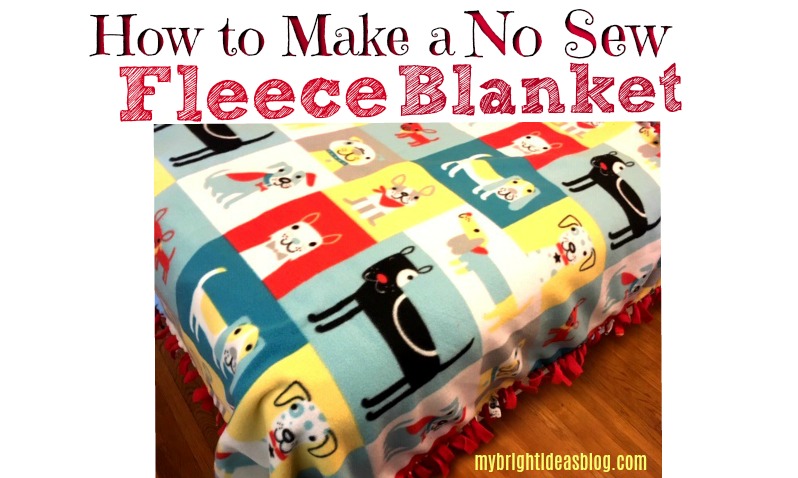
The No Sew Fleece Blanket

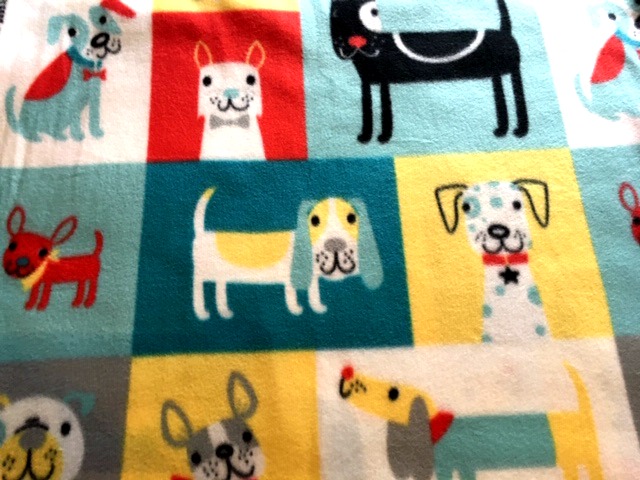
My daughter loves dogs so when I saw this fleece at Joann Fabrics-I grabbed it. It’s so cute wish I had gotten more to make a dog pillow or bed.
I prefer my fleece blankets to have a pattern on one side of the blanket and a co-ordinating color on the back. I chose a bright red to be the second color to match this awesome dog fabric.
To make this project you will need:
- fleece fabric in 2 co-ordinating colors. I had mine cut to 55 inches long
- scissors or rotary cutter and mat
- ruler or tape measure
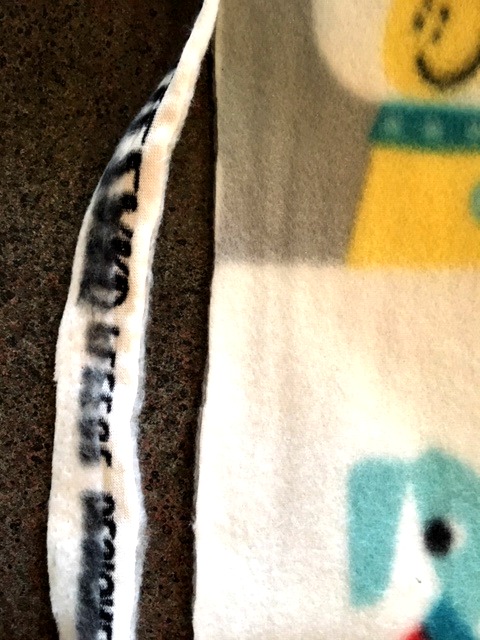
Fleece fabric often has one side with writing and the other side will be curled. Start by trimming off these rough edges.
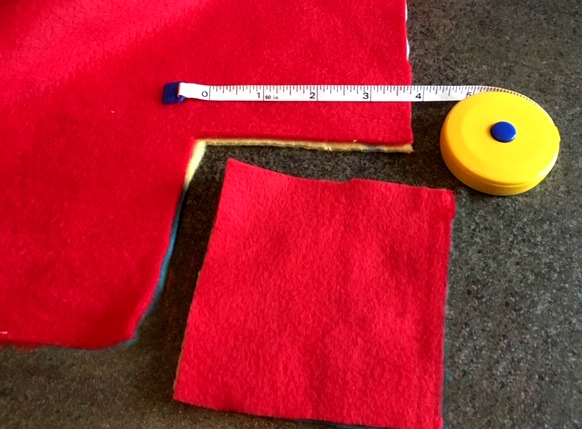
Lay the fabric on the floor-you need a huge workspace. Stack the two layers of fabric on top of each other and make sure it is a perfect match. If one piece is slightly longer, trim it.
When it’s as close to perfect as you can get it, trim off 4 inch squares off of each corner.
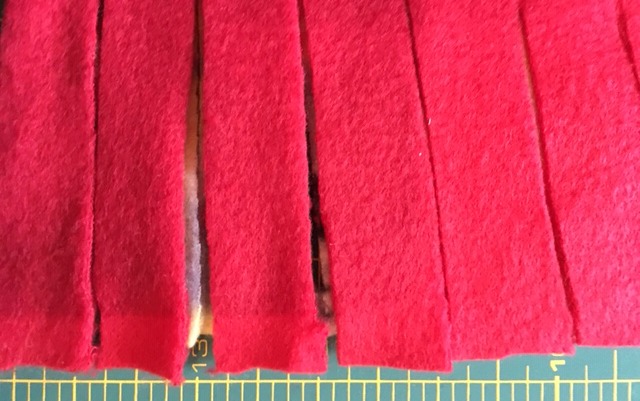
Without moving the fabric, cut the edge of the fleece into strips 1/2 wide, 3 inches long. Cut each strip through both layers of fabric.
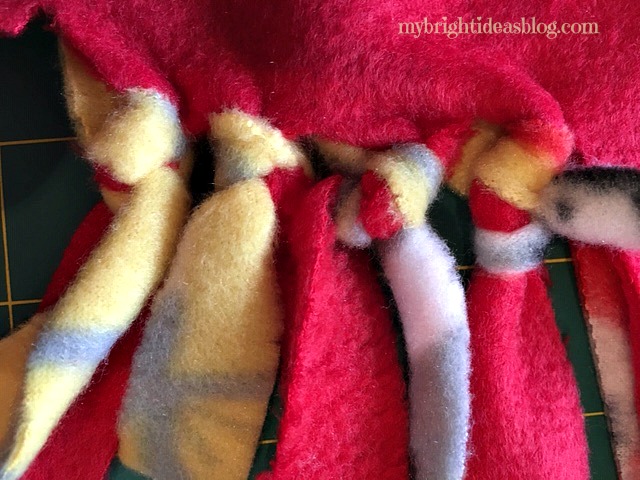
Take the fabric strip from the top layer and the bottom layer and tie them together to make knots. Do this on every single strip. Make sure you match the top to the bottom to catch every single ribbon.
This is a slow process so turn on a movie if you get bored.
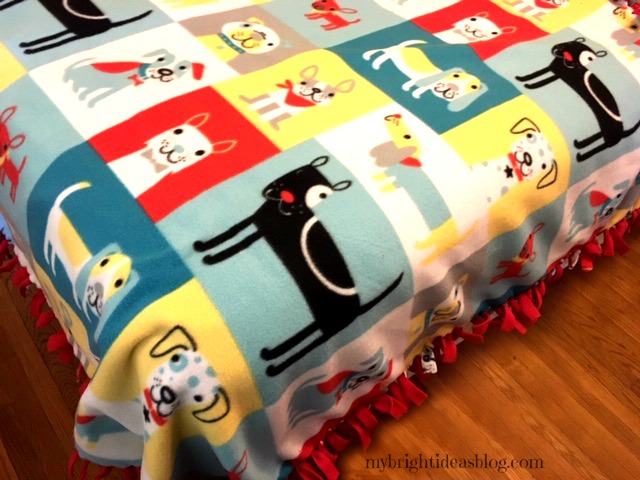
Cutting and knotting is a long and slow process but that is literally all there is to it. It’s so crazy easy to make, the kids could do it.
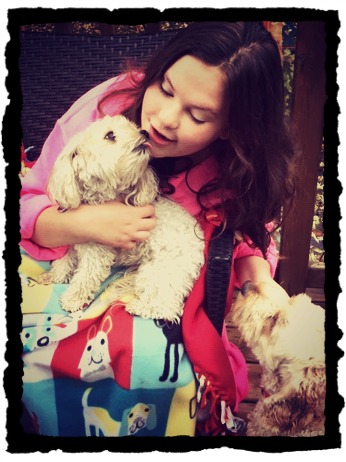
This girl loves her furry siblings so much! Look at these pooches, the feelings are definitely mutual!
Gemma is always up for a photo shoot for momma’s blog posts.
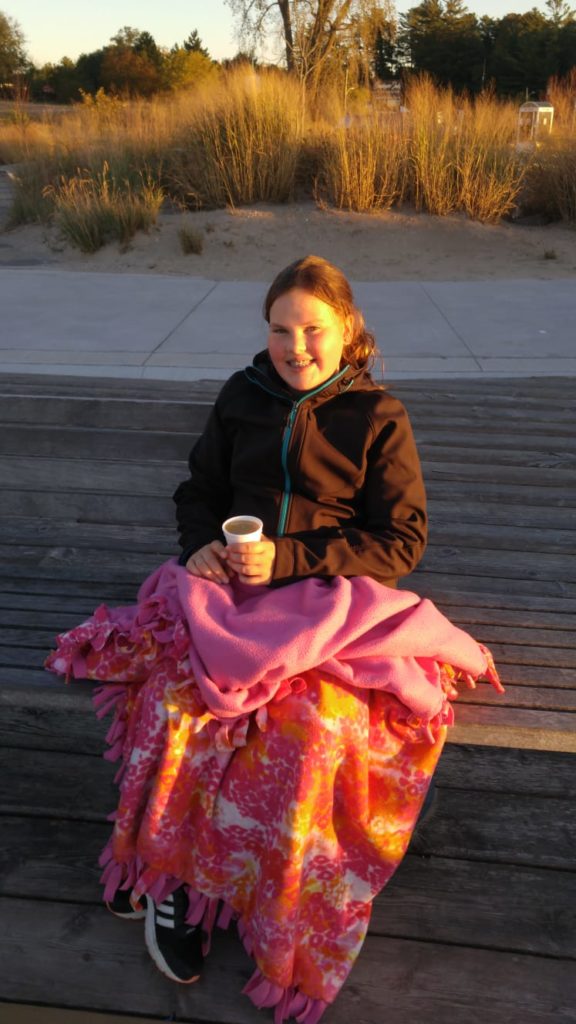
Now you have a cozy blanket to take in the car, campfire, couch, bed, deck chair or beach….you should have a few of these as the weather gets chilly.
Thanks for visiting my website! I’d love it if you would Pin this on Pinterest or share it with your Facebook friends or other social media.
See you again soon!
More cozy fleece projects below!
Easy to Make Fleece Hat with Flowers – Simple Sewing Project
Sew a Super Easy Fleece Poncho-Simple Starter Sewing Project
Easy to Make Fleece Hat with Flowers – Simple Sewing Project
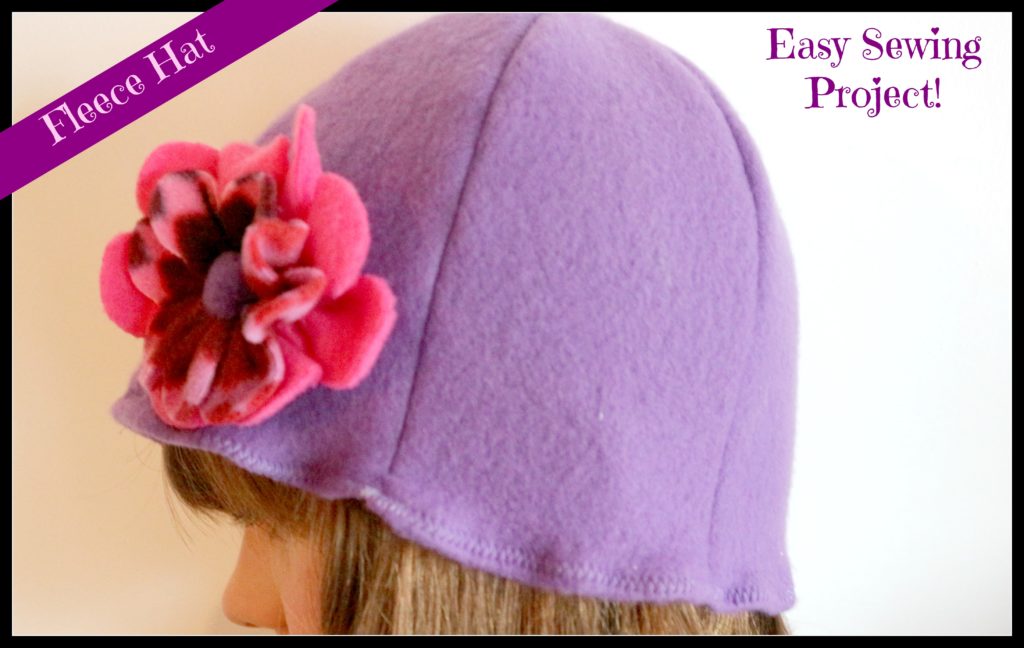
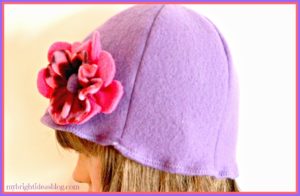
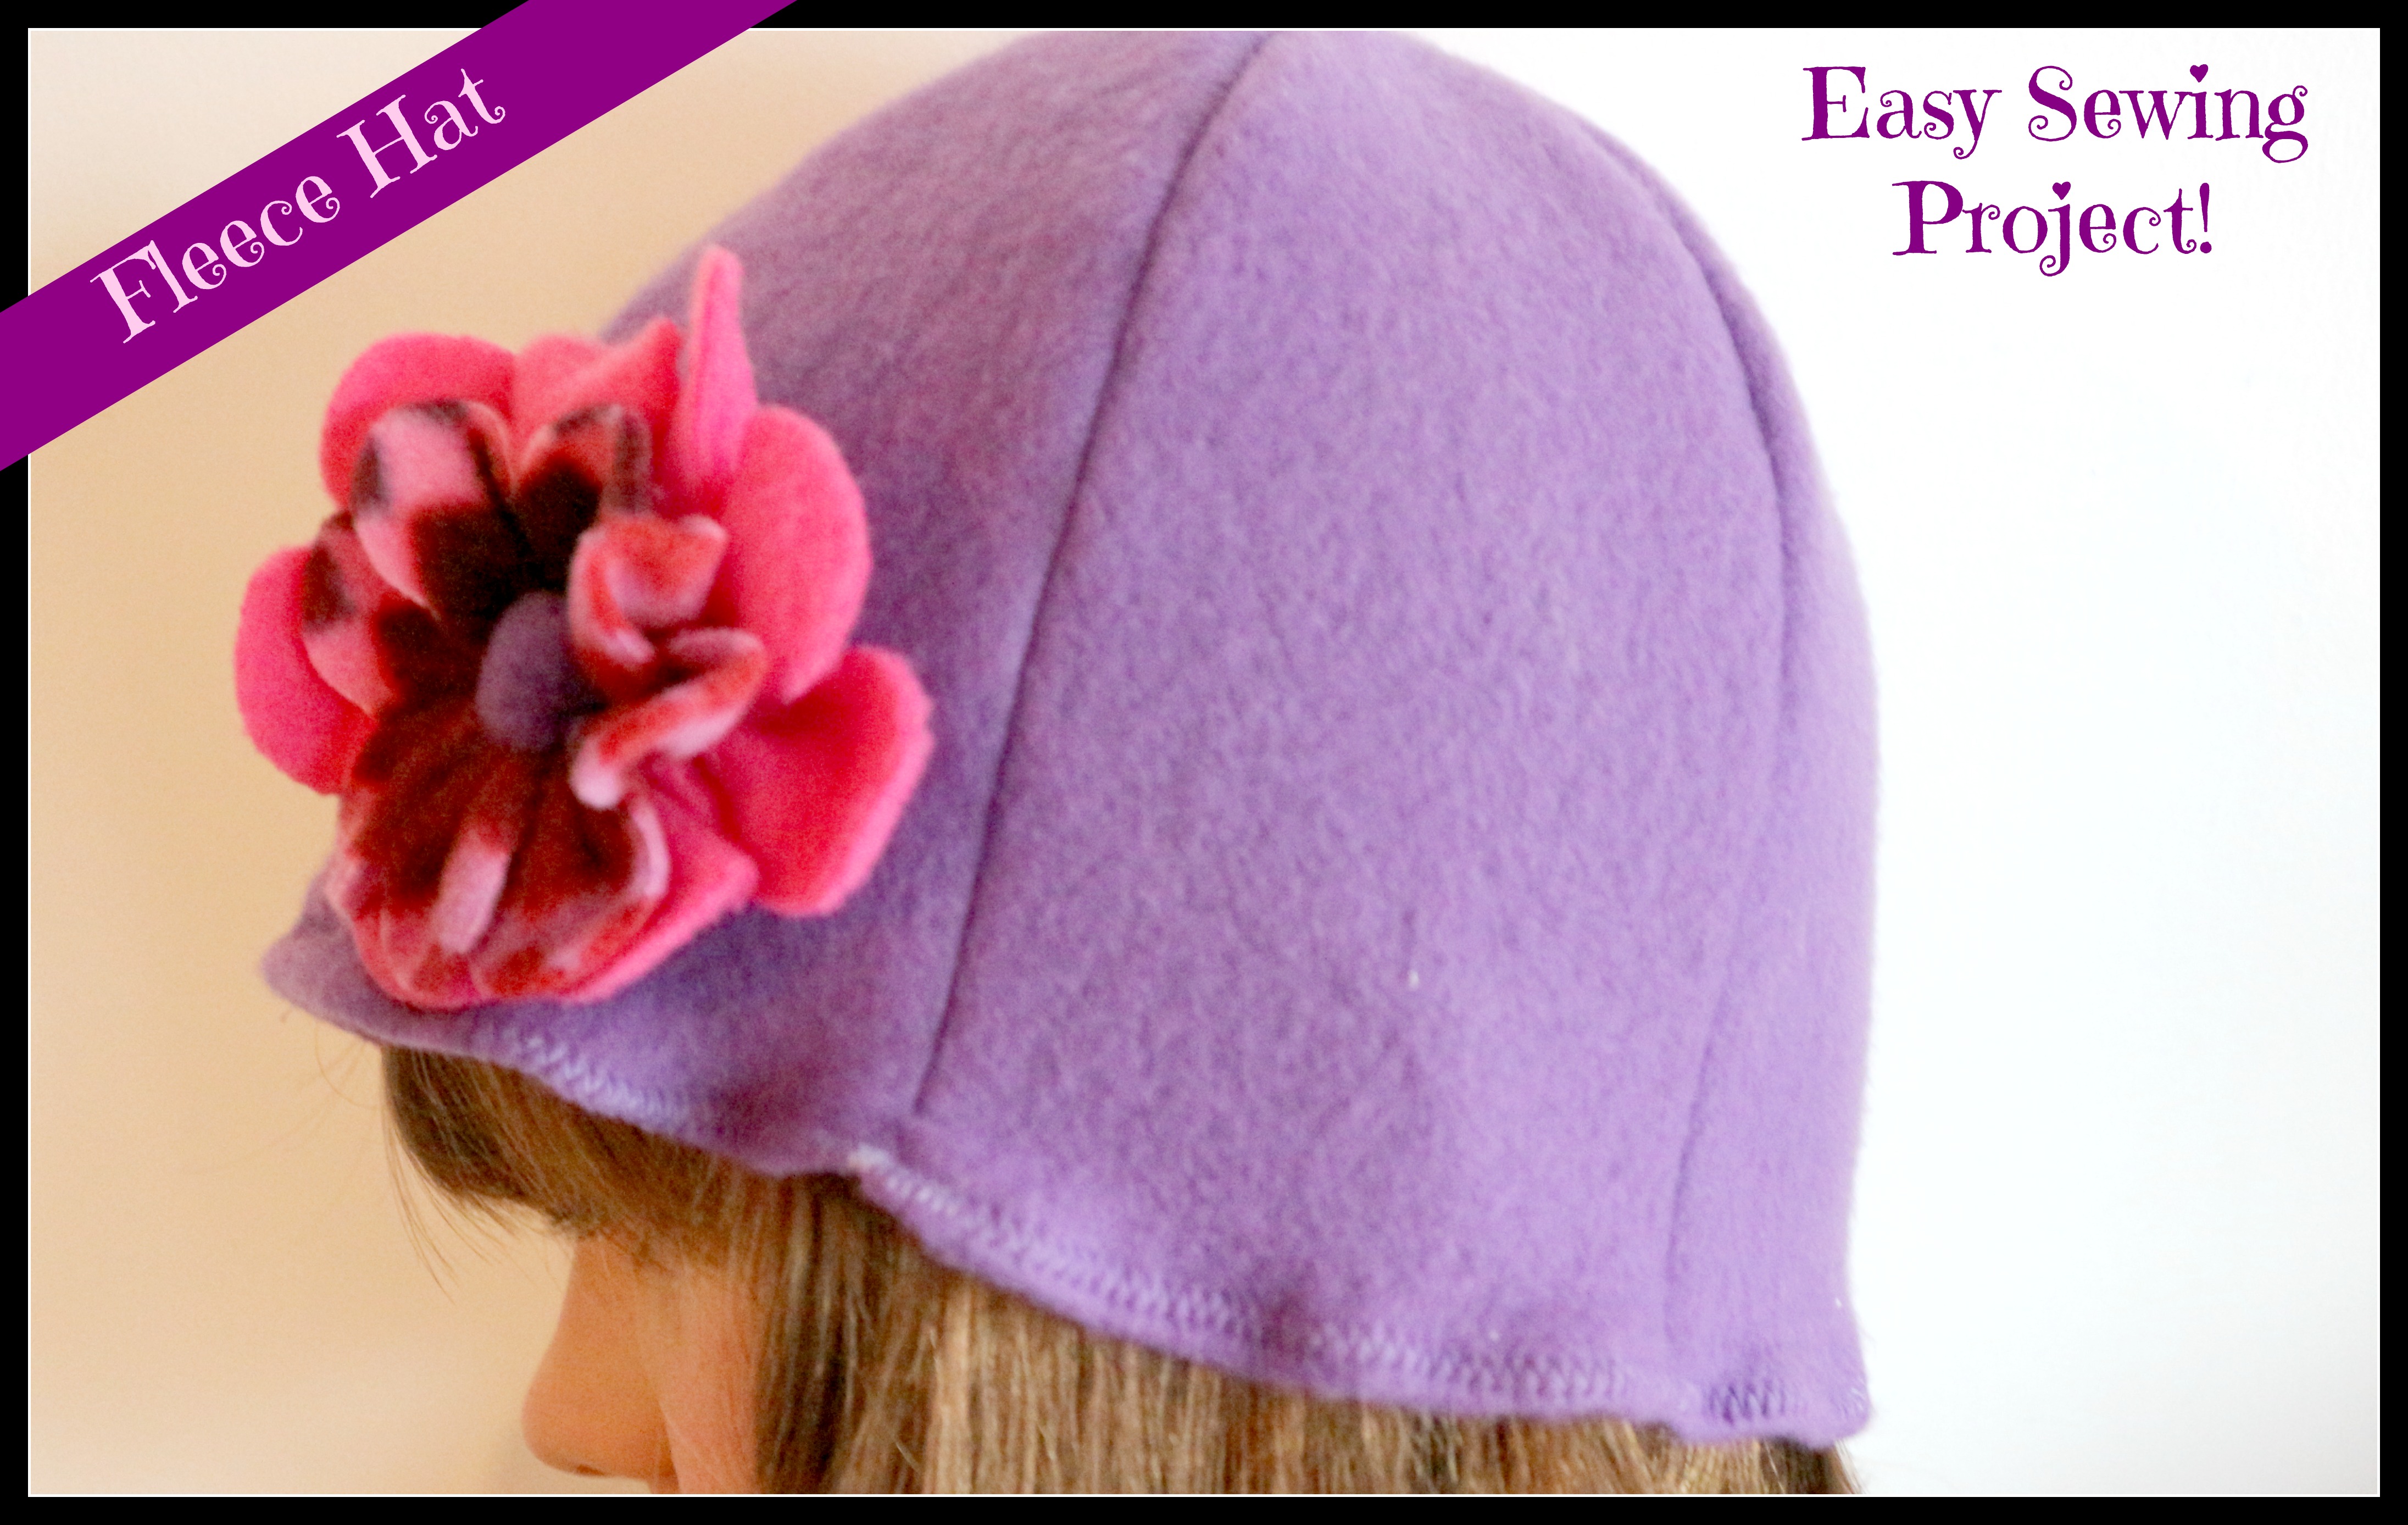
This fleece hat project is so easy and fast! You’ll have a new winter hat done in 20 minutes. Then I will show you how to make a simple flower applique. The weather is getting chilly now so this is just the thing to make for yourself or a gift for someone else.
You will need:
- a small amount of polar fleece fabric (10 x 26 inches )
- scraps of fleece from other projects in co-ordinating colors (1-2 inch wide x 12 inches long)
- sewing machine
- scissors
- needle and thread
This hat is made up of 6 long triangle panels.
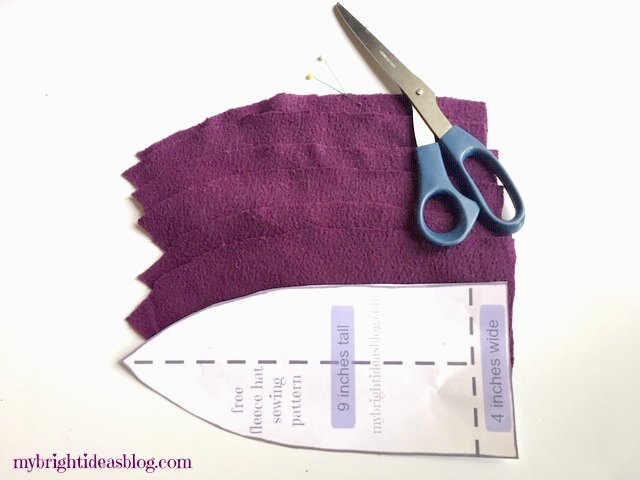
Cut 6 identical pieces from the template below out of fleece.
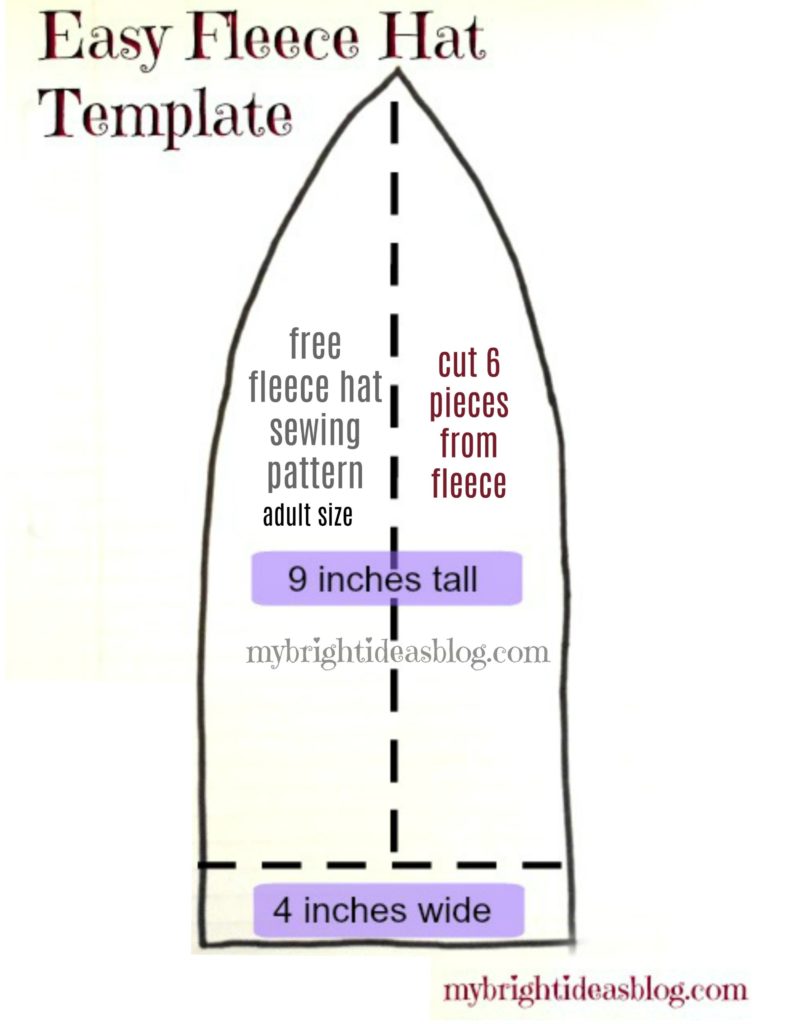
Right click on the photo above and save to your computer. This should print out to the right size on regular 8.5 x 11 computer paper.
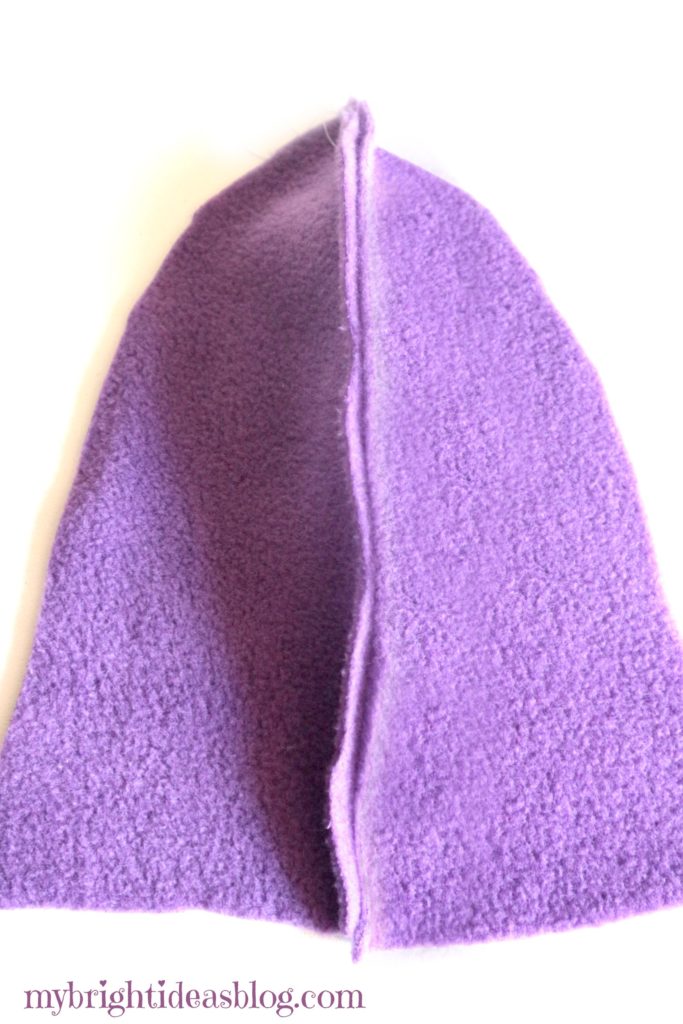
Sew the first 2 pieces together (with right sides together).
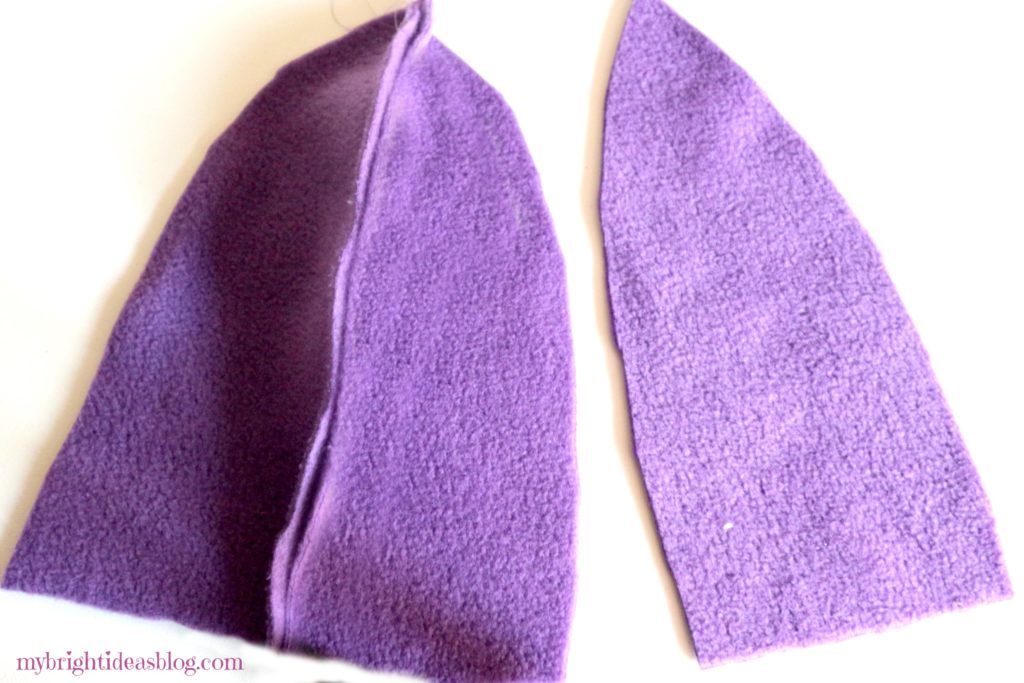
Pin the third section of the hat in place next to the first two pieces and sew it. After the three pieces are sewn together set this aside.
Repeat these steps with the other 3 sections.
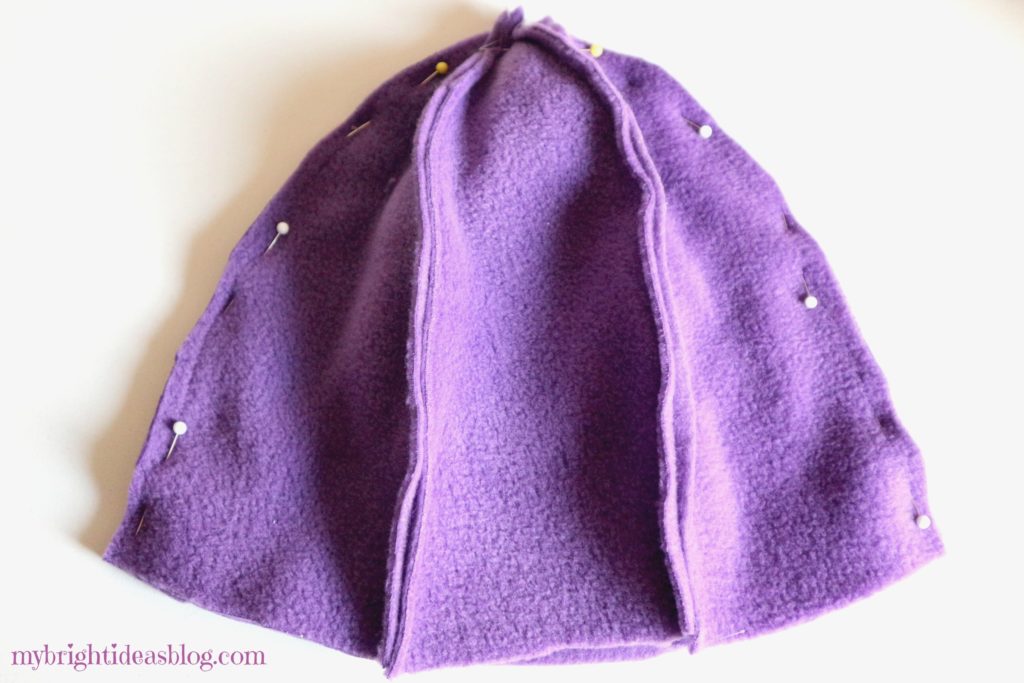
With the right sides together, pin these two halves together. Sew all the way around the top.
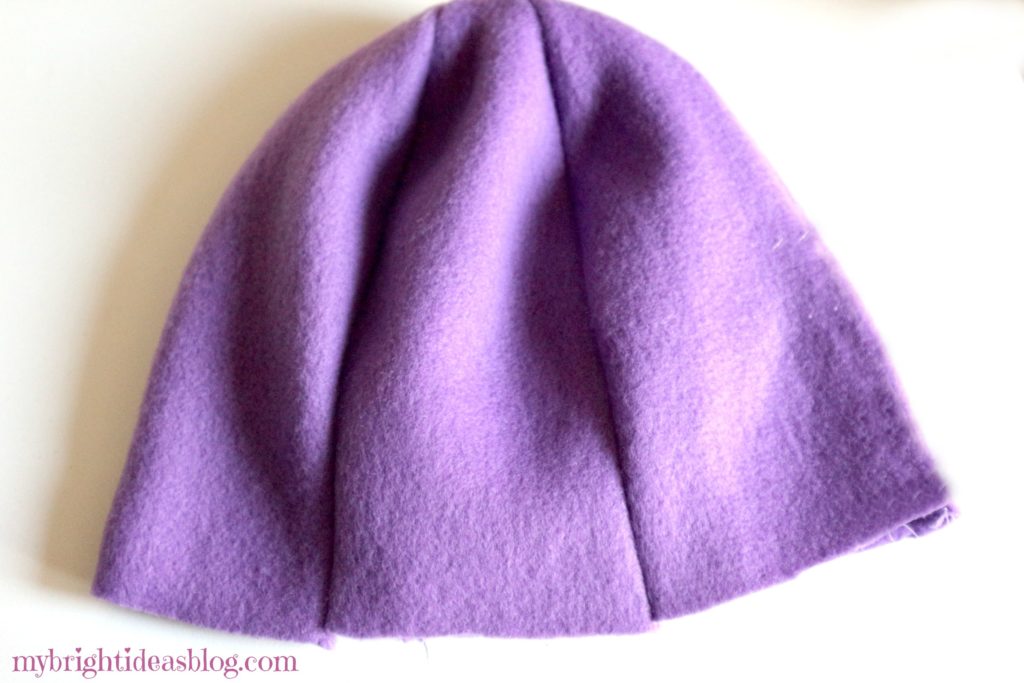
Turn the hat inside out and try it on. Determine how wide the hem should be. If the hat seems too long for you, simply cut 1/2 an inch off the hem and try it on again. Fold the bottom inwards to hem and pin in place.
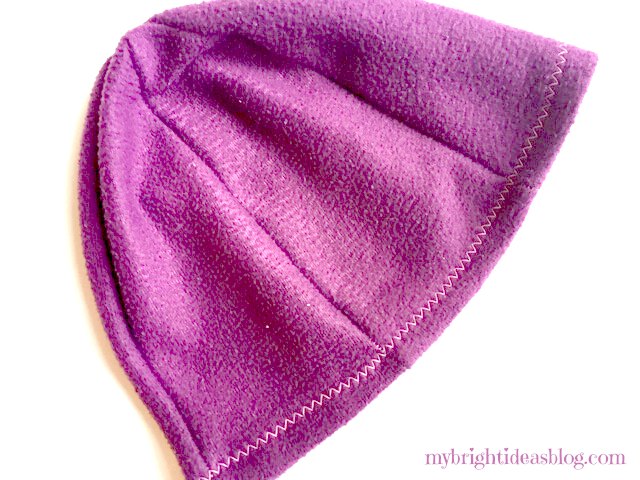
On this hat we folded the bottom over 1/2 inch and did a zig zag stitch all the way around. When your fold is wide, your zig zag hem lays flat. As the photo above shows.
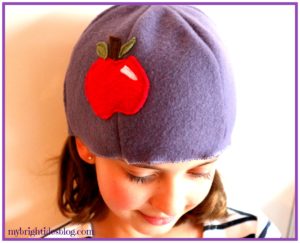
On these three photos of my daughter wearing different hats – the hem was shorter so the zig zag stitch was closer to the edge and it did look quite wavy. I like both ways.
The Flower Applique
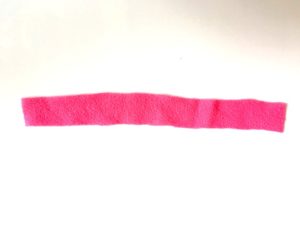
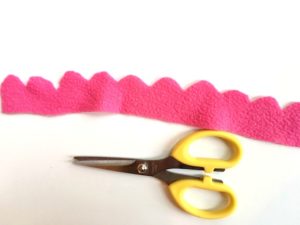
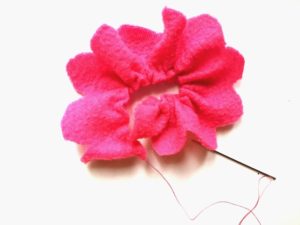
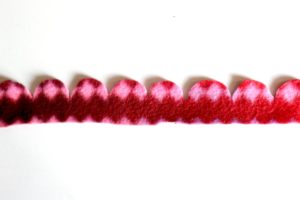
We cut a strip of fleece 1 and 1/2 inches wide by 12 inches long. Then carefully cut a rounded pattern to make the flower petals.
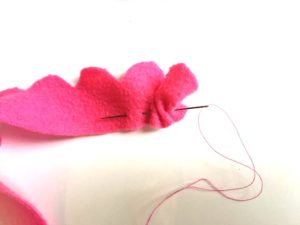
Thread a needle with a knotted length of thread and begin to do a loose baste stitch across the bottom of the petal strip of fleece.
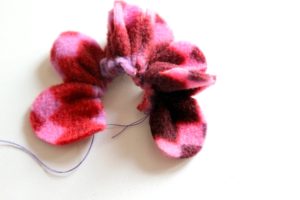
Gently pull the thread to gather the pleats. Set this part of the flower aside for now.
Cut another length of fabric 1 inch by 12 inches long. This will be an inner layer of petals so its a bit shorter than the first. Baste this as we did with the previous flower petal section. Pull the thread to gather the fabric and set this aside too.
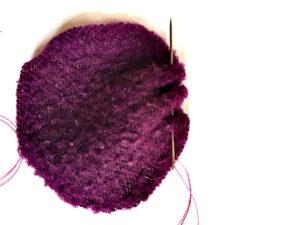
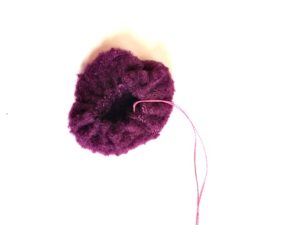
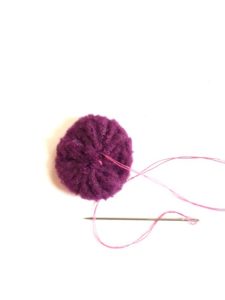
For the centre of the flower cut a circle 2 inches in diameter. I traced the vitamin bottle to make the circle. Baste around the circle and pull the thread to gather the edges. When it’s pull closed put a few stitches to keep it tight.
Adding the Flower Applique to the Hat
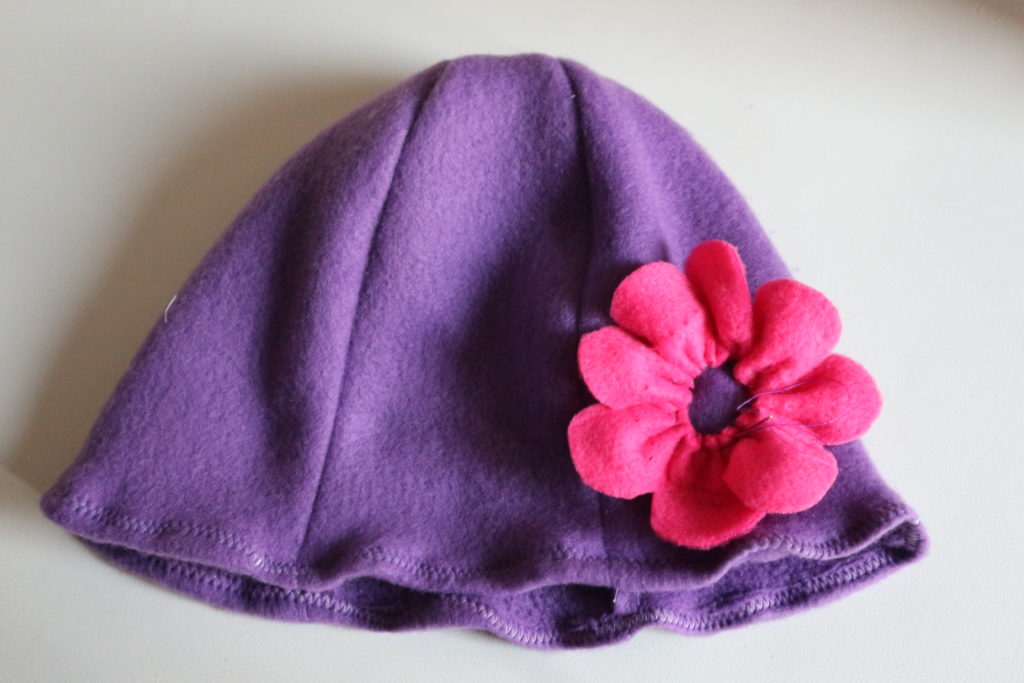
Attach the pink petals to the hat with a few stitches. As you sew this on you can adjust the petals to the desired size of the flower. Next add the inner layer of flower petals into place and stitch that into place. Lastly, sew in the centre piece, with the gathered part facing the hat. Secure this and your hat is done!
I hope you get a chance to try this easy sewing project. I’m working on making pattern sizes for children and babies. I hope to add these to the post too.
Pin or share this with your favorite social media!
Sew a Super Easy Fleece Poncho-Simple Starter Sewing Project
Sew a fleece snood-neck warmer in just minutes!
DIY Sew a Fleece Neck Warmer (Scarf Alternative) Snood
At the school my kids go to they prefer the children do not wear scarves for safety reasons…preventing a playful accidental strangling sounds like a good idea. In my part of Canada (eh!) we need our necks covered when its bitterly cold. So this neck warmer is a create idea for everyone in the family. Its ideal for toddlers though and their skill level and patience with getting on their winter gear.
This link will bring you to my instructions for the hat in this photo-it has a hole in the end so your pony tail can enjoy the outing too… http://mybrightideasblog.com/make-fleece-hat-wear-pony-tail/
So lets make us some Neck Warmers!
You will need:
- 2 pieces of fleece
- sewing machine
- pins
- scissors
Adult 25 inches x 9 inches
Toddler ages 1-3 years old 21 x7 inches
Child 4-9 years old 23 x 8 inches
10 years old to Adult 25 x 9 inches
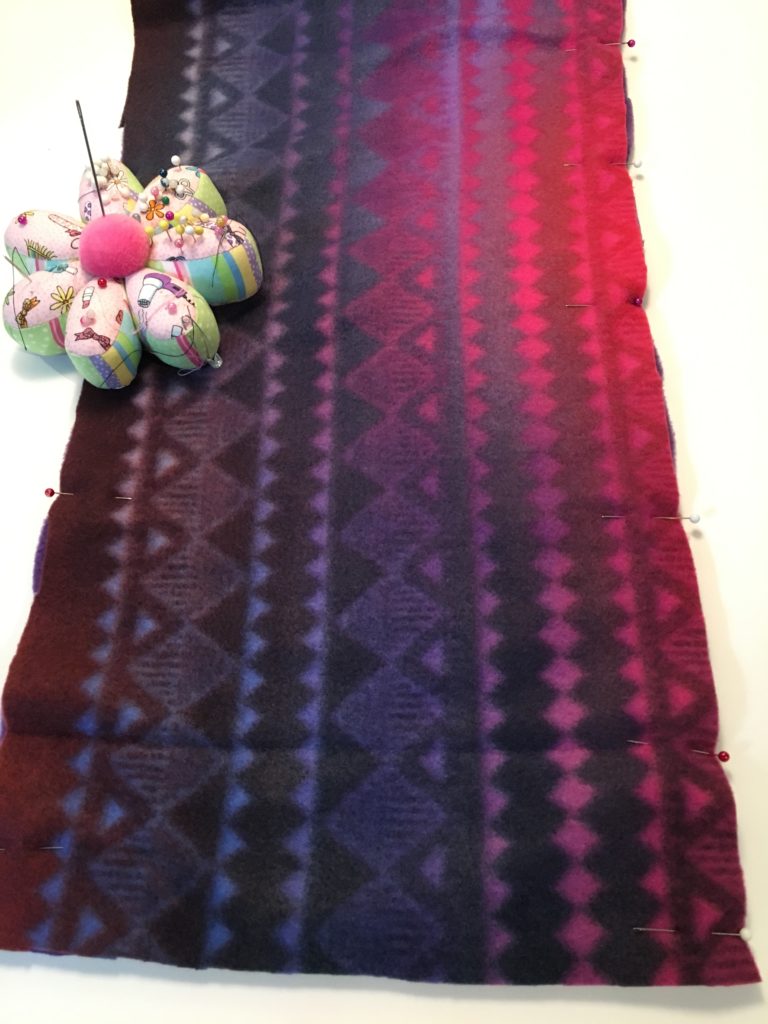
Cut 2 pieces of fleece to size. It can be all one color of fleece or 2 colors that compliment each other. We used the pattern fabric to match her hat and purple fleece for the inside.
Make sure the stretchy-est direction is going lengthwise.
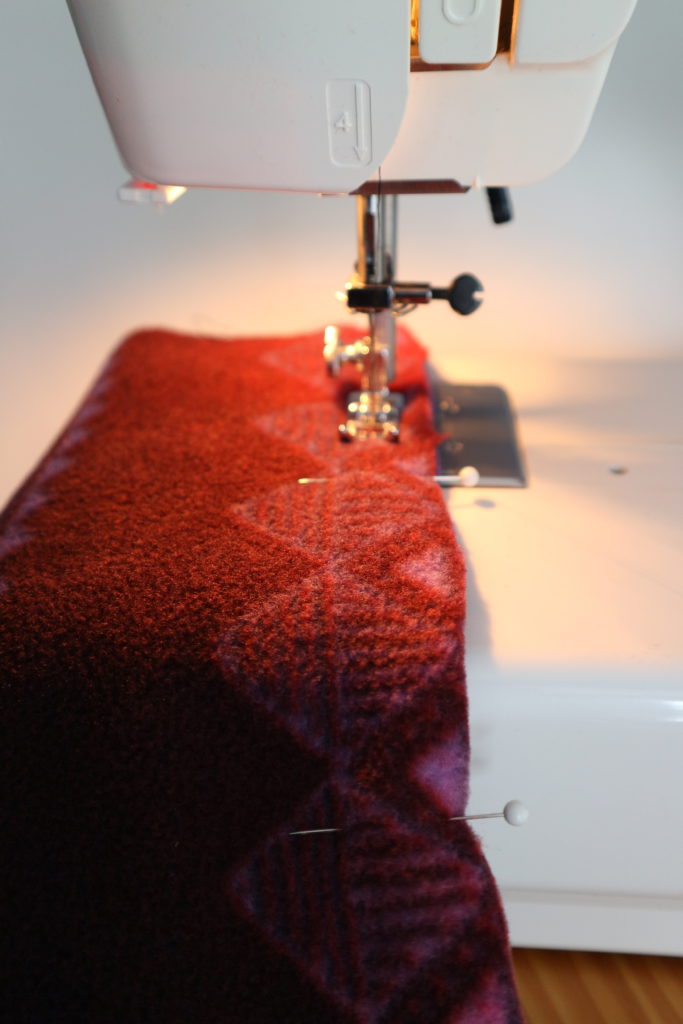
Sew a straight seam on both of the long sides of the fabric.
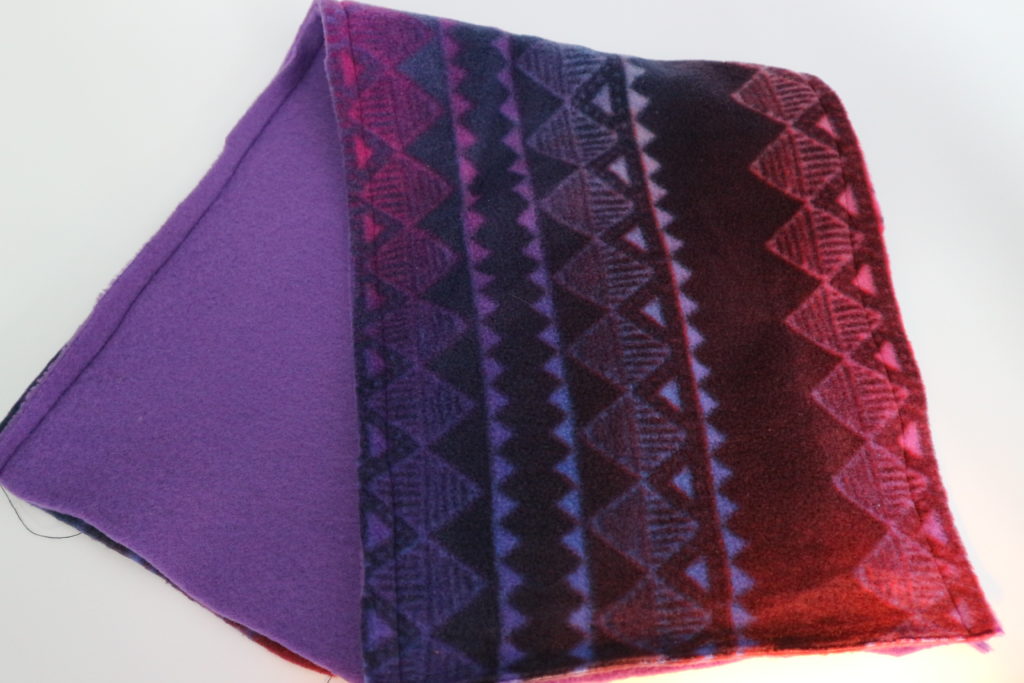
Place the right sides together and stitch down the long sides of the fleece.
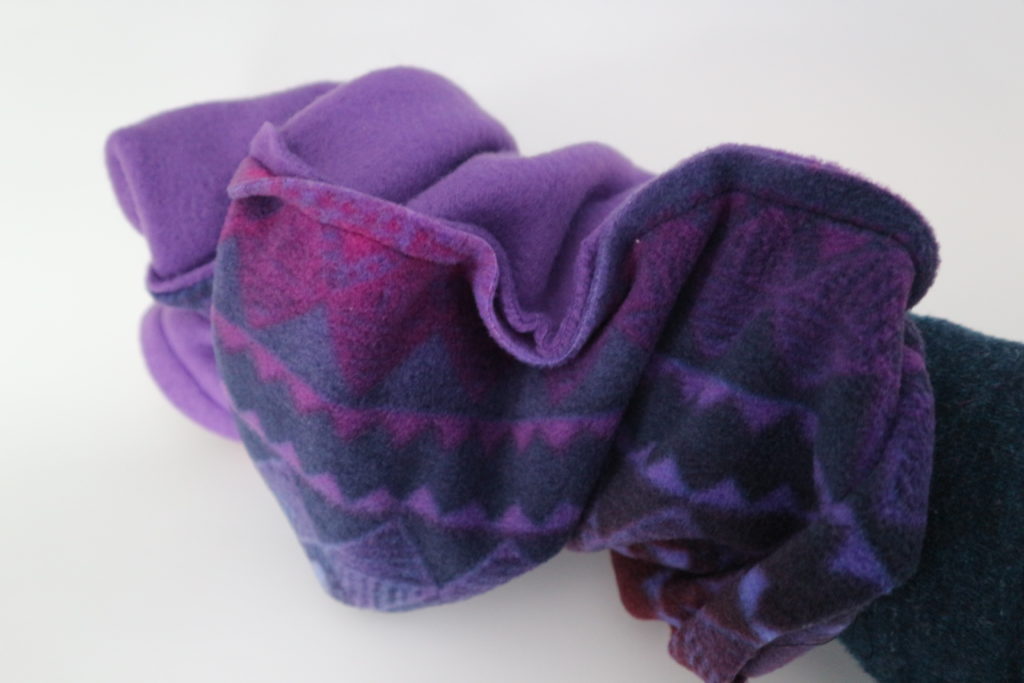
Reach in and grab the end and pull it halfway through the tube. You are pulling one end into the other so its now half the length.
Match up the end seems and pin. Then pin all the way around the opening.
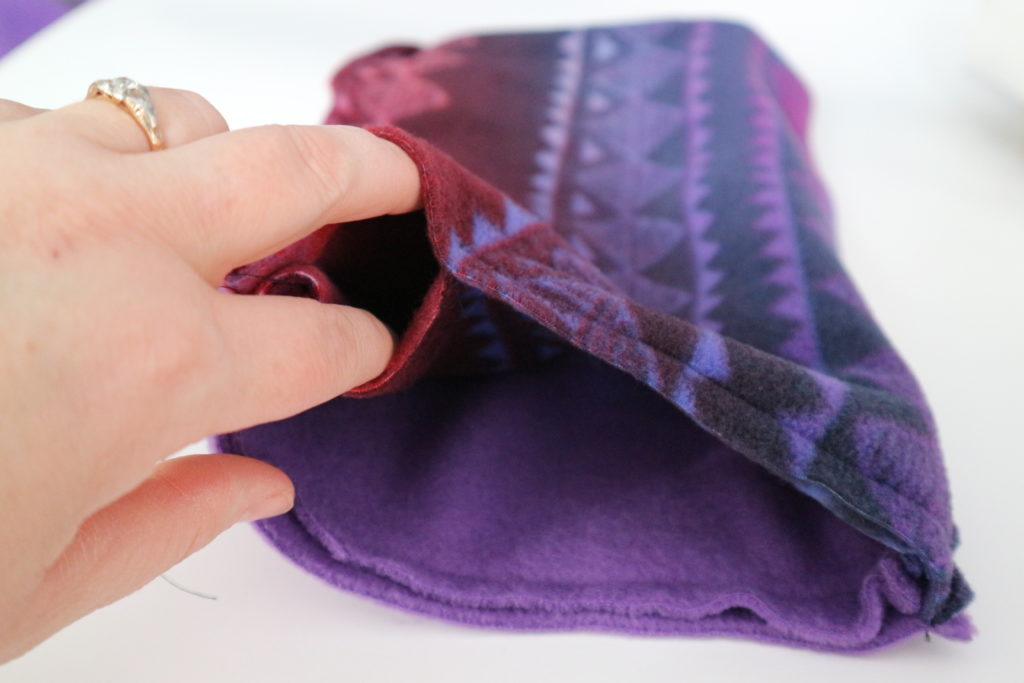
Sew these ends leaving an opening of 2 or 3 inches so you can turn it right side out by pulling everything through the hole.
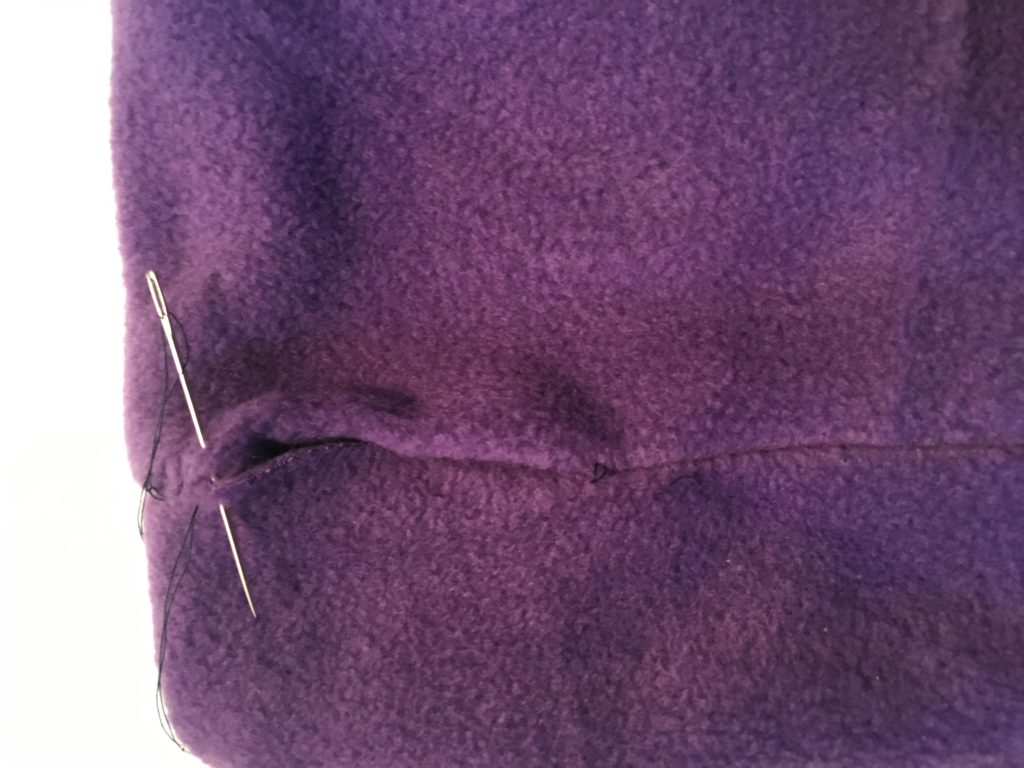
Once you have it right side out…sew the opening closed with a bit of hand stitching.
Voila! Anyone can make a neck warmer in an easy 10 minute project. This is an easy project to have your children do with you.
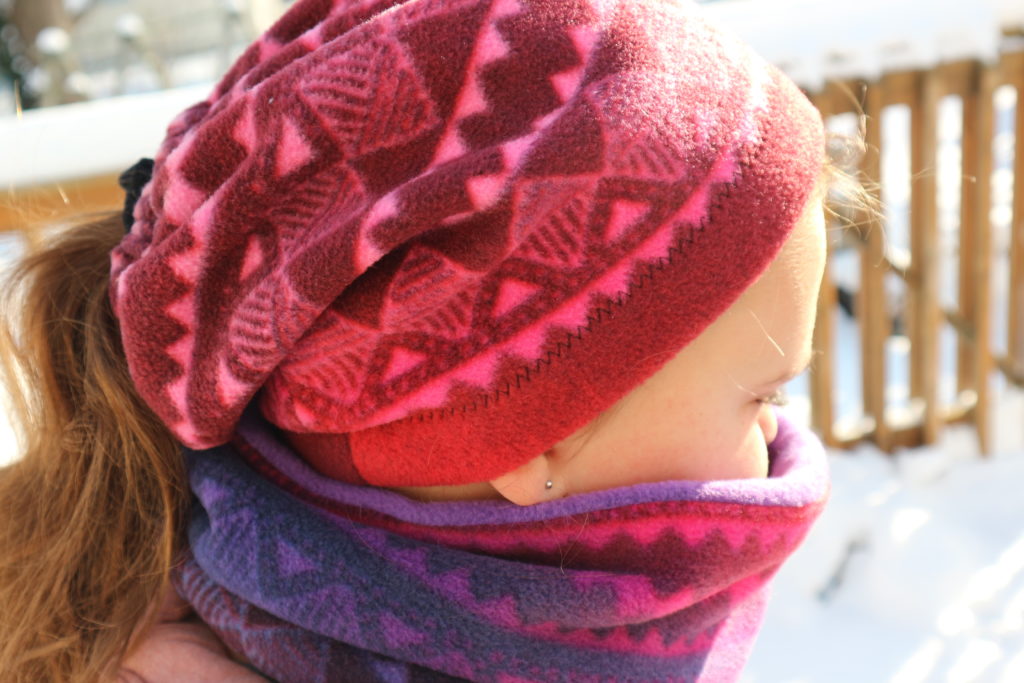
Also if you don’t live in the bitter north and want a scarf but not so warm make it out of a t-shirt fabric. Better yet make it out of an old t-shirt. Use up your scraps of fabric. I love this sort of thing for camping in September when its pretty chilly at night.
Make a Fleece Hat to wear With your Pony Tail

Pony Tail Fleece Hat
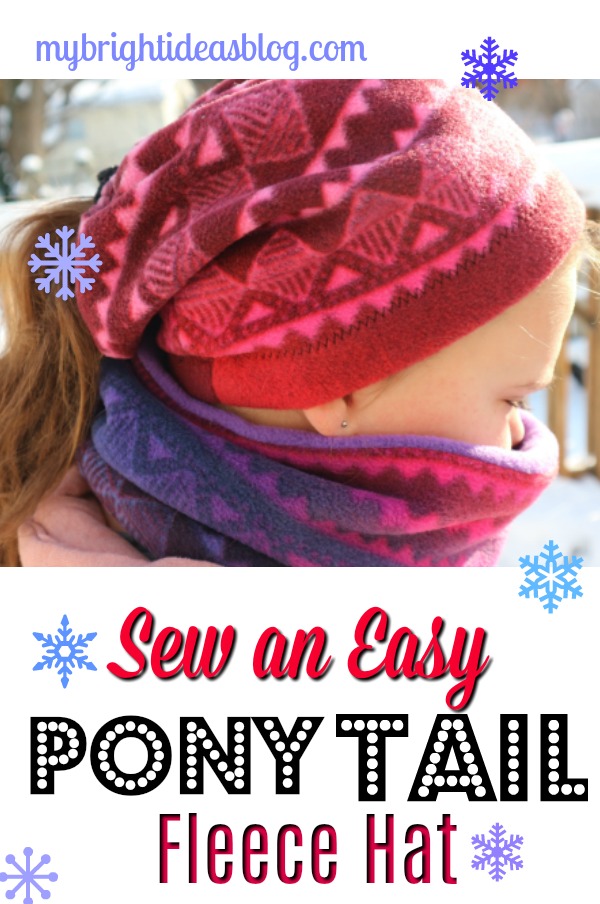
For gals with a pony tail you have quite the dilemma when you need to pop on a hat to go outside. To avoid a big lump on the back of your head we will make up a Fleece Winter Hat that has an elasticized end that allows you to pull your high pony tail or your messy bun out the top.
The cozy scarf/snood shown in the photo below is just as easy to make….just follow this link.
Let’s Get Started!
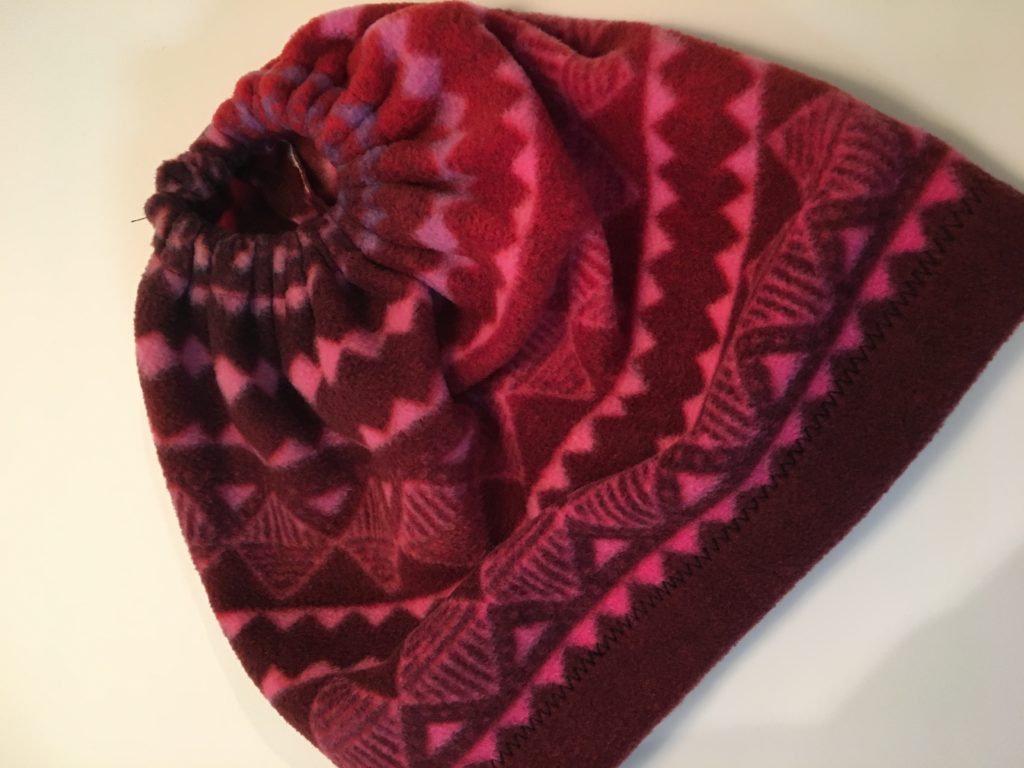
You will have this hat sewn up in 15 minutes! This is a great first sewing project if you are new at this or if you have a youngster you would like to teach how to use the sewing machine.
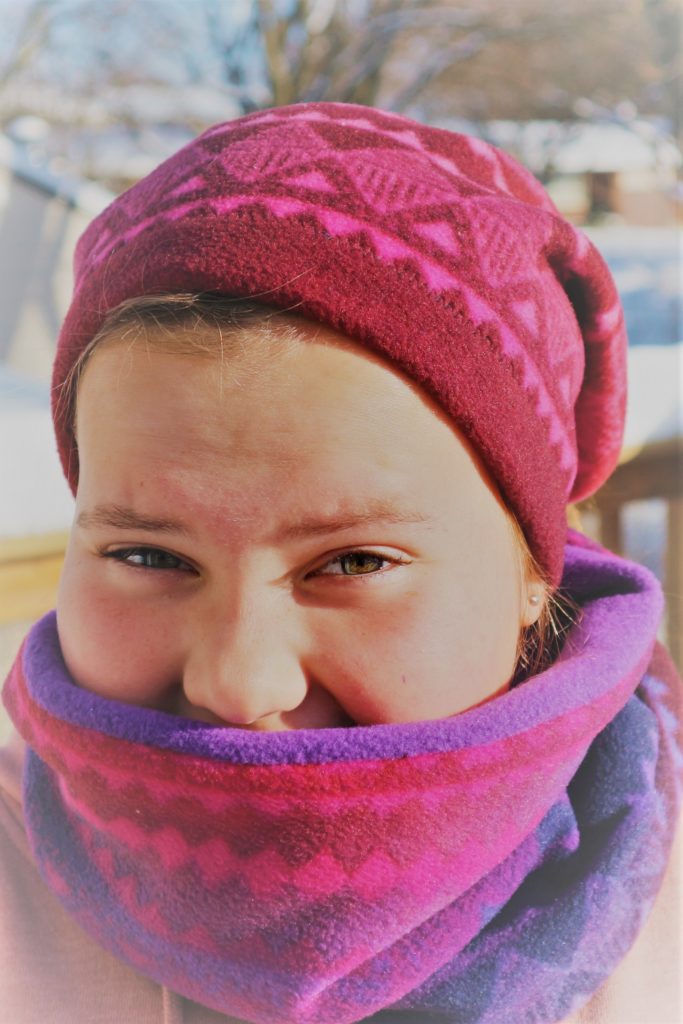
View from the front!
Let’s take a moment to give a shout out to my hat model Miss B. She was cold…those eyes are smiling but also pleading to get back inside!

View from the back! It’s a little slouchy and super easy to pop your pony head out of the back.
You will need:
- Fleece fabric
- Elastic
- Safety Pin
- Sewing machine
- Scissors
- Thread
Fleece Fabric
Start by measuring your head and work out your size OR just go with the below suggestions. Fleece is a very forgiving fabric. If it’s too small it will stretch and if it’s a bit too big it will sit nicely on your head.
A young child size hat cut fabric to: 20 x 12 inches.
My 7 year old was 21 inches x 12 inches.
My 10 year old was 22 inches x 13 inches.
An adult size hat cut fabric to: 23 x 14 inches.
Hubby had a big head and he was 23 1/2 x 13 inches.
 This hat is for my 10 year old so we measured and cut a piece of fleece 22 x 13 inches.
Fold the fleece in half with the right sides together.
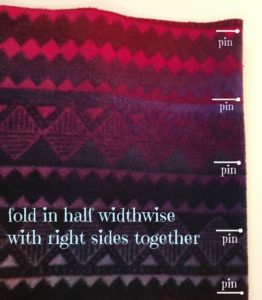
Pin the side and sew using a ¼ inch seem allowance.
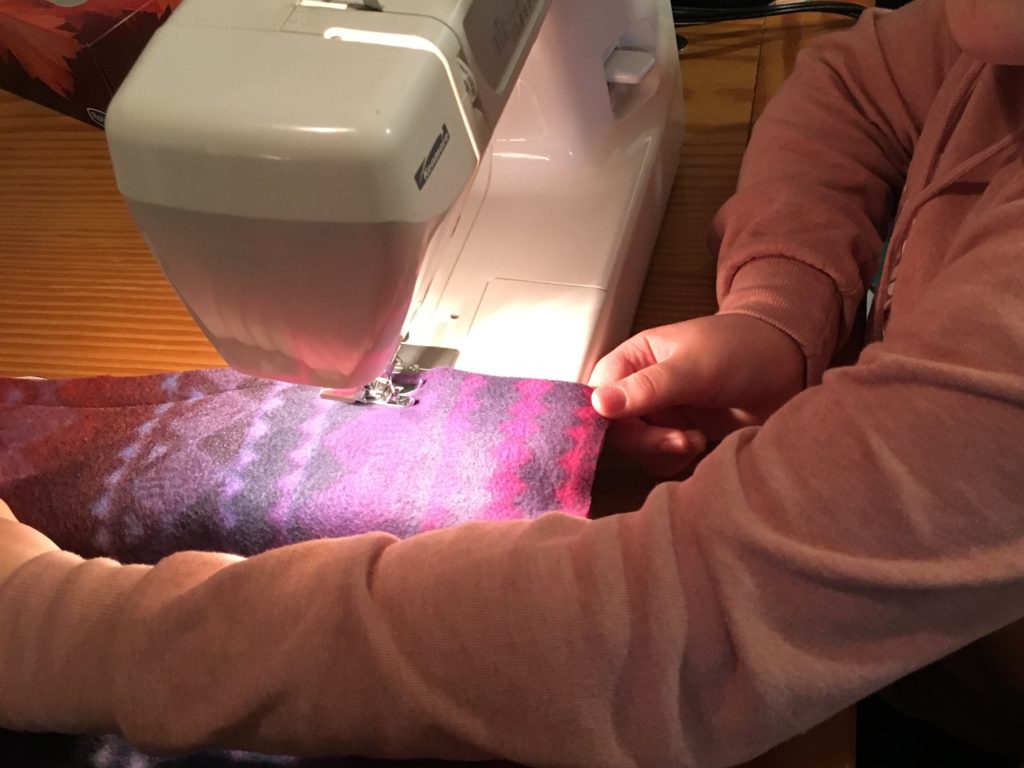
This is my 10 year old’s first time taking the sewing machine for a spin.
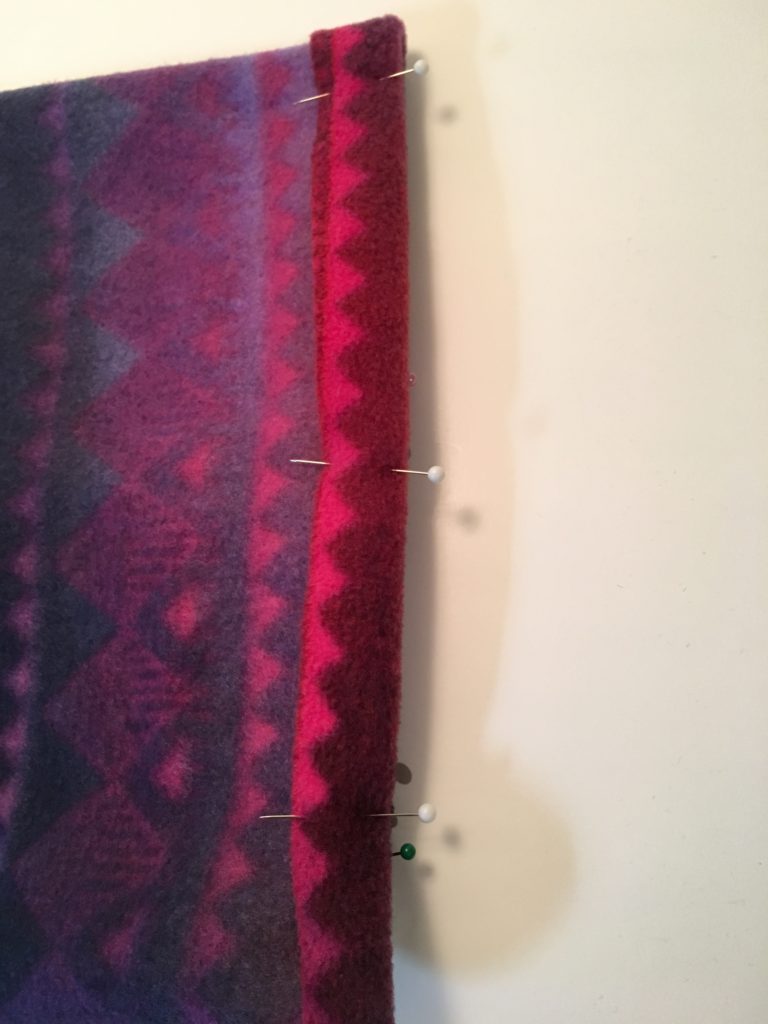
Fold over 1 inch on the bottom edge and pin. This will be the bottom edge of the hat.
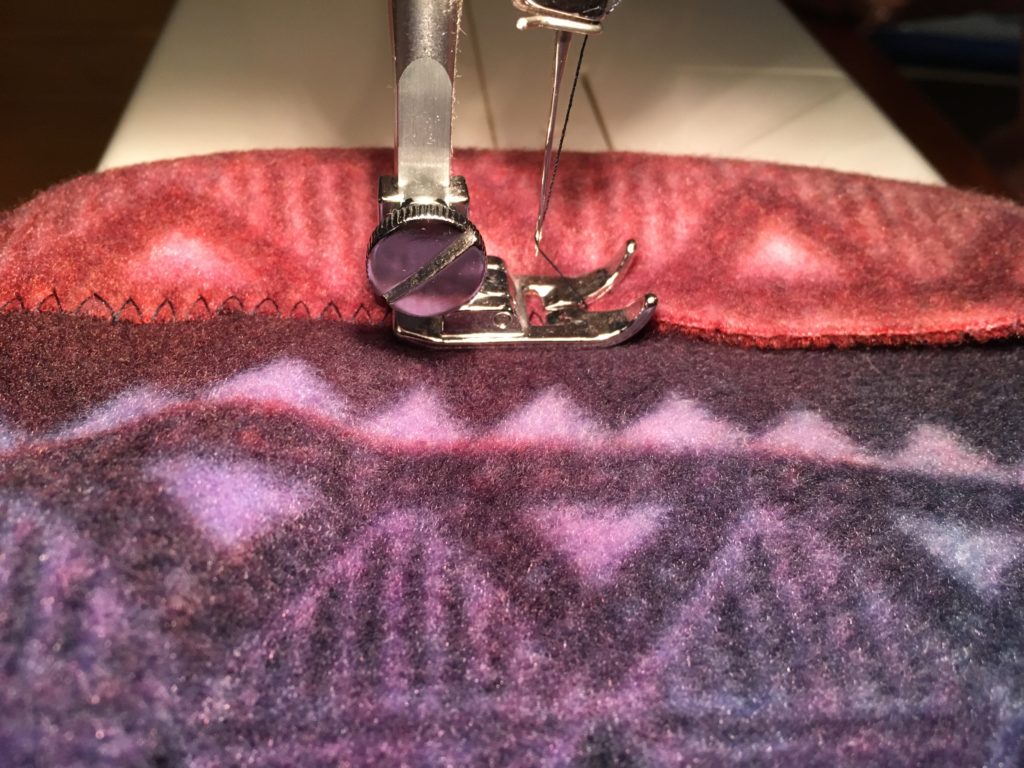
Fold the bottom cuff over an inch and sew over the edge with a zig zag stitch.
Again pin the edge of the other end for the top part of the hat.

This time we did a straight stitch and stop sewing before you get an inch from where you started to sew. This will be our elastic casing.
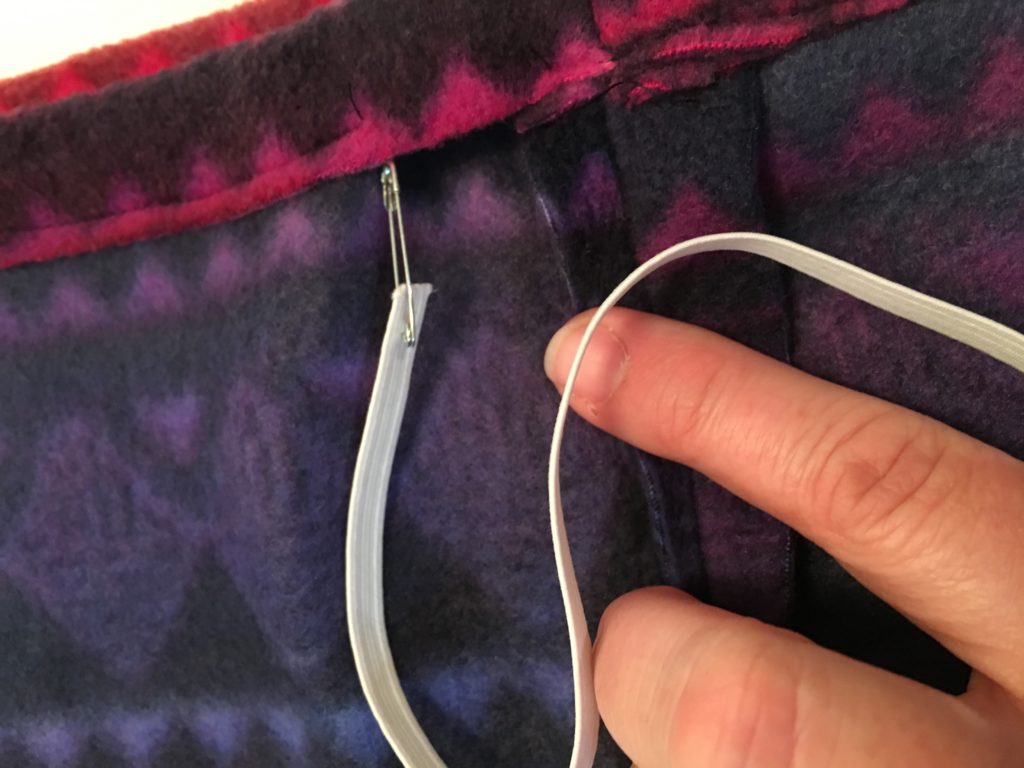
You will need a small piece of thin elastic but do not cut it to size until later. Pin the end of the elastic and use the pin as a tool to wiggle the elastic through the casing.
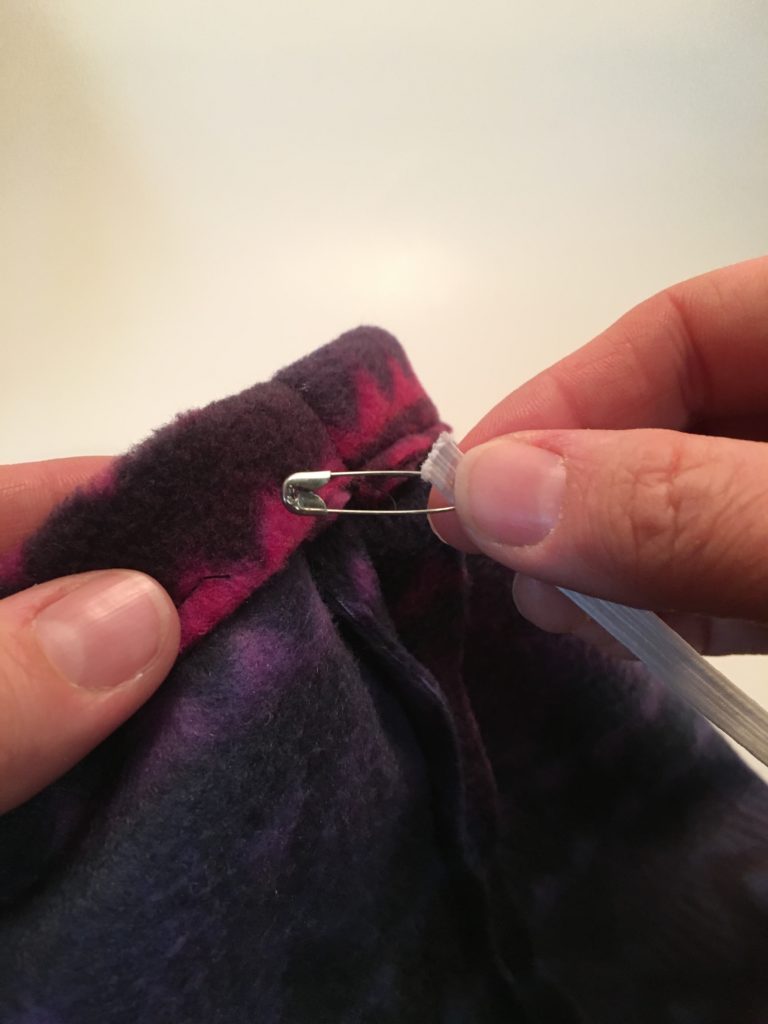
Slide the pin into the one inch gap.
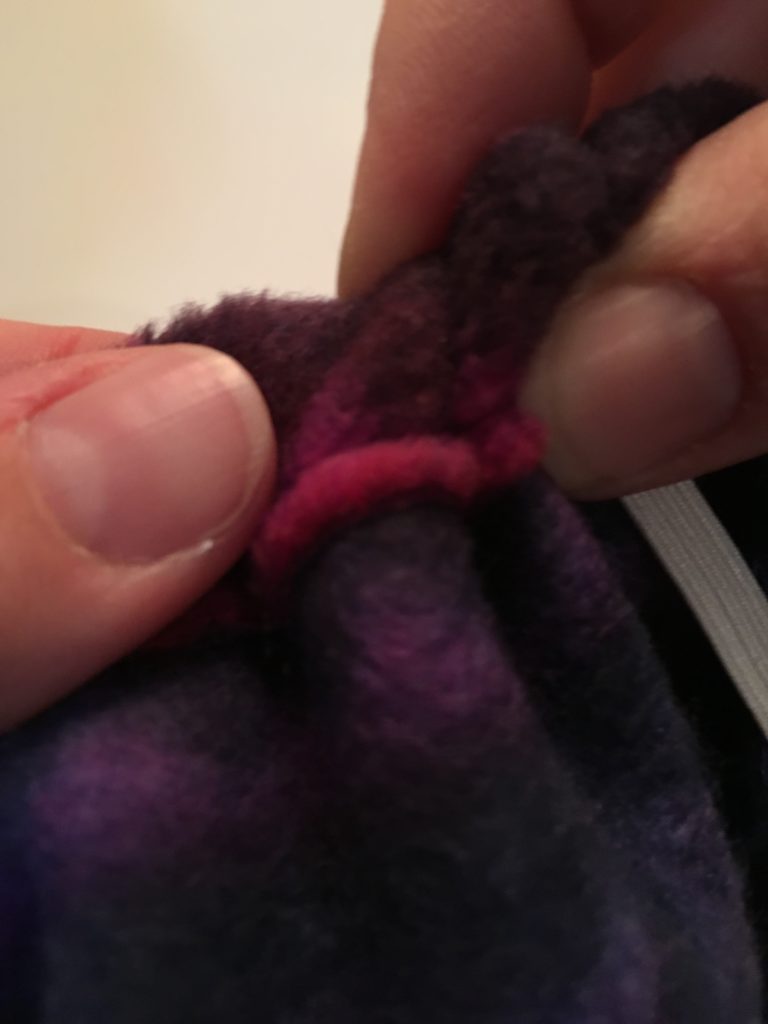
Wiggle the pin all the way around. I apologize for my cuticles in this photo!
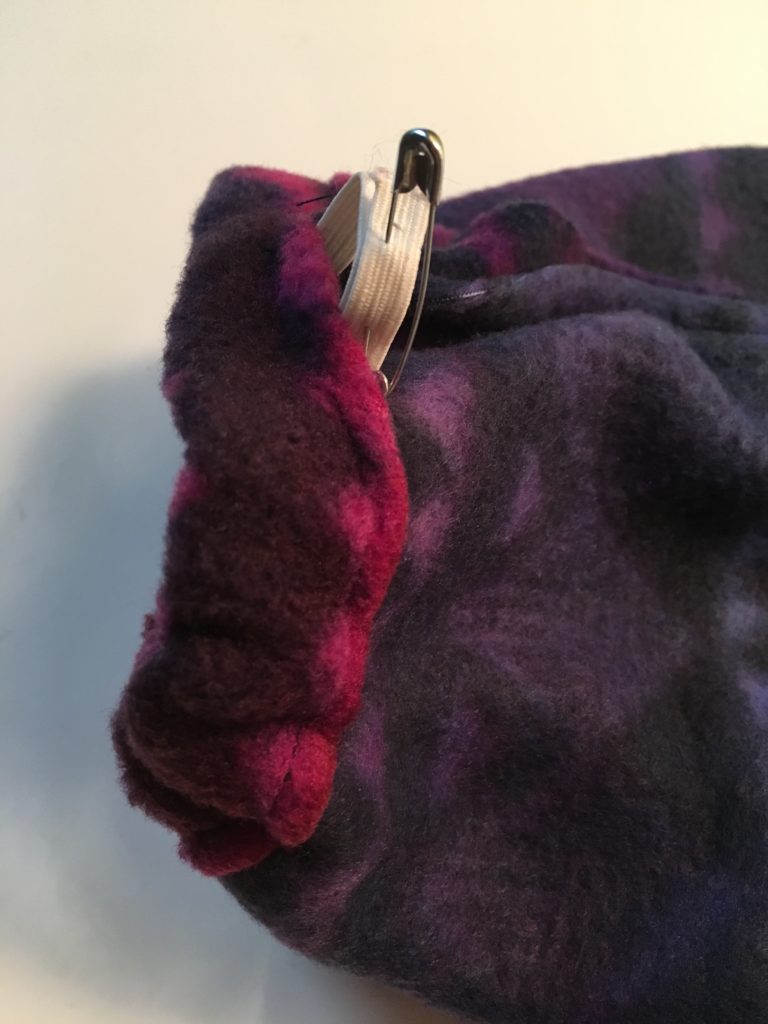
Overlap the ends of the elastic and pin together.
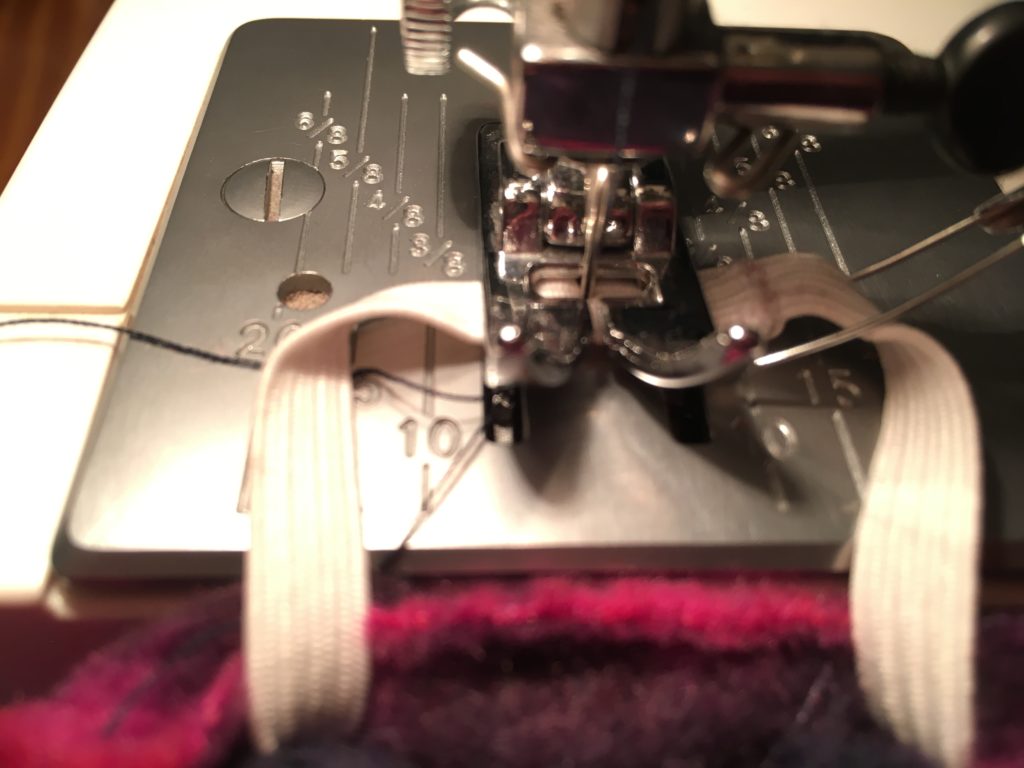
Secure the elastics with a few stiches forward and backward.
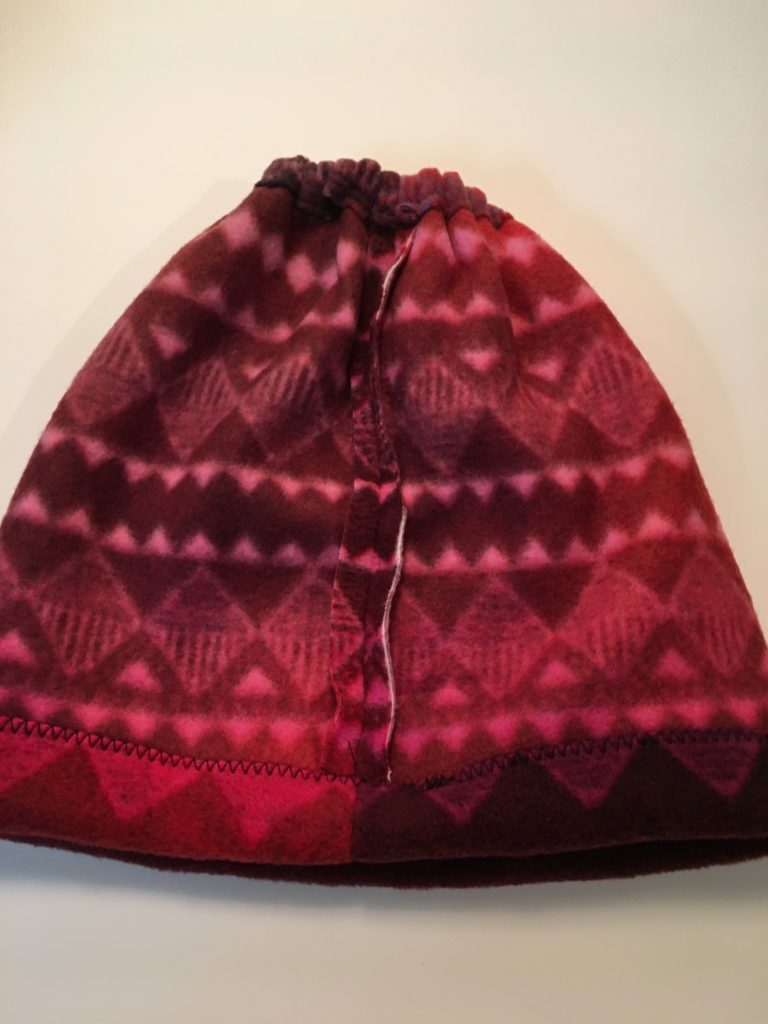
Hand or machine stitch the one inch gap closed.

Now, flip the hat right side out…how does it fit?
Wonderful job!
Now heads will be cozy and pony tails will be free!
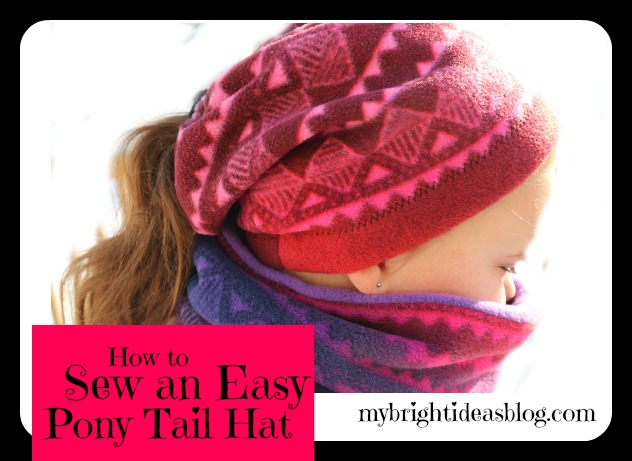
Put it on your gorgeous head! Now get outside!
—
Easy to Make Fleece Hat with Flowers – Simple Sewing Project
Sew a Super Easy Fleece Poncho-Simple Starter Sewing Project
How to Sew an Easy Fleece HairBand
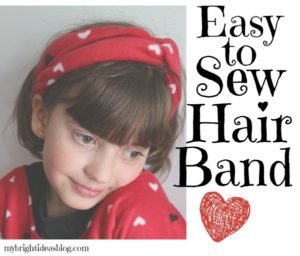 Anyone can make this!
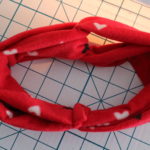
This super cute hairband was made from a left over piece of fleece from a poncho project Fleece Poncho Top in photo found at this link: http://mybrightideasblog.com/?p=218&preview=true

Miss M and I made her first sewing project the fleece poncho and with a few more minutes sewed up the co-coordinating headband.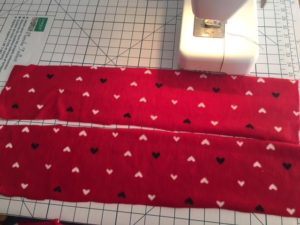
For a 7 year old head we cut 2 strips of fabric 5 inches by 20 inches. For an adult sized head cut 6 inches by 22 inches strips of fabric.
Fold each strip in half to lengthwise (right sides together) to form a tube and sew a seem.
Pull the end through the tube to turn it right side out.
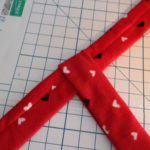
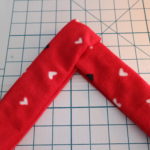
Lay one strip on the bottom with seam facing up. The other lay on top with the seam facing down. Fold the bottom one in half.
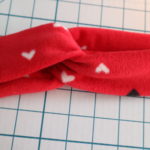
Fold the top one in half. Pull the ends even. Now its starting to take shape. Try holding it in place to see how if fits.
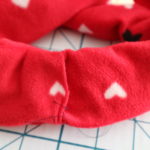
I tucked the ends of the right side into the left side and folded under the edge so it wouldn’t have any raw edges showing. Sewing a line across all the layers is a little tricky. Fleece or jersey-t-shirt material can be used and is very forgiving for sizing. You could use this idea for re-purposing old clothes.

Sew a Super Easy Fleece Poncho-Simple Starter Sewing Project
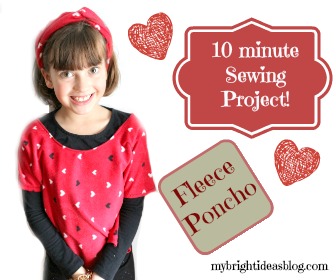
This fleece poncho type body warmer will take the chill off! Its so simple my 7 year old Miss M. did the sewing!
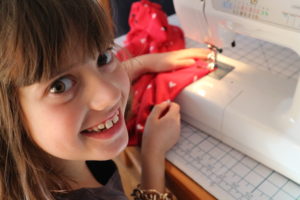
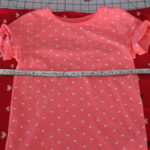
First step. Measure the approximate width over the shoulders for where you would like it to sit. Then measure the body length from the shoulder to around the waist. This is the kind of not very specific measuring I find myself doing all the time. A fitted dress with darts and zippers is not my kind of sewing.
We decided to go 25 inches wide and 20 inches from the shoulder to waist hips area (so double that).
This means you will need to cut a piece of fleece 40 inches by 25 inches.
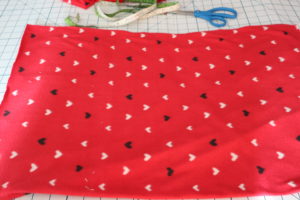
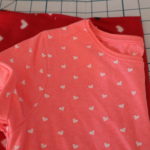
For the neck hole: find the middle and use a t-shirt to show how big the neck hole is and copy that onto the middle of the fleece. I like to fold the fleece in half so the neck will be easier to cut.
I went a bit bigger than the tshirt and wished I had gone a bit smaller instead. As long as it goes over the person’s head its great. If you make a cut that it too small you can try it on and then cut a bit more off.
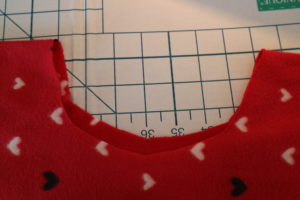
You could leave all the seams unfinished if you would like because they won’t fray like cotton would. However, this was Miss M’s first time at the machine so we wanted some easy sewing. We folded the fabric over once and did a Zig Zag all around the straight edges.
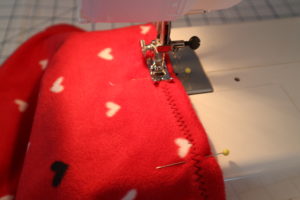
Around the neck we folded over the fabric once and did a straight stitch.
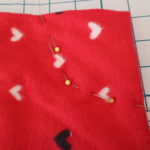
Then we laid it out flat folded in half. We measured 7 inches from the shoulder and put a pin to mark it. Then 3 inches down add another pin. Sew between the 2 pins. We used a straight stitch-this part will be under the arms.

Miss M. pretended that it was a huge inconvenience to come over and take a few photos but she seems to have enjoyed herself.
The fancy hairband will be in this blog: http://mybrightideasblog.com/sew-easy-fleece-hairband/


