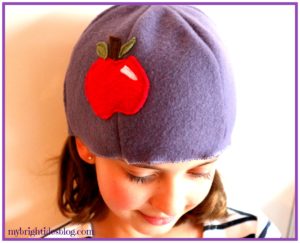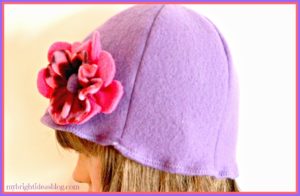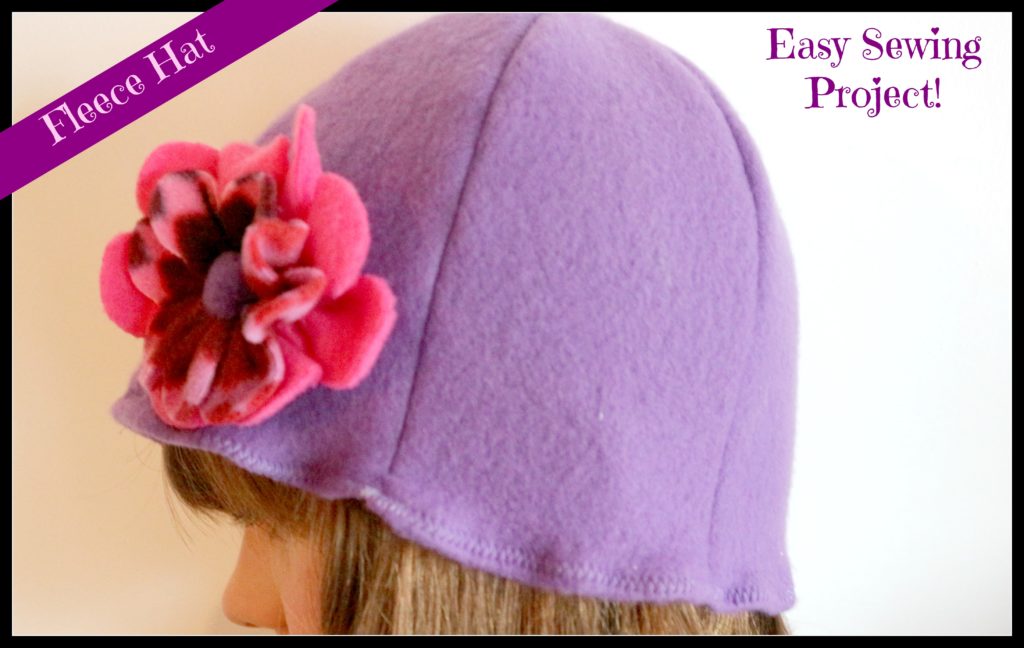
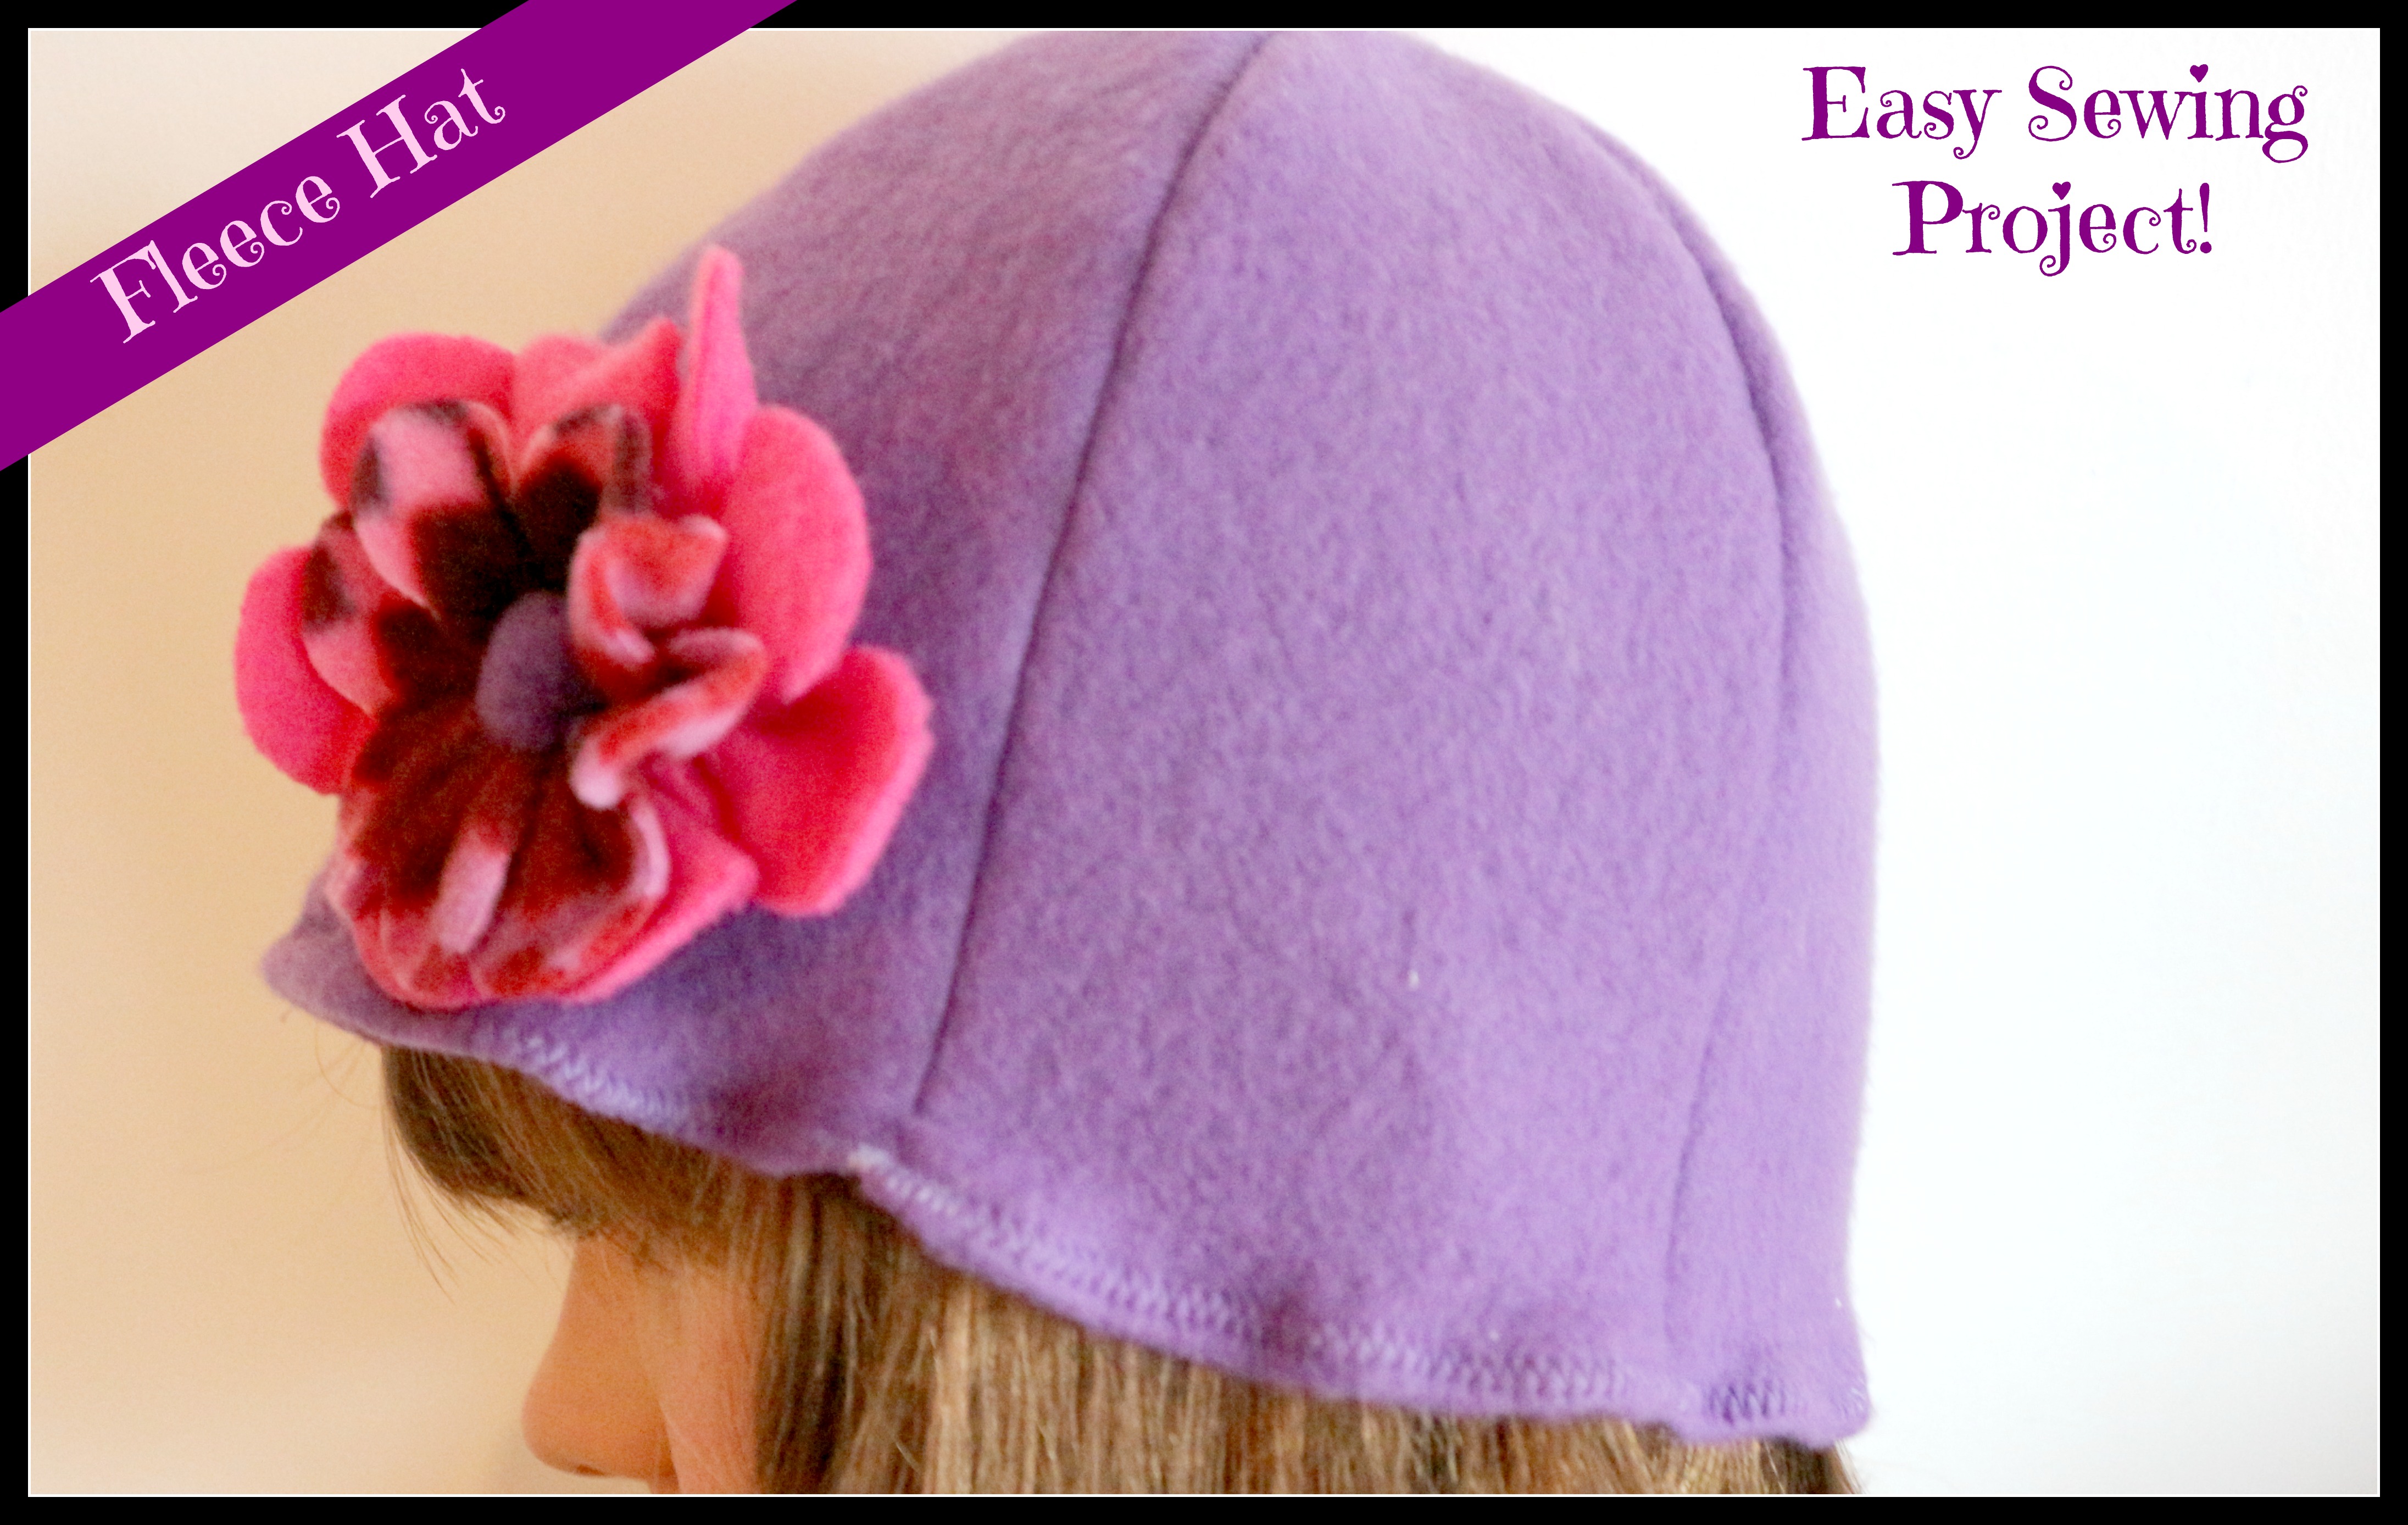
This fleece hat project is so easy and fast! You’ll have a new winter hat done in 20 minutes. Then I will show you how to make a simple flower applique. The weather is getting chilly now so this is just the thing to make for yourself or a gift for someone else.
You will need:
- a small amount of polar fleece fabric (10 x 26 inches )
- scraps of fleece from other projects in co-ordinating colors (1-2 inch wide x 12 inches long)
- sewing machine
- scissors
- needle and thread
This hat is made up of 6 long triangle panels.
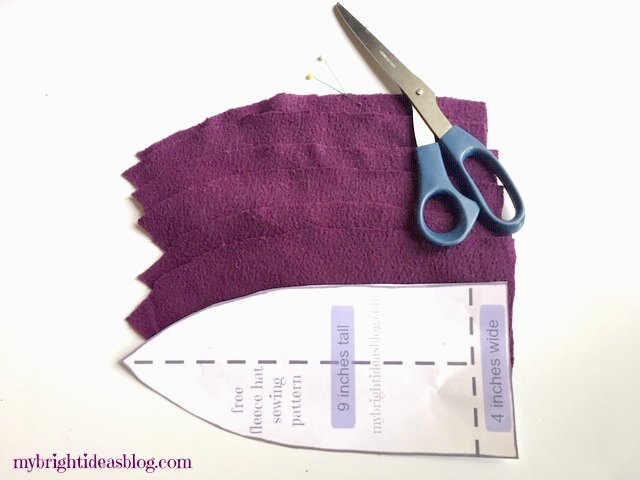
Cut 6 identical pieces from the template below out of fleece.
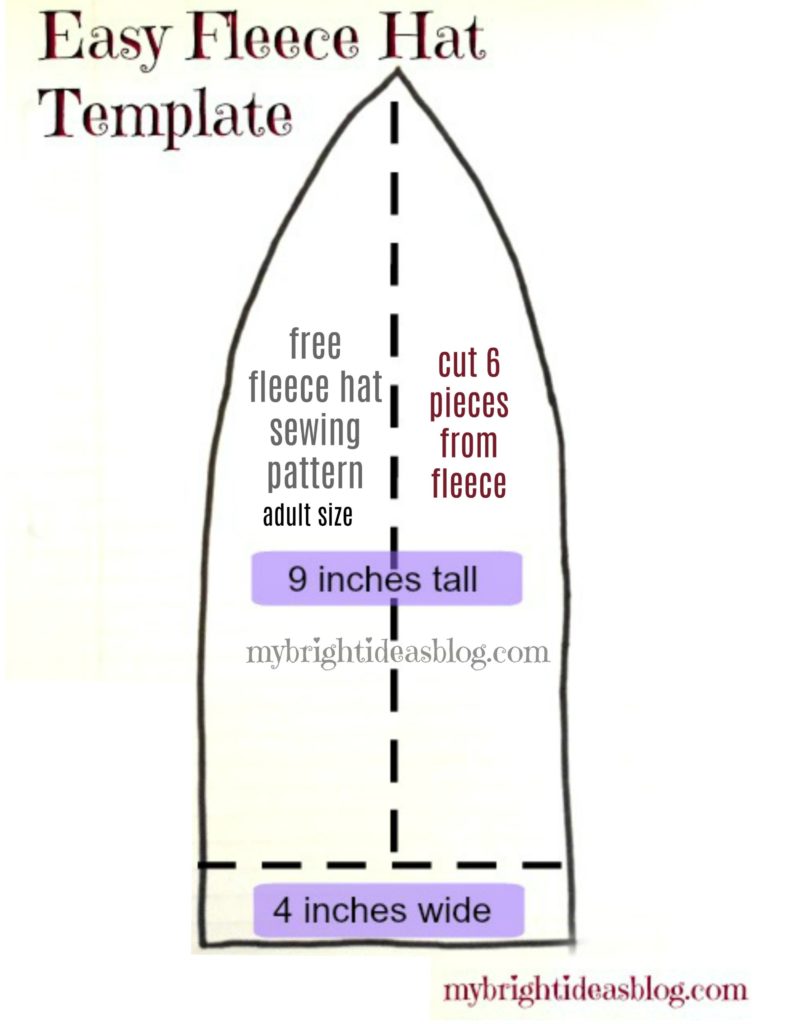
Right click on the photo above and save to your computer. This should print out to the right size on regular 8.5 x 11 computer paper.
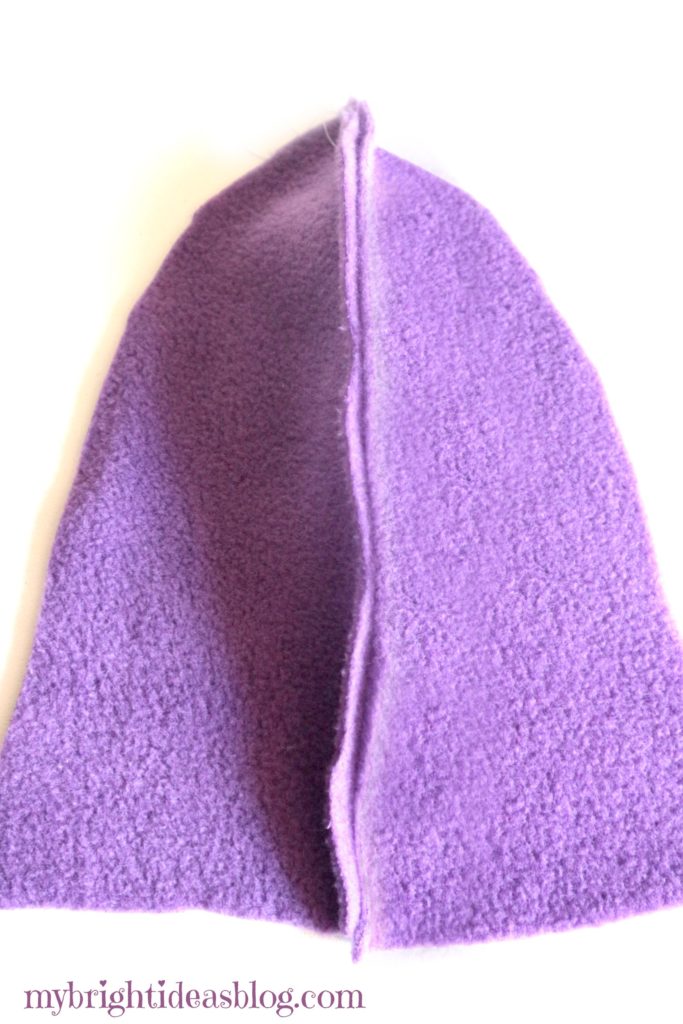
Sew the first 2 pieces together (with right sides together).
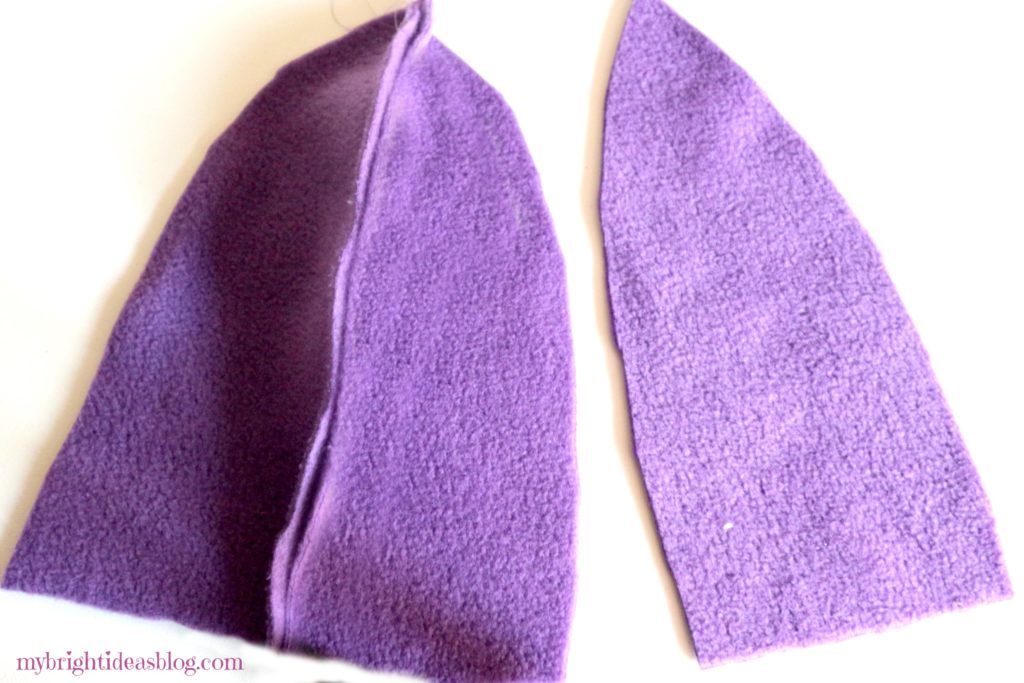
Pin the third section of the hat in place next to the first two pieces and sew it. After the three pieces are sewn together set this aside.
Repeat these steps with the other 3 sections.
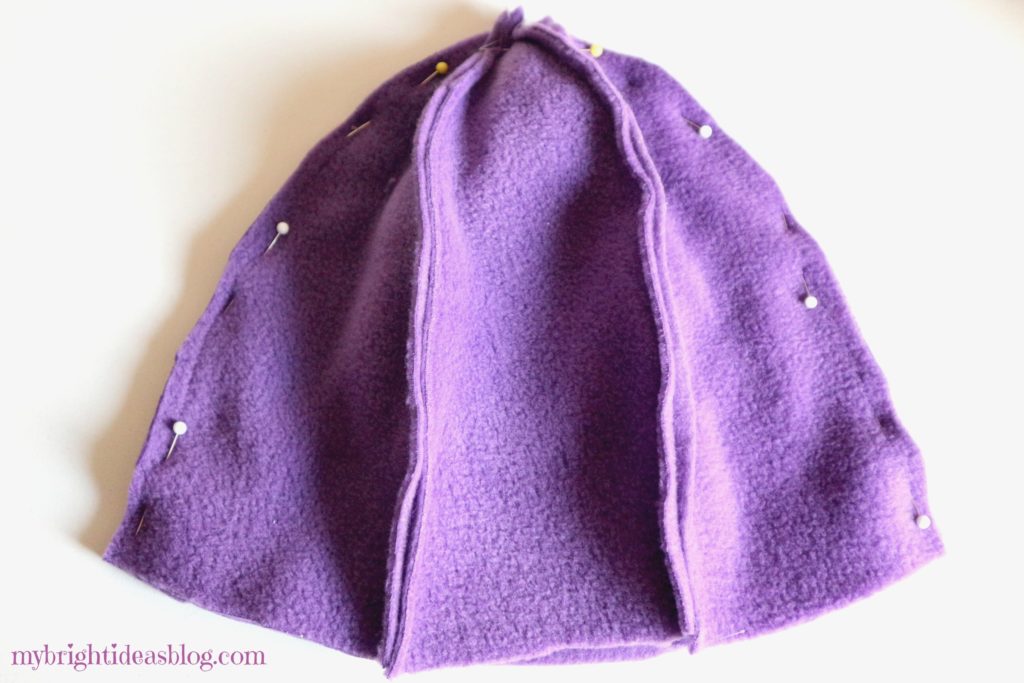
With the right sides together, pin these two halves together. Sew all the way around the top.
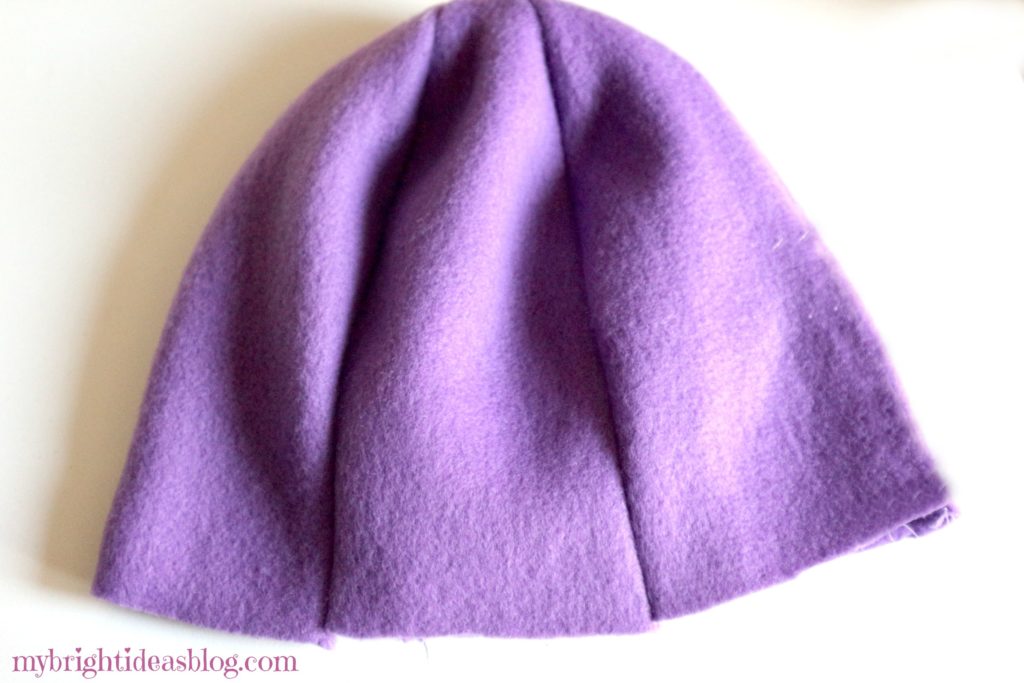
Turn the hat inside out and try it on. Determine how wide the hem should be. If the hat seems too long for you, simply cut 1/2 an inch off the hem and try it on again. Fold the bottom inwards to hem and pin in place.
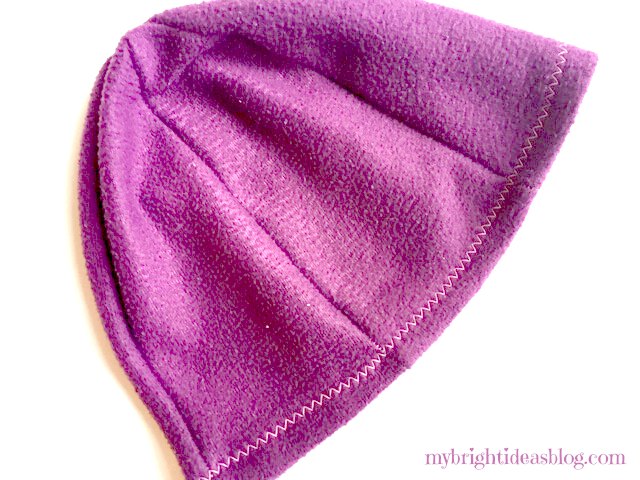
On this hat we folded the bottom over 1/2 inch and did a zig zag stitch all the way around. When your fold is wide, your zig zag hem lays flat. As the photo above shows.
On these three photos of my daughter wearing different hats – the hem was shorter so the zig zag stitch was closer to the edge and it did look quite wavy. I like both ways.
The Flower Applique
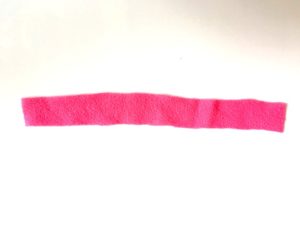
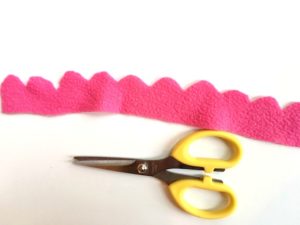
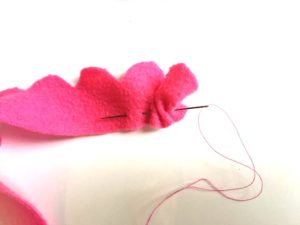
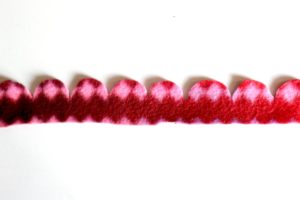
We cut a strip of fleece 1 and 1/2 inches wide by 12 inches long. Then carefully cut a rounded pattern to make the flower petals.
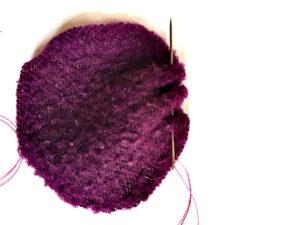
Thread a needle with a knotted length of thread and begin to do a loose baste stitch across the bottom of the petal strip of fleece.
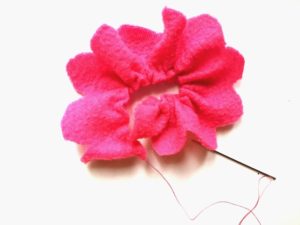
Gently pull the thread to gather the pleats. Set this part of the flower aside for now.
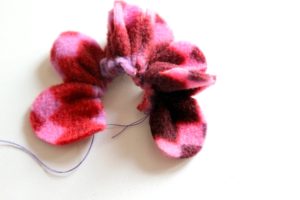
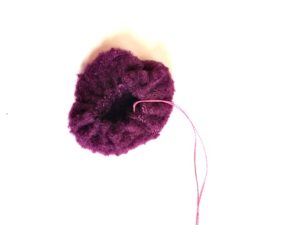
Cut another length of fabric 1 inch by 12 inches long. This will be an inner layer of petals so its a bit shorter than the first. Baste this as we did with the previous flower petal section. Pull the thread to gather the fabric and set this aside too.
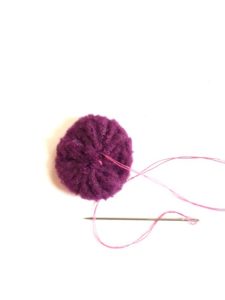
For the centre of the flower cut a circle 2 inches in diameter. I traced the vitamin bottle to make the circle. Baste around the circle and pull the thread to gather the edges. When it’s pull closed put a few stitches to keep it tight.
Adding the Flower Applique to the Hat
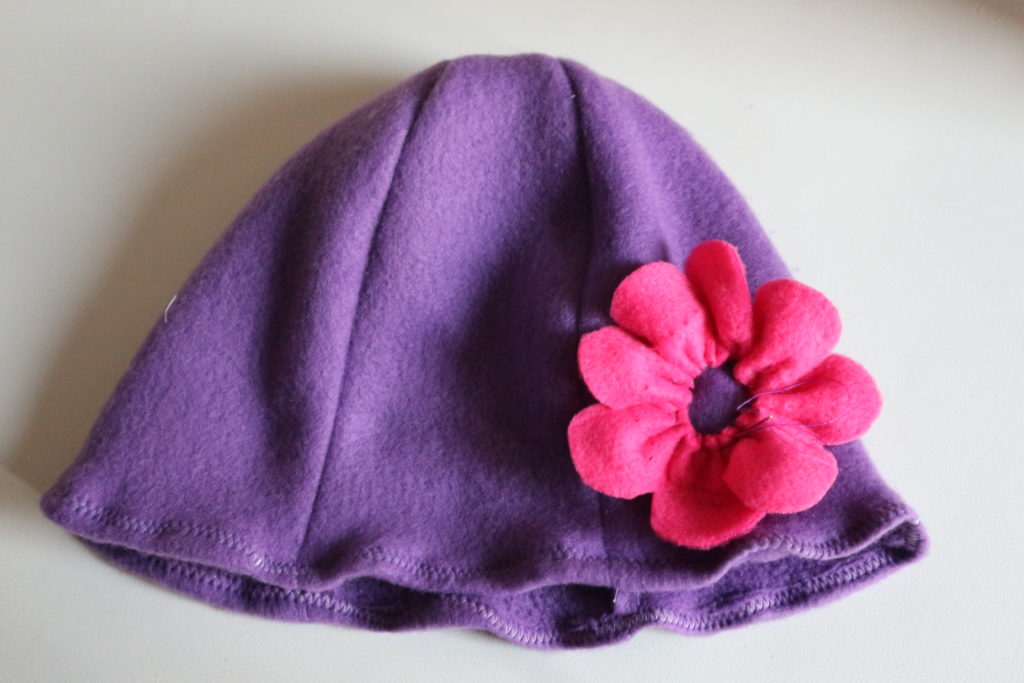
Attach the pink petals to the hat with a few stitches. As you sew this on you can adjust the petals to the desired size of the flower. Next add the inner layer of flower petals into place and stitch that into place. Lastly, sew in the centre piece, with the gathered part facing the hat. Secure this and your hat is done!
I hope you get a chance to try this easy sewing project. I’m working on making pattern sizes for children and babies. I hope to add these to the post too.
Pin or share this with your favorite social media!
Sew a Super Easy Fleece Poncho-Simple Starter Sewing Project

