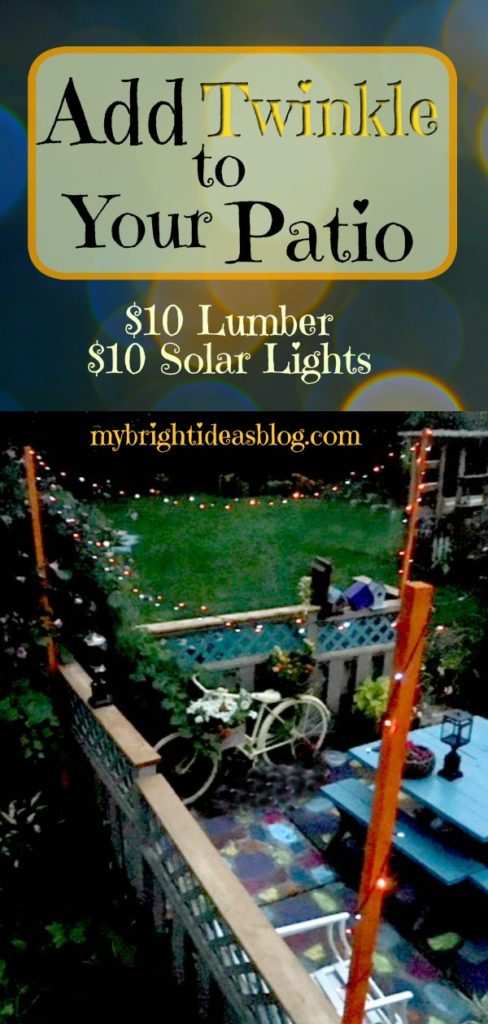
$20 Solar Twinkle Light Project – No Tools Needed
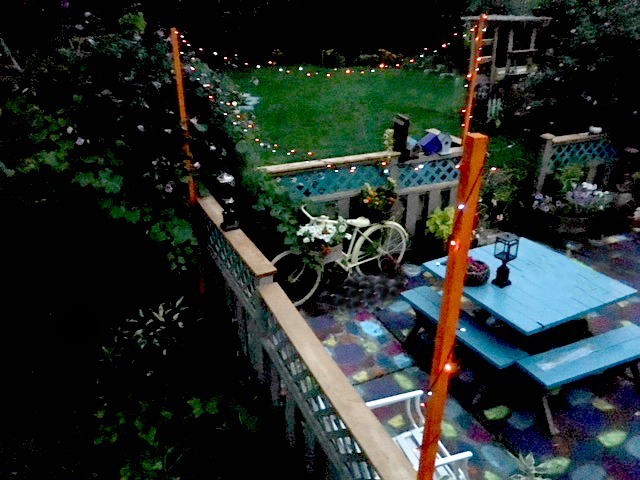
Usually by this time of the summer I have had enough of the heat and let the weeds take over and the vegetable garden dry up. But this year has been different! This year I have been adding colour to the backyard patio. I have painted the old picnic table and parts of the fence turquoise, the white Muskoka chairs are now red, an old bike is now yellow with plants attached and the entire patio a multi color design.
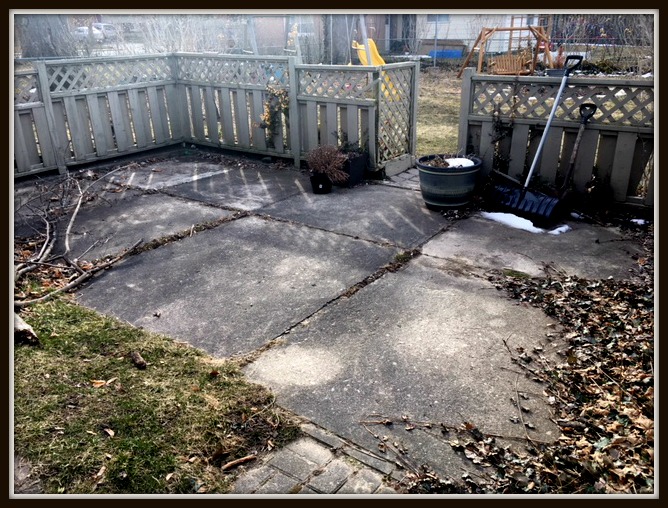
This is what it looked like as the final bit of winter melted away. So dismal! In the summer our garden is lush and private but everything is bare naked in the winter. Grey and bleak….
We have a lattice privacy fence around the patio area that needed a bit of repair and some paint touch ups battered by the winter. This is the going to be the support for the 2×2 pieces of lumber.
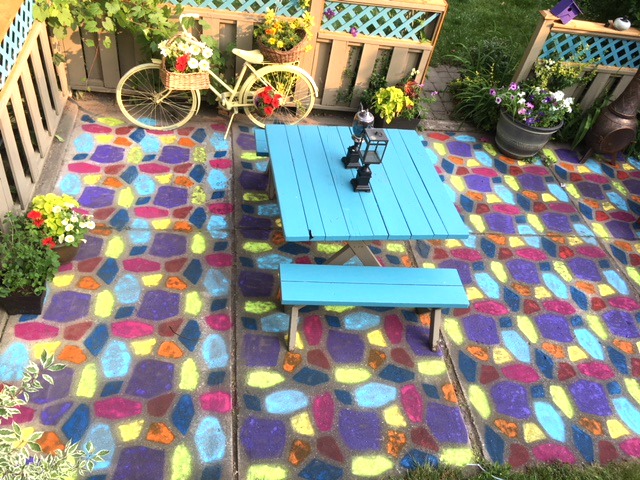
Below is a pic of the other half of the patio and garage area after I finished painting the patio.
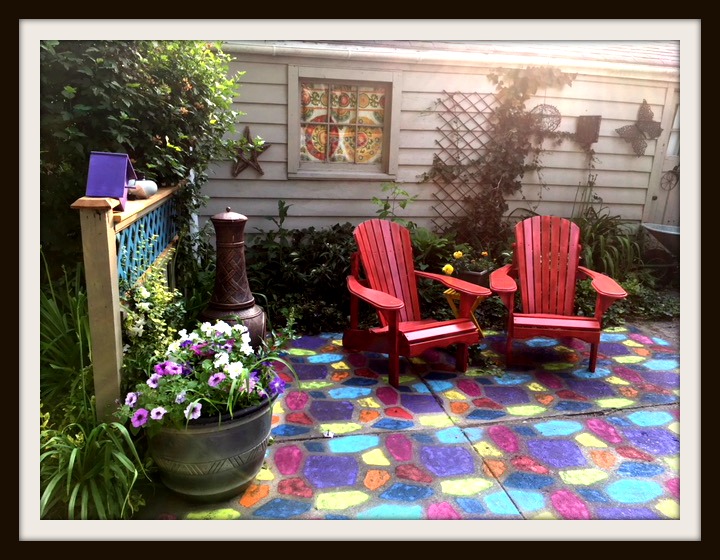
Have a look at the painted patio blog post from July.
So the next logical step for this backyard makeover is to add some twinkle lights. Being the frugal person that I am-I must brag that I did this project for $20!
First stop – the hardware store….
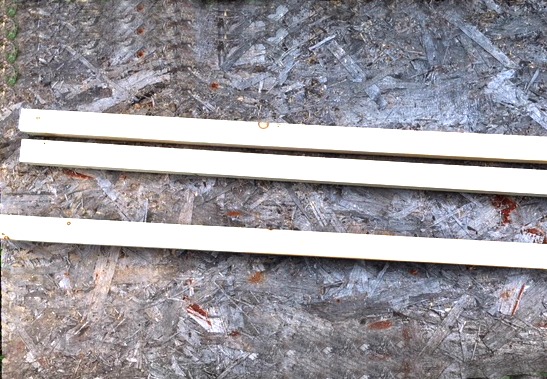 You will need:
- 2×2 lumber (3 for $2.70 each)
- string of solar power lights (sale $9.99)
- left over deck stain or spray paint (it costs $6.99 usually but I had this left over from the patio project)
- zip ties (dollar store)
- cup hooks (dollar store)
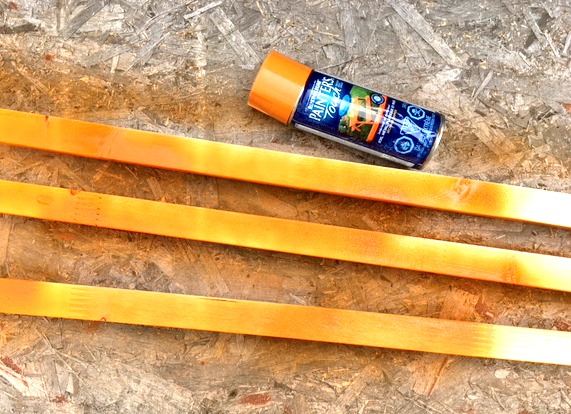
Step 1 Spray Paint The Boards
The great news is we use the full pieces so no power tools are needed. Just choose a paint color and get started.
I wanted to make a splash of color so I chose to use my bright orange. I could have used a dark green or left over deck stain or fence paint if I was feeling subtle. But I wasn’t….
Spray the 3 2×2 boards on two sides then allow to dry before flipping them over and doing the other two sides.
Step 2 Add The Hooks
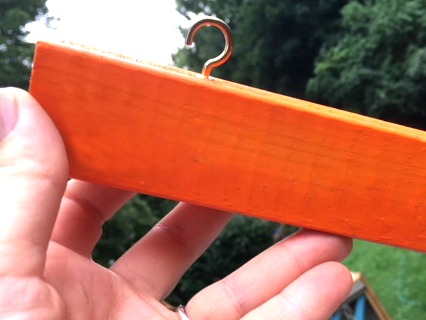
I used mug hooks because you simply screw it into the wood. The hook is twisted into the wood a few inches from the top.
Step 3 Tie The Supports To The Fence
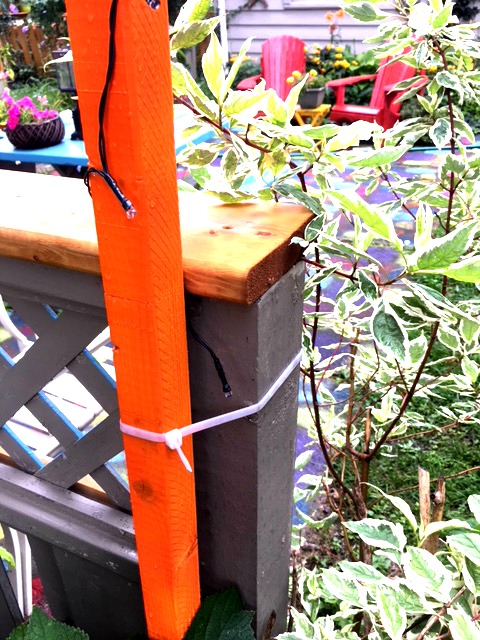
Securing the 2×2 to the fence was easy with zip ties. When we are putting everything away before the snow comes these zip ties will be cut off and my orange light supports will be put away in the garage.
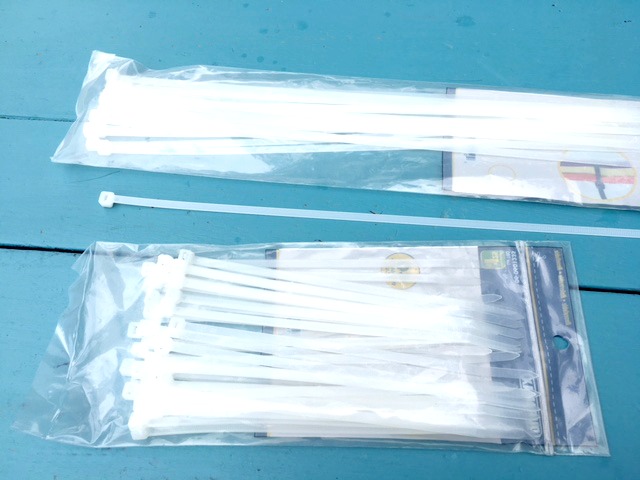
The dollar store or hardware stores have these for super cheep I used the 14 inch zip ties.
If you don’t have a handy fence or deck to secure the wood to, you can find others who have put them in cement in a bucket to create a portable pole. Some use 2×2’s or 2×4’s and even 4×4’s.
Check out this link to a tutorial using barrels and concrete and then turning it into a planter. Its great if you have no walls, deck or fence to secure it to. https://www.diynetwork.com/how-to/outdoors/patios-and-decks/how-to-make-planter-posts-for-string-lights

Step 4 Adding The Lights
It’s August, so now is the perfect time to find clearance solar powered lights. Lets give a shout out to solar lights! What a wonderful invention this solar power is. No extension cords to plug it in. No batteries. Just leave the little solar panel out facing the sky.
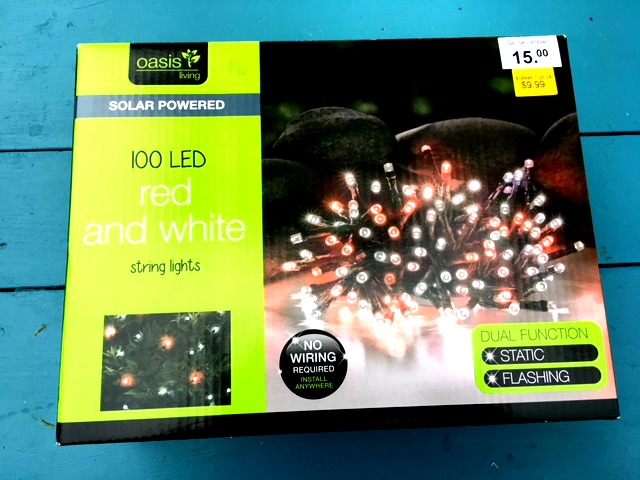
Turn the light on so it has a chance to charge up with solar energy before sunset. F means flashing, S means static so the lights will be still.
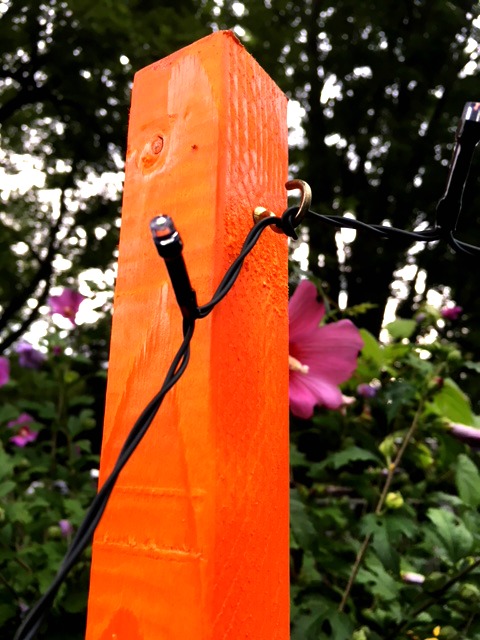
Wrap the solar light cord around the 2×2 support. At the top wrap it around the hook a few times. Next drape it over to the next support. We simply wrapped it around that hook and over to the third hook. Finally wrap it down the third pole and its done.
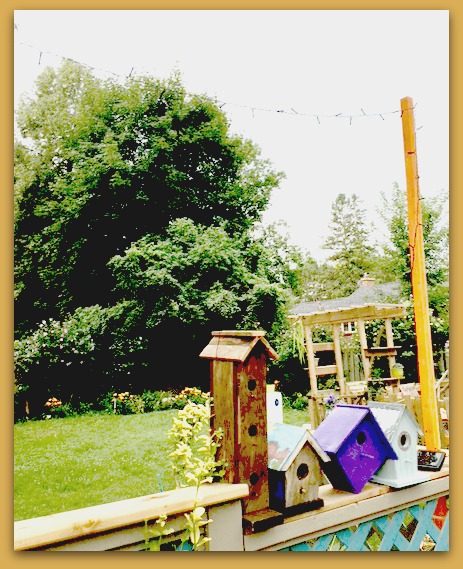
Next to the bird houses you can see the solar power part. I need to think of how to put it more out of sight since it does need the sunlight to charge it for after the sun sets.
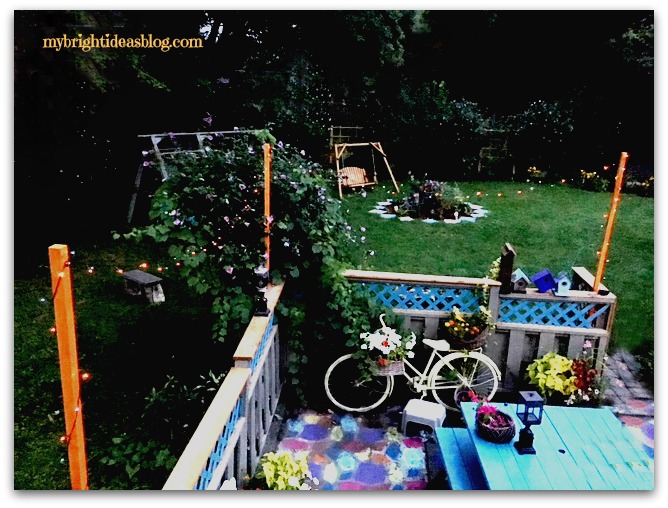 As the sun begins to set, I can see they are lighting up perfectly. Twinkle lights are such a simple pleasure!
Now I feel like calling some friends to come over for a root beer float and having a little party under the lights!

