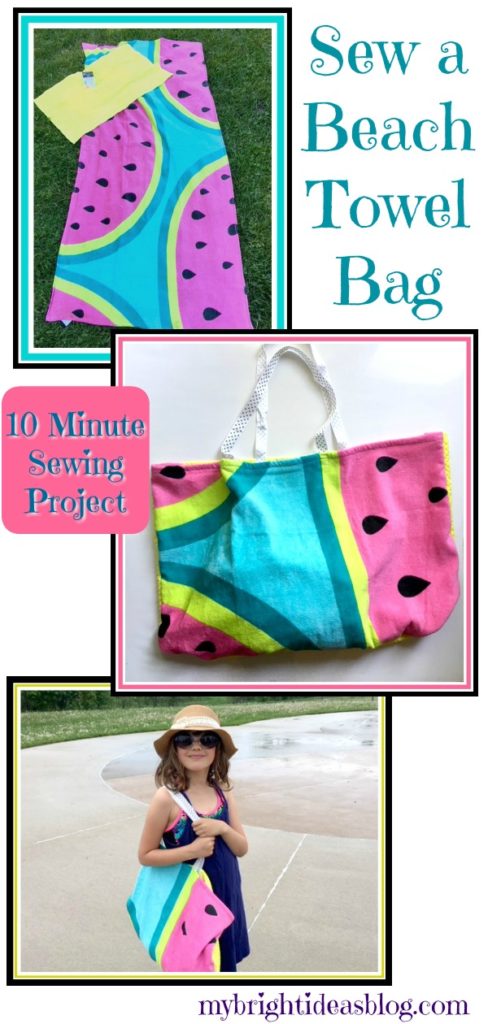
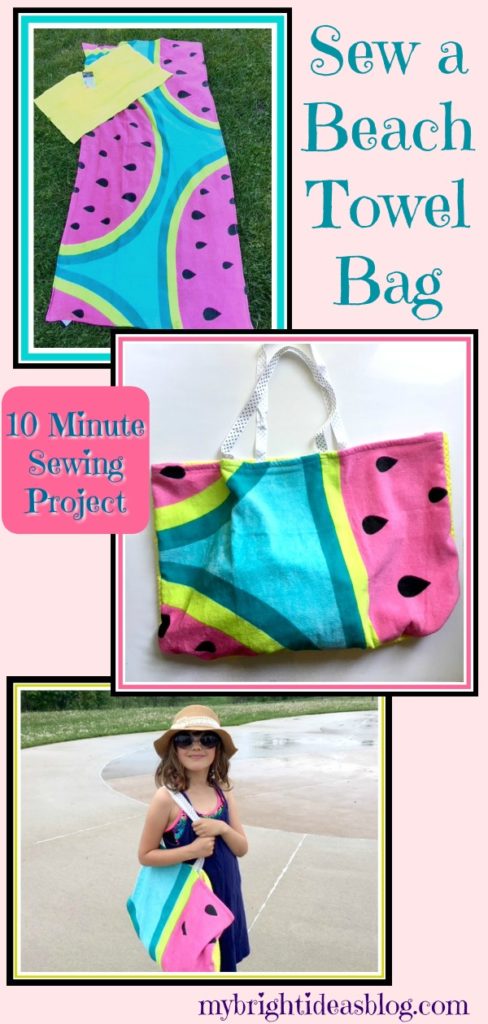
Have you got some grumpy kids today? A lull in the summer getting them bored? Looking to jazz up a camping trip…Here is how to turn that frown upside down. Candy!
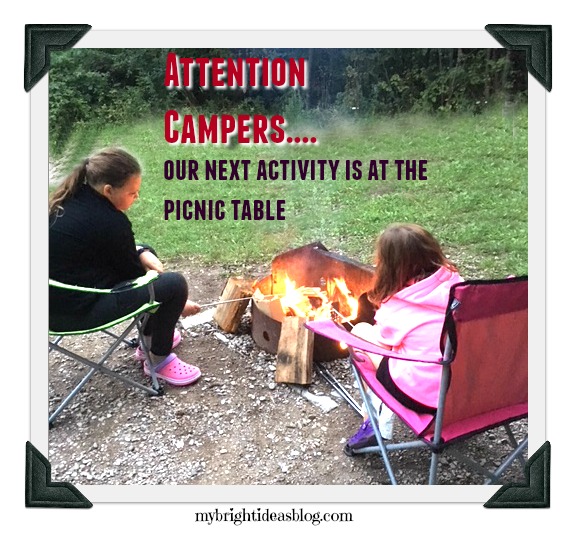
This is a true tale of 2 girls and a mom on a camping trip……. the kids were all “mom…what is taking so long…I thought you said we were going to the beach…..” whine, whine, etc, etc.
Daddy had to stay home and work so it was just me and my girls, and lets face it they are not very helpful. So after-breakfast clean up was taking a bit of time.
So when I said, “Who wants to help me with a blog post?” They immediately perked up! They knew there was a bag of candy bags from the bulk store that they were not allowed to touch.
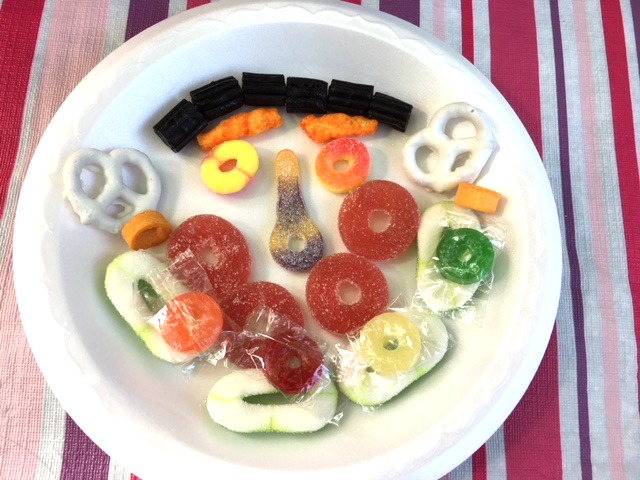
All the treats for this project have holes in the middle so there is no need for mom to poke it with a sewing needle.
Here is what you need:
- treats with a hole in the middle
- cotton string or something to put the treats on (plastic lace was easiest)
- scissors
Shopping for Treats
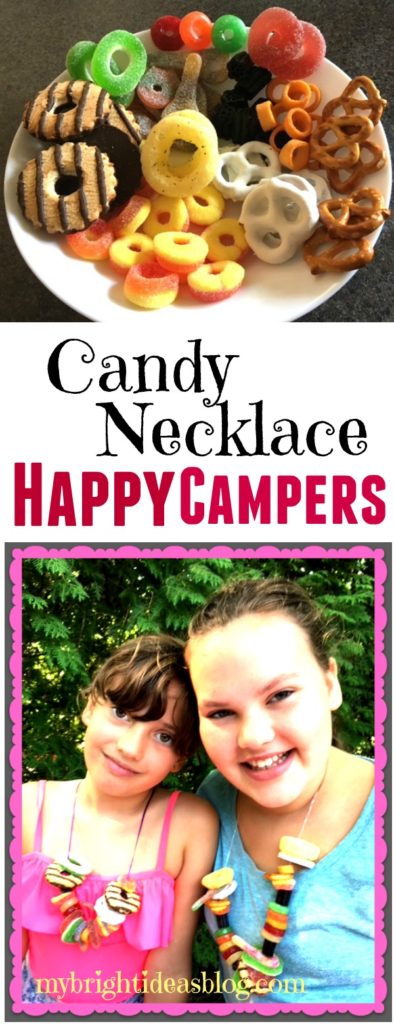
The first step, is to hit the bulk store and purchase any cookies, candies or cereal or candy that has a hole in it. I’ve got 2 kids so I bought 5 or 6 of each item-assuming that they will eat or break a few in the jewelry making process. I had lots of little baggies with just a few items in each.
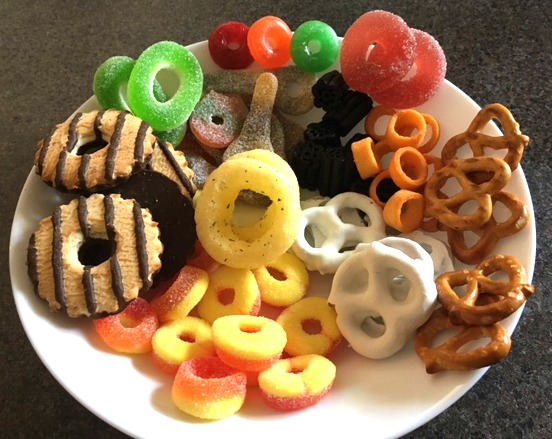
I picked all of these tidbits from our local Bulk Barn. Licorice, cookies, pretzels, sour keys, sour cream hoops, life savers, etc.
Choosing a String
Next you will need something to string your candy beads onto. You can use yarn or fine elastic or string or thread or plastic lace. We found that the easiest for the kids is the plastic lace. This is a rigid plastic that is often woven into bracelets. I picked up a variety of colours in a package from the craft section of the dollar store.
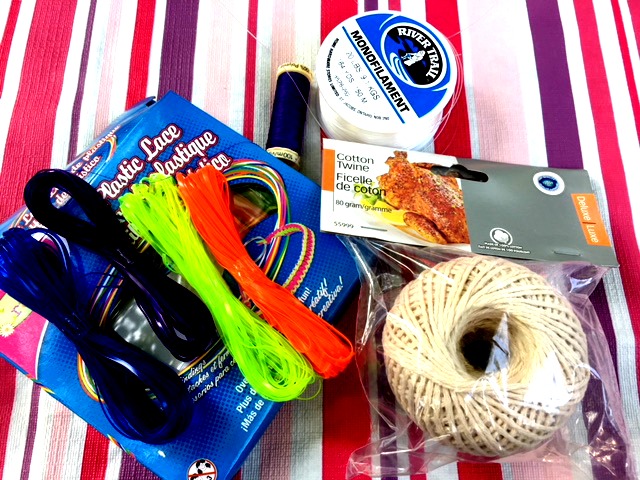
I like the idea of the cotton used in preparing turkey dinners, because you know it is intended for food handling. These will be your in the kids mouth after all. But it is a bit more frustrating for the kids to use. It unravels a bit so you need to twist it with your fingers or trim the ends a few times.
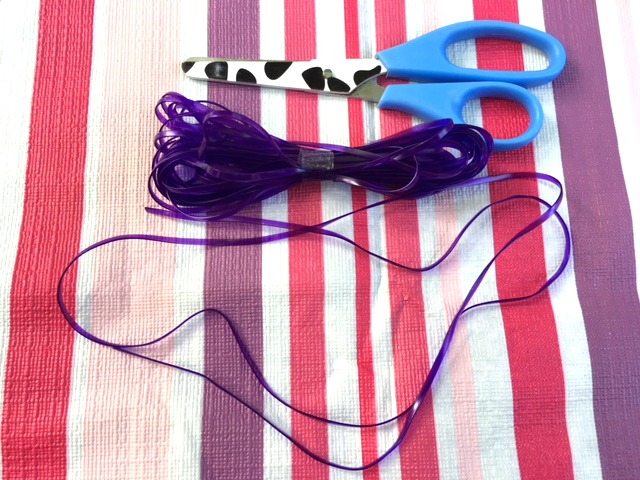
Now measure the length of string you’ll need. Make it long enough so your child can just pull it over their head when they want it off. If on second thought, you don’t want them to have access to quite so much candy-make it into a bracelet instead.
A Word Of Caution
This craft is meant for older kids rather than young toddlers. Please watch your child for choking and strangulation hazards. Be safe and have fun!
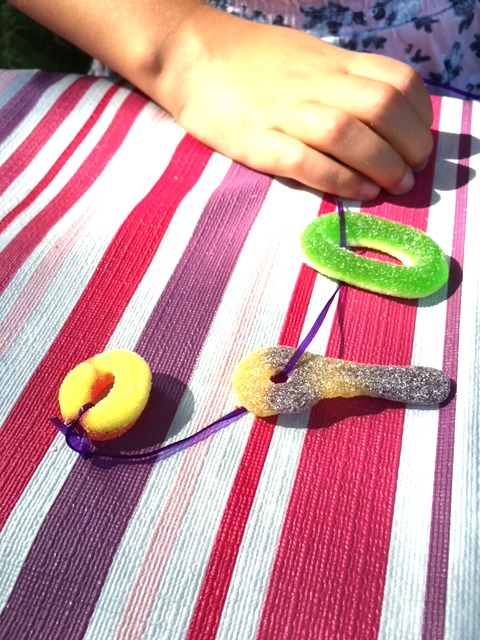
I didn’t think of this, the girls came up with the idea to tie the first candy as an anchor so the treats would not just fall off the other end as they string more treats on.
While you have them settled into this project its a fine time to give them a little speech about how thoroughly they should brush their teeth later. Or how you would like to increase their household chores…Groan….
Why not? It’s not like they are going to storm off….they have a candy craft in their hands…they have to listen!
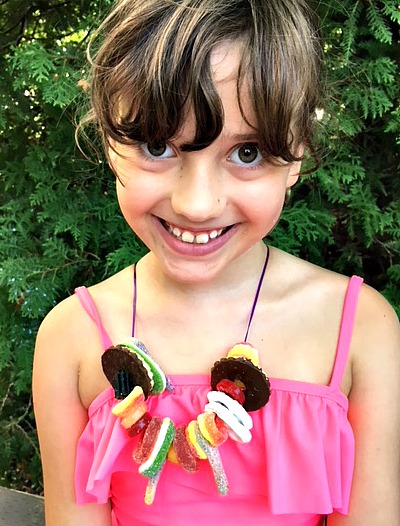
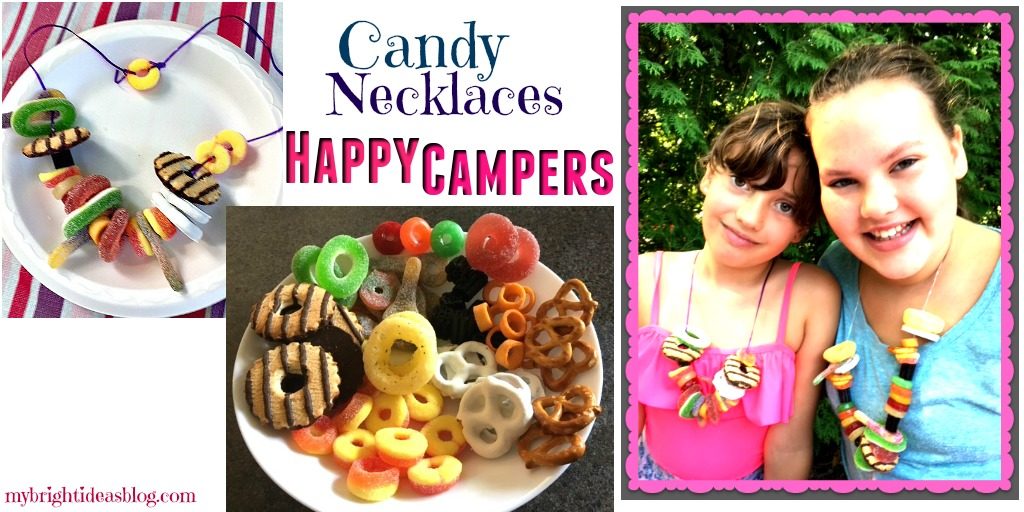
Keep on stringing on the treats and when you are happy with it, tie a knot. Now try on your delicious necklace or bracelet.
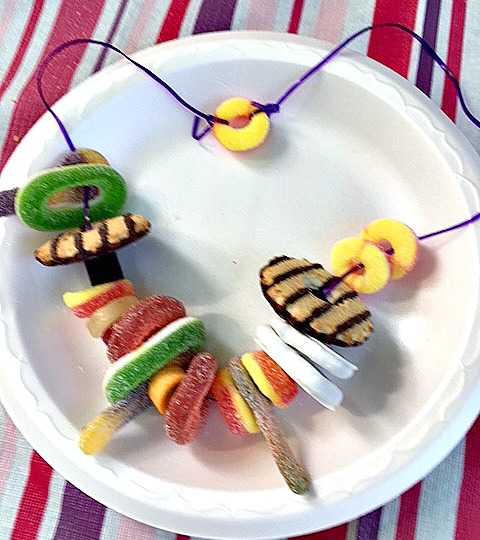
That is enough candy to last a week long camping trip. Do not eat all of it at once or your belly will hurt!

Now they are happy campers!
Besides camping trips, this is a great idea for a kids party, before a road trip or to pull out on movie night!
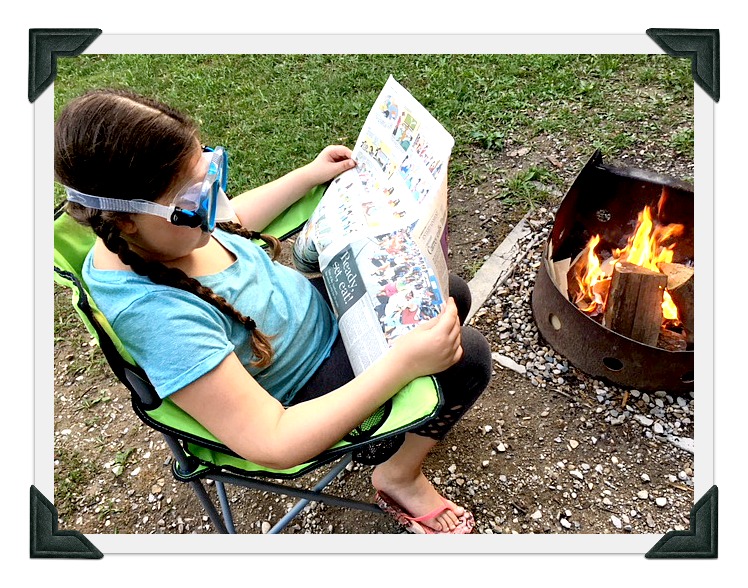 Don’t you hate it when your campfire gets smoke in your eyes? Not my girls! They grabbed their swimming goggles! Smart! Carry on reading the comics with happy eyes…
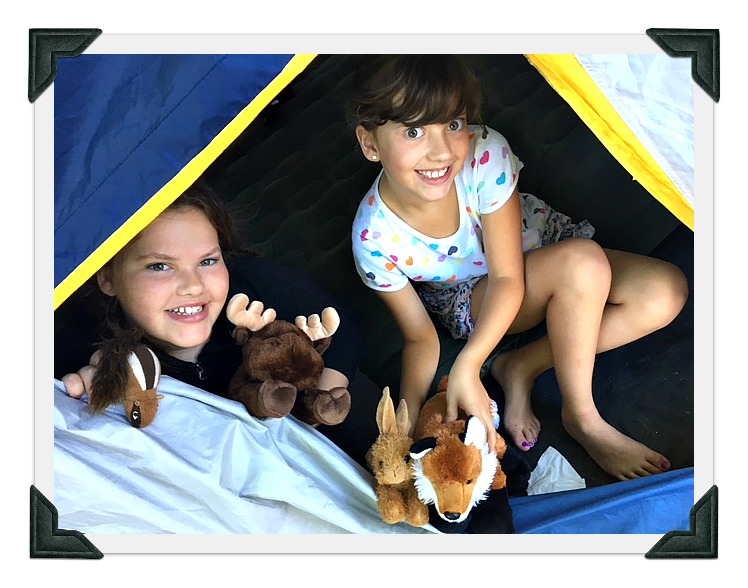 Miss B and Miss M made new acquaintances with some friends in the forest. A chipmunk, a moose a bunny and a fox. Are we the only family who needs a back pack full of stuffed animals on a camping trip?
Have a great summer and get out camping!

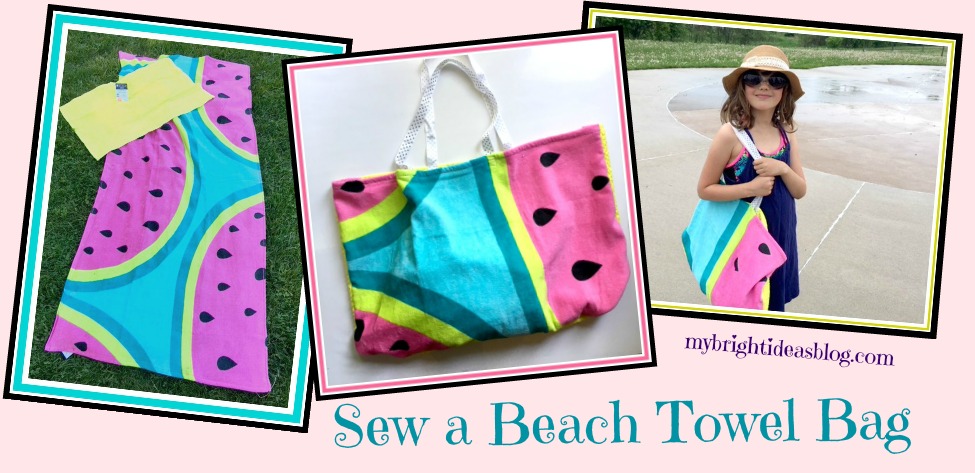
Make a Beach Bag from a Beach Towel and Hand Towel in 10 minutes
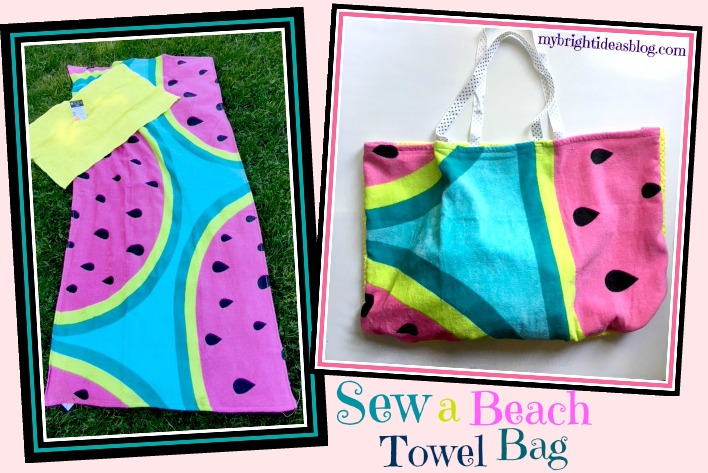
The weather is hot and trips to the beach or swimming pool or splash pad are about to become a nearly daily part of our keeping cool routine. So why not turn your big beach towel into your beach bag! Its such an easy project too. If you have a sewing machine you could have this sewn up in 10 minutes.
You will need:
- a beach towel
- a hand towel
- 4 feet length of ribbon/strapping/cord/shoe lace
- basic sewing materials (sewing machine, thread, pins, scissors)
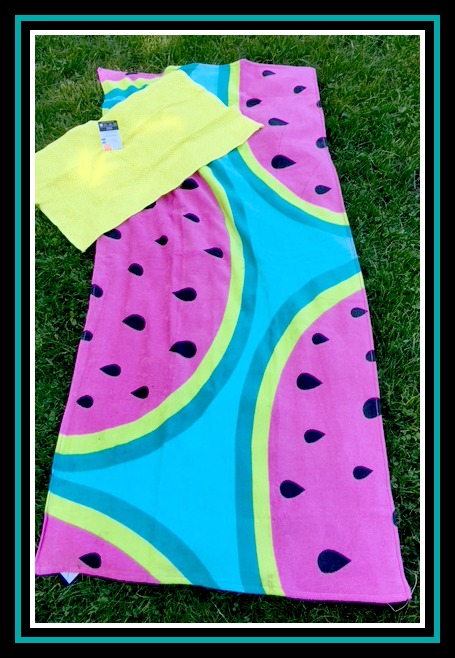
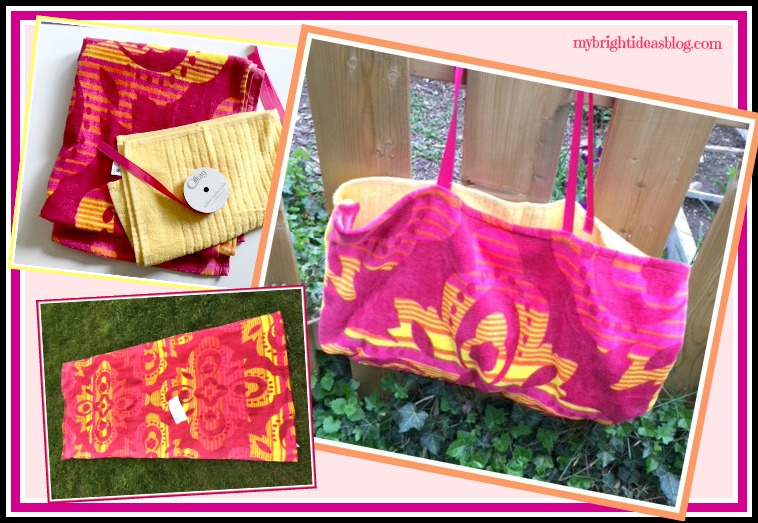
This vibrant beach towel is from Walmart for $8.00.
Happy Childhood Memory Moment…
When I was a youngster my grandma took me and 2 of my sisters and 2 of my cousins on a camping trip. What was she thinking taking 5 girls aged around 10 to 13 year old, on a trip like this. At a family gathering when they announced the trip was being planned, they produced beach towels and toiletries bags for each of us. My towel had hot air balloons on it and she had sewn in a bit of fabric and written my name on it. As much as I loved that trip-I cherished my bag and towel all my own. Sigh…I love my grandma memories…someday I should tell you about when we made horseradish for my big sister’s wedding reception….hilarious!
Back to the project at hand….
So this week I pick up two lovely bright beach towels for my girls. I also spotted some hand towels and bought those too-just simply because our hand towels keep disappearing.
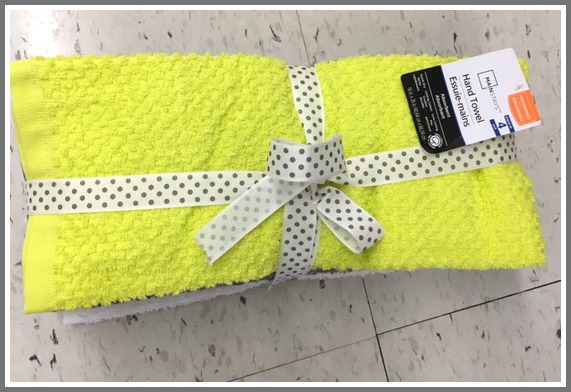
So I’m unloading the newly purchased summertime items. Beach towels, hand towels with a nice ribbon on it, sunscreen, bug spray…and I think, wait a second! Drop everything and get out the sewing machine! LOL
First of all we need to see if that gorgeous yellow hand towel will fit width wise on my beach towel. Take two bag handles from it…yes we can!
So with a big and little towel and the ribbon ready here is what you do…..
Place the hand towel on top of the beach towel right sides facing each other.
Cut the strapping materials into two pieces 2 feet long each (24 inches or 60 cms). Look around to see what you have…shoe laces, webbing, braded trims.
Starting with the beach towel fold in half and mark the middle with a pin. Make a semi-circle with the straps and pin them to the towel.
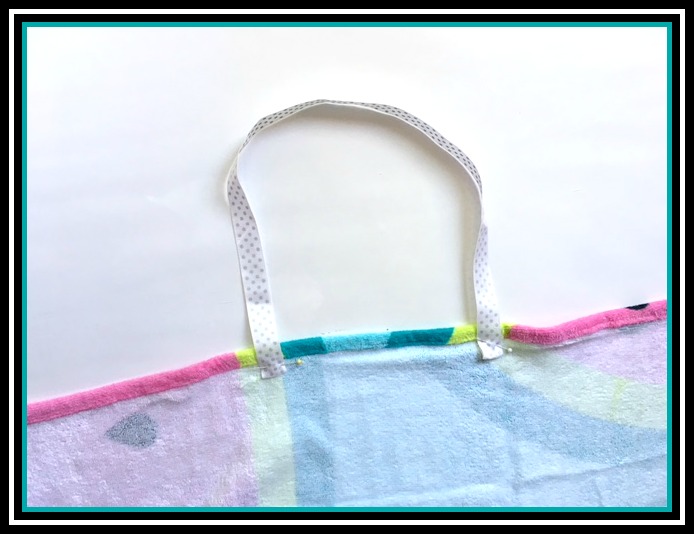
Since my ribbon has the print on only one side I made sure this was showing on the good side of the towel. Also I tucked the ribbon ends under so they look finished and secure when sewn.
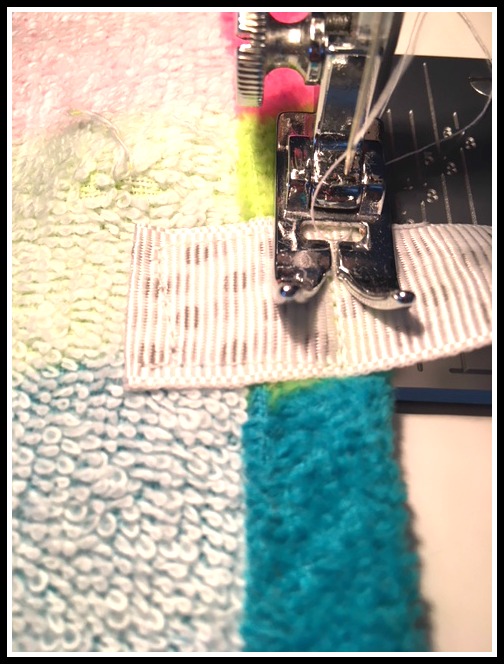
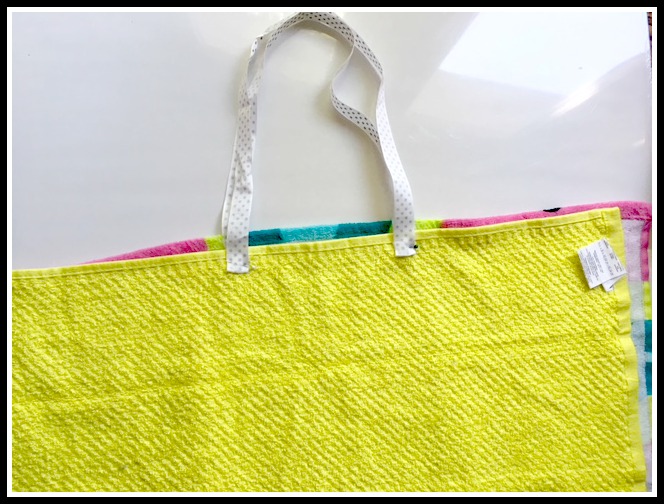
Next lay the hand towel on top of the beach towel and match up the location of the handles on the beach towel. Pin in place. I left the tag on the hand towel to remind me which side was my good side and which was the back. I did cut it off later. As you can see the towels don’t match up exactly the same width-one was 1/2 inch wider on both sides. It doesn’t matter!
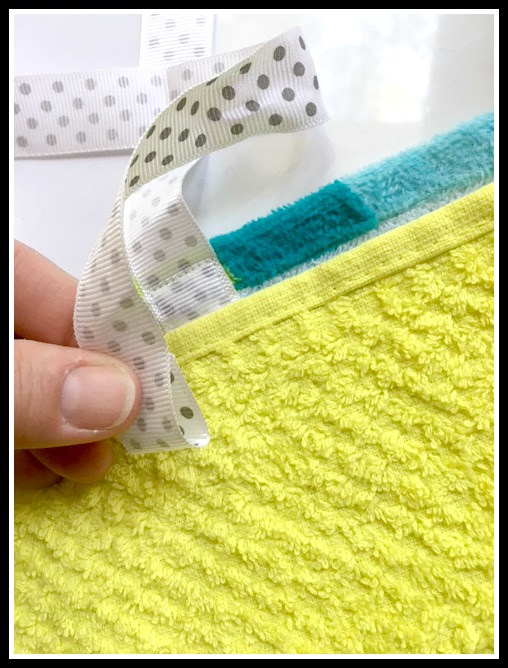
Tuck the ends over so there won’t be fraying from the ribbon or strapping materials.
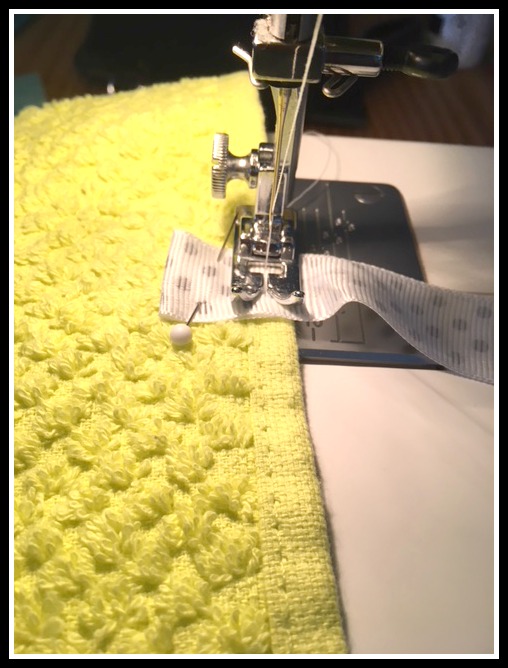
Sew it in place. I usually go around in a square for my stitching on straps to bags. If this was my own bag I would likely put on proper tote bag webbing straps and use a square of fabric or a face cloth to add a pocket or two. That is because I carry everything but the kitchen sink. I would also consider putting a hidden pocket somewhere on it to hide my keys and cell phone.
But since these towel bags are for the kids, the ribbon handles I used will be fine.
Next we will put the hand towel on the beach towel and pin them in place-Right sides facing in!
Sew down the side of the hand towel, then turn to sew the length and up to the top. See photo below. Now you have a bag!
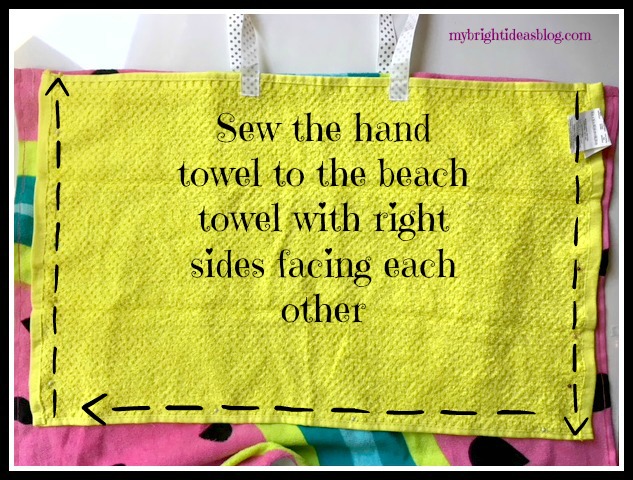
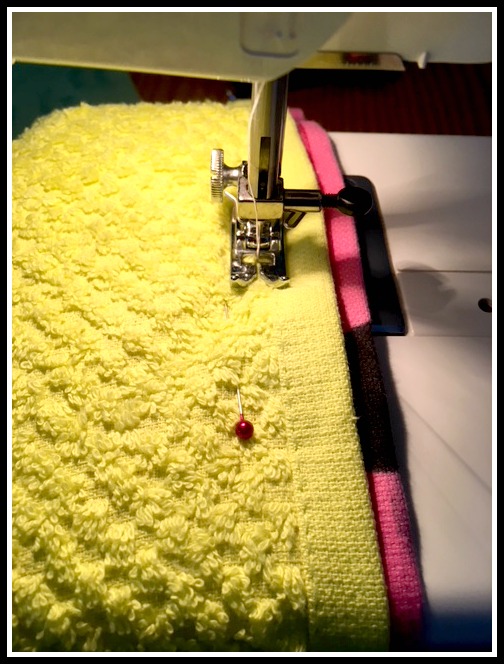
Now you have a bag!
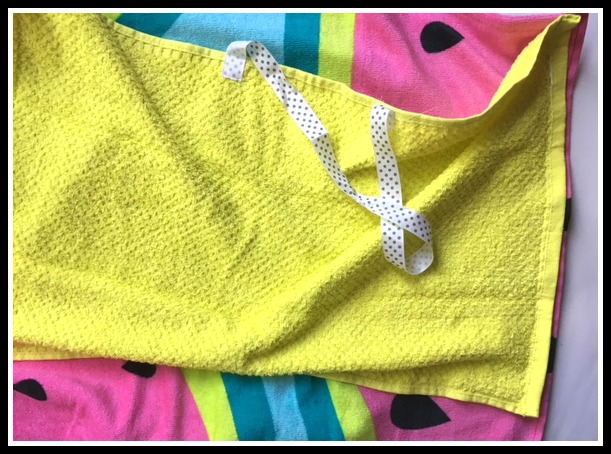
It might look wrong at first. I made 2 of these and at this point I think…uh oh did I do this right? But alas it is fine. Just turn the whole thing inside out and put the tail of the beach towel inside the bag. Add your sunscreen, hat, water bottle, snacks and goggles and off you go!
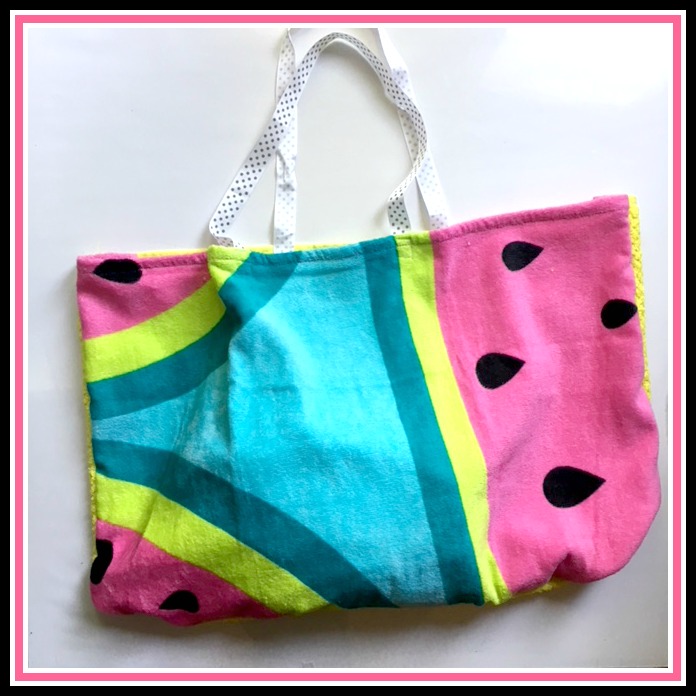
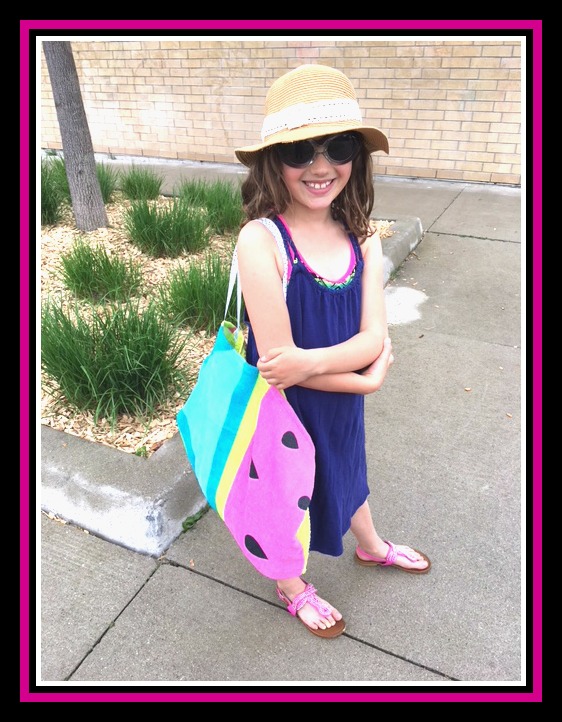
Here is a picture of the second bag. It’s going to be hot day and sunny day here. Perfect beach day!

…

