Another Earth Day T-Shirt Post!
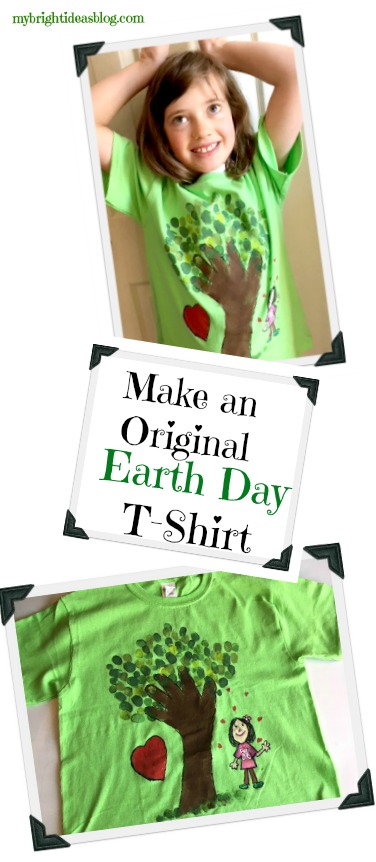
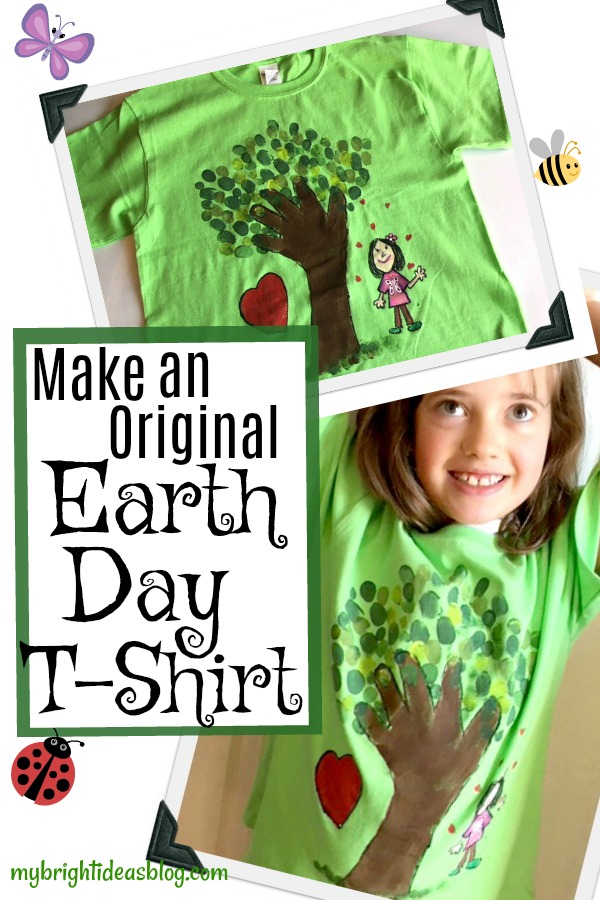
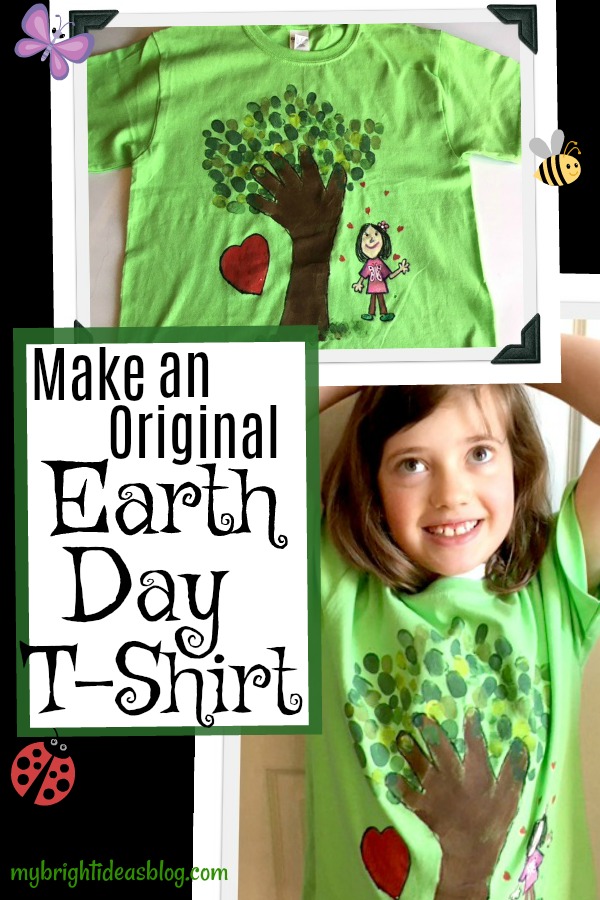
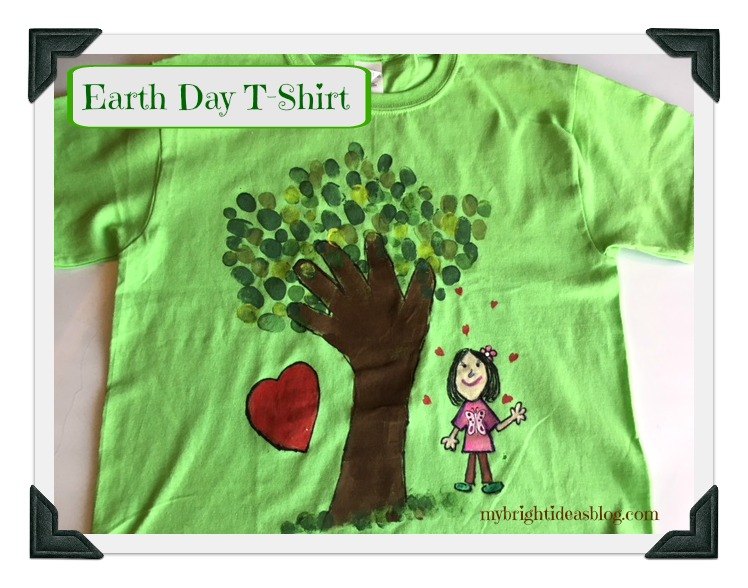
For a while I have been eyeing making this Tree T-Shirt idea-you simply trace your child’s hand and a bit of their arm to make a tree and branches. Thumbprint in a few shades of green paint for the leaves. You could leave it there or keep going by drawing a picture or writing a “green” Earth Day message next to it.
For this one you just need:
- a sharpie (red and black)
- craft paint -browns and greens (optional more if you paint more on the shirt)
- paint brush
- your kids arm, hand and thumb!
I know this is easy enough to follow with just the photos but I’m not a woman of few words. :o)
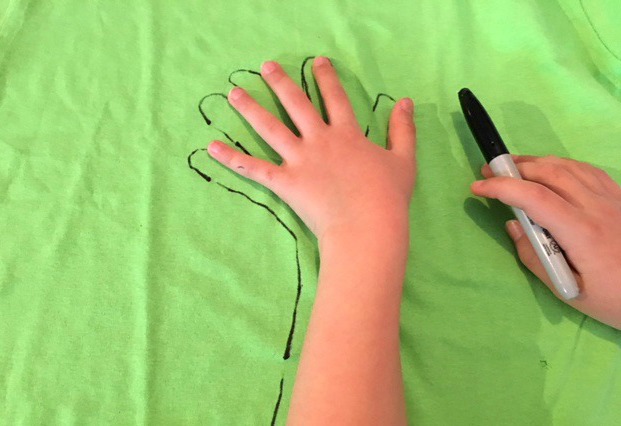
Trace your child’s hand.
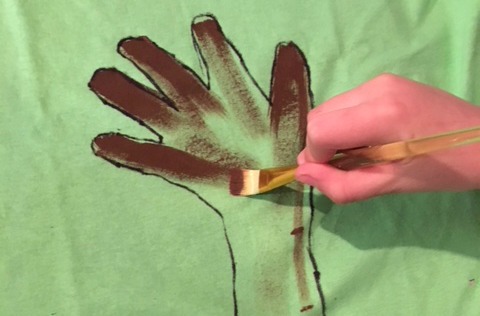
This is the tree trunk and branches so paint it brown.
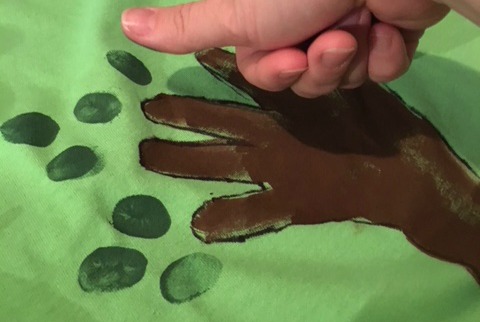
Use your thumb and dip it in green paint to make leaves.
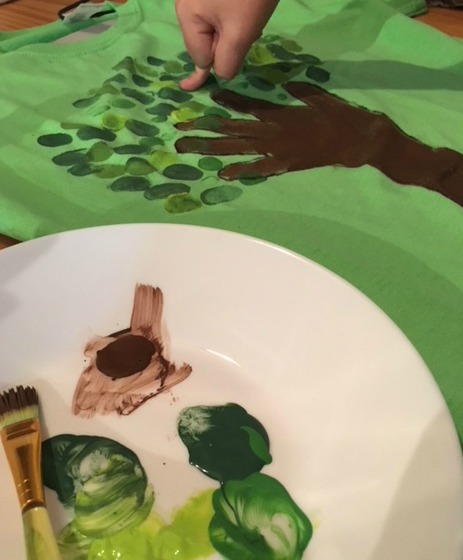
Next put a few shades of craft paint on a plate and dip your child’s thumb into it to make thumbprint leaves. I must admit I did a lot of this part as this darling kiddo didn’t want to get too messy. Of course, I didn’t mind, finger painting is good fun!
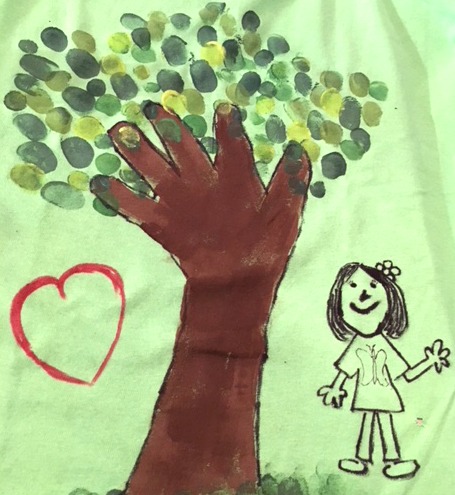
Add a few thumb prints at the base of the tree for grass. Miss M decided not to have words on this T-shirt but a self portrait and love hearts. We drew it on with a sharpie and then found the craft paints were best to color in the clothes and hair and heart etc.
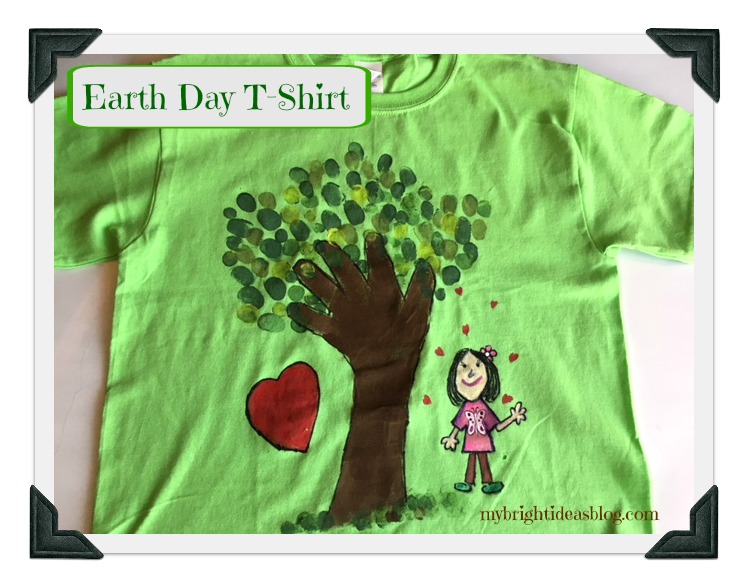 She was very pleased with the results and wore it to school the next day. The entire week was full of earth day activities so she was really into it. We love nature, we love the earth, we love hugging trees.
This shirt is big enough to wear again another year.
Below are some more nature crafts or earth day ideas! Have a look!
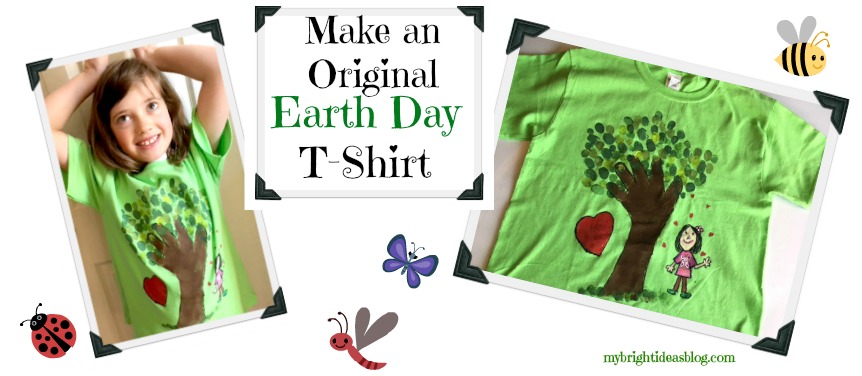
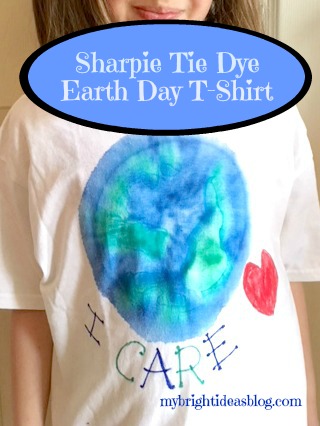
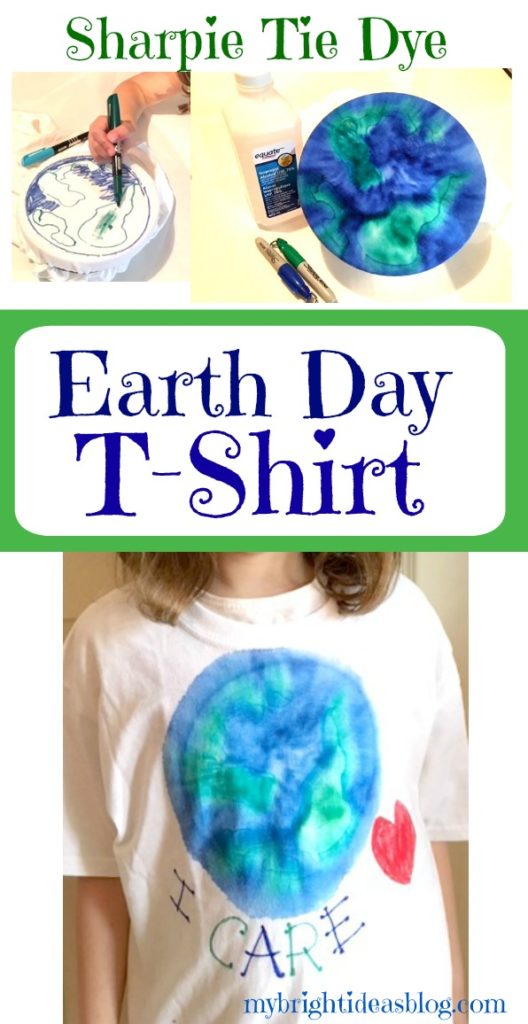
Did you see the earlier earth day shirt we made? It’s the planet earth made with blue and green sharpies-and it says “I care”. Check it out!
Nature Craft – Perfect for Earth Day Activity – Clay Imprints with Plants and Flowers
Easy Vermicomposting! How to start an indoor Worm Compost Bin!
…
Make an Easy Earth Day T-Shirt
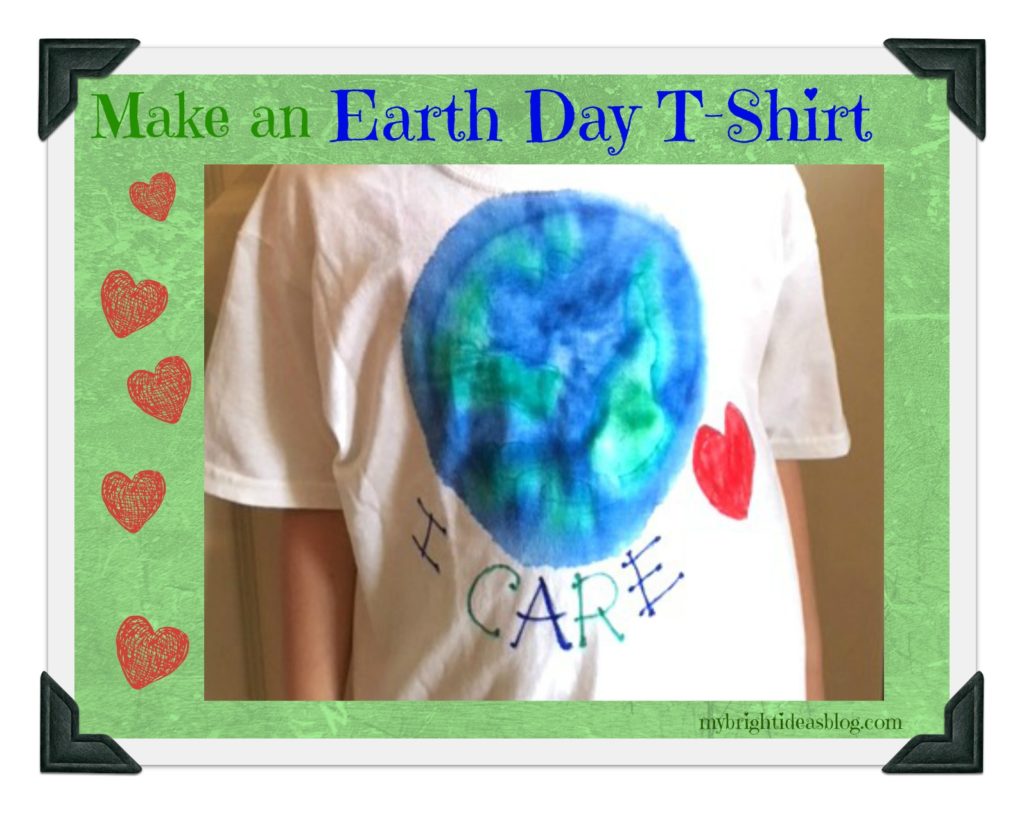
Earth Day is nearly here and a certain little lady in my house is really into it this year. She is throwing interesting facts about what happens to a recycled bottle and other tidbits into breakfast conversation. I love it!
So we whipped up a T-shirt project in just 10 minutes and let it dry overnight and she is wearing it today. Bam! It’s that fast!
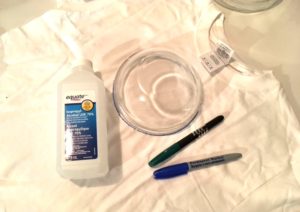
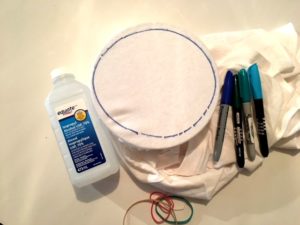
You will need:
- T-shirt
- Rubbing Alcohol
- 2 Bowls
- Elastic Bands
- Sharpies or Permanent Markers (Green, Blue and Red)
- An old Medicine Dropper that you don’t need back after the project
First of all, we should have ironed the t-shirt but it was already after bedtime so its crumpled.
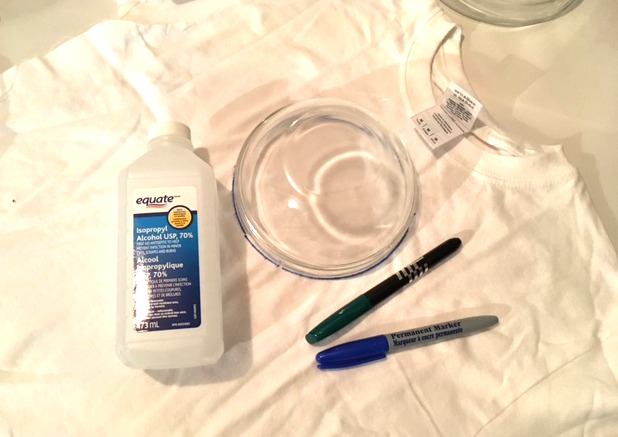 Trace a circle with a medium sized bowl or plate. Be careful, you are using a permanent marker.
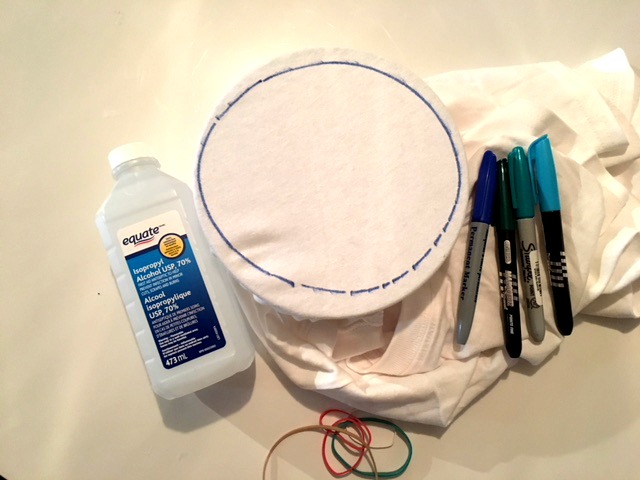
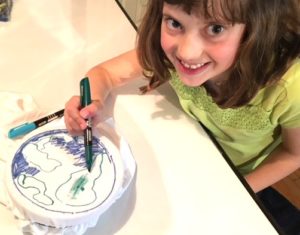
Next we used a slightly bigger mixing bowl and put an elastic around the t-shirt to help lay it flat and keep the project from bleeding out of control.
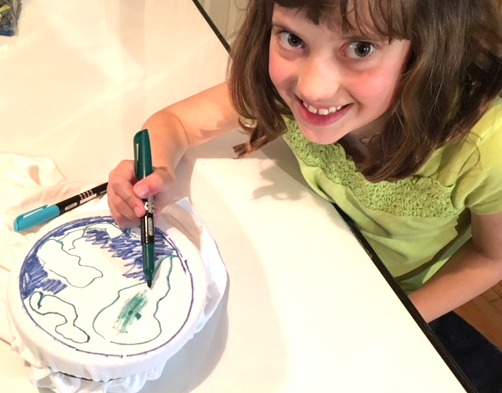
This is where the kids can really have a part! We have the earth-loving-tree-huggin child draw the earth within the circle with blue and green permanent markers. Color in the area as best you can, so there isn’t much white.
Do you recall this project where we watched the sharpie’s cool effect when we add rubbing alcohol? Have a look if you missed it.
This next step involves rubbing alcohol so this should be done by grown ups in a well ventilated area.
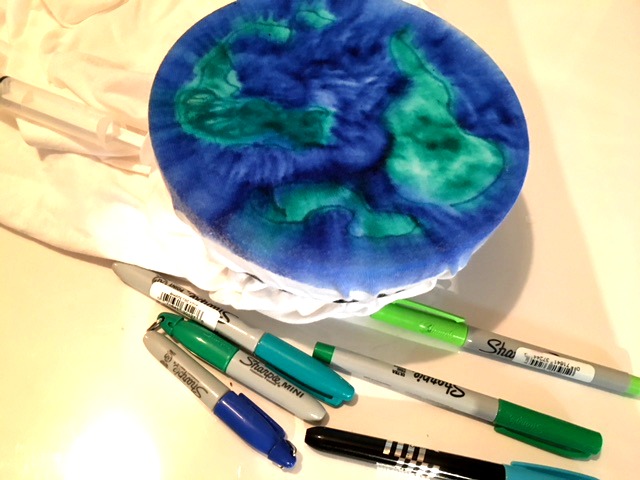
Using a dropper to control how much rubbing alcohol comes out-slowly add the alcohol and watch it blend the colors.
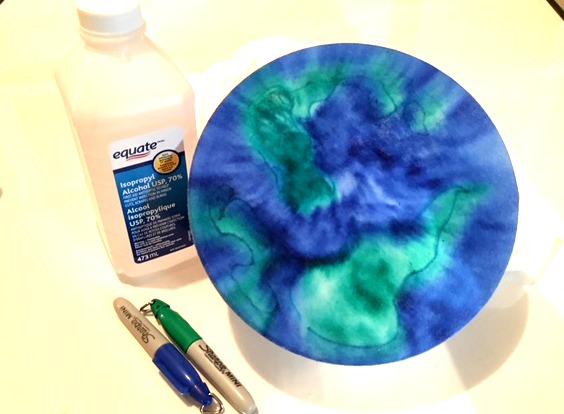
Watch the colors blend for a super cool effect.
Remove the bowl and hang on a hanger for 20 mins while it dries. Better yet put it outside so you don’t smell the alcohol.
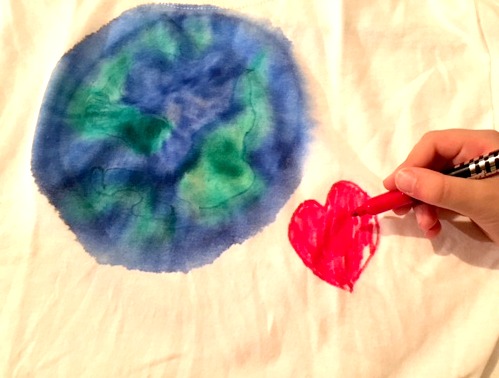
Lay it flat with a piece of cardboard in the middle so they color doesn’t bleed thru to the back.
Add a love heart with red permanent marker.
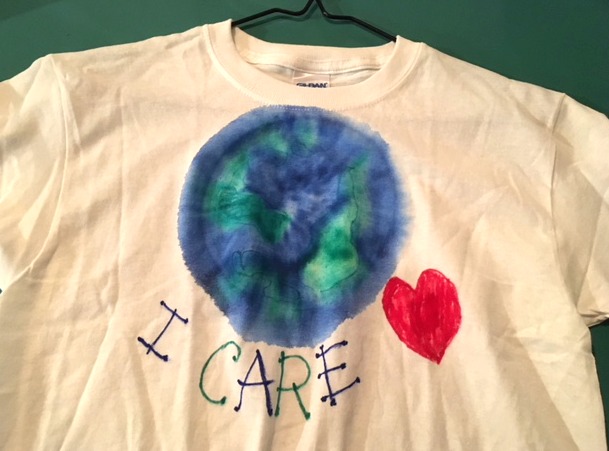
Add your message. We decided to write. “I care”.
It doesn’t take long for the rubbing alcohol to evaporate to be nearly dry.
Here are a few more recent projects for Earth Day you might enjoy!
Nature Craft – Perfect for Earth Day Activity – Clay Imprints with Plants and Flowers
http://mybrightideasblog.com/easy-vermicomposting-how-to-start-an-indoor-worm-compost-bin/
…
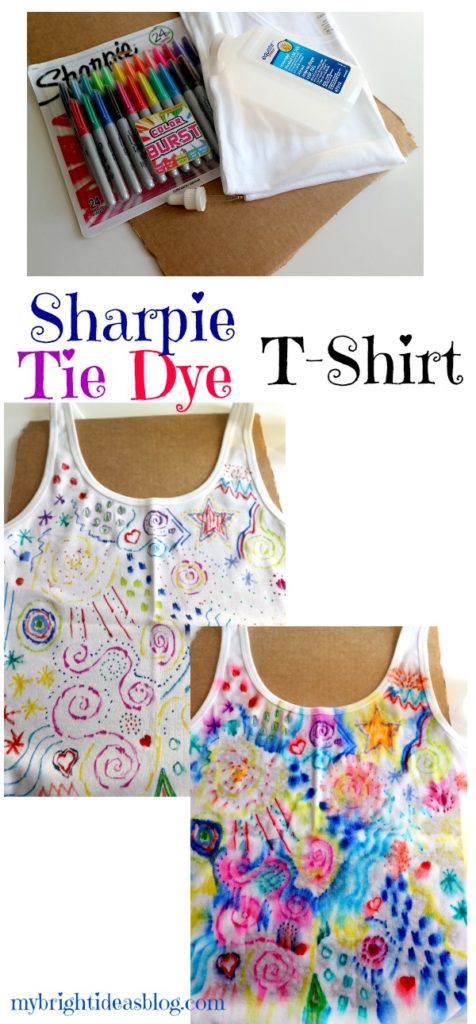
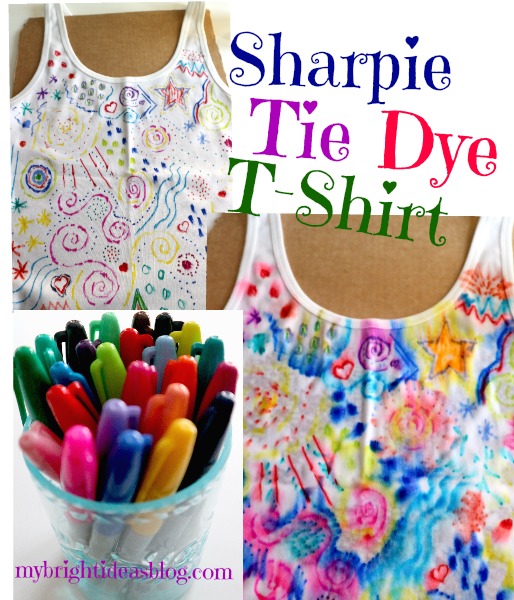
Sharpie Tie Die Coloured Shirts
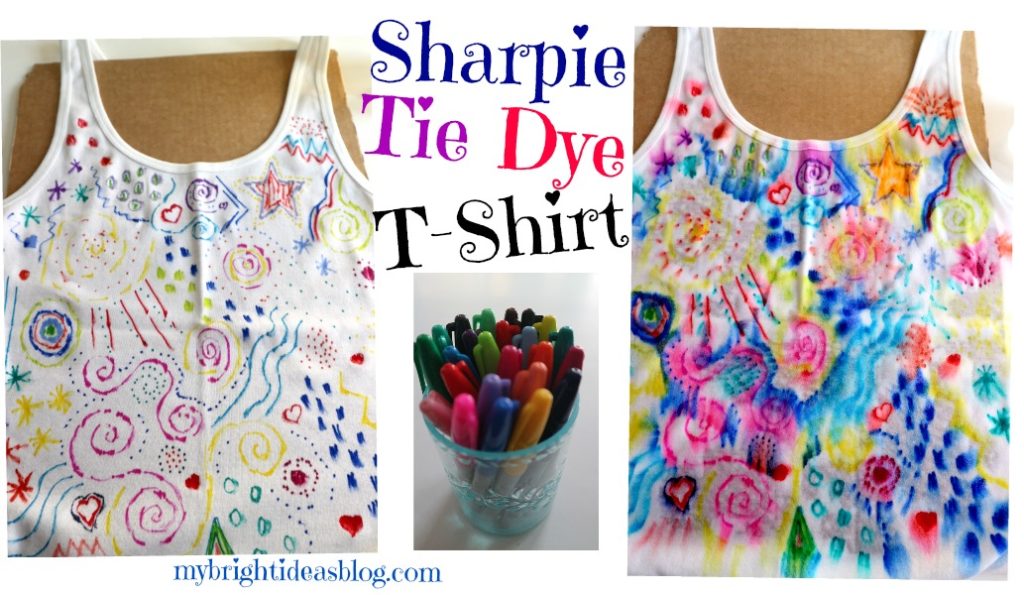
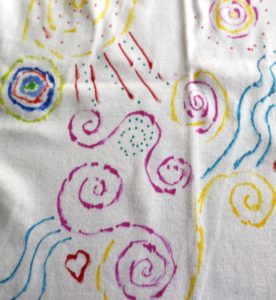
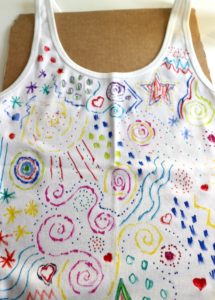
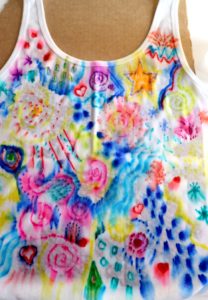
There is so much you can do with Sharpie permanent markers! For this project I wanted to see for myself what happens when you mix sharpies with a white tshirt and drops of rubbing alcohol. I was hoping for a vibrant a tie dye effect. It turned out pretty cool!
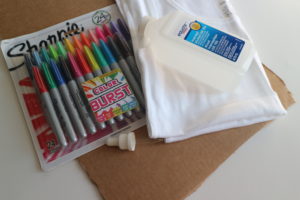
For this project, you need permanent markers (like Sharpie’s), a plain t-shirt, rubbing alcohol, a piece of cardboard or plastic to put between the layers of t-shirt so it doesn’t bleed through to the back side of the shirt. You will also need an eye dropper or baby medicine syringe (safety note-throw it out after using it for this project) for dropping rubbing alcohol onto the artwork you create.
Its harder to write on a t-shirt than you might think. Fortunately, I was just aiming for some funky designs that would look bright when the colours were all blurred together. This would be very cool on a cotton pillow cover or canvas running shoes!
The rubbing alcohol is really quite smelly and I drenched my shirt in it because I loved the process-it’s like watching fire works! When I made this shirt I was battling a cold and my nose was stuffed up…but when my family came home they said it was really strong. It might be better to do this when the windows can be open or even as an outdoor project.
The best thing about this wearable art is that every one will be an original!
…

