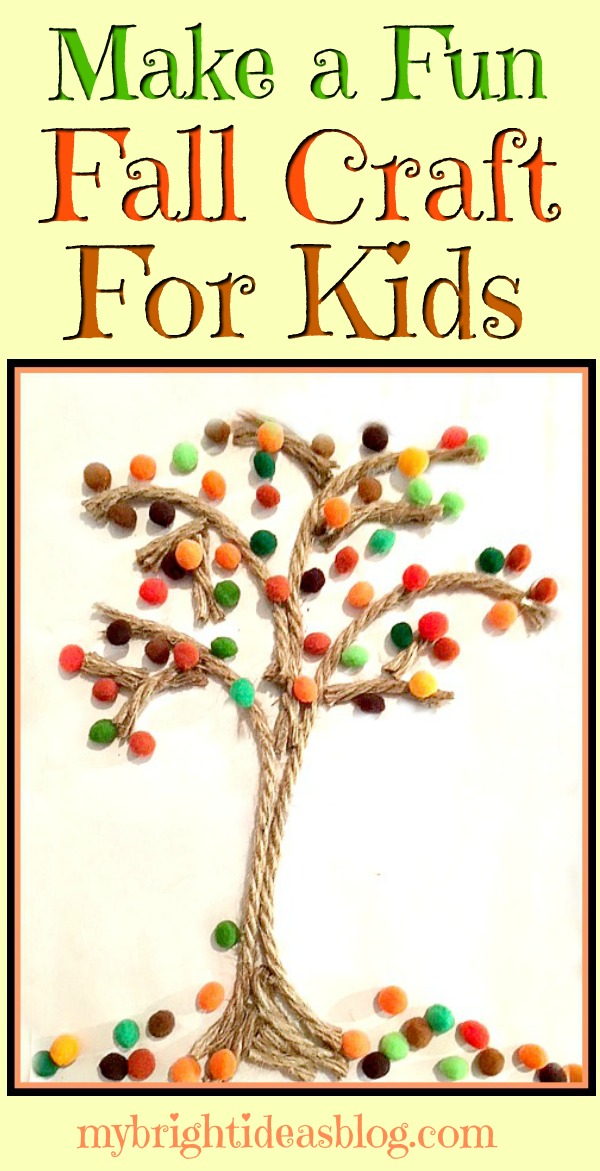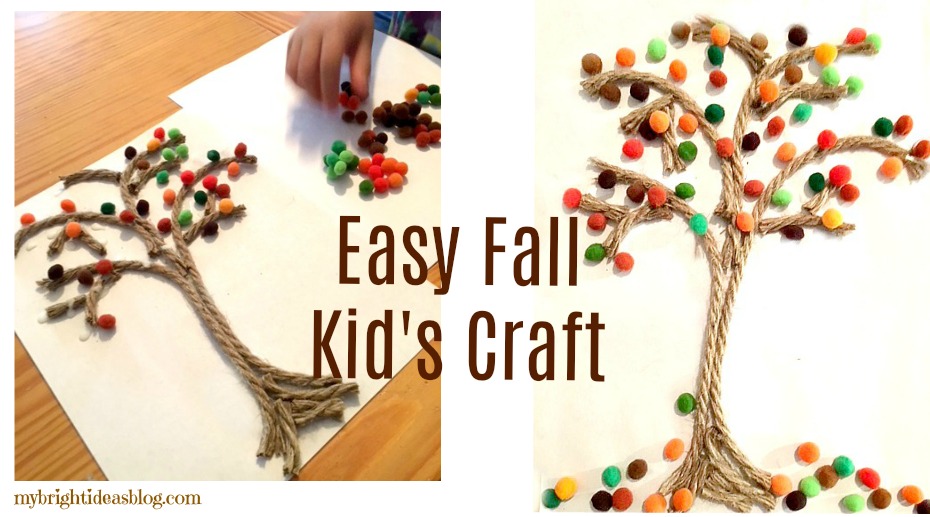
Today I was rolling through the dollar store….I only needed to pick up one item…but my shopping cart was full of crafts. As I perused the craft aisle, I stopped in my tracks when I saw the pompoms. Gasp! Packages of all sorts of colours! I got 6 packages…some for now and some for later. When I saw the package of multicoloured orange and yellow pompoms… I thought Fall Tree Craft! Whooohoo Start the Car!
I have neglected the kids crafts in favor of my DIY projects over the summer. So I’m brainstorming some kids projects for autumn before you know it winter will be here!
After my 8 year old got home from school we worked together on this easy kids craft. This is perfect for this time of year. Autumn colours of greens, browns, oranges and yellow.
You will need:
-
- rope or natural jute
- small pompoms in fall colours
- white glue
- cardstock or a blank white canvas
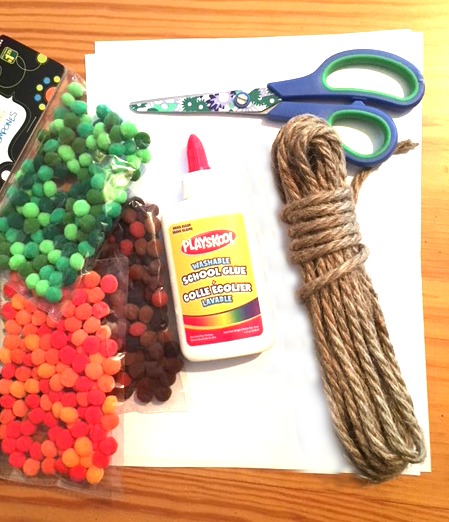
I mention using cardstock or a white canvas because this ends up being quite heavy and regular paper will be floppy from the weight.
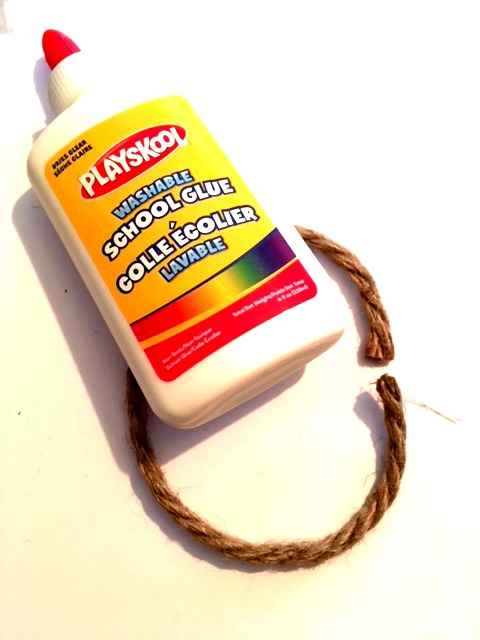
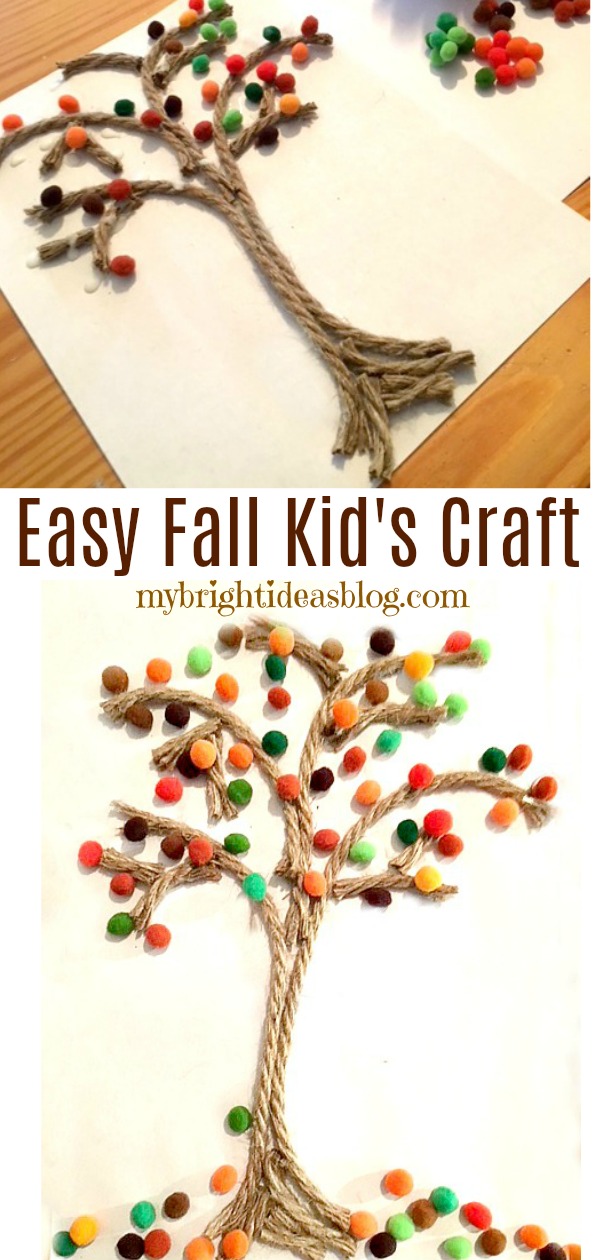
Start by cutting a piece of rope the length of your page or canvas.
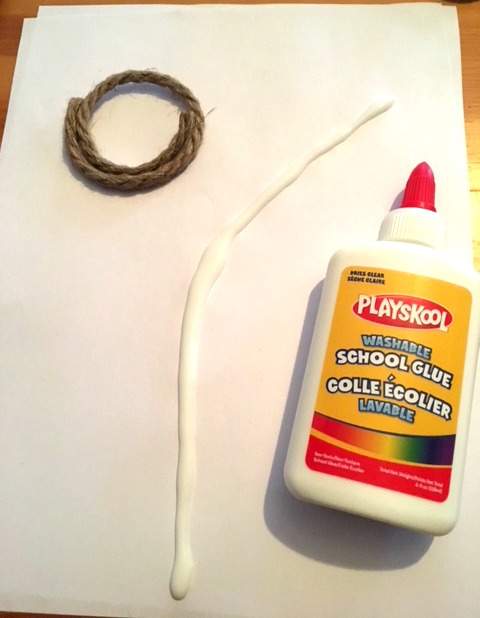
Make a line of glue starting from the middle bottom of your page or canvas running upwards and to the right to begin a branch.
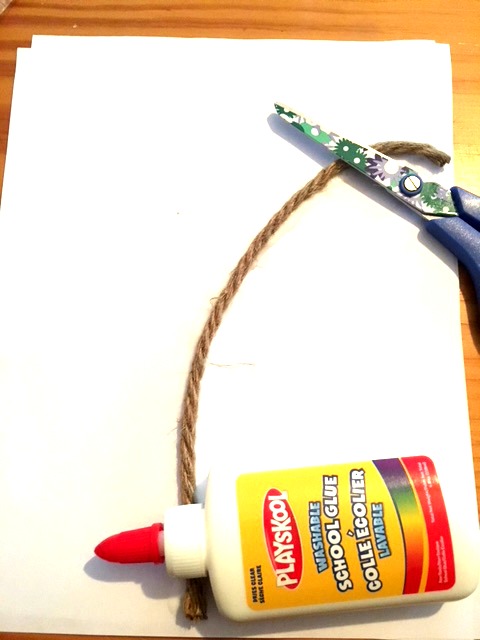
The ends of the rope seemed to pop up at first so I rested my glue and scissors for a few minutes until it began to stay flat.
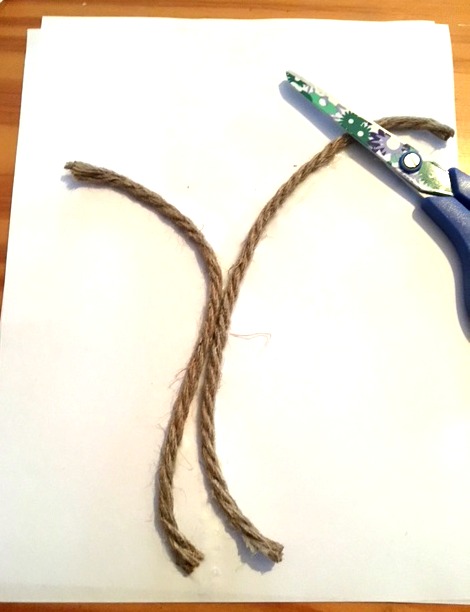
Add a second piece of rope that is the same length. Have that one turn to the left for another branch.
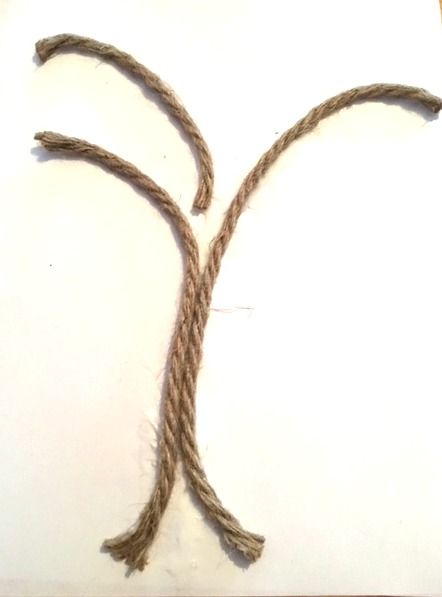
Begin cutting a few pieces to fill in some additional branches. Fill in the top of the tree by adding more 1 inch pieces of rope as smaller branches.
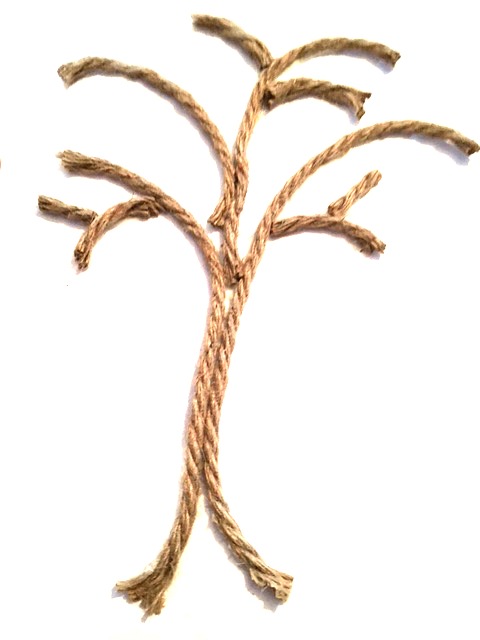
Next add small pieces of rope to thicken the bottom of the tree trunk.
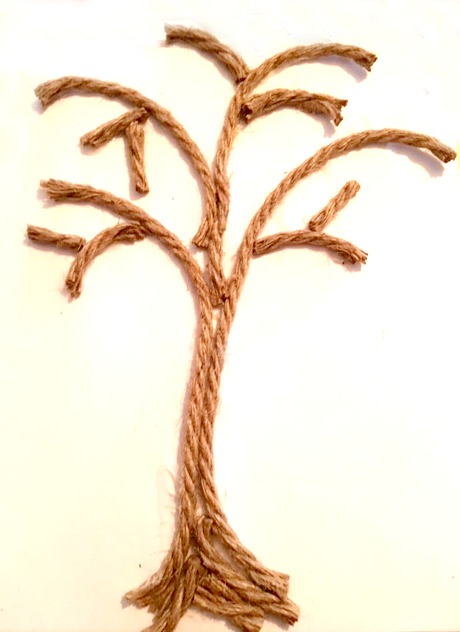
We were pretty happy with our tree trunk so we moved on to the pompoms.

Add a few dabs of glue on the rope and around the rope. Then add orange, yellow, brown and green pompoms.
Is it just me or do the colours of these pompoms make you think of Reese’s Pieces….is anyone else getting wondering if they have any chocolate hiding anywhere? Maybe its just me…focus on the craft…

I suggested we put some on the bottom of the trunk and on the ground. Miss M didn’t understand why we would want to do that. Um, darling look out the window. The wind has picked up and the leaves are swirling. By tomorrow the wind will have moved all the leaves from our lawn onto our neighbours lawn. Sorry about that sir.
Mother/Daughter craft time is good fun! This girl is always crafting something out of our recycling bin. She is just like me…always planning a project.
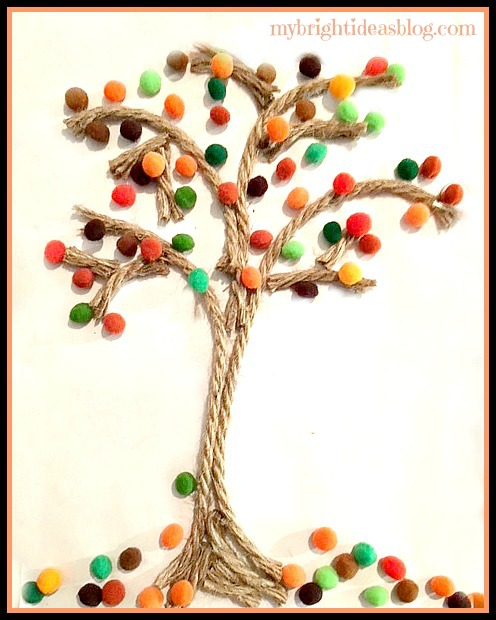
So there you have it! A super easy autumn craft perfect for this season. Beautiful fall colours in your tree art. Now maybe we should grab our rakes and head out to deal with the real leaves.
Thanks for popping by to see this fall craft! Pin it on Pinterest or share it with your favourite social media platform.
…
Plant Puns on Painted Potted Flower Pots – Adorable Gift Idea to Make Them Smile!
Nature Craft – Perfect for Earth Day Activity – Clay Imprints with Plants and Flowers
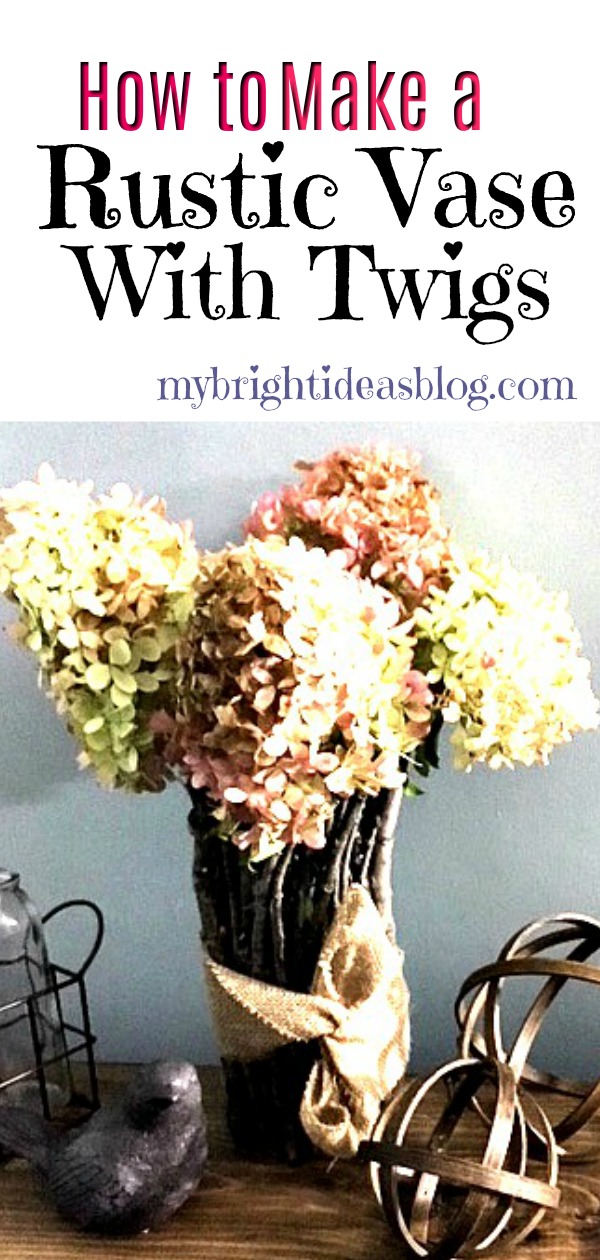
Make a Twig Vase – Super Easy DIY!
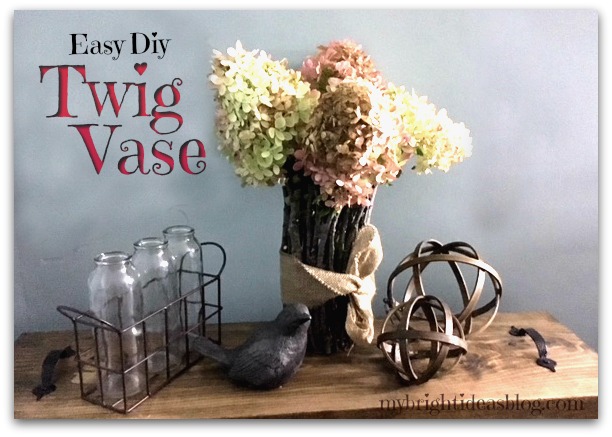
Here is a super easy, super rustic, super pretty twig vase! I am loving using twigs and sticks in crafts. It’s free! It’s also time to do some trimming in the backyard gardens so I get the job done and a craft project to do when the work is done!
You will need:
- an inexpensive straight vase
- twigs
- snips
- hot glue gun
- 6 or more hot glue sticks
- burlap or raffia
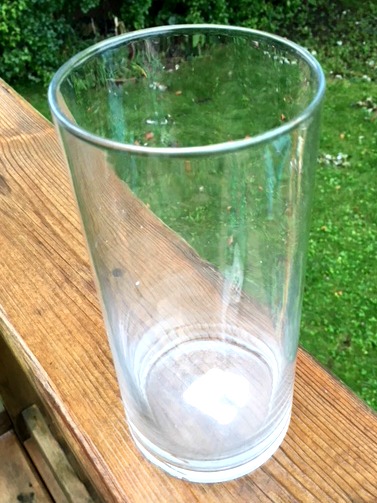
First, choose your vase. If you don’t have a tall straight vase already in the back of your cupboards then pop over to the dollar store, or a thrift store you will definitely find them there. I had this vase on hand. The Dollarama sticker was still on the bottom. $1.25. That is the total expenses on this craft if you already have the glue gun and glue supplies.
I love me a cheap craft!
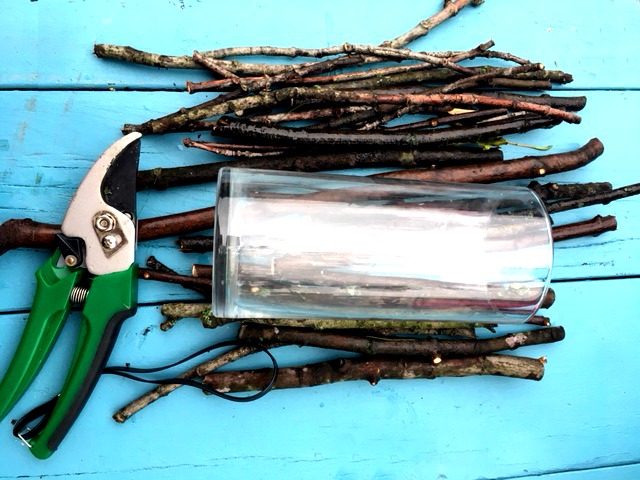
Using sharp shears, cut twigs in different lengths taller than your vase. Choose sticks that are as straight as possible. Trim off any side twigs as short as possible.
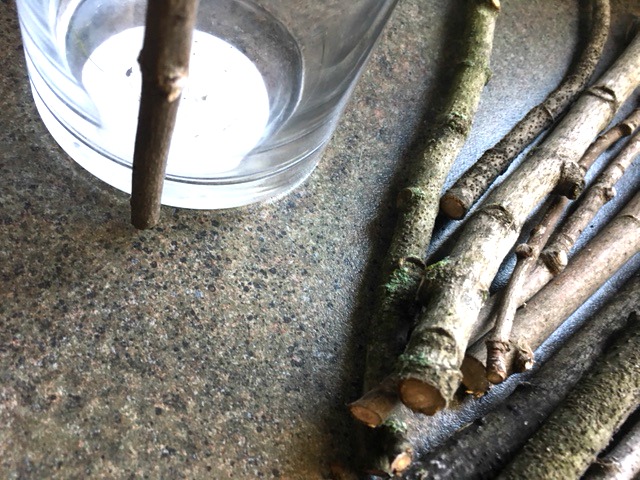
Plug in your glue gun. Set the twig in place and see where it will make contact with the glass of the vase. Add the glue in those contact places. I do this instead of running a line all the way down the stick. That is a lot of waste. Hold the twig in place 10 or 20 seconds while the glue cools. Mind your fingers!
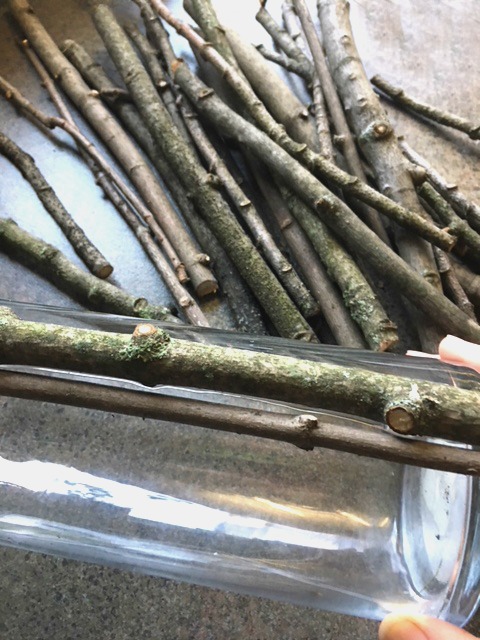
Work around the vase with each twig fitting tightly next to the previous twig. If there are spaces you can put a thin twig in later to fill in the gaps.
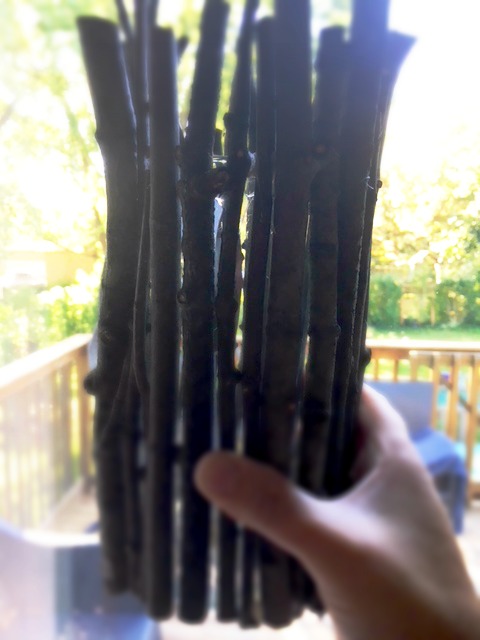
You will notice that the light does pass through the gaps. If that bothers you, cut a brown or black paper down to the vase size and slide it inside.
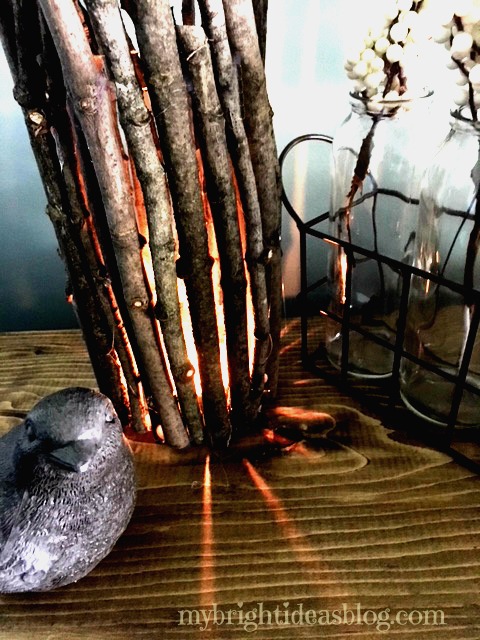
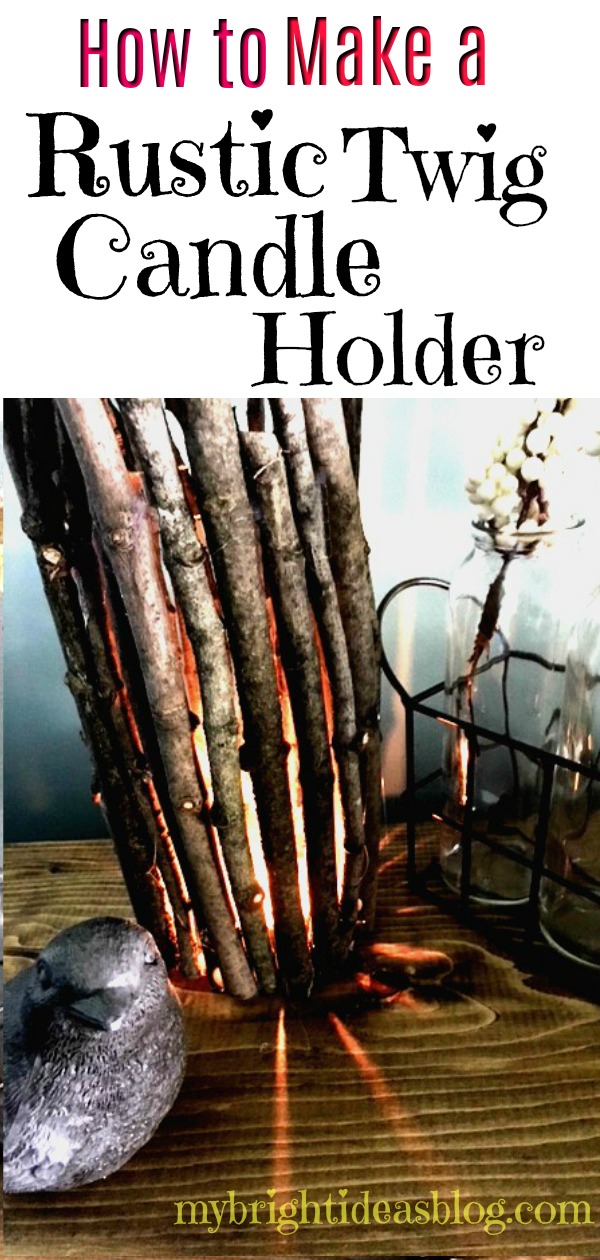
OR…you could embrace these gaps and use it as a candle holder. If you go this route please do not put paper in your vase. You will surely start a fire. Eek!
I didn’t mind the gaps in the vase so I skipped the paper and can use it with a tea light or with dried or artificial flowers.
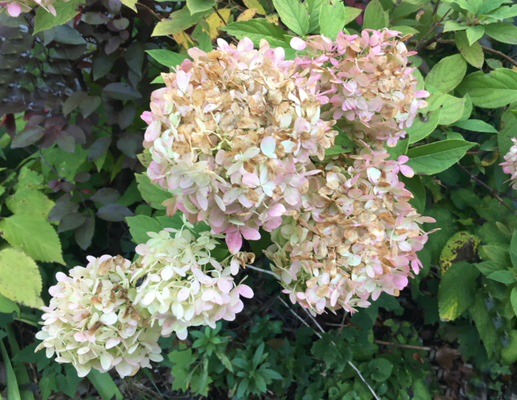
So to the garden we go for some flowers. I cut these hydrangeas. These are going to dry nicely in the vase and look the same for months and months.
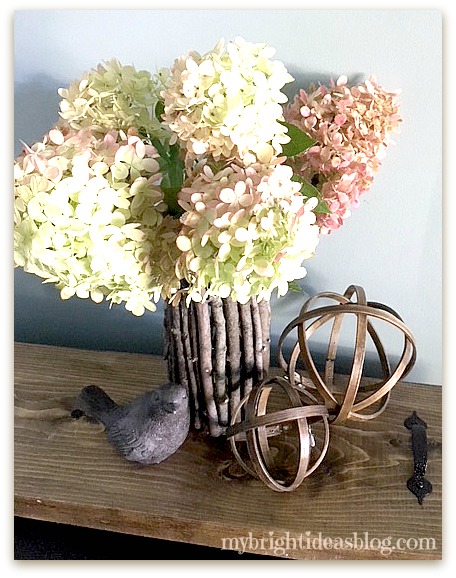
Isn’t that lovely? I hope you enjoyed this rustic twig/stick project. I really love making things with twigs.
Wait! Oh my days!!!! I forgot to put on the bow!
Cancel the photo shoot and back to the craft counter….
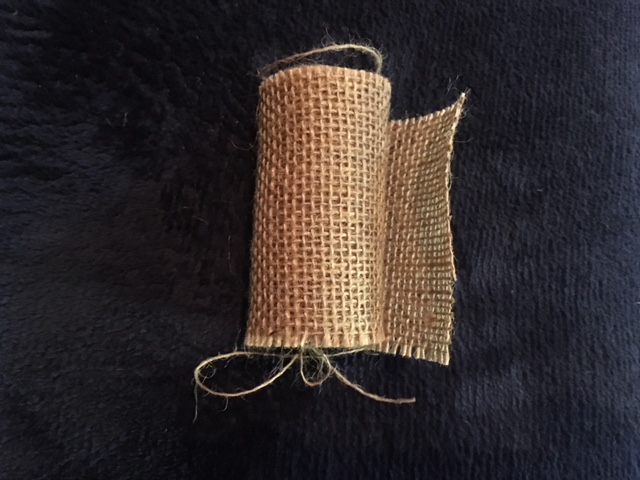
I know I have raffia somewhere but I can’t remember which craft bin I put it in. So instead I used this 3 inch wide burlap roll from the dollar store and wrapped it around the vase.
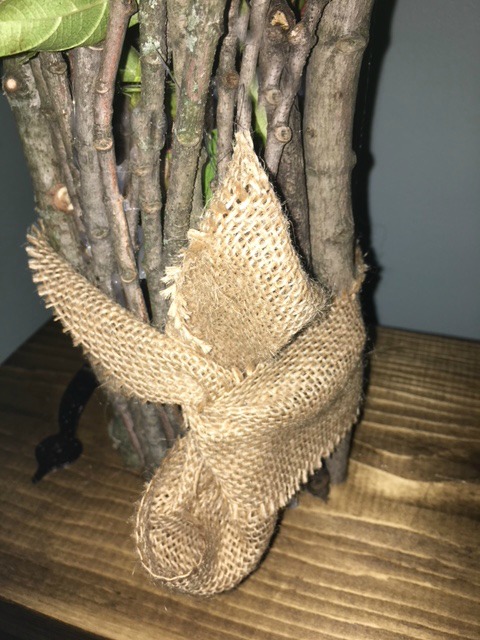
After tying it in a knot I tucked the ends under the centre. It looks like a bow but less bulky.
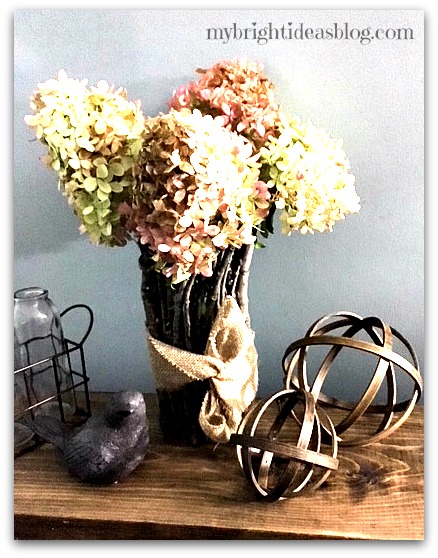
There now that is better! Its a lovely rustic vase perfect for this time of year!
I really appreciate you reading to the end and hope you will remember to pin this or share it on your favorite social media site.
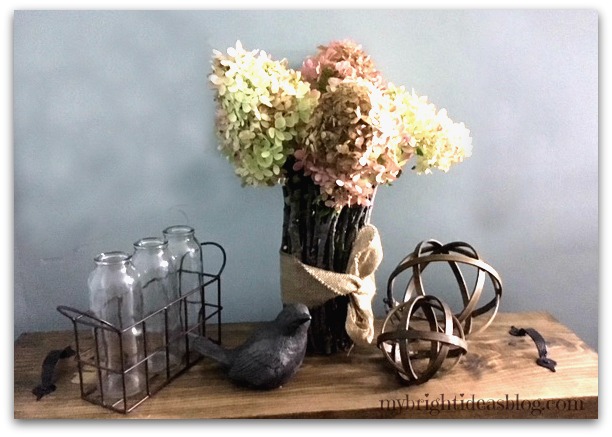
If you would like to see how I made the orbs or wood tray in the photo above, click the links below.
Till next time!
…
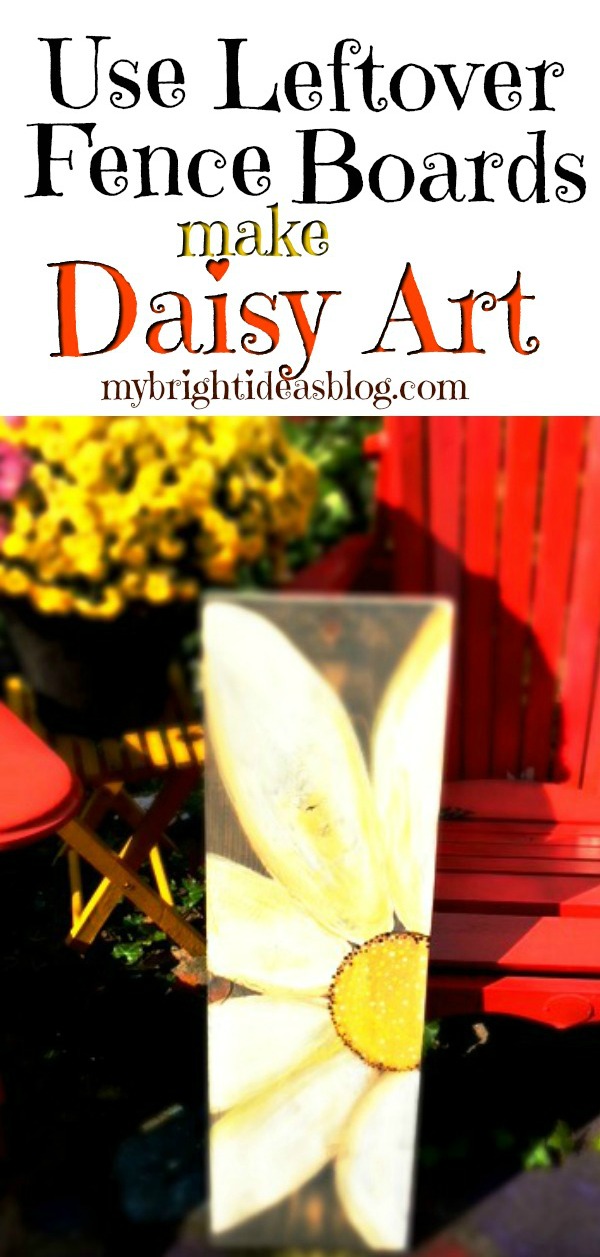
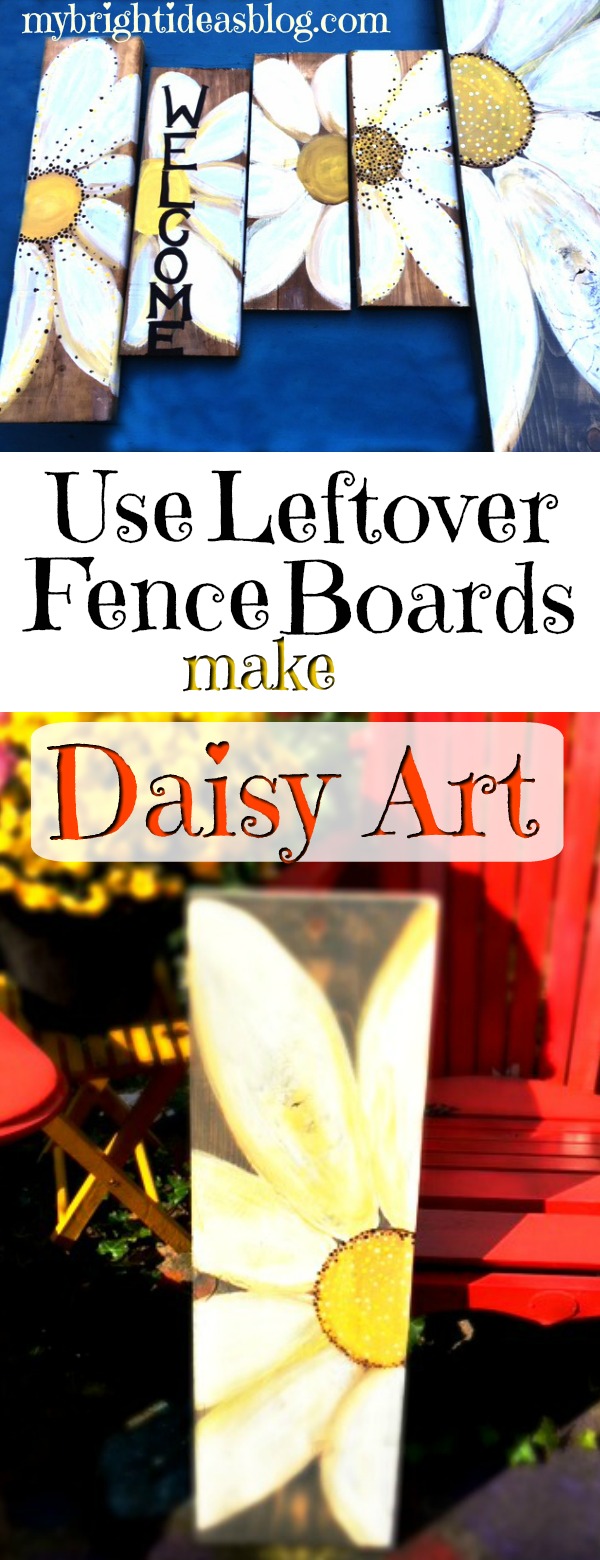
Outdoor Daisy Art – From Lumber Scraps!
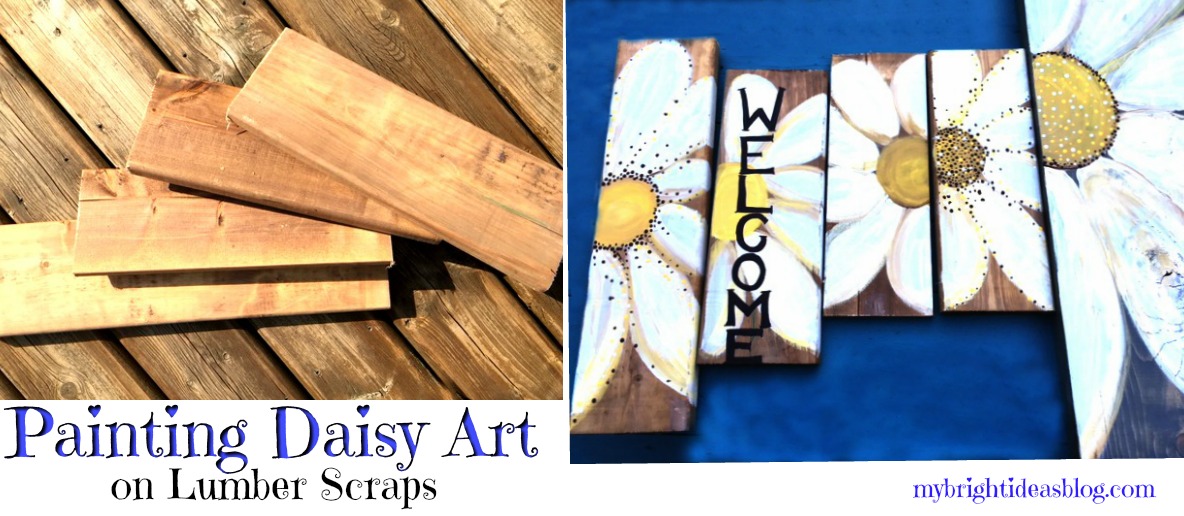
We have done a lot of wood projects this summer and the scrap pile is getting bigger. I am going to show you how to turn your left over wood scraps into painted daisy art that you can use indoor or outdoors. Grab your paint and brushes – lets get started!
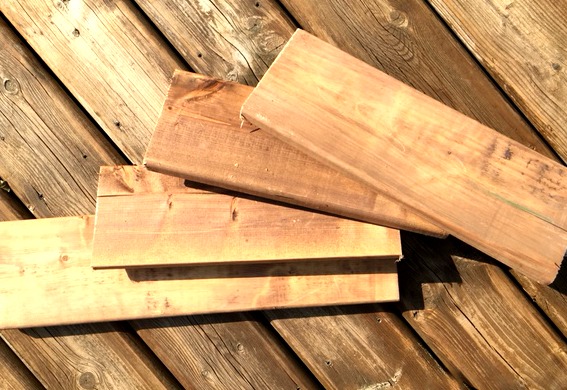
You will need:
- lumber or fence boards
- sandpaper
- small and medium art paintbrushes
- craft paint-yellow, white, beige, black
- polyurethane (clear varnish)
- large brush (that you might throw out)
- hammer
- needle nose pliers (optional)
- picture hanging kit
The wood in the photo above is scraps of pressure treated fence or deck boards. The size doesn’t matter-just work with what you have. Mine were approx. 5 1/2 inches x 14 inches (14cms x 36cms). They don’t need to all be the exact same.
Have a quick look at the ends of the boards to see if you have any jagged edges. If yes a quick swipe with your sand paper should remove the frayed bits. No splinters!
If you don’t have treated fence boards you can use bare lumber but put a bit of stain on to make it darker.
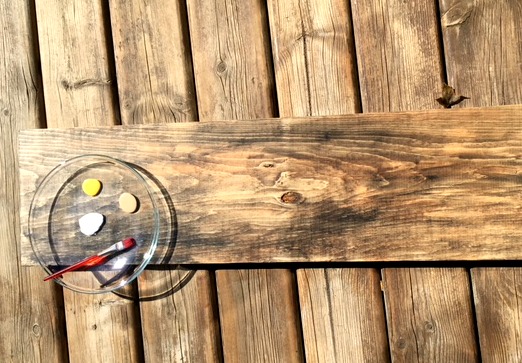
This board was not a fence board but rather a this piece of wood I was going to make another tray out of. It’s 9 1/4 inches wide and 35 inches long (or 24 cms x 89 cms). I had already put my favorite Jacobeen Miniwax on it. So it was ready to be used for something else but instead I put daisy on it for a much bigger version of the fence boards.
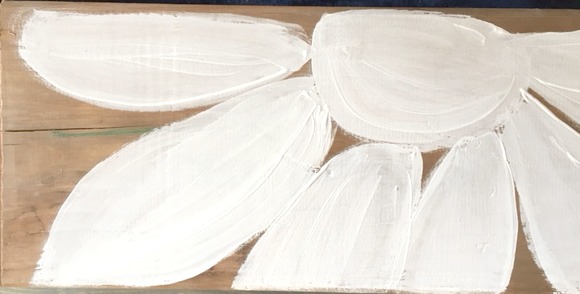
Start with white and paint the shape of the daisy. On this one I painted the centre white also.
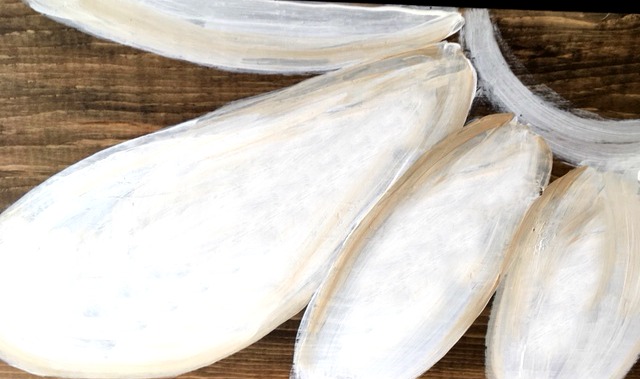
For this board I didn’t paint the centre till later. I double loaded my paint brush with white on the left and dipped a bit of the beige paint on the right side. I went along the edge of the petal to add some depth.
The centre part of the daisy was painted yellow. It doesn’t have to be perfect no one will look at it this close up. The brush strokes look great from a few feet away. If you turn it into a Welcome sign at your entry way or a backyard garden sign, it’s going to look great!
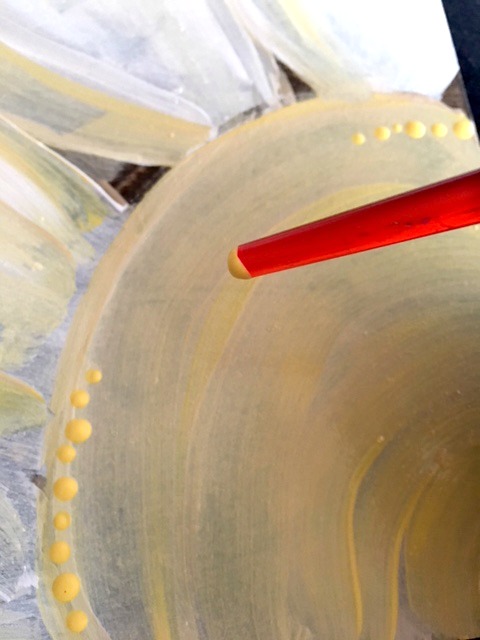
Using the end of the paint brush add dots around the edge of the circle. Some of the boards I didn’t put any highlight dots. The next photo shows I used brown and black dots to make it really stand out. Every board turned out differently.
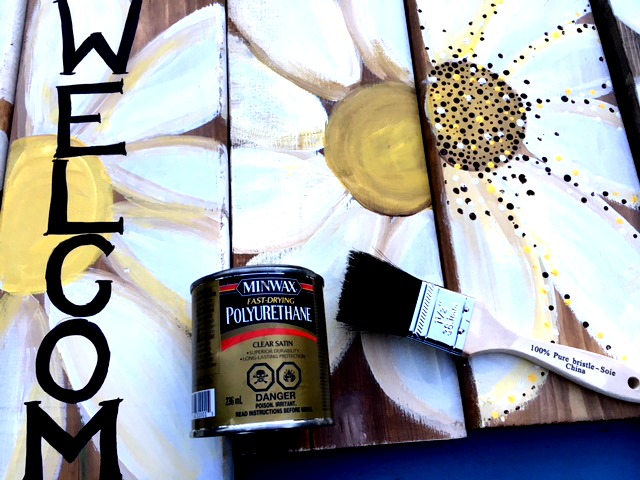
After the craft glue has time to be thoroughly dry, I painted on a clear coat of satin polyurethane. If this is going to be used outside it should have this protection on the front and back and edges. The fence board scraps will be weather resistant but the craft paint might crack in the rain. So this protection over the front and sides is worth the effort.
Oh and I hate cleaning polyurethane out of paint brushes so I just use the cheap brushes so I can toss them out. I have been known to wrap it in a baggy or cling wrap with an elastic band if I am going to need it again in the same day. I also store it that way in the freezer if I will need it again in a few days. If the paintbrush dries it’s hard not usable again.
If you get it on your hands. Make your way to the kitchen-without touching anything. Find a bottle of cooking oil (vegetable or olive have both worked for me). Put it on your hands and massage the oil in and watch the varnish come off your skin. Add hand soap and rinse off. Hands are clean and silky soft! Cool trick!
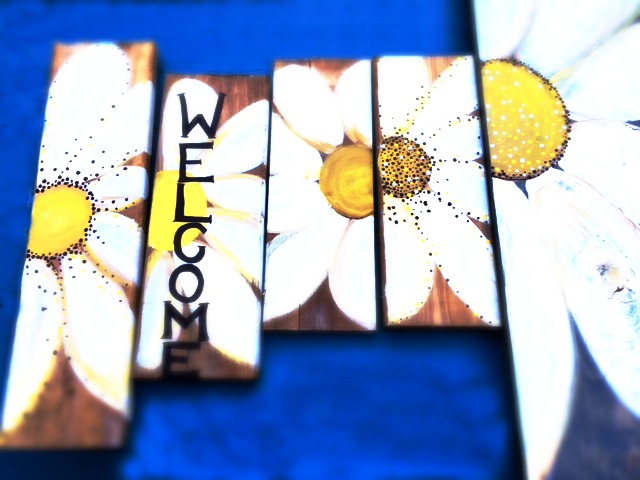
I made enough to give some away as gifts or put on the office craft table for sale. Since these were scraps and I had all of the supplies in my craft and diy corner…this would be a great item to make some money to sell….gotta support my craft addiction ssomehow!
To hang it or lean it…..mmmm.
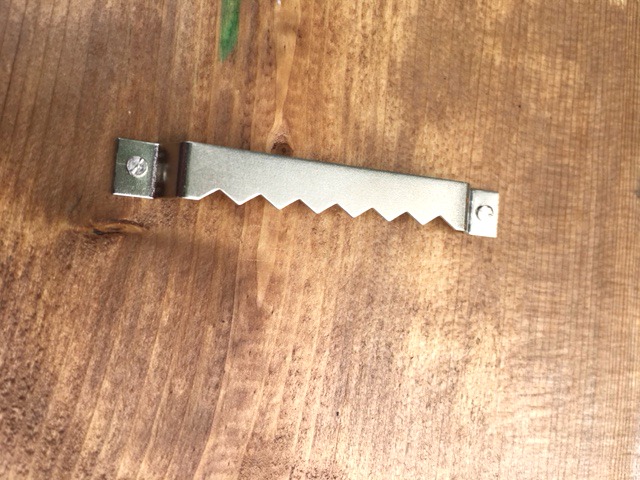
I used these inexpensive picture hangers and just hammered them into the back. The nails are the tiniest nails I’ve ever seen so I hit my fingers with the hammer about 5 times trying to get this nail tapped into the wood. I suggest getting some needle nose plyers to hold the nail while you get it started. Save your poor fingers!
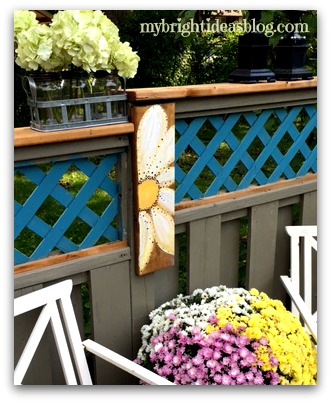
Around the patio we have a very old privacy fence. It has some ugly seams and badly matched up corners. Putting this as a plaque on the fence is a rather awesome solution!
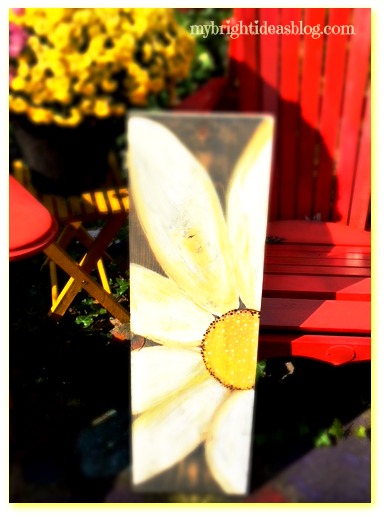
This was super easy to make and looks great! Painting is so therapeutic. I highly recommend it!
Thanks for reading to the end folks! I hope you have a chance to pin this to Pinterest or share it with your favorite social media.
…
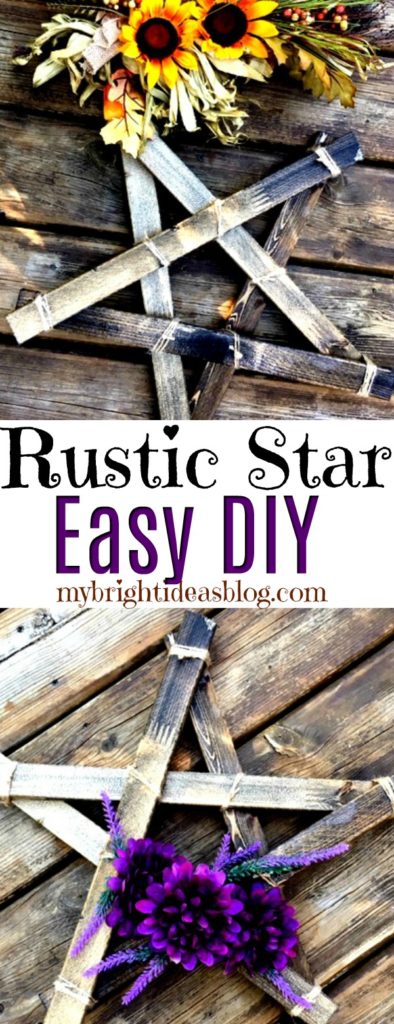
How to Make a Rustic Wooden Star
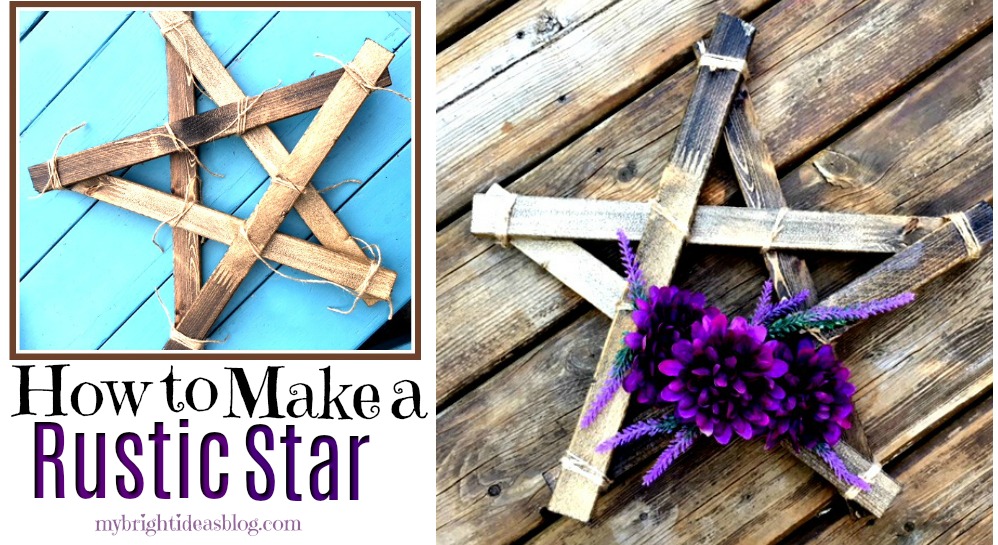
Have you seen these lovely rustic wooden stars and wondered, how hard can that be to make? Well let me tell you it’s ridiculous how easy it is to make this wood star.
Did I mention the wood cost is around $2.50? Say what….?!?!
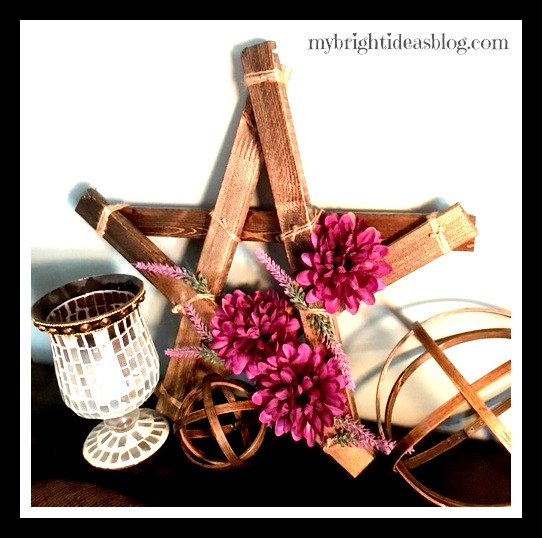
You will need:
- 1×2 Board $2.50
- twine
- scissors
- stain or paint
- rag
- varnish
- paint brush
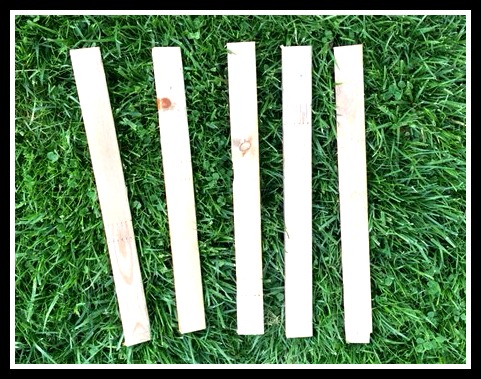
Cut the 1×2 lumber into 5 pieces 18 inches long. No wasted wood. Awesome!
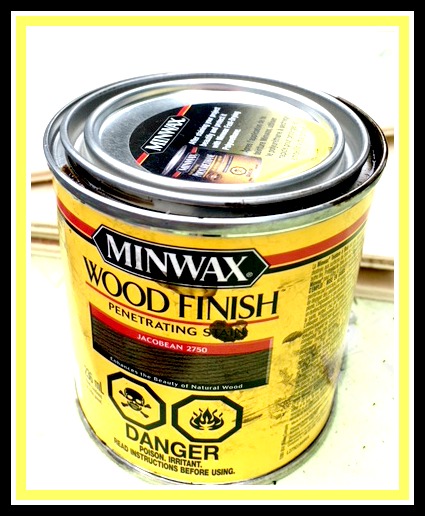
I used my FAVORITE wood stain Miniwax Jacobean – it has a dark walnut look to it that I just love! You could use paint instead. Dip a rag into the stain and rub it into the wood. Follow the instructions on the tin to leave it for the right amount of time to dry.
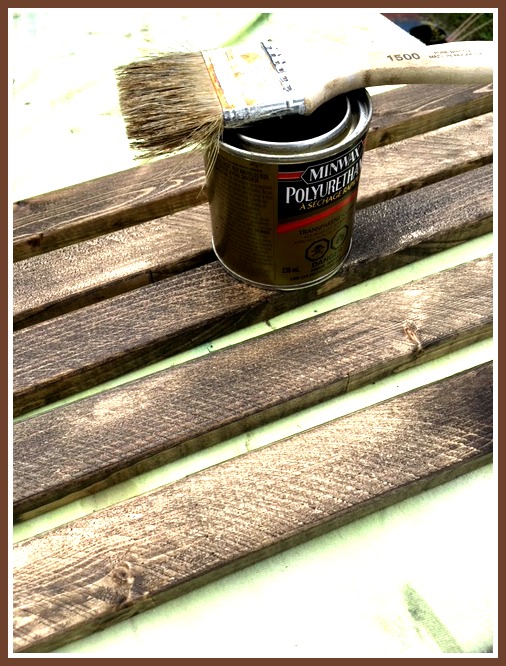
After allowing the stain to dry, I put on a coat of polyurethane. This adds a clear coat of protection if you plan to use it outdoors. If you intend to use it indoors like on a mantel you could skip it.
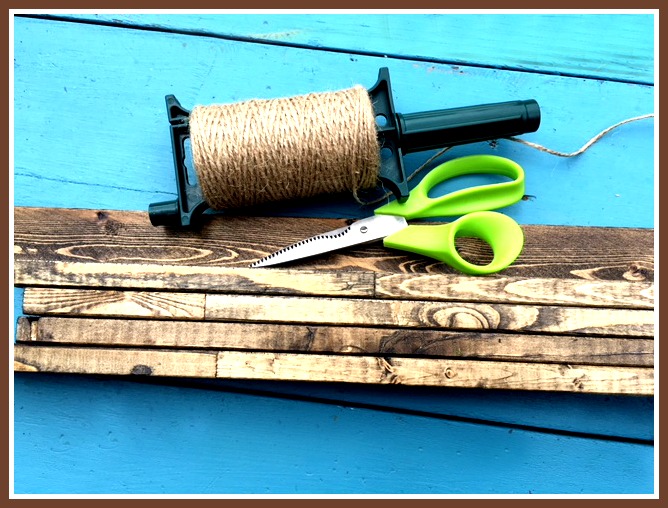
Gather your finished pieces, scissors and twine….
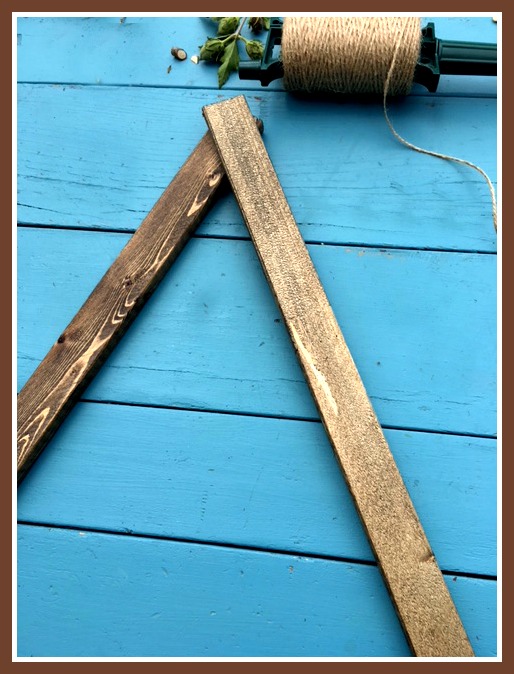
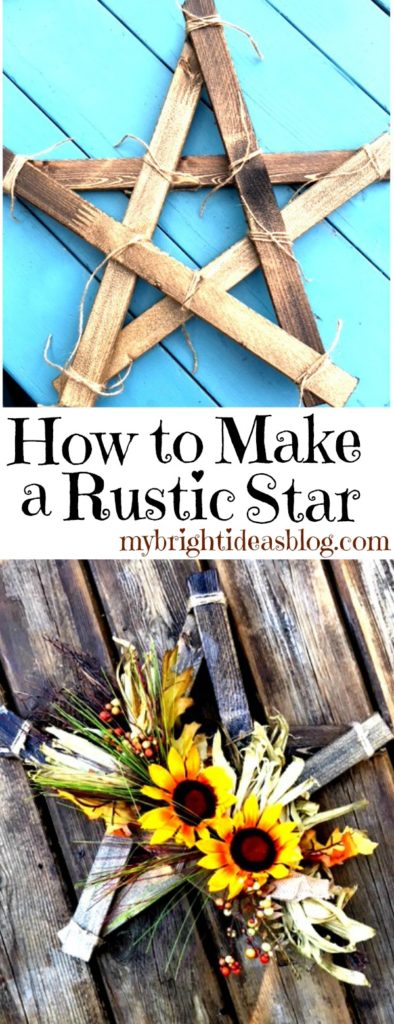
Place one piece on an angle to the left. Lean the second piece on top,angled to the right.
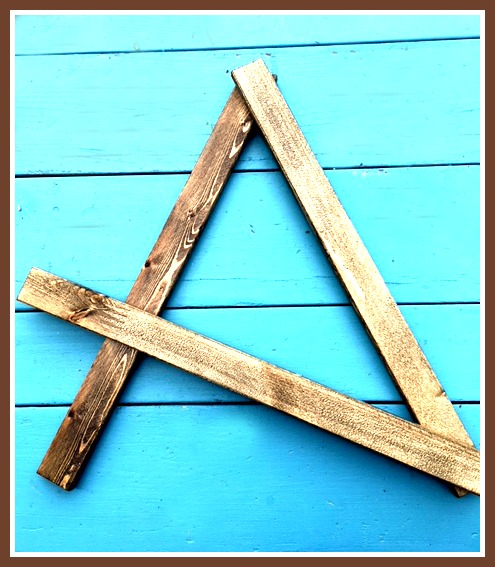
Add the third piece to the bottom right corner angled up.
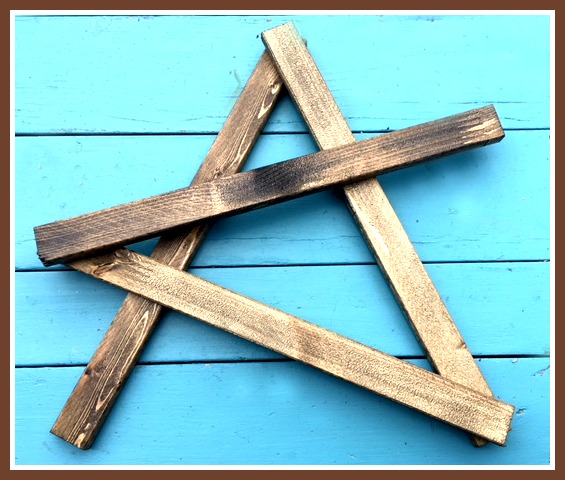
Next add the forth piece across….
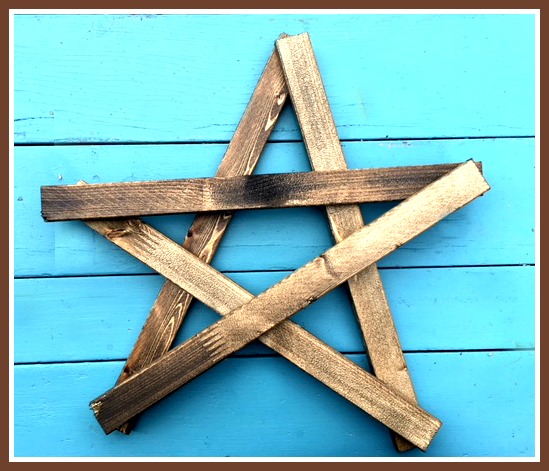
And lastly add the fifth piece of wood. If it doesn’t look exactly the way you meant it to, shift the corners a bit.
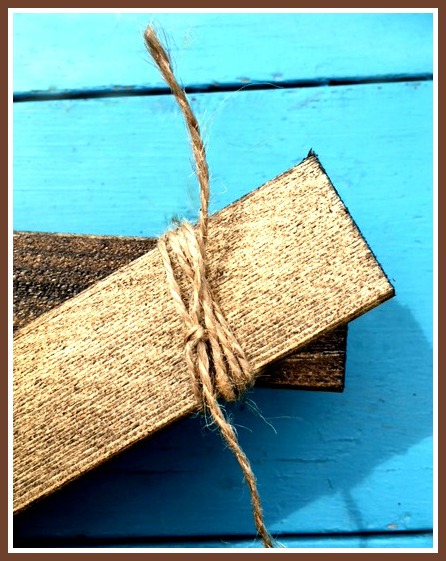
Tie twine around each end. You could also use industrial strength glue like E6000 with the twine, or skip the twine and use nails. I like the rustic look of twine.
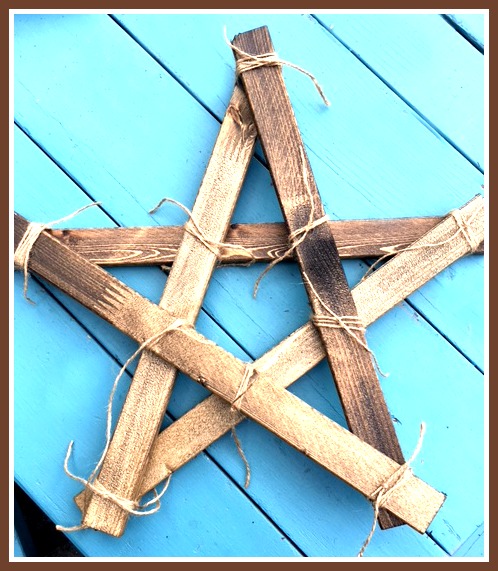
For extra reinforcement I tied more twine on the middle parts of the star. This extra twine made it very sturdy. Next use the scissors to snip the scraggly bits of twine close to the star.
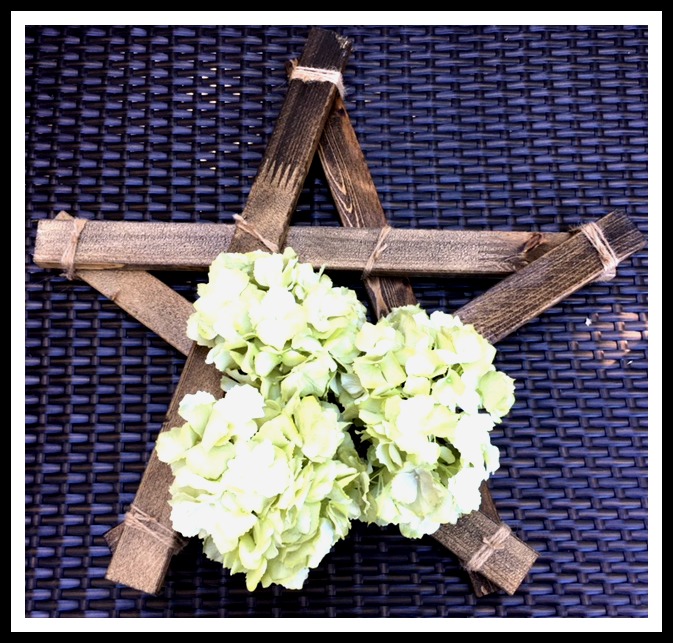
I adore hydrangeas so I popped a few out of another arrangement and put it in on the star to test it out. Lovely, these are my favourite flowers.
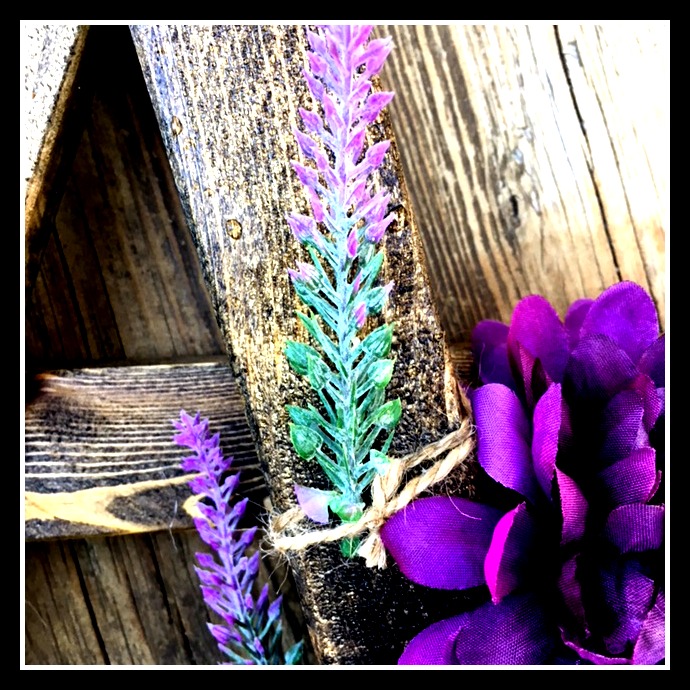
One nice thing about the twine is you can tuck your flowers into it and pull them out if you want to change flowers for the next season.
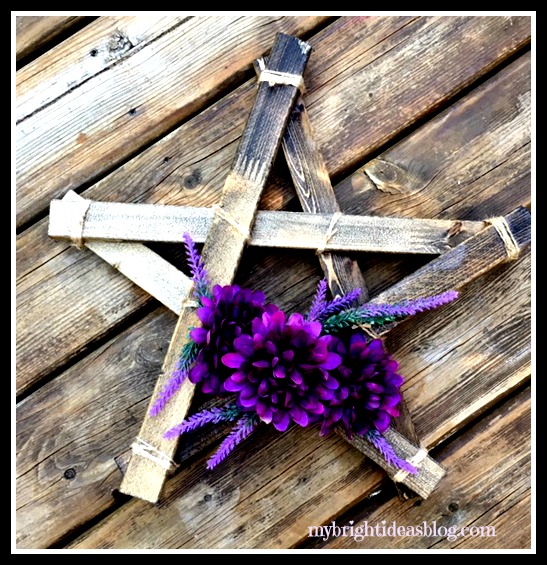
I picked up a bunch of purple flowers at Michael’s and took 3 flowers from the bunch and a few little wispy bits off to use for this one. This turned out to be the one I stuck on my living room wall.
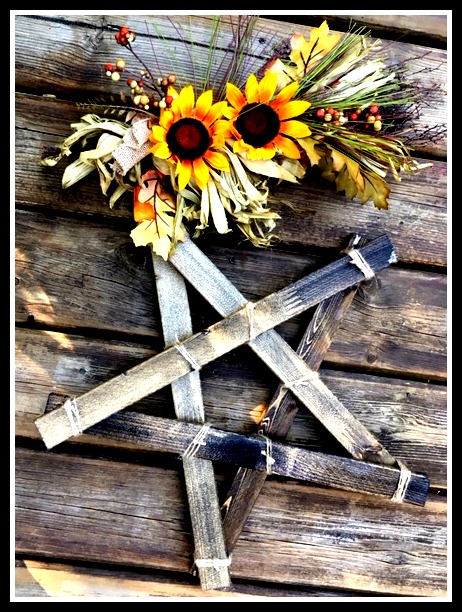
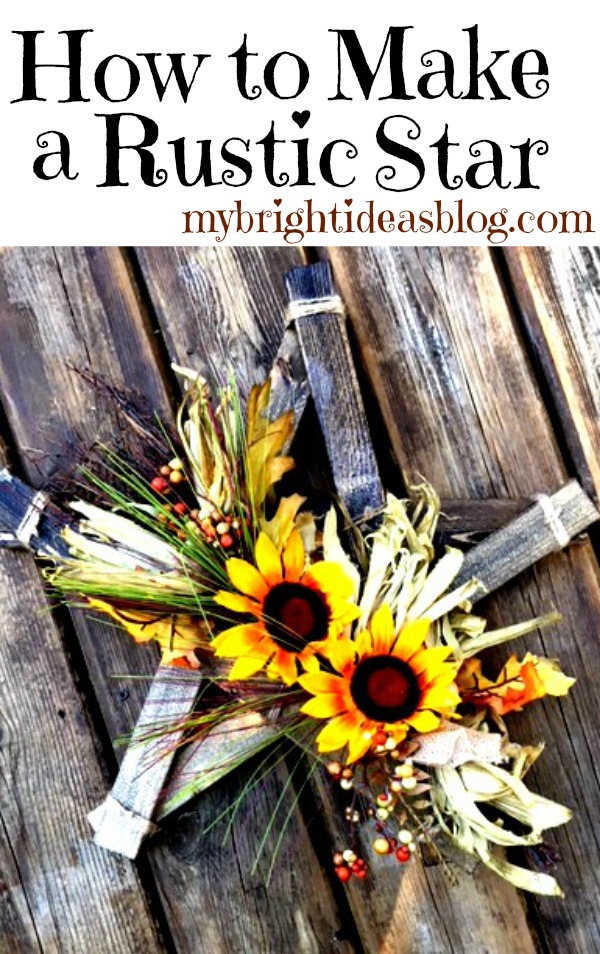
This is a dollarstore ($4) autumn decoration I just tied on for fall.
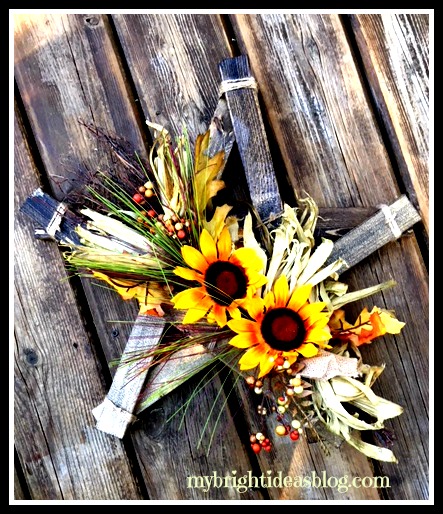
This is so easy! The only thing that takes any time is waiting for your paint or stain to dry. The lumber cost is $2.50. The only thing cheaper than that is the wreath I made for my neigbour out of twigs!
Thanks for reading to the end! I hope you’ll pin this on Pinterest or where every you network with friends.
…
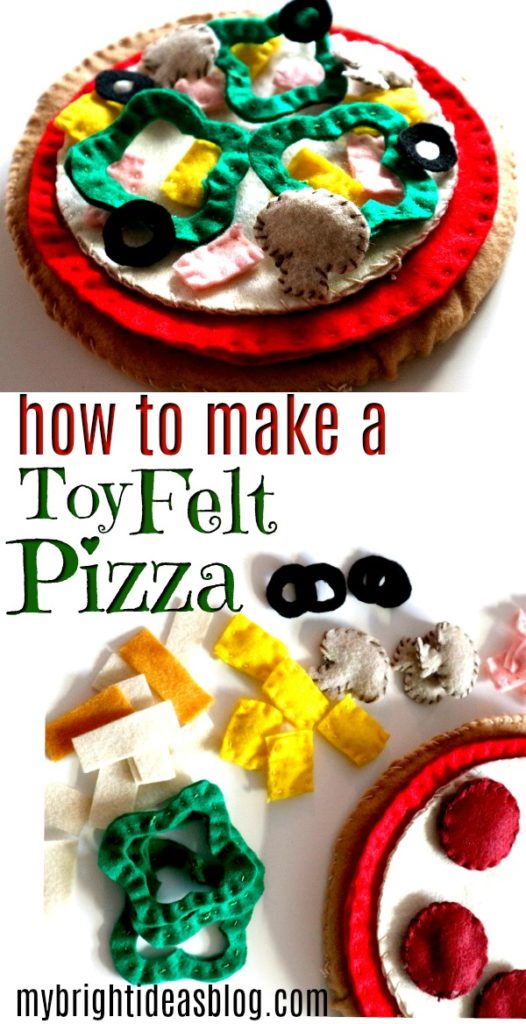
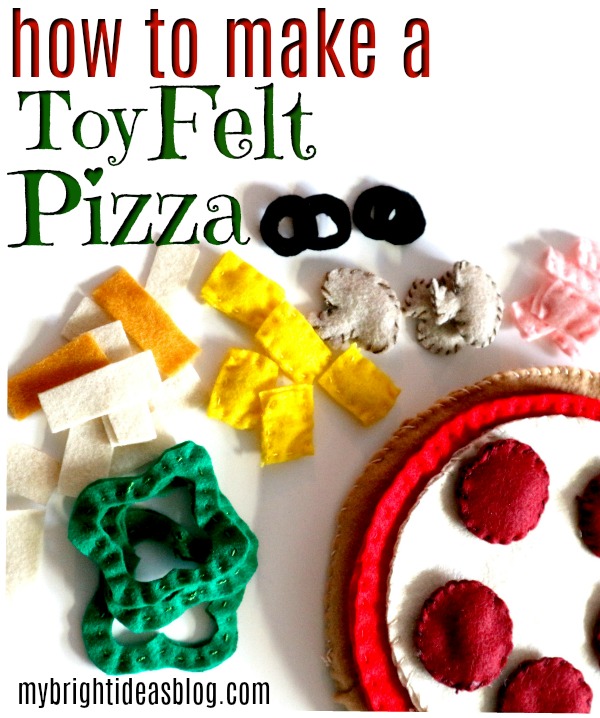
Cloth Pizza Toy Made From Felt
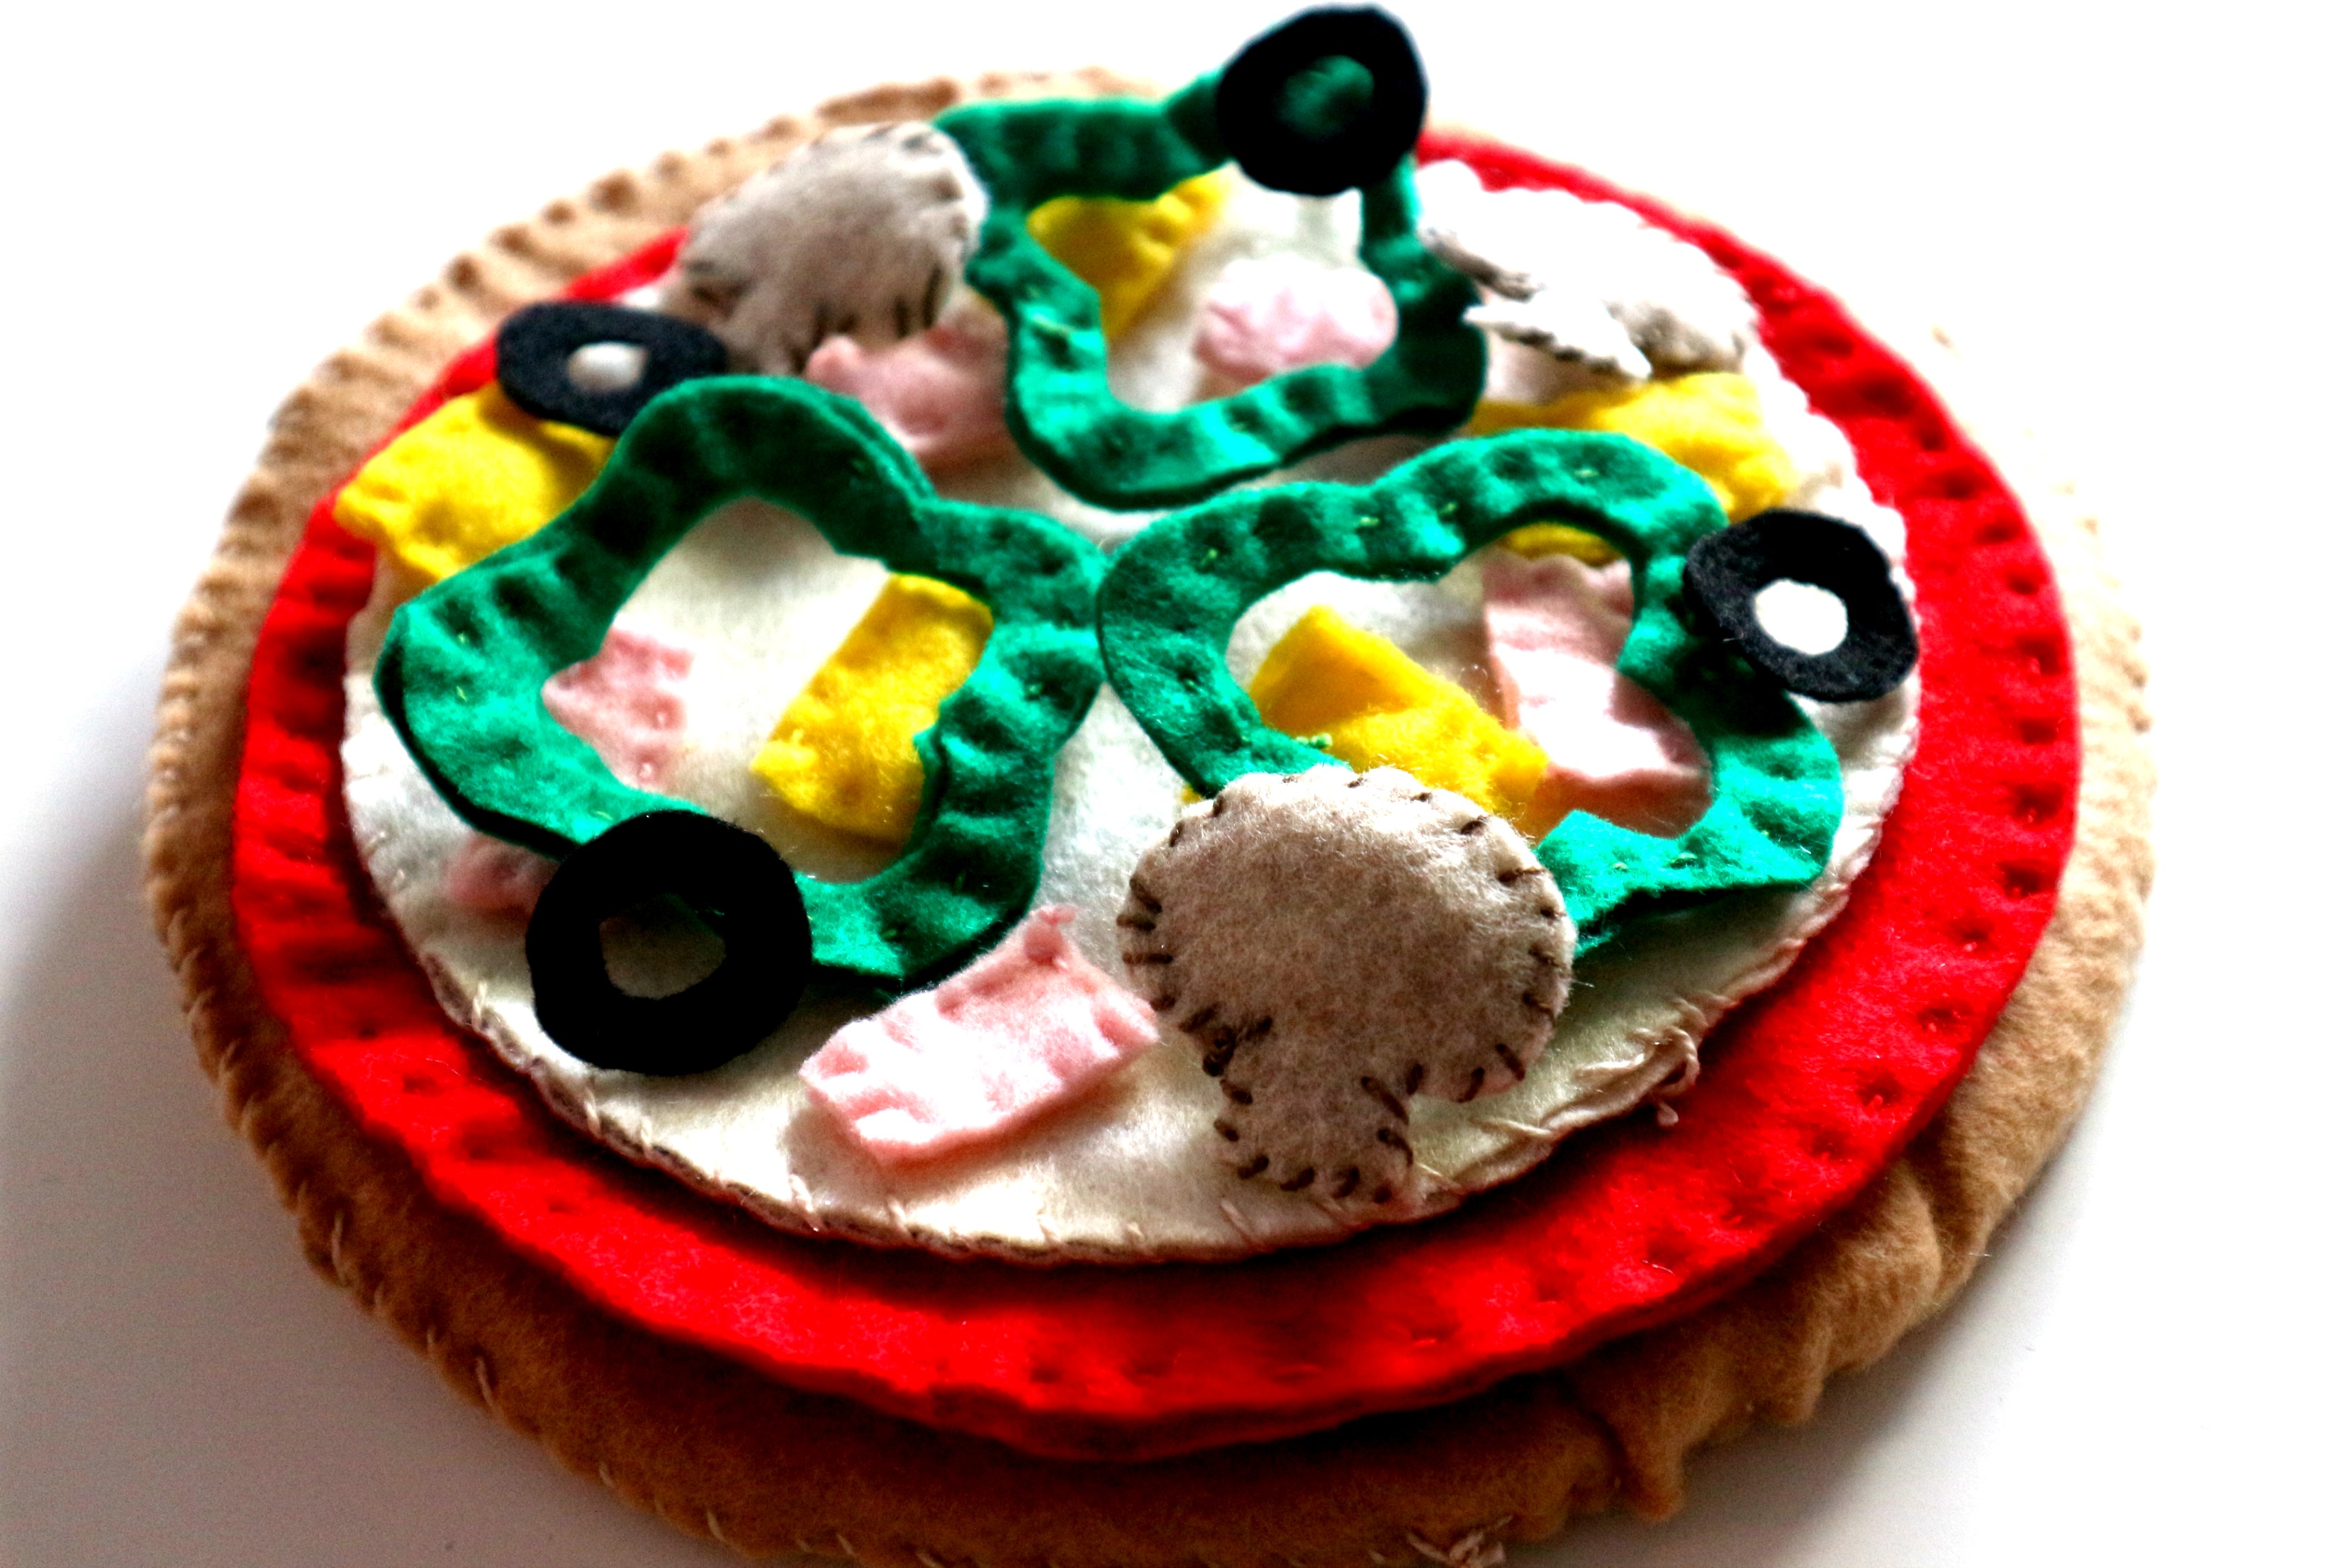
Kids love Pizza! Kids love to imitate their parents in the kitchen! Kids will love to play with this felt pizza.
This pizza toy/felt project can be made in 20 minutes with just scissors and felt or you can spend a few hours if you want to do a bit of hand sewing and add some stuffing.
You will need felt in the following colours:
- 2 tan/light brown for the crust
- 2 red for pizza sauce
- 2 white/cream for mozzarella cheese
- 1 dark red for pepperoni
- 1 green for peppers
- 1 grey for mushrooms
- 1 pink for ham
- 1 black for olives
- 1 yellow for pineapple
- 1 orange for extra cheese
You will also need:
- bowls and plates to trace for big circles
- sewing needle
- embroidery floss (or thread)
- quilt batting or stuffing
Let’s Get This Pizza Party Started!
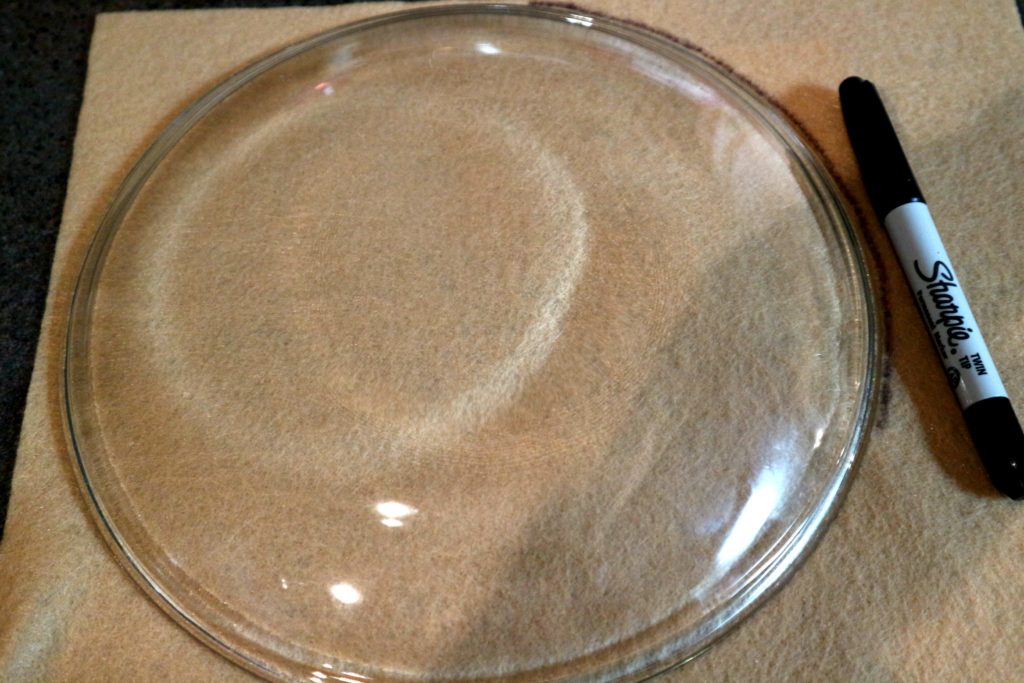
Beige Piece of Felt – Pizza Crust: Trace a large bowl or plate for your crust. Cut 2.
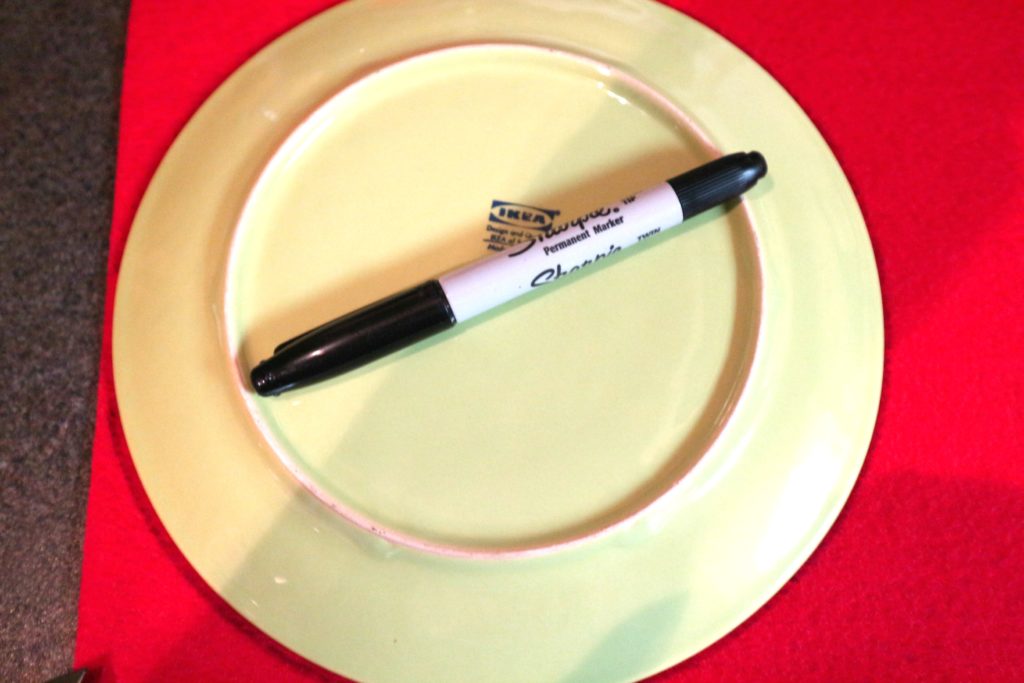
Piece of Bright Red Felt – Pizza Sauce: Using a plate or bowl slightly smaller than the last one, cut a slightly smaller circle than the crust pieces. Cut 2 red circles.
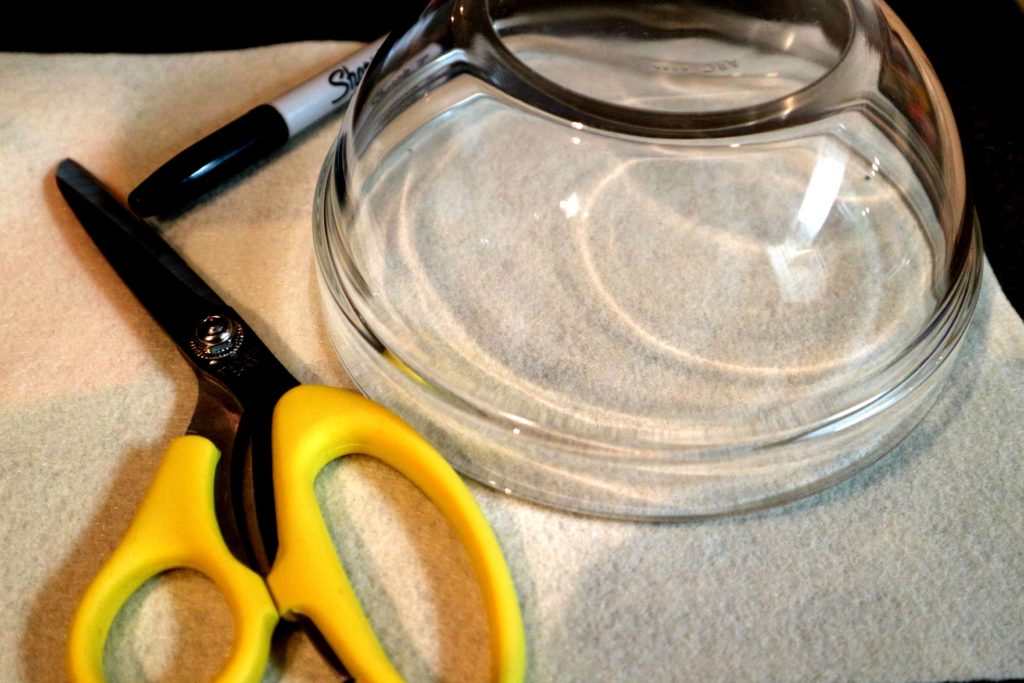
Cream or White Piece of Felt – Mozzerella Cheese: Cut the cheese…tee hee…out of a piece of white felt. Trace a slightly smaller plate or bowl than the piece of pizza sauce red felt. Cut 2 white circles.
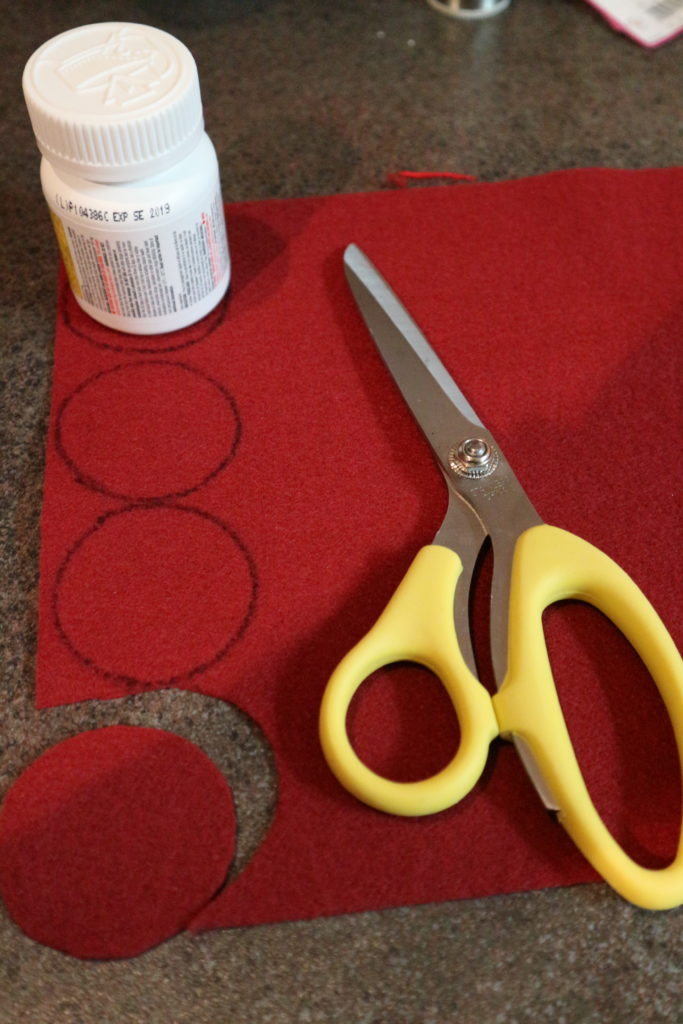
Dark Red Piece of Felt – Pepperoni: Cut 12 circles tracing something small like a vitamin bottle.
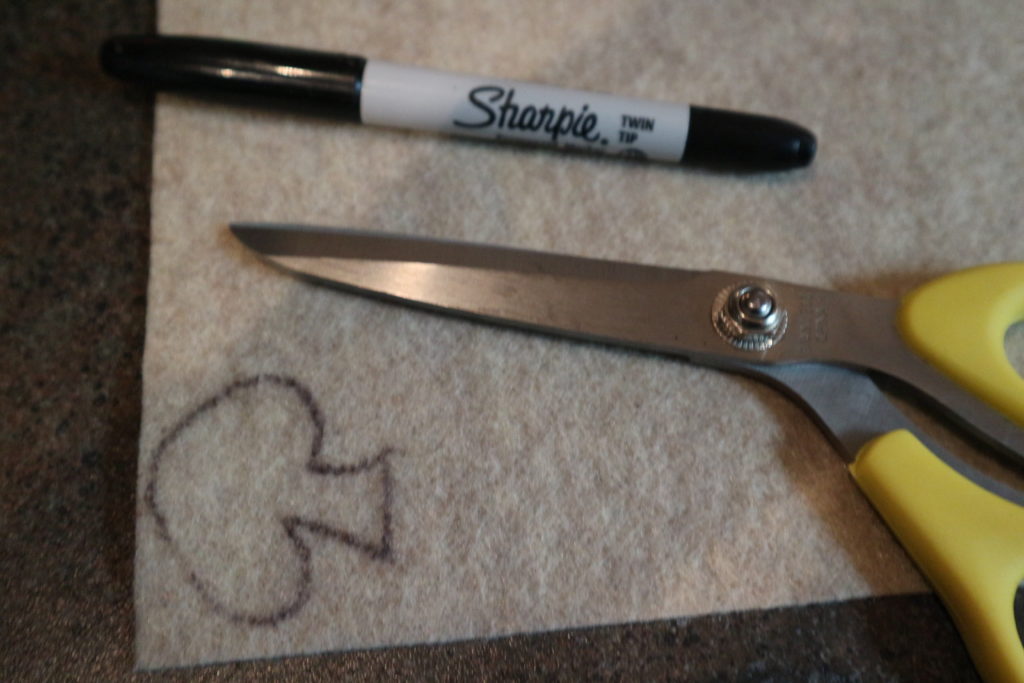
Grey/Beige piece of Felt – Mushrooms: Draw a mushroom shape and cut it out. Cut 10 mushrooms.
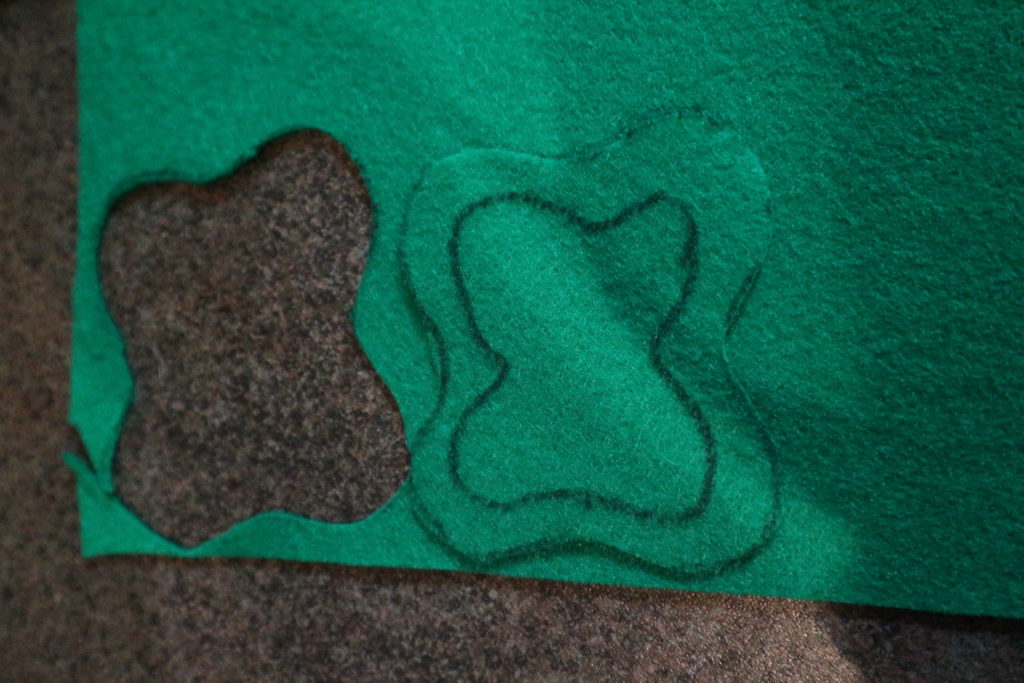
Green Piece of Felt – Peppers – It looks like a wiggly square, then outline it again and cut it out. Cut 8 peppers.
The rest of the toppings are up to you….
Black Felt – Olives: Cut a small circle and trace it a second time. Cut 8 olives.
Orange and White Felt – Grated Cheese: Cut long rectangles for some shredded cheese on top. Cut 6 of each.
Pink Felt Squares – Ham: Cut into squares-10 pink ham squares will be enough.
Orange/Yellow – Pineapple: This begins a great debate about whether you should have pineapple on a pizza. I’m for it! Hawaiian Pizza is my favorite. If you feel the same cut 10 pineapple pieces.
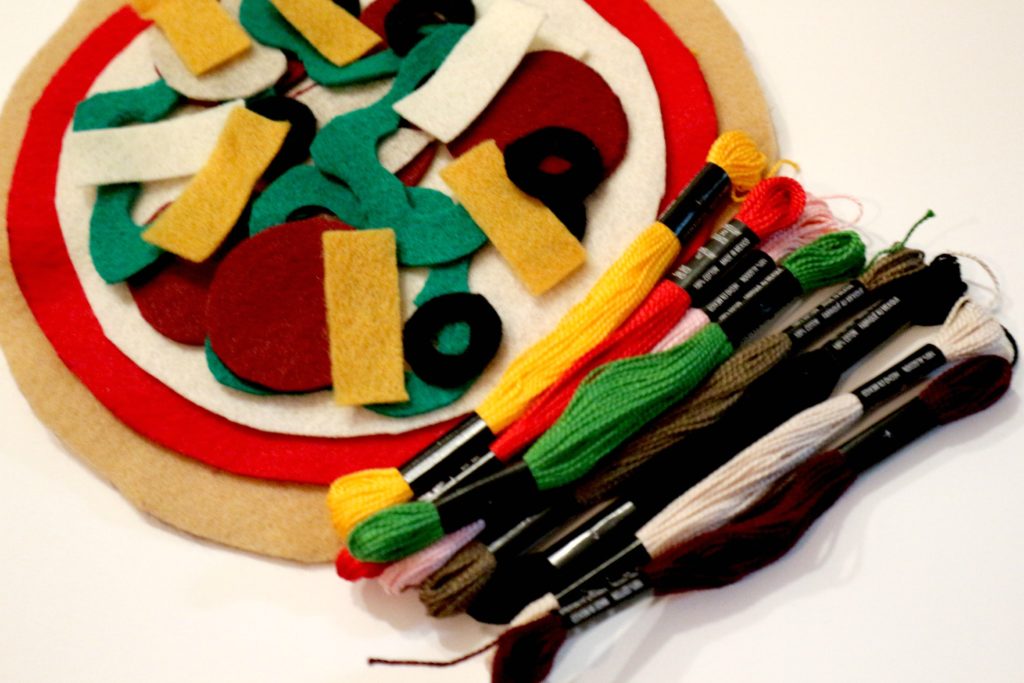
You aren’t a sewer? Then you could stop now and you can use this as a toy as it is. If you want to make it more 3 dimensional, find colors of embroidery floss that will closely match the colors of the felt.
Finishing the Pizza with Hand Sewing
Finish the pizza crust: Cut a piece of cotton batting an inch larger than the pieces of beige felt. Sandwich the batting between the two pieces of beige felt.
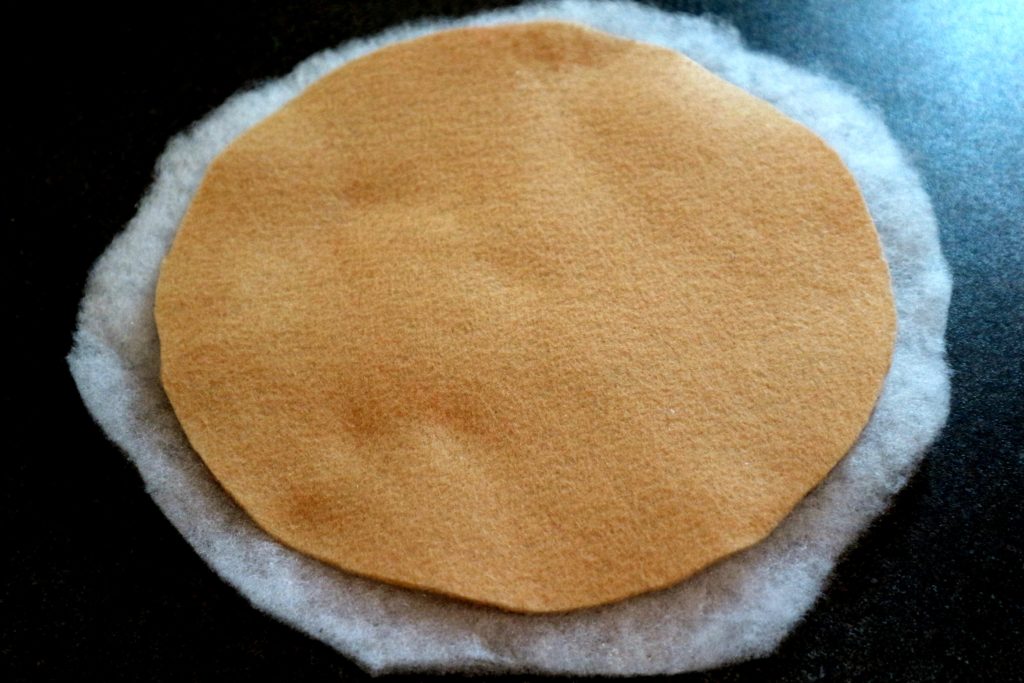
Hand sew around the outside folding and tucking the excess inside the pieces of fabric. I think I used a whip stitch but you could also do a blanket stitch for this part.
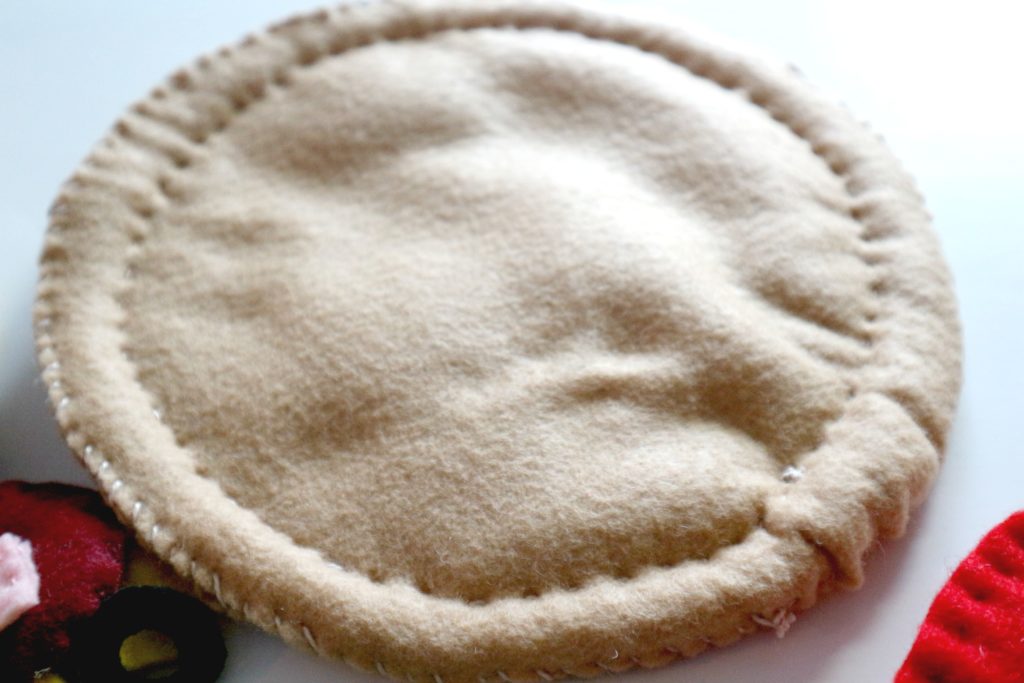
Sew around again an inch inside the seam to create the edge of the crust. For this I used a running stitch.
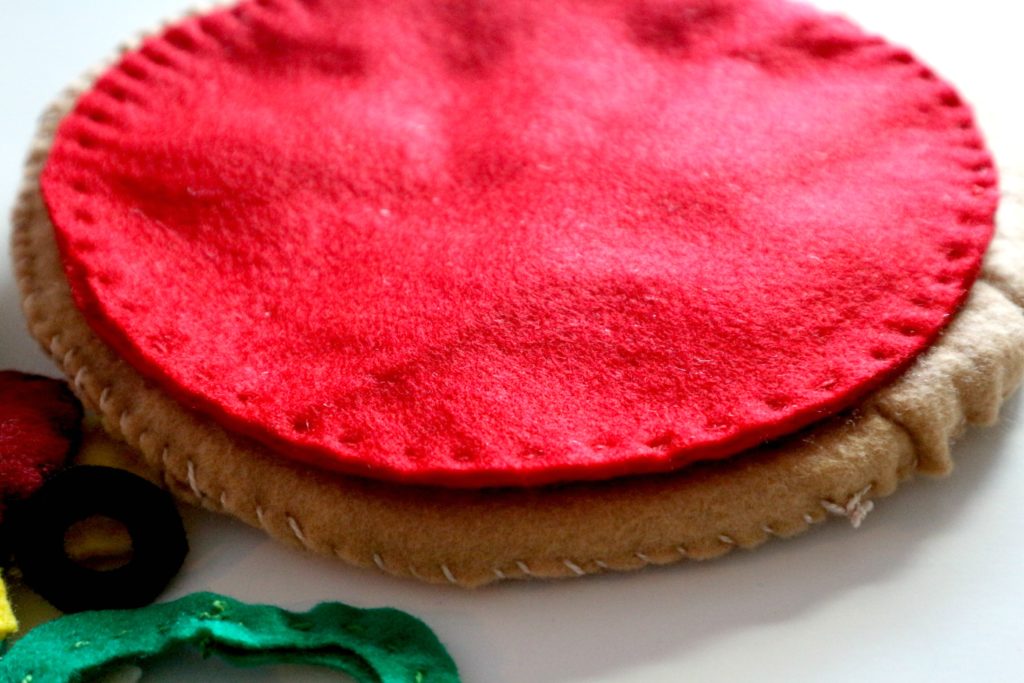
Stack the 2 pieces of red and sew around the edge with a running stich.
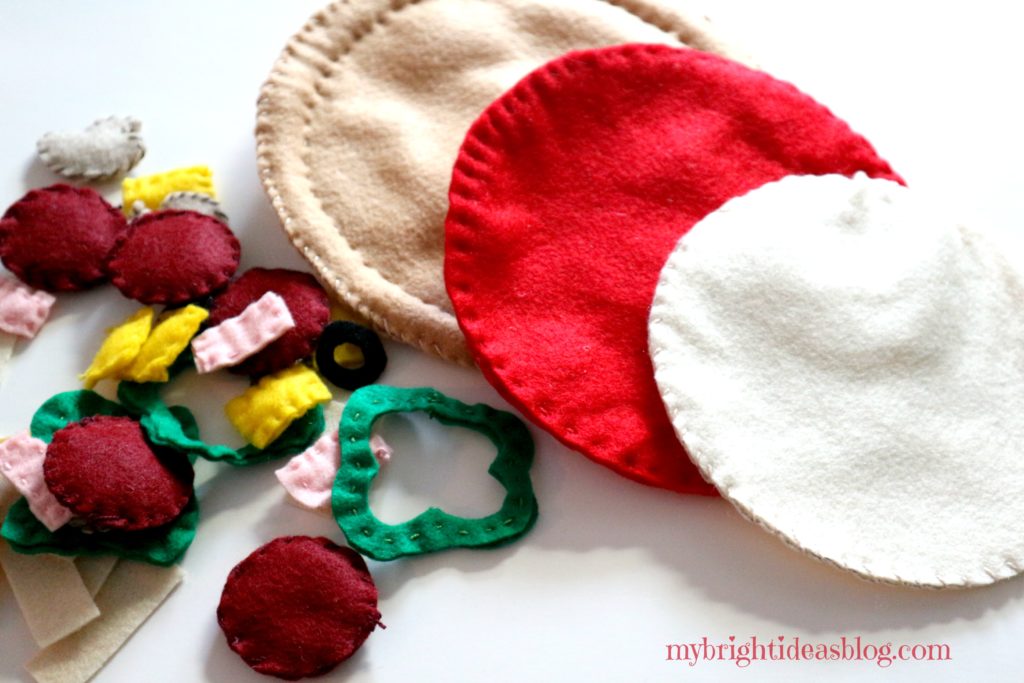
Next, put the two white pieces of mozzarella cheese pieces together and sew around the edge. Stitch each of the toppings together.
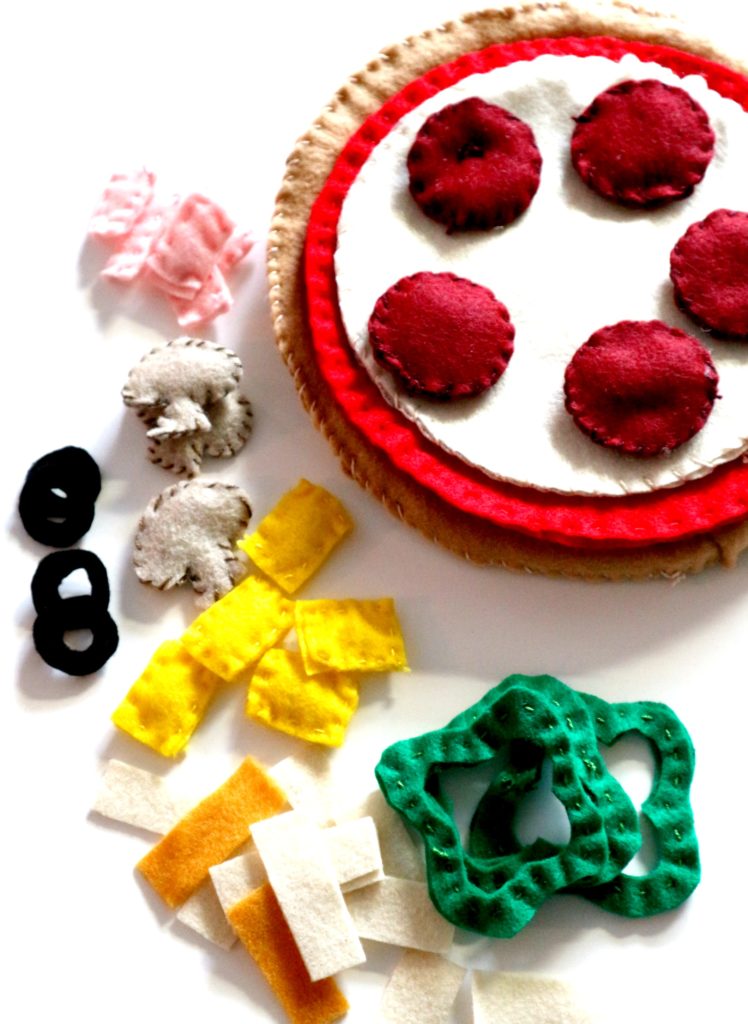
When sewing the pepperoni I added a little stuffing. The rest… mushrooms, ham, green peppers, pineapple were all sewn together….the olives and shredded cheese pieces I left as a single layer but you could double it and sew them together.
That’s all there is to it!
Store your pizza pieces in a large ziplock bag so you don’t lose the pieces. Have fun making this project for a little one in your life.
Here is the link to my previous post to make a no sew felt pizza.

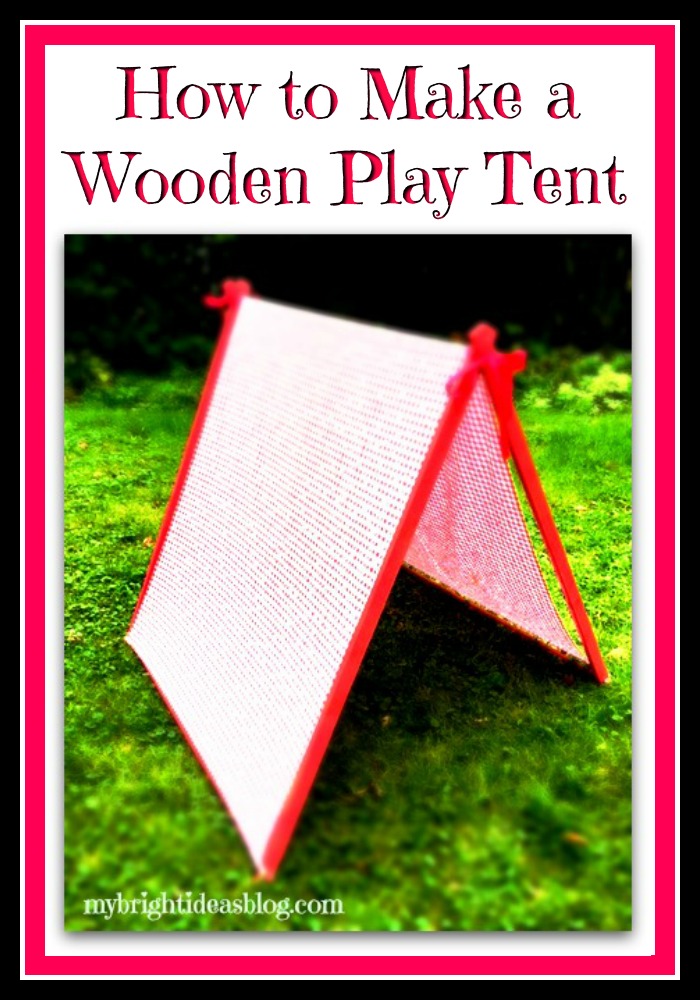
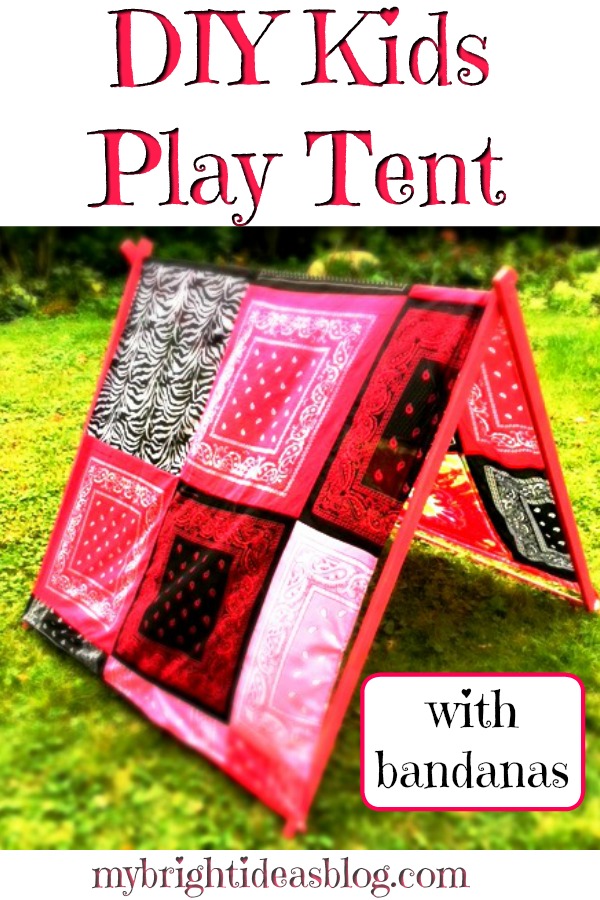
Make a Wooden Play Tent for the Kids!
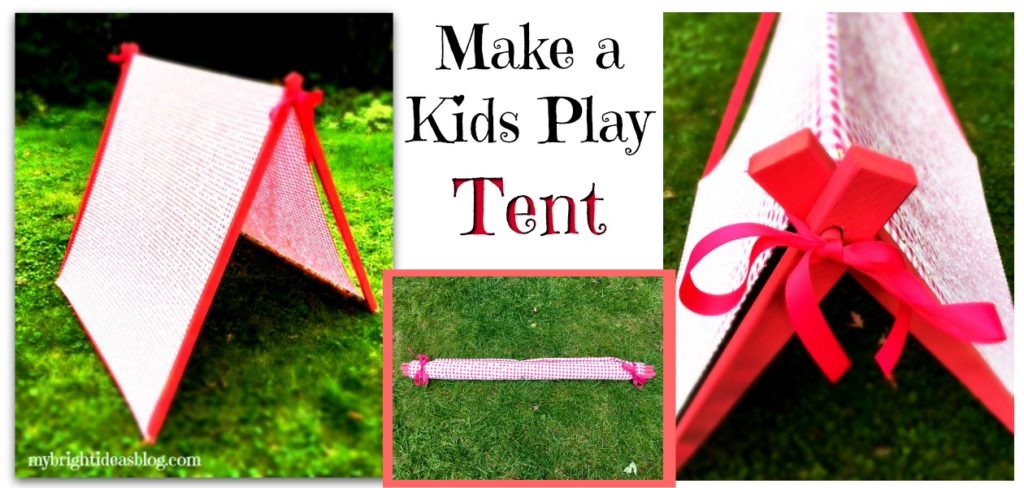
Here is a tutorial for a DIY Kids Play Tent! This won’t take much time or money to build. It would be an easy woodworking and sewing project for kids to help with. Why did I wait so long to make this!?!? The kids love it!
My daughters have always loved building tents. It’s fun for kids to steal the cushions and blankets and chairs to build a tent….sometimes even begging to fall asleep in it. I just wish they would put the cushions and blankets back when they are done….but that’s another story.
For the tent frame, you will need:
- 3 – 1/2 inch wide dowel (4 ft long) (approx. $8)
- 2 1x2x8 wood boards (cut in half) (approx. $5)
- power drill
- 1/2 inch drill bit
- tape measure
- pencil
- paint (optional)
For the tent fabric, you will need:
- fabric 45 inches wide x 90 inches long (115 cms wide by 230cms)
- scissors
- ribbon (2 pieces 30-40 inches/75-100cms long)
- thin elastic (4 pieces 5 inches/13cms long)
- safety pins (6)
- needle and thread or sewing machine (optional)
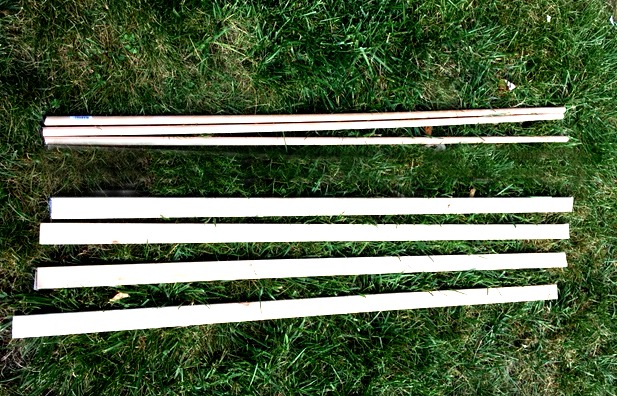
This is literally all you need, 3 x 1/2 inch dowels. They come from the store 4 feet long so there is no cutting here. Also, 2 boards 1×2 cut in half-so you have 4 pieces of 1×2. You can ask them to make this cut at the hardware store if you don’t have a handsaw or mitre saw.
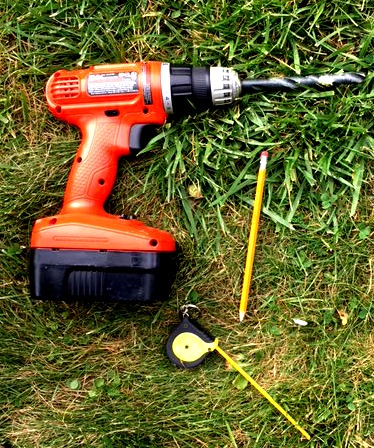
Gather your drill, tape measure and pencil.
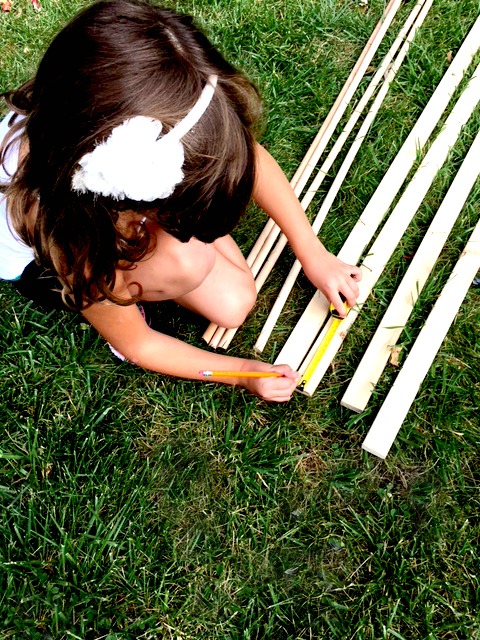
Measure and mark 2 inches from one end and 1 inch from the other end.
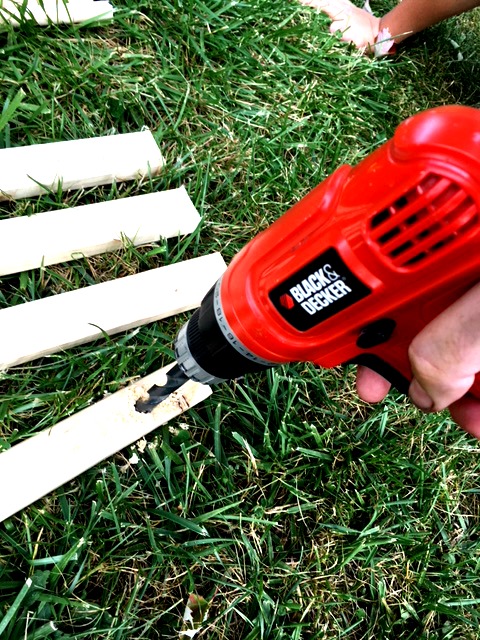
Drill the hole with a 1/2 inch drill bit. Test to see if your dowel will fit through the hole. You need it to be able to slide in fairly easily. I found it too tight and frustrating to put together when tight fitting so I ran the drill through the hole again in and out, in and out, to make it slightly bigger.
The top is the end that has a hole 2 inches from the top. The bottom has a hole 1 inch from the end.
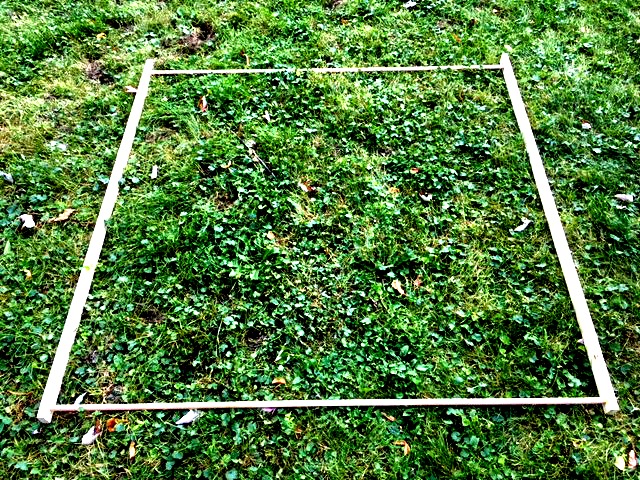
Slide the first piece of dowel through the top holes of two of the 1×2’s The second piece of dowel can be inserted into the bottom holes.
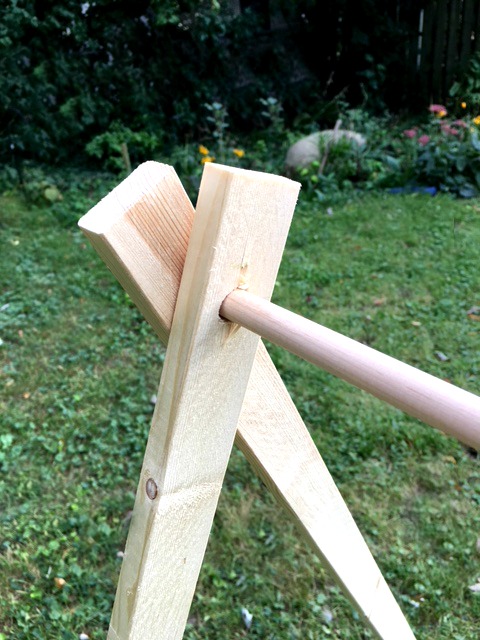
Add the next piece of 1×2 onto the top dowels to make an A.
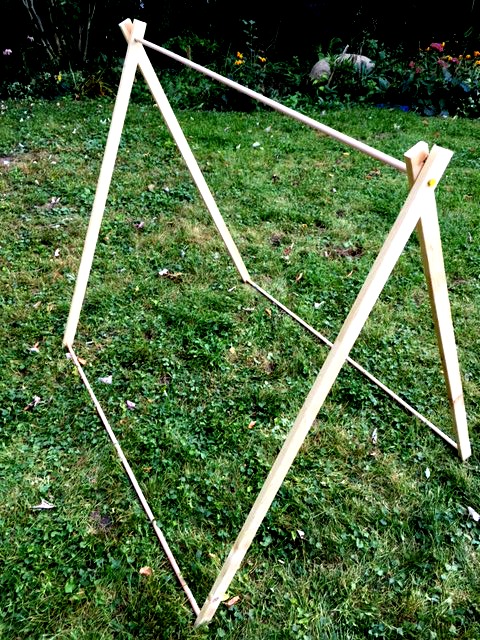
Slide the third dowel into the bottom end of the 1×2’s.
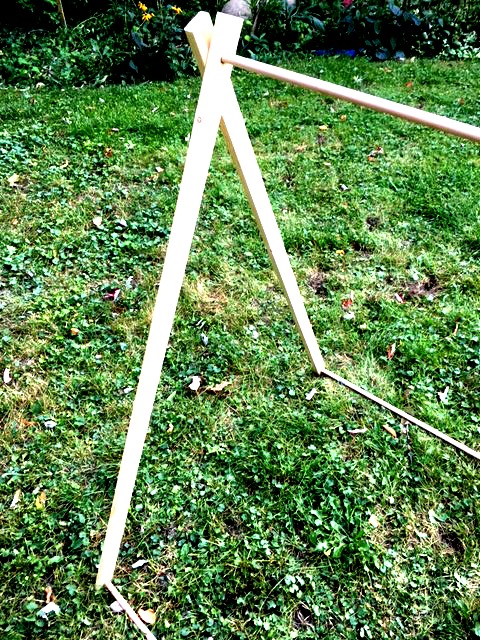
That’s it for the tent frame. Now for the tent fabric.…
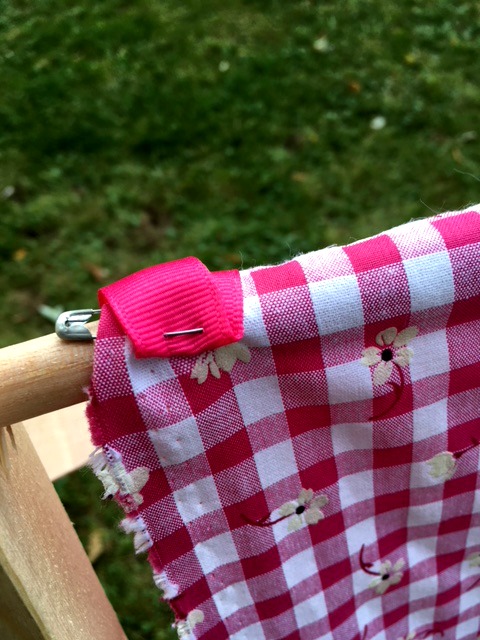
Slide your fabric over the top of the A frame. Pin a ribbon to the front and back ends.
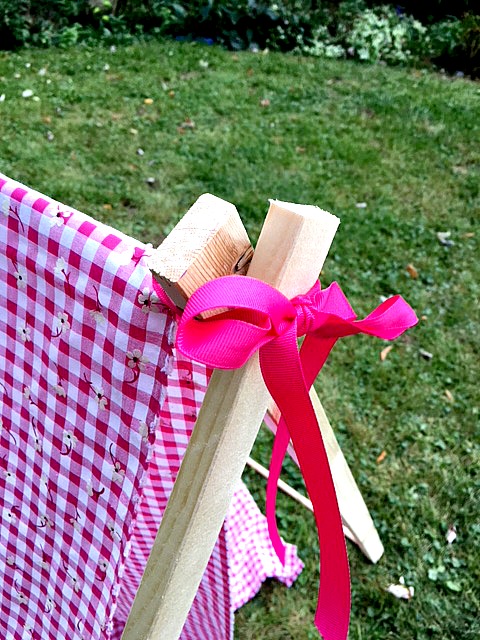
This ribbon isn’t essential but it does look nice and it will be helpful ties when you are storing the tent away.
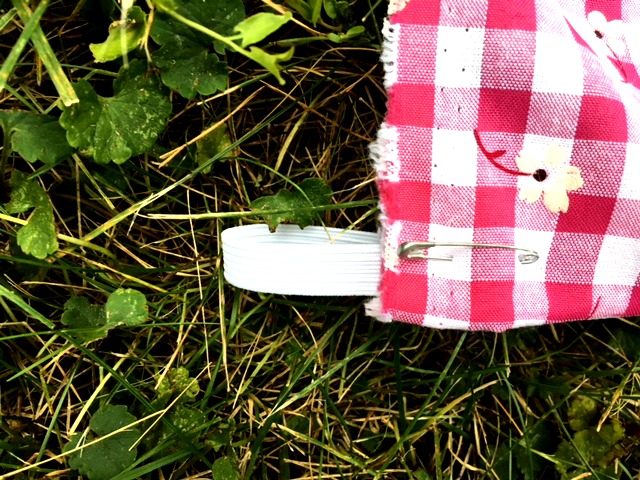
Pin a small piece of folded elastic onto all 4 of the bottom corners of the tent fabric.
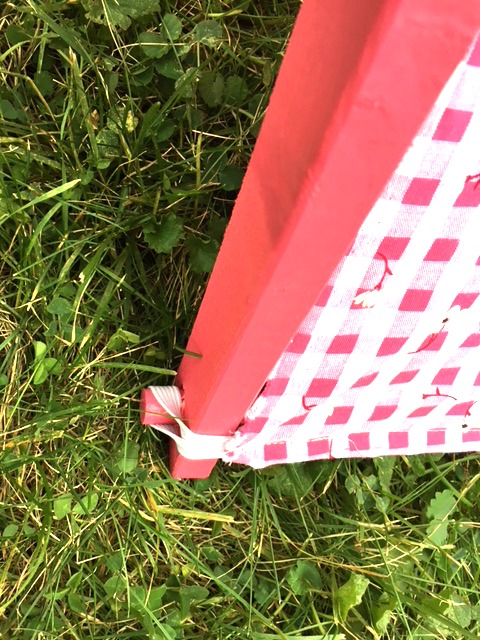
Hook the elastics over the ends of the bottom dowels.
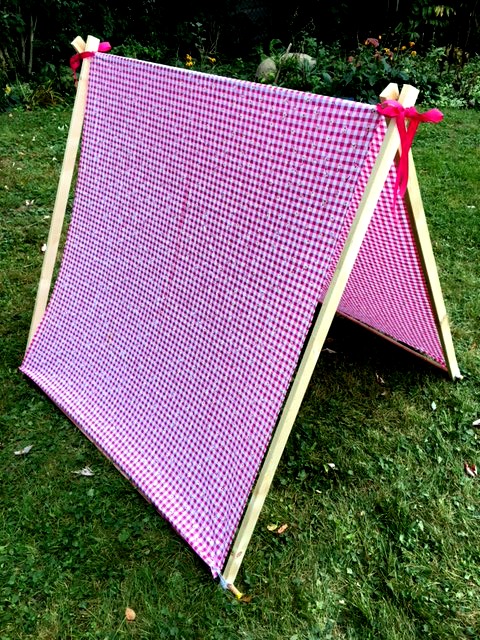
It looks fine with just pins holding everything in place. You may want to hand or machine sew the ribbon and elastics in place. I did sew those in permanently and also hemmed the bottom of the fabric. It’s looking good enough to give away as a gift!

After this sweet picture was taken we decided the only thing to make it better is to paint it pink.
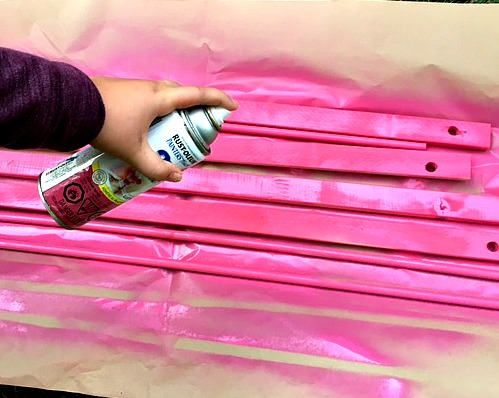
I already have loads of spray paint….because I love to change the color of things. See my previous posts and you will find I used a lot of spray paint this summer. This project doesn’t take much paint so its a great way to use up leftovers.
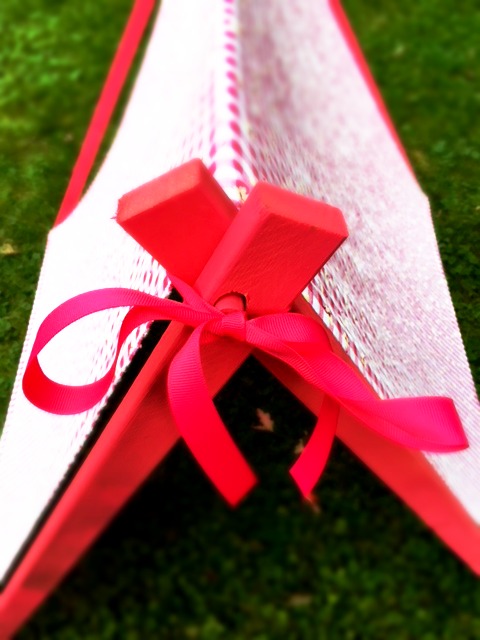
After allowing it to dry put it all together. Admire your handy work!
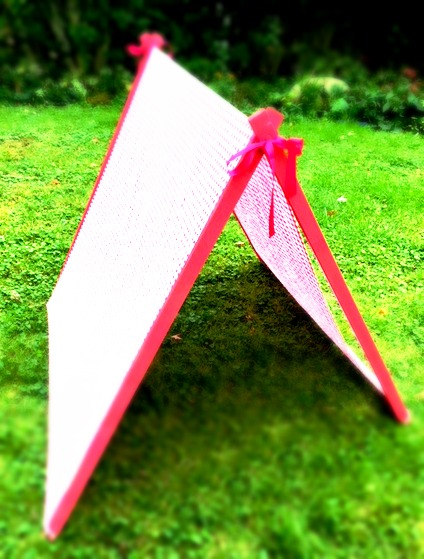
Did I mention that this is super easy to pack up?
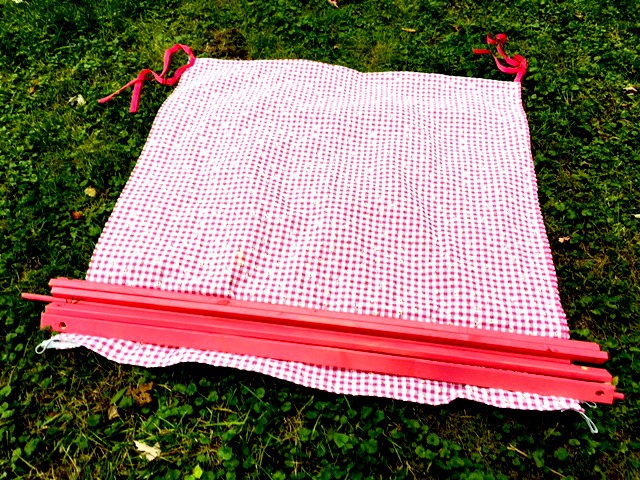
Fold the tent fabric in half. Next, place all the wooden tent parts on the end of the fabric.
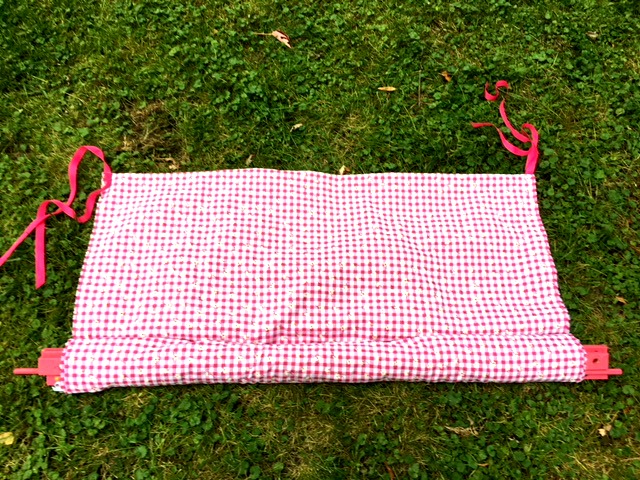
Roll up the fabric into a tube to hold the wood pieces together.
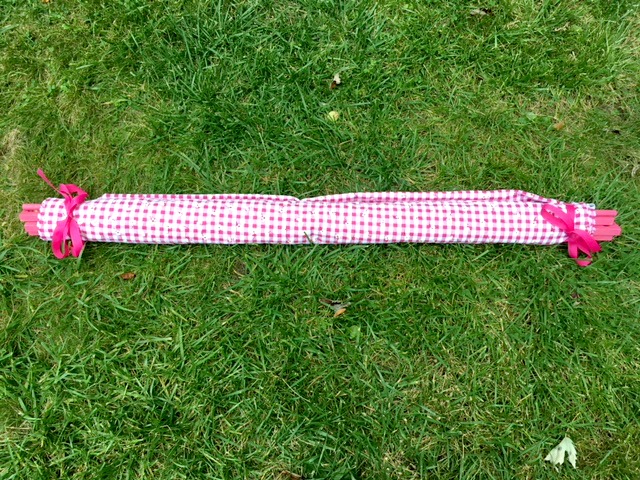
Lastly, tie the ribbons to keep it compact for storing or travelling. Remember when the babies were tiny and you wanted a place for them to nap that was in the shade at the park or beach? This would have solved the problem!

This was so easy to make. I can’t believe I didn’t do it when my kids were smaller.
Please pin or post this to facebook and share this easy DIY with your friends!
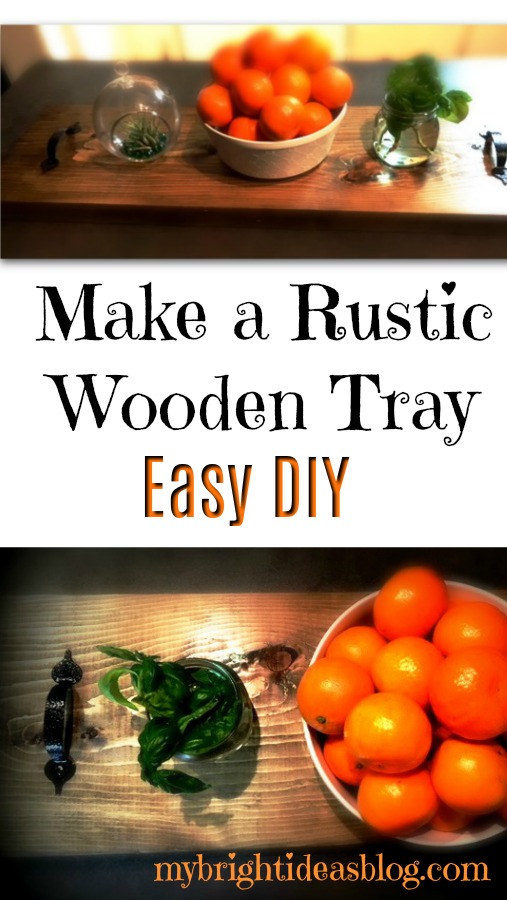
Make a Dark Stained Rustic Wood Tray – Easy DIY!
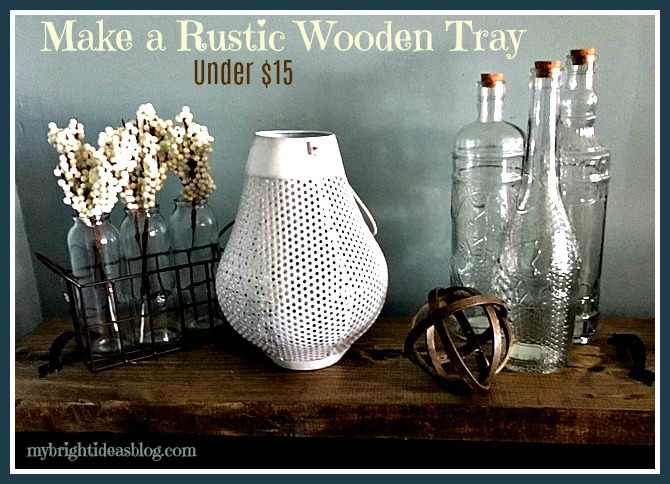
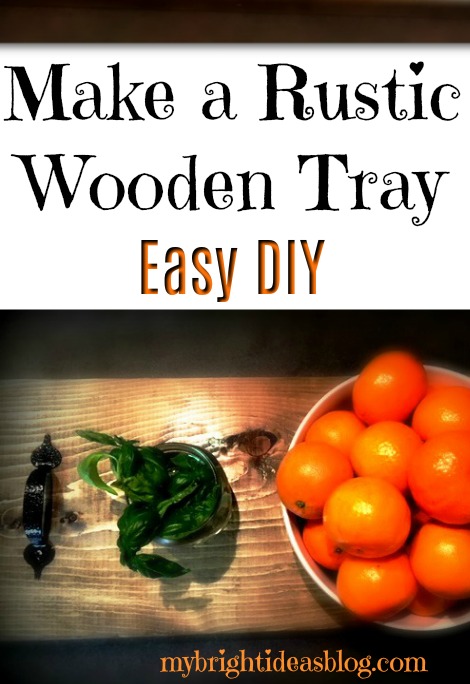
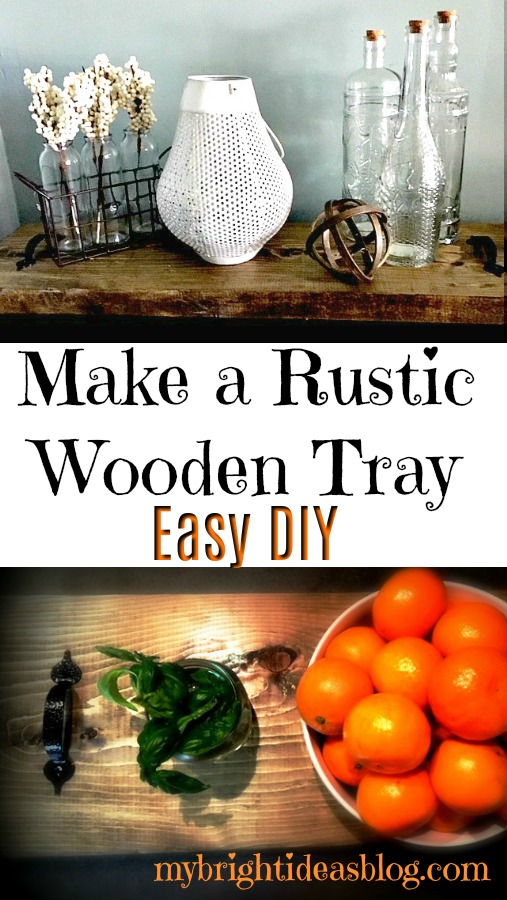
Shortly after making this rustic wood tray I had it placed out on the table with my bowl of clementines and we had company over. My friend Tina’s eyes lit up and said that looks like a Charcuterie Board! I had no idea what she was talking about.
Apparently, these boards are French named partly because harcuterie is the French word for smoked, dry-cured or cooked meats. So during a cocktail party or anytime your entertaining you put out a sampler of all sorts of meats on a wooden board. Cheese and crusty bread or crackers, dips and olives could also be intermingled on your board.
They can be the size of a large wooden cutting board.
reluctantentertainer.com
Or as big as the table top!
moncheribridals.com
The above photo is wedding spread!
Now this is not a blog about entertaining and making beautiful food. I’m a crafter and DIY-er so I’m going to be telling you about how I made my ridiculously easy to make serving tray.
You will need:
- 1 board 2x10x8 (this is long enough to make 3!)
- 2 handles ($3 each)
- sand paper
- stain
- rag
- clear varnish or polyurethane
- paint brush
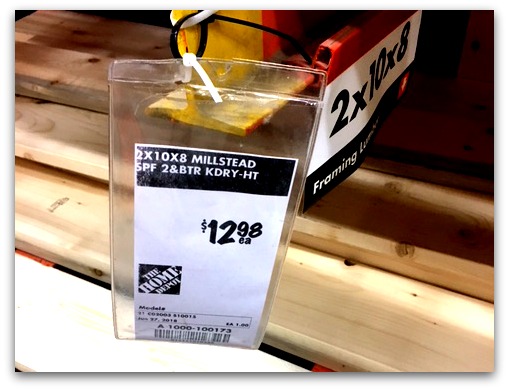 The board above is 2x10x8 cut into three pieces-so you can 2 away as gifts-That makes the lumber approximately $4.50 per tray!!!! That is amazing. When you look at these in the stores and online they can cost $50 to 100.
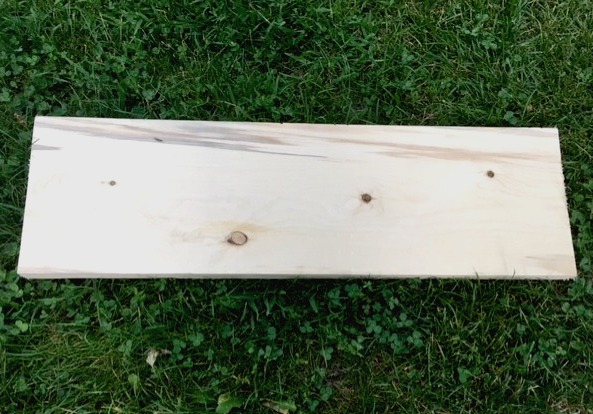
Cut the board into the lengths you prefer. The one I show in the photo was 31 inches long, the second one I made was 30 and the last one was 35 inches. I would recommend that you measure the side table you are going to put this on. Are you planning to make this to be a centre piece in the middle of the dining room table? Then 35 inches is great! But, if its a dresser that is 30 inches wide you don’t want to make it wider than 30 inches.
If you prefer your wood smooth, then you could sand it. If you like it very rustic then you could bang it up a bit with some random tools. I skip the sanding step usually unless there are frayed slivers on the ends of the boards.
With your stain and rag apply the color to your wood.

I used my favourite Miniwax color Jacobean 2750. I made the other pieces of board other colors (grey and ebony) but my favorite is always Jacobean.
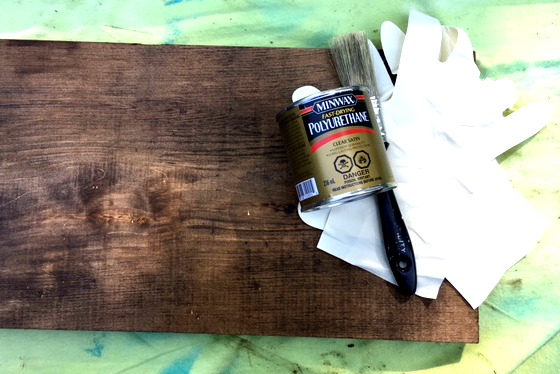
Since I don’t plan to put any food directly on my tray I used my usual clear coat over the wood to protect from wear and tear. This means I could even leave it outside in a rain storm and it would be fine.
If you do want to place food right on top of the tray there are many food safe options. They are not as durable (don’t leave it outside in a rain storm). Food safe options: Pure tung oil, raw linseed oil, mineral oil, walnut oil, beeswax, carnauba wax, shellac. One website suggested a mixture of mineral oil and beeswax. Here is the recipe…. https://www.finewoodworking.com/2006/08/01/food-safe-finishes
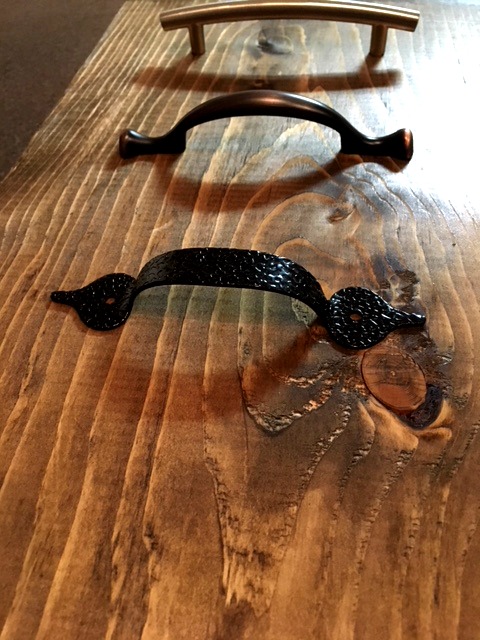
I picked up 3 of the cheapest handles the hardware store had. Each is $3-5 dollars making the cost of the project $11-15 each-assuming you already have the stain and varnish in your DIY stash of essentials. If you find some handles in the craft or specialty shops or even vintage handles by all means use them. They will be on top of the tray so it could be quite the conversation piece.
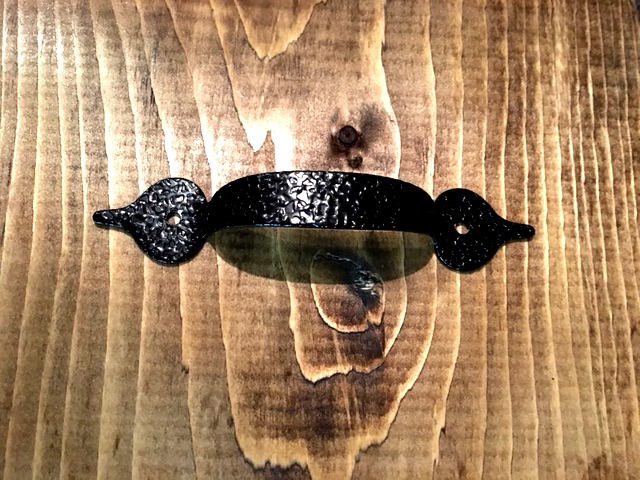
I chose this one because it screws in from the top. This is actually a good point. If you put on handles with screws that go in on the bottom you may need to counter sink the screw so they don’t scratch your table top. Or you could put 2 slim pieces of wood under the wood to lift it.
If like me, you chose handles that screw in from the top this isn’t a problem. Put the handles on the board and see where you would like them to be permanently. I put mine 3 inches from the ends (this board is 30 inches long).
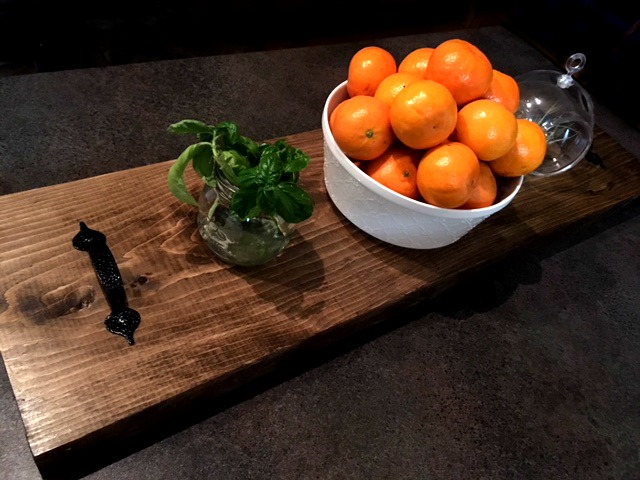
Voila it was that easy…its a simple board with handles.
This would look great on a side table with a few nicknacks between uses. If you do want to use this to lay out meat and cheese, olives and antipasto you could put down paper doilies, little bowls and plates or wrap the board with cling wrap. I would do this even if you use a food safe finish for faster clean up.
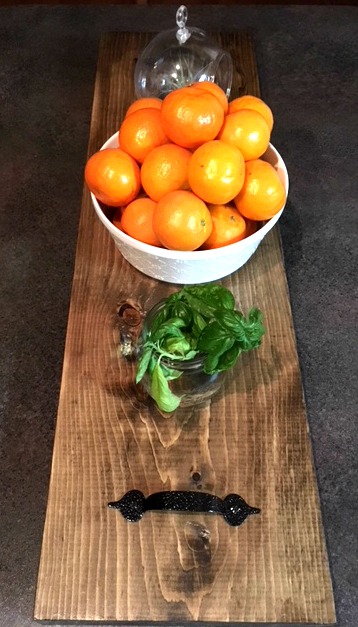
If you find this too long or the wood too thick cut the boards shorter to suit you and your space.
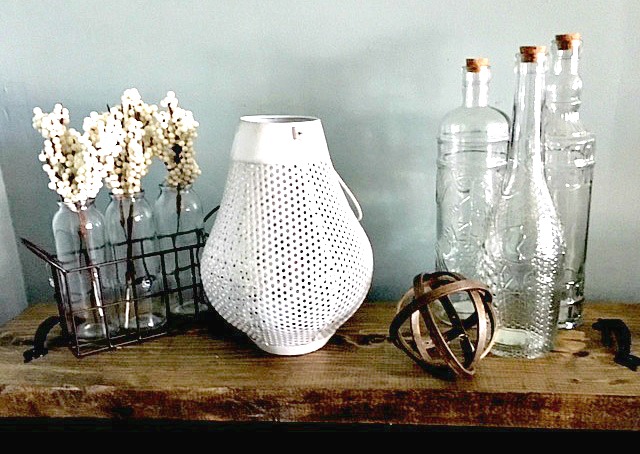
This goes to show that if you see something so awesomely simple, see if you can make it yourself for a fraction of the price.
I hope you give it a try!
…..
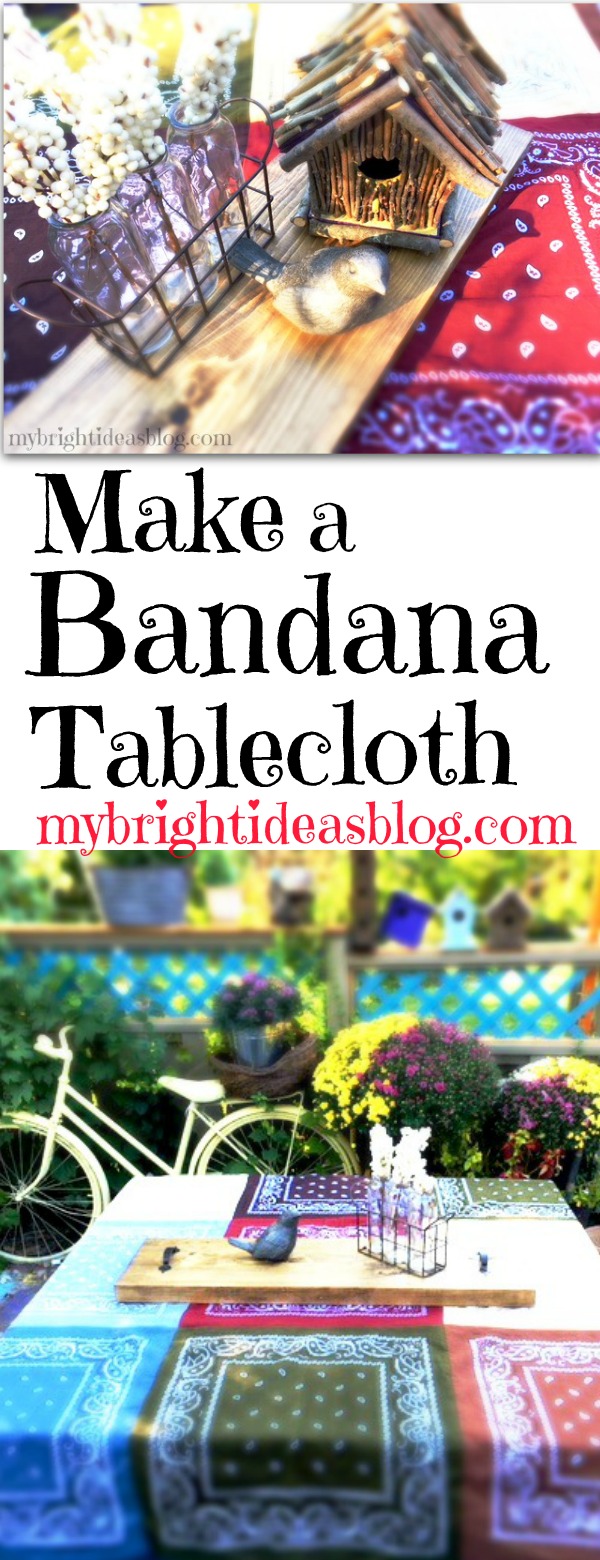
Make a Fall Table Cloth – From Bandanas
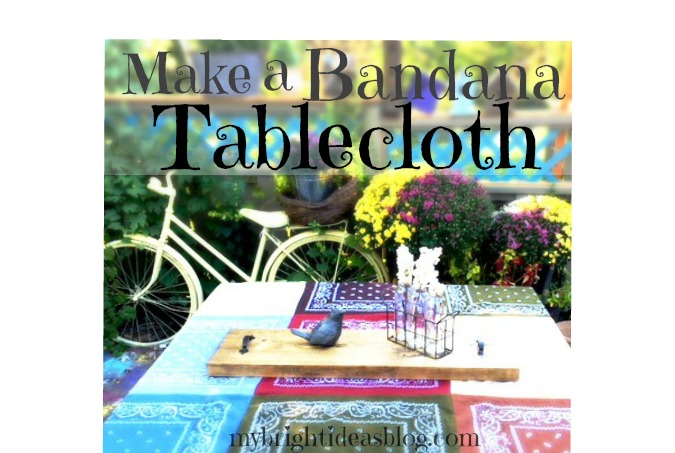
Signs of fall are everywhere. The flowers are scraggly and need to be pulled. Its all very sad to see the colour disappear. So my solution is to buy some bright mums and sew a bandana table cloth for the picnic table (or kitchen table).
 I was able to find an amazing collection of bandanas at “a Buck or Two”-its a sort of dollar store where things can cost several dollars. You can also buy bandanas (or search for hankerchief or handkerchief) online. I bought way too many so there will be several more projects to come!
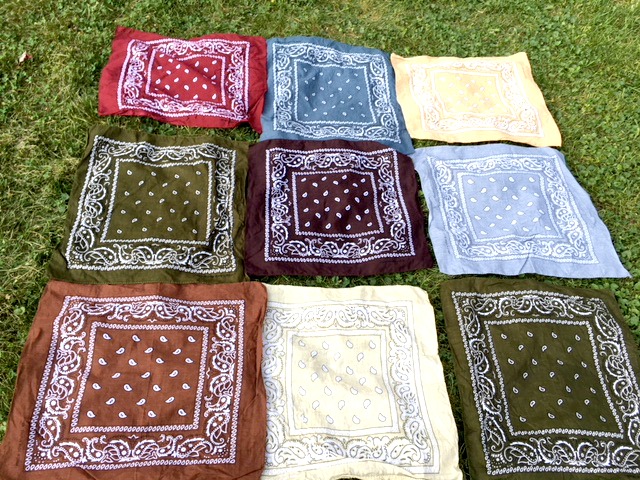
I wanted an autumn theme so I chose greens, beiges, maroon, blue and brown. It might be a good idea to lay out the squares and take a photo if you want a specific layout. As you stack them up they can get a bit shuffled.
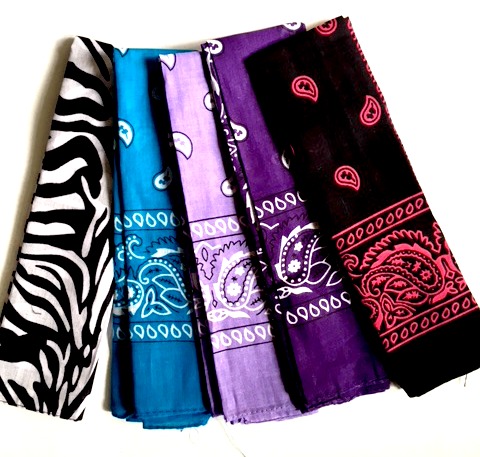 They come folded and they are cotton so they really should be washed and dried before sewing to prevent shrinkage and bleeding colours.
You will need:
- 9 bandanas
- sewing machine
- pins
- scissors
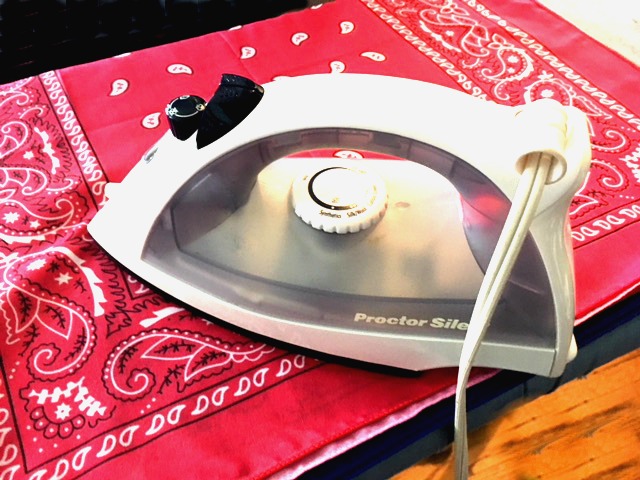
Get out the iron! Iron all the bandanas. Or find a kid who likes to iron….tee hee….
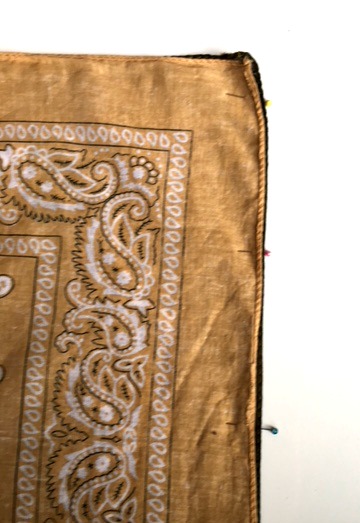
Start by pinning the first two bandanas, right sides together. Bandanas seem to have a slightly longer side. Mine were 20×21. Make sure they are all facing the same direction so are the same width. They are often not sewn straight or square. Fortunately, this project is very forgiving.
Hey who ironed this beige one!? Slacker!
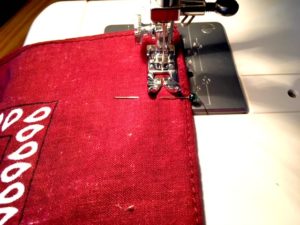
Sew along the edge.
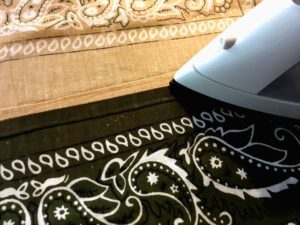 Iron the seems flat.
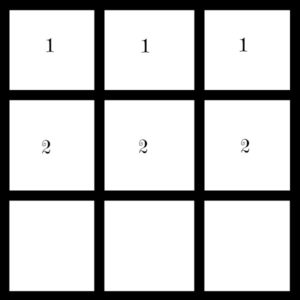 I started by pinning the top sets of 2. (1/2)
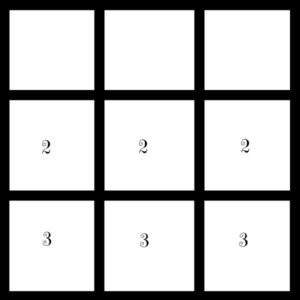 Next, I sewed the 3rd square onto the bottom of the pair (2/3).
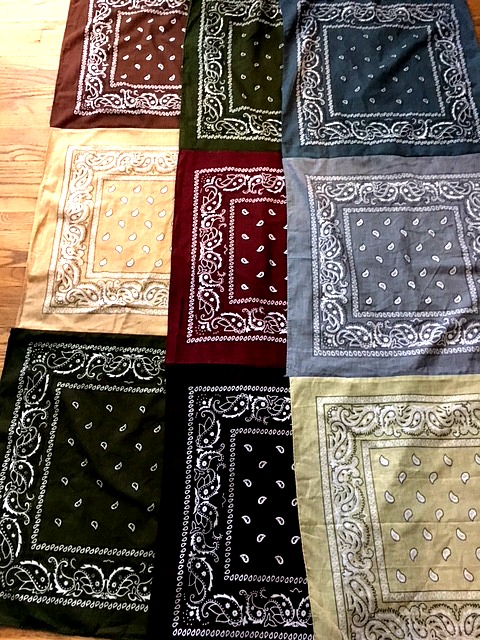 As you can see, now I have three strips of three bandanas.
Start by pinning the left line to the middle line. Match the centre seem/corners. Sew the strips together.
 Finally, line up the middle corners of the last line of squares to pin it to the last line of squares. Sew them in place to complete the tablecloth. Finish by ironing it.
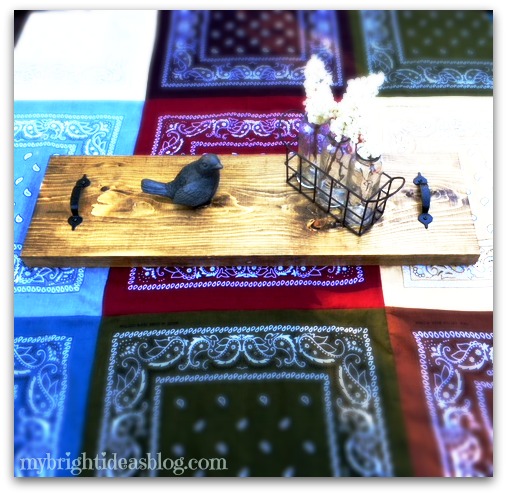
Now your done! If you are detailed oriented you could fold over the edge of the tablecloth and sew a hem. But as you can tell I’m not that sort of gal and the bandanas are all finished so there is no edges to fray. If your squares didn’t line up hemming it could correct a jagged edge. Happily mine matched up this time!
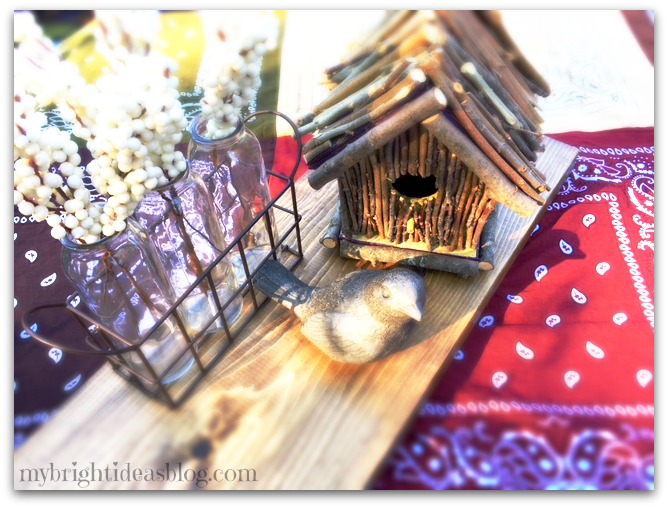 Isn’t this little bird adorable. I got it at Canadian Tire! Never overlook your local hardware store’s garden centre. You never know what you’ll find.
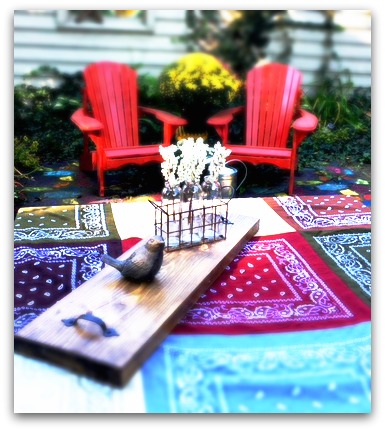 Thank you for reading to the end! Please pin this on Pinterest and follow me on your favorite social media!
Below are a few more of my projects you might want to look at.
…

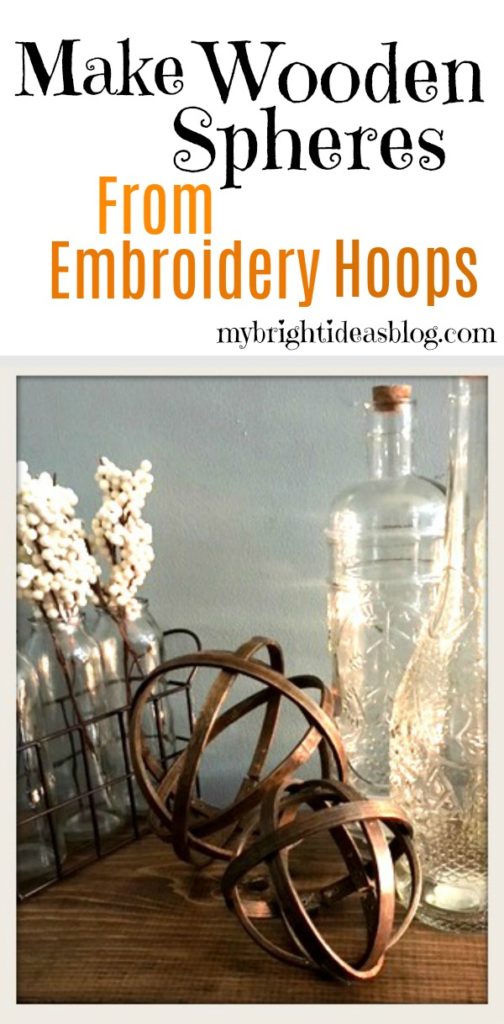
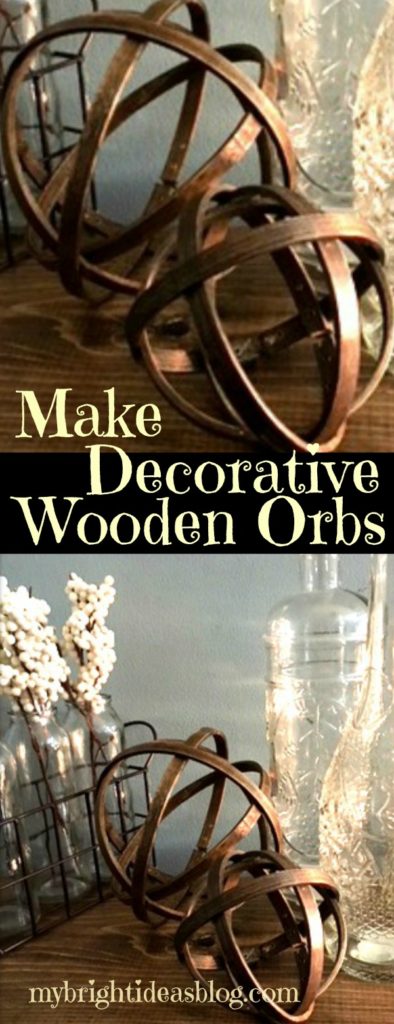
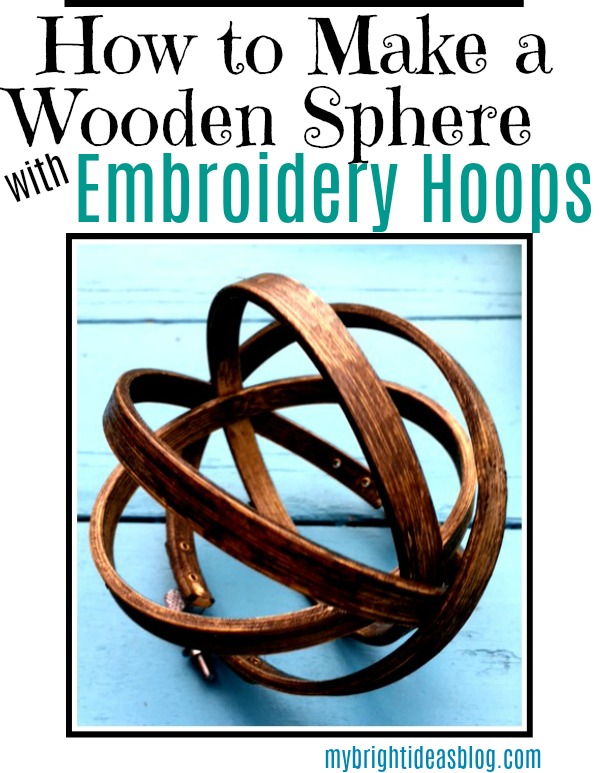
How to Make a Decorative Sphere – From Embroidery Hoops
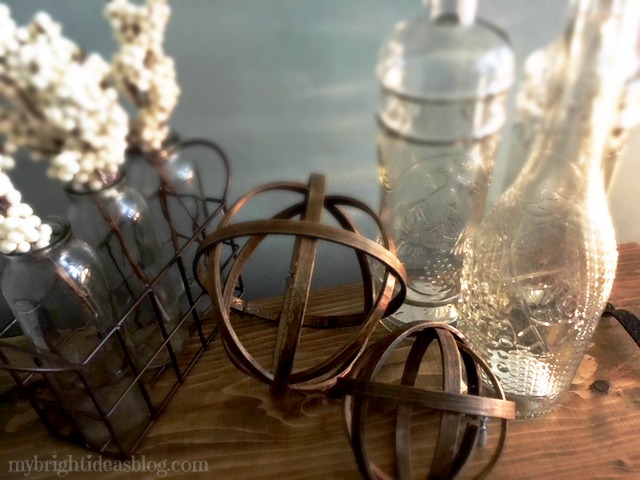
I’ve been wanting to make decorative spheres for a few months. After much pinning and pondering I’ve decided to go for it!
This has to be the easiest way and most clever idea for doing just that! All you need is 2 embroidery hoops per sphere.
You will need:
- 2 embroidery hoops (the same size) per sphere
- paint or stain
- paint brush or rag
- (optional) varnish or polyeurothene
That’s it! If you use spray paint you can get that list even shorter.
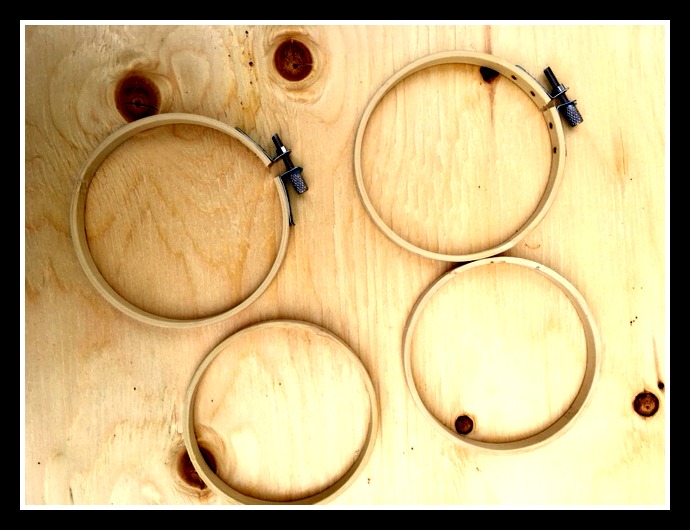
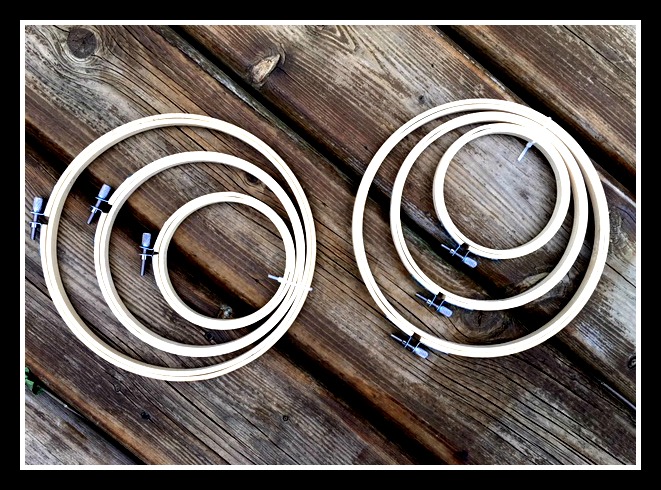
You can buy embroidery hoops at the craft store, Walmart maybe even the dollar store. They vary in price depending on size. Expect to pay around $2.50 each-purchase 2. I wanted to make three sizes so when I saw Michaels had 3 packs for 5.98. I thought that is a better value. When you buy these wooden hoops they will come with one smooth hoop inside of another one with tightening clamp screw.
The first step is to get 2 embroidery hoops the same size and take them apart so there is 4 hoops.
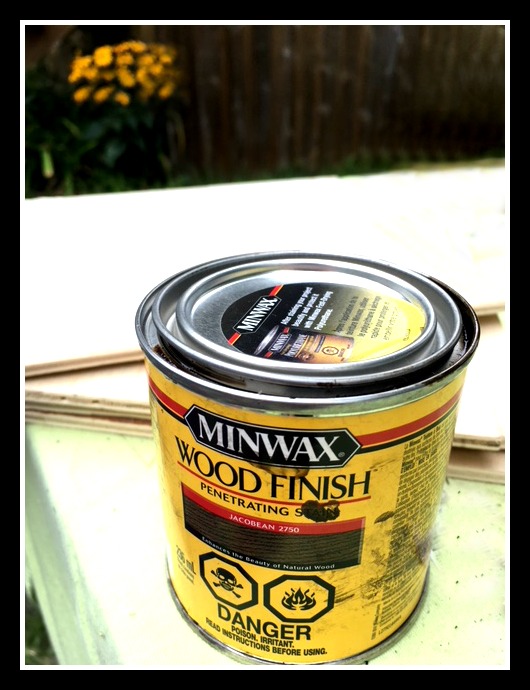
Next I got a cloth rag and my favorite stain. Miniwax Jacobean #2750. If you can’t get this kind you can get a similar effect with a Dark Walnut….It would look great if it was spray painted black or white too….Whatever matches your décor.
Dip the rag in the pot of stain and rub it on the wooden hoop.
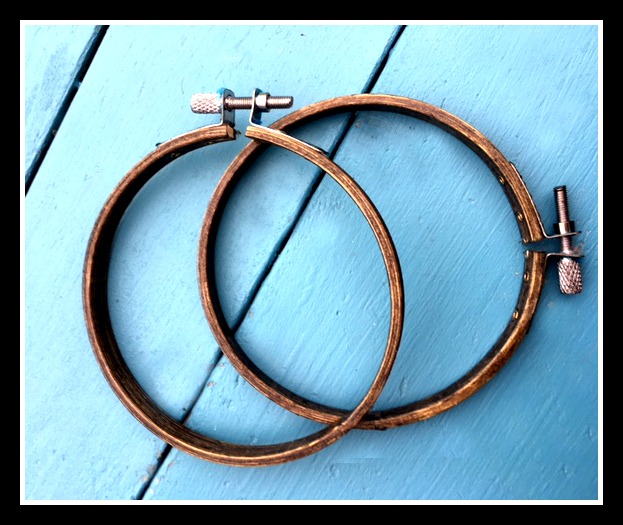
Allow the stain to dry. Adding a clear coat of varnish is optional. It would give a bit of a sheen and make it more durable if you put it outside. I have seen some posts where folks put these on their porch in a planter. In the great outdoors, I imagine they will age quickly and only last a few seasons of sun and rain. Putting a clear coat will help it to last longer.
I plan to make something similar out of wire for outdoors and I’ll let you know if its a success.
Now lets put it all together!
Gather your 4 hoops and get ready to be impressed!
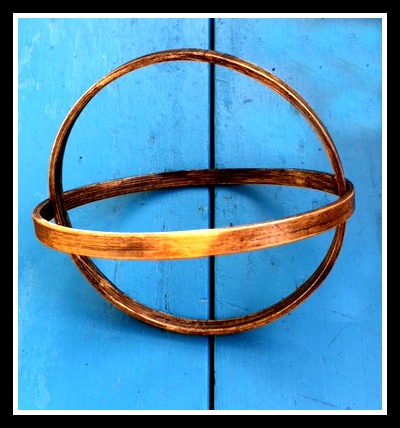
Insert one of the smooth hoops into the other smooth hoop.
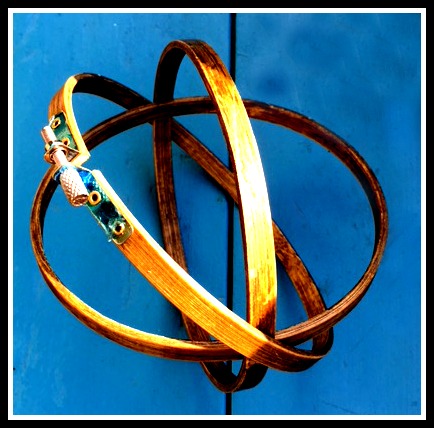
Next, slide a third hoop with the screw tightener over top of the other 2 hoops. Tighten the screw a few twists.
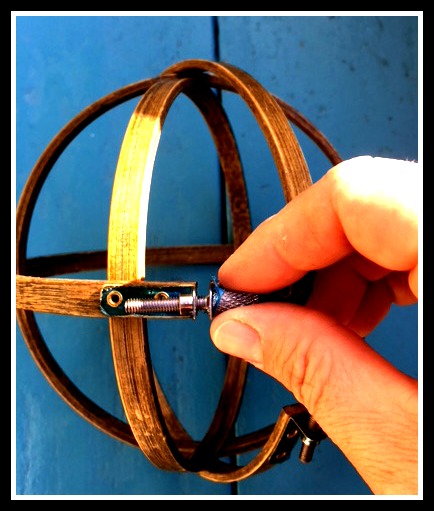
Lastly, put the 4th hoop with the tightener on the outside of all of the other hoops but this one place crosswise.
I prefer to put both of the tighteners close together so that when its on display they will both be on the bottom. It might show a little but it helps the sphere to not roll away.

Here it is on display.
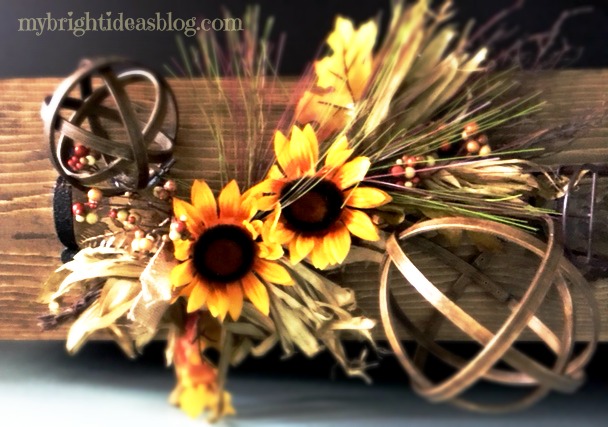
Thanks for stopping by to check out this post. I have a lot more rustic wood projects drying on my workbench. Subscribe to my email list so you don’t miss out when they are ready share!
Extend a Short Shirt with Lace-Great Wardrobe Hack!
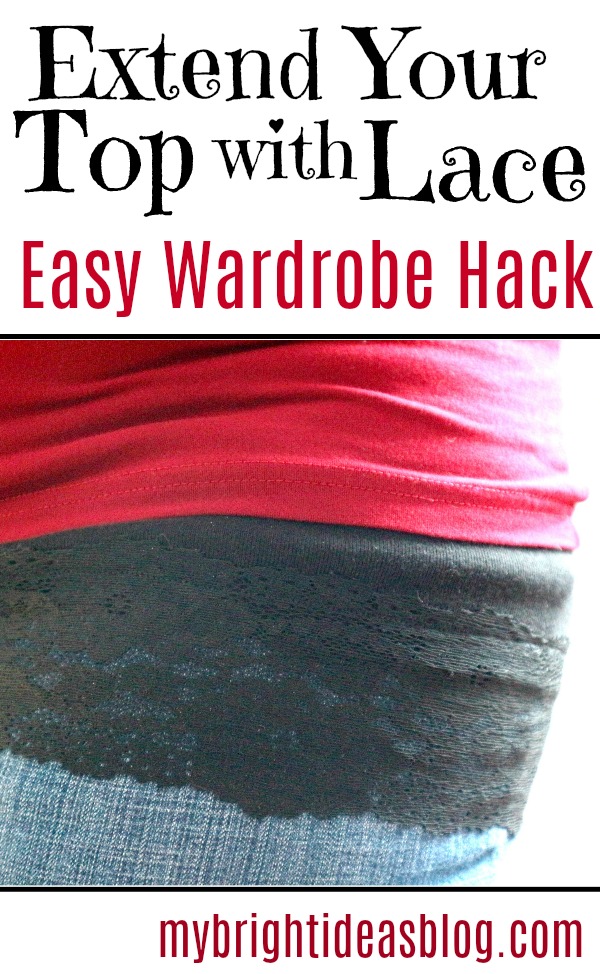
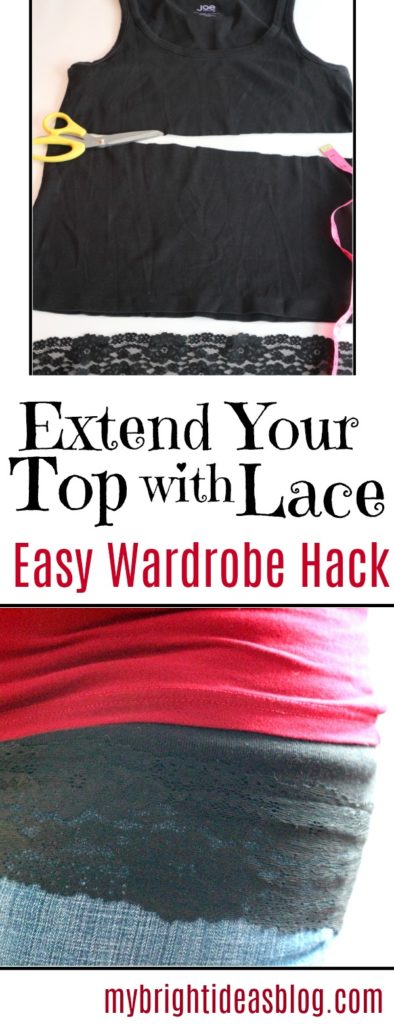
Add inches to the length of your short tops with a lace extender. This is worn around your waist with an elastic waistline and looks like you’re layering tops. This post will show you how to make a shirt-extender from an old shirt and a bit of stretchy lace and elastic.
This is a really easy project and a great item to have in your wardrobe.
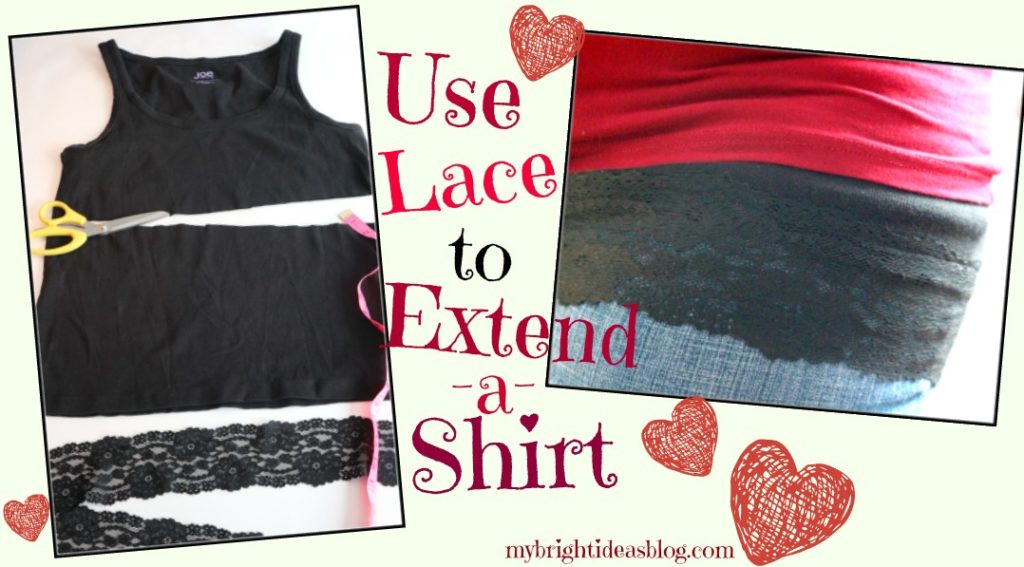
When I was pregnant they called it a belly band. A tube of fabric that went under your shirt so your tummy didn’t hang out under a shirt that was getting shorter by the day.
At https://www.motherhood.com/ its called a “tummy sleeve” or “belly band”.
It occurred to me then that EVERYONE could you use a shirt extender. Sometimes your shirt can shrink leaving you with something you aren’t comfortable wearing anymore. Or maybe you like leggings or something to break up a plain shirt. So here is a tutorial about making a t-shirt extension out of an old top.
You will need:
- An old shirt
- Co-ordinating wide stretchy lace (3 inch wide)
- Elastic (1/2 inch or 1 cm wide)
- Safety Pin
- Pins
- Scissors
- Measuring tape
- Sewing machine
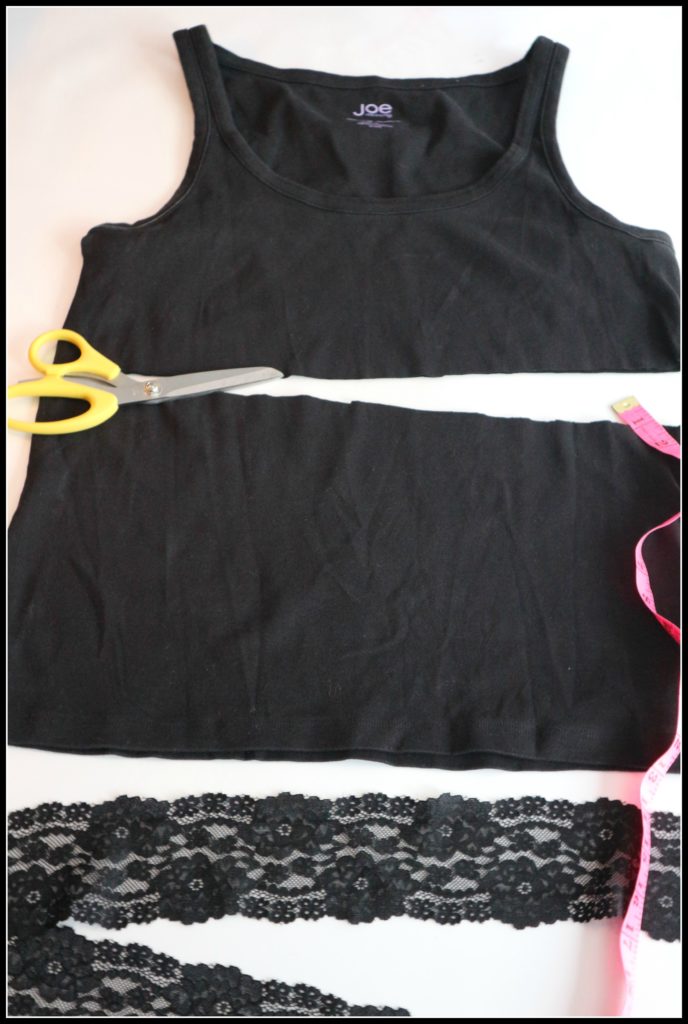
I had a tight fitting cotton tank top that had shrunken and was ready to be re-purposed.
Decide on the length that you would like the top extender to be by measuring your waist to hip with a tape measure. Add on an inch for the casing-plus the lace could add a few inches.
Measure the length and cut off the bottom of your old top. I cut mine 11 inches or 28 cms from the bottom hem. Leave the hem as it is. You can just sew the lace right on top of it.
The length of the lace piece should be a 1/4 inch longer than the width of the shirt hem.
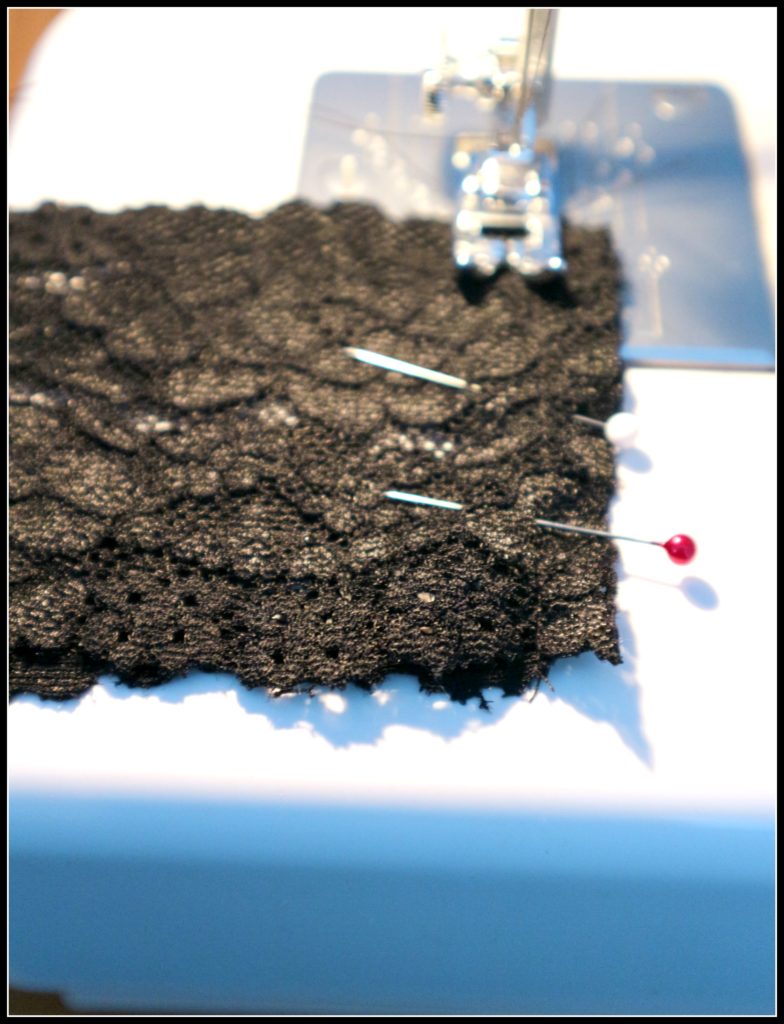
Pin the ends of the lace together and sew the end closed.
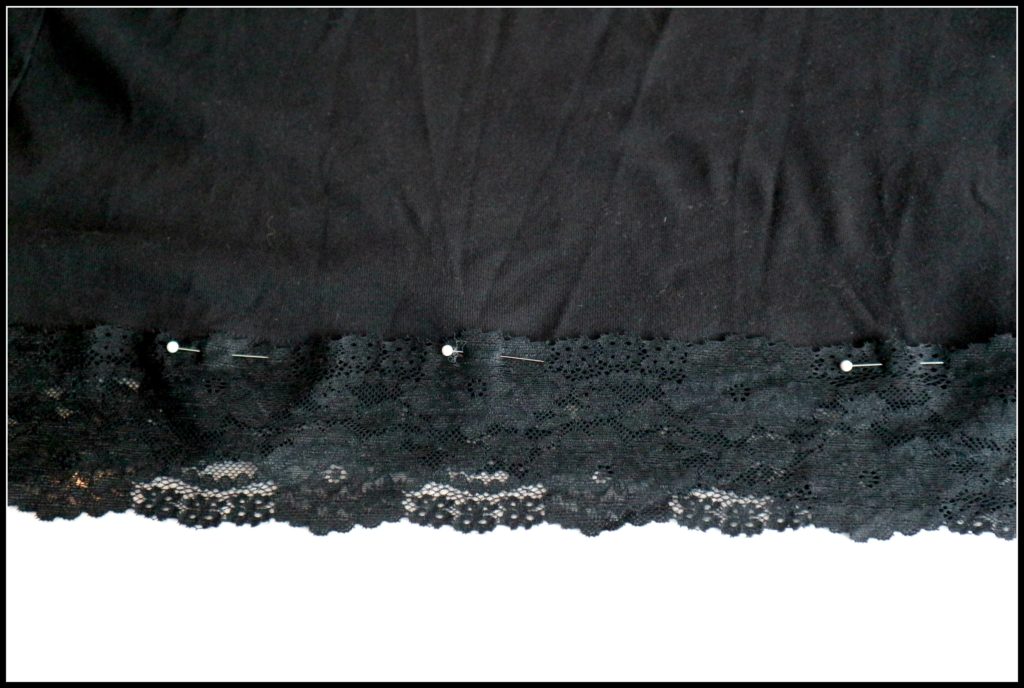
Pin the lace to the bottom of the cut shirt. Be sure that the seam you sewed to join the lace-lines up with the side seem of the top. I decided to sew my lace on top of the t-shirt material. But that was just my preference.
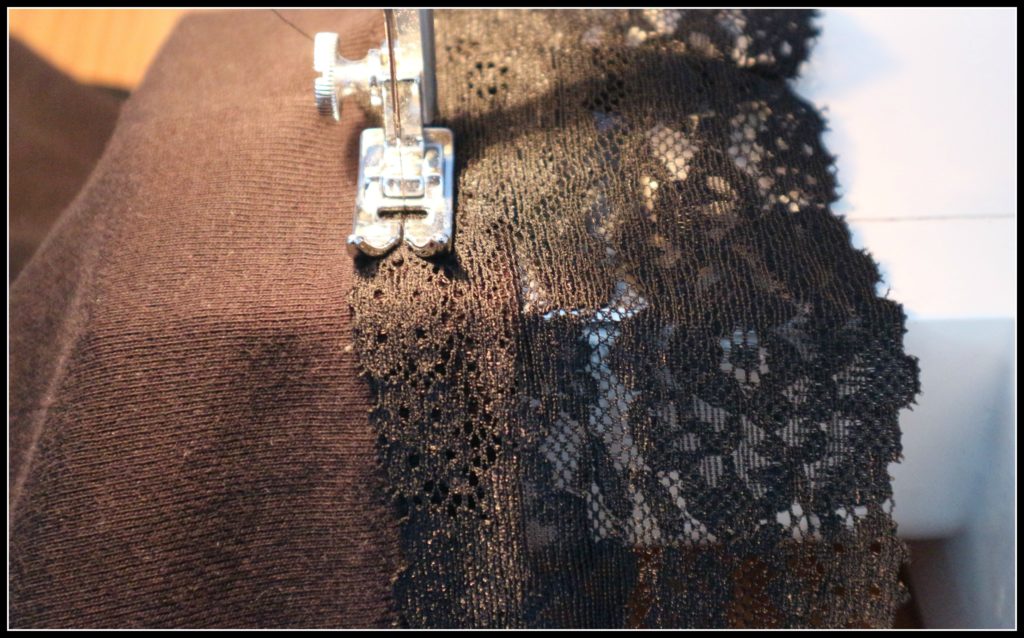
Attach the lace to the bottom edge by sewing all the way around it.
Then we will go up to the top part of the waist band.
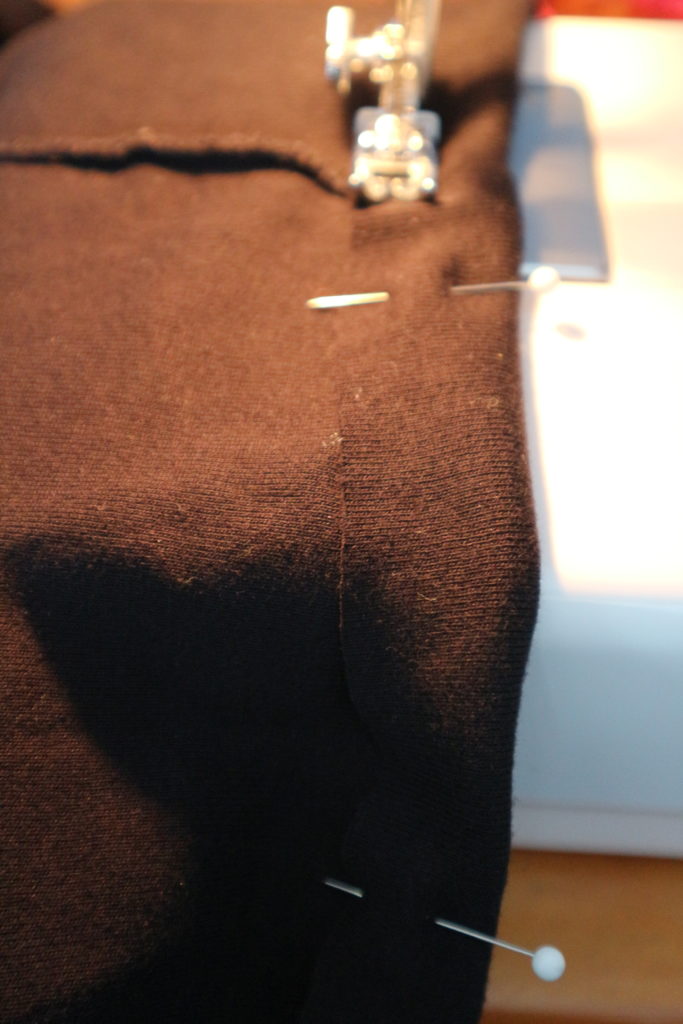
At the top of the fabric, fold over the edge 3/4 of an inch. Pin the edge all the way around to form the elastic casing. Sew in place leaving a 1-2 inch gap.
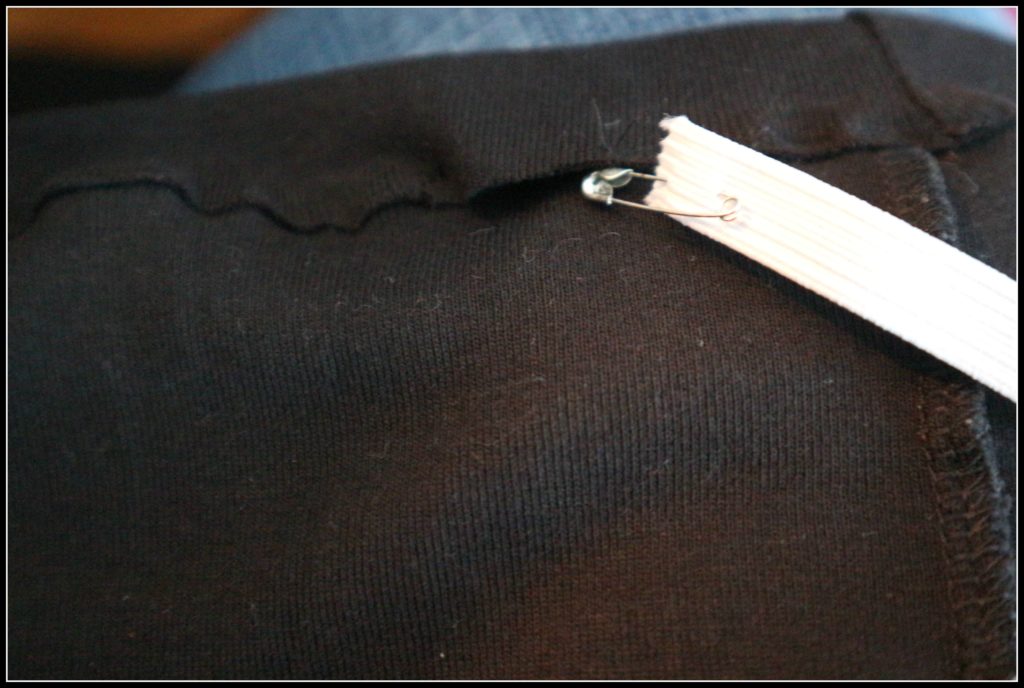
Place a safety pin on the end of your elastic and push it through one side of the 1 inch opening in the casing. Guide the elastic around the casing until you reach the other end of the casing hole. Pin the two ends of the elastic together.
Try on the shirt extender and see how the elastic feels on your tummy. Is it too tight? Or too lose? Or fits just right.
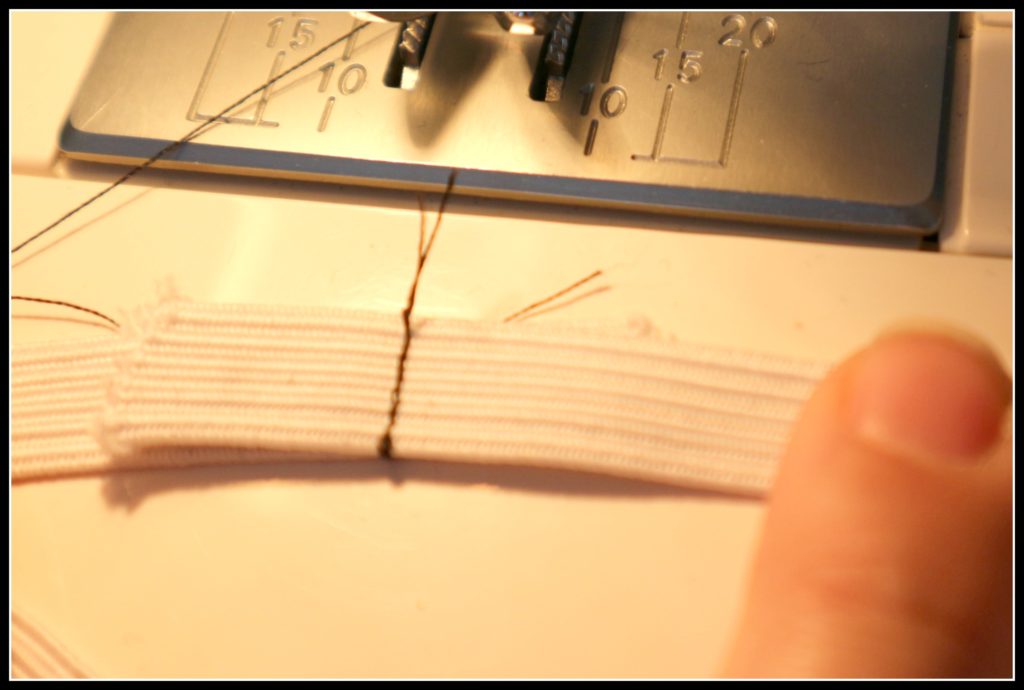
If you are happy with the feel of the elastic, permanently join the ends by sewing them together. I usually go forwards and backwards 2 or 3 times just to be sure.
One final step, finish sewing closed the 1 inch gap in the casing.
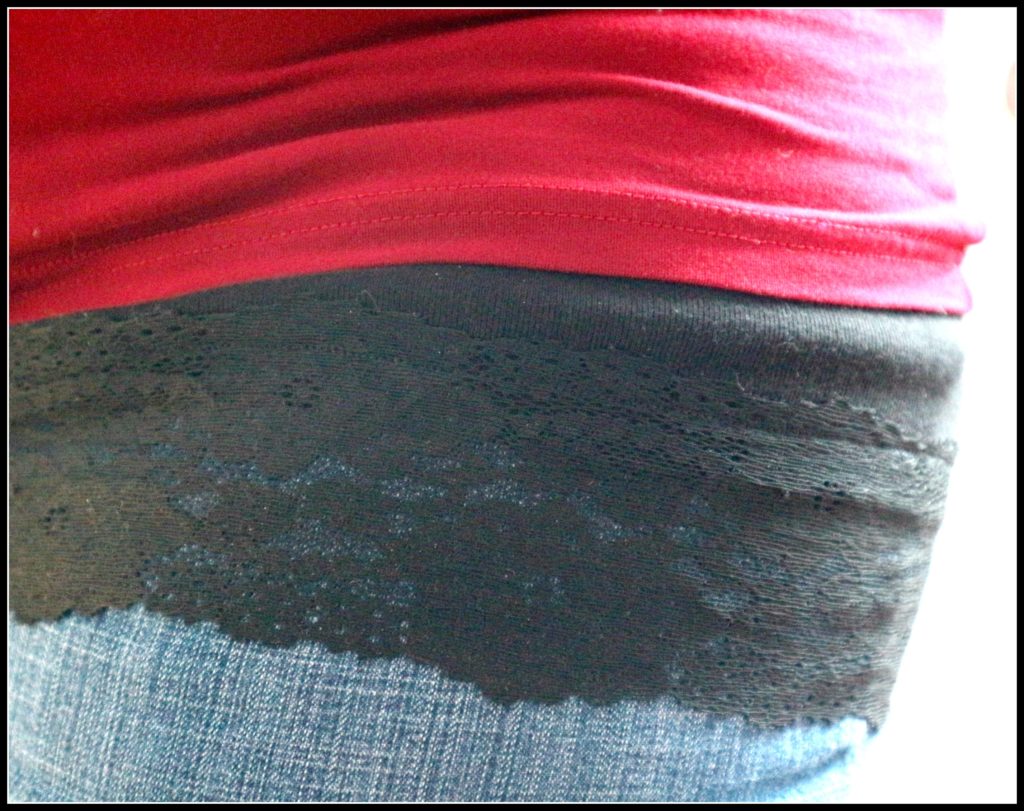
Voila Your Finished! That’s it! What did that take you…. 15 minutes max? Now you can wear it under any shirt for a layered look or just prevent people from seeing your knickers if you have a job that requires some bending over. Oh dear me!
The finished length after adding the lace, casing and elastic almost 12 inches or 30 cms long.
This was a super easy project and a great item to have in your wardrobe. Let me know if you need any further description.
Below is a link to a tutorial for adding lace right onto a favorite shirt that is getting too small. Check it out!
…


