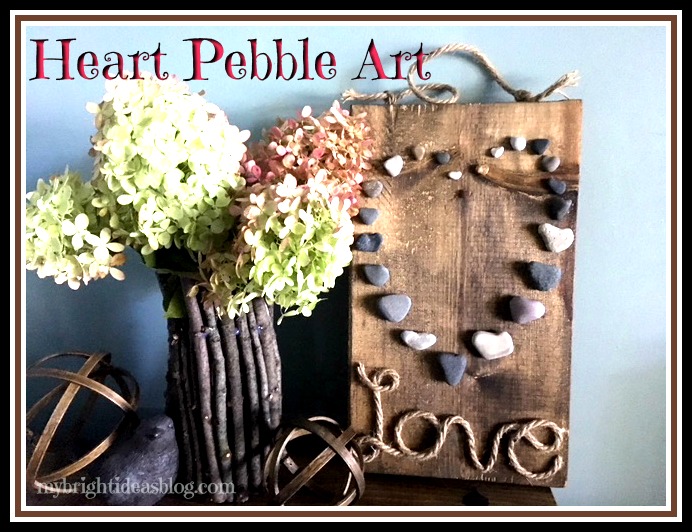
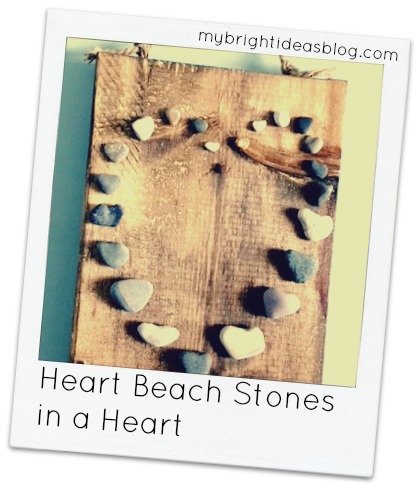
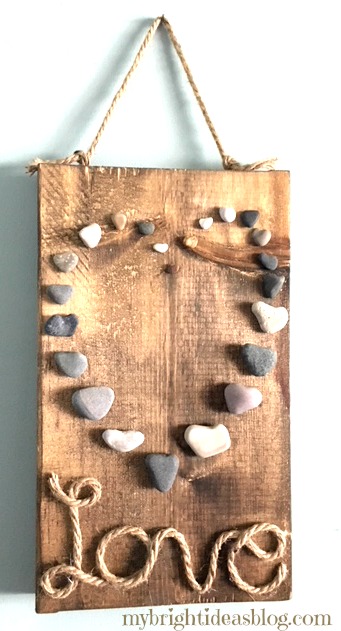
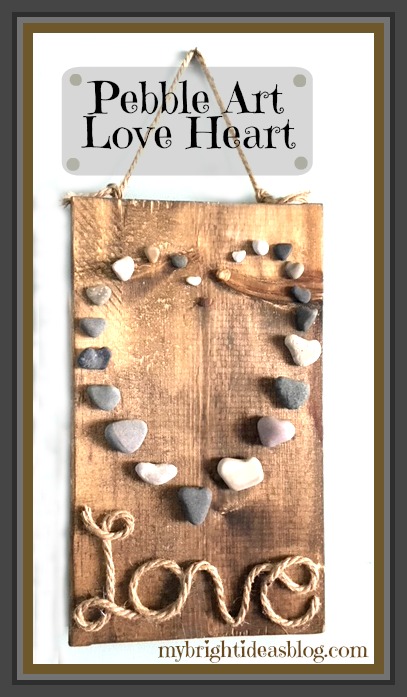
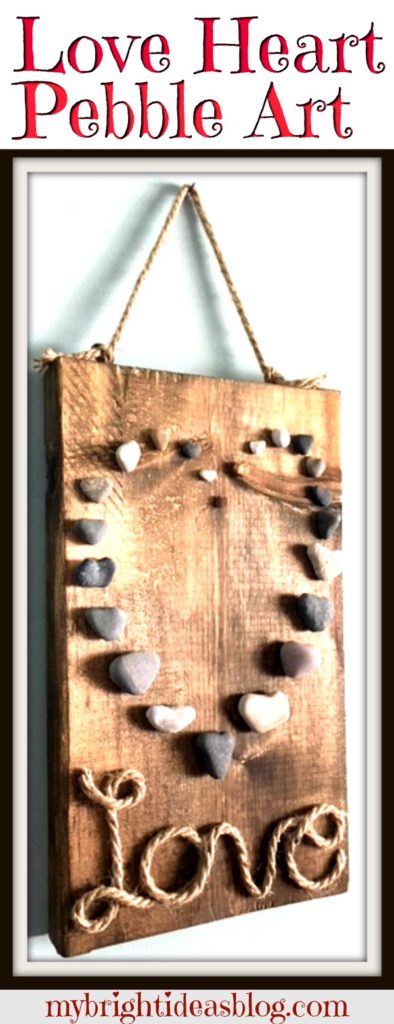
Make heart shaped pebble art with a collection of beach stones and natural rope on wood.
We have gone to the beach twice in October. The cool thing about going to the beach in the Fall is that no one else is there. The beach-that is typically packed with families with picnics and sunscreen….well….is empty. Have you ever had an entire beach to yourself? It’s amazing!
Our home is about an hour’s drive away from Lake Huron. If you aren’t familiar with the Great Lakes allow me to explain….
The Great Lakes
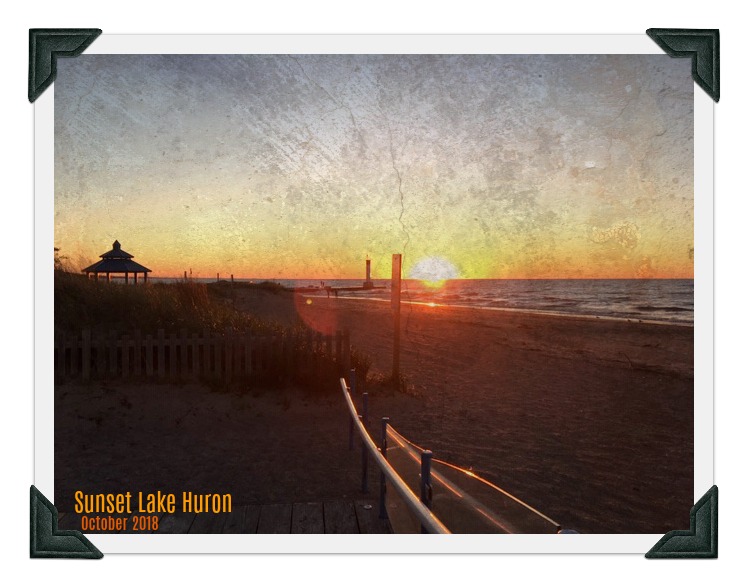
The Great Lakes aren’t your typical lakes. There are 5 and they are huge! Each looks like a sea, with rolling waves, winds, strong currents, great depths and distant horizons. According to Wikipedia if you put all 5 of the Great Lakes together the surface would be the size of the United Kingdom. Lake Huron is where we would head to see a gorgeous sunset.
If we drive an hour in the opposite direction from home, we will be at Lake Erie. If you are a morning person you can watch a beautiful sunrise on that side. Yawn…..
The Great Lakes are the largest group of freshwater lakes on Earth. 4 out of 5 are on US Canadian Borders (Superior, Ontario, Huron and Erie). Leaving Lake Michigan the only one that is located completely in the US. According to Wikipedia “they form a single, naturally interconnected body of fresh water”.
Well that is enough of our fun facts for today! Moving back to our craft project and a trip to the beach.
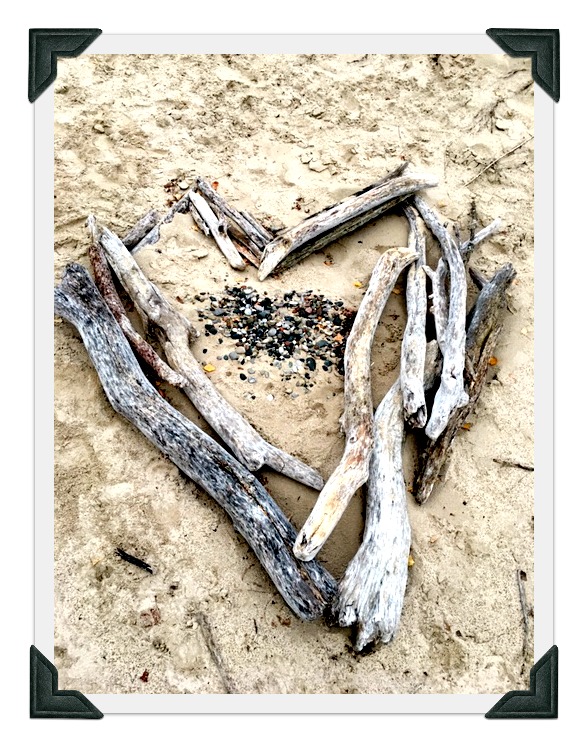
With my eyes on the ground looking for awesome rock treasures I always marvel at how beautiful the stones are wet, sparkling in the sunshine. As we walked along looking for interesting shapes-especially hearts! What did we find but this heart made out of drift wood. Awe isn’t it Lovely!
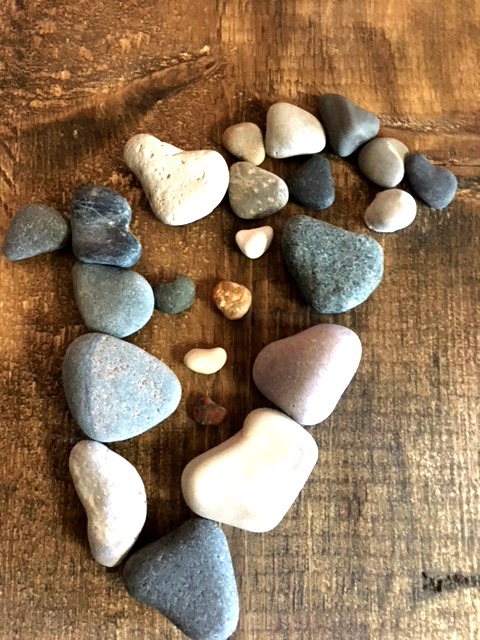
If you look at the beach for odd shaped stones, you suddenly see how very many there are in the shape of a heart.
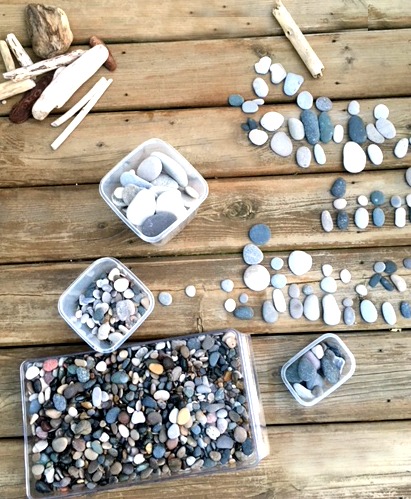
We came home with a nice collection of smooth stones that I sorted into a few containers for different crafts I have planned.
Circles, Oval, Hearts, Big Flat ones and some that were just wonky shapes.
If you are just buying a bag of stones from the dollar or craft store you probably won’t find heart shaped ones, but you can make a heart shape with any natural pebbles and it still looks great.
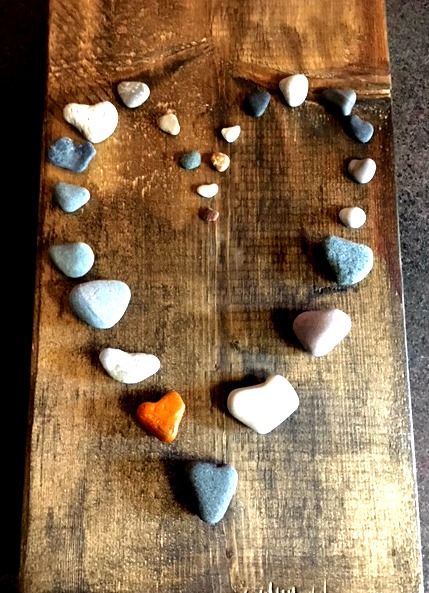
A month ago, I was spray painting things and I threw in some stones and painted them. If you have already my previous projects from the summer you will soon see that I love to spray paint things! My daughter noticed that I had painted a random stone orange but it was a really cool heart shape. This started my fixation on heart shaped stones.
On our next trip to the beach we specifically made a search for hearts, circles and long oval pebbles of any size. Bring on the rock projects!
To make this you will need:
- heart shaped stones (if you can’t find them smooth pebbles are fine)
- wooden board (I had already stained this 9 x 16 board with Miniwax Jacobean)
- jute natural rope
- hot glue gun
- 6 glue stick refills
- 2 eye hooks
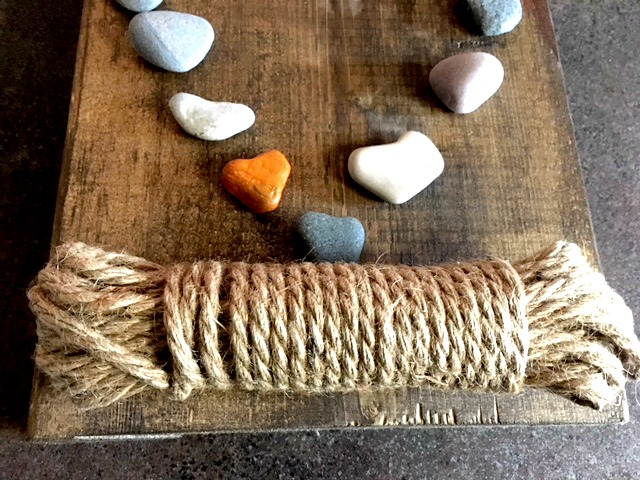
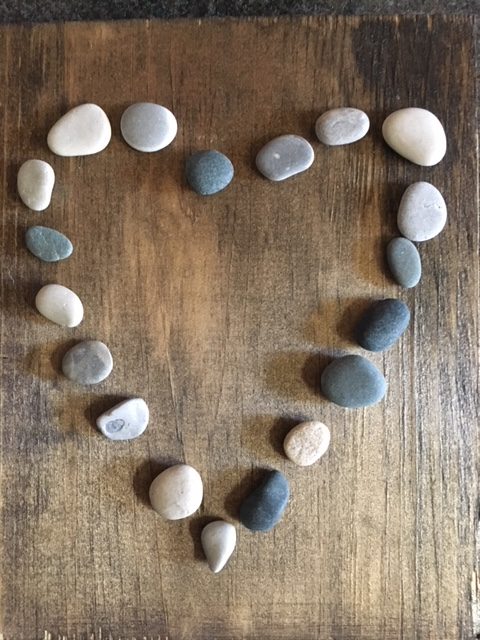
To get started, I organized my love heart shaped rocks to see how big it would be on my wooden board. I didn’t glue it to on yet. Instead, I took a photo of it on my phone in case I needed to refer to it. Then I got my jute natural rope.
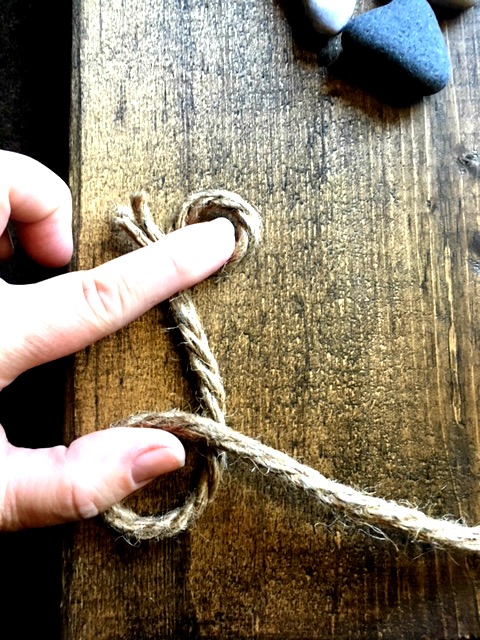
To decide on your letter size use your fingers to make the shape of the L. I usually “eyeball” my projects instead of measuring. Holding the rope down I wrote out the letters of the word Love on the wood.
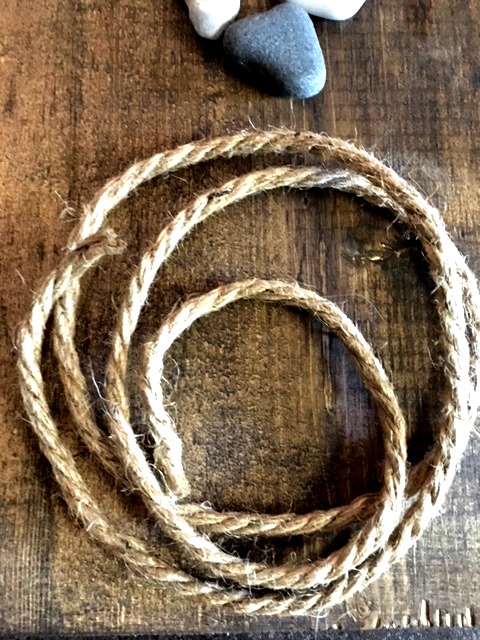
I cut the rope ahead of time because it was quite big to work with. You might choose to leave it on the spool until the end. That’s cool too!
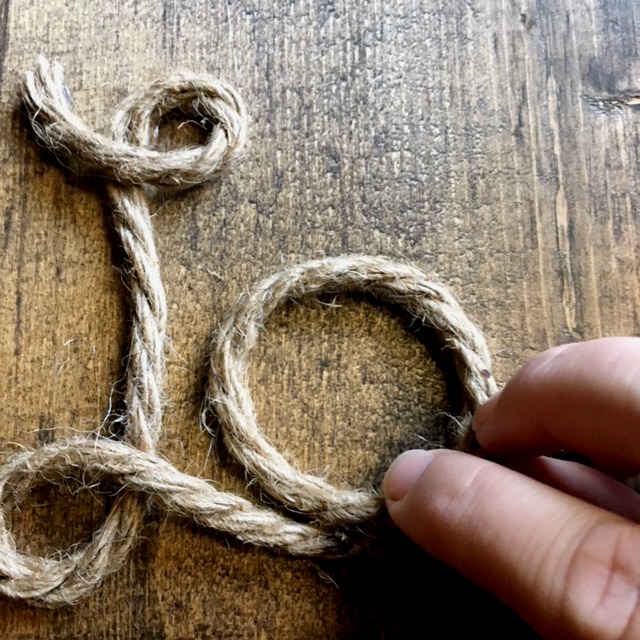
Using a hot glue gun put a few dabs at the top of the loop of your letter L and guide it into the shape of the letter using dabs of glue as you go along. Move on to the letter O and then join into a V and finally an E.
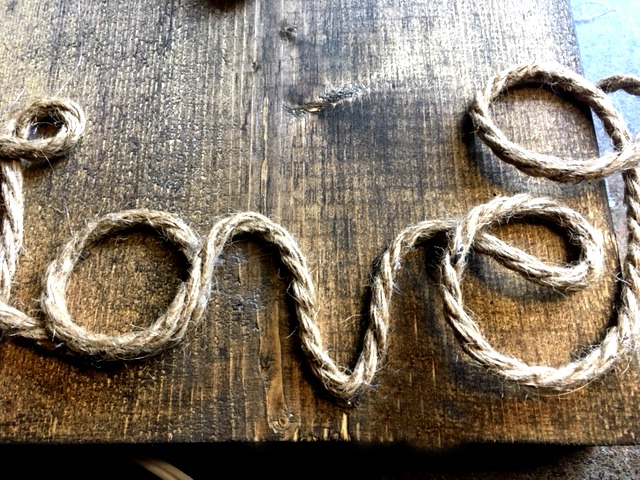
After the E is glued down trim the rope. Make sure the end of the E is secured so that the rope doesn’t fray and lift up.
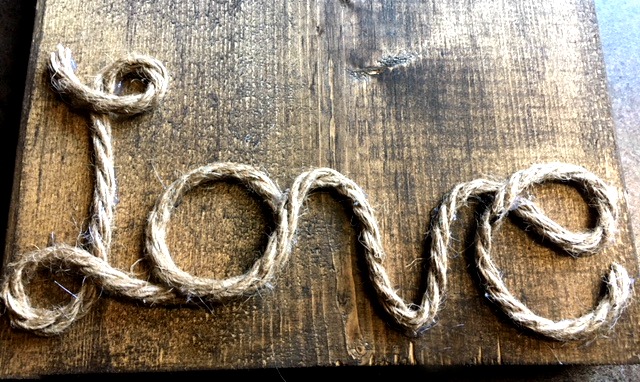
Perfect! Next lay out the rocks in the heart shape again.
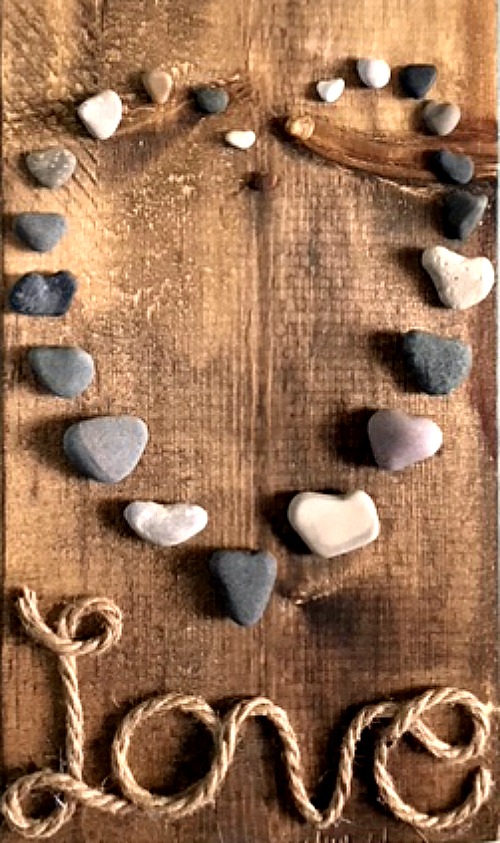
When you have the stones just where you want them. Remove each one and put a dab of hot glue on each pebble and then put in back in its place.
This craft would look good without the rope if just the stones on the wood appeals to you.
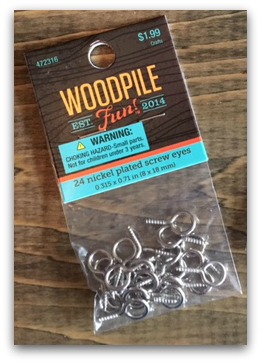
I picked up this package of screw eyes at a craft store but you can find them at the hardware store and dollar stores too. I chose the humble eye hooks so that I could have the rope on the top of the project match the “Love” at the bottom.
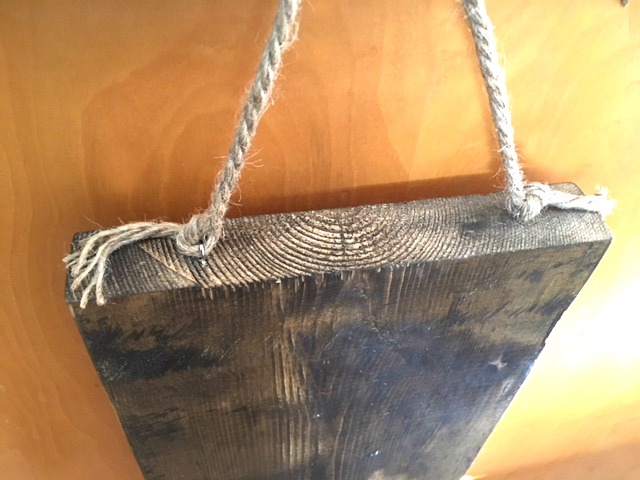
Simply screw these into the top of the board and tie jute rope in a knot. Now it can hang on the wall.
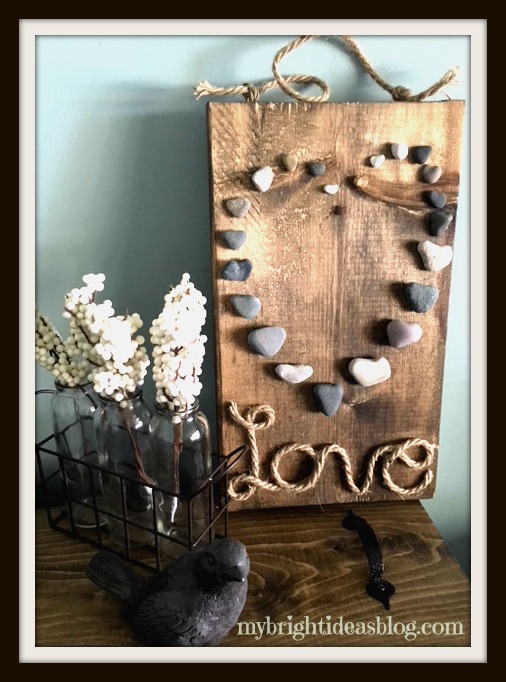
This is a super easy gift idea. You could really personalize it by writing your last name instead of love, or something else…maybe “faith”, “hope”, “smile”, “dream”….something that will inspire or make you smile. You could also make this any size or paint the wood board instead of staining it. Get creative!
Thanks for reading this post and checking out another one of my crafts. I have posted several rustic/wood home décor projects recently, so I’m linking them to this message for you to pop over and see too.
Please pin or share with your social network of friends.
…
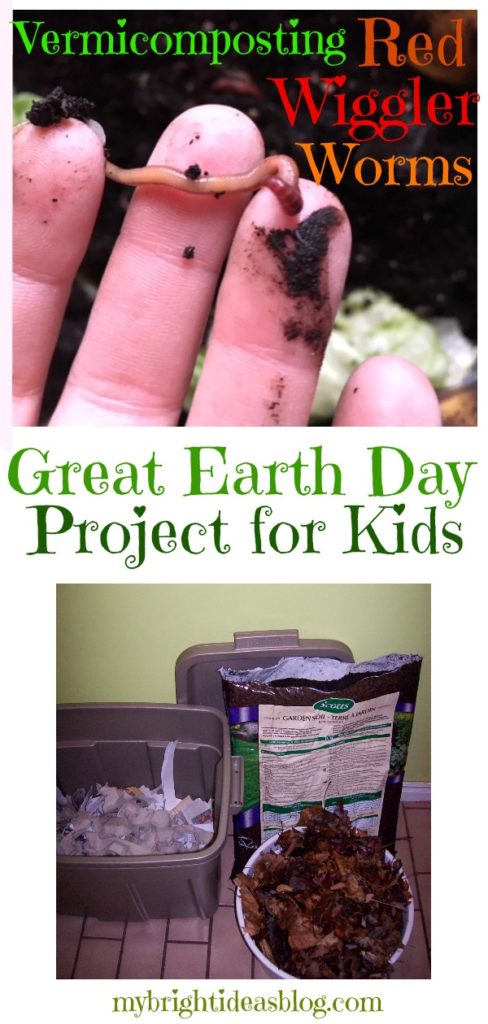
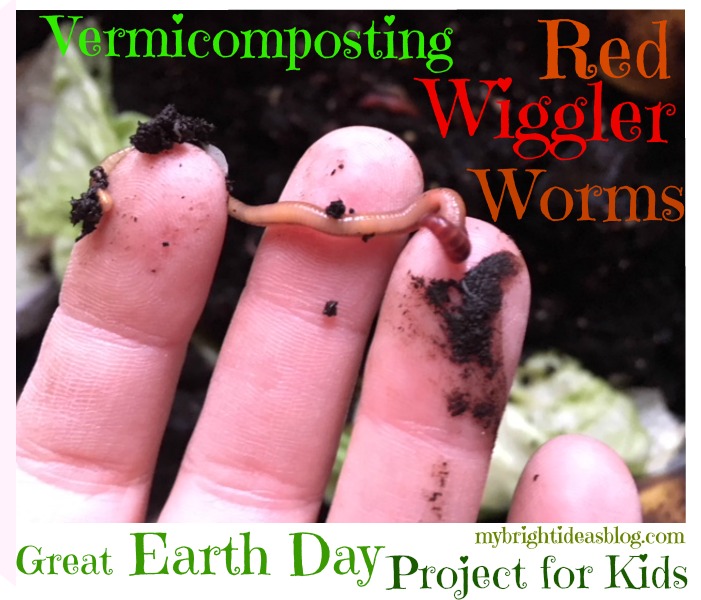
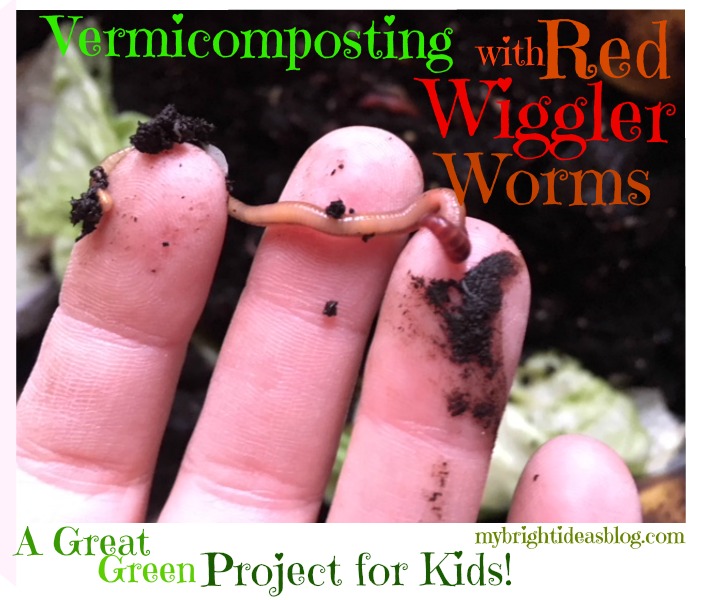
Easy Vermicomposting! How to start an indoor Worm Compost Bin!

For the last 11 years I have been keeping a big secret! I have pet worms. I love indoor composting with red wiggler worms. At times I have had as many as 30 Worm Compost bins in my laundry room (that was a bit much but at the time I was vegan and had a home day care so I was really going through a lot of fruit and veggies). I’ve tried several different techniques and bins and in the end I prefer to use the easiest system to make with just 2 regular old Rubbermaid bins.
It all began when I was a stay at home mom using cloth diapers and wanting to be kind to the planet. I had a lot of time to research all sorts of ways to add less to the garbage. We had a compost bin in the backyard but that year it snowed so much that I couldn’t get through the knee-deep snow to the compost without shovelling myself a path and I had a toddler at the time. So, I started my first bin in 2008 by purchasing a jar of worms from a man on kijiji.ca (local website in Canada that we can buy and sell things…similar to Craigslist). The jar was small and seemed to only have dirt in it he assured me it was worth $10 and there were worm babies and eggs and soon I would have a thriving community of worms. He was right. One bin turned into 2 then 3 then I was posting on kijiji to sell containers of worms. Then I would sell completely finished bins with the community of worms well established. I still have my 3 outdoor compost bins but most of the food scraps go into my many indoor bins where the worms compost the food so much faster.
How you can do it too!
To set up a bin you can start with any quantity of worms. Some websites say to start with a pound or 500 worms but truthfully if you can get a friend to share even a small quantity, in the right environment, they will multiply to fill the space perfectly.
All you need to begin:
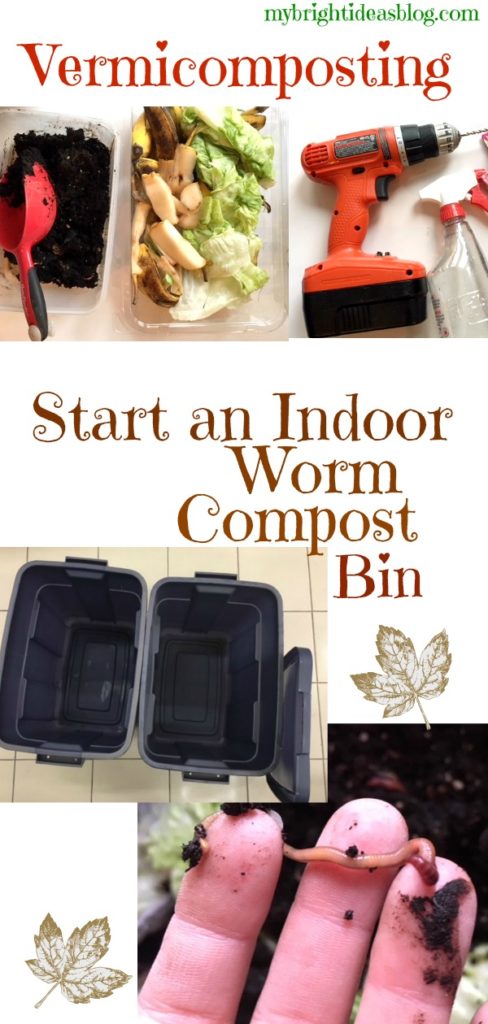
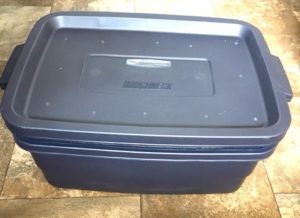
2 Rubbermaid bins 1 Lid (they prefer to be in the dark so avoid clear bins)
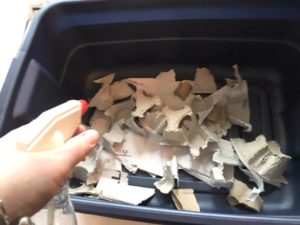
Paper products-shredded paper, cardboard, newspaper (toilet paper rolls, fast food drink holders, shredded bills)
Soil-garden soil from the backyard is fine. No fertilizer or additives.
Food scraps…fruit (not citrus) and veggie peelings (not tomatoes, garlic, onion or potatoes) tea bags, coffee filter with some coffee, crushed egg shells.
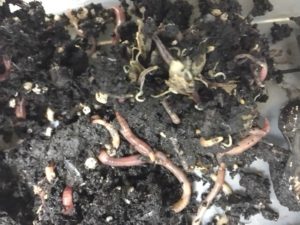
Red Wiggler Worms
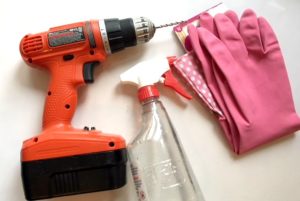
Drill
Optional, coconut coir, dry leaves, rubber gloves and an old kitchen or garden utensil to move and dig in the bin
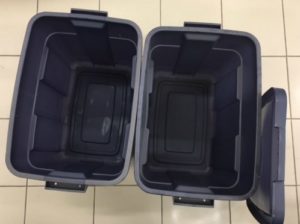
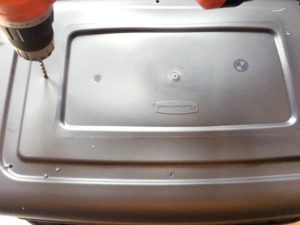
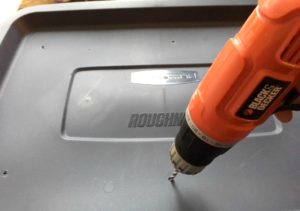

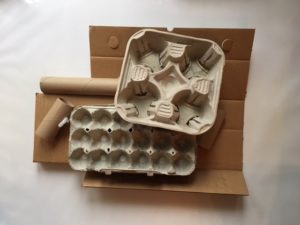
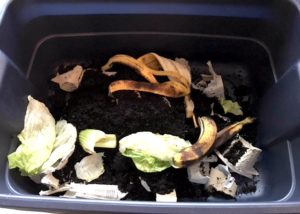
A simple bin is made of large Rubbermaid tote/bin with lid. Drill holes in the top for ventilation and in the bottom to allow drainage of liquids. Use a second bin underneath to catch any fluids that drain out the bottom. Prepare bedding before adding the worms. The bedding is made of soil, wet cardboard, shredded newspaper (nothing glossy or full color pages), shredded bills and envelopes (plastic windows removed), egg cartons, toilet paper rolls etc. Garden leaves and soil. Soil can be from the yard or a purchased bag but should not with chemical additives and fertilizers. The environment should be moist but not soaked. Excess moisture will drain into the bin below. If you put rocks or bricks in the bin below you won’t need to empty it very often. In time the liquid below will need to be emptied. Pour the liquid into a jug and dilute with water. Water your garden with this nutrient rich compost tea.
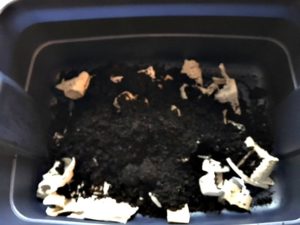
Ideally the bin should be moist- not soggy. If the dirt in the bin seems dry take a spray water bottle and mist it with water or turn the compost dirt to reveal wetter dirt at the base of the bin. If the bin seems too moist, add more dry items to the bedding such as paper, leaves or soil. The worms will travel through the dirt and stir it up.
Kitchen Compost
In a tub collect your family’s food scraps. You can add compost once per week. Remember worms are vegan. Don’t let anyone scrape their plates into our worm compost tub. No meat, dairy or oils. They love fruit-but not citrus. They adore vegetable peelings-but not tomatoes, garlic, onion or potatoes. In moderation tea bags, coffee filter with some coffee, crushed egg shells.
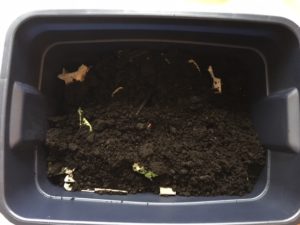
The most important tip to remember is to cover over the food compost with soil and bedding. If you are rushed and just dump the scraps on top of the bin you will get a lot of fruit flies and all the worms will come up to the top. EEK!
Will they try to escape?
Worms will only attempt to escape if there is no food or the environment is uncomfortably wet or acidic. Add kitchen waste once or twice weekly and then a layer of dirt or bedding to discourage fruit flies and mold. Digging a hole to bury the fresh food compost and covering it over is another alternative. Feed your worms any non-meat, non-dairy organic waste such as fruits, vegetables, rinsed-crushed egg shells, tea bags, coffee grounds, paper, coffee and filters, and shredded garden waste. Breaking or cutting food scraps into small pieces will help them to break down easier. If you find there is an odour cut back on the amount of food you add to your bin. I have had a bin get a bit sickly and the worms were all on the sides of the inside. This was because I was juicing pineapple and ginger and giving them the pulp from the ground up fruits and making it far too acidic and spicy for them. Not to worry I rescued my wiggly little friends and set their bin back to their best environment again.
The Best Environment
Your worms are best kept at room temperature. Exposure to hot sunny conditions or cold winters of temperatures below 10 degrees Celsius should be avoided. The worms can die in extreme temperatures. I live in London Ontario Canada-summer can be 35 degrees Celsius (95 Fahrenheit) and winter can be -35 degrees Celsius (-31 Fahrenheit). Outdoor worm bins would not work here. Keeping your worms indoors year round is likely your best option. If your vacation plans are for longer than 2 weeks you may want to consider asking a friend to add compost for them.
How to Harvest the finished compost?
After several months the paper products will have disappeared. Its a good time to add fresh bedding. I tend to move all the food to one side of the bin. The worms will begin to migrate over the fresh banana peels and avocado which are their favorite foods in my opinion. The worms will be busy and migrate to one side so you can scoop out the soil from the opposite side. Keep your eye open for eggs and the odd worm so they don’t leave the bin with the soil.
Some websites say to spread the contents of the bin onto a plastic tarp and place a bright light on them so they move away from the light. That seems messy and unkind to me. I prefer to just take out a bit at a time.
Vermicompost will provide nutrients to your plants and will help the soil hold moisture. It can be used in a number of different ways:
1) Sprinkle into a seed row when planting.
2) When transplanting, add a handful of soil to the hole you have dug for the plant.
3) Use as a top dressing, sprinkling the compost around the base of your plants.
4) Mix with potting soil (half and half) for house plants.
Remember to dilute the liquid that drains out and water your garden with it.
I really do enjoy talking about worm composting. I’ve even did demonstrations at the girls school for as young as kindergarten. Grade 3 has a soil part to their curriculum which the last 2 years we were able to teach the students about setting up the bins. As you can see by now, I do love my little worm farm, so send me your questions and comments!
…