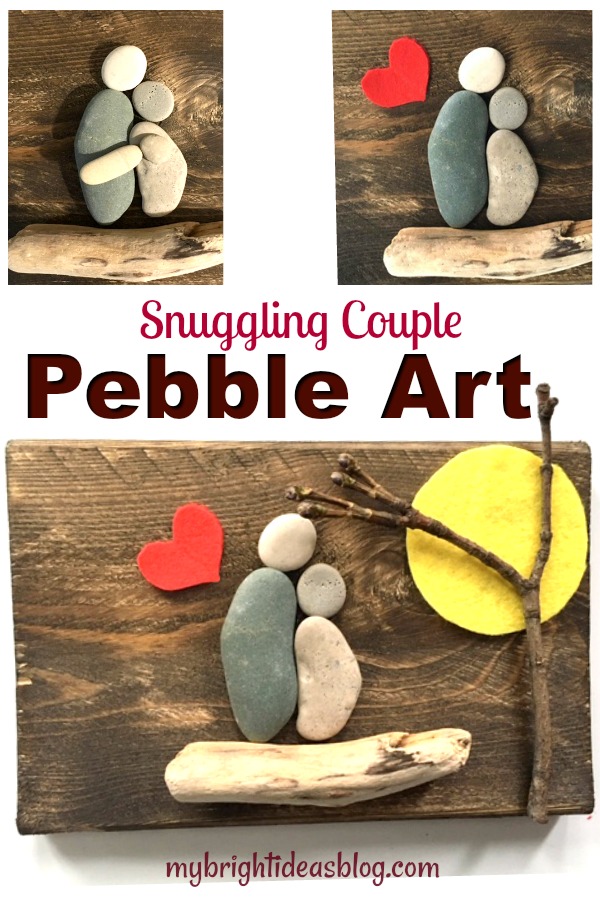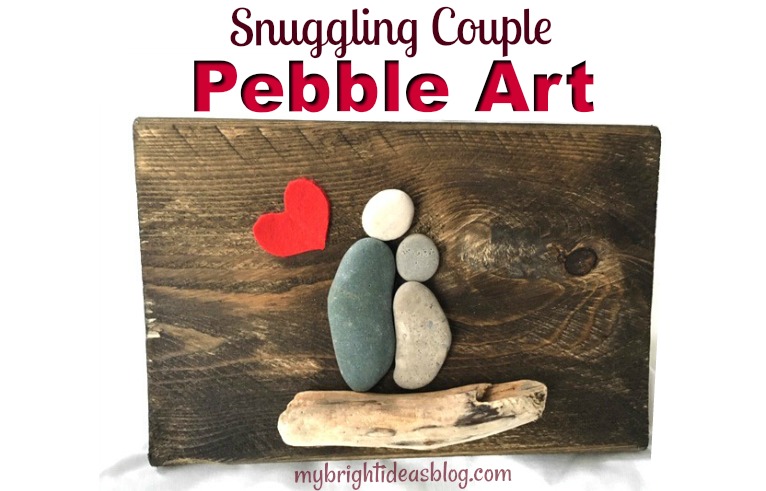
I got a nice collection of flat rocks when the weather was warmer. When you start becoming a beach pebble collector its hard to stop. Even now, although its freezing rain I still would love to escape to the beach…an hour drive away…to look for my favorite shapes of stones (hearts, ovals, circles). So I’ve stained a few small boards to turn them into Pebble Art.
I’ll show you what I made this time….
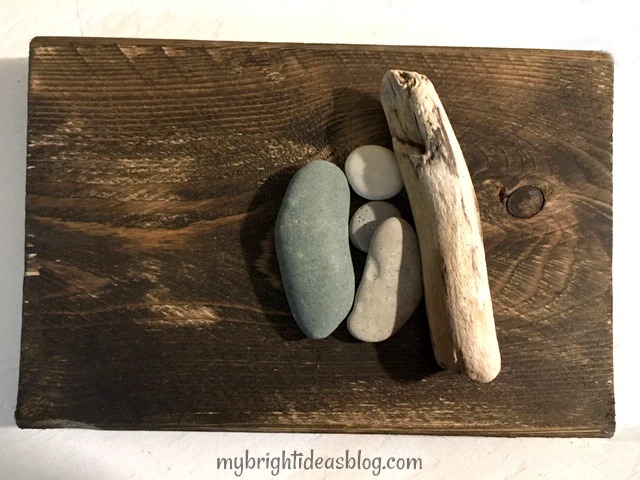
What you will need:
- 2 long pebbles
- 2 round pebbles
- small piece of drift wood
- red and yellow felt
- a twig
- a scrap of stained board or a plain canvas
- hot glue gun or E6000 glue
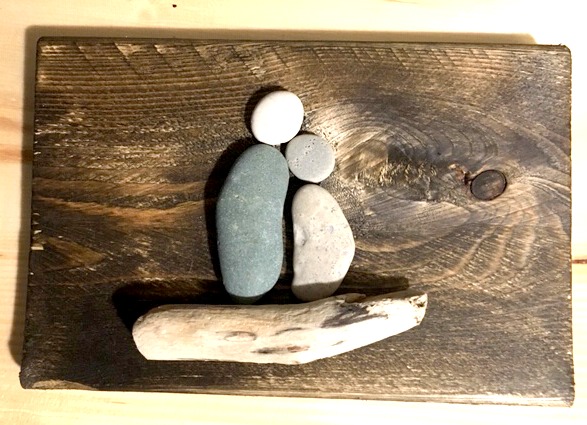
These two long rocks fit together perfectly for the bodies. Two round stones on top for the heads. A small piece of driftwood for them to sit on. Glue everything in place. You can stop with just these natural items or keep going to add some colour.
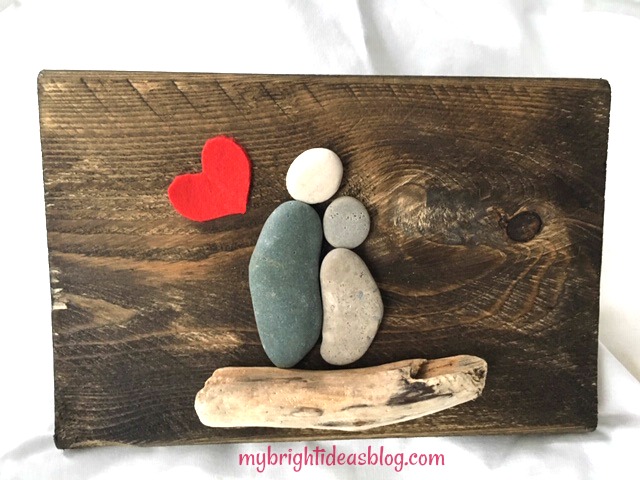
Here I took an inch of red felt and folded it in half and cut the shape of half a heart. I find this is the best way to get your heart shape. If I try to cut it freehand it turns out lopsided.
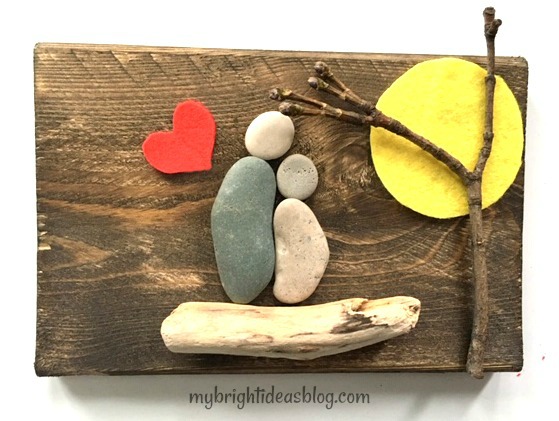
Trace a tin can from your pantry to make a felt round sun. Put a twig on the side and now its done.
Now it’s a couple having a snuggle at the beach, watching the sunset. Although, my 8 year old would like it to be a mother and daughter. Awe she is snuggler. I better make her one for her room!
Thanks for reading another one of my easy crafts….Have a look below for links to some of my other “Pebble Art” projects.
…
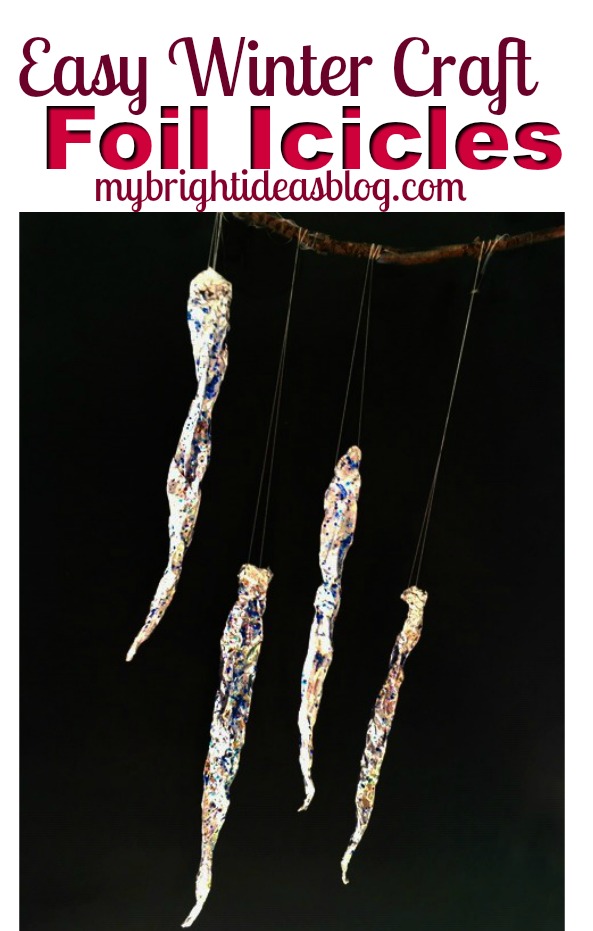
Tin Foil Icicles – Super Easy Winter Craft!
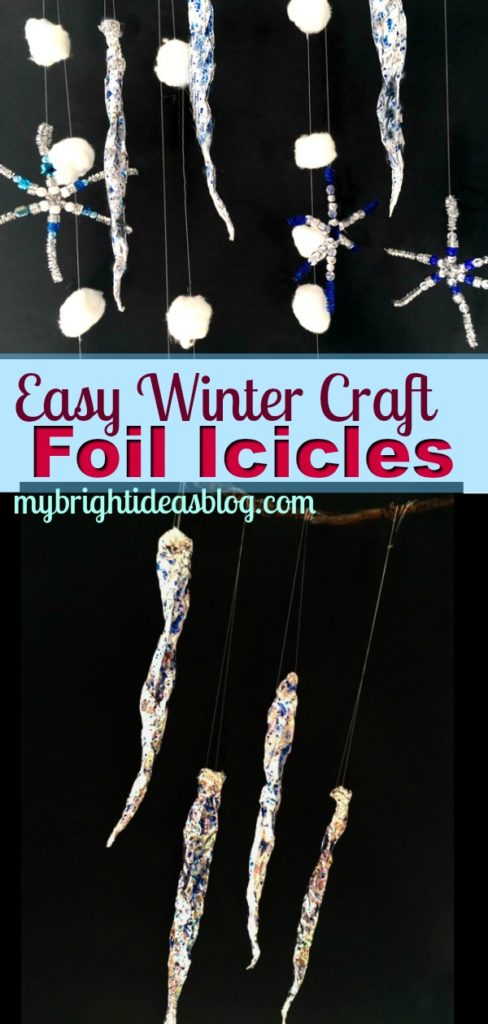
Easy Winter Crafts – Make Glitter Tin Foil Icicles
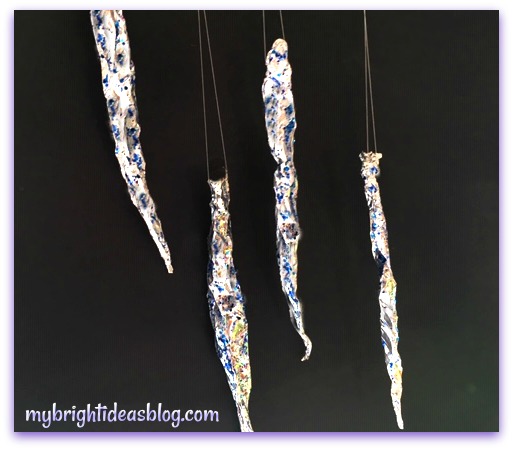 Making sparkly icicles is a great winter craft for kids of all ages! You probably already have the supplies you need to make them.
You will need:
- tin foil
- glue and glitter or combined glitter-glue
- needle and thread
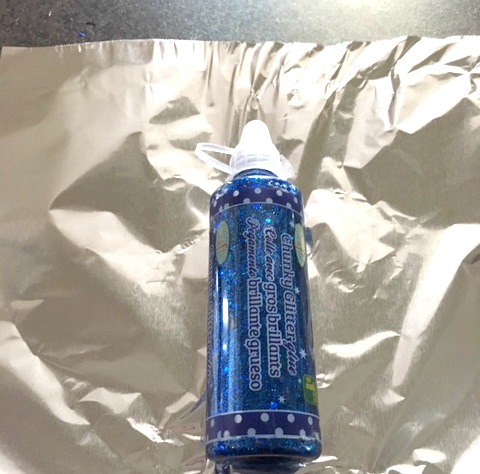
I love when things sparkle but I don’t like it when crafts trickle out a trail of glitter on everything that touches it. So my solution is to use glitter glue that is already mixed together.
The alternative is to spread glue all over the project and then sprinkle loose glitter on top. It’s messy but has great coverage.
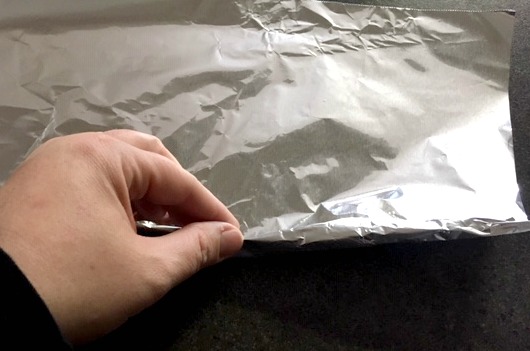
Start with the tin foil. Cut the foil 6 inches wide. Begin to roll the foil pinching one end as you roll it.
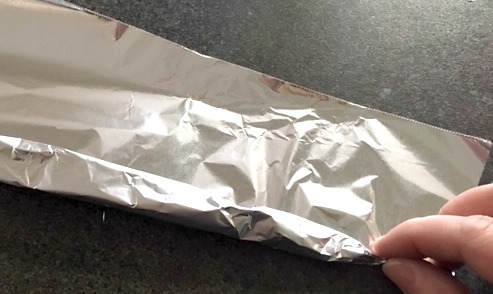
Keep rolling and scrunching as you go. Loose and wide on one end, tight on the end that will come to a point.
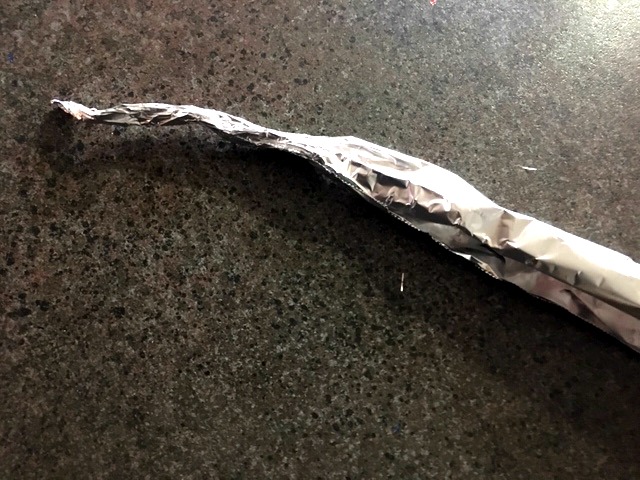
I should find more crafts that involve tin foil. It always helps the craft really stand out!
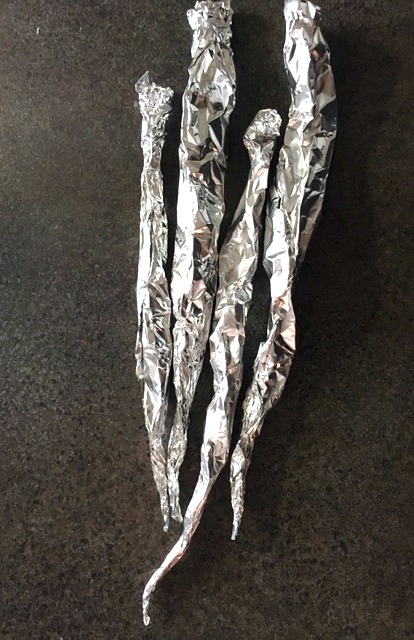
Make a bunch of tin foil icicles. Place them on a piece of paper towel.
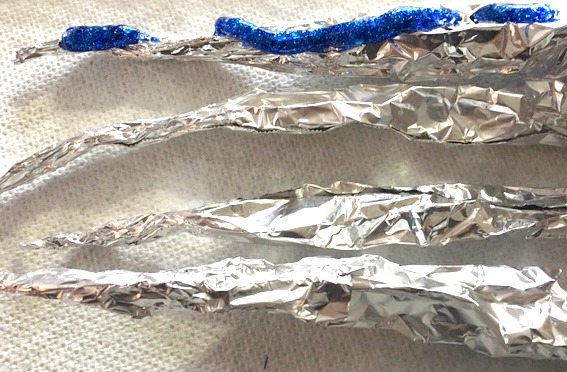
Squeeze out the glitter glue onto the foil icicles.
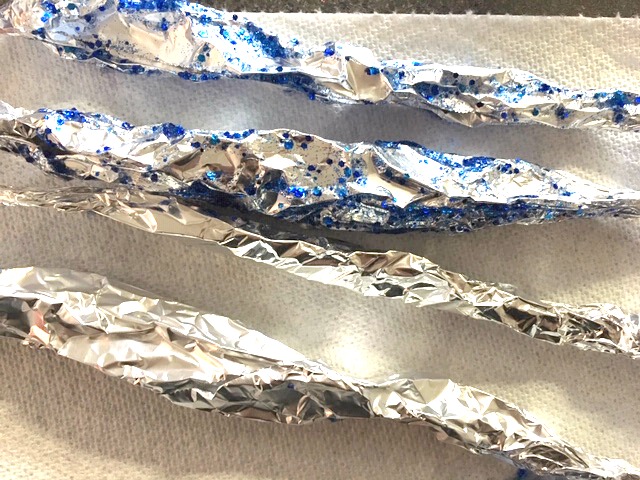
Take a piece of paper towel (or use your fingers if you don’t mind getting sticky) and smear that glitter glue all up and down the icicle.
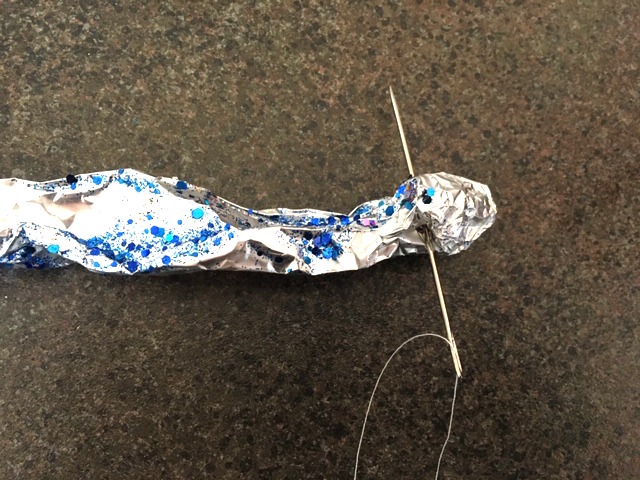
Take an arm’s length of thread and thread your biggest needle. Do not knot it. Push the needle through the tin foil.
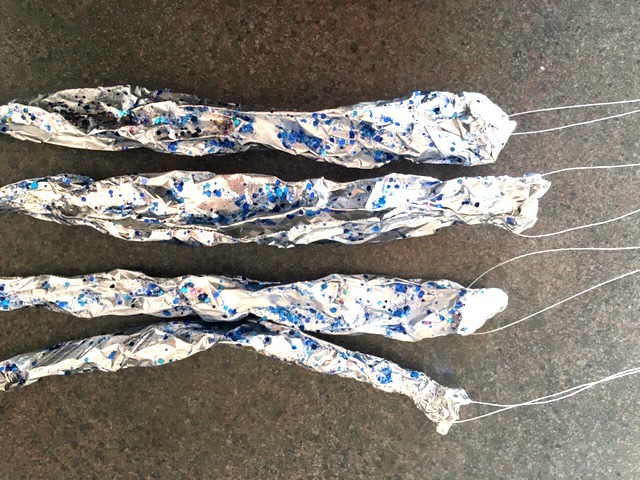
Pull the ends of the thread together and tie a knot.
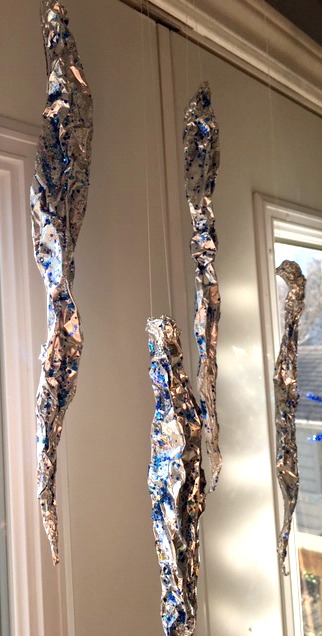
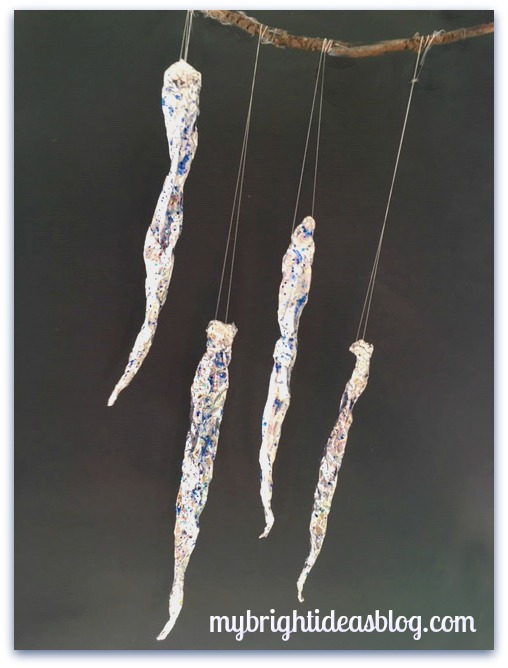
Tie onto a curtain rod or tape to the window trim. Or as below you can tape it to a twig or stick and hang it from a huge vase. When the sun hits it there is an amazing sparkly effect reflected everywhere because of the crinkles in the tinfoil and the sparkles.
Have a look at some other winter crafts we have done.
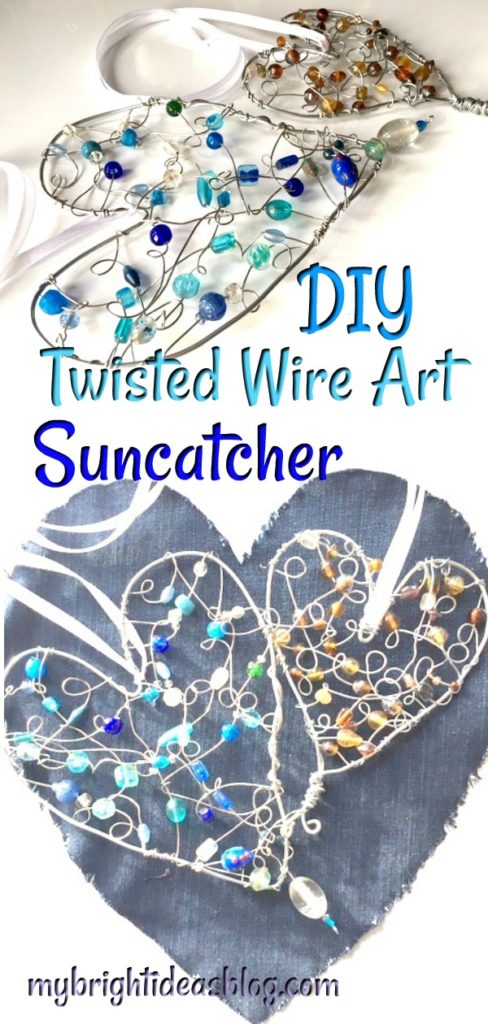
Twisted Wire Art – Love Heart SunCatchers
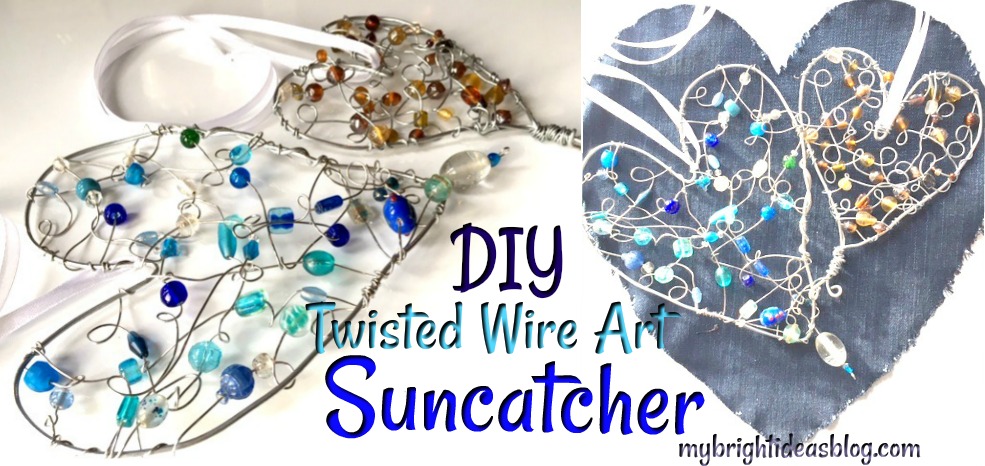
I have been excitedly pinning all sorts of “Wire Art Crafts” on Pinterest – But for some reason I’ve been nervous to get started….until now! This is my first attempt and I hope there will be many more to come! So let me show you how I made a beaded suncatcher!
You will need:
- wire (14 and 20 gauge wire)
- wire cutters
- wire plyers
- beads
- a cutting board or other desktop protection
- ribbon
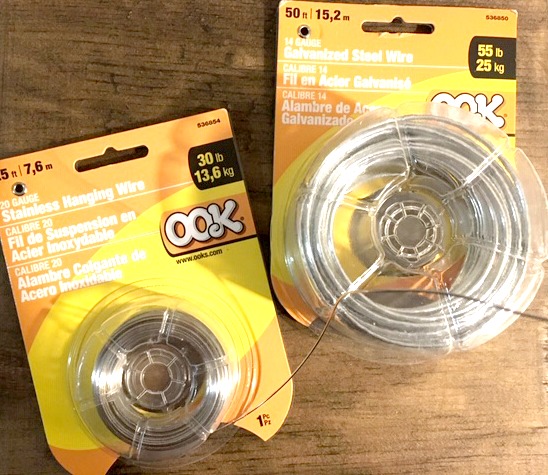
I recommend a cutting board because I don’t want you to scratch up your dining room table or kitchen counter or any other surface you craft on. Wire projects can leave sharp ends-which can do some damage.
For wire: I bought 14 and 20 gauge galvanized stainless steel. This is much cheaper at the hardware store than the craft store.
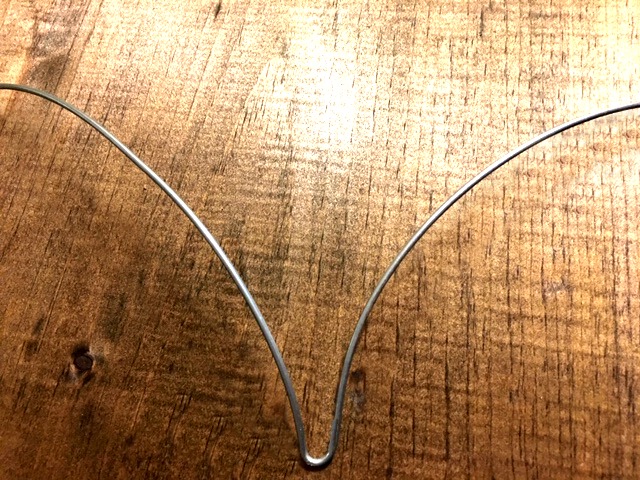
Cut a length of 20 gauge wire approx. 27 inches long (69cm). Use big wire cutters from your DIY tool box rather than jewelry making plyers. 20 gauge wire is thick!
Bend it in half so the heart shape begins to form the point in the top middle of the heart.
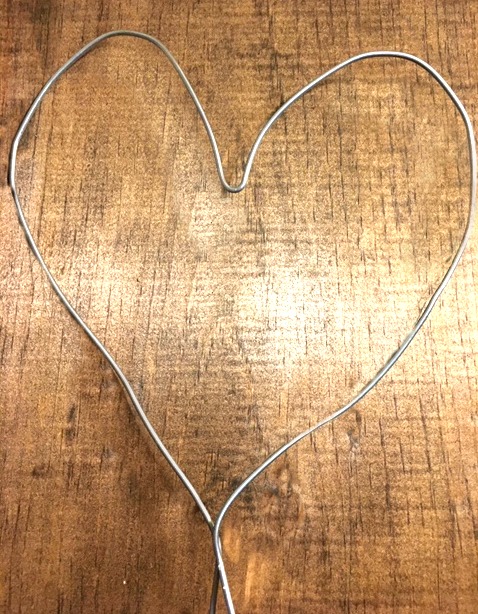
Gently manipulate the wire (with your hands not tools) to make the shape of a heart. Bring the bottoms together and twist.
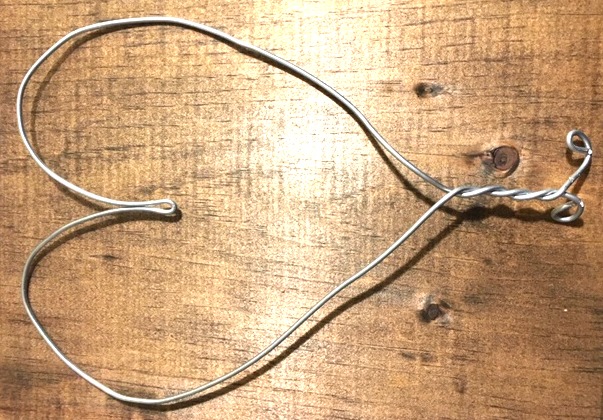
Keep twisting the bottom and rounding the ends.
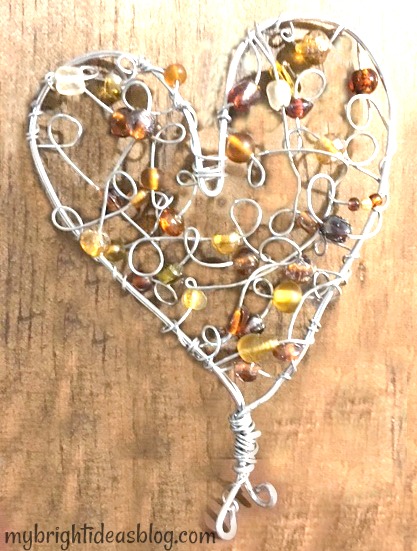
Fast forward to see how the amber one turned out….
For the blue suncatcher I formed the wire into a heart and wrapped the excess on the side.
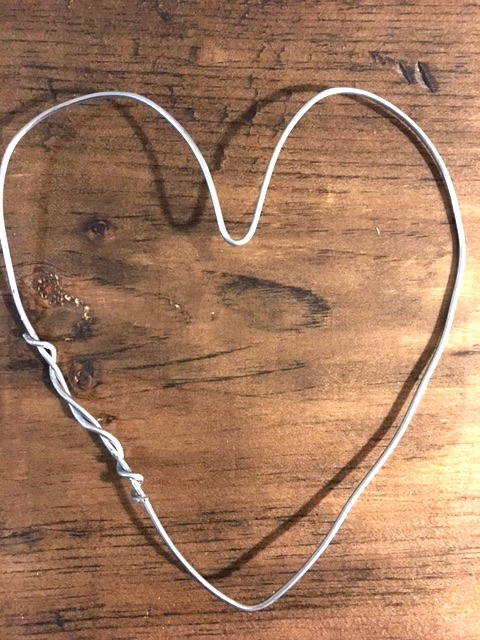
This is actually really hard on your hand muscles. Take breaks if you are getting achy muscles in your arms or hands. I think this looks a bit sloppy so I prefer the first option.
Now cut a piece of fine 14 gauge wire 30-40 inches long (90cm).
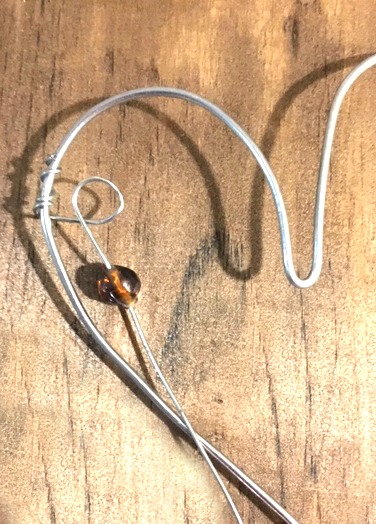
Start by twisting the fine wire around the side of the heart a few times and then wrap the wire around a round pen to make a loop. Slide the bead onto the wire and then make another loop around a pen. Have this loop face opposite direction.
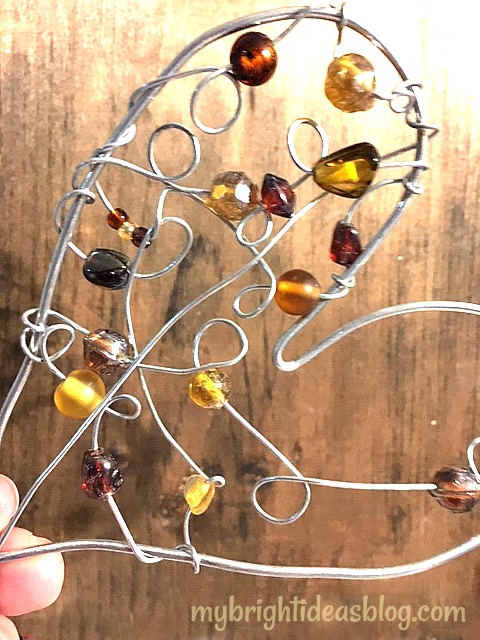
Continue wrapping the wire to make a loop and then bead it and next loop in the opposite direction. Wrap it around the side a few times and repeat making loops and adding beads, zig zagging over the heart. You may need up 3 yards (2.5 m) of wire for this part. This takes a bit of time.

When I finished this one off, I just wrapped the excess wire around the bottom of the suncatcher.
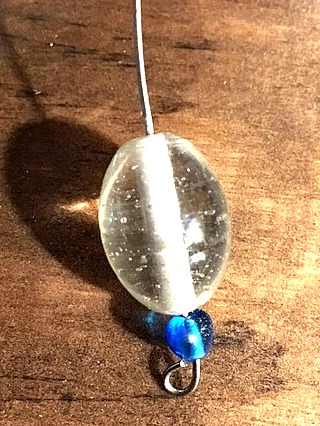
For the blue one I added a drop bead on the bottom. Cut a piece of 14 gauge wire 3 inches long. Twist the end around to anchor a few beads on. Wrap this at the end bottom of the heart.
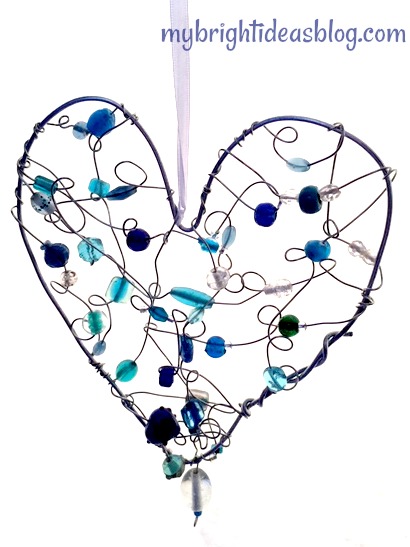
This is a great project for someone who doesn’t follow patterns well and likes to free style (Like Moi). It’s a random, twisting, original piece of wire art.
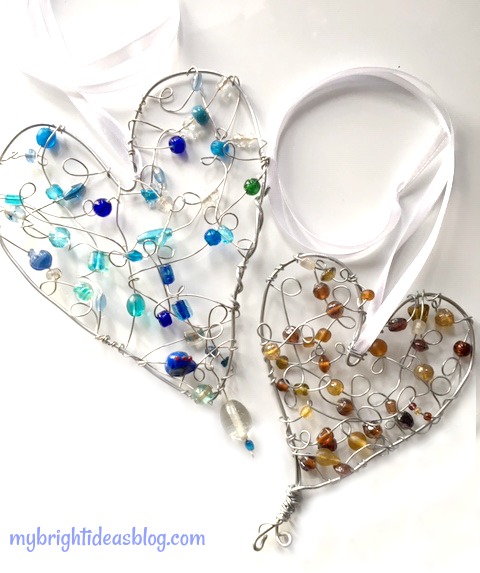
Finish the project by putting a bit of ribbon (or clear fishing line) through the top and tying it in a bow. Hang in your window!
I’m pretty pleased with my first attempts at wire art. I am eager to try it again soon!
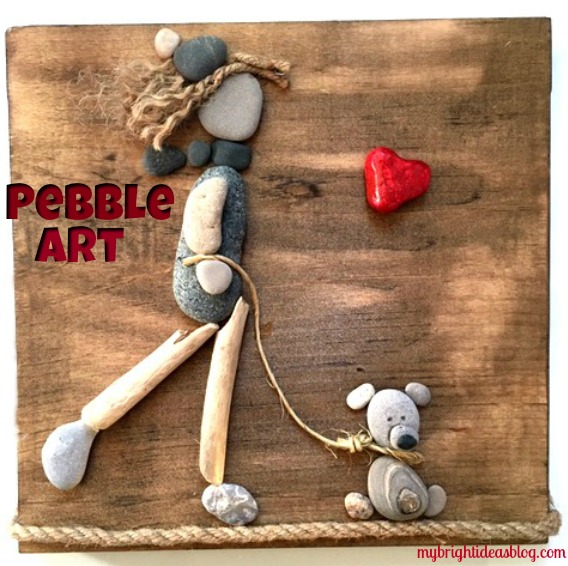
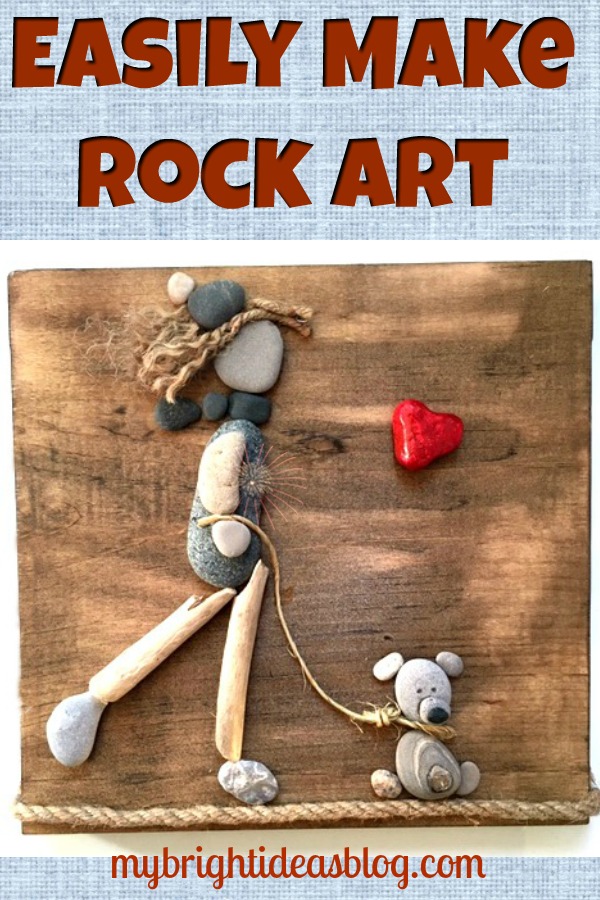
Pebble Art – A Girl and her Dog
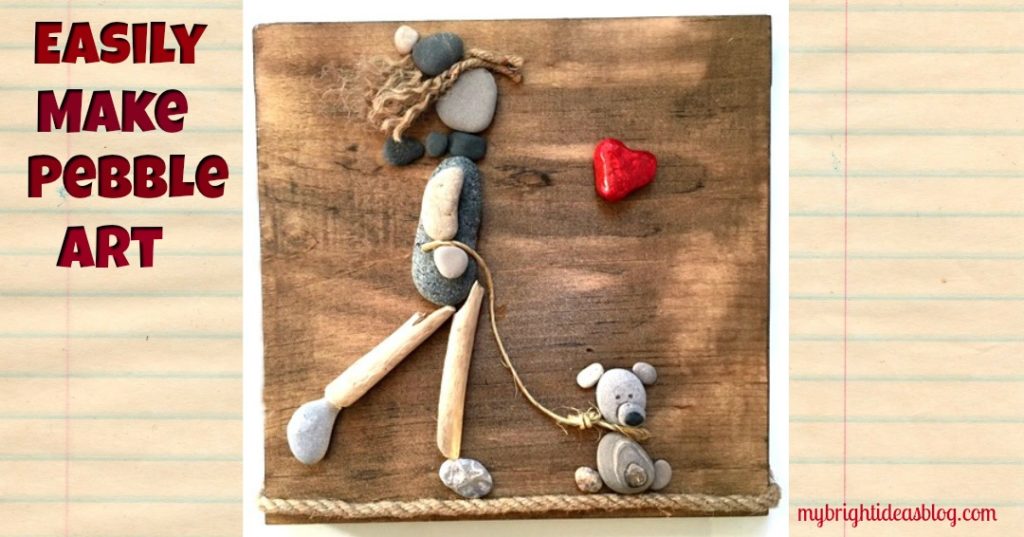
I have been wanting to make pebble art for months but I’ve been nervous to get started. How silly is that? It’s just rocks glued to a board for heavens sake?! Well today I finally went for my first of many (hopefully) attempts to make pebble art.
You will need:
- a wood board
- sand paper
- paint or stain
- rag
- rubber gloves
- pebbles
- industrial glue or hot glue gun
- twine
- jute rope
- red craft paint and red glitter paint
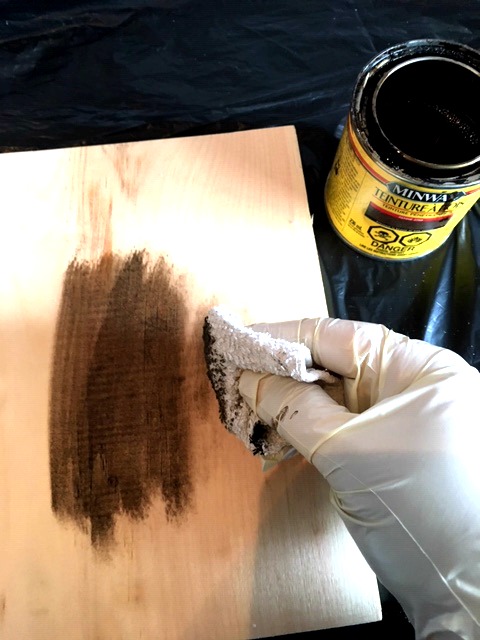
Start by preparing the board. Use sand paper to smooth out rough edges. It doesn’t have to be perfect just make sure the rough corners are smooth.
Apply stain, wearing gloves, use a rag to wipe stain onto the wood. In this project I used my favorite. Minwax “Jacobean”. I waited 12 hours for this to dry.
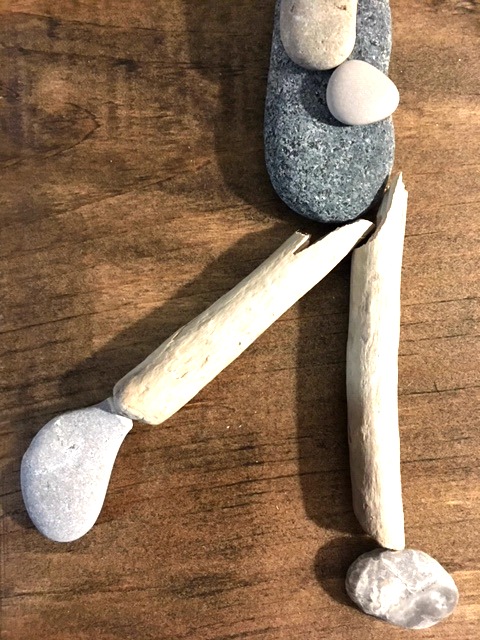
Next, lay out your stones to create your artwork. I broke a little piece of drift wood to become her legs. Rummaging through my treasured pebble collection I found a funny shaped rock for her foot.
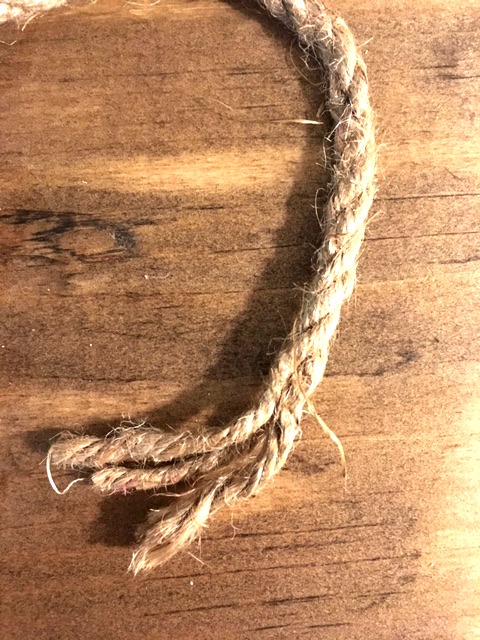
This piece of jute rope was a perfect scrap so I unravelled it to make hair for her.
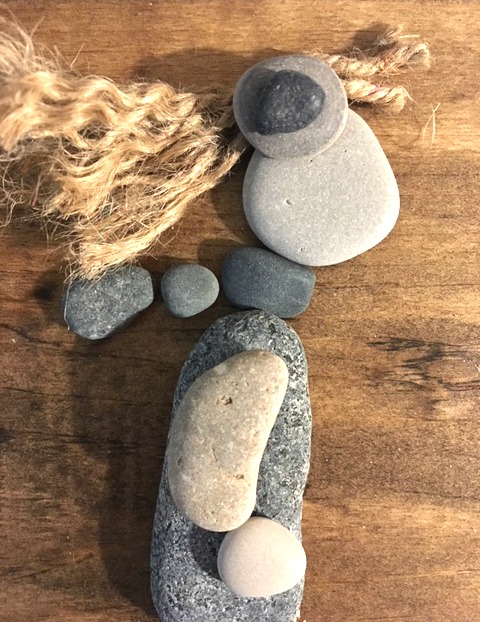
I used industrial strength glue “E6000”. It’s so much stronger than a hot glue gun. But it is stinky and dries slowly. Use in a well ventilated area.
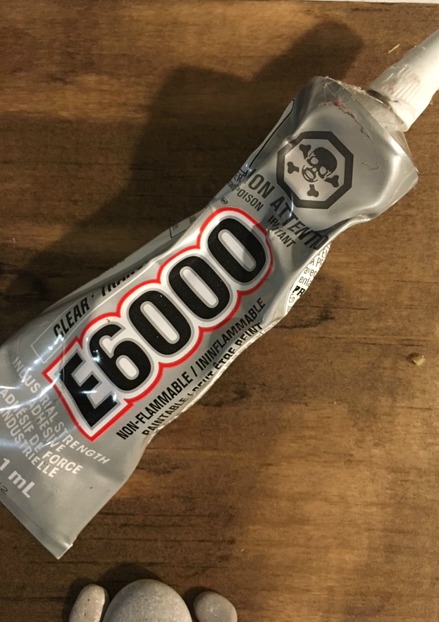
Did you crack a window?
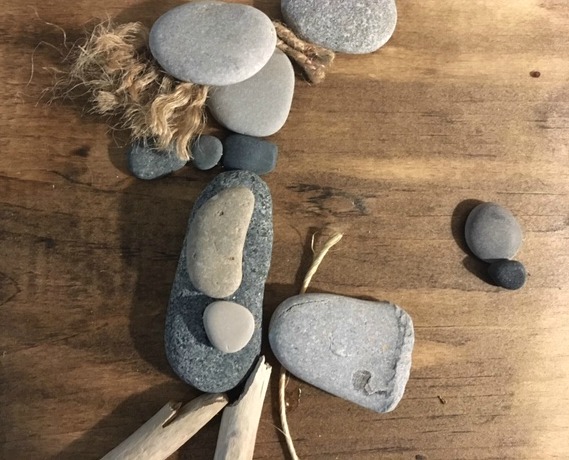
I needed to put some other pebbles on and around the hair to hold it down while the glue dried.
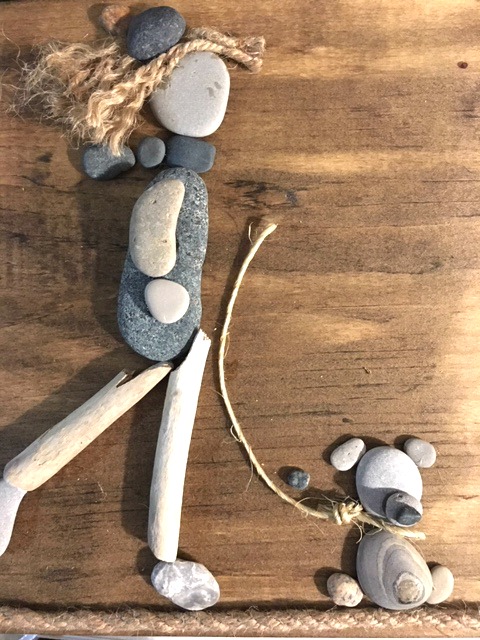
I tied a knot in a piece of twine and made it into the dog leash. At the bottom of the wood I glued a piece of jute rope to make a path for my girl and her dog to walk on. The ends were then tucked around the sides and glued down. (Okay, I confess, for this one part of the project I used the glue gun) I also added tiny dots for the dog’s eyes with a sharpie.
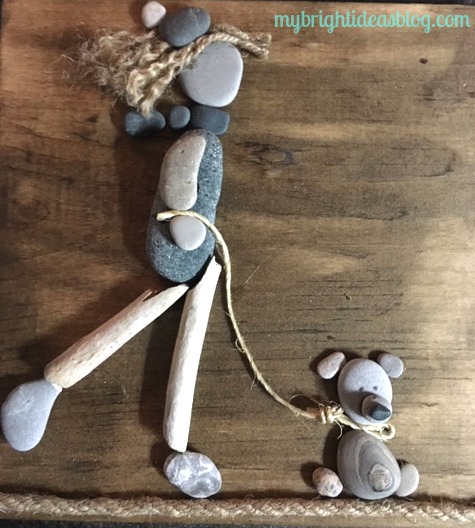
Notice how I just tucked the end of the twine in between the two pebbles to have her holding the leash.
I like the natural colors on this so far, so I found it hard to decide if I should leave it natural….or add a splash of colour.
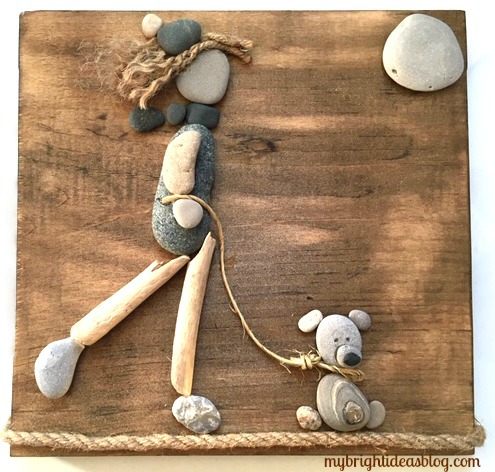
Here I tried out a natural big round stone for the sun or moon.
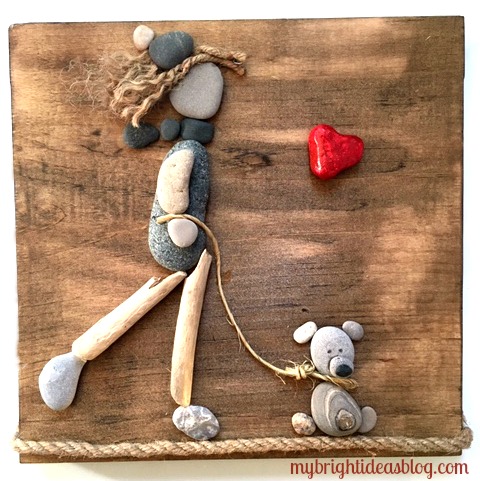
I love this red heart shaped stone that I had previously painted with red craft paint and a sparkly top coat. You could also use nail polish. Since I wanted to make this a gift for my daughter who loves her pooches I think this is a nice touch.
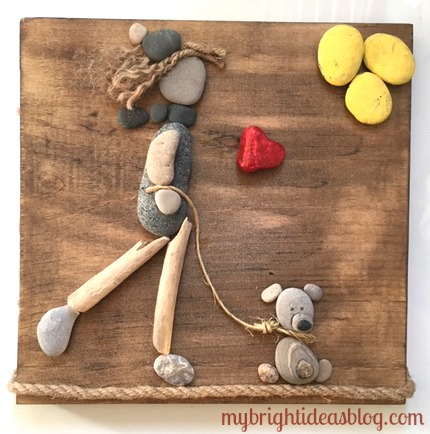
For this one I put in some yellow pebbles for the sun. Nothing is permanent until you glue it on, so you can tinker around with your design while you try out different options.
I loved making this and plan to make a lot more. It becomes a mixed medium art piece. It’s really exciting to try something new and see it turn out great! Since every stone is different it will be impossible to make a duplicate. This is a one of a kind gift idea!!
…..
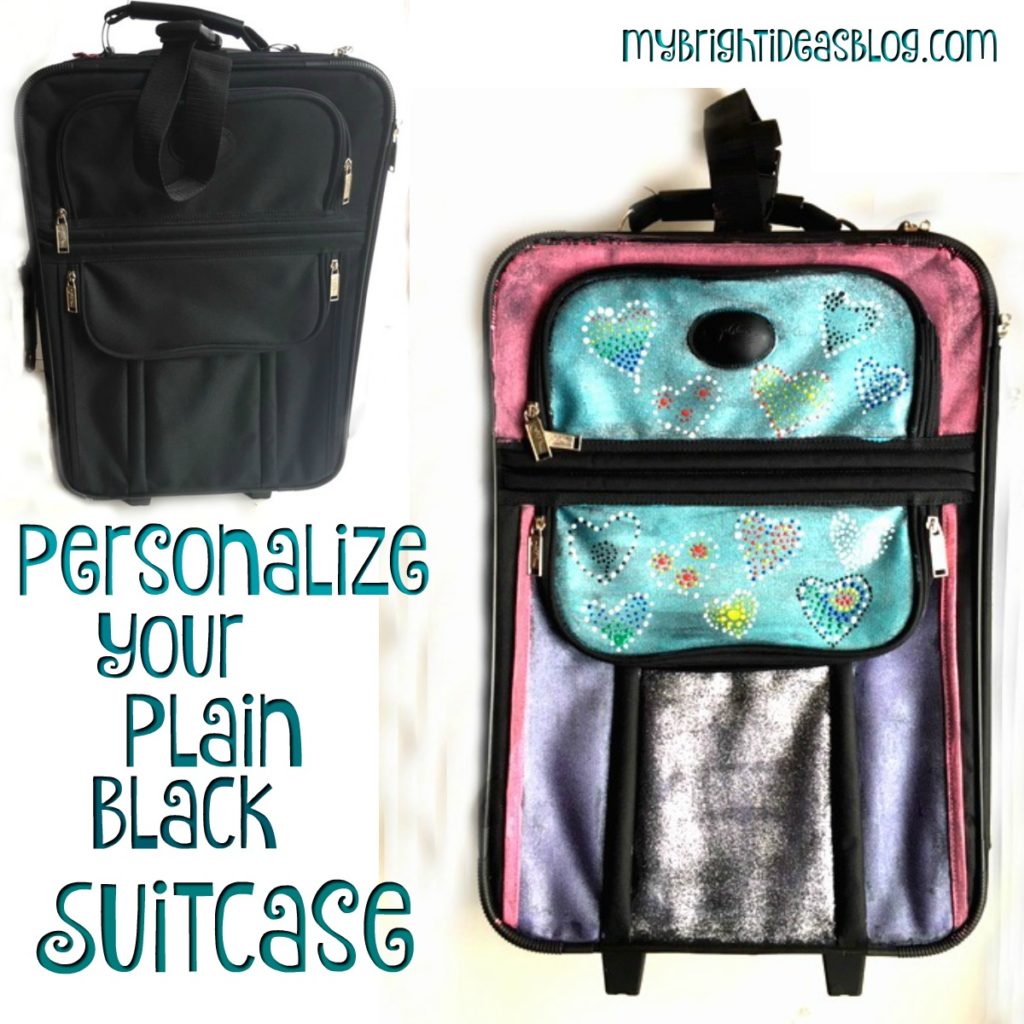
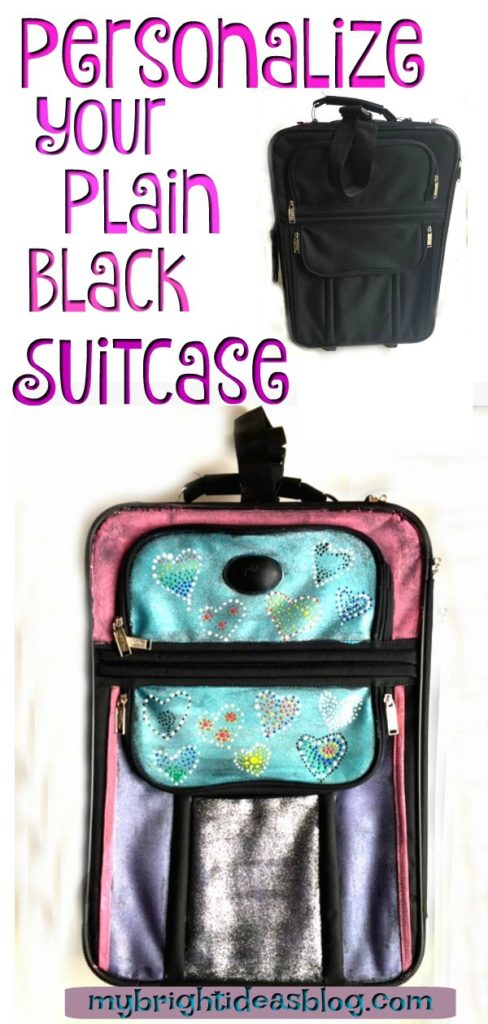
Personalize Your Suitcase or Craft Bag with Paint
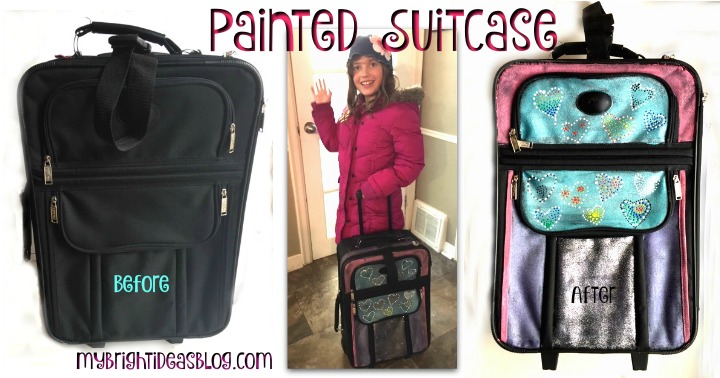
Today we personalized a boring black suitcase with craft and fabric paint! It turned out amazing.
If you have ever been to the airport you will know that the classic black suitcase is still the most popular. This makes it difficult to determine which suitcase is yours, there could be dozens of black suitcases on the carousel. If all you have on it, to identify your bag is your address, you are going to be there a while.
Let’s save you some time and make your bag stand out from the crowd and get you on your way.
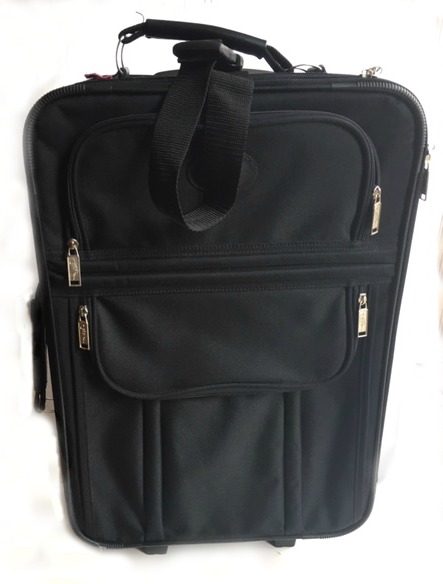 Introducing the black suitcase. Zzzzz boring…. Zero personality. Why not turn it into something really special. Your own work of art.
If its your tween’s bag maybe its shouting for some glitter. I’ve even seen some funny messages painted on it like…”Going to Gramma’s, Where Life is Good!!” Sleep over at the grandparents house? or “Oh the places you’ll go” or “I love you to the moon and back” which I could totally see on a bag for a child going to camp. There are some really great ideas for vintage suitcases too.
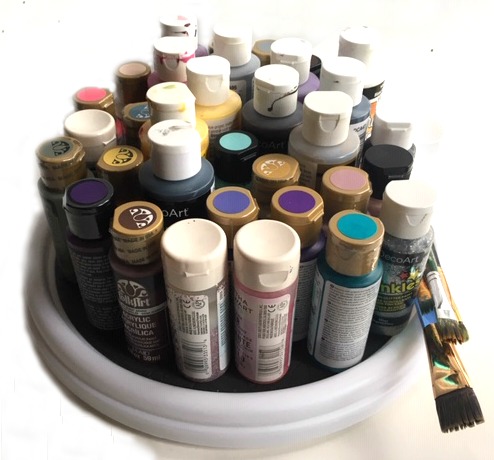 You will need:
- multi-surface craft paint
- paint brushes
- fabric dimensional paint (optional for details)
- clear spray sealer (optional for extra protection)
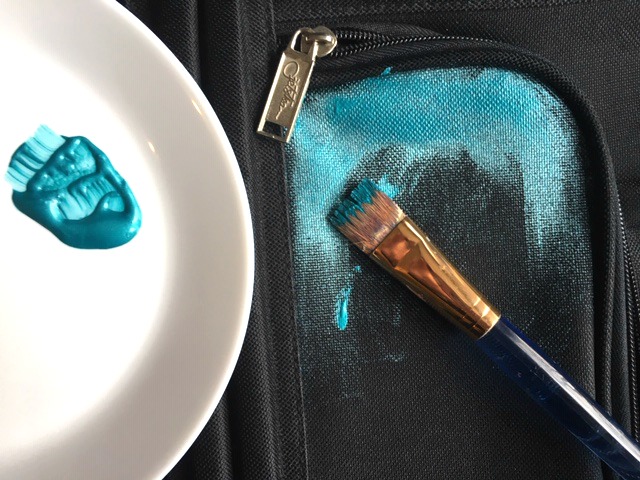
I started with metallic paint from Deco-Art in Teal. Its just a multi-surface craft paint from the craft store. Treat your suitcase like a canvas and start with your base colours for your design.
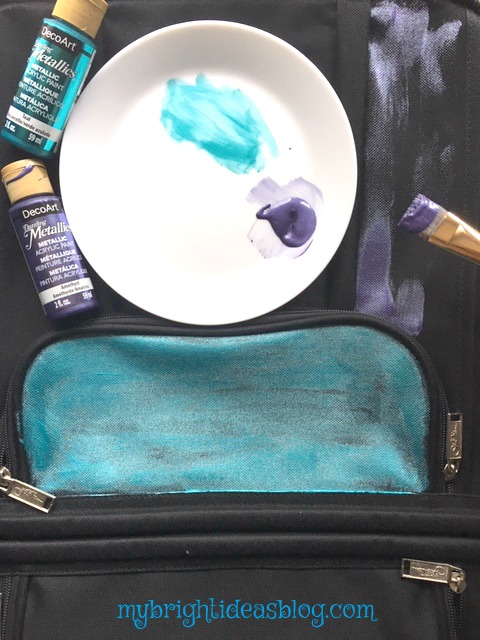
After I finished painting a pocket with “Metallic Teal” I moved on to painting the side panels with “Metallic Amethyst” purple from Deco-Art. I did go back and do another coat of these colours as needed.
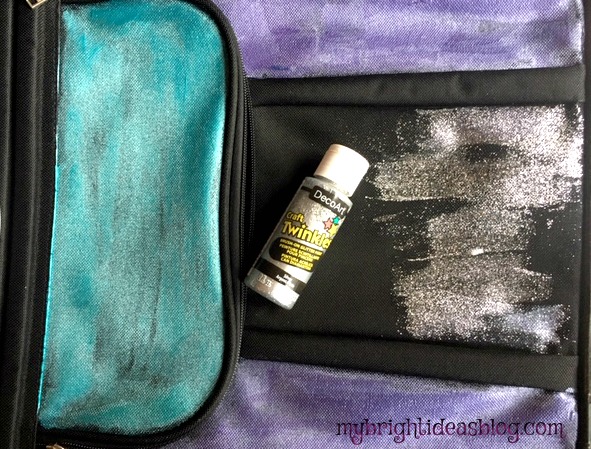
For the centre panel I used Deco-Art Silver Twinkles. The silver glitter paint really added some wow factor. Now my 8 year old would like it in her room to hold her stuffed animals.
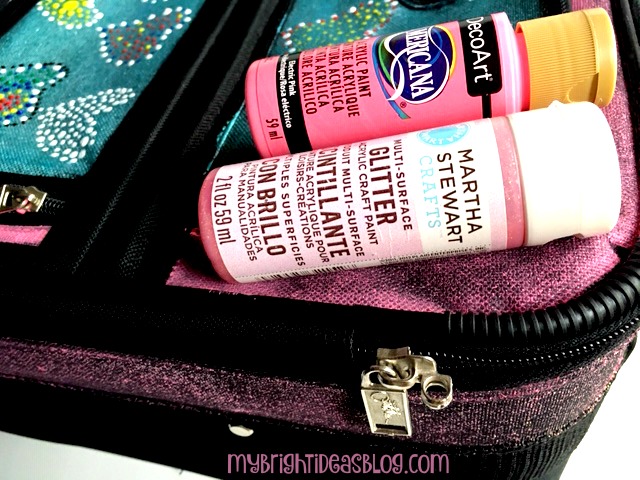
The edge was done with Martha Stewart Glitter paint by itself.
The front pink areas were done with a mixture of Martha Stewart Glitter paint mixed with DecoArt Electric Pink.
I should mention that if you get paint on the plastic parts of the suitcase you can wait until it dries and scrape it off with a finger nail. Having a damp piece of paper towel handy is good idea too.
 Now, it looks fabulous without going onto the next step. Already its a one of a kind suitcase that is unmistakably my own.
It’s at this point that you have to decide whether to keep going with embellishments or stop while your ahead.
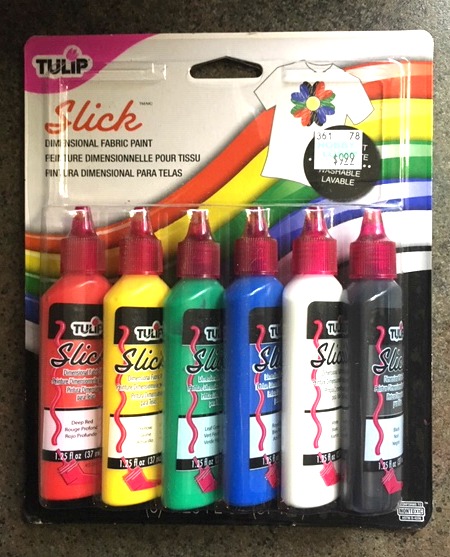
I carried on with some Tulip Slick fabric paint. This was $9.99 at Hobby Lobby but I had a coupon. This package has black, white, green, red, blue and yellow. You can purchase individual colours if you don’t need 6. I wish I had some metallic colours on hand for this but I used what I had.
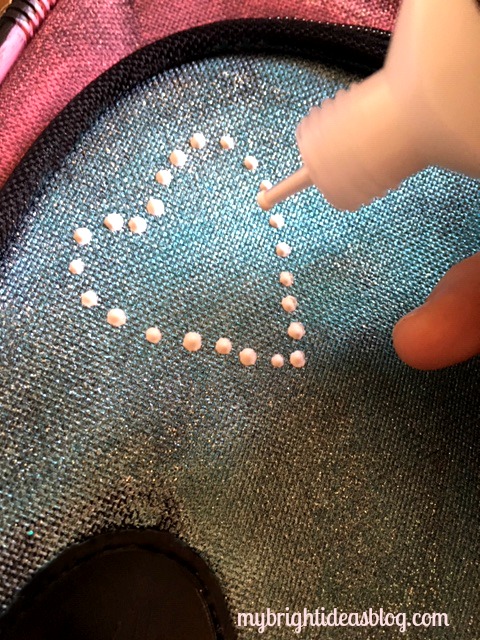
These fabric paint bottles are great for writing because of the fine tip. I like doing dots with them.
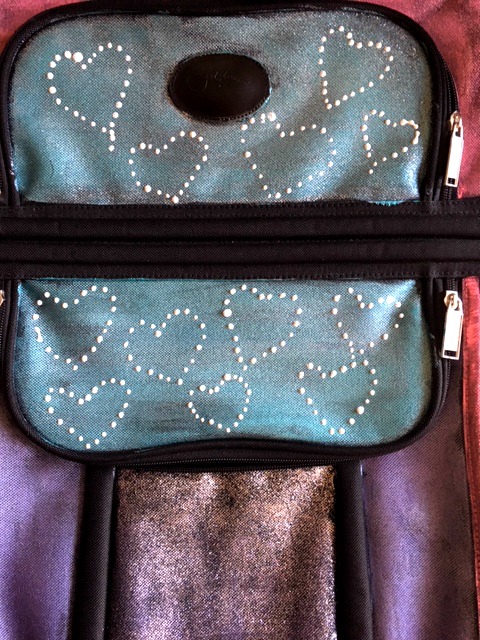
Should we stop with just white hearts or keep going? Decisions, decisions….
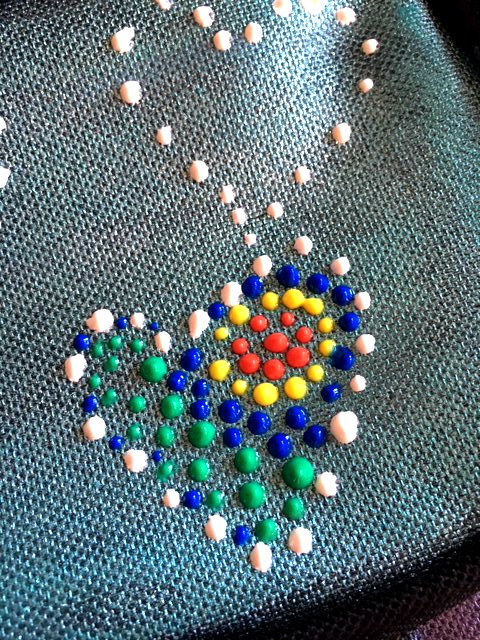
So of course, I kept going and filled in the hearts with more dot designs.
When you are finished, you may want to spray with a clear protective coat if you are going to using it a lot and its going to be tossed around in the airports.
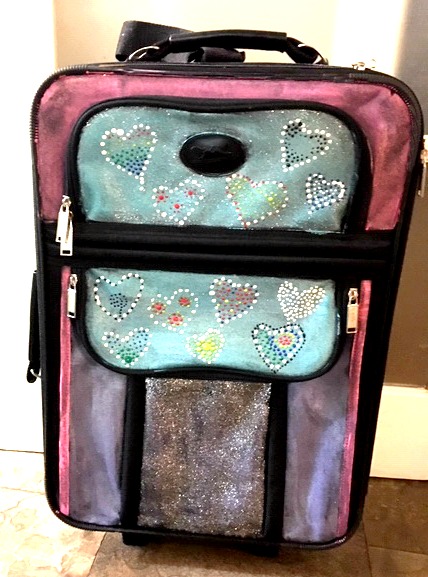
The carry-on size suitcase would be perfect if you take your craft supplies with you to work with friends or classes.
I have seen where sewing pros have embroidered something onto fabric and then mod-podged the fabric onto their bags. Why not! If your using this for crafts you could put your name on it. But I wouldn’t write a name or phone number on it if you use it for travelling just for safety sake. Maybe a monogram though.
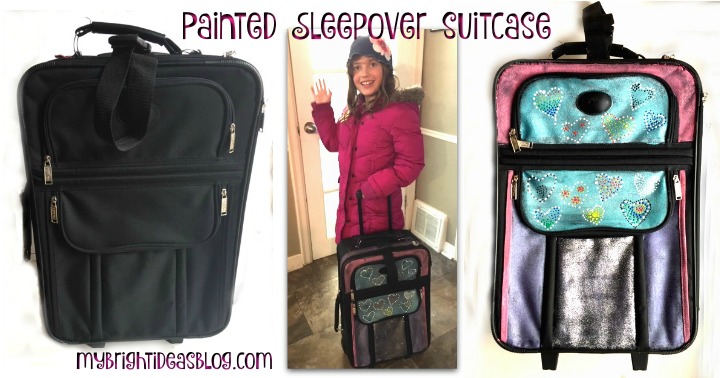
…
This goes to show you how you can make art out of anything.
Happy Crafting Friends! See you again soon!
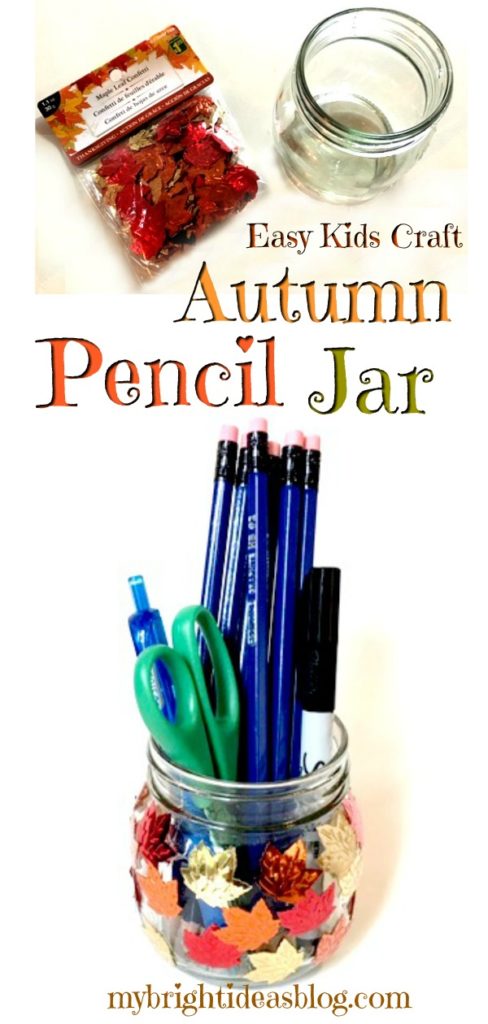
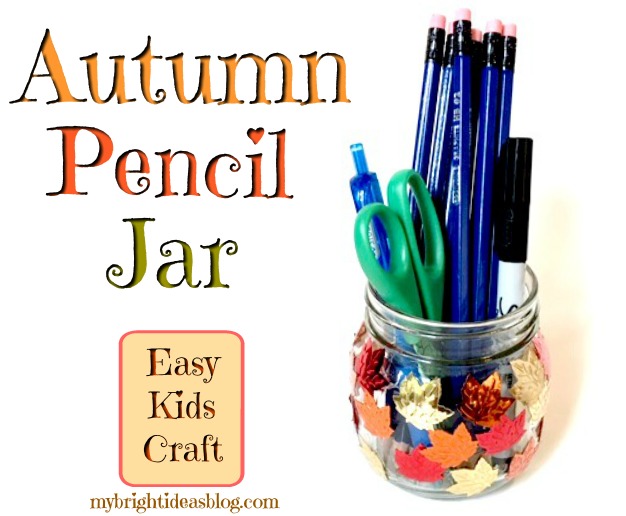
Make a Pencil Jar for Autumn
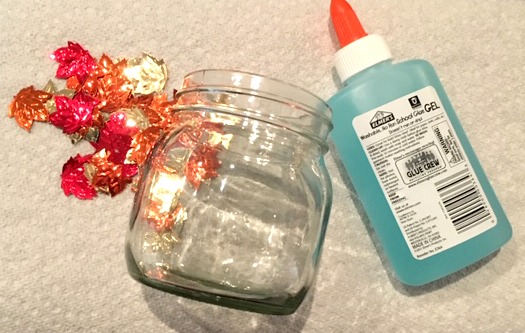
You will need:
- a short mason jar (or a jam or pickle jar from your recycle bin)
- clear glue
- leaf confetti (if you have a leaf punch make your own)
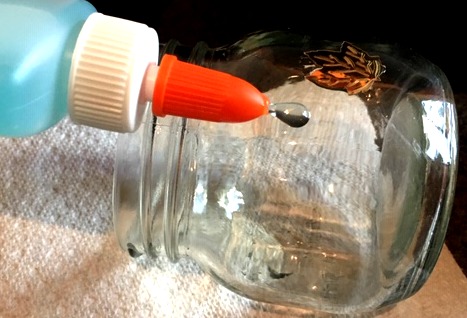
Glue!
Using clear glue is important. Originally, I used white craft glue and it dried very white and milky looking. So that was a craft fail. Meh!
Fortunately, I could pull off the leaves and wash off the old glue and start again.
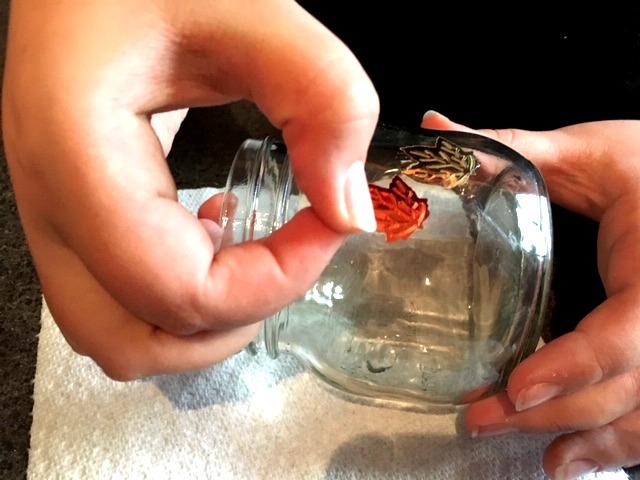
Glue and stick. Glue and stick. Repeat…repeat…repeat.
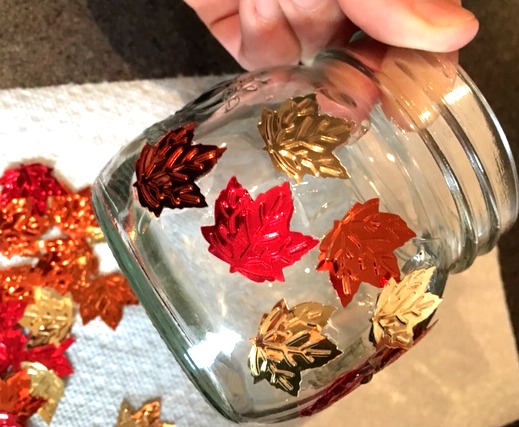
My 11 year old worked with me on this. She loves candles so she wanted to make this a candle holder.
Easy gift idea for the kids to make, right?!
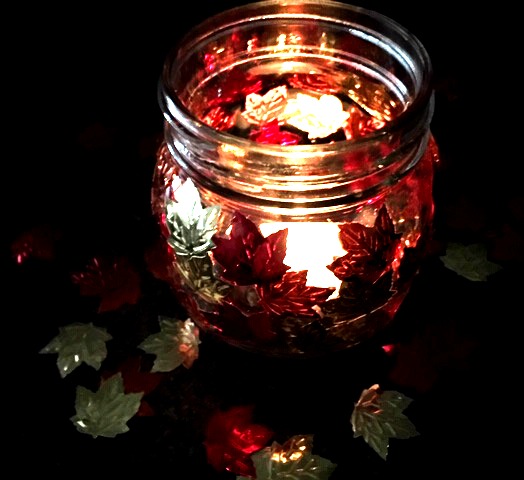
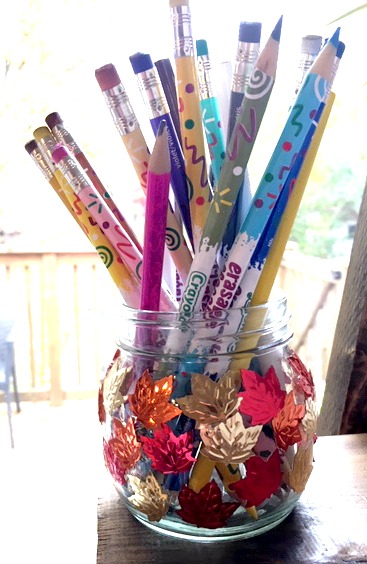
She was right it did look great with a candle light. Unfortunately, we are still in “keep the kids from setting the house on fire” protective parent mode – so we only use candles on very special occasions. So in the meantime, this gorgeous jar is going to be a pencil holder.
Thanks for checking out this post. I hope you enjoy Autumn before its gone.
Below are a few more kids crafts I’ve done over the past few weeks.
Post them on Pinterest or share them on your social media.
See you again soon!
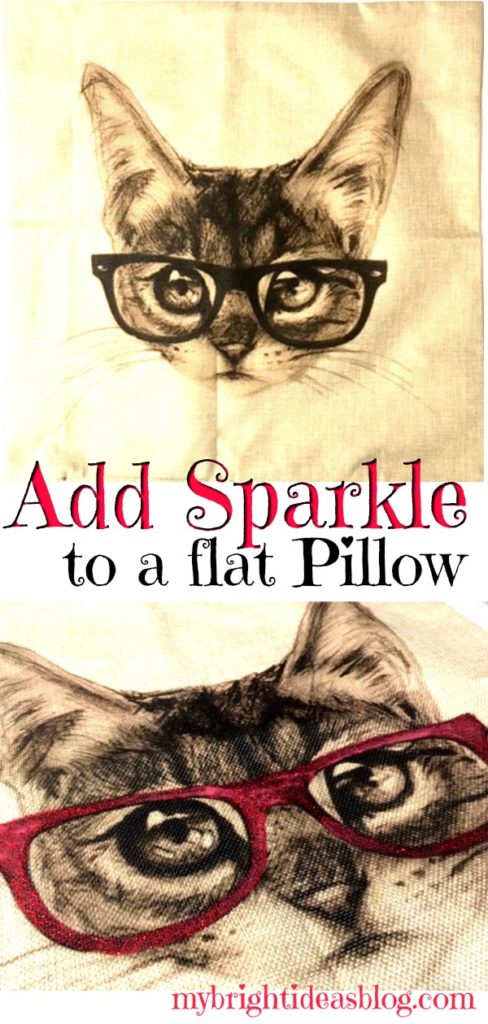
Add Glitter and Sparkle to a Drab Pillow
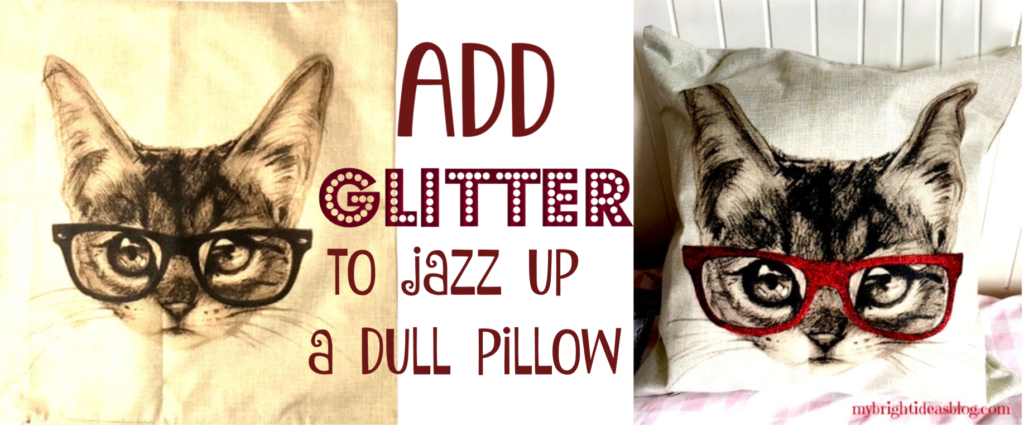
Have you ever seen a black and white print on a pillow or t-shirt and thought…this is a bit dull…how can I jazz this up? Maybe a bit of glitter paint is needed.
A while ago, I purchased a lot of pillows from Ebay for super cheap…Like $4 each. The price was ridiculous…and so was the quantity I bought! Now I had lots and lots of gifts to give to cat and dog lovers. and housewarming presents.
I really like these two pillows but…. Boring…zzzzz
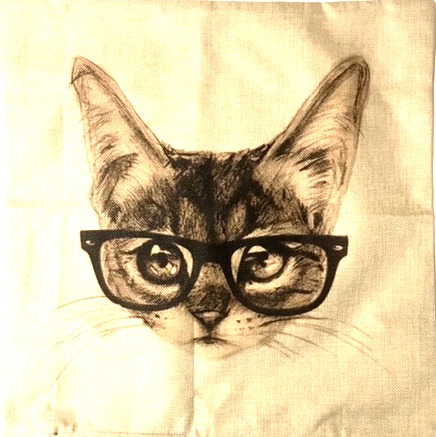
I love this black and white cat but after a while I thought it was a bit flat. So out came a paint brush and the sparkle paint.
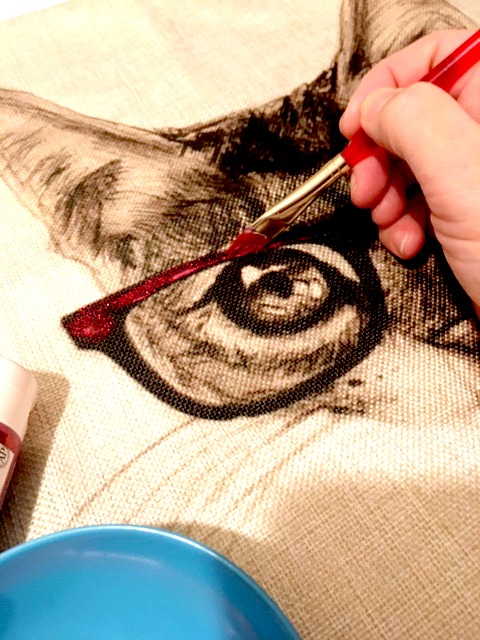
I tested the glitter paint I had on hand before I put it on the pillow. I don’t like having a trail of glitter after a craft. So I tested the Martha Stewart Multi-surface Glitter paint.
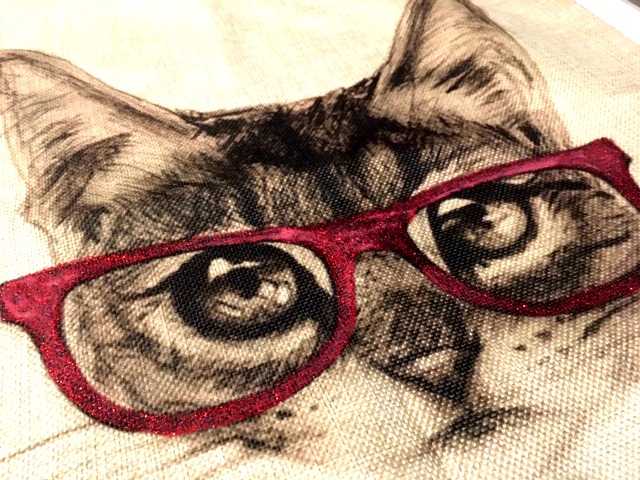
Now that makes it pop!
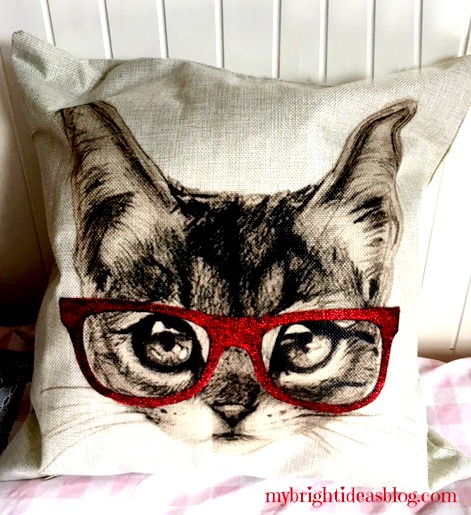
Here is another one…
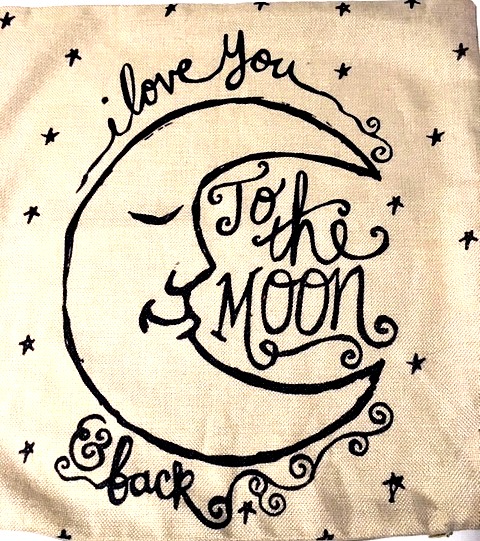
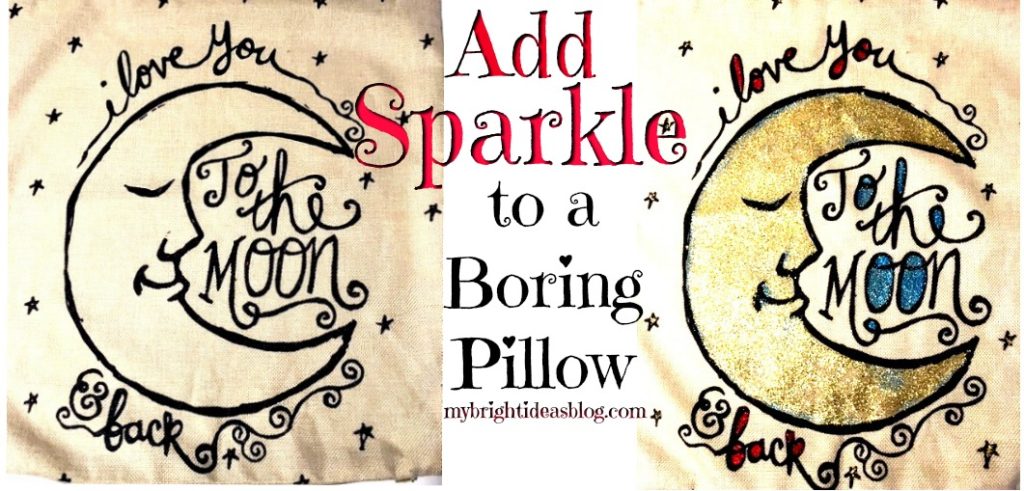
I must confess, I will buy just about anything that says “I love you to the moon and back”. It’s something my youngest and I have said for years especially when I tuck her in at night. This pillow is sweet but also a bit plain Jane.
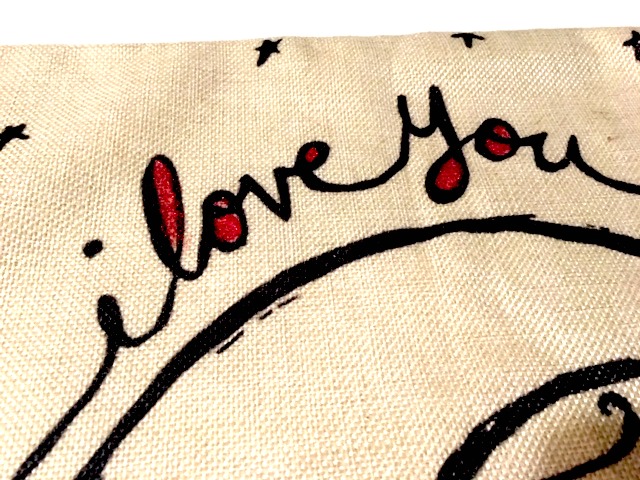
At the moment I only have gold, red and blue sparkle paint. So I used all three.
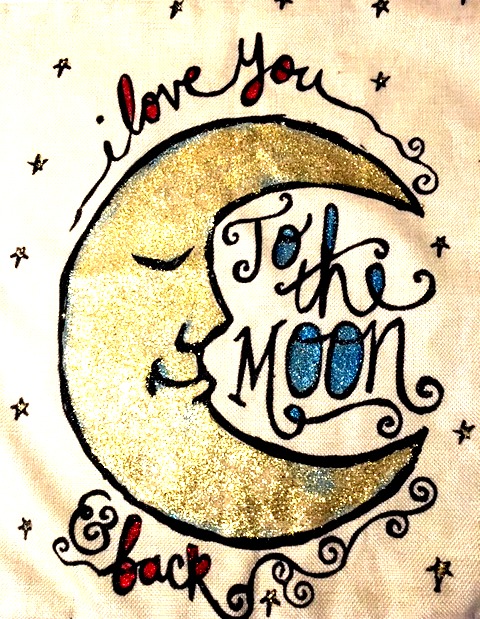
Wowie zowie this turned out great too!
Thanks for checking out this post. I hope you can find something to add some sparkle to also.
Remember to Pin this to Pinterest or share it with your favorite social media!
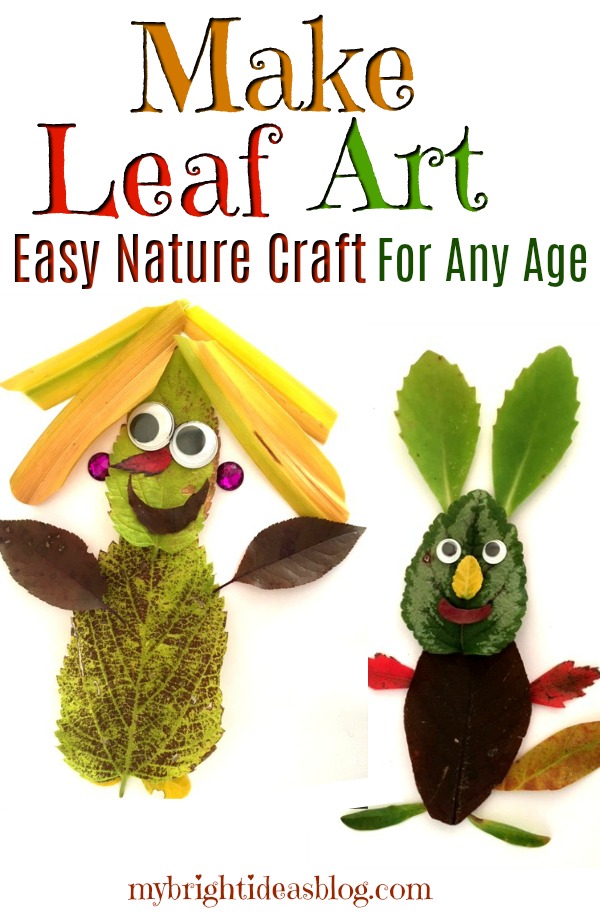
Make Leaf Art – Easy Nature Project!
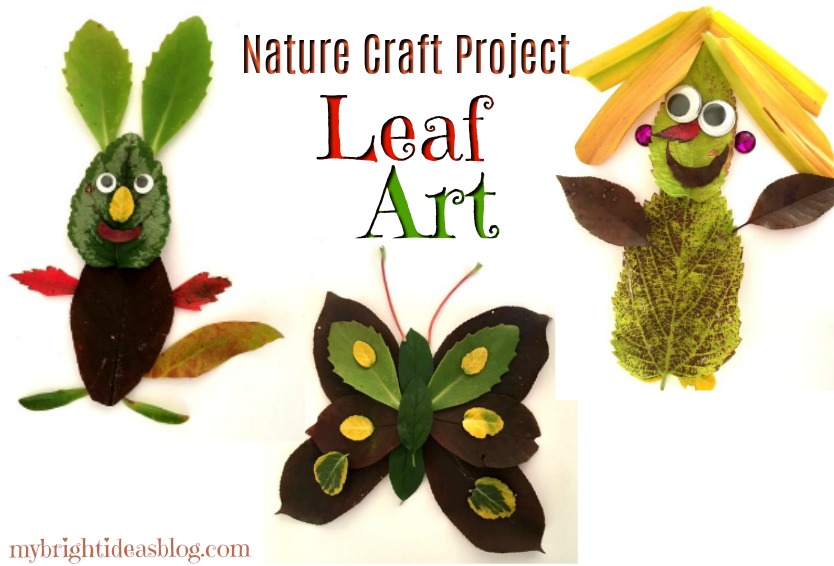
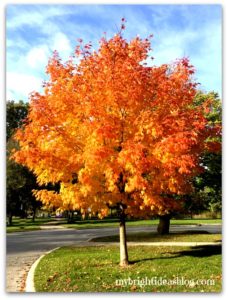
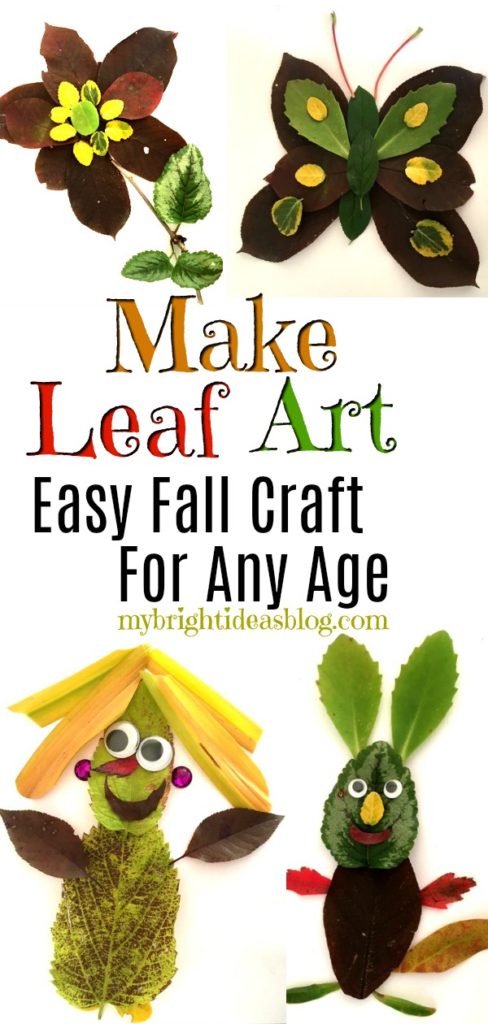
The Autumn season is here and the leaves are changing color and falling. This is a great time for a nature walk to collect and examine and reflect on the beauty of this season. Leaf Art!
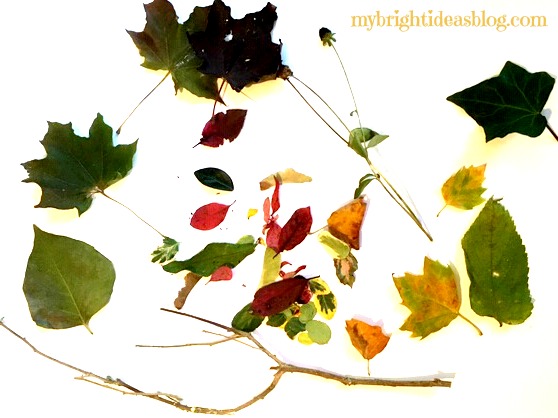
Start with some friends…any age will love this. Take a large clear bag and start to collect samples of nature.
What to look for:
- a variety of leaves
- pine cones
- pine needles
- acorns
- stones
- twigs
- a handful of grass
- small flowers
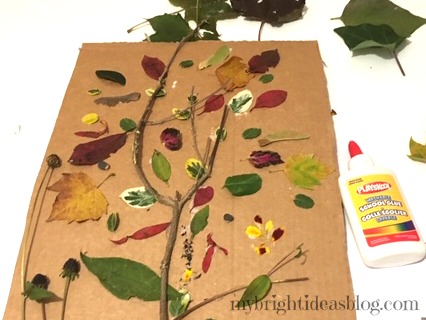
If your friends are little you might just want to use a piece of cardboard and glue your collection to the board. Puncture 2 holes near the top and add a string to hang it on the wall.
For Older Kids!
I think the older kids could do better. If you are over 5 you can make some really cool art from your nature walk.
Pressing the leaves in books: If the kiddies or you need a nap after the big nature hike-don’t feel bad its the fresh cool autumn air! If you want to work on the crafting stage on a different day….You could put the leaves between book pages for a couple of days to make them flat and a bit dryer. If you just leave them out til tomorrow they will begin to dry up and curl.
We decided to make our crafts immediately before they shrivelled. I took pictures of each leaf masterpiece to print out an autumn nature photo album later.
We took some great photos of vibrant orange and red leaves as the sun hit them.
I love this time of year! Now let’s make some leaf art!
Making Trees!
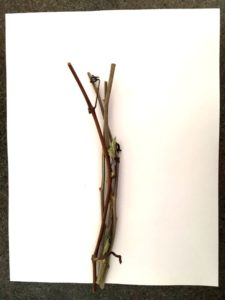
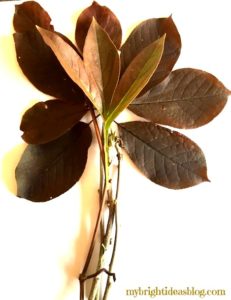
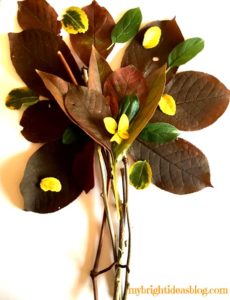
Put a few twigs as a trunk. Then add leaves to form a tree. You can glue the leaves or use double sided tape.
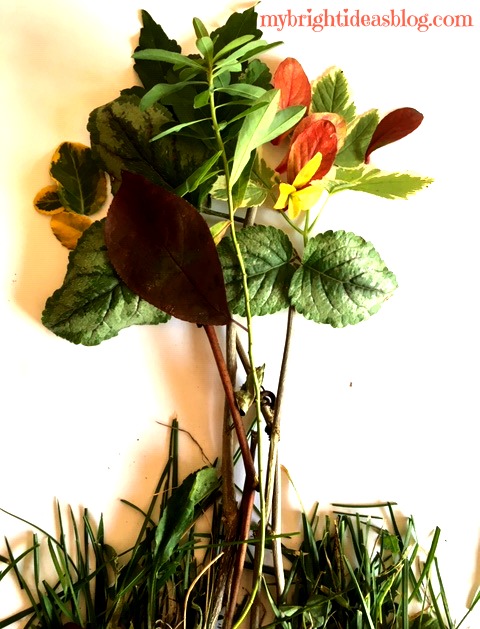
A collage of twigs and leaves make an easy tree picture. Change your leaves and your tree will look completely different.
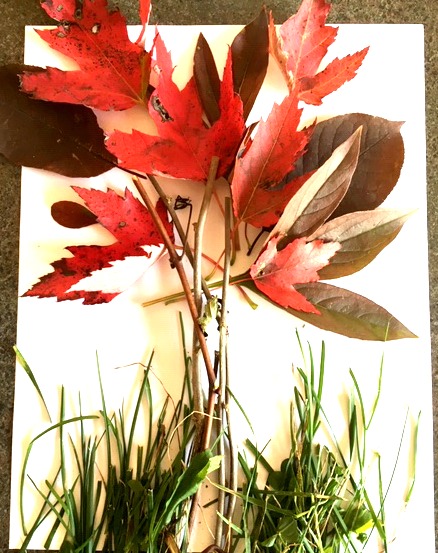
The grass can be trimmed with scissors.
Making People!
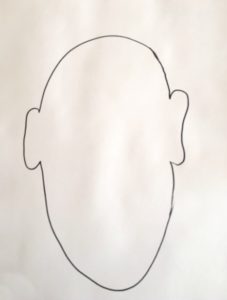
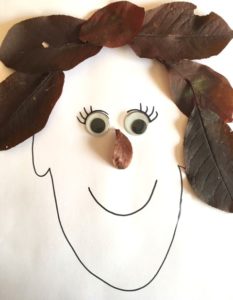
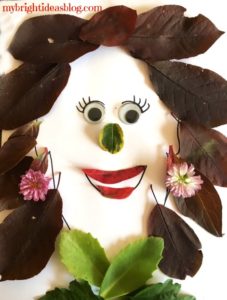
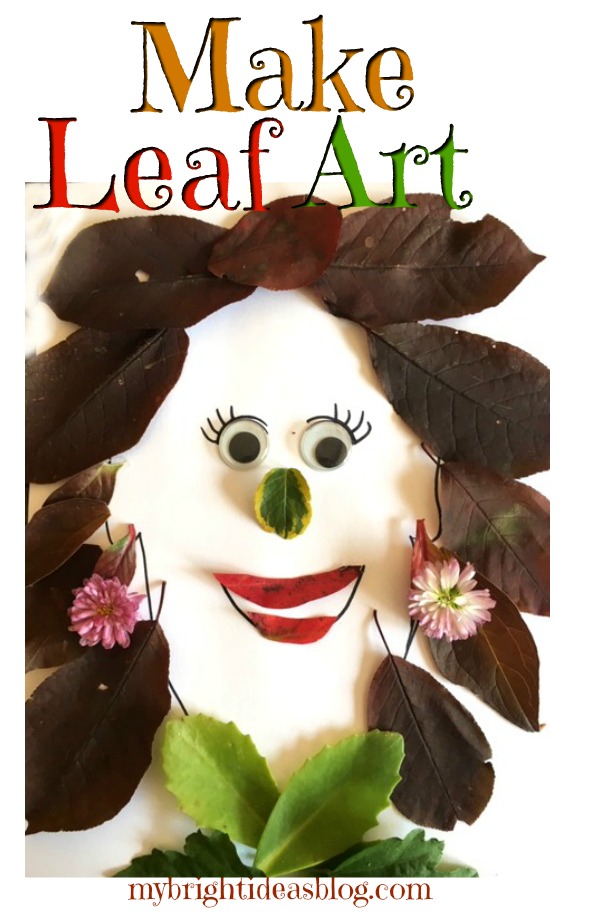
Draw a head on a page and then start making a self portrait. Huge googly eyes and flower earrings make this face stand out from the crowd.
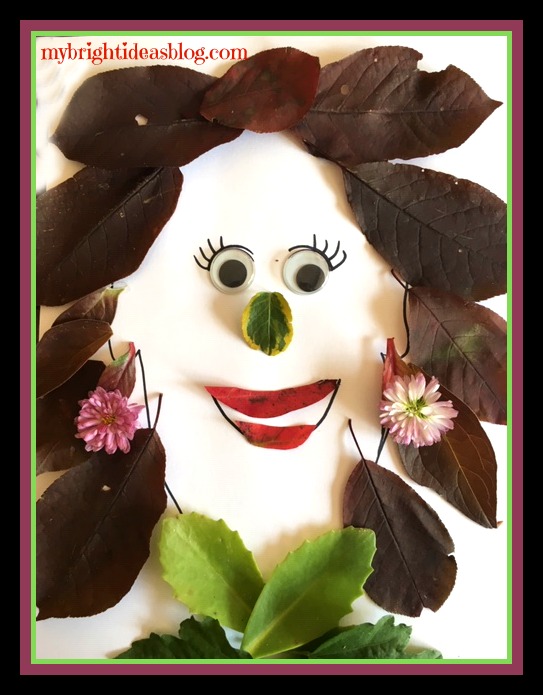
Oh my days! It’s like looking in the mirror!
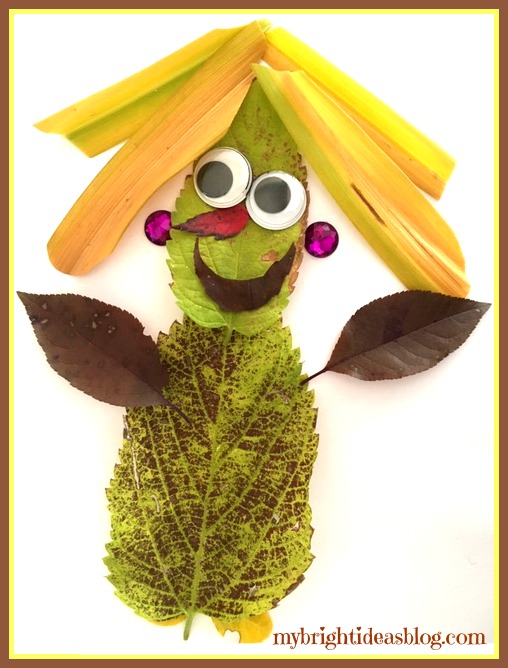
This one is for my 11 year older daughter who has lovely blonde hair and likes to have some sparkling earrings.
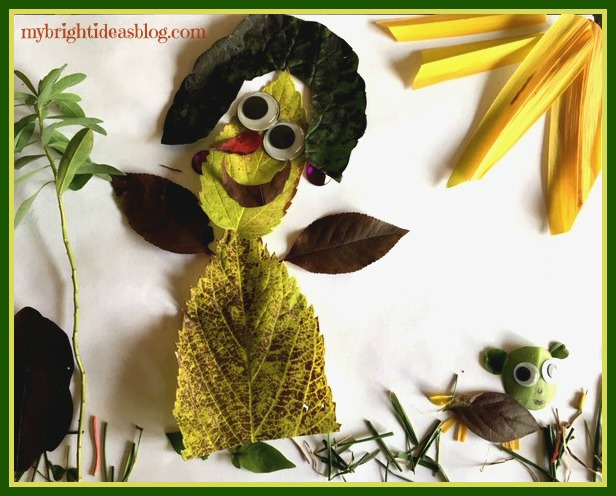
This one is for the youngest daughter. This is a picture of her and our little dog Gemma.
Making Animals!
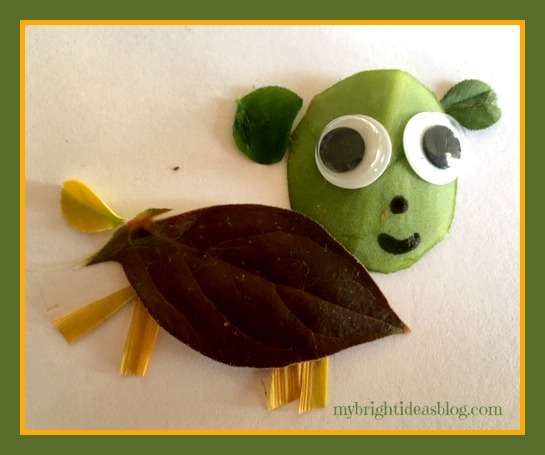
This is Gemma our little dog. Made by my younger daughter. I love the dog’s little round ears. That is made out of clover leaves. Notice that we used a sharpie (permanent marker) to make the mouth and nose. I also used scissors to make a the little legs.
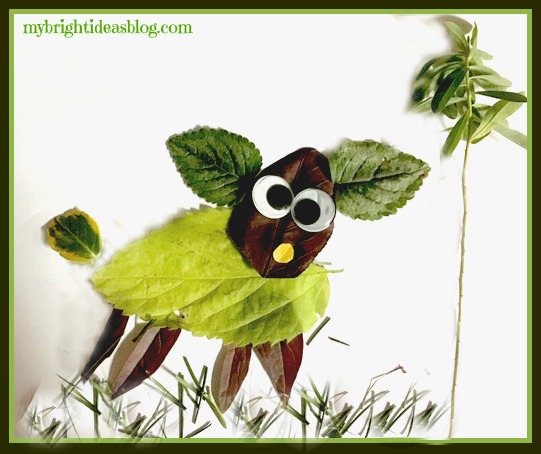
Our 11 year old made up this bit of art. It’s Gus our other dog. He looks like a surprised sheep! LOL!
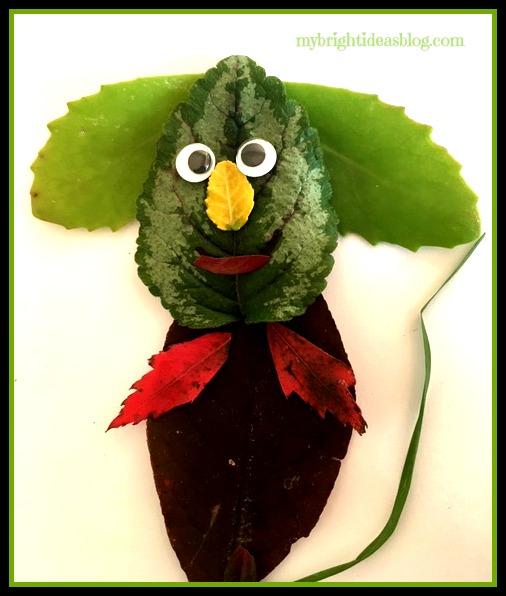
I think I thought this looked like a mouse but now he looks like a koala bear. Its the nose.
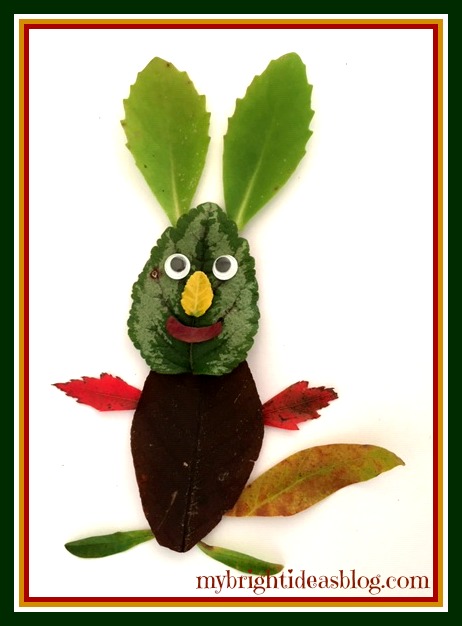
Turn the ears and it looks like a rabbit.
That is the highlights of today’s Leaf Art-Now to clear up the kitchen counter from these bits of nature so we can make lunch.
I hope you enjoyed this post. I had a great time making it.
If you are feeling stressed, get outside for a walk in nature and then craft with the leaves and twigs and grass you find. It’s my cure to melt away stress and have a blast with my family.
Have fun and see what you can make!
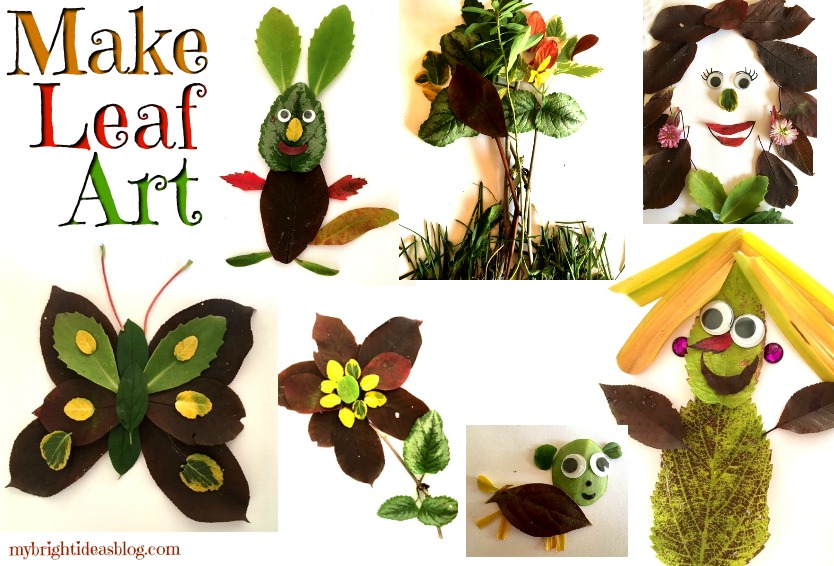
Here are some other NATURE craft projects!
Nature Craft – Perfect for Earth Day Activity – Clay Imprints with Plants and Flowers
…
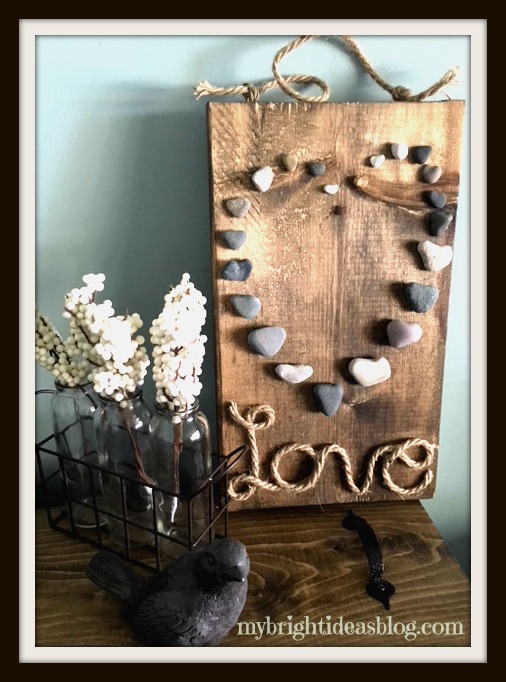
Heart Shaped Beach Stones – Pebble Art
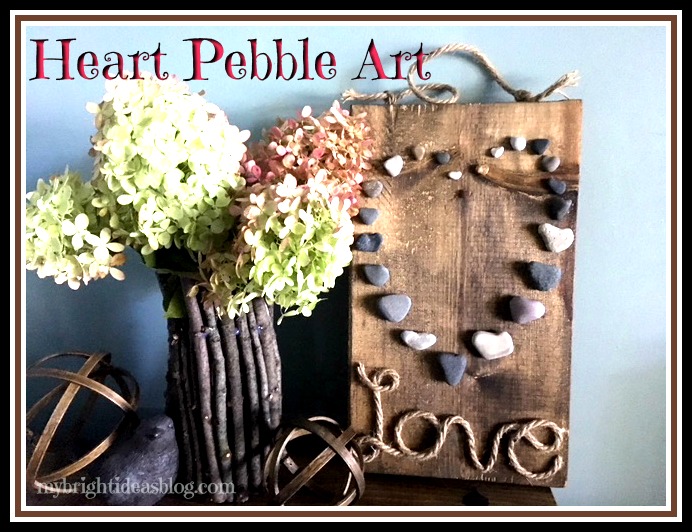
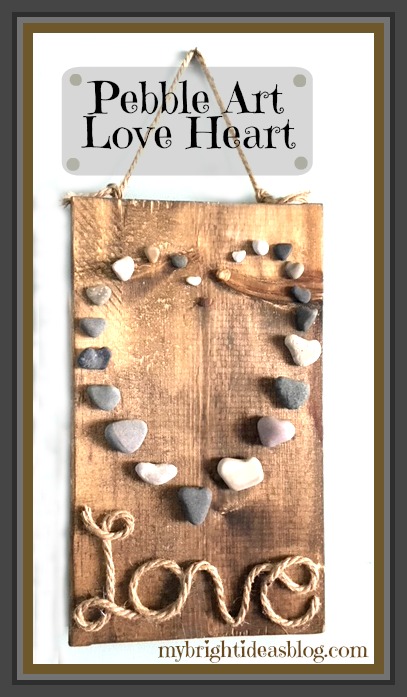
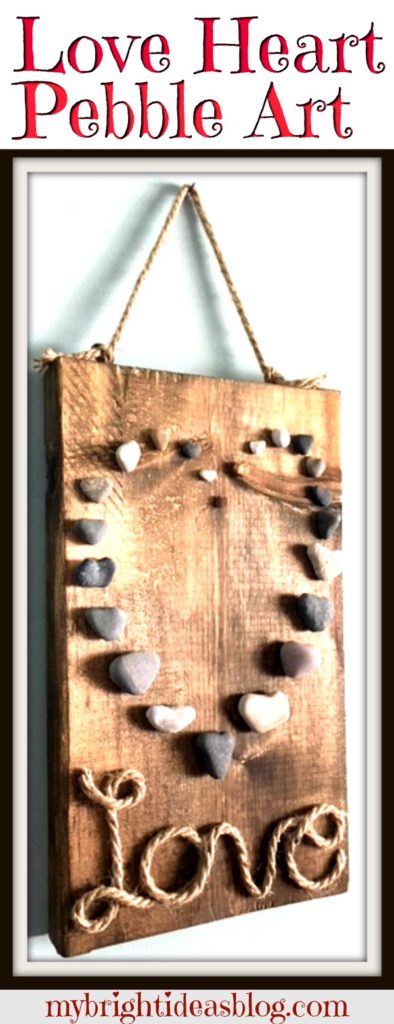
Make heart shaped pebble art with a collection of beach stones and natural rope on wood.
We have gone to the beach twice in October. The cool thing about going to the beach in the Fall is that no one else is there. The beach-that is typically packed with families with picnics and sunscreen….well….is empty. Have you ever had an entire beach to yourself? It’s amazing!
Our home is about an hour’s drive away from Lake Huron. If you aren’t familiar with the Great Lakes allow me to explain….
The Great Lakes
The Great Lakes aren’t your typical lakes. There are 5 and they are huge! Each looks like a sea, with rolling waves, winds, strong currents, great depths and distant horizons. According to Wikipedia if you put all 5 of the Great Lakes together the surface would be the size of the United Kingdom. Lake Huron is where we would head to see a gorgeous sunset.
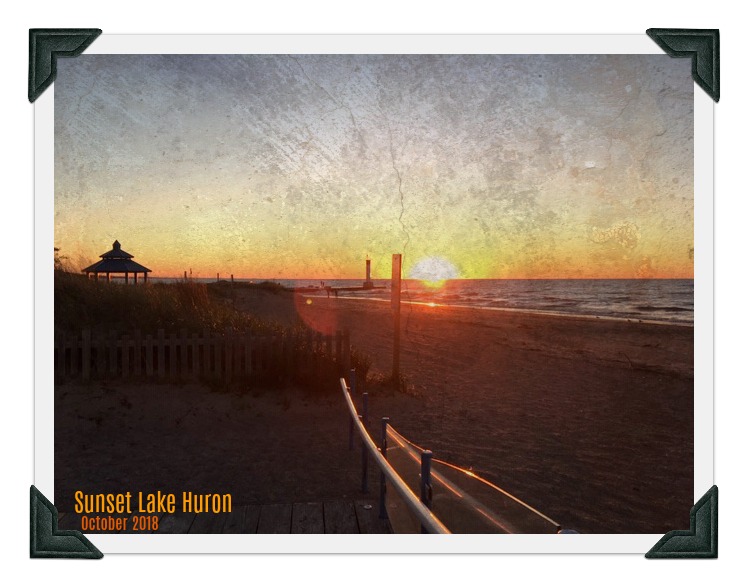
If we drive an hour in the opposite direction from home, we will be at Lake Erie. If you are a morning person you can watch a beautiful sunrise on that side. Yawn…..
The Great Lakes are the largest group of freshwater lakes on Earth. 4 out of 5 are on US Canadian Borders (Superior, Ontario, Huron and Erie). Leaving Lake Michigan the only one that is located completely in the US. According to Wikipedia “they form a single, naturally interconnected body of fresh water”.
Well that is enough of our fun facts for today! Moving back to our craft project and a trip to the beach.
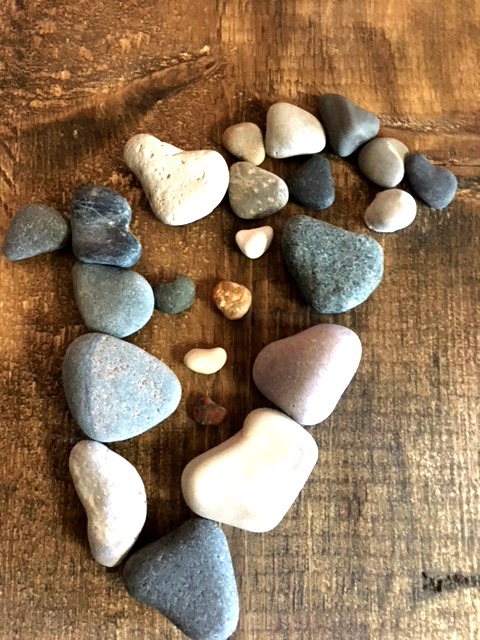
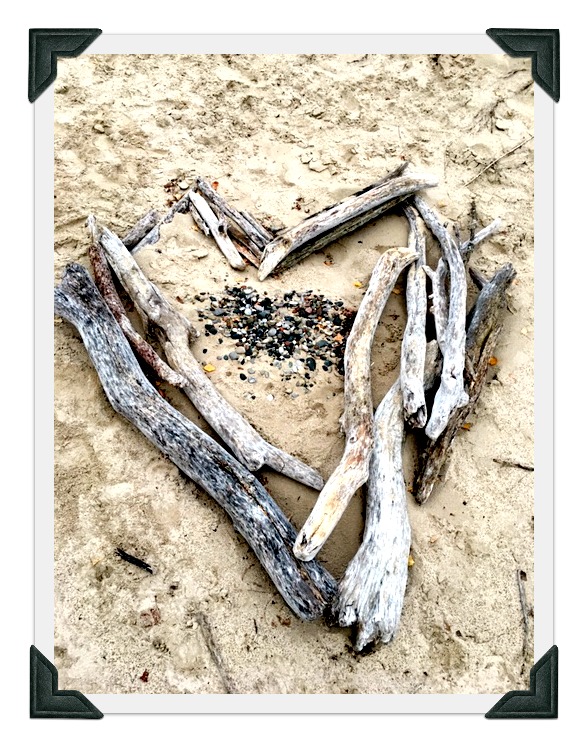
With my eyes on the ground looking for awesome rock treasures I always marvel at how beautiful the stones are wet, sparkling in the sunshine. As we walked along looking for interesting shapes-especially hearts! What did we find but this heart made out of drift wood. Awe isn’t it Lovely!
If you look at the beach for odd shaped stones, you suddenly see how very many there are in the shape of a heart.
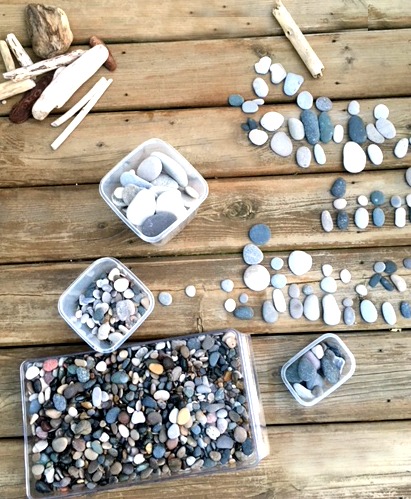
We came home with a nice collection of smooth stones that I sorted into a few containers for different crafts I have planned.
Circles, Oval, Hearts, Big Flat ones and some that were just wonky shapes.
If you are just buying a bag of stones from the dollar or craft store you probably won’t find heart shaped ones, but you can make a heart shape with any natural pebbles and it still looks great.
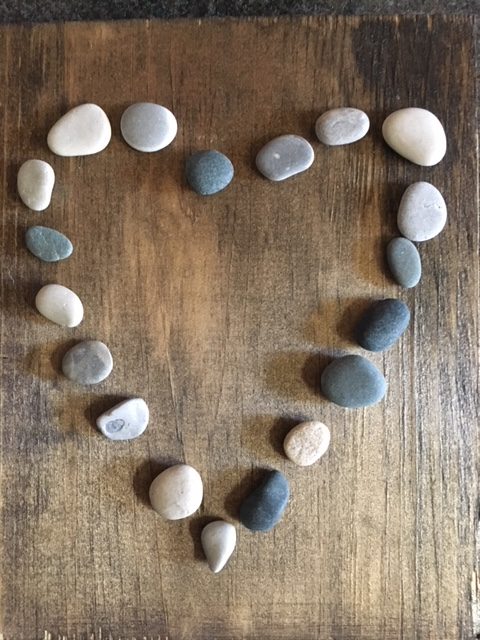
A month ago, I was spray painting things and I threw in some stones and painted them. If you have already my previous projects from the summer you will soon see that I love to spray paint things! My daughter noticed that I had painted a random stone orange but it was a really cool heart shape. This started my fixation on heart shaped stones.
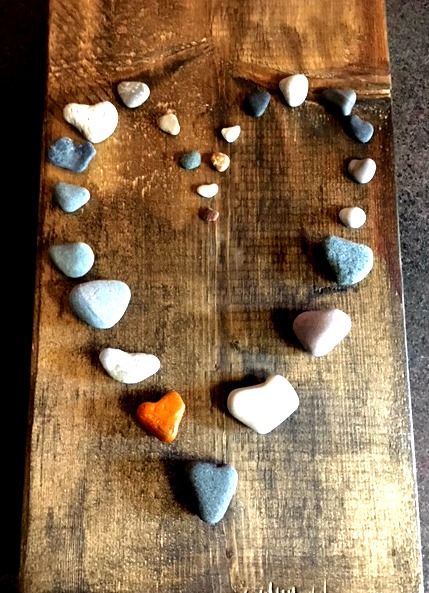
On our next trip to the beach we specifically made a search for hearts, circles and long oval pebbles of any size. Bring on the rock projects!
To make this you will need:
- heart shaped stones (if you can’t find them smooth pebbles are fine)
- wooden board (I had already stained this 9 x 16 board with Miniwax Jacobean)
- jute natural rope
- hot glue gun
- 6 glue stick refills
- 2 eye hooks
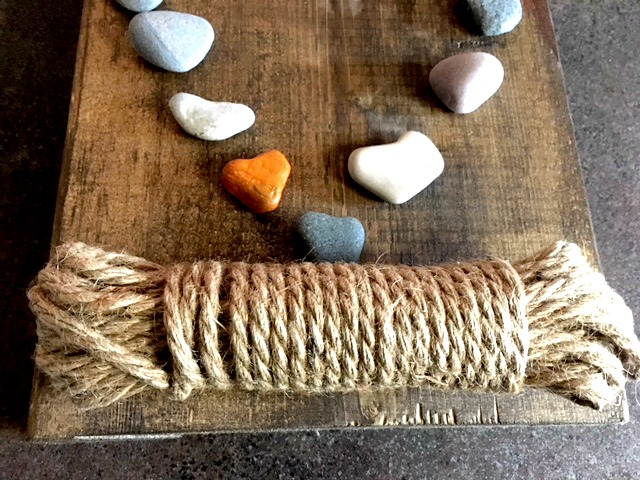
To get started, I organized my love heart shaped rocks to see how big it would be on my wooden board. I didn’t glue it to on yet. Instead, I took a photo of it on my phone in case I needed to refer to it. Then I got my jute natural rope.
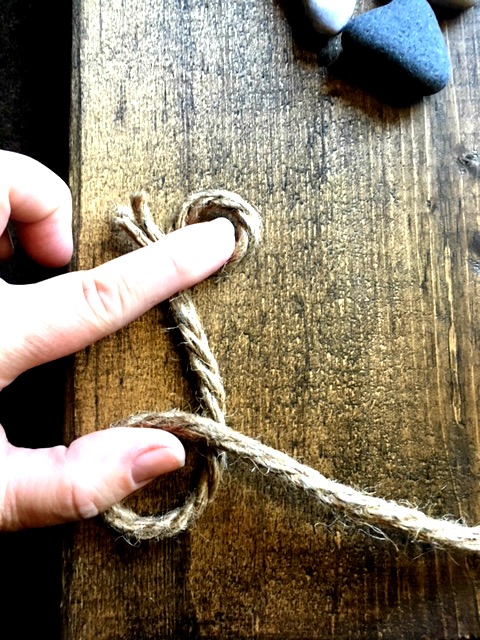
To decide on your letter size use your fingers to make the shape of the L. I usually “eyeball” my projects instead of measuring. Holding the rope down I wrote out the letters of the word Love on the wood.
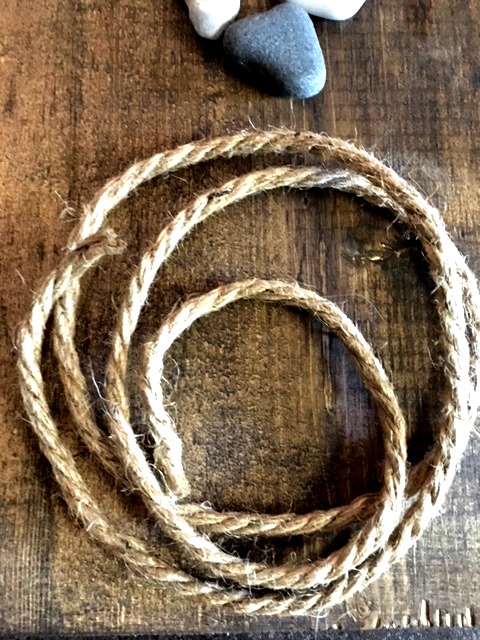
I cut the rope ahead of time because it was quite big to work with. You might choose to leave it on the spool until the end. That’s cool too!
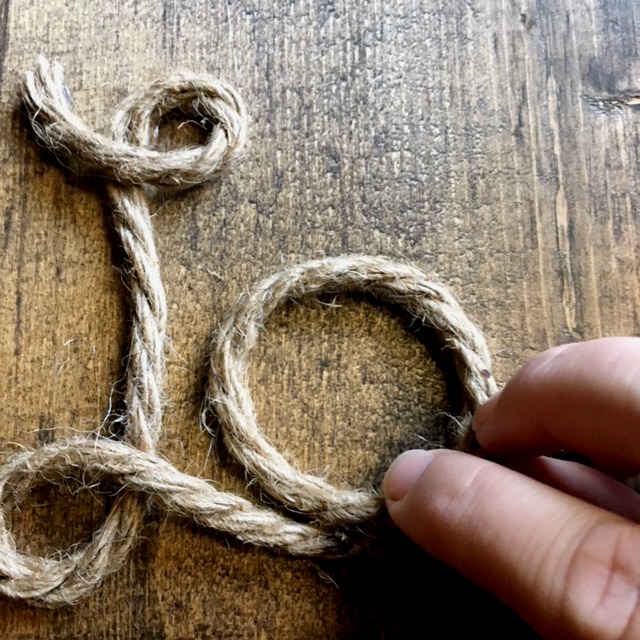
Using a hot glue gun put a few dabs at the top of the loop of your letter L and guide it into the shape of the letter using dabs of glue as you go along. Move on to the letter O and then join into a V and finally an E.
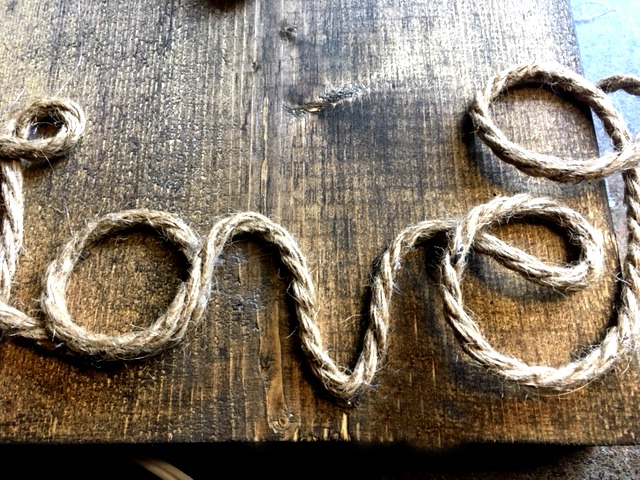
After the E is glued down trim the rope. Make sure the end of the E is secured so that the rope doesn’t fray and lift up.
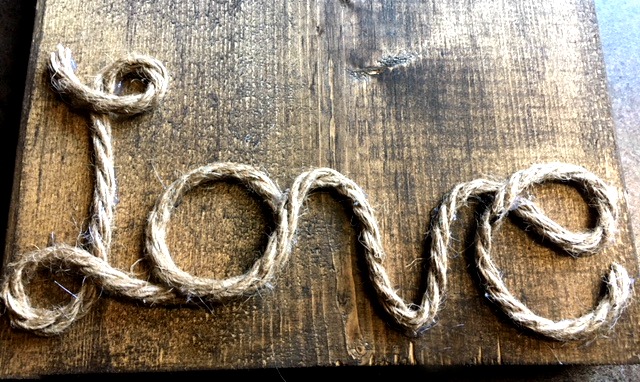
Perfect! Next lay out the rocks in the heart shape again.
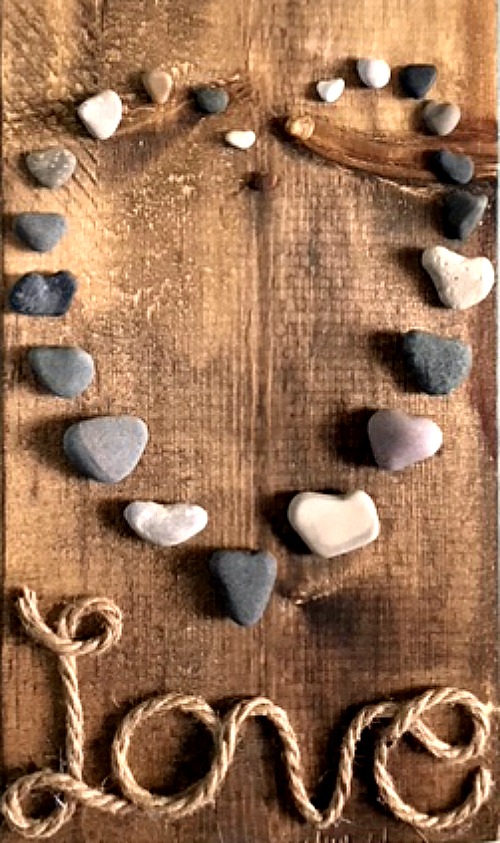
When you have the stones just where you want them. Remove each one and put a dab of hot glue on each pebble and then put in back in its place.
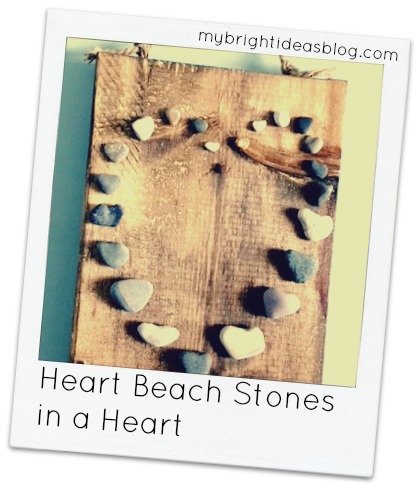
This craft would look good without the rope if just the stones on the wood appeals to you.
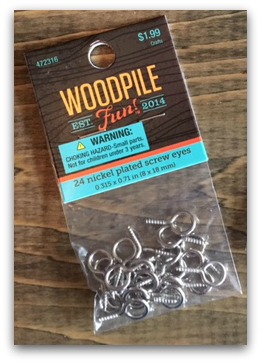
I picked up this package of screw eyes at a craft store but you can find them at the hardware store and dollar stores too. I chose the humble eye hooks so that I could have the rope on the top of the project match the “Love” at the bottom.
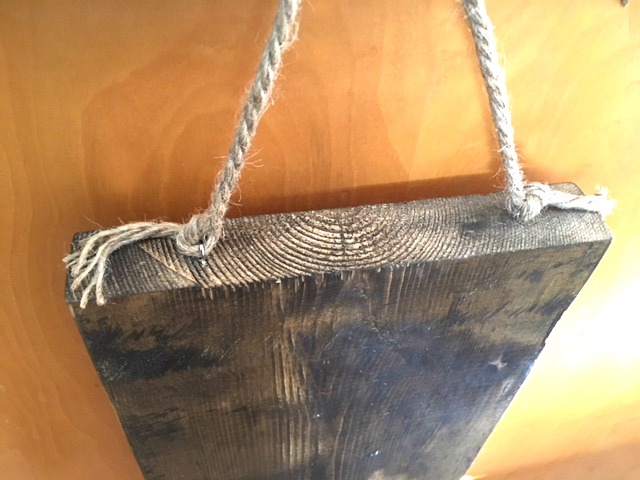
Simply screw these into the top of the board and tie jute rope in a knot. Now it can hang on the wall.
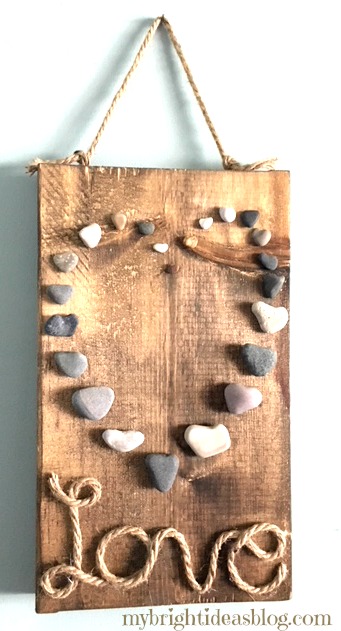
This is a super easy gift idea. You could really personalize it by writing your last name instead of love, or something else…maybe “faith”, “hope”, “smile”, “dream”….something that will inspire or make you smile. You could also make this any size or paint the wood board instead of staining it. Get creative!
Thanks for reading this post and checking out another one of my crafts. I have posted several rustic/wood home décor projects recently, so I’m linking them to this message for you to pop over and see too.
Please pin or share with your social network of friends.
…
Fall Leaf Rubbing – Super Easy Kids Craft!
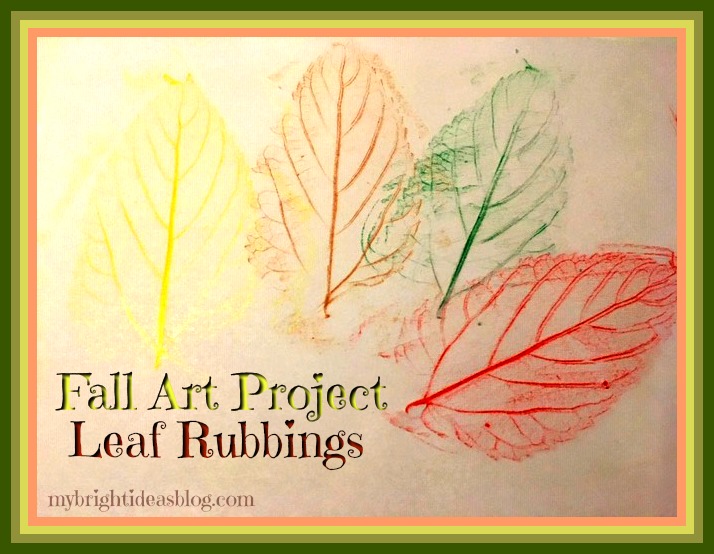
Remember doing Leaf Rubbings in the Fall when you were a kid? Well, Autumn is here again and its time for a nature walk to collect some leaves for this wonderful classic nature craft.

On your nature walk give the children (even young toddlers) a paper bag or large zip lock to collect their treasures.
Just in case they should ask the question…. Why do the leaves change color and fall off the trees?
Here is a quick answer….The leaves collect sunlight to feed the tree in the spring and summer. During the fall the tree goes into resting mode for the Winter. So the leaves turning color is the their way of getting ready for Winter.
There is much more to learn about it but that is the toddler explanation. If the kids are older why not do a research project to learn more. It’s quite interesting. For example, an oak tree’s leaves turn brown for a different reason then a maple tree’s leaves turning red. Chlorophyll and photosynthesis, glucose, oxygen and carbon dioxide-there is a whole factory in every tree we haven’t even noticed. Have a read through this website for a little lesson my 8 year old could handle..
https://www.sciencemadesimple.com/leaves.html
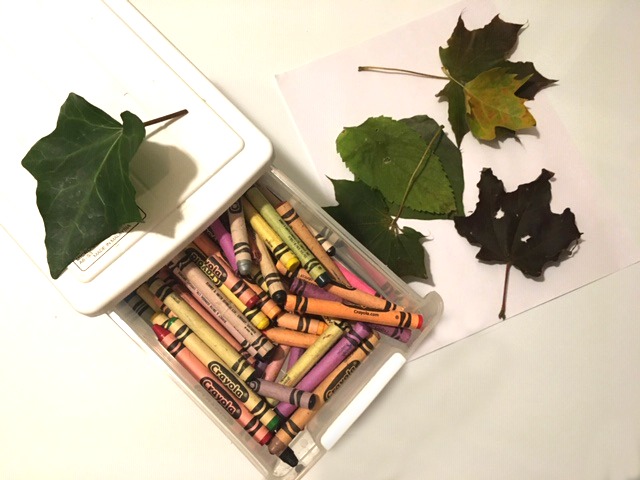
For this project you will need:
- Crayons…green, brown, orange, red, yellow
- Leaves
- Plain paper
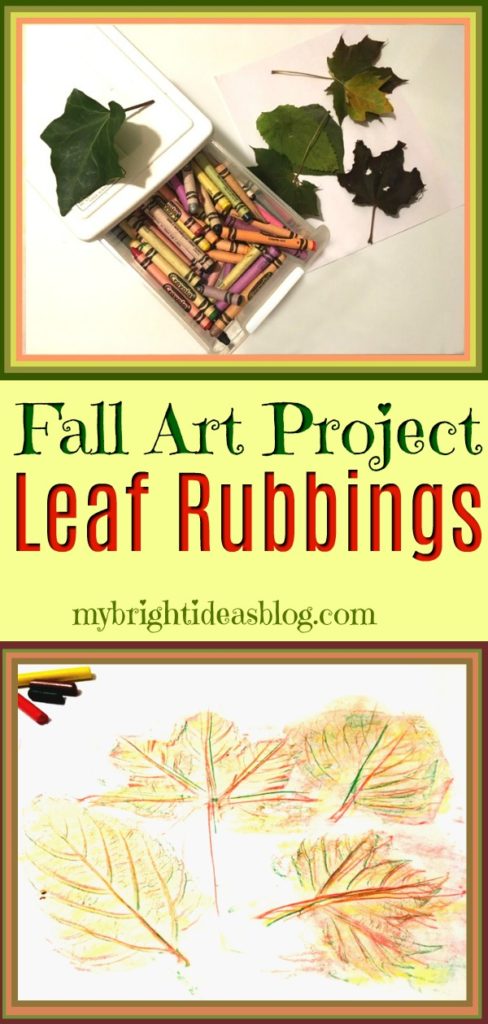
Grab your crayons and paper and leaves. Peel the paper off your green, brown, orange and red crayons.
We have a nice collection of treasures from our nature hike-including stones, sticks and petals from my mums. For today’s project we just used the larger leaves. I’m setting the rest of the little treasures aside for another project.
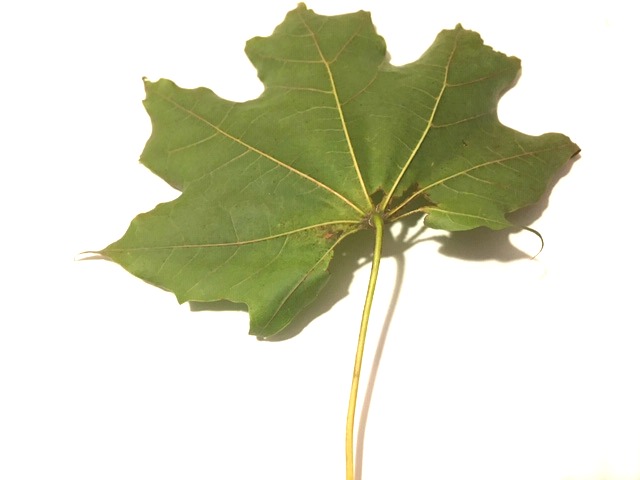
Take your leaf and turn it face down. Lay a blank page on top of the leaf. Turn your crayon on its side and rub on the leaf.
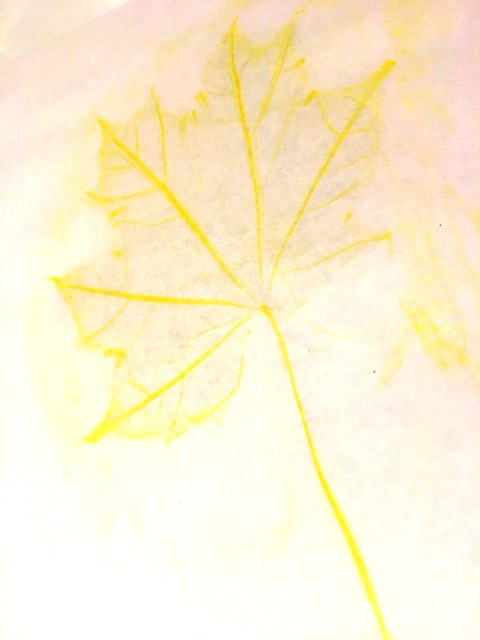
Yellow was one of my favorite colors to do rubbing but it doesn’t show up quite as well on photos.
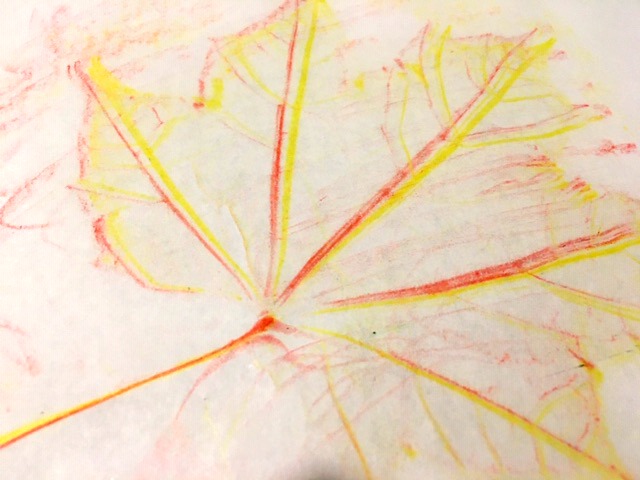
On this one we tried to layer red after the yellow but the leaf had moved a bit. It still looks cool though.
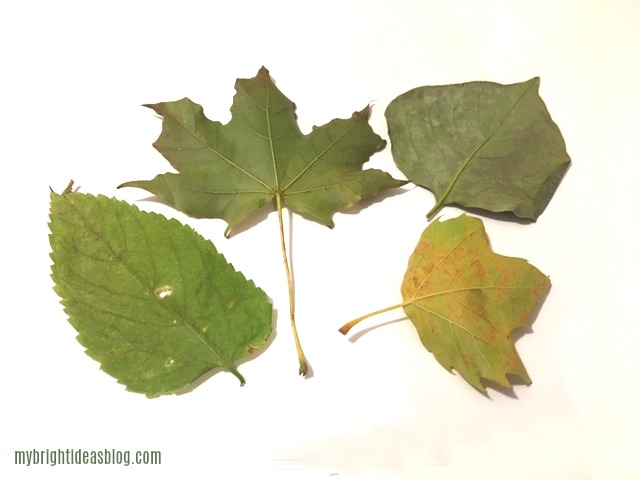
Were you able to collect a variety of leaves? If the weather didn’t work out for a proper nature hike in the woods, look around your yard and take a leaf sample of nearby shrubs and garden plants. They definitely have interesting leaves worth doing a leaf rubbing with too.
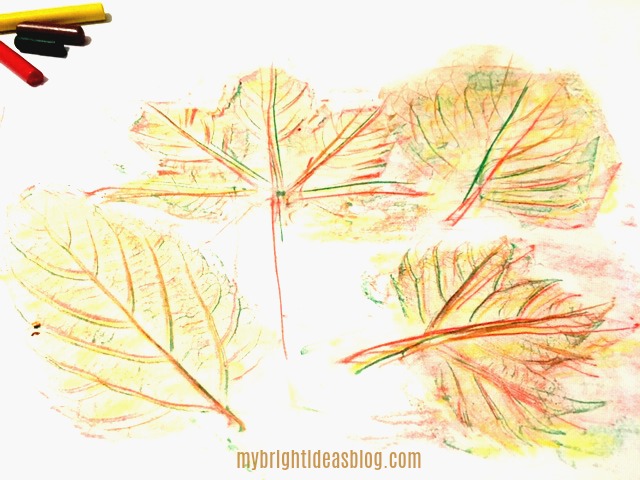
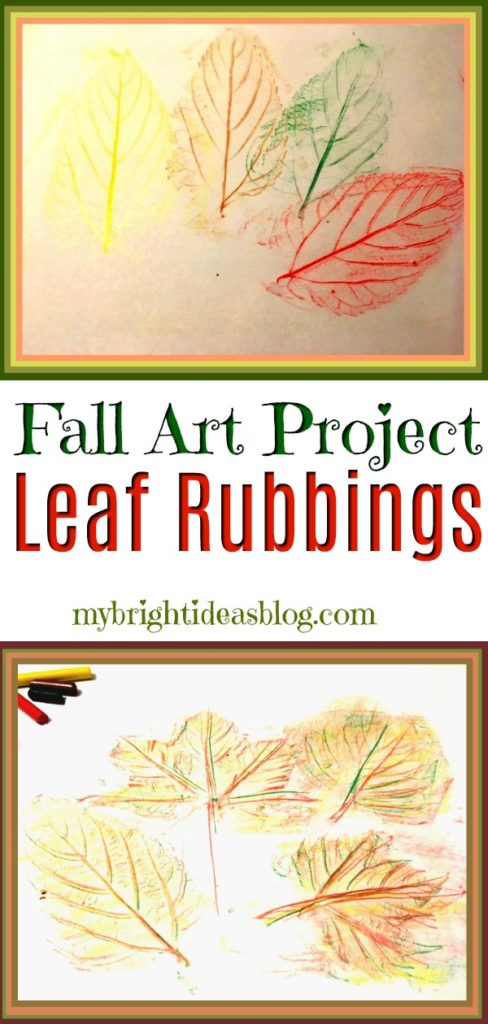
Here we tried all the crayon colors on each leaf.
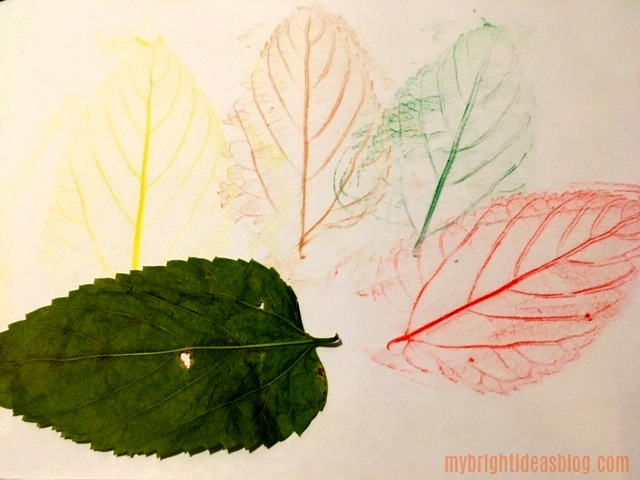
For this lovely art piece, we used only one colour on the leaf and then moved the leaf over and tried the next colour.
This is such a quick and easy autumn activity-it could be part of a yearly autumn tradition. If you have little ones in your life, I hope you can find a few moments to enjoy the Autumn changes of season and make some Fall art together.
Check out this post for a great nature craft using inexpensive clay!
Nature Craft – Perfect for Earth Day Activity – Clay Imprints with Plants and Flowers
…

