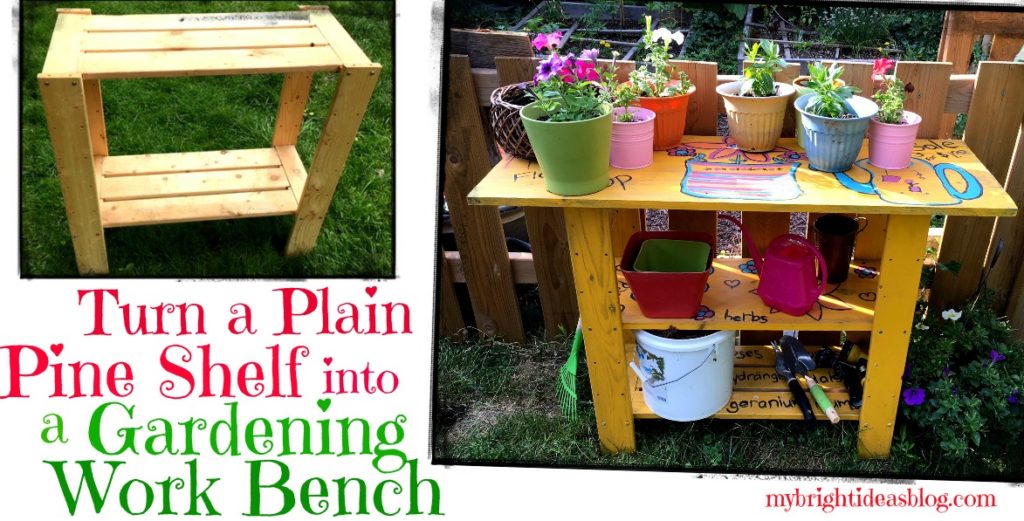
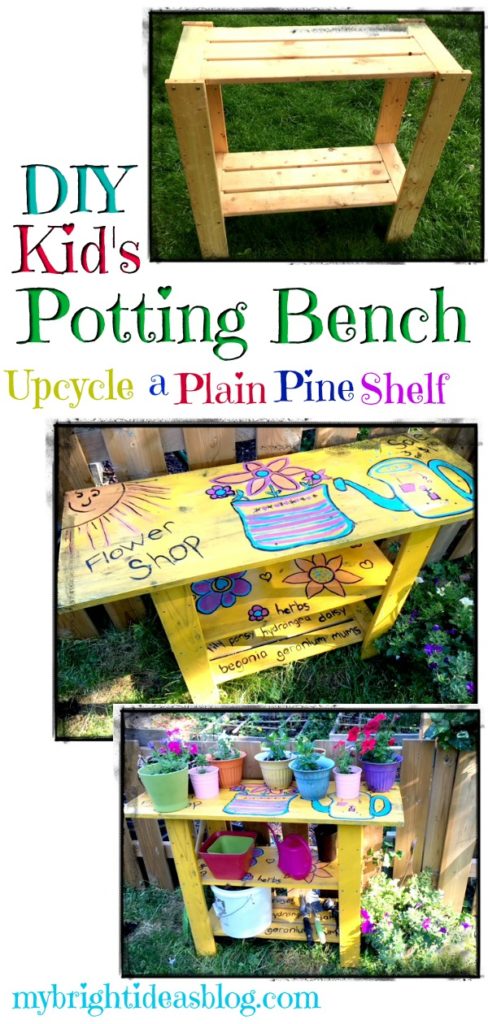
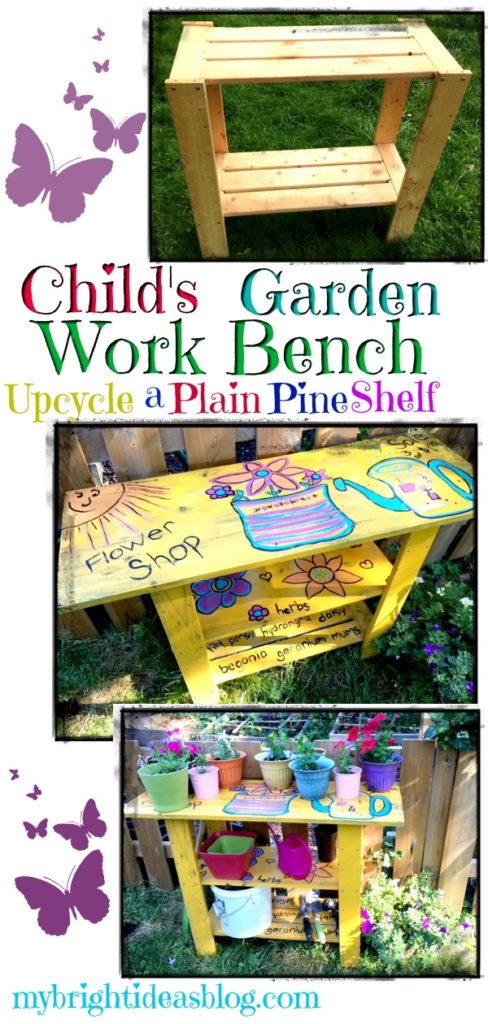
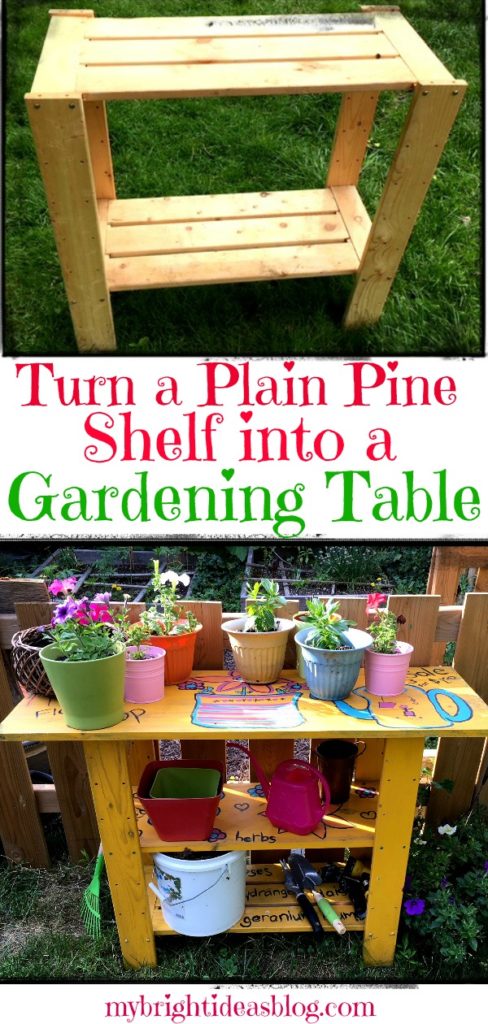
This is an easy DIY project for the inexpensive wooden pine shelves in the back of your closet that you’ve had for years. I was staring at mine thinking about getting rid of this plain old shelf and then I thought what if I added another shelf, made the top bigger and painted it a bright color and turn it into a garden potting station for the kids.
I have another one that I could turn into a lemonade stand using the same idea. I’ll let you know if that turns out!
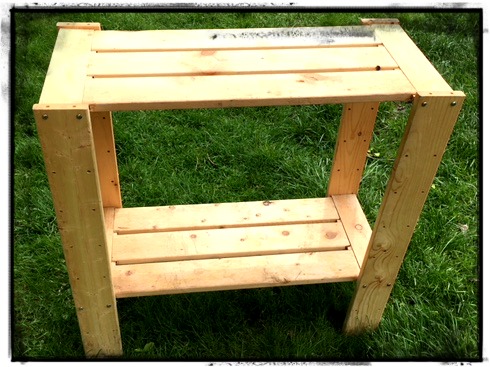
This is actually an old project I made years ago so some of the details are a bit foggy. This shelf was holding our camping gear. Its really only good to hold very large things on the bottom shelf because it doesn’t have a middle shelf. It turns out that its pretty easy to add a shelf by having a board cut to size.
You will need:
- a bare wood pine shelf
- pine cut down to 12 x 30 and 16 x 42
- 16 x 1 inch deck screws and a drill
- sandpaper
- outdoor paint
- paint brushes
As I said this project was done 3 years ago so I’m going by memory on the details.
The middle shelf on mine measured 12 by 30 inches (30 by 76 cm’s) …. Your shelf may not be exactly the same so measure yours before having the shelf piece cut.
The piece on top is 16 by 42 inches (40 by 107 cm’s). Hopefully you have some wood scraps you can use in your garage left over from another project. If not they will cut the boards for you at the hardware/lumber store.
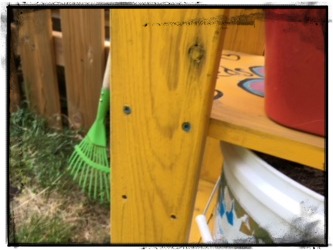
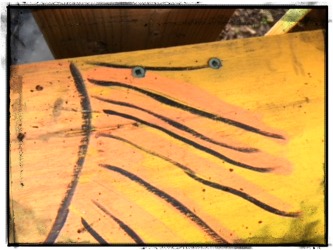
The boards will need to be drilled in place. I used the pre-drilled holes and attached the middle shelf with 2 deck screws on each corner. I put 8 deck screws in the top of the table to attach it to the vertical boards of the shelf. The nice thing about a work bench is it can be a bit rough-so I didn’t sink the screws and fill the holes.
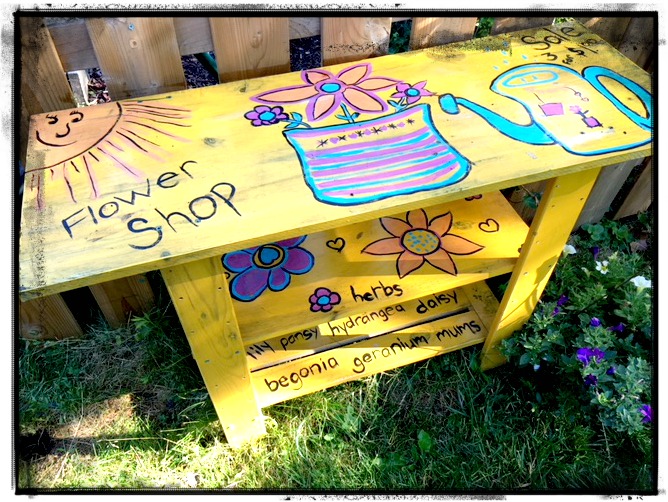
Next the entire shelf will need to be painted. Our shelf is outdoors all summer and is stored in the garage for the winter. I used left over paints in my basement that were meant for other projects. The bright yellow paint was a miss-tint that I bought for $8.00, several years ago. It needed a lot of stirring before I could get started. Follow the instructions on the paint tin.
After I had done 2 coats of paint we were able to decorate it. The girls love to spend time playing flower store! When I purchase new flowers and vegetable plants at the garden centre they gather all the hand tools, seeds and the new plants and play at shop keepers for hours. I finally bought them some fake flowers from the dollarstore for their play store so I could get mine into the garden!
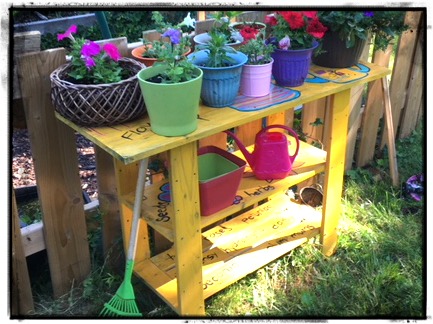
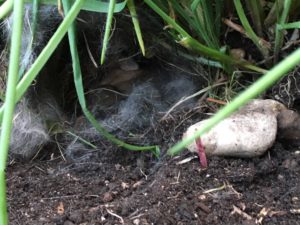
This year they were really involved in the planting of the newly purchased plants and not just pretending to sell them. Their planters are doing really well! We have to keep an eye on our potted plants since a few squirrels that are digging around
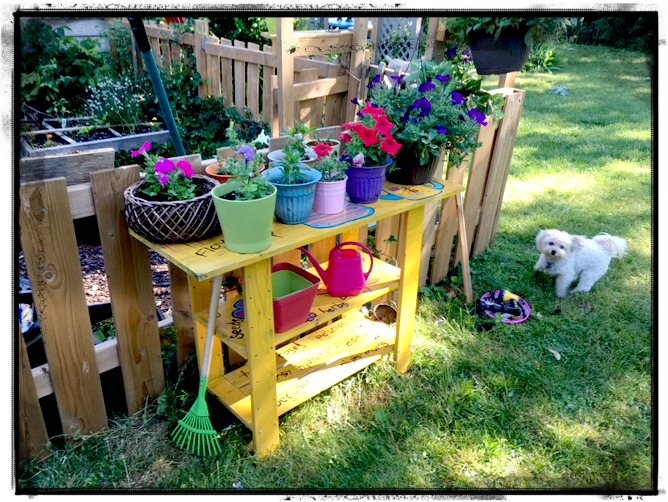
Gemma our Yorkie-Poo snuck into this photo. This photo shows the fence around our vegetable garden. This keeps the dogs from digging in the dirt. There are also some nice bunnies in there who nibble on the lettuce in the square foot gardens.
We have our own Floppsy, Mopsy and Cottontail!
Enjoy making yourselves a work bench. Come to think of there is lots we can do with these bare bones shelves. Next on my to do list might be a lemonade stand….
Enjoy your projects, til next time!

…
Plant Puns on Painted Potted Flower Pots – Adorable Gift Idea to Make Them Smile!





LOVE this!! I have a bright pink Baker’s rack that I use as a Potting Staion but now I am thinking I have to spray paint some pots in colorful colors!! Thanks for sharing!!
Hugs,Deb
Very cute! Thanks for sharing at Vintage Charm!
I want to make one of these. I have been dreaming about it and now you have inspired me to get it done. Cute puppy too!
Your garden bench so great. I am loving the color! I am also loving your guests and what they’re snacking on.
So cute!
Really cute…love the fabulous colors—and anything will look good on that cute bench!