
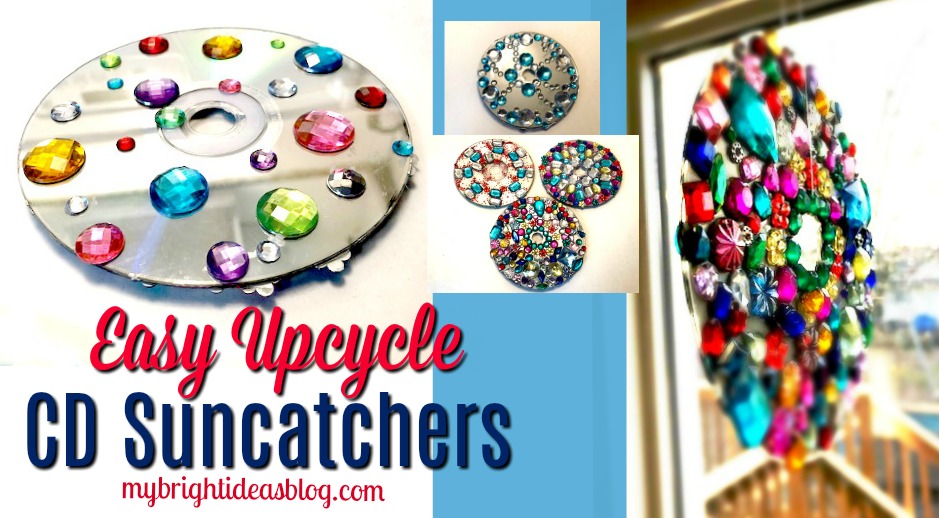
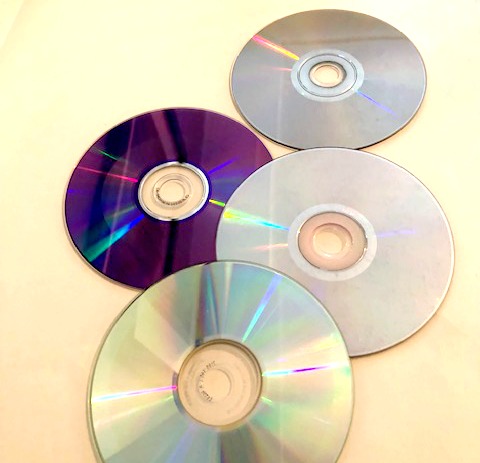
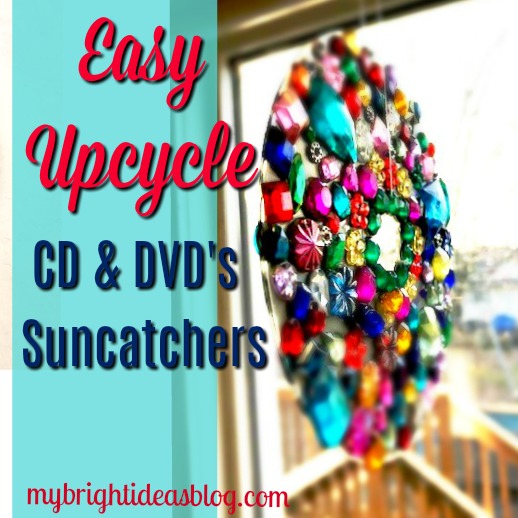
Have you got a collection of CD’s and DVD’s that you no longer need? Make a craft with them! There are loads of CD Upcycle ideas out there. Today we are going to turn a few old disks into beautiful suncatchers!
It’s midway through the Winter break for the kids, so we are looking for easy kids crafts. You will likely already have all the supplies for this craft in your cupboards.

You will need:
- Gem Stones
- Old CD’s or DVD’s
- Craft Glue
- Fishing Line
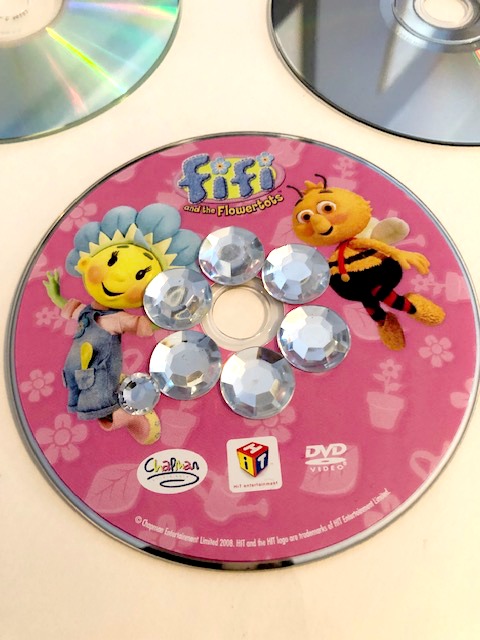
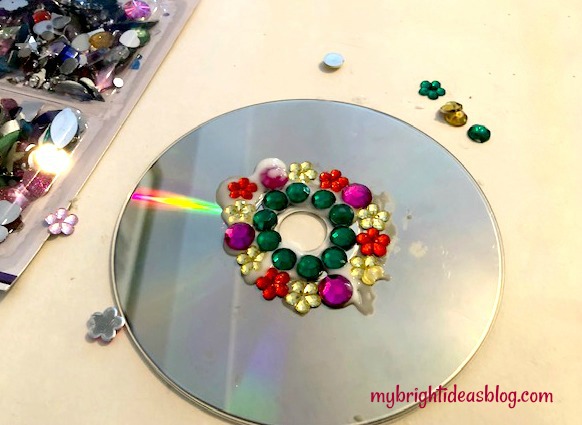
Have you seen Fifi and the Flowertots? It’s a super cute British kids cartoon. This DVD was sent to us from family in England. We watched it for years. We decided we are finished with this disk and it’s the first one to get glamourous.
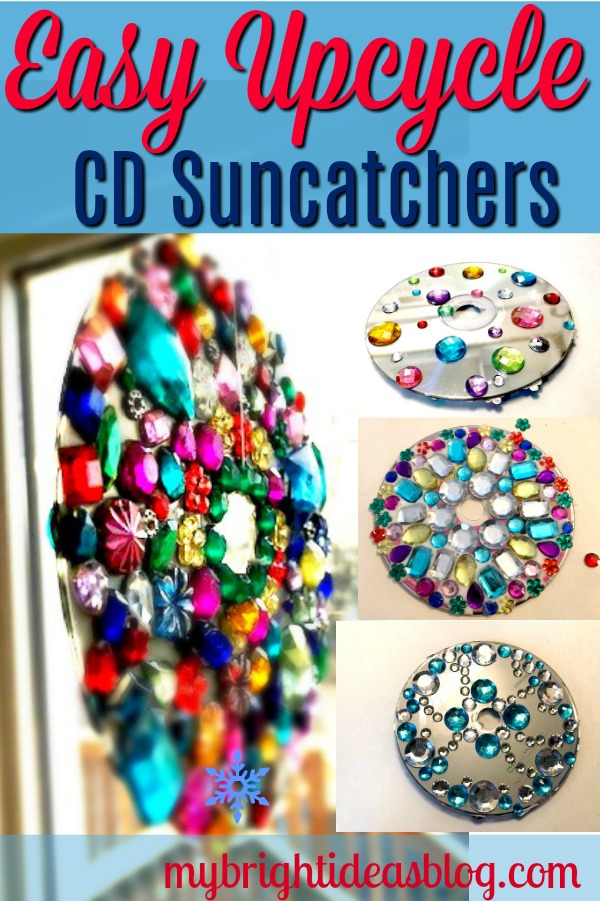
This disk has pink showing through which makes it original. Simply glue your gems to the CD.
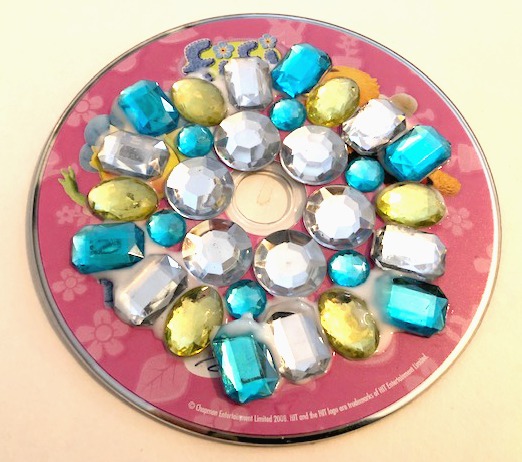
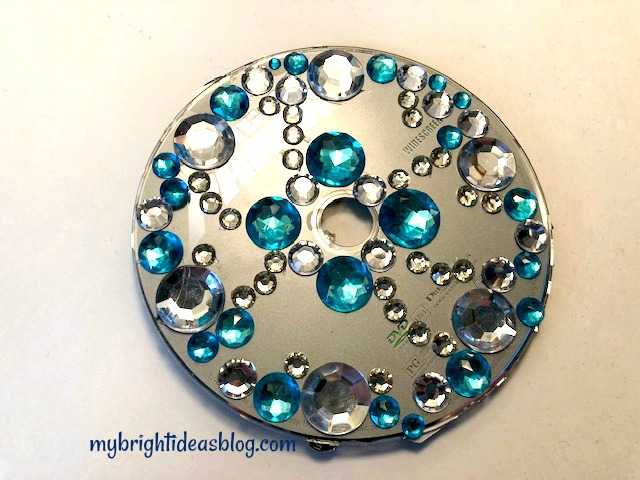
It looks really pretty if you can make a pattern with the gems.
This one started out organized but then things got very random.
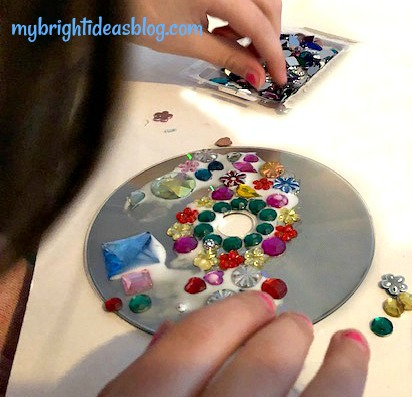
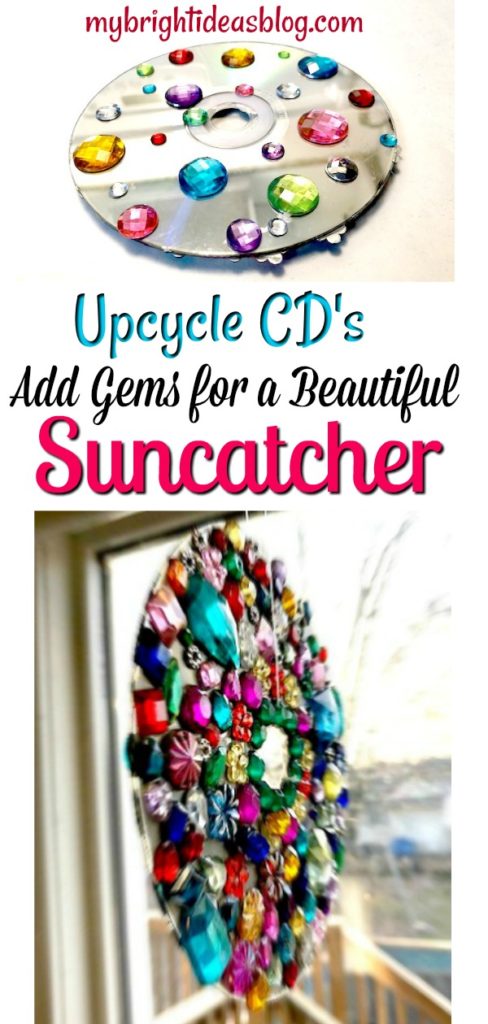
The sparkle of the CD’s plain silver side will look fantastic spinning in the sun. Adding the gems makes a beautiful combination.
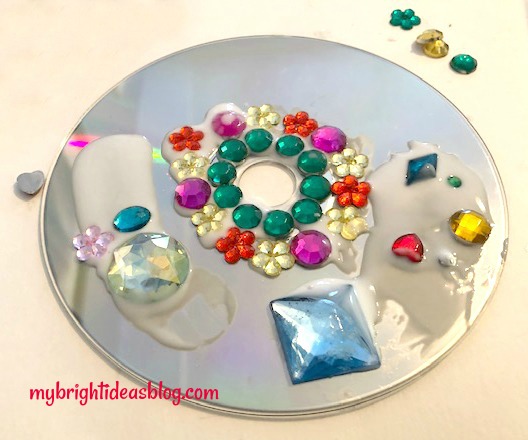
Okay it looks like a mess here but when it’s done its dazzling!
This is full of variety in sizes and random colours and it looks beautiful!
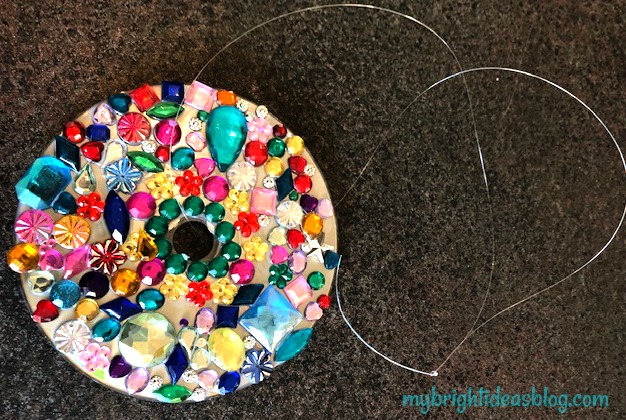
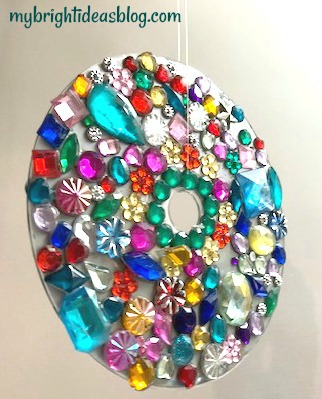
There is no need to drill a hole to tie it up. It already has one! Cut an arms length of fishing line, insert it through the Cd’s hole and tie a knot.
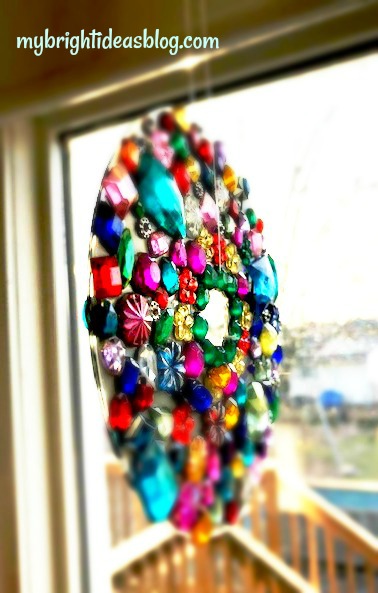
Hang it from the kitchen window and wait til you see the sun hit it!
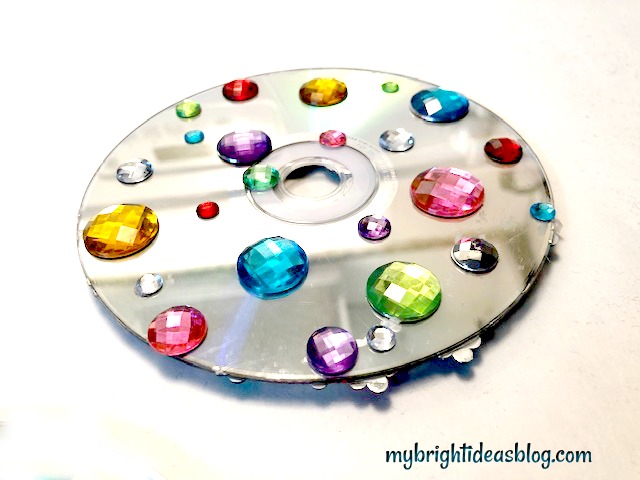
This shows that your CD upcycle doesn’t need to be full of gems to look good. This one required no glue since the gems came on a page of gem stickers. No mess! Also, its quick-no need to wait for glue to dry.
Flip it over and decorate the other side.
This could be a great craft for a camping trip! Gem stickers, old CD’s, and ribbon or fishing line.
This was done with stickers also. Do you have a pre-teen who babysits? This would be a great craft for the babysitter to take to their babysitting job. I loved it when we had a young babysitter arrive with projects and crafts for the kids. Very good business plan kids!
This CD and DVD upcycle craft is a project you will really enjoy doing with your kids! I could see this given as a gift from the kids to their grandparents….or a sick friend or a teacher gift.
Have a look at some other suncatchers I’ve already done.
Upcycled Jeans – Sweatshirt Refashion


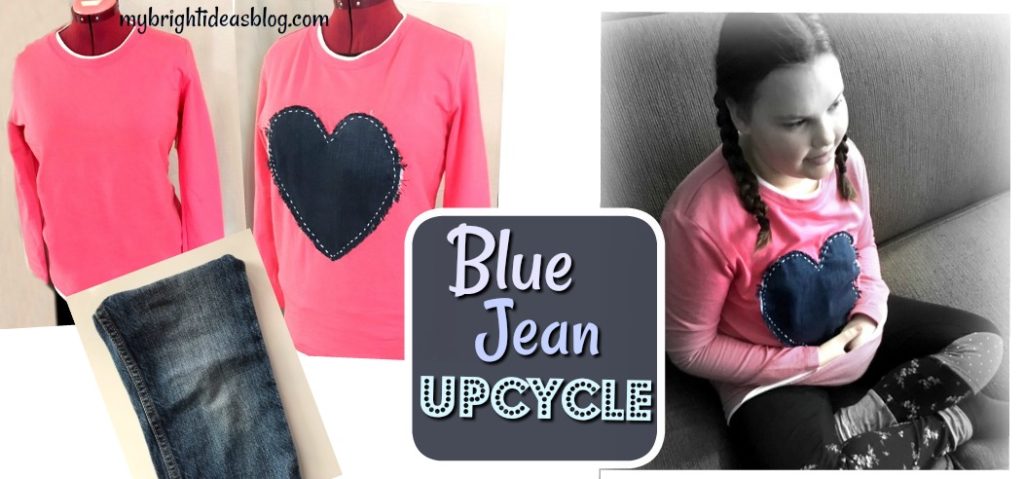
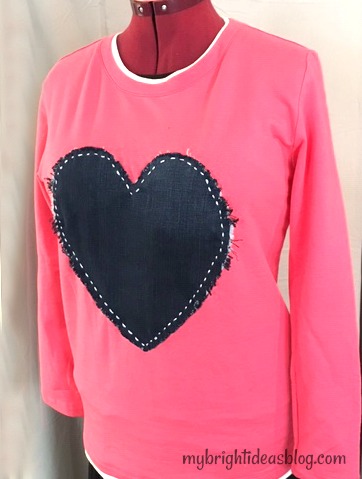
On a previous post we took the leg of a pair of jeans and turned it into a wine bottle gift bag. (See below for a link on that!) Today we have another upcycle project for those jeans that we are cutting up for parts. We are going to upcycle a plain shirt and add a love heart made out of old jeans.
You will need:
- t-shirt or sweatshirt
- old blue jeans (actually just a leg)
- needle
- thread or embroidery floss
- scissors
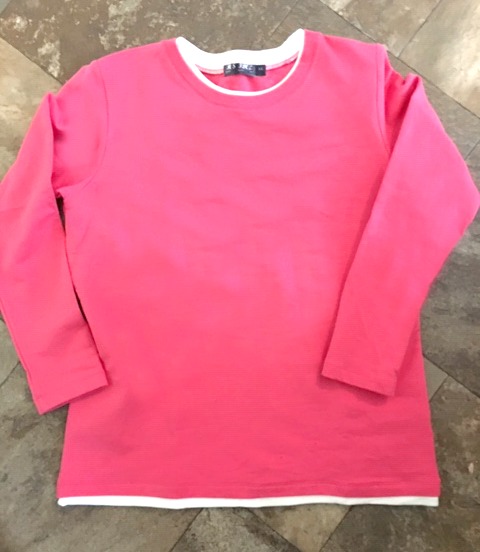
I found this shirt on a clearance rack for $7.00. Perfect for my project. You can use an old t-shirt or sweat shirt you already have in the closet. Or, this is an awesome solution to a favorite shirt with a stain on the front.
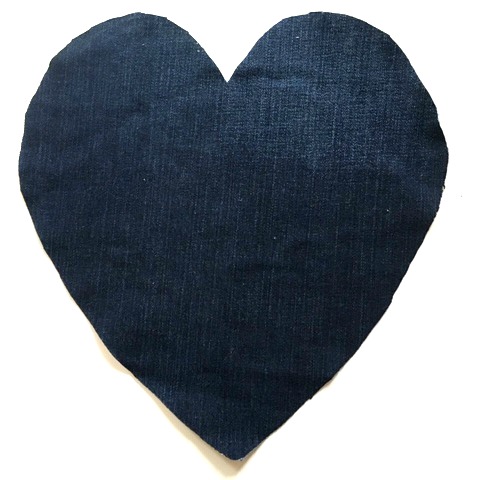
I just realized I didn’t take a photo of the jeans before cutting them into the heart. To make the perfect heart, find the widest part of the pantleg and cut out a square piece the maximum size you would want your heart to be. You can always trim it down if you cut it too big at first. Fold the square in half with right sides facing in. Draw a half heart onto the back of the denim with a white chalk. Cut through both layers of fabric so its perfectly matching.
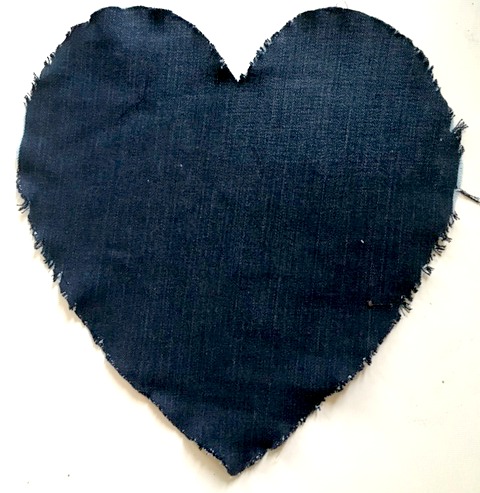
It’s a shame to ruin the perfect heart but we want to make it a little frayed. Using your fingers, pull on the edge pieces of the denim heart so the threads begin to pull away.
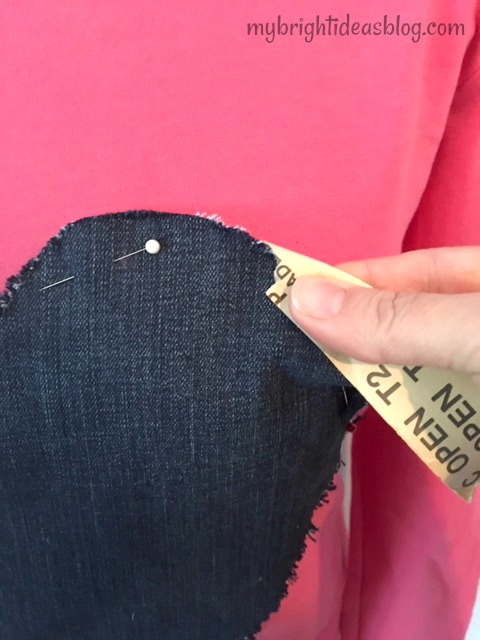
After pinning the heart in place I decided I wanted it a bit more frayed than it was. I pulled the edges again with a scrap of sandpaper and pulled some more on the edges. This works surprisingly well.
Sewing on the Heart
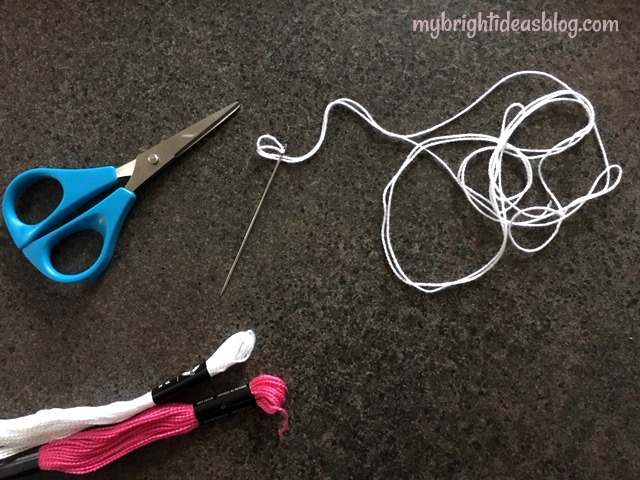
Choose a colour for your embroidery thread. I decided to go with white. Thread your needle and knot the end.
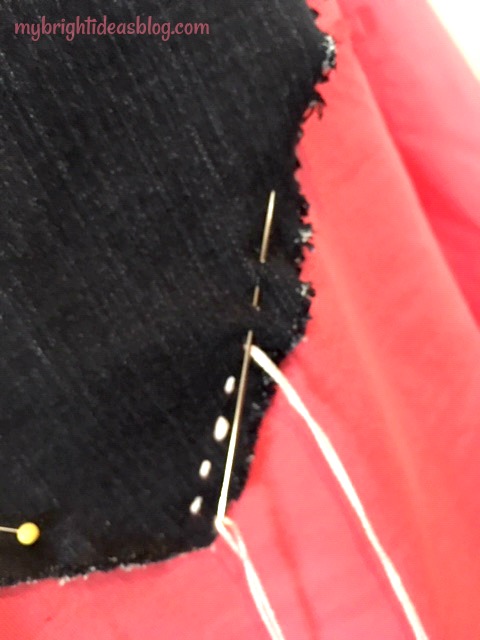
Start from behind and pull the needle through the shirt and denim heart. Continue in and out doing a running stitch. Try and make your stitches the same distance apart all the way around the heart.
Finish by knotting it on the inside. Could it be any easier!?!?!
 Here is Gus and Gemma with the upcycled shirt’s new owner. It was a surprise gift to my daughter B and she seemed really touched by it. Her pants are also an upcycled idea using strips of old leggings to sew onto a new pair. See the link below-they turned out pretty fun!
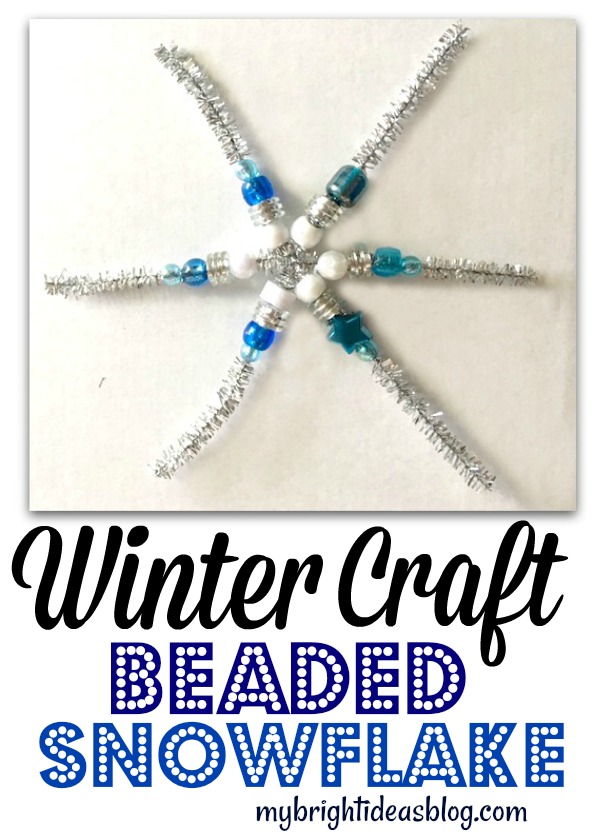
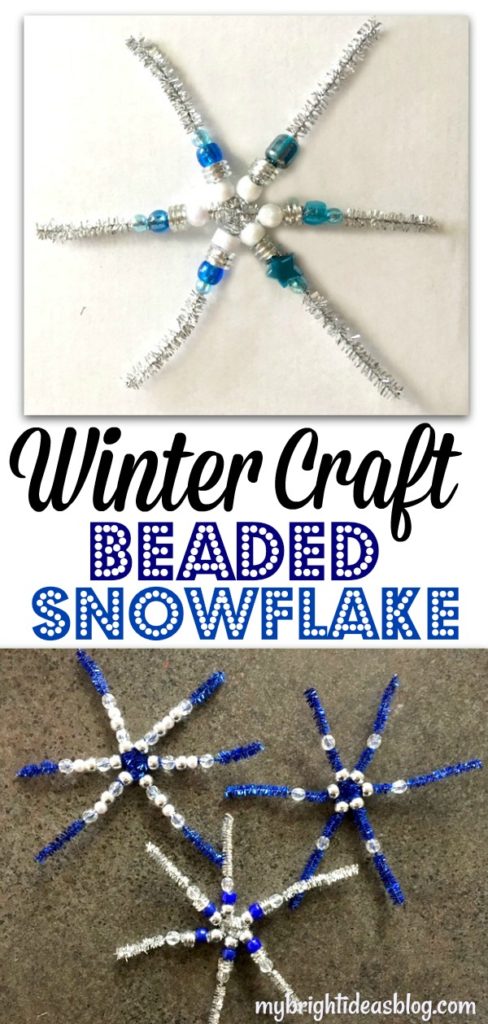
Beaded Pipe Cleaner Snowflakes – Easy Winter Craft!
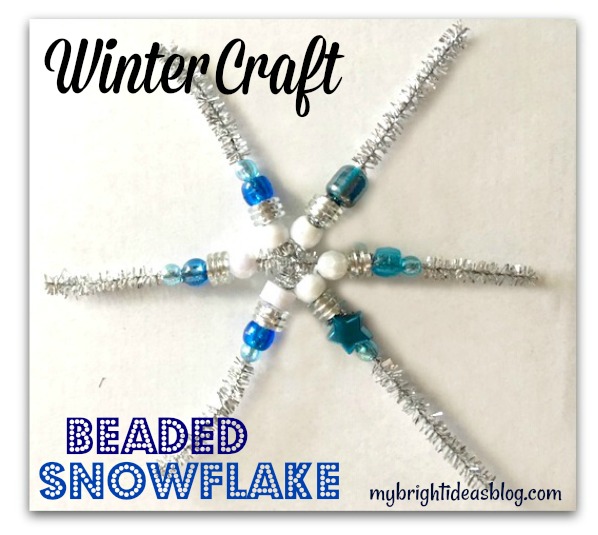 Make an Easy Winter Kids Craft – Snowflakes made with Pipe Cleaners and Beads!
I attempted a post on this exact craft last year but I had a look at it and they turned out a bit ugly in the end. LOL. So I’m trying it again for a do-over.
You will need:
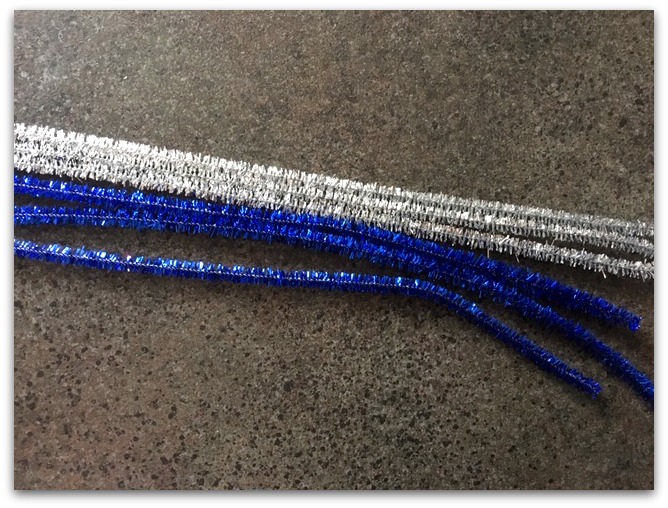
- sparkly pipe cleaners
- beads and pony beads
That’s it!
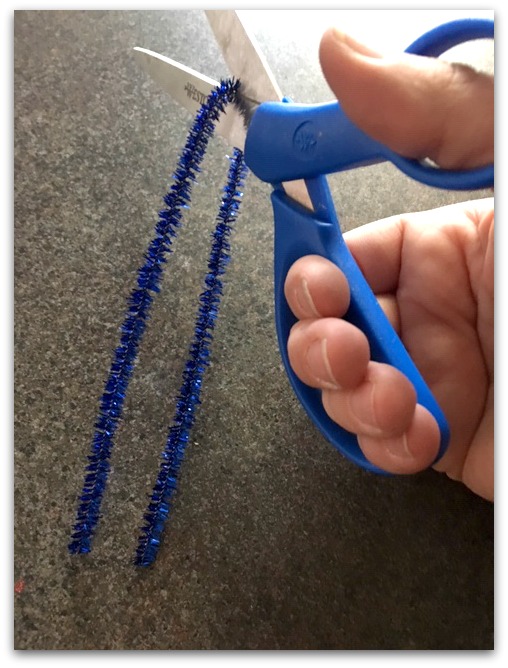
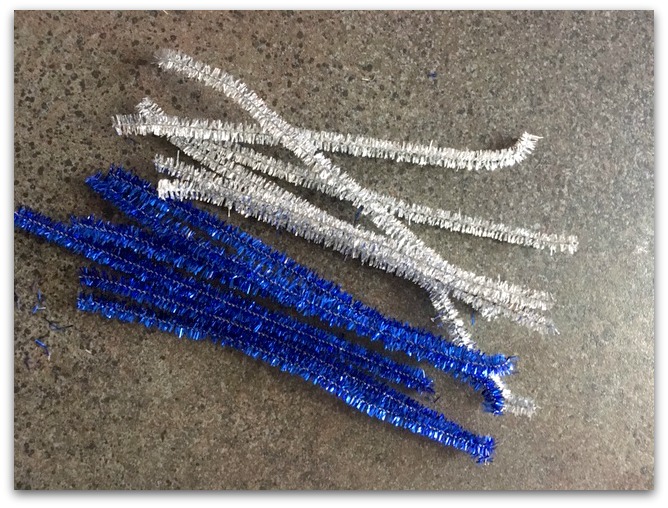
Each snowflake takes 1 and 1/2 pipe cleaners. Cut 2 standard length pipe cleaners in half (so you have 3 pieces 6 inches long).
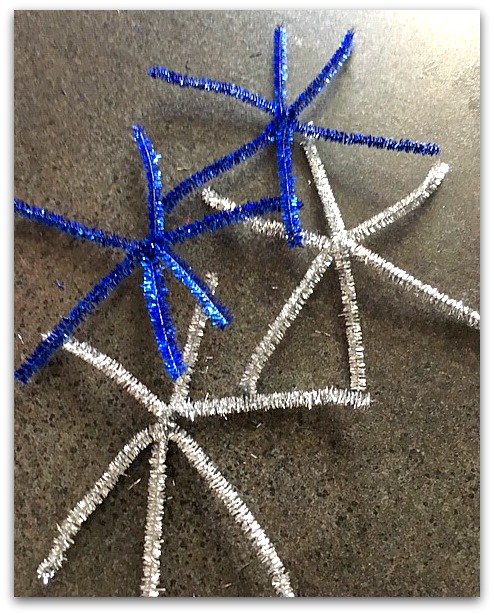
This time I’m using sparkly pipe cleaners. They really stand out. But I’ll warn you the beads didn’t slide on it quite so easily.
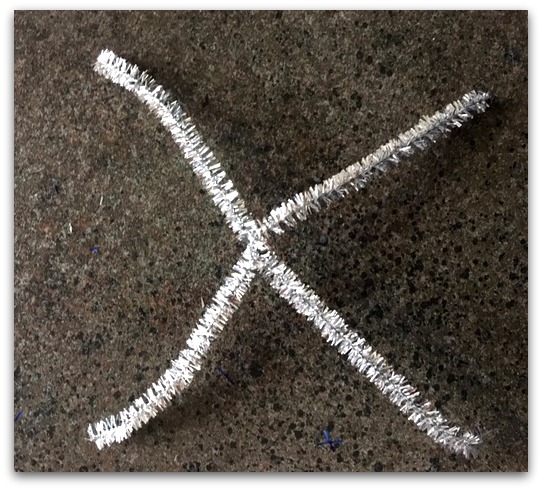
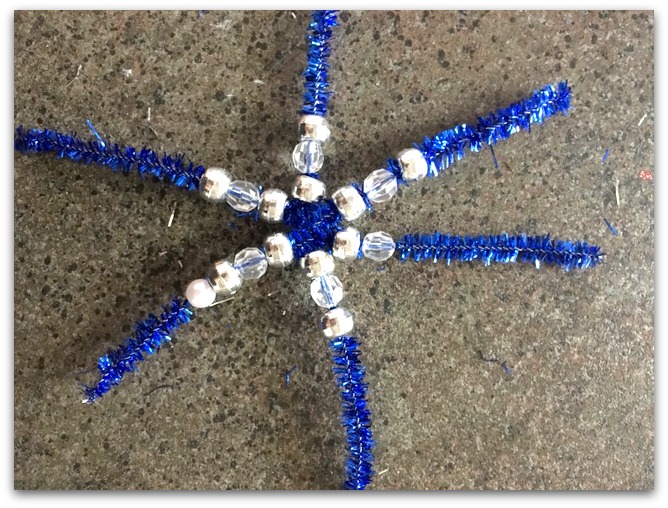
Take 2 pieces of pipe cleaner and overlap them in the middle. Bend them around each other to make an X.
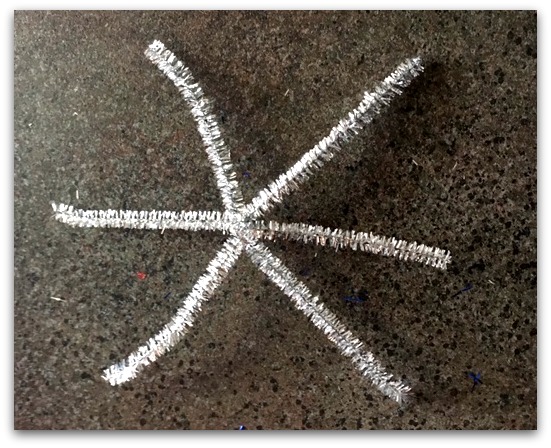
Add a third one to the middle of the X and bend it to make a star.
This is a great craft to teach young ones about making patterns. They also will develop fine motor skills sliding the beads onto the pipe cleaners.
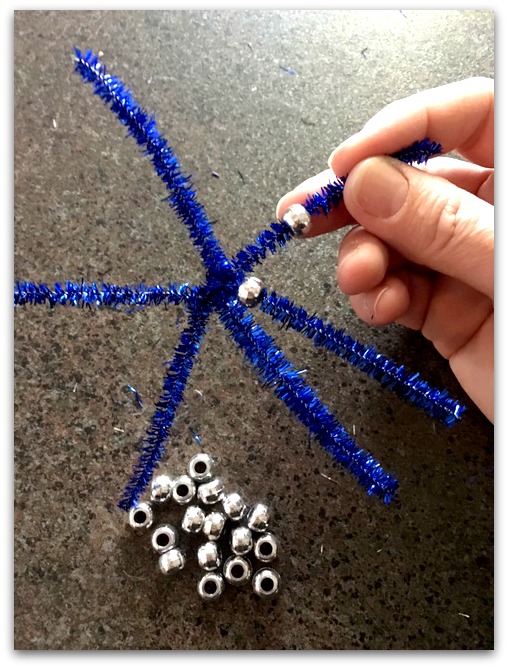 Start with 6 pony beads and slide them onto the pipe cleaners. The dollar tree has a lot of color choices for pony beads. You can also purchase them at Walmart or the craft store.
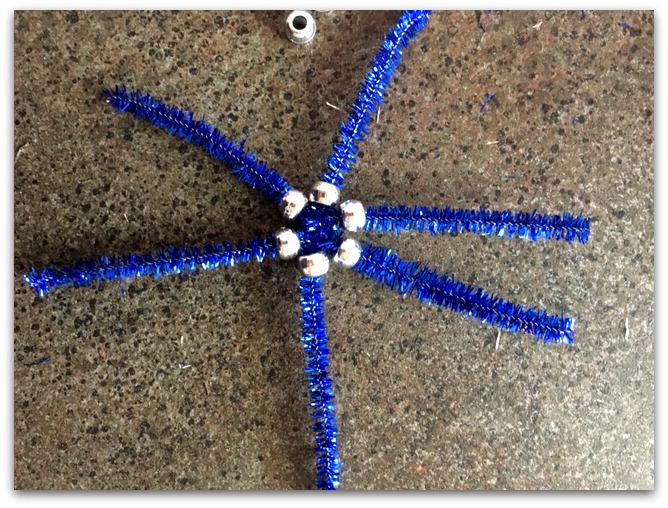
Push them right up to the centre of the snowflake star.
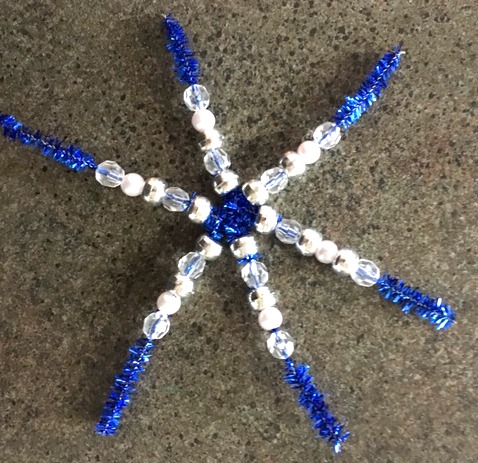
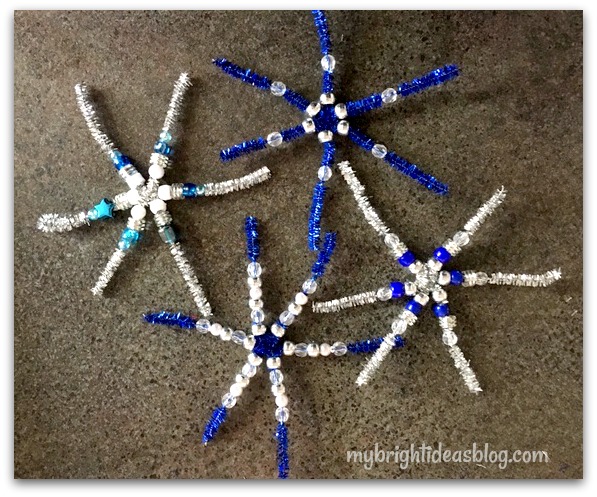
 I found sticking with a pattern looks better than going freestyle with your beads. See if you agree.
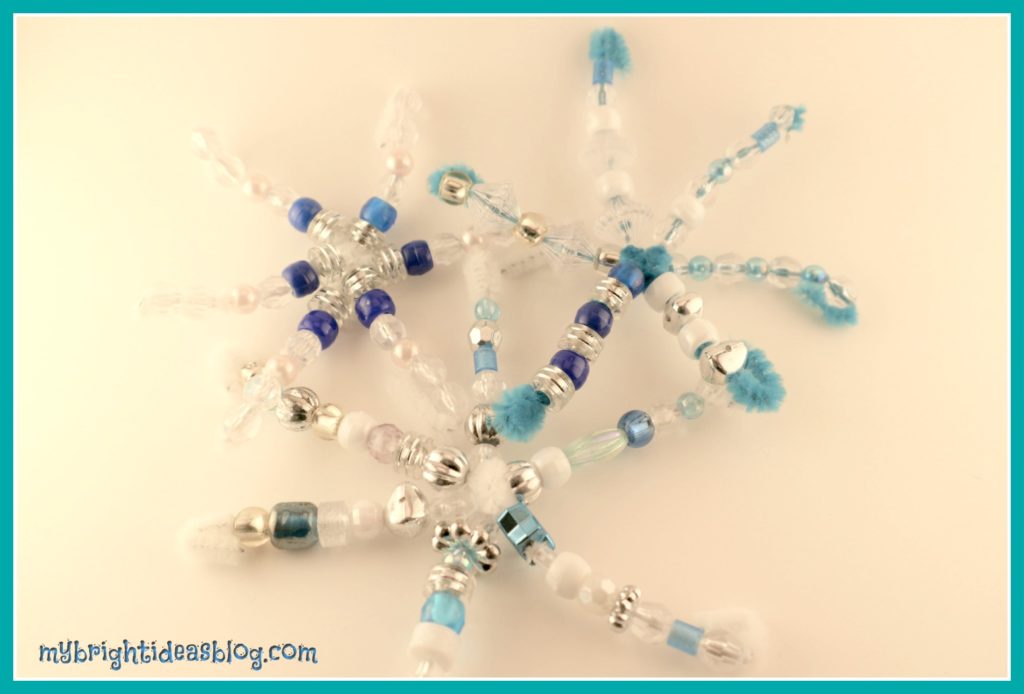
Last year my daughter and I made the examples above with random silver, white, blue and clear beads.
Since the sparkly pipe cleaners are stiff I found if I put the order so that the last bead has a slightly smaller hole as the end-everything stayed in place. If your beads are threatening to shift and might fall off then simply bend the end into a loop.
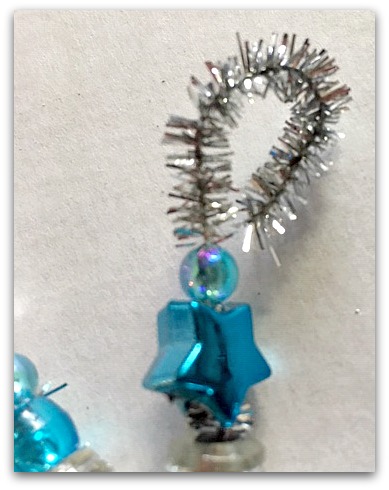
The loop is also perfect for hanging a ribbon. Hang it from a door knob or a curtain rod for a wintery snowflake sun catcher.
 Have fun making these beaded snowflakes. Below are a few more easy winter kids crafts and projects we have done in the past.
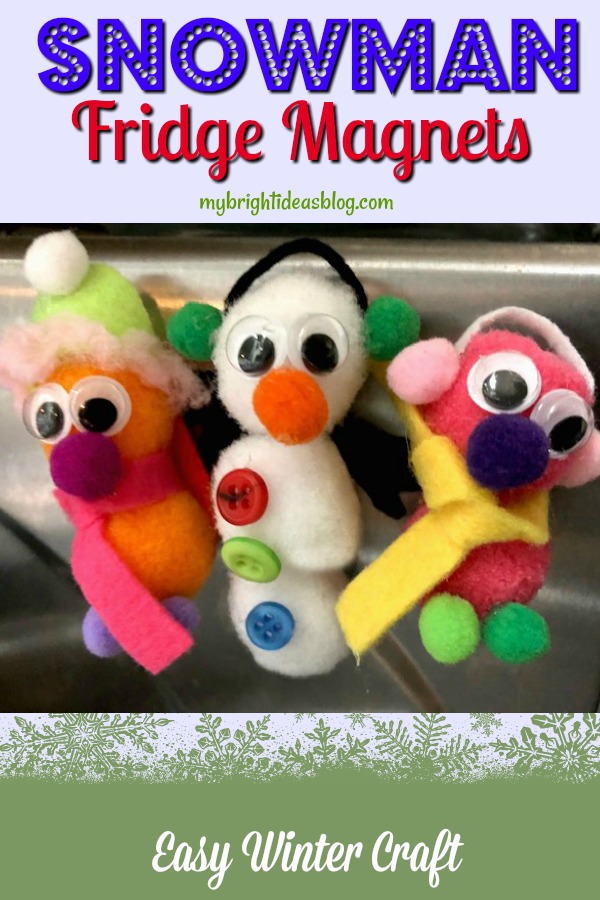
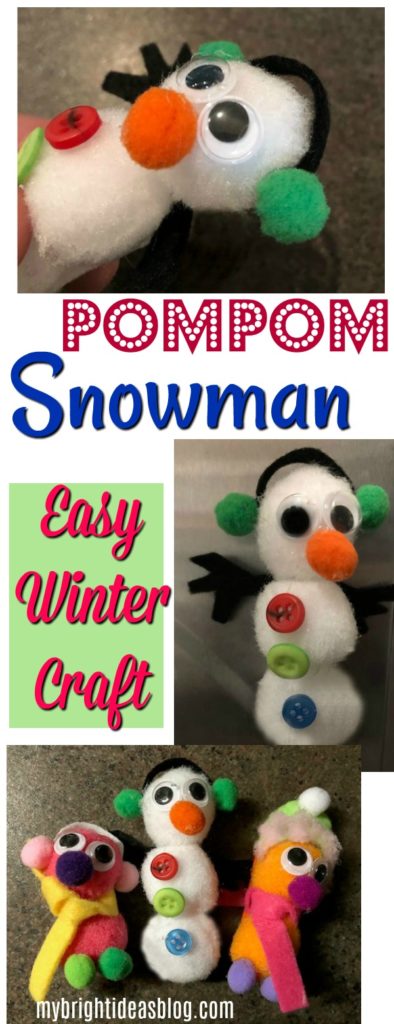
PomPom Fridge Magnets – Easy Winter Crafts!

There is something wonderful about pompom crafts. They are bright and there is so much you can do with them. This post is how to make a snowman out of pompoms for fridge magnets. This is such an easy winter craft-perfect for a snow day or winter break!
Let me tell you about my inspiration….introducing Henry and Henrietta!
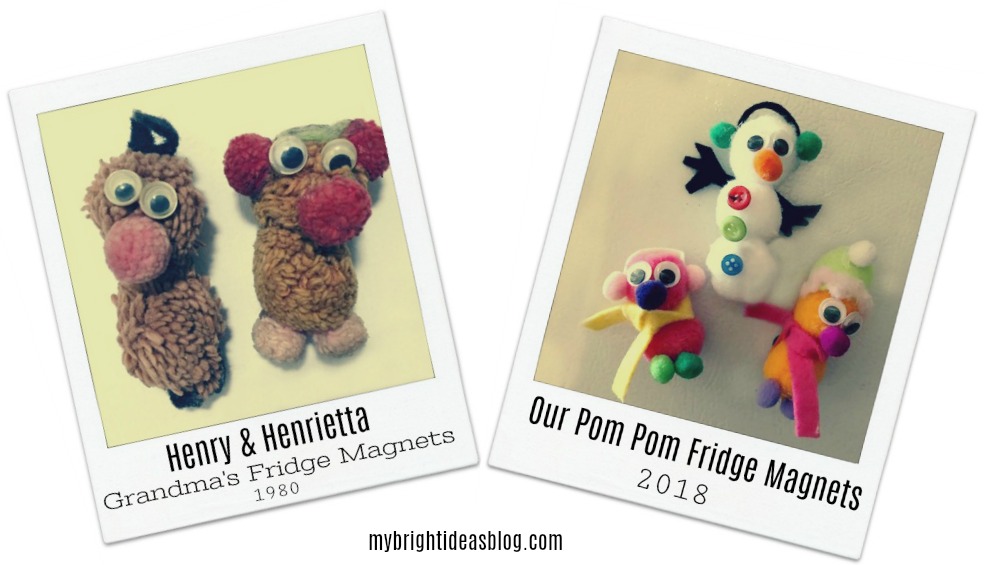
I was brainstorming winter craft ideas when I suddenly had a childhood flashback to my Grandmother’s fridge magnets. I texted my sister to ask if she could remember them. Ten minutes later she texted this photo of them. These scruffy fridge magnets are a sight of beauty to a few of us with childhood memories of when they were in our grandparents camper fridge and later on their home fridge. I love my Grandma and Grampa memories…..sigh…
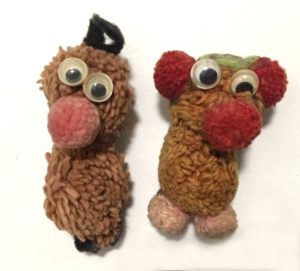
My eldest sister tells me the story that Grandma had Henry a lonely fridge magnet on her camper fridge over the years possibly going back to the late 1970’s. At some point in the 80’s the family went on a camping trip waaaaaay up north near Kirkland Lake, Ontario. While at this Provincial Park my sister remembers spotting Henrietta lying on the ground! Can you imagine finding a pompom fridge magnet in the dirt, the exact female version of Grandma’s pompom Henry. Well they were soon introduced back at the campsite and they have been a happy couple ever since…..ahhh amour….
Well that was a nostalgic walk down memory lane. Now back to the craft!
This is really fun to make! Go grab your supplies.
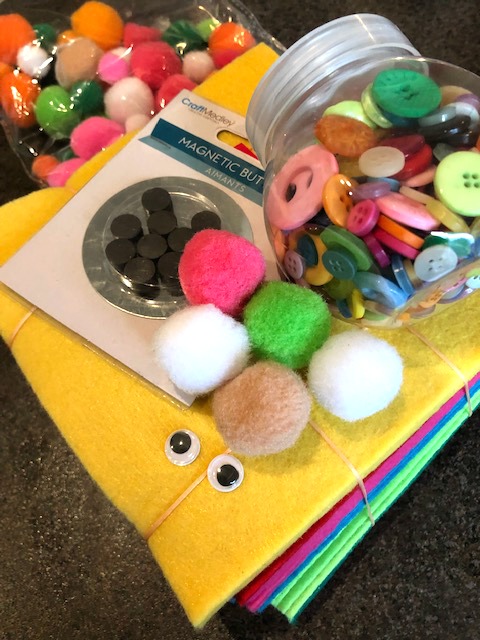
You will need:
- googly eyes
- pompoms
- felt
- hot glue gun
- magnets
- scissors
- tiny buttons (optional)
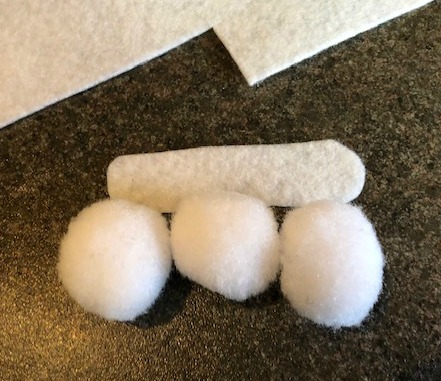
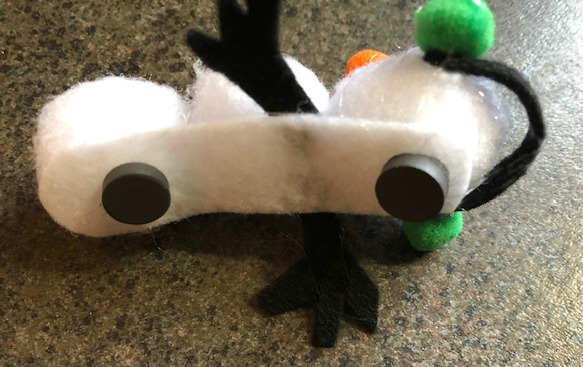
Cut a piece of white felt for the backing for the 3 white pompoms. Try to co-ordinate the back with what ever color pompoms you are using for the project.
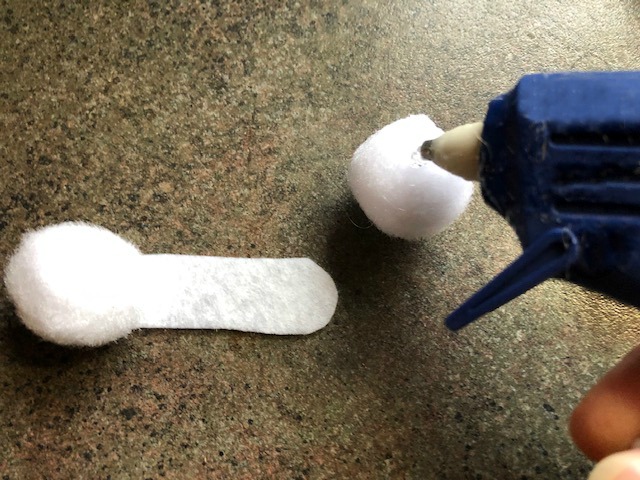
Hot glue the 3 pompoms onto the backing piece of felt.
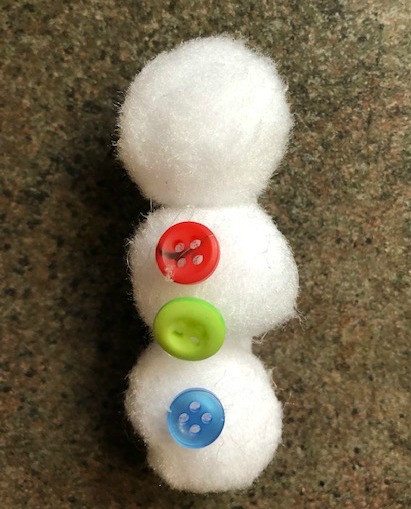
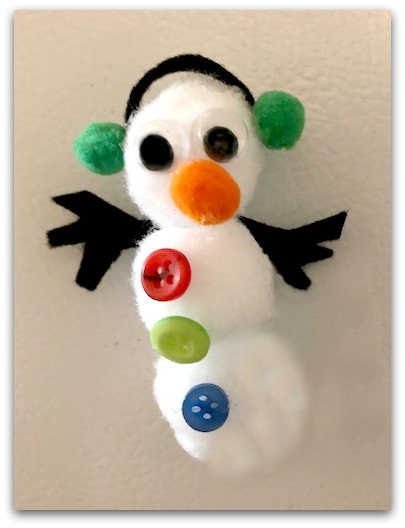
Add very small buttons to the top of the lower 2 pompoms.
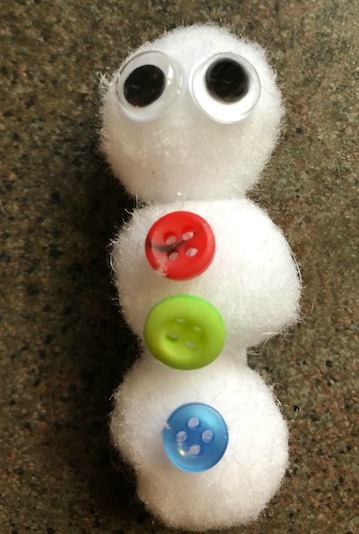
Add your googly eyes and then a little orange pompom nose. If you don’t have an orange one you could use a piece of orange felt instead.
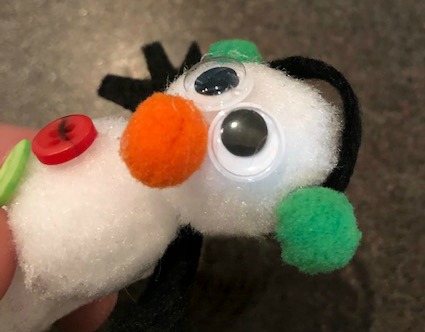
This is optional but I added ear muffs. Just a thin strip of felt with a dab of glue on each side and stick a pompom on each side to cover the end of the felt cut into a triangle carrot shape. I personally like the pompom nose on Henry and Henrietta so I’m sticking with a pompom nose on my snowman.
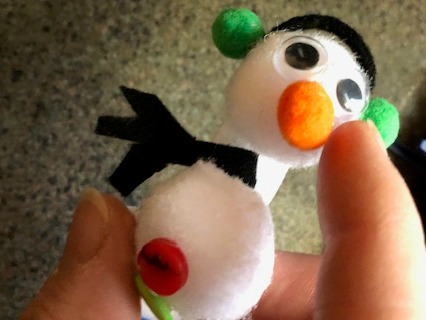
Gently bend back the felt behind the top pompoms and add a few dabs of glue to attach branch arms. Put a big dollop of glue between the pompoms so that they won’t flip backwards anymore.
Add 2 dabs of hot glue to the backing and add magnets to the top and bottom.
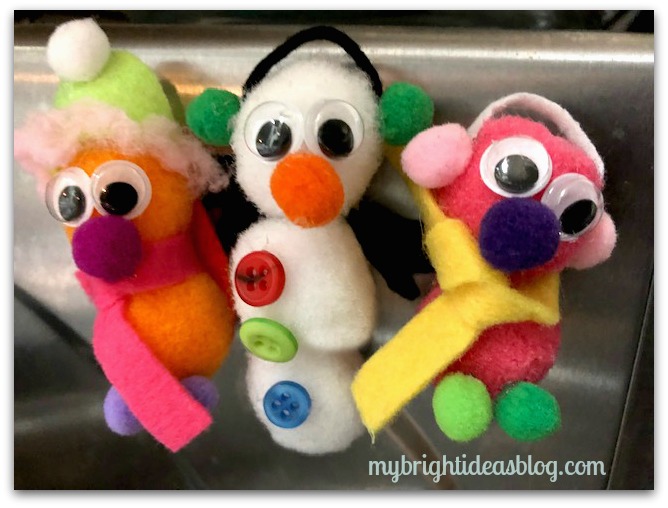
While you have your pompoms handy why not make some other winter friends to go on the fridge. I would like to figure out how to make a little toboggan out of felt.
Check out these other projects that we used pompoms and hot glue!
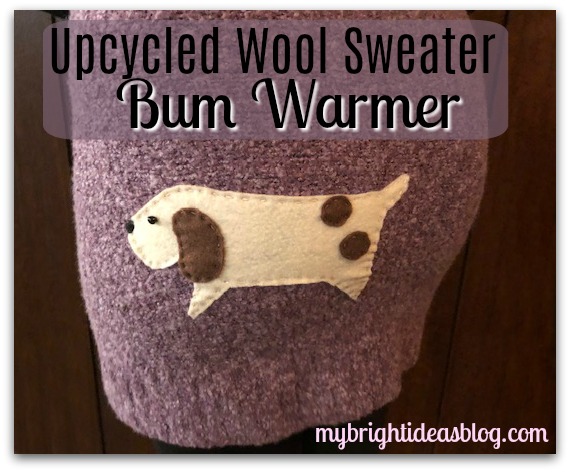
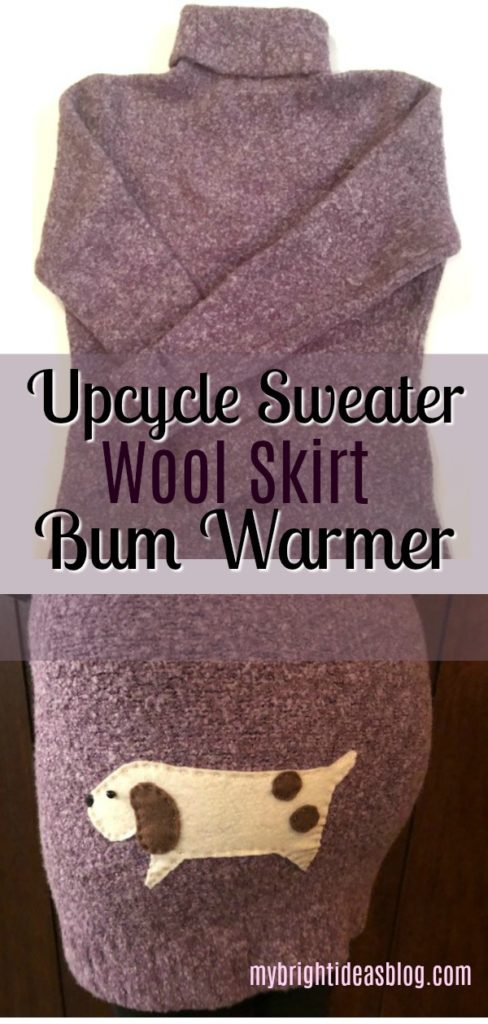
Upcycle Sweater into a Wool Skirt or Bum Warmer for Winter!
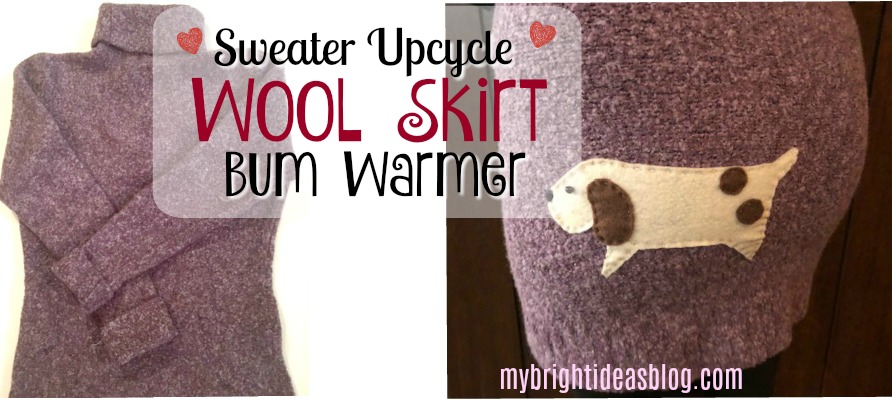
Have you been ice skating or waiting for the bus and felt a cold gust on your behind? Can you get your hands on a wool sweater you don’t mind chopping up for parts? Keep reading and I will tell you how to make an upcycled skirt or BUM WARMER and if you like…put a dog applique on it.
You will need:
- a wool sweater
- scissors
- sewing machine
- elastic
For the optional Dog Applique-you will need:
- embroidery floss (brown, black, cream)
- needle
- felt (cream and brown)
- paper and pencil
- scissors
- 1 black bead (optional, you can do with out a bead and sew a black dot on)

Do you remember the wool sweater above? It’s been upcycled before and now we are cutting it up for more parts! You might already know this but knit sweaters will unravel if you just cut them. So you need a sweater with wool in it. When you wash the sweater in hot water and put it in the dryer it will shrink and “felt”. This prevents it from unravelling. Now we can cut it like it’s fabric.

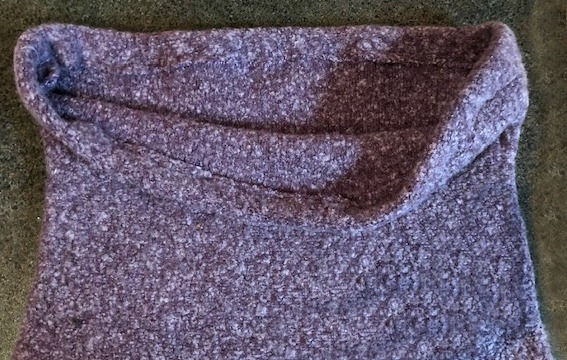
The sleeves are already gone to the dog, now we are going to use the best part! The area below the armpit could be made into so many things! A purse, tea cozy, slippers, mittens, big dog sweater….So many ideas so little time. If you would like to see what we did with the sleeves scroll to the bottom of the post.
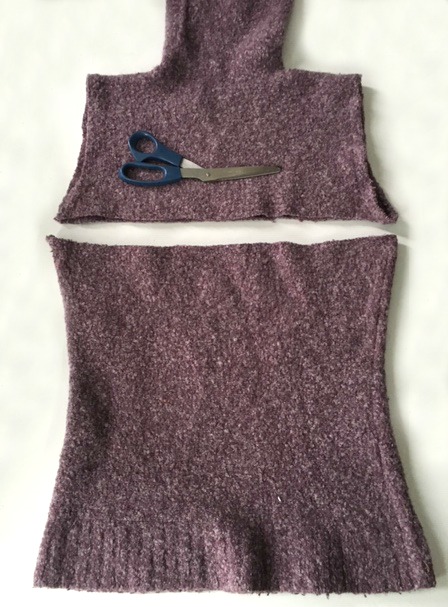
Cut straight across the sweater.
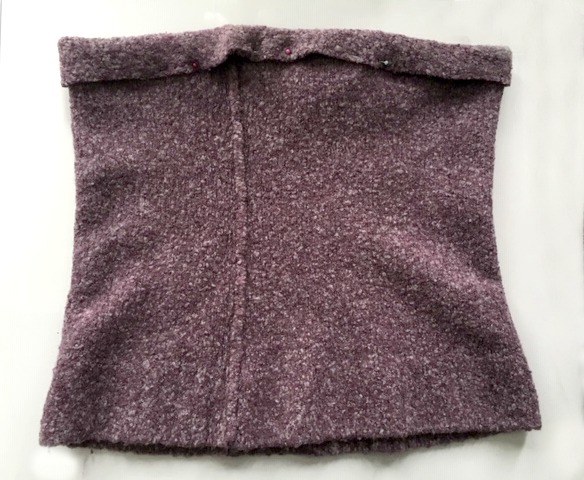
Fold over the top one inch (2 cm), and pin in place.
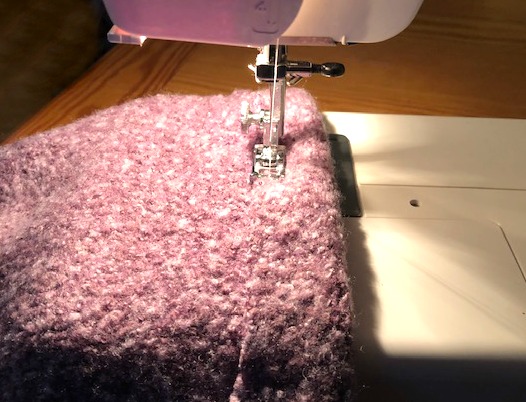
Sew almost all the way around to make a casing. Leave a 1 inch gap to slide the elastic inside.
If you don’t put on the applique and decorate it with felt then slide the elastic in now. However, since I wanted to add something fun to the booty of the bum warmer, I’m going to insert the elastic as the final step.
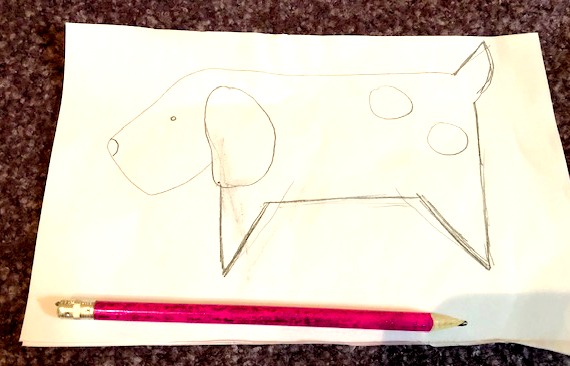
Cut a page in half. Find a photo of what you would like to applique on the bum. I recommend a flower or an animal that is really simple. This dog was found when I searched for dog felt projects or how to draw an easy dog. I tried to copy the simple dog I found.

Pin the page to your felt and cut out the dog applique.
Try on the bum warmer and pin the applique into the area you would like to have it. It can go on the front or the back.
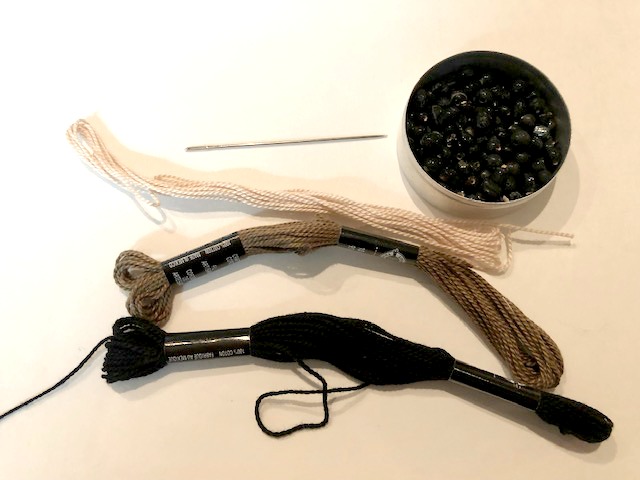
Grab your embroidery floss, needle, scissors and black bead.
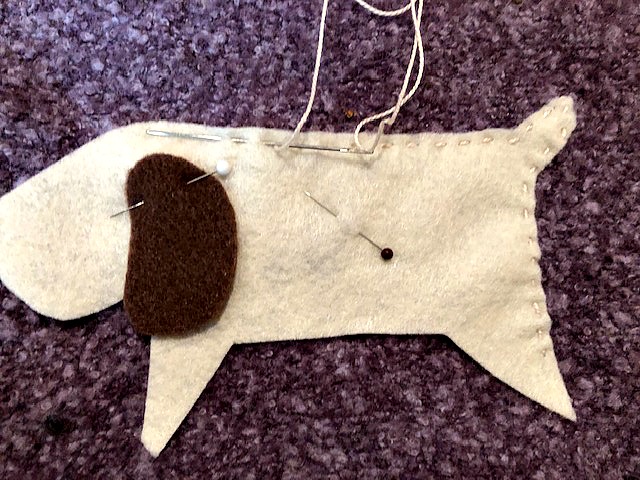
Hand sew the applique on using embroidery floss. I used matching thread but you could make it stand out by using a contrasting thread. I just did a very quick running stitch to attach the dog to the skirt.

Then I added the ear and too spots to his behind.

The last step is to insert your elastic. I like to put a huge pin on the end of the elastic and insert it into the 1-2 inch gap we left. Then wiggle it through the casing. When you get it all the way around the waist area and back to the gap, pin it to the other end. Check to make sure that the elastic didn’t get twisted. Adjust to the desired width. Try the skirt on again and test out the size. If you are happy sew the elastic together and remove the safety pin. Machine sew the casing closed.
This sweater will fit a preteen daughter to an adult XL woman. As long as the elastic is comfortable, the wool will stretch with your size. I could have tightened the elastic and made it a skirt for my 8 year old too. If you find its getting a bit stretched out just wash it again. Use warm water instead of hot and warm dryer so it doesn’t shrink too much.
Make Hand Warmers or Ice Packs
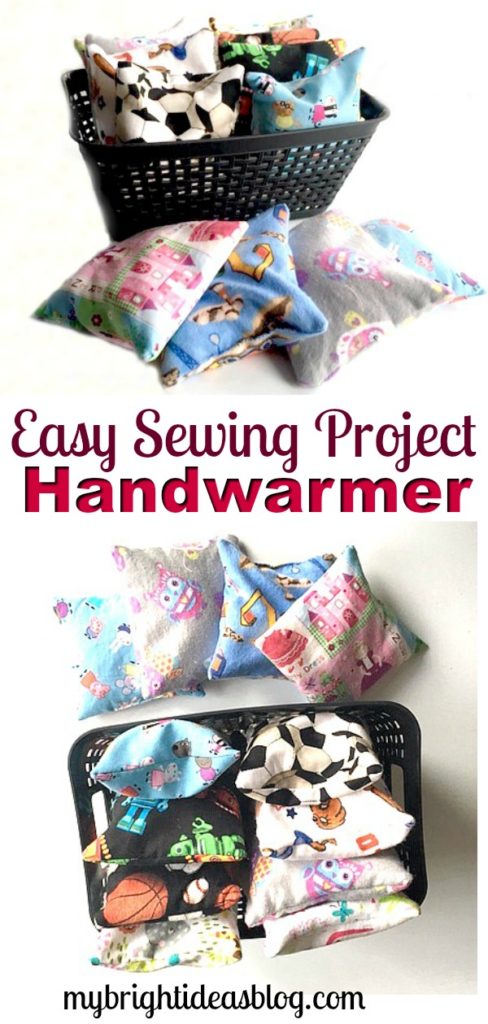
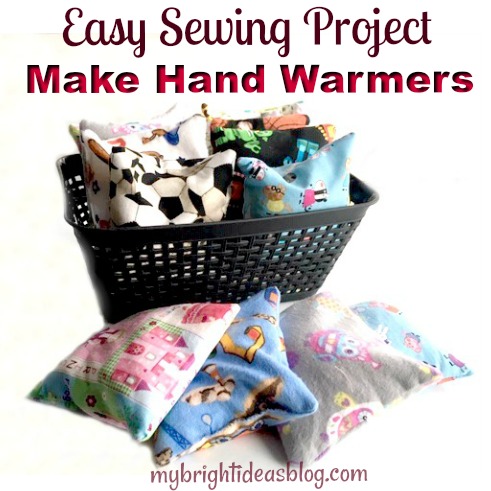
Easy to Make Hand Warmers or Ice Packs
Last year I tried my hand at making a long soothing lavender/rice pack and I LOVED IT! Perfect for sore muscles, tense shoulders or out of the freezer when you need a cold pack. (Link Below)
When summer came I thought how nice it would be to have an ice pack when you hurt yourself. So I put the rice/lavender pack into a Ziploc bag and left it in the freezer to cool. Since its winter, and cold, I’m posting this time a smaller one to warm up your mittens or socks.
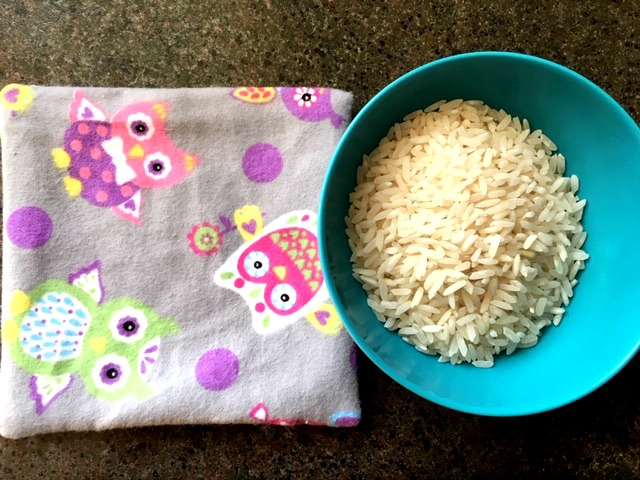
What you will need:
- cotton fabric scraps
- scissors
- sewing machine
- needle and thread
- uncooked white rice
- lavender (optional)
- essential oils-lavender, peppermint, citrus etc (optional)
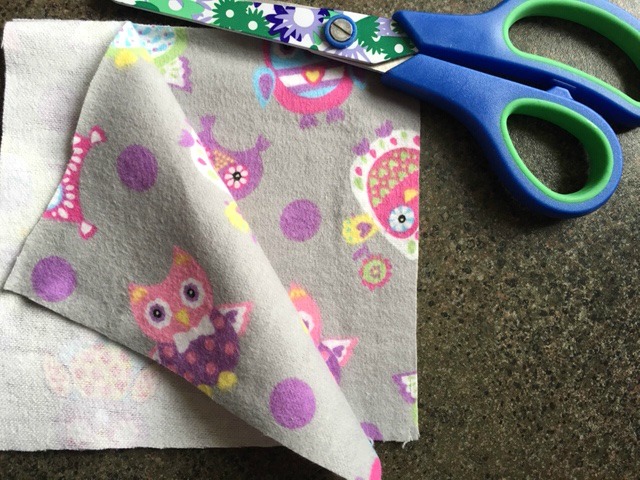
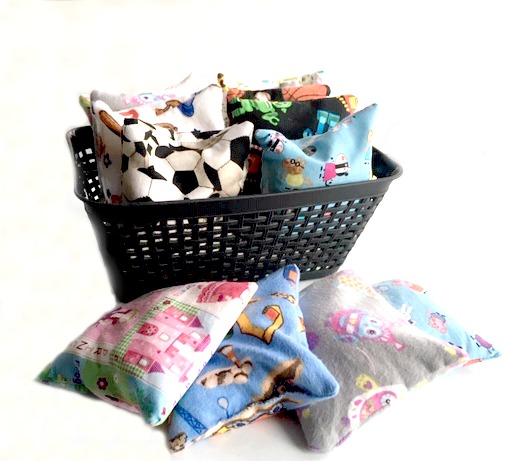
Cut fabric to the size. 3 x 3, 4 x 4 or 5 x 5inches. (I chose to make mine 5×5)
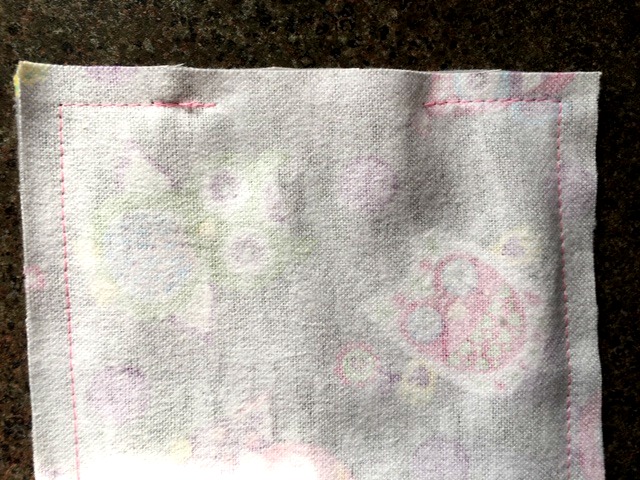
Sew all the way around the fabric leaving a 2 inch gap.
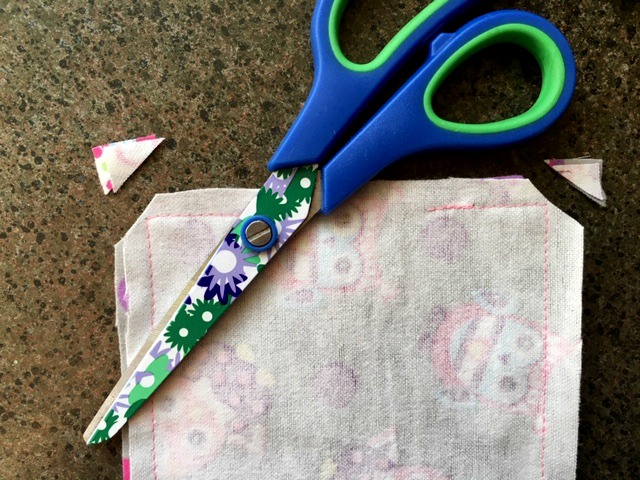
Trim the corners off.
Turn the square inside out by pulling it through the 2 inch gap.
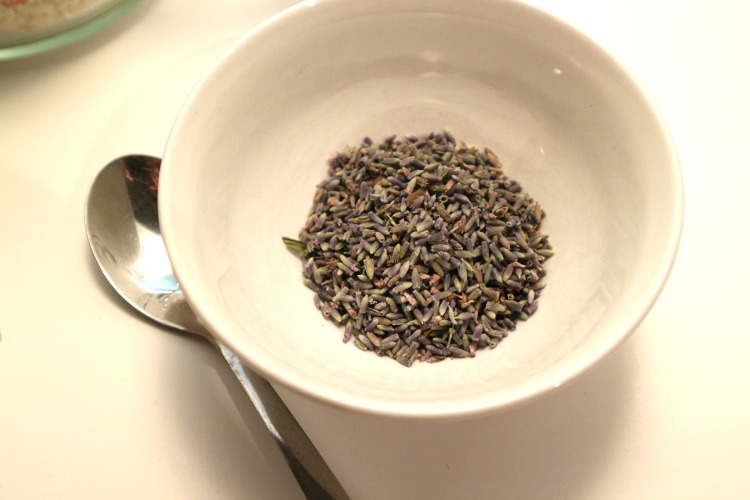
If you like the smell of lavender add a pinch to the uncooked rice. When it is warmed in the microwave the lavender smell will get stronger.
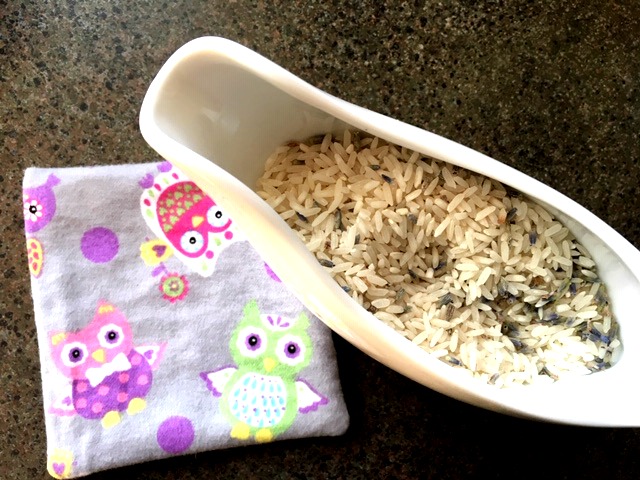
I used my gravy boat to help pour the rice and lavender into the hole.

Fill the square fairly full but not rock hard. Fold over the edge and sew the 2 inch seam closed with a needle and thread.
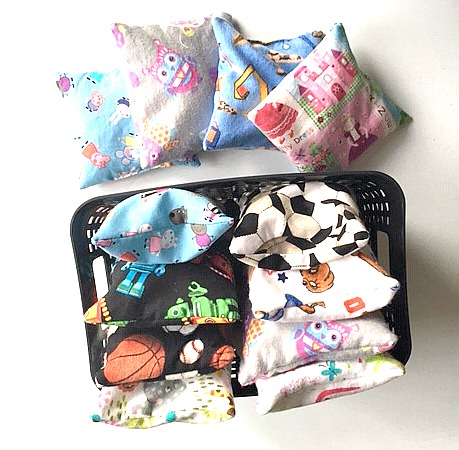
To keep it away from my ice cubes I keep the rice packs in a ziplock bag in the freezer for ouchies.
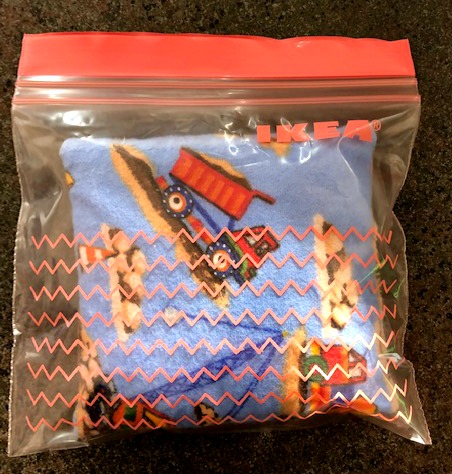
As a warm pack I still store them in ziplock bags while not in use. Microwave for 30 seconds each and hold onto it or pop into your mittens to warm up you hands.
Easy to Make Fleece Hat with Flowers – Simple Sewing Project
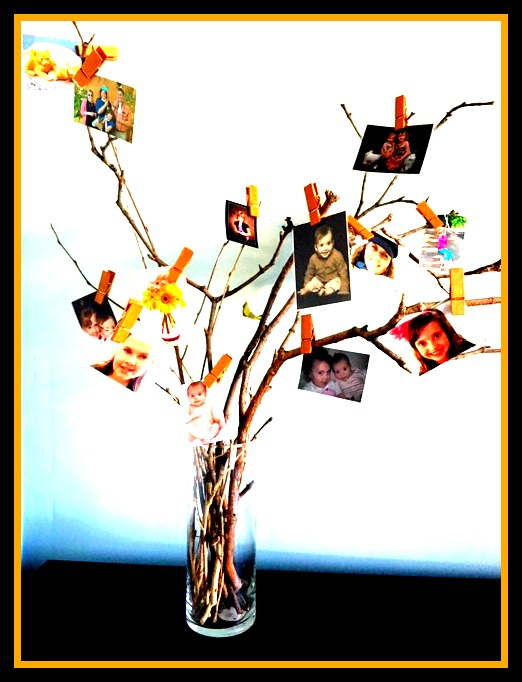
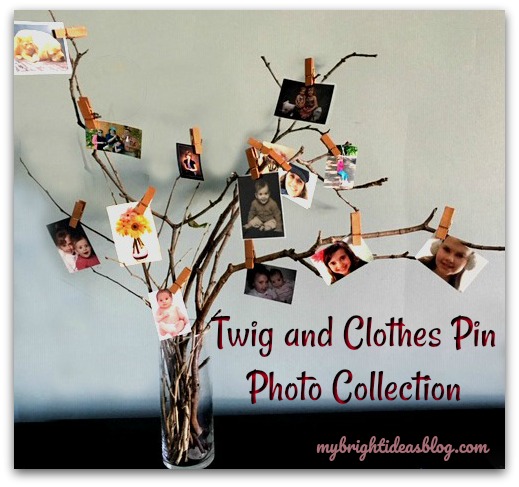
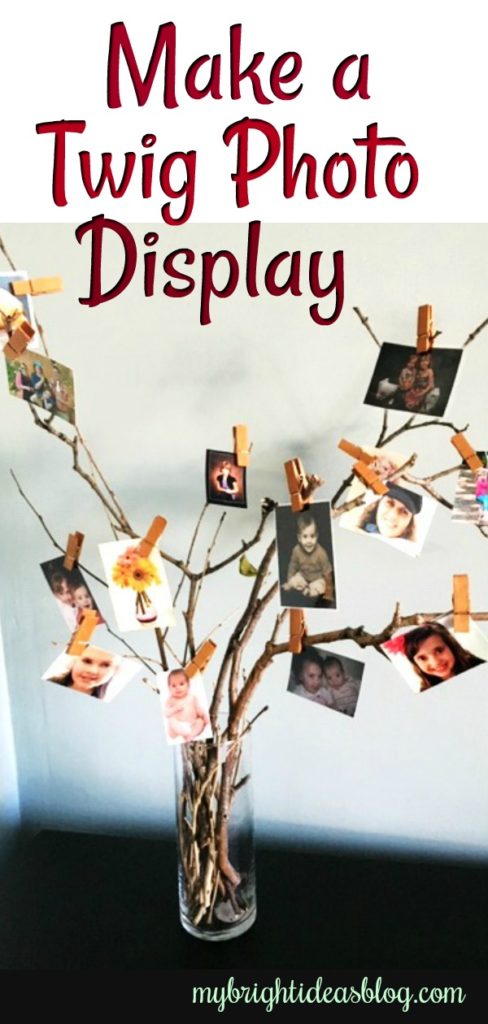
Make a Twig Photo Display
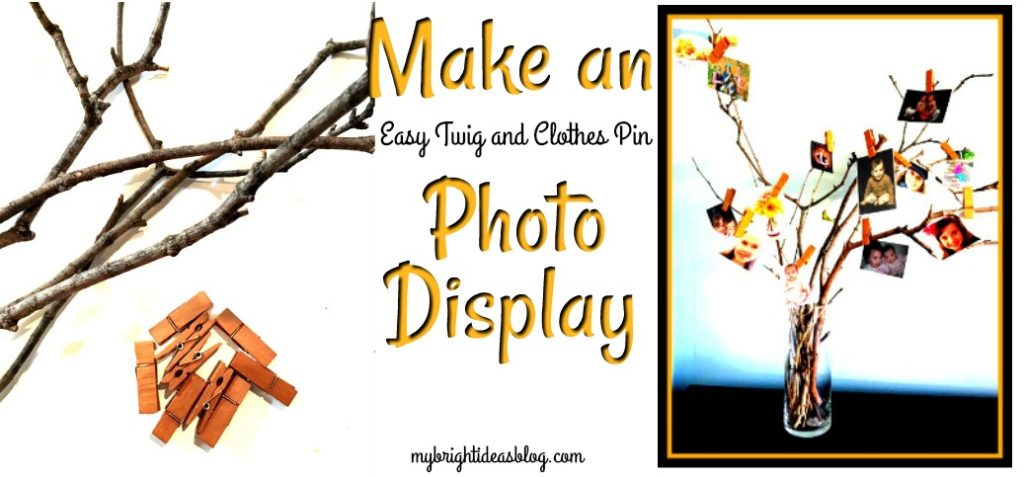
This is such an easy way to set up a quick photo display. It uses things you will already have at home.
I know this is my 4th twig project in the last 3 months but its such a fast, free and rustic product to work with. I have a particular tree that sheds sticks every time the wind blows. My last next door neighbour hated this tree. It made a sweet neighbour very bitter as it would litter those branches and bark all over their lawn too. She would say…that is a messy, messy tree!
What could I do but agree…..and make a craft with it! You know what they say….when life gives you lemons make lemonade.
You will need:
- a vase
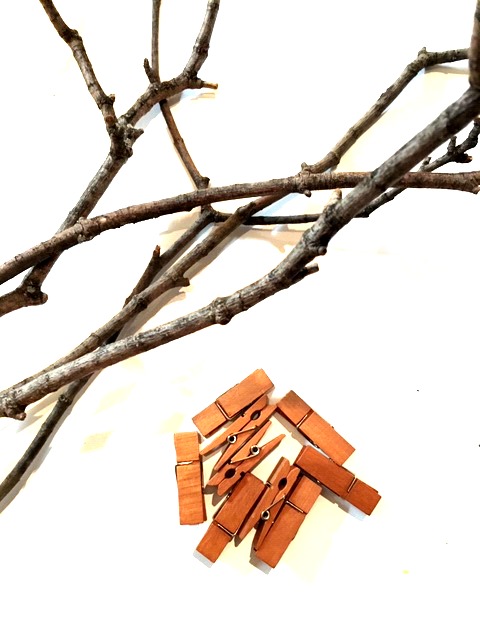
- sticks
- small photos
- clothes pegs
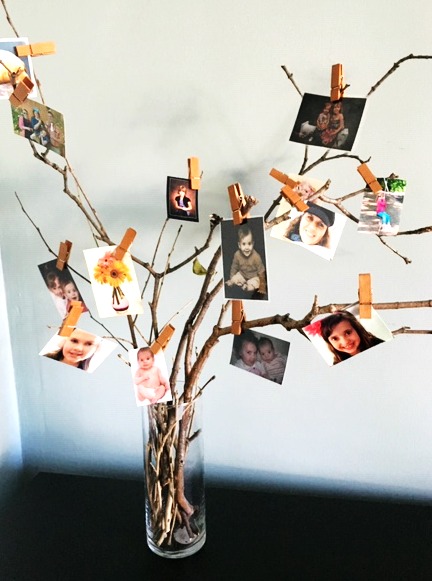
These clothes pins are from the craft store. They are a shorter version of a classic clothes pin with a coat of an orange stain. If you use regular clothes pins you could spray paint them or decorate the clothes pins to make them a little fancier.
Usually my posts are tutorials showing you how to do a project step by step. But I imagine most people can figure out that you put the sticks into the vase, clip the photos onto the sticks. Done.
If you have an open space on a table top-that looks bare, this could be a perfect solution.
Thank you for taking a moment to pause by my twig-projects-filled blog! I hope you will check out the other posts I have done with twigs…or sewing…or…photo frames…
See you again soon!

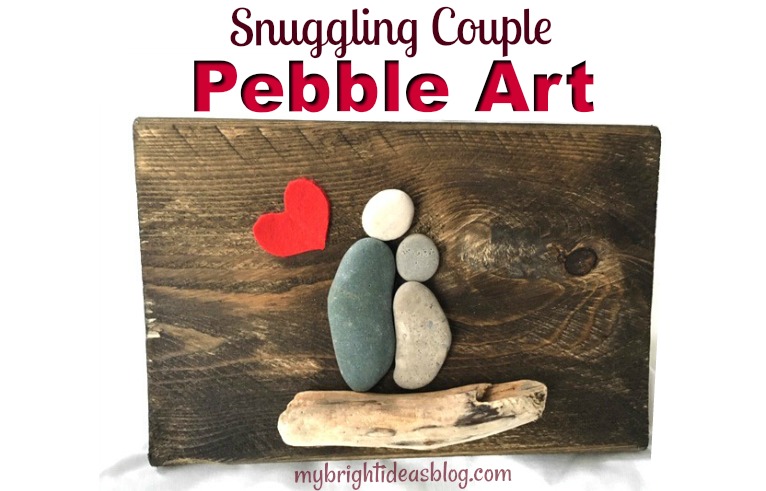
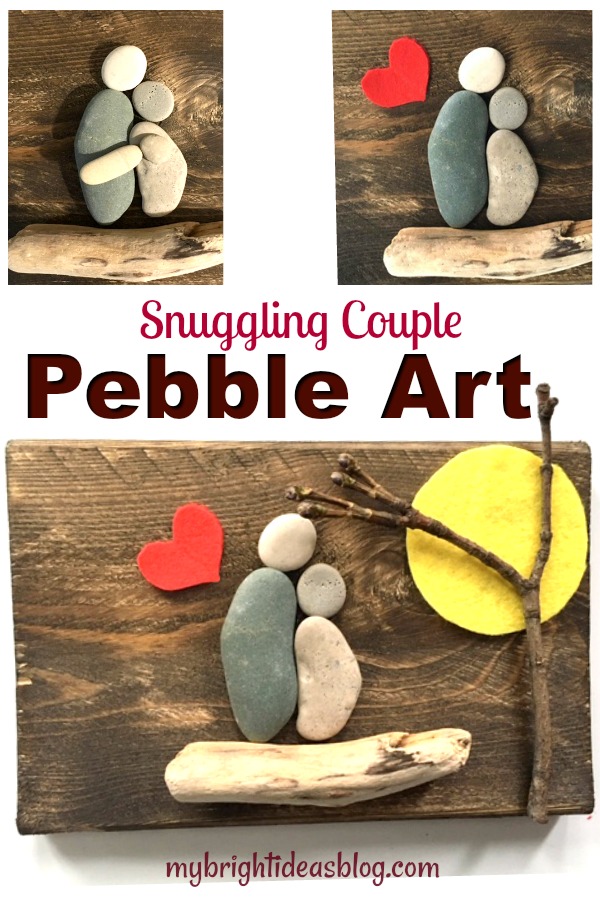
Pebble Art – A Snuggling Couple
I got a nice collection of flat rocks when the weather was warmer. When you start becoming a beach pebble collector its hard to stop. Even now, although its freezing rain I still would love to escape to the beach…an hour drive away…to look for my favorite shapes of stones (hearts, ovals, circles). So I’ve stained a few small boards to turn them into Pebble Art.
I’ll show you what I made this time….
What you will need:
- 2 long pebbles
- 2 round pebbles
- small piece of drift wood
- red and yellow felt
- a twig
- a scrap of stained board or a plain canvas
- hot glue gun or E6000 glue
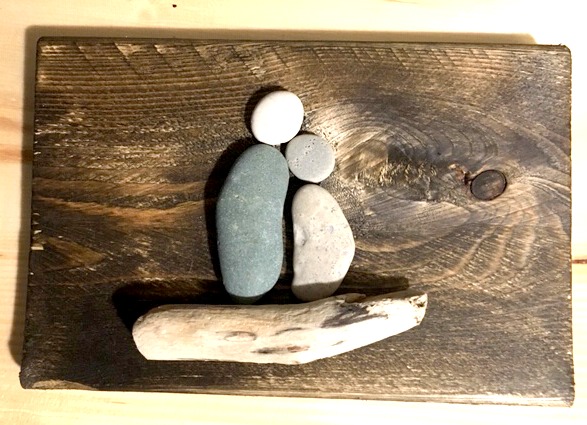
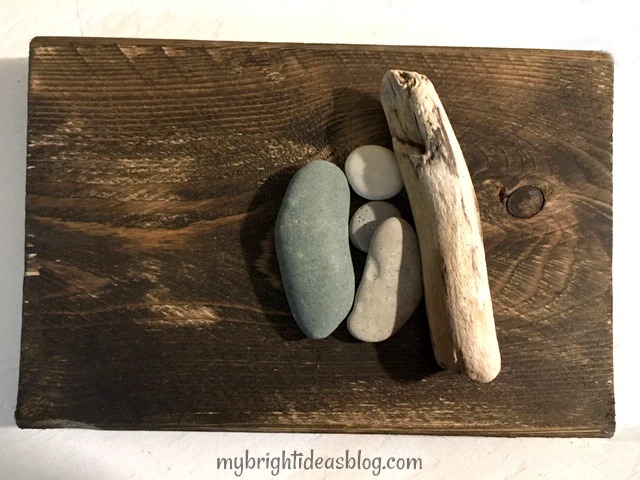
These two long rocks fit together perfectly for the bodies. Two round stones on top for the heads. A small piece of driftwood for them to sit on. Glue everything in place. You can stop with just these natural items or keep going to add some colour.
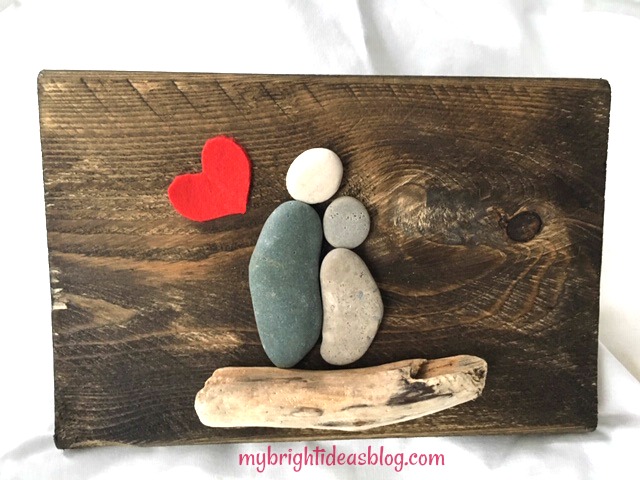
Here I took an inch of red felt and folded it in half and cut the shape of half a heart. I find this is the best way to get your heart shape. If I try to cut it freehand it turns out lopsided.
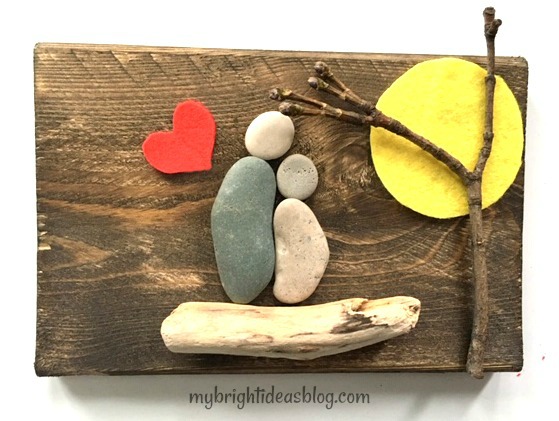
Trace a tin can from your pantry to make a felt round sun. Put a twig on the side and now its done.
Now it’s a couple having a snuggle at the beach, watching the sunset. Although, my 8 year old would like it to be a mother and daughter. Awe she is snuggler. I better make her one for her room!
Thanks for reading another one of my easy crafts….Have a look below for links to some of my other “Pebble Art” projects.
…
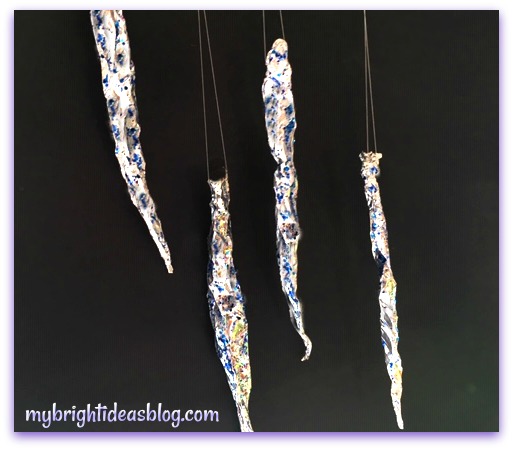
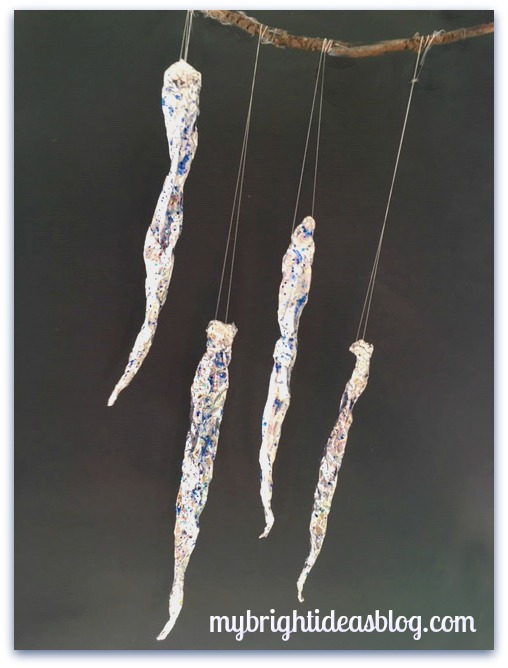
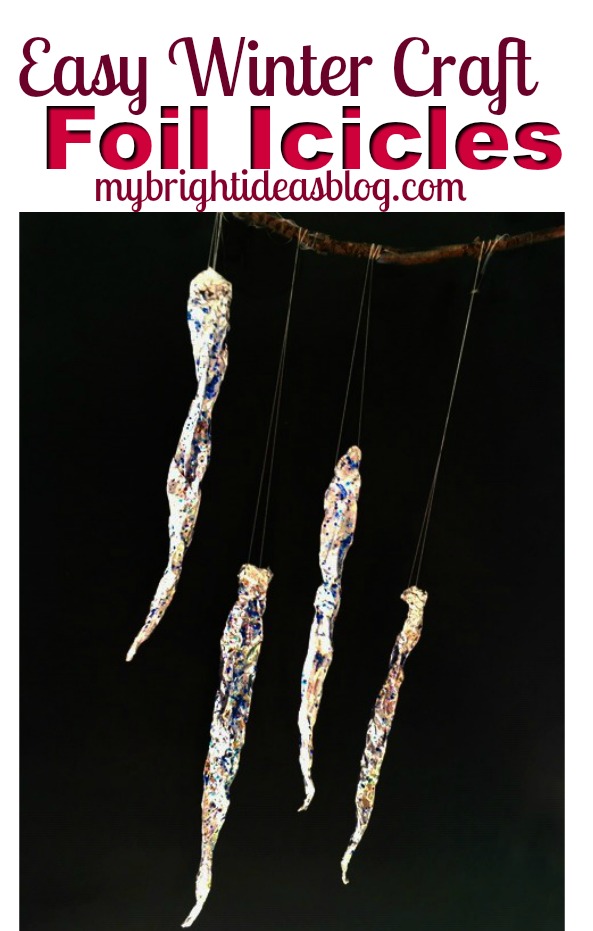
Tin Foil Icicles – Super Easy Winter Craft!
Easy Winter Crafts – Make Glitter Tin Foil Icicles
 Making sparkly icicles is a great winter craft for kids of all ages! You probably already have the supplies you need to make them.
You will need:
- tin foil
- glue and glitter or combined glitter-glue
- needle and thread
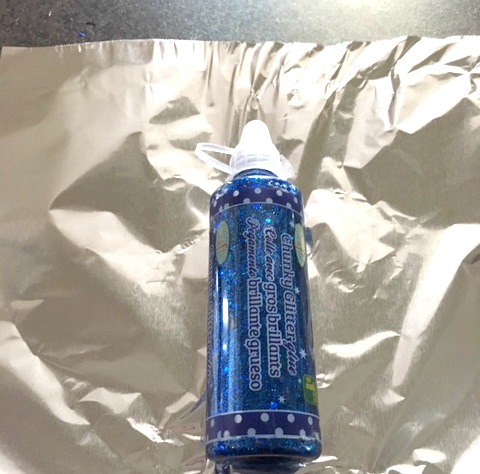
I love when things sparkle but I don’t like it when crafts trickle out a trail of glitter on everything that touches it. So my solution is to use glitter glue that is already mixed together.
The alternative is to spread glue all over the project and then sprinkle loose glitter on top. It’s messy but has great coverage.
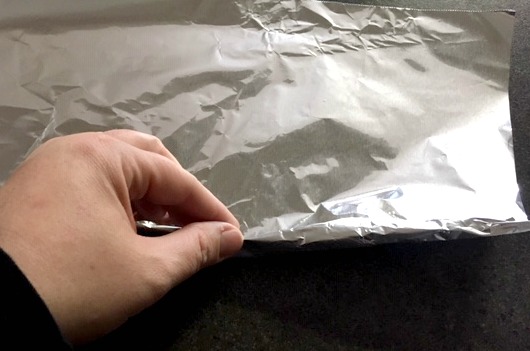
Start with the tin foil. Cut the foil 6 inches wide. Begin to roll the foil pinching one end as you roll it.
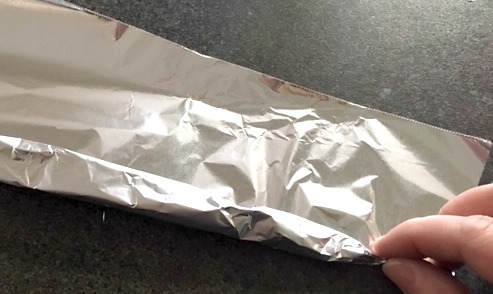
Keep rolling and scrunching as you go. Loose and wide on one end, tight on the end that will come to a point.
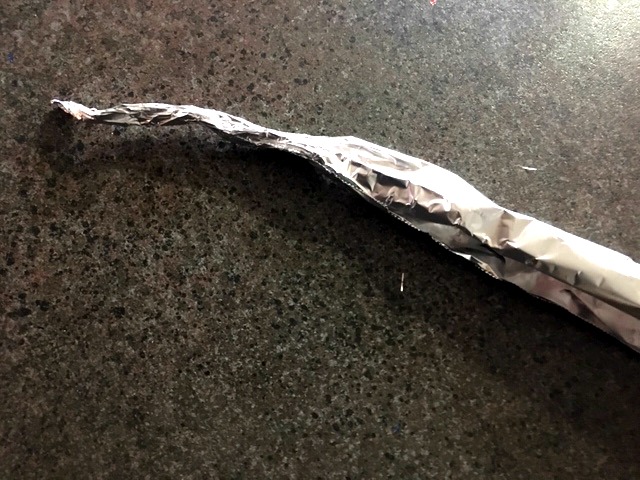
I should find more crafts that involve tin foil. It always helps the craft really stand out!
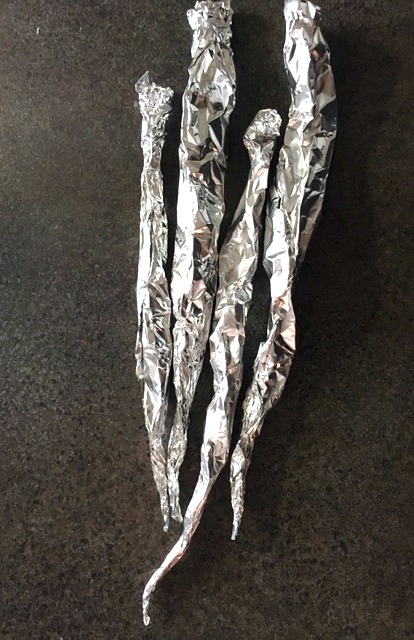
Make a bunch of tin foil icicles. Place them on a piece of paper towel.
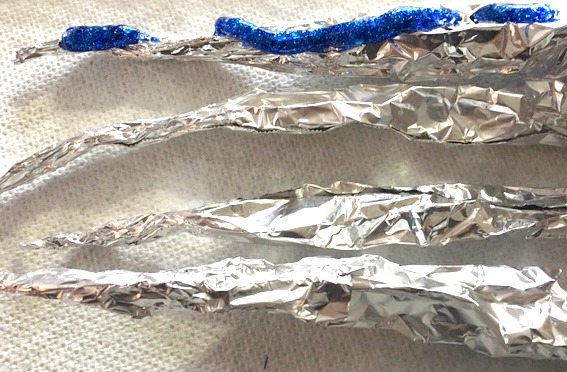
Squeeze out the glitter glue onto the foil icicles.
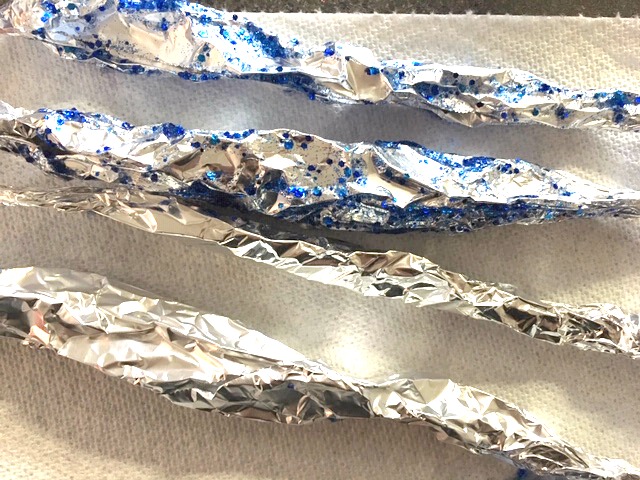
Take a piece of paper towel (or use your fingers if you don’t mind getting sticky) and smear that glitter glue all up and down the icicle.
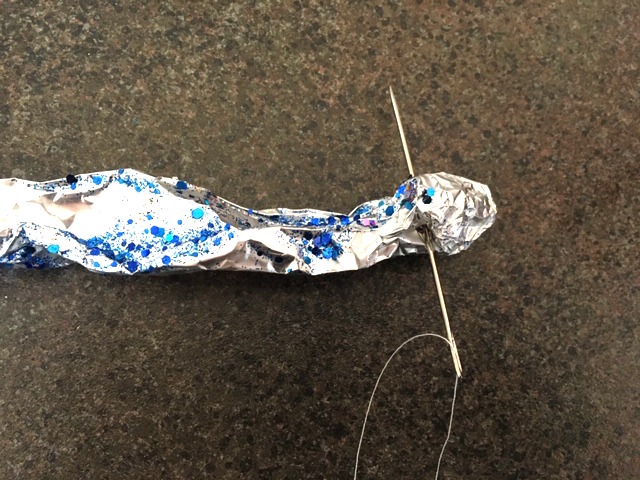
Take an arm’s length of thread and thread your biggest needle. Do not knot it. Push the needle through the tin foil.

Pull the ends of the thread together and tie a knot.
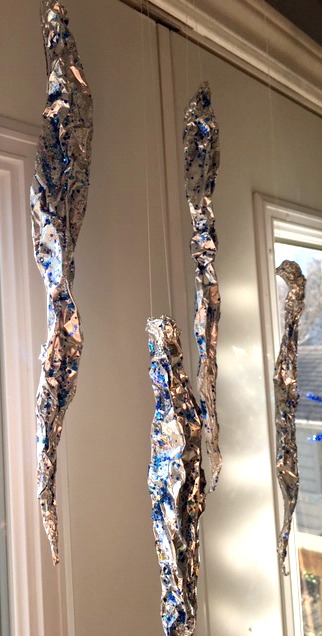
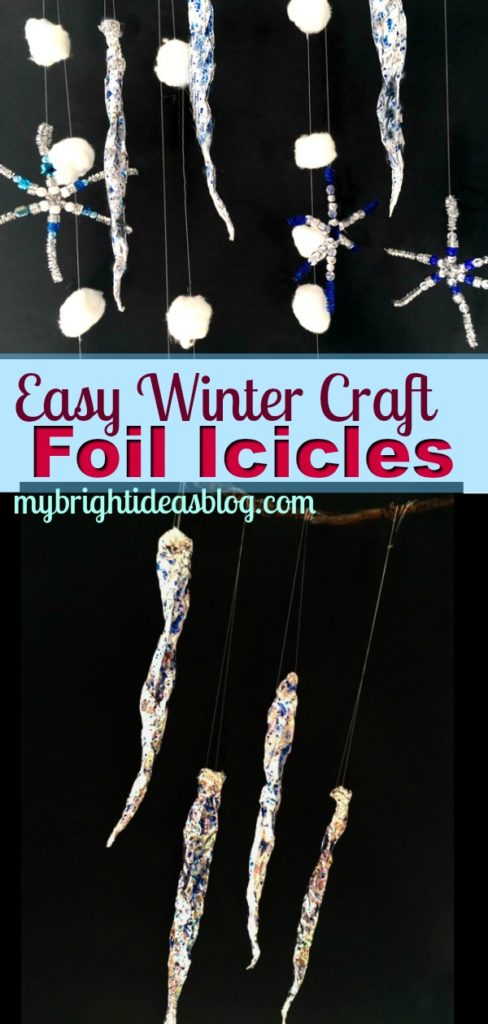
Tie onto a curtain rod or tape to the window trim. Or as below you can tape it to a twig or stick and hang it from a huge vase. When the sun hits it there is an amazing sparkly effect reflected everywhere because of the crinkles in the tinfoil and the sparkles.
Have a look at some other winter crafts we have done.
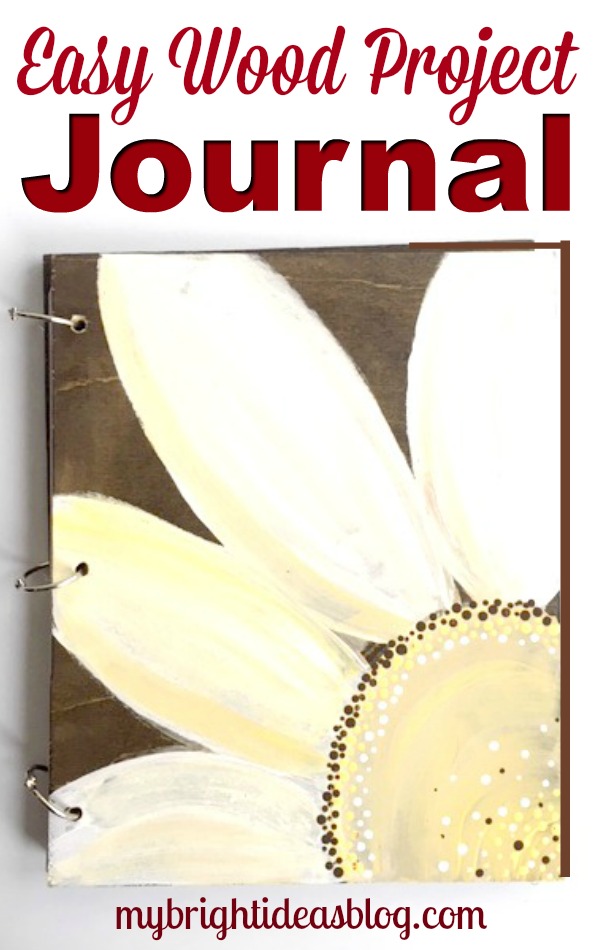
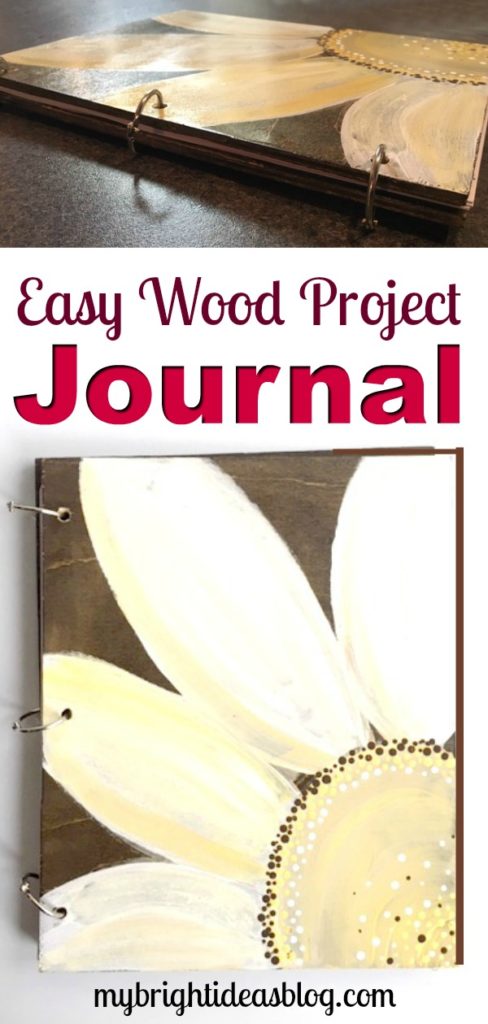
Make a Wooden Book – Original Journal Gift Idea!
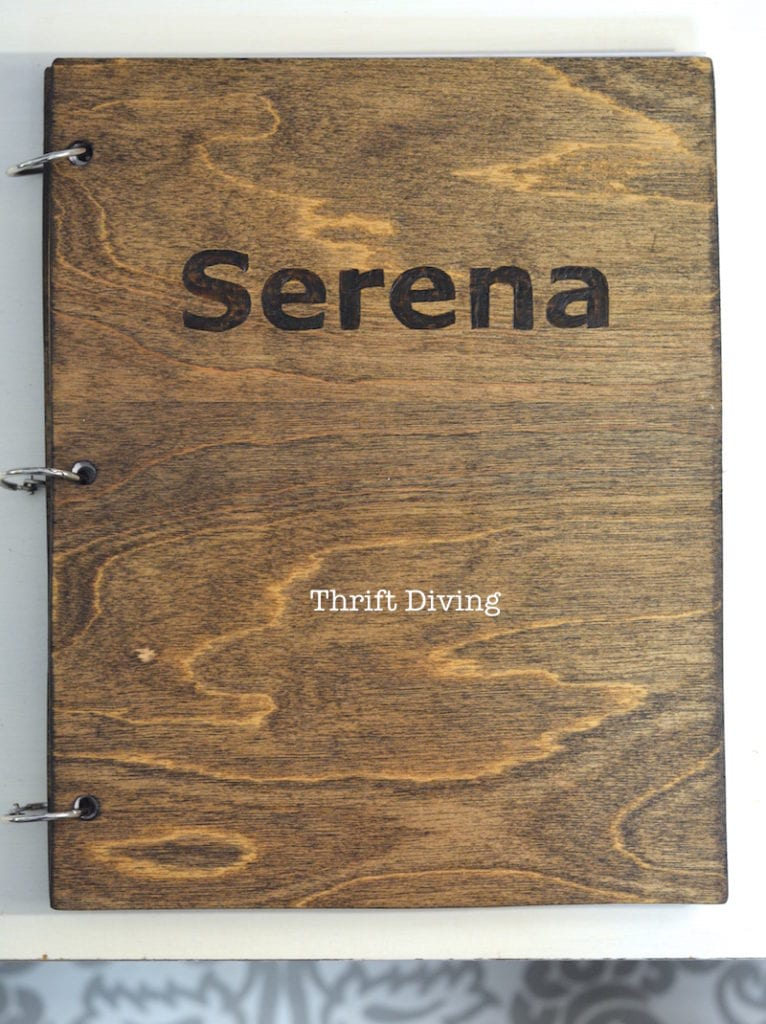
Have you ever thought of making a journal with a wooden cover? I hadn’t until I stumbled across this on Pinterest….from ThriftDiving.com….
….it kept coming back to my mind that this is my woodworking skill level. I really should try this!
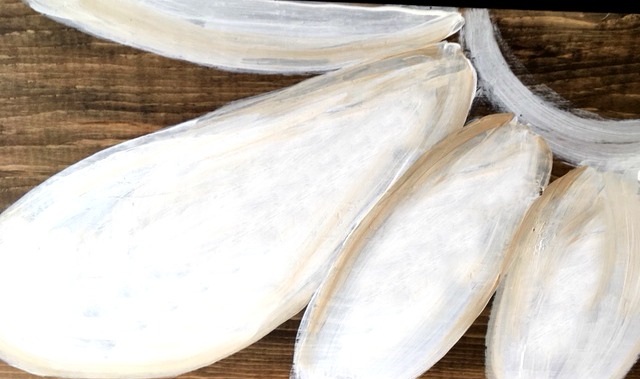
I’m really happy with how it turned out. Rather than wood burning like Serena did. I hand painted a daisy on mine.
You will need:
- 1/4 inch birch plywood
- drill and 5/16″ drill bit
- fine sandpaper
- stain and rag
- craft paint – yellow, white, brown
- clear coat varnish and brush
- binder clips
- computer paper
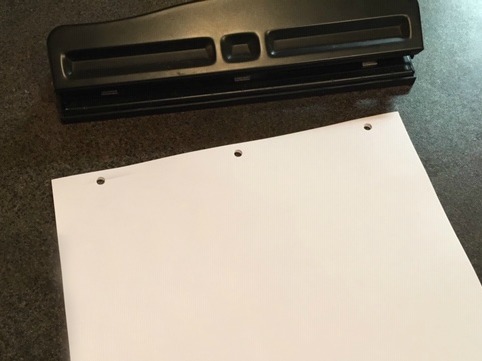
- 3 hole punch
The thin birch plywood comes as a large piece that needs to be cut down. I don’t have a table saw-so I had the wood cut for me at Home Depot.
Each cover needs to be approximately 9″ x 11″. So do the math and try to get the most out of your wood board. Each book needs a front and a back cover. I was able to get 6 pieces from mine to make up 3 books and there is enough left over to make at least one more.
I stained the board and then drilled the holes. Next time I would drill the holes first and then stain the wood.

The cuts may cause some fraying of the thin birch veneer, don’t panic! Sand the rough parts smooth-the stain will also hide flaws. I used my favorite color Jacobean from MinWax.
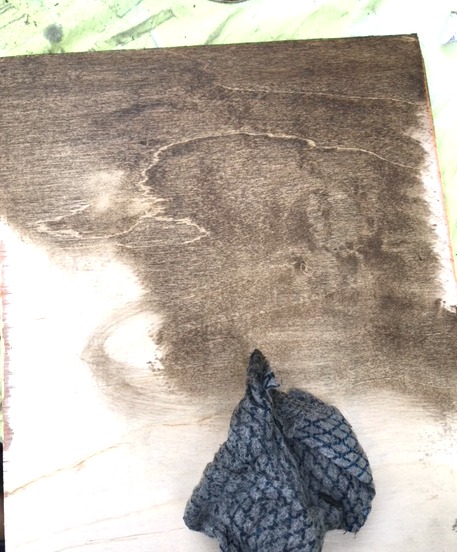
Using a rag, rub the stain into both sides of the boards. It’s quite a dark stain so I don’t use much and start light and work at slowly going darker. Allow the stain to dry overnight.
As I mentioned above, it would be sensible to drill the holes before staining. Doing it afterwards can mean you’ll do some touch ups with stain afterward.
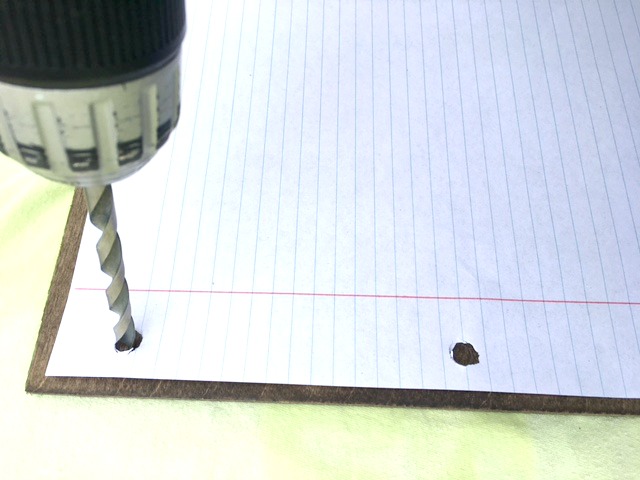
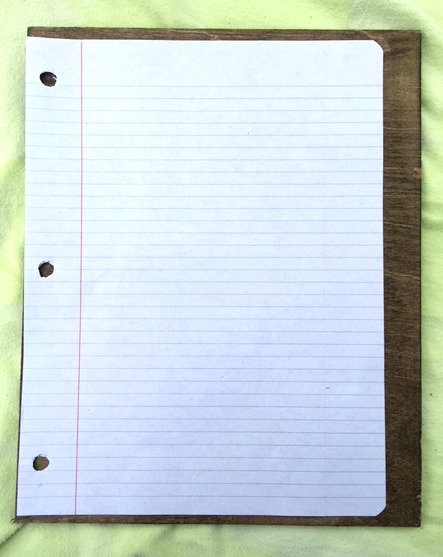
Use a page with holes as a template. Mark the hole with a pencil first.
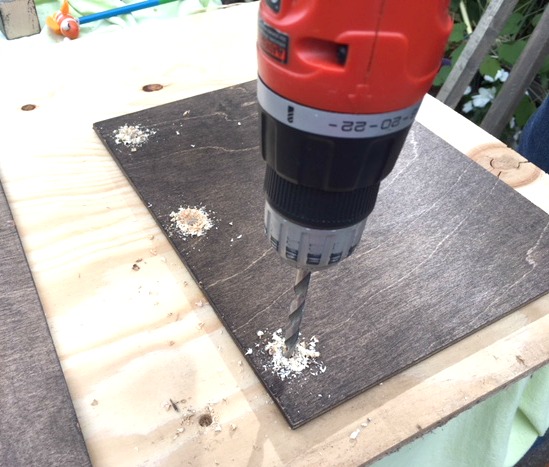
Place a scrap board under the journal cover before drilling. The journal cover will be damaged if you drill without scrap wood underneath…do don’t skip this step.
For the second piece of birch you could set it right on top and drill through both book covers to make sure they are matched up perfectly.
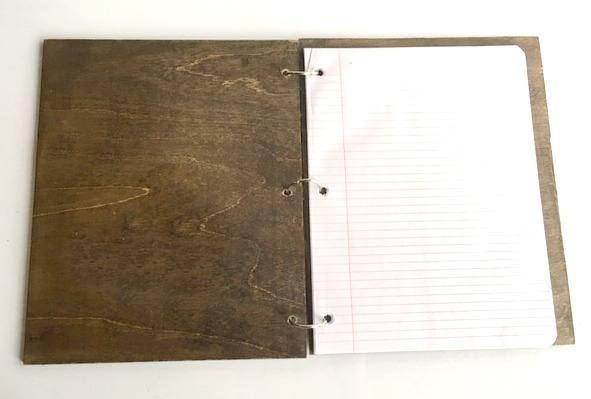
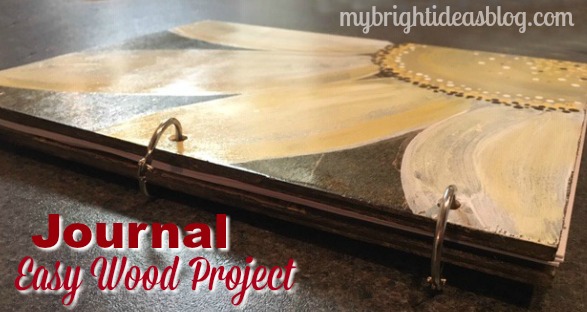
Put in the binder rings and see how it fits. Everything fits perfectly. So take the top cover back off and prepare to personalize and decorate the cover.
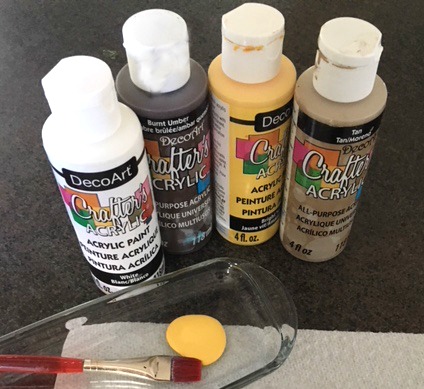
Using inexpensive craft acrylic paint, I painted the daisy on in white. Then I added some highlights with tan and yellow paints.
I used this exact same daisy idea on long boards for ways to use up scrap wood. I’ll include the link at the bottom of this post.
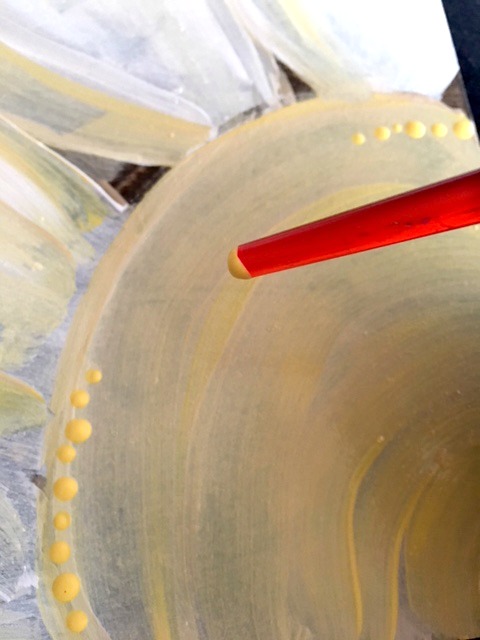
The last step is to turn the paintbrush upside down and dip it into the paint. I added rows of dots all around the edge of the daisy’s centre and some random ones in the middle.
Again allow to fully dry.
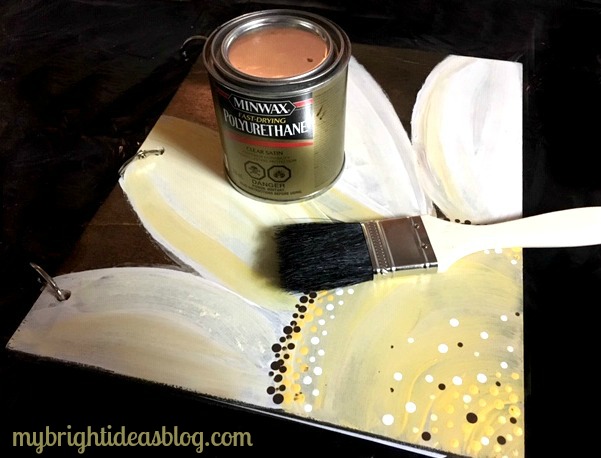
Put a coat of clear polyurethane for extra durability. Allow to fully dry overnight.
You can use lined paper or computer paper and punch the holes in it yourself. I like blank pages if you are going to give it as a gift. It looks like a sketchbook and how great would it be to sketch with a book with a wooden cover!

Thanks for reading this post! I hope you will share it or save it on Pinterest. See below for more easy woodworking ideas.