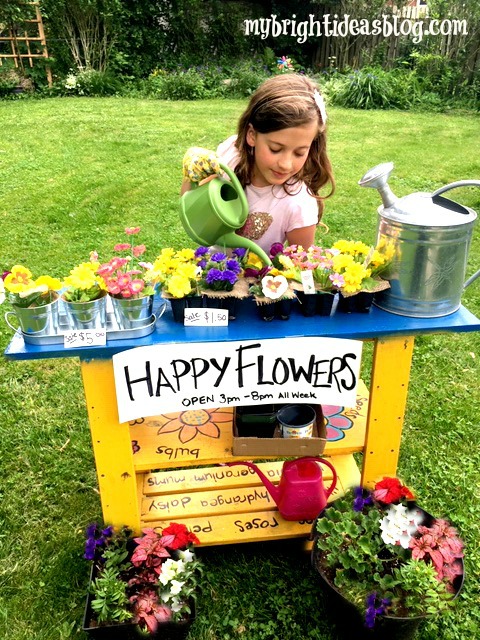
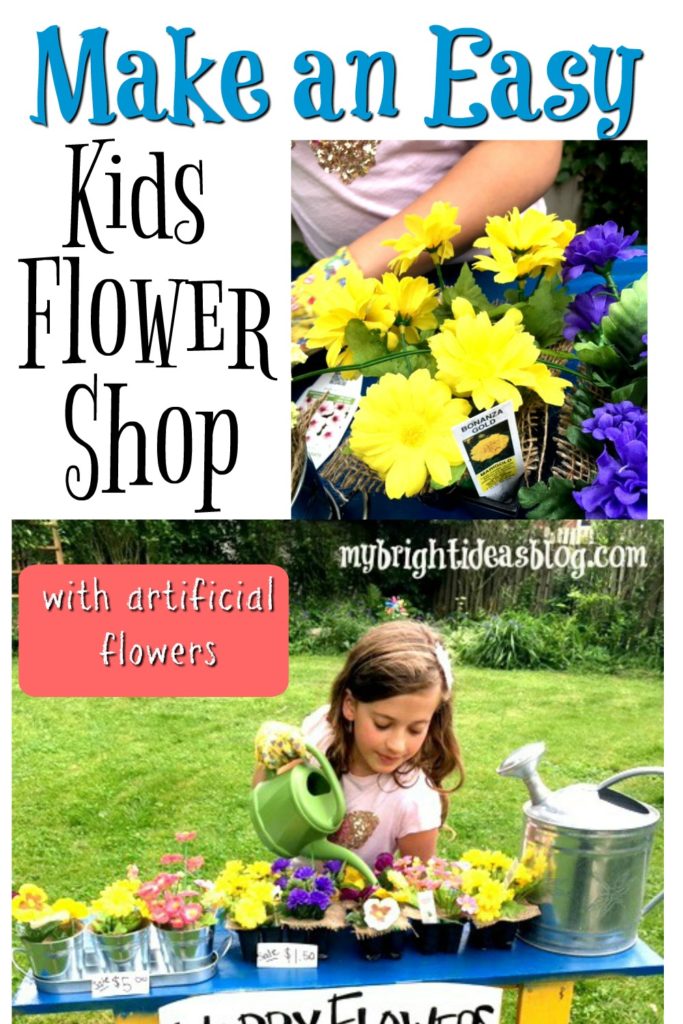
Watching my girls play in the backyard from my kitchen window sparked a great idea this week! Create a garden centre or flower shop for the kids. Using artificial flowers from the dollar store and a few other gardening things we can create a little centre for themselves. You can use real flowers too but this set up should last me a few years!
Several years ago I made a potting table out of a simple wooden shelf I wasn’t using anymore. Click on the link below to see how that was created.
Next we need some flowers! I went to the dollar store for a few bunches of flowers that looked like something I actually have in my garden.

For this project you will need:
- several bunches of artificial flowers
- empty plant containers
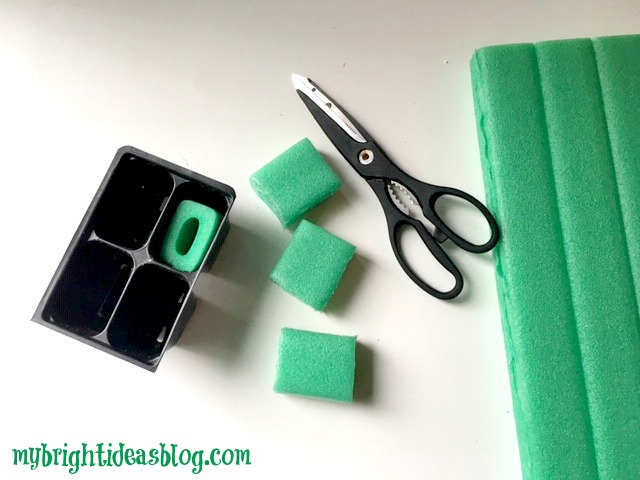
- foam knee pad or pool noodle
- scissors
- wire cutter snips
- burlap (optional)
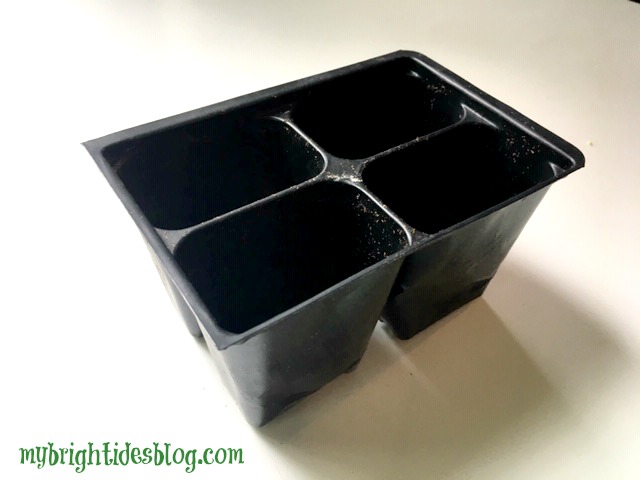
These are called 4 cell planter trays but you can use other sizes.
Every year the girls don’t want me to throw out the plastic containers that come with the little flower and vegetable plants we buy at the garden centre. They want all the little tags that come with them too so they imagine they are selling the flowers. After seeing them rearrange the empty containers imagining they had flowers in them-I thought why not get some dollar store fake flowers and make it more realistic for them.
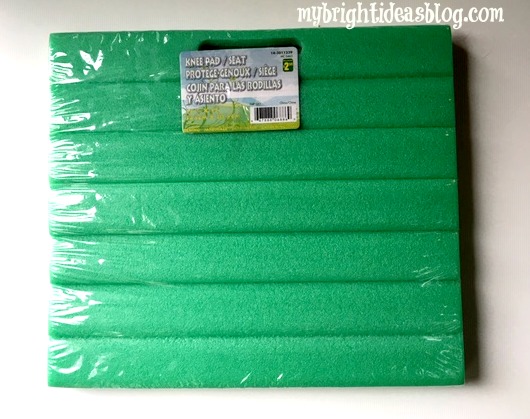 As I wandered around the dollar store I considered how I could get the flowers to stand up in the plant trays. I came up with this! A foam knee pad/seat pad.
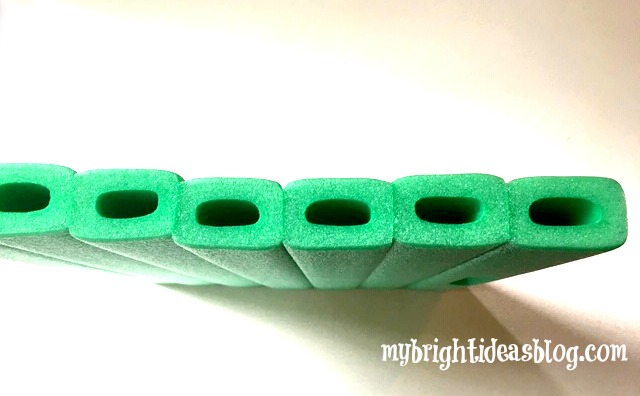
It’s similar to a pool noodle but I thought this size would fit really well into my plant trays and I was right!
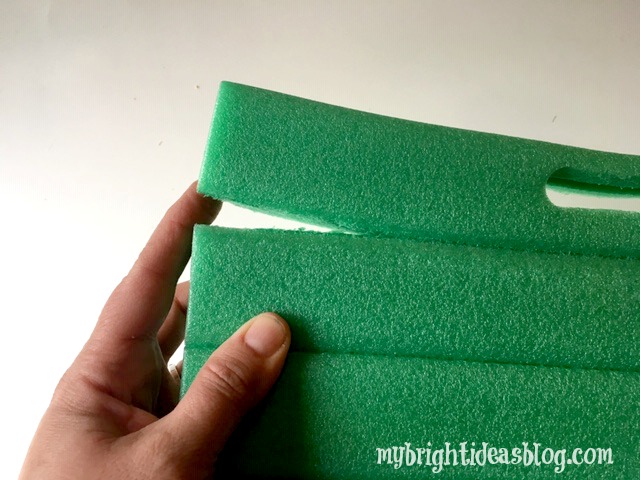
First of all, pull the sections of foam apart.
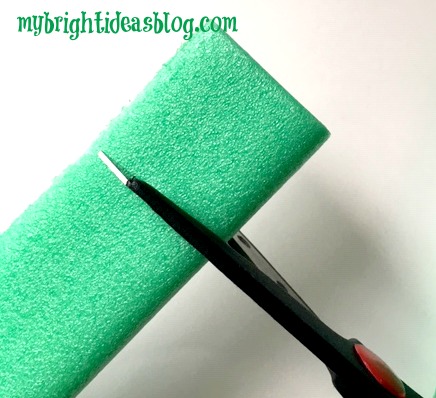
Then get your scissors and snip it 1 and 1/2 inches or 3cm long.
Test out the height and cut some more.
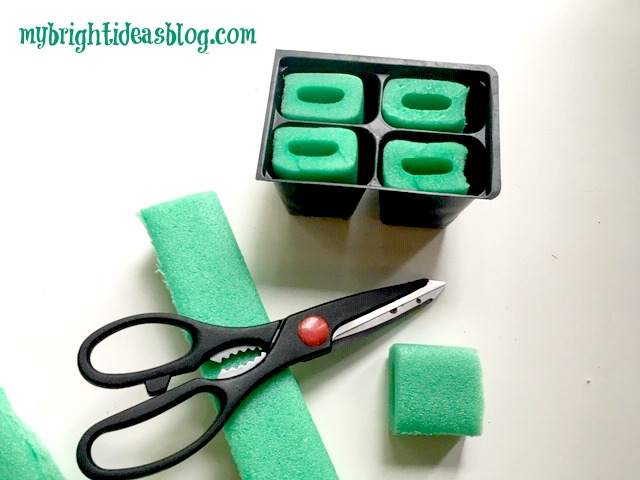
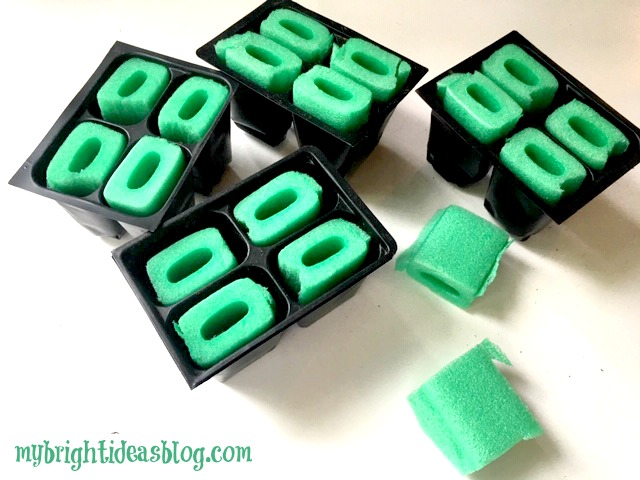
This is so easy. Just keep cutting off more. I wanted to give the at least 5 of these for their store. I might make even more…
Now for the flowers!
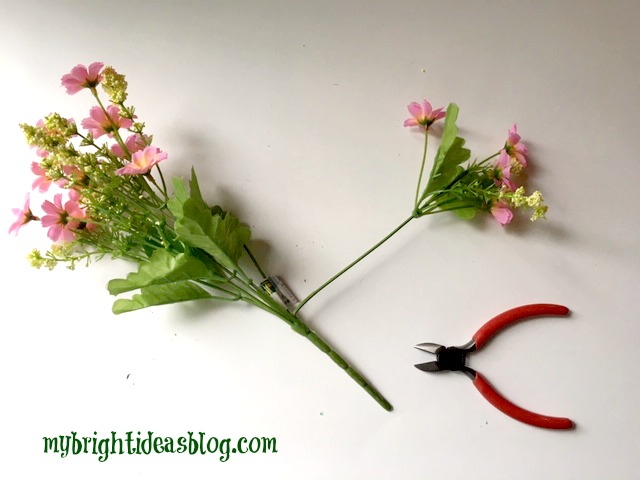
I started by bending out the branch of the flowers.
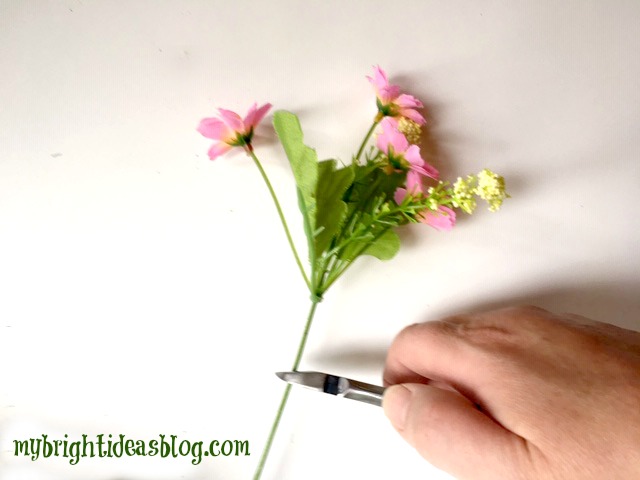
Snip it off several inches below the flowers. If you cut it too long, you can always bend the ends. I would rather they are too long than too short so the girls could make a little bouquet later or use them for something else.
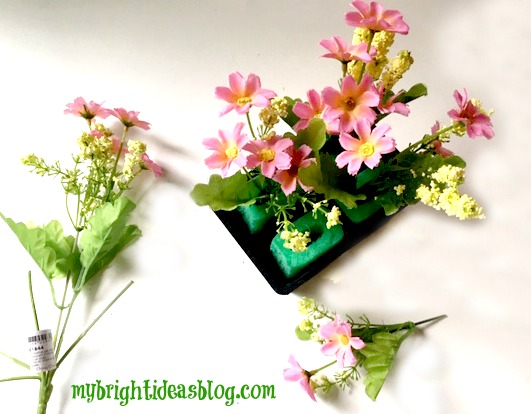
Now test it in the container and see how it looks.

This looked pretty good but I thought since I have a huge scrap of burlap waiting to be used. Why not add burlap to the top.
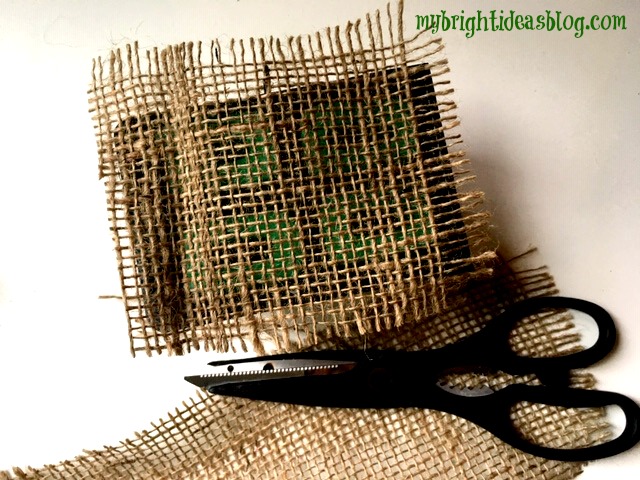
Cut that to size. It doesn’t have to be perfect.
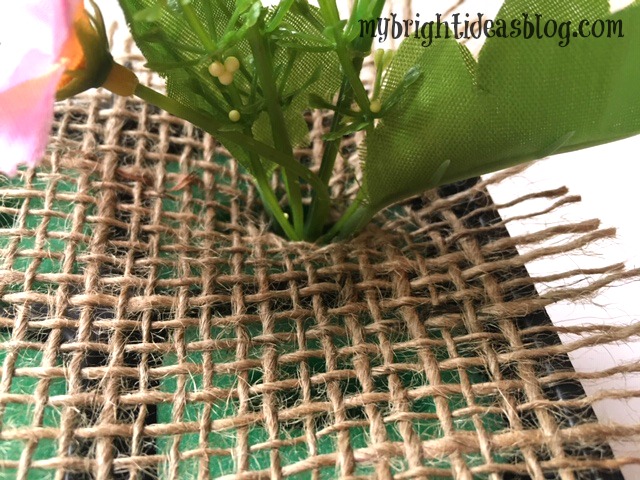
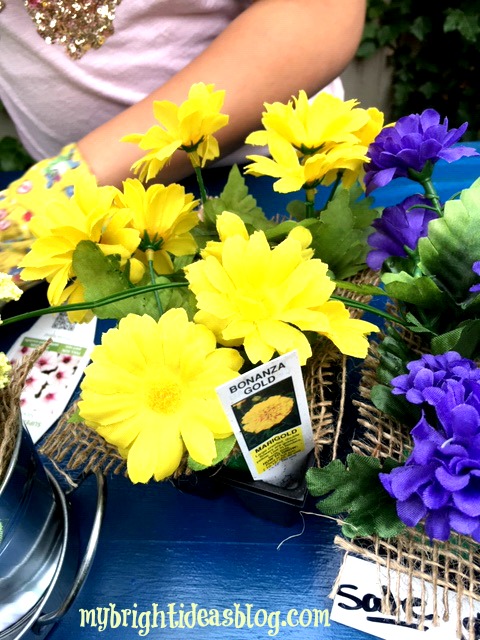
Next poke the flowers through the burlap.

Voila!
You could hot glue all of it in place or you could just leave it so the kids can rearrange it and tend to their flowers.
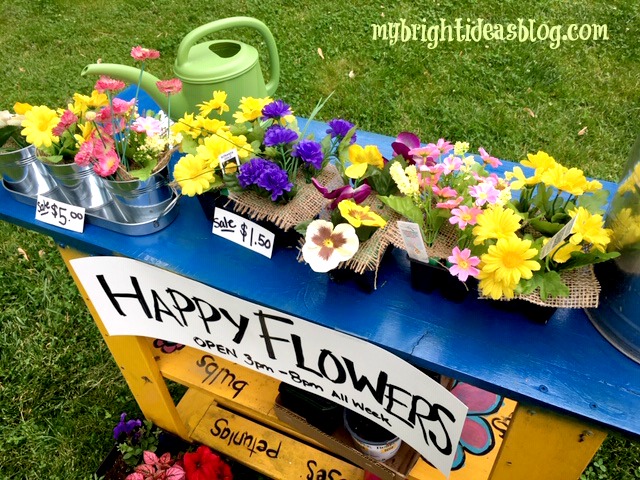
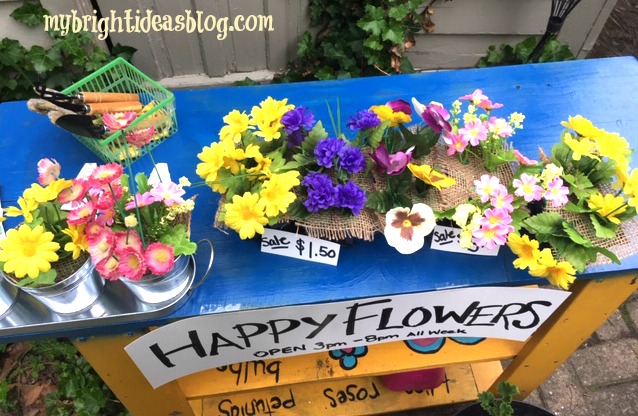
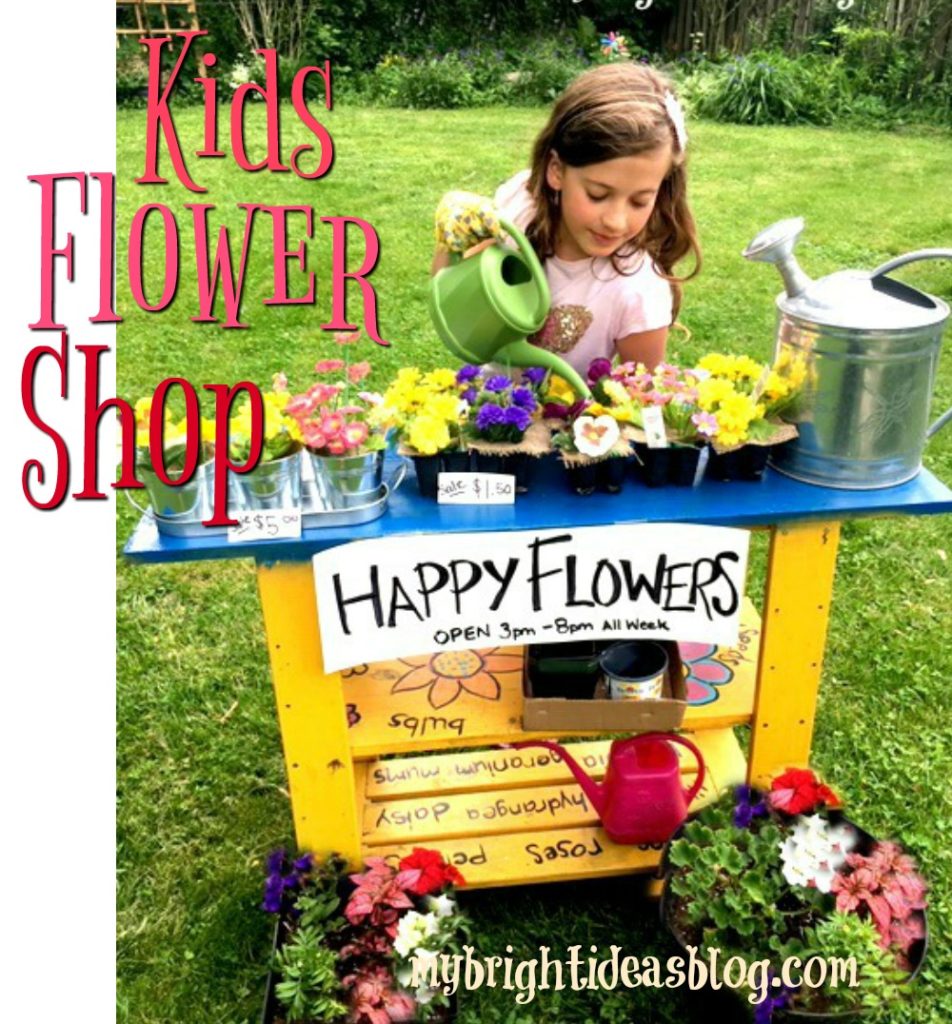
Next we set up shop on the table and added some signs.
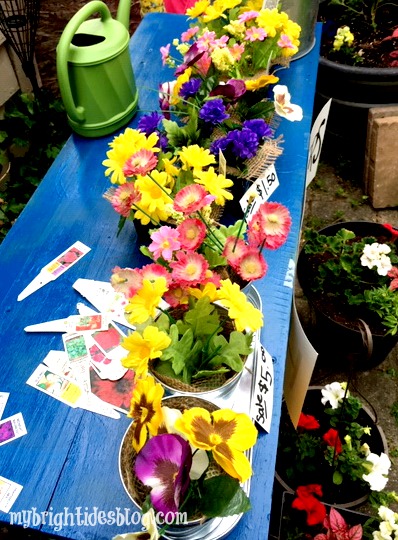
My kids also save all of the flower tags that come with every plant to tell you how much sun or shade it should get.
…So we tried to match up some to the colors of the flowers we had for our imaginary store.
If you don’t have the 4 cell-planters you can use any small containers. You could use a pool noodle or Styrofoam from packaging in a bigger one or several small pieces of foam to fill a bigger pot.
Also, look around for other gardening items you have for the store. We had gloves, a mini shovel and rakes and watering cans.
Hopefully, this inspired you to get the kids out playing with their imaginations.
…
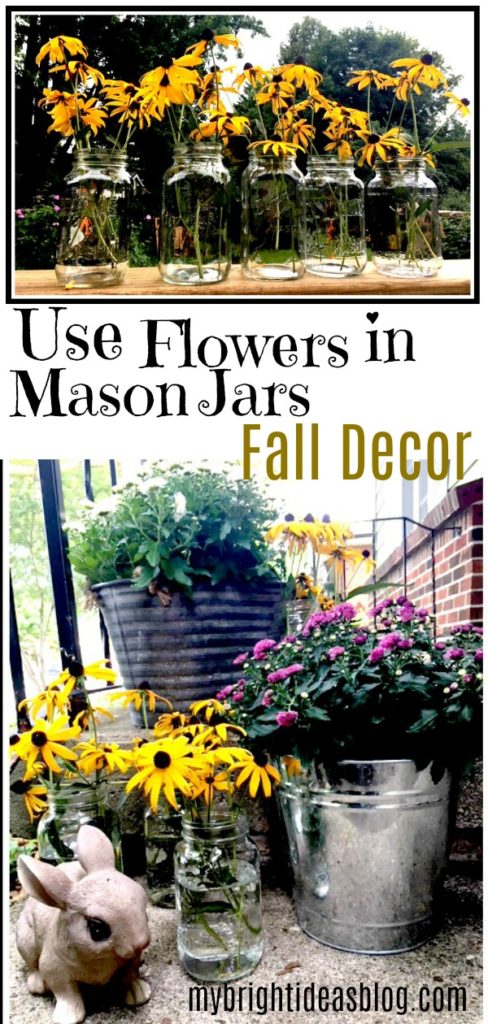
Use Flowers in Mason Jars for Fall Decor
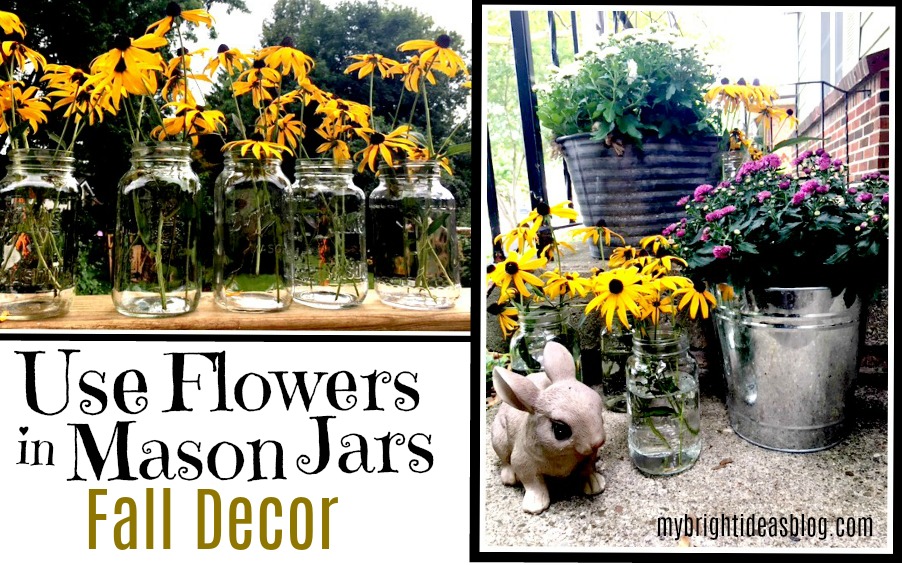
It’s early September and the summer is over. Even if the weather is still hot in your area like it is in mine-the garden is showing that its winding up for this year. Even when everything looks overgrown and scraggly you can count on your Black-eyed Susan’s for their bright cheery flash of yellow.
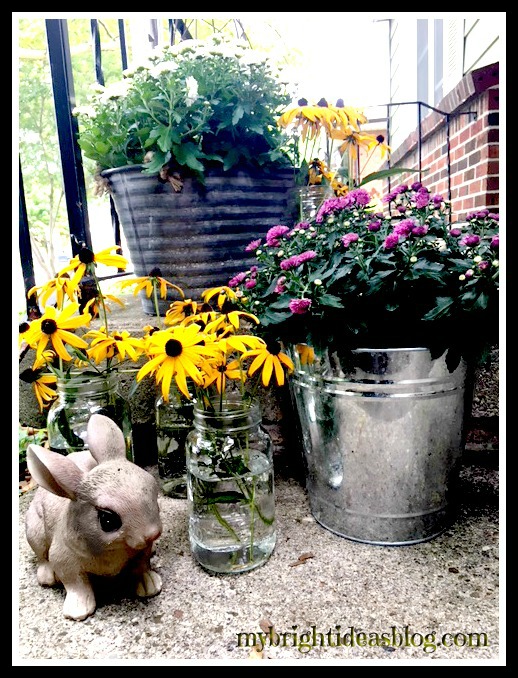
Have you got a porch, deck or entranceway that could use dash of colour? I recommend snipping some Black-eyed Susan’s and grabbing some mason jars. I’ll show you what I mean.
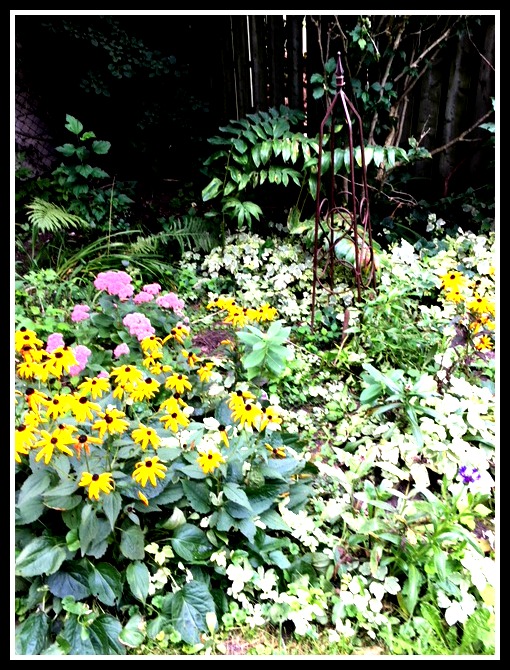
After a week away we came home to the garden that looks like this. It’s supposed to look like an English Garden. Ha ha hahaha! Sorry if you fell off your chair laughing hard while looking at my “English Garden”.
It’s gotten overgrown with weeds and plants choking out other plants. But because of those cheery yellow flowers, I don’t despair with this jungle garden!
I know, I’m a terrible gardener aren’t I? Well there are only so many hours in the day…maybe next year…
You will need:
- Mason Jars (or any other jars -empty jam and pasta sauce jars- you might have)
- Garden Snips
- Flowers
- Water
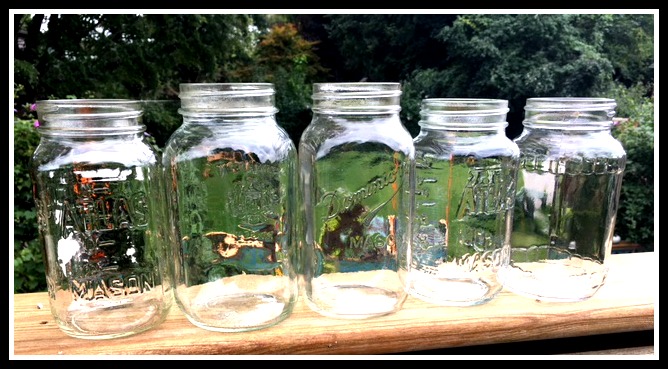
I have had this collection of mason jars for a while in a cupboard….. that I think they belong to my mom. Over time she has shared a lot of pickles and chutneys that she preserved and I have been a naughty daughter and not returned her lovely jars.
So I went to my overgrown garden with some garden snips (sharp scissors will do) and clipped a bit of the Black-eyed Susan’s.
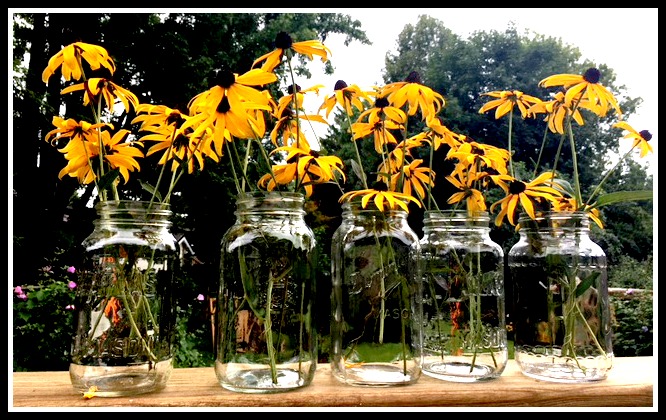
When company is coming this is a nice way for the kids to help roll out the red carpet-or rather the yellow carpet. Get them arranging some jars, add water and add flowers.
These could last for 2 weeks and if the Black-eyed Susan’s are still doing well you could cut more flowers and top these jars up with fresh cuttings.
It’s sad to see the summer close and flowers get scraggly-we need to face it, it’s the end of the season. 🙁
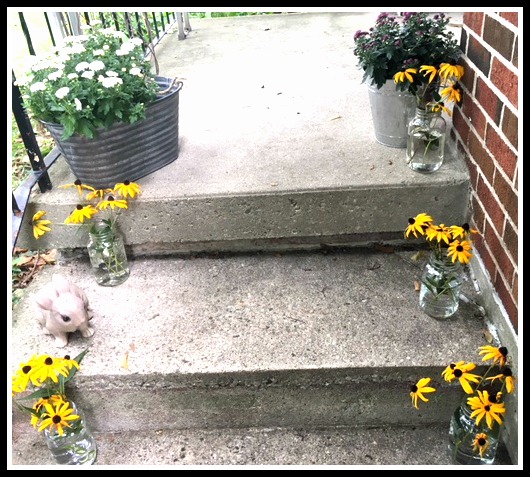
Using mason jars as vases is a great way to keep their cheerfulness and move that colour to other areas-indoors and outdoors.
Here is another Autumn Project!
Here are more Mason Jar Projects!
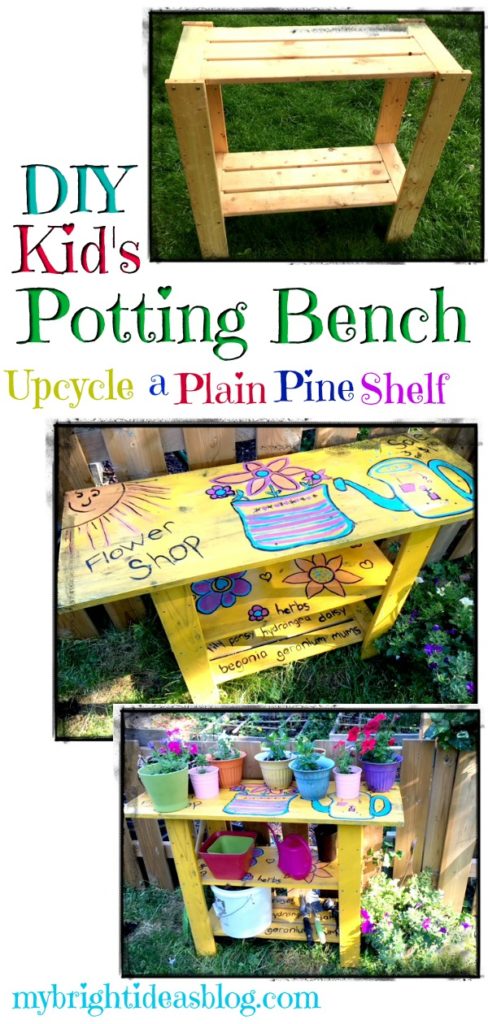
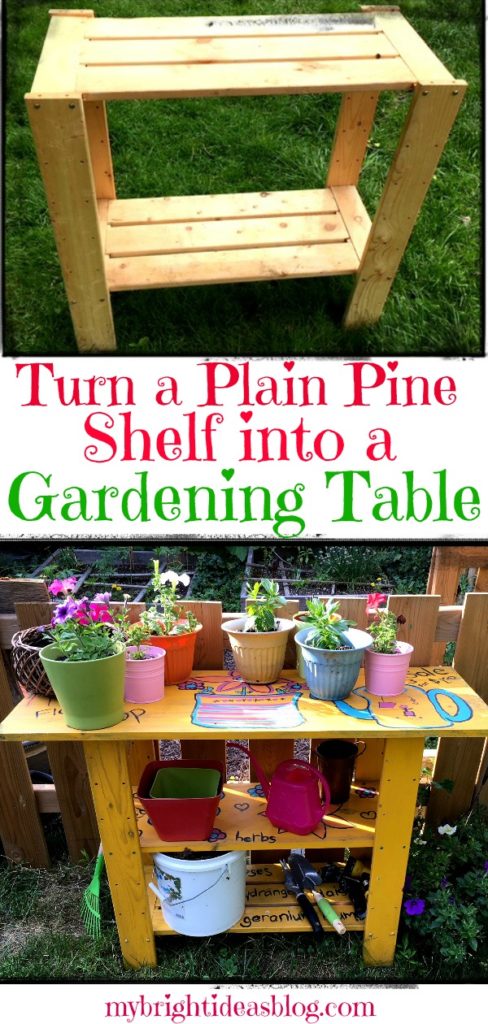
Make a Garden Work Bench / Potting Table

This is an easy DIY project for the inexpensive wooden pine shelves in the back of your closet that you’ve had for years. I was staring at mine thinking about getting rid of this plain old shelf and then I thought what if I added another shelf, made the top bigger and painted it a bright color and turn it into a garden potting station for the kids.
I have another one that I could turn into a lemonade stand using the same idea. I’ll let you know if that turns out!
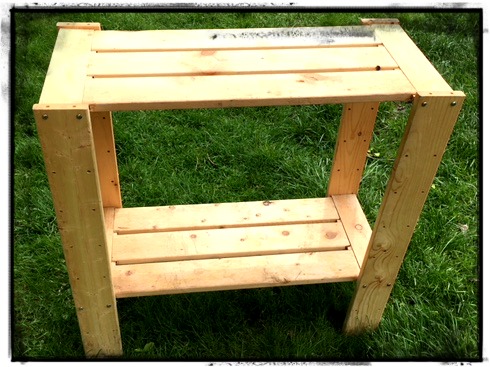
This is actually an old project I made years ago so some of the details are a bit foggy. This shelf was holding our camping gear. Its really only good to hold very large things on the bottom shelf because it doesn’t have a middle shelf. It turns out that its pretty easy to add a shelf by having a board cut to size.
You will need:
- a bare wood pine shelf
- pine cut down to 12 x 30 and 16 x 42
- 16 x 1 inch deck screws and a drill
- sandpaper
- outdoor paint
- paint brushes
As I said this project was done 3 years ago so I’m going by memory on the details.
The middle shelf on mine measured 12 by 30 inches (30 by 76 cm’s) …. Your shelf may not be exactly the same so measure yours before having the shelf piece cut.
The piece on top is 16 by 42 inches (40 by 107 cm’s). Hopefully you have some wood scraps you can use in your garage left over from another project. If not they will cut the boards for you at the hardware/lumber store.
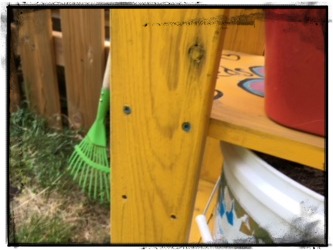
The boards will need to be drilled in place. I used the pre-drilled holes and attached the middle shelf with 2 deck screws on each corner. I put 8 deck screws in the top of the table to attach it to the vertical boards of the shelf. The nice thing about a work bench is it can be a bit rough-so I didn’t sink the screws and fill the holes.
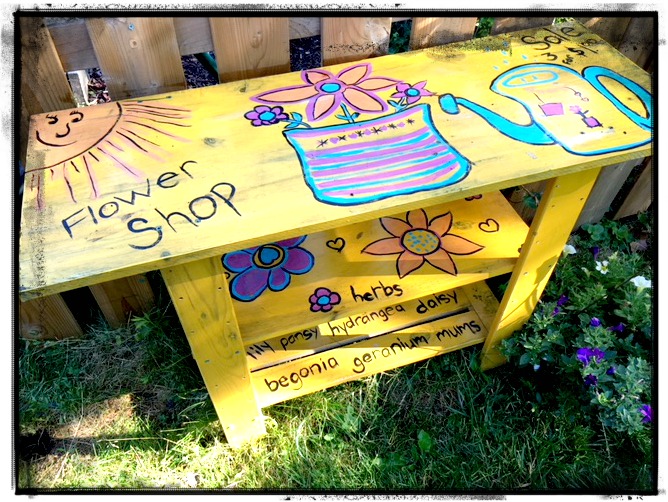
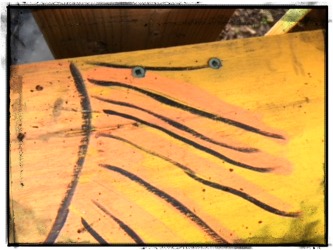
Next the entire shelf will need to be painted. Our shelf is outdoors all summer and is stored in the garage for the winter. I used left over paints in my basement that were meant for other projects. The bright yellow paint was a miss-tint that I bought for $8.00, several years ago. It needed a lot of stirring before I could get started. Follow the instructions on the paint tin.
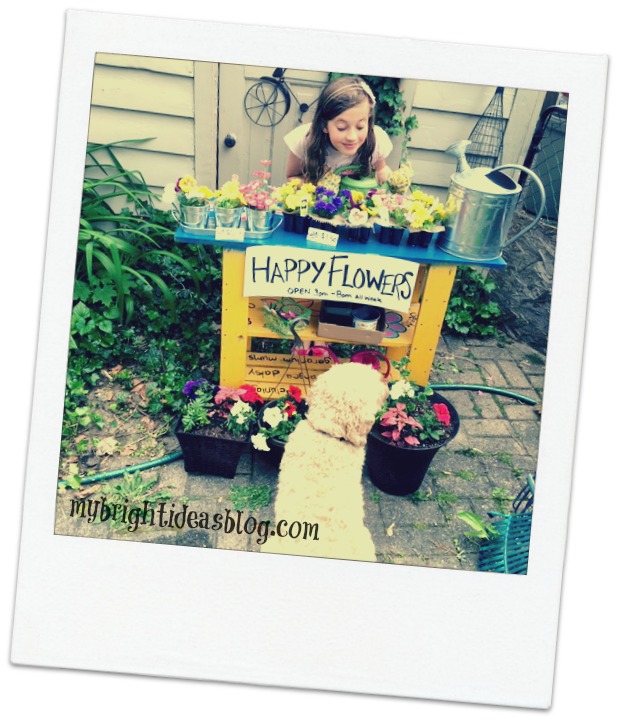
After I had done 2 coats of paint we were able to decorate it. The girls love to spend time playing flower store! When I purchase new flowers and vegetable plants at the garden centre they gather all the hand tools, seeds and the new plants and play at shop keepers for hours. I finally bought them some fake flowers from the dollarstore for their play store so I could get mine into the garden!
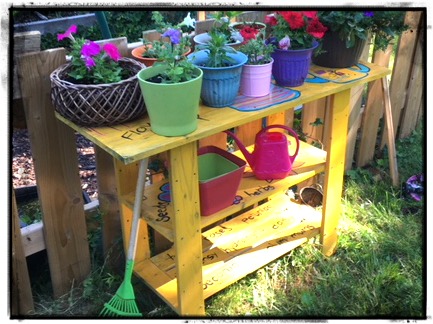
This year they were really involved in the planting of the newly purchased plants and not just pretending to sell them. Their planters are doing really well! We have to keep an eye on our potted plants since a few squirrels that are digging around
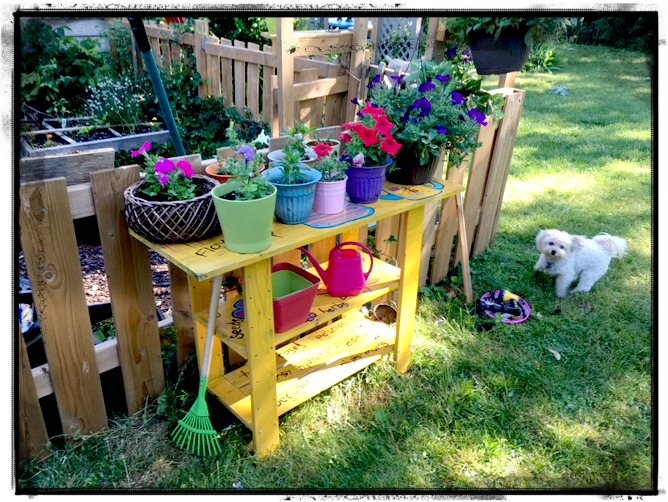
Gemma our Yorkie-Poo snuck into this photo. This photo shows the fence around our vegetable garden. This keeps the dogs from digging in the dirt. There are also some nice bunnies in there who nibble on the lettuce in the square foot gardens.
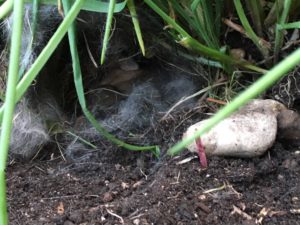

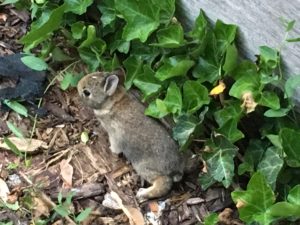
We have our own Floppsy, Mopsy and Cottontail!
Enjoy making yourselves a work bench. Come to think of there is lots we can do with these bare bones shelves. Next on my to do list might be a lemonade stand….
Enjoy your projects, til next time!
…
Plant Puns on Painted Potted Flower Pots – Adorable Gift Idea to Make Them Smile!


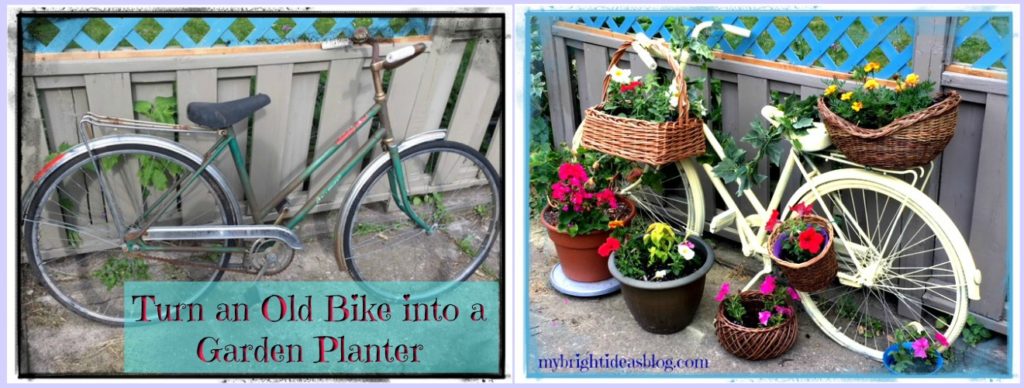
Turn An Old Bike Into a Garden Planter Feature!
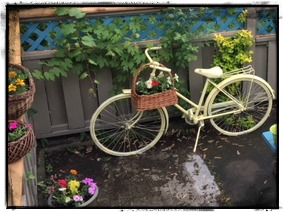
Bicycle Planter Garden Feature
Have you seen painted bikes around town? I have seen a few-plus lots of pictures of painted, planted, garden bikes on Pinterest and at last I’ve made one for myself! Here it is!
We have really being trying to put an effort into our back garden this year. In return we will want to be out there visiting with friends and family. We are off to a good start with our effort to spend a bit of time nearly every day to pull weeds and water the gardens….and spray paint a few things along the way…let me tell you about that!
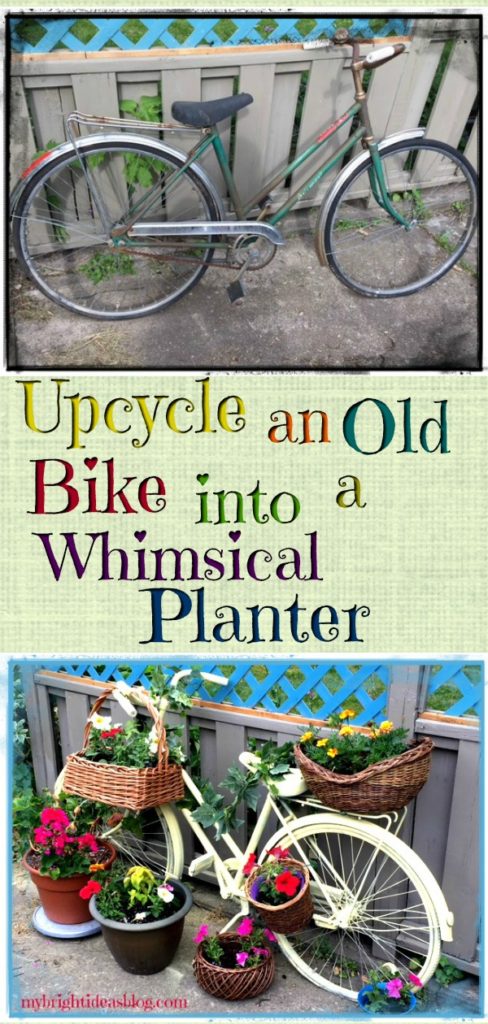
How to Upcycle a Bike into a Planter!
The first step to this project is to get a used old bike. I have found a few at the used sports store for $30 or more and I thought how sad is it to wreck a good working bike. So I waited to find a cheap one on Kijiji.ca which is a buying and selling website that is very popular in my area. I found this beauty for $15.
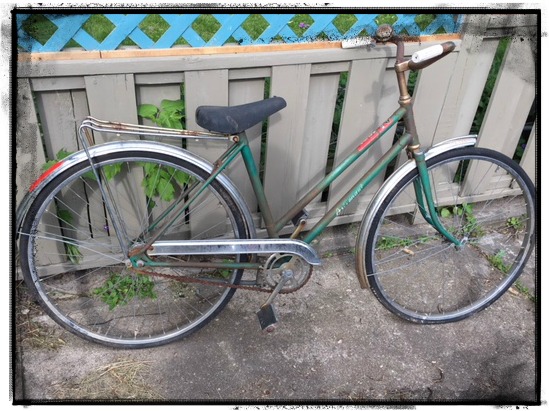
If you look closely you can see the rubber on the wheels is actually peeling apart. The bike doesn’t turn right or left so I felt okay about painting it and ending its time on the open roads to be part of my backyard.
Besides the old bike you will also need:
- safety glasses
- a damp rag
- fine sandpaper
- spray paint (2 or 3 cans)
- baskets
- plants
- plastic bag or coconut coir lining
- quality potting soil
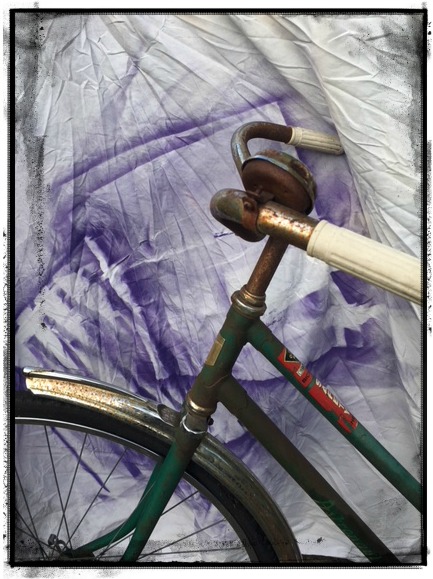
To prepare the bike for painting the first thing to do is wipe it down. This bike was covered in dirt and cob webs from the previous owner. Next, using a fairly fine sand paper …100 grit maybe…sand lightly the surface of the metal. This removed some rust on the fender and frame of the bike. You don’t want that in your eyes so pop on a pair of safety glasses first. If you were painting a gorgeous looking bike or a bike you would want to ride around town – you should pay a lot more attention to detail. You would take the wheels off and make sure everything is smooth. However, this bike was already in rough shape so I just gave it another wipe with a damp rag to get the dust off and moved on to the spray paint.
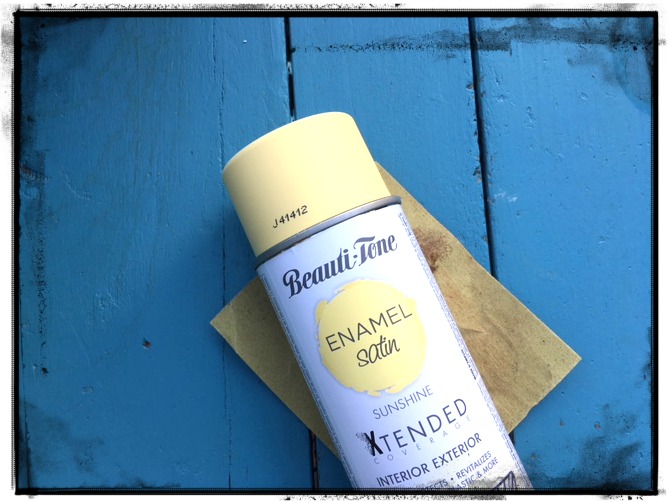
I had a hard time choosing what color to paint it. After much deliberation I decided on this brand “Beauti-Tone” of spray paint in red on some Muskoka chairs and loved how it sprays. I chose a satin “Sunshine” yellow.
 Spray paint is amazing for covering over all sorts of blemishes. I had thought that I would peel off the old stickers on it but then couldn’t be bothered and painted right on over it. I used an old sheet for a drop cloth and needed a can and a half of spray paint-so buy 2 cans!
Follow the instructions on your spray paint. Spray paint outdoors if possible on a non breezy day.
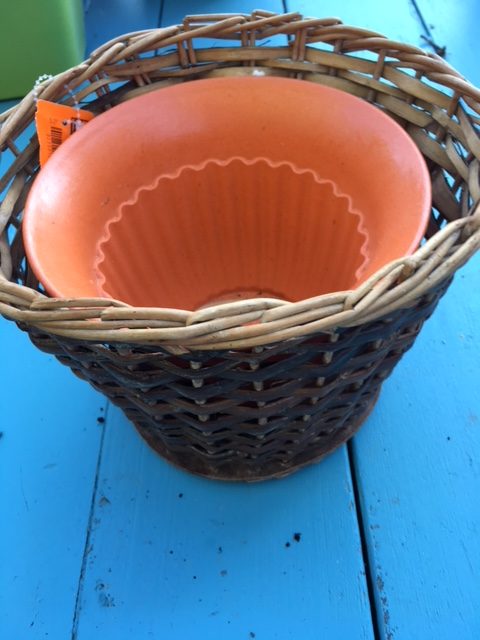
Recently I popped into the Goodwill charity shop. I was looking for bowling balls to paint into decorative gazing balls for the garden. (I’m so excited to do that project soon!) That day there was a slew of beautiful baskets and other odds and ends that looked perfect for some of my future projects.
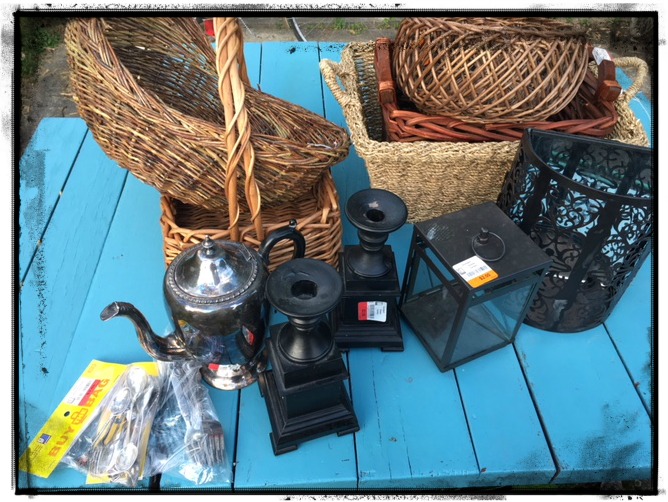
What great finds! Everything I got was around $3 each. These wicker baskets could have been painted to match the bike but I like the natural brown. I just LOVE baskets!
When I was a kid, my grandfather would pop around to our house with a basket whenever he found berries in season or a pie for desert. He would knock at the side door and my sisters and I would run around the house shouting Grampa is here! Such a favorite visitor. He was very generous with his love and baskets of berries. So thoughtful. I think that’s why I love baskets, I love Grampa gifts that come in the baskets!
I thought this basket would be great zip tied to the handle bars or on the luggage rack at the back.
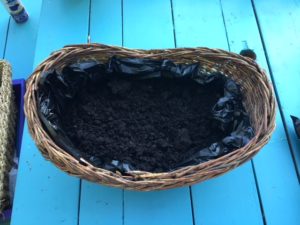
You can’t simply put dirt into the basket because every time it gets watered or rains it will seep through the cracks. Using a natural basket in the sun and rain is going to age it fairly quickly. Before adding the soil you might want to use a clear spray paint on the basket to help it last longer.
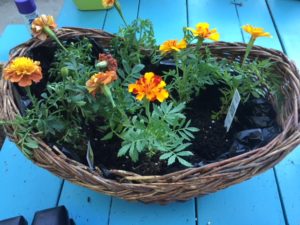
You can line the bottom of the basket with a plastic (garbage bag), newspaper or coconut coir liner. If you use plastic there won’t be any drainage allowed so you might want to poke some tiny holes in the plastic. Add some good quality soil and then the plants.
If you can find a pot that fits inside the basket that would be even better for packing things away at the end of the summer.
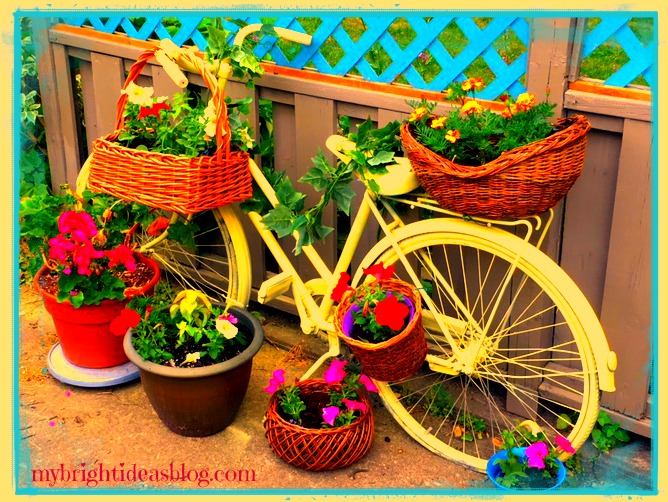
I was tweaking the photo above and turned the bike vibrant bright yellow. I really like it brighter so I might change it next year to a darker yellow or red. Ooh la la!
When your planters are ready you can you use plastic zip ties to attach each basket to the bike. I also used gigantic zip ties to attach the bike to the fence. I purchased my zip ties from the dollar store. Make sure it is fairly steady. The weight of the dirt in the baskets was surprisingly heavy. I would hate to see the bike topple over in a big wind storm-what a mess! I placed my bike planter right onto a concrete patio, but many put it in the flower gardens. In this case you could dig holes for the wheels and bury the bike a bit so its actually in the ground.
Wondering what I did with the other items on from the thrift store?
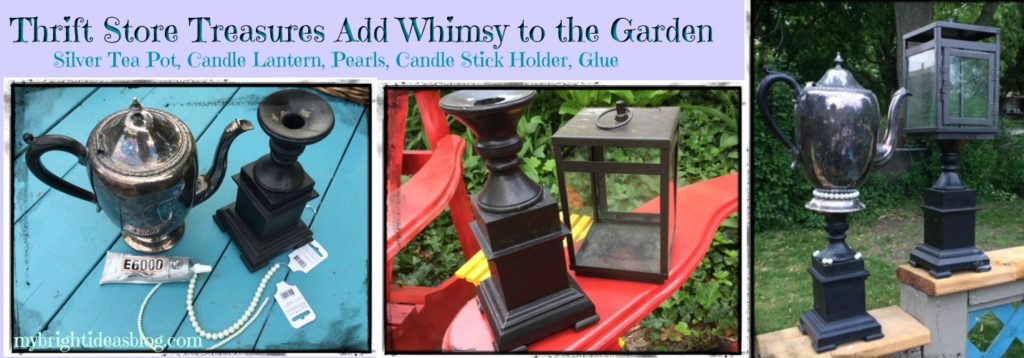
I simply glued the silver plated tea pot to a black candle stick with E6000 Glue. Then I took a string of pearls ($1.25 The Dollar Tree) and glued it to the base of the tea pot. Why not?! Express your whimsical self with color and fun items.
Next invite friends over for a backyard visit and root beer float! There are lots of conversation pieces decorating the garden this year. I’ll show you some other things I’ve been up to soon!


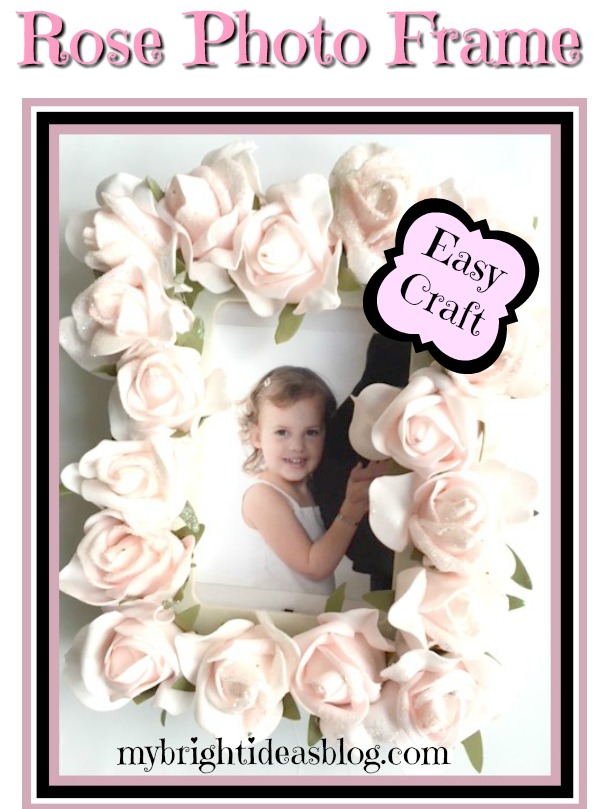
Make a Lovely Rose Picture Frame!

Hello there crafty darlings! Is it wedding season or baby season in your circle of friends? If you are looking for a lovely gift idea…I have just what you need! An easy craft that just requires a few dollars at the craft or dollar store and your trusty hot glue gun. Plug in the glue gun and lets get started!
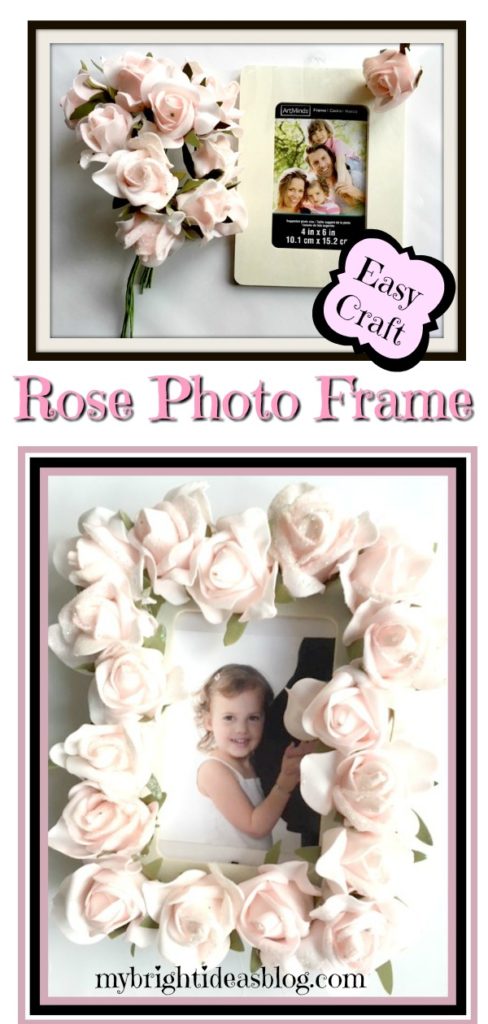
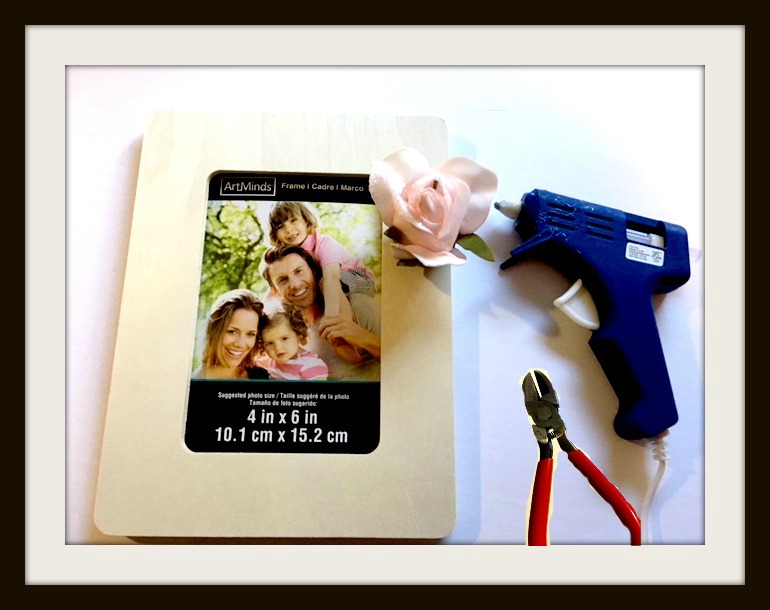
This project needs just 4 things.
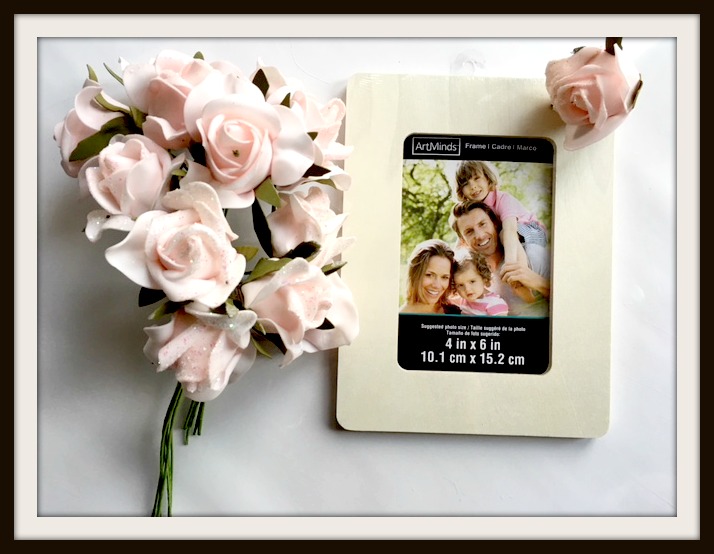
- Roses ($3.75 Dollarama 3 bunches at $1.25 each)
- 4x 6 Wooden Picture Frame ($2.00 Michaels)
- Hot Glue Gun
- Wire Cutters
I discovered some pretty dainty pink roses at my dollarstore. Each bunch had 6 flowers and I used 18 flowers for this project.
The first step is to trim the stem with wire cutters/pliers and bend the wire stem to the side. This style of flower sits very flat on the photo frame making it easy to glue. Wow this project is so easy!
I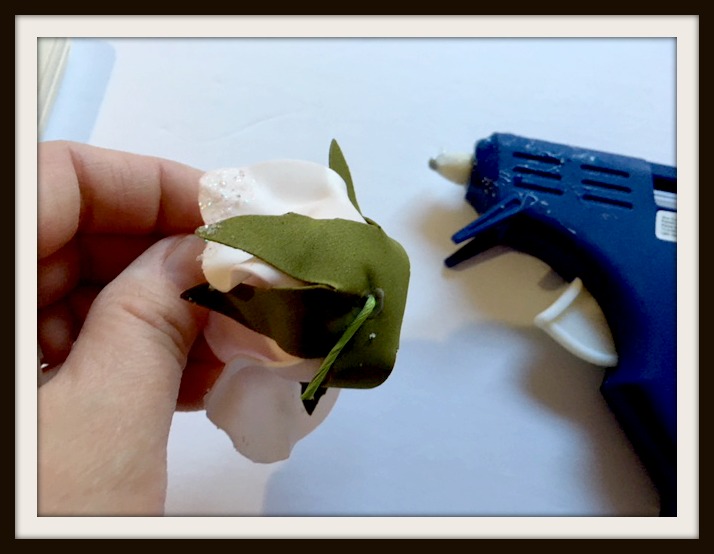
Next lay out your flowers and see how snuggly you want them to fit. Begin gluing the flowers on.
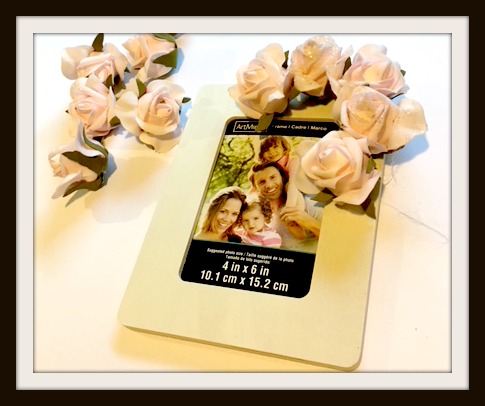
Now pause to admire the beauty and simplicity of this gift. Will you put a photo of the happy couple in the picture frame or their wedding invitation? Or will you put the birth announcement or leave it empty for the expecting parents? Or did you see my last post about putting gift cards or cash in photo frames to add to your thoughtful prezzie. http://mybrightideasblog.com/give-a-money-gift-in-a-picture-frame/

Voila! This project is done in 5 minutes and off you go to the baby shower with your gorgeous homemade picture frame.
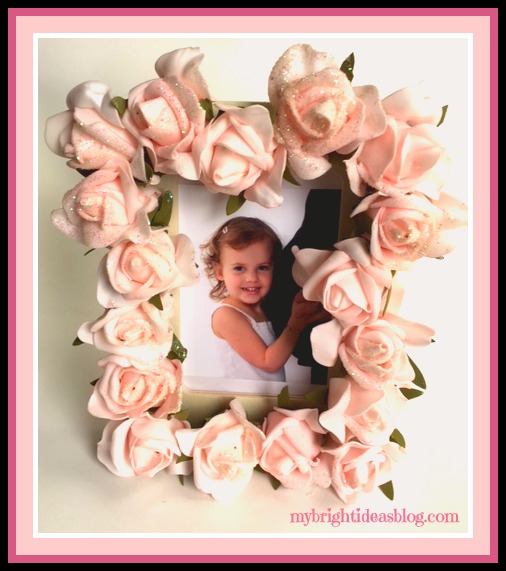
Did you see the tummy sticking out in the photo above? That is my belly growing my second daughter. In the end I’ve decided to give the rose photo frame to Miss B to put in her bedroom. She often remembers the happy times when she was an only child. LOL! This is a nice keepsake to remind her that she was very excited to be a big sister. This kiddo was soooo bald as a baby-not a stitch of hair but here she is a nearly 3 years old and it started to come in beautifully! It’s now 8 year later and her hair is long and luscious! Golly doesn’t time fly!
Wherever you are-I hope you have a super day! Thanks for stopping by!