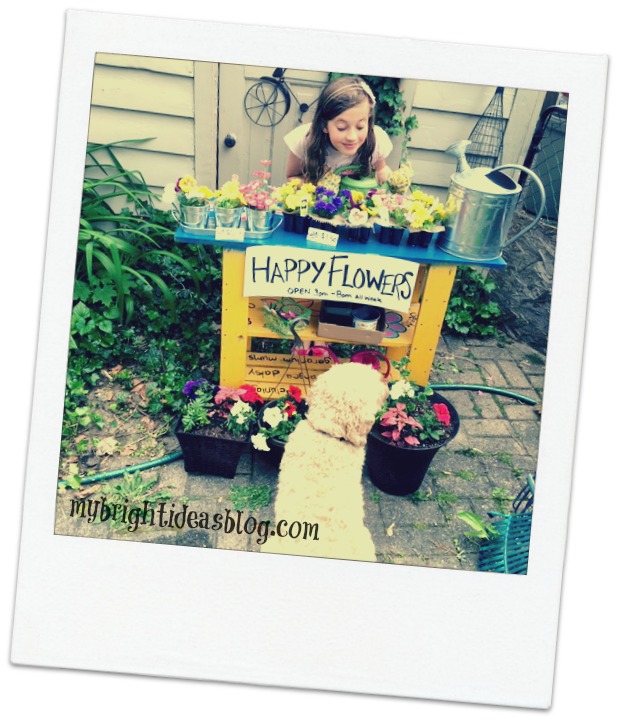
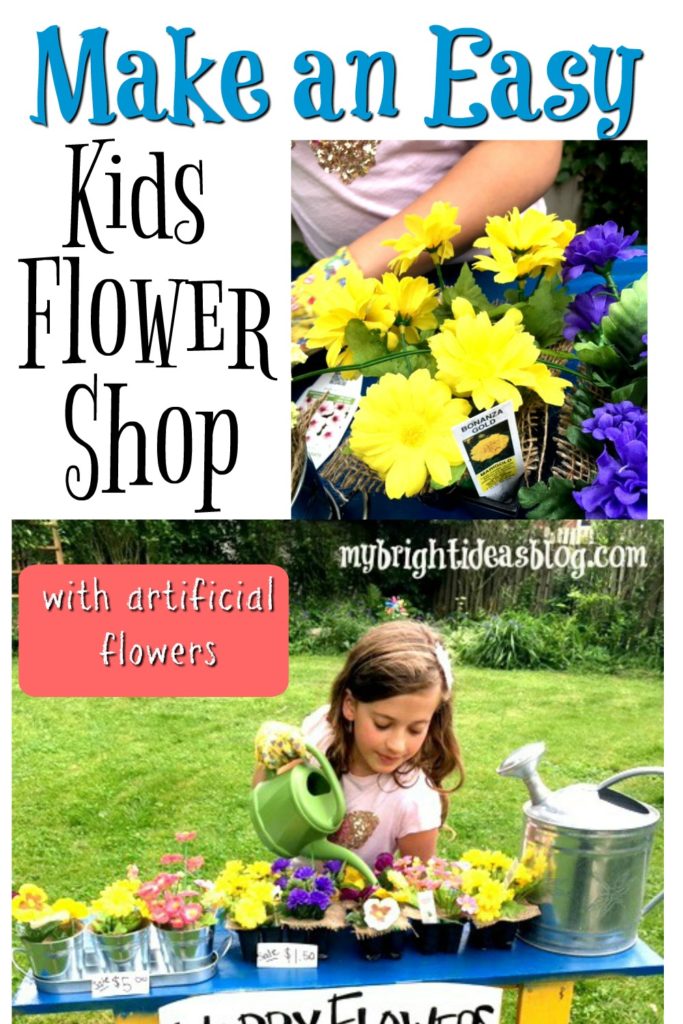
Watching my girls play in the backyard from my kitchen window sparked a great idea this week! Create a garden centre or flower shop for the kids. Using artificial flowers from the dollar store and a few other gardening things we can create a little centre for themselves. You can use real flowers too but this set up should last me a few years!
Several years ago I made a potting table out of a simple wooden shelf I wasn’t using anymore. Click on the link below to see how that was created.
Next we need some flowers! I went to the dollar store for a few bunches of flowers that looked like something I actually have in my garden.

For this project you will need:
- several bunches of artificial flowers
- empty plant containers
- foam knee pad or pool noodle
- scissors
- wire cutter snips
- burlap (optional)
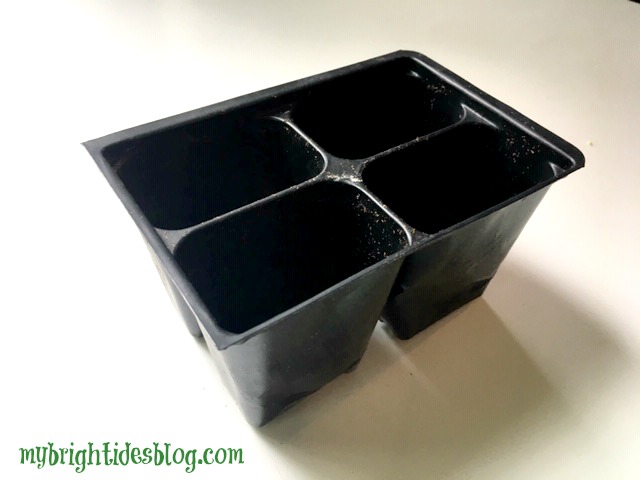
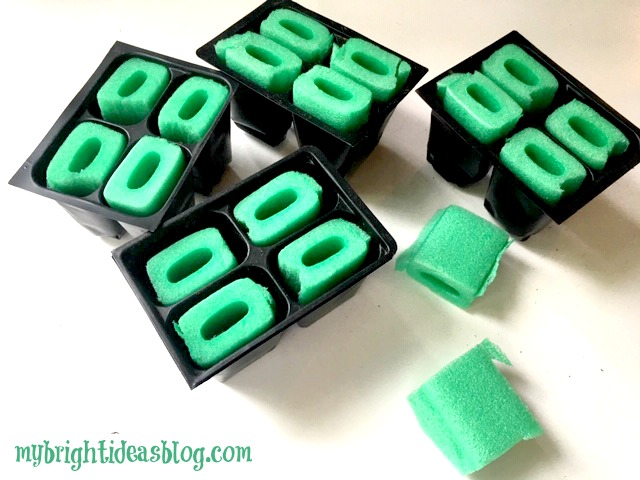
These are called 4 cell planter trays but you can use other sizes.
Every year the girls don’t want me to throw out the plastic containers that come with the little flower and vegetable plants we buy at the garden centre. They want all the little tags that come with them too so they imagine they are selling the flowers. After seeing them rearrange the empty containers imagining they had flowers in them-I thought why not get some dollar store fake flowers and make it more realistic for them.
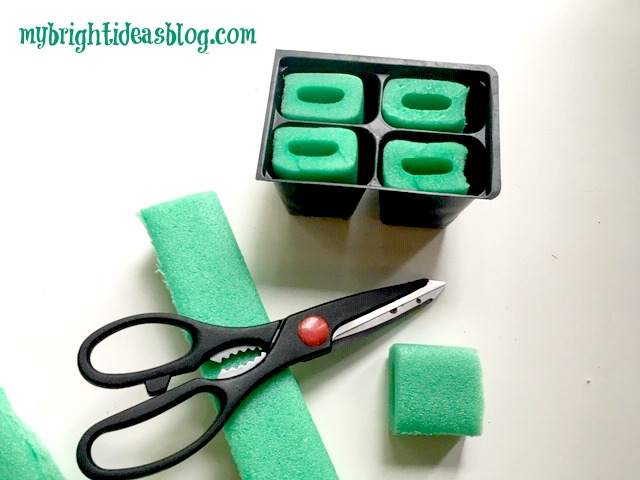
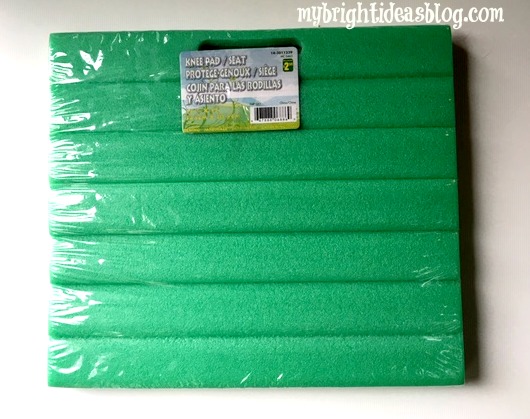 As I wandered around the dollar store I considered how I could get the flowers to stand up in the plant trays. I came up with this! A foam knee pad/seat pad.
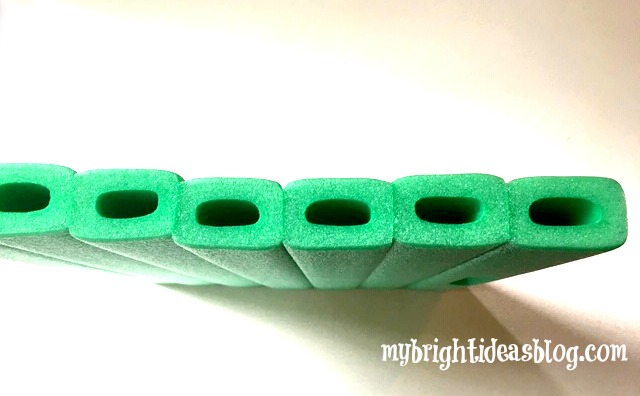
It’s similar to a pool noodle but I thought this size would fit really well into my plant trays and I was right!
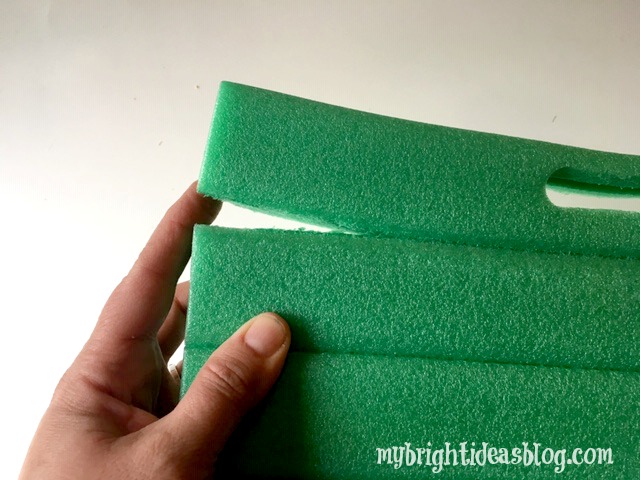
First of all, pull the sections of foam apart.
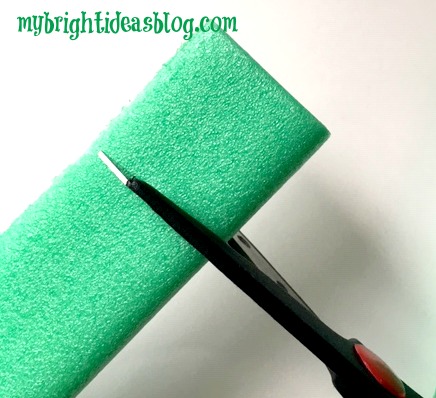
Then get your scissors and snip it 1 and 1/2 inches or 3cm long.
Test out the height and cut some more.
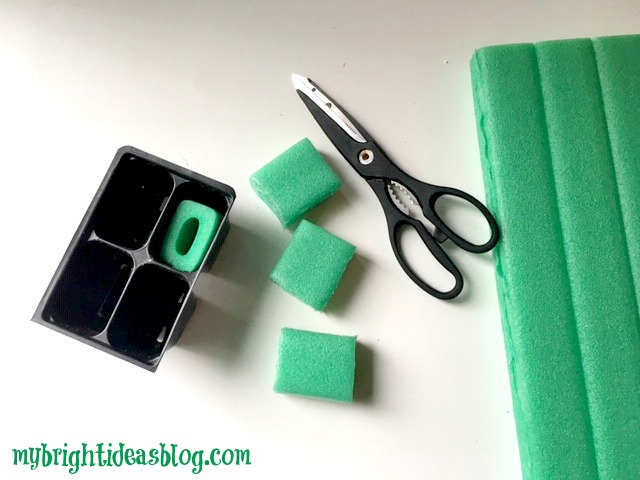
This is so easy. Just keep cutting off more. I wanted to give the at least 5 of these for their store. I might make even more…
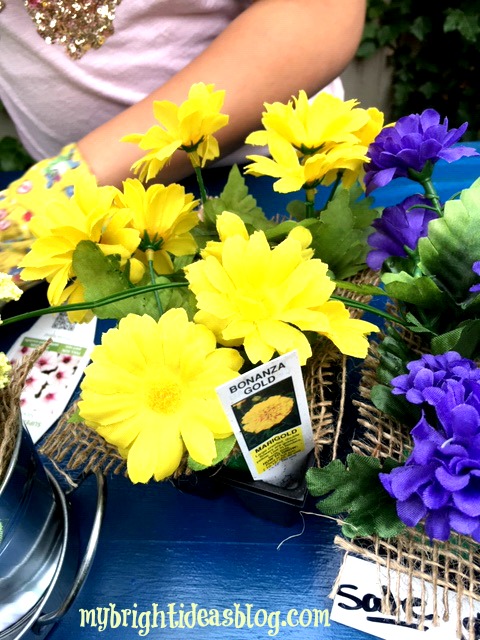
Now for the flowers!
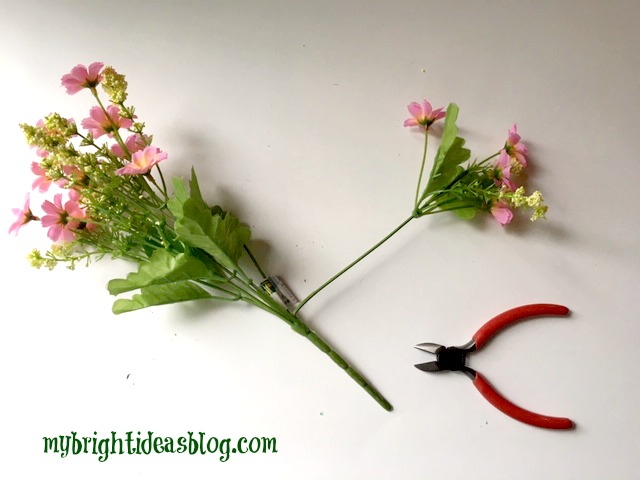
I started by bending out the branch of the flowers.
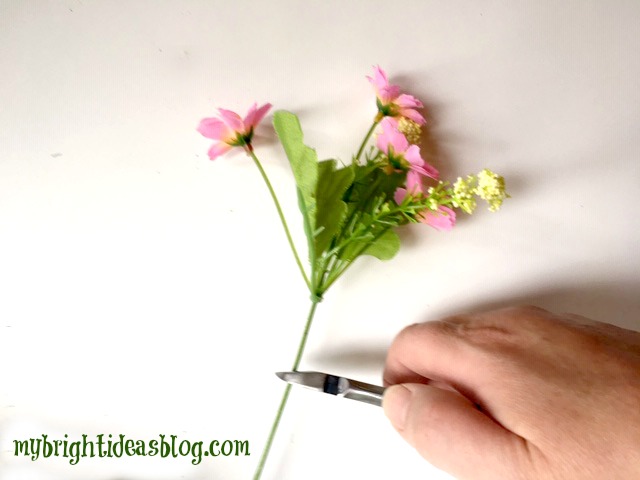
Snip it off several inches below the flowers. If you cut it too long, you can always bend the ends. I would rather they are too long than too short so the girls could make a little bouquet later or use them for something else.
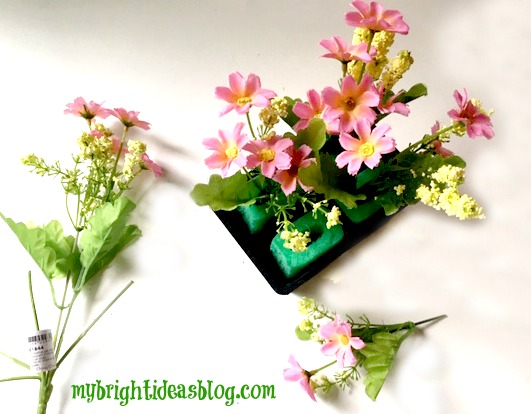
Now test it in the container and see how it looks.

This looked pretty good but I thought since I have a huge scrap of burlap waiting to be used. Why not add burlap to the top.
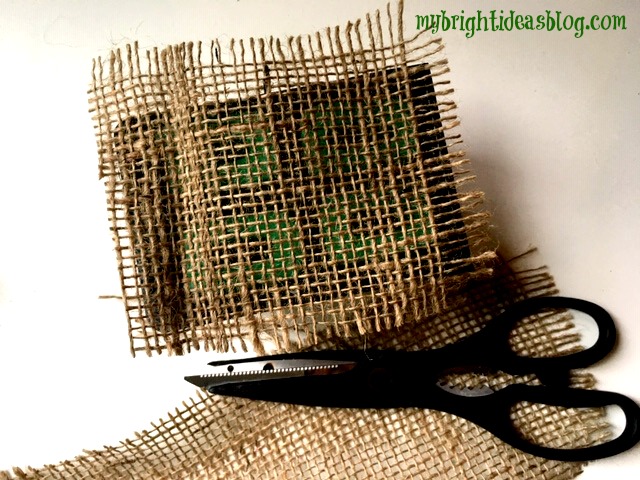
Cut that to size. It doesn’t have to be perfect.
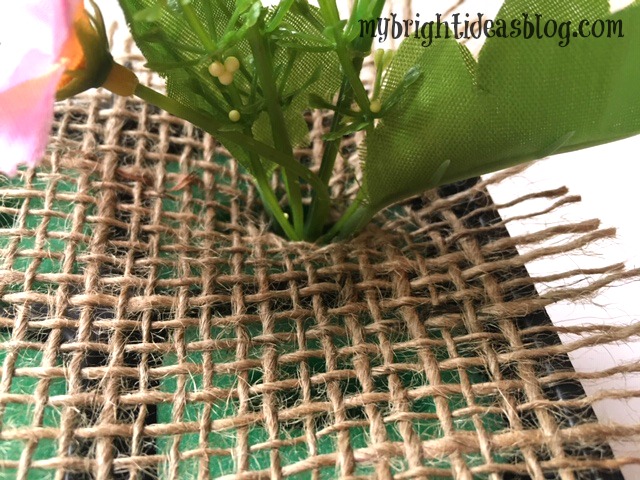
Next poke the flowers through the burlap.

Voila!
You could hot glue all of it in place or you could just leave it so the kids can rearrange it and tend to their flowers.
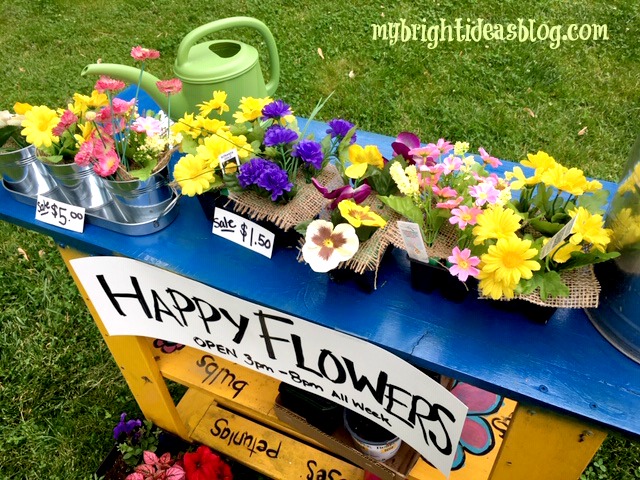
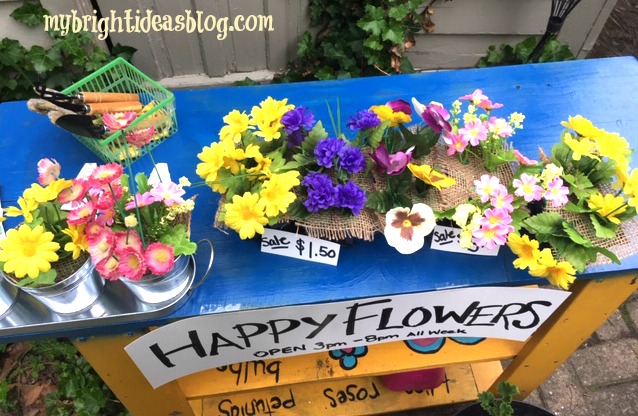
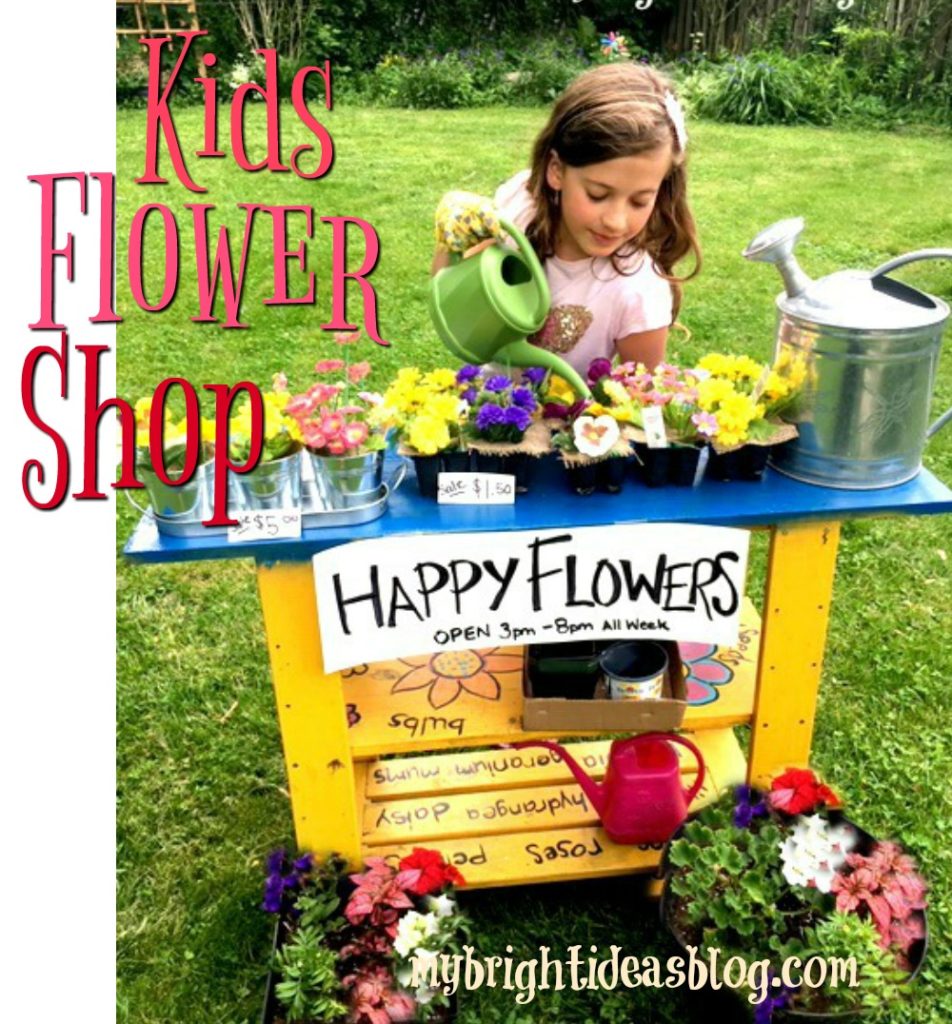
Next we set up shop on the table and added some signs.
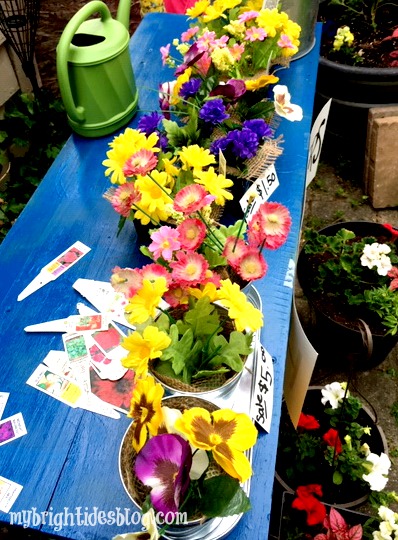
My kids also save all of the flower tags that come with every plant to tell you how much sun or shade it should get.
…So we tried to match up some to the colors of the flowers we had for our imaginary store.
If you don’t have the 4 cell-planters you can use any small containers. You could use a pool noodle or Styrofoam from packaging in a bigger one or several small pieces of foam to fill a bigger pot.
Also, look around for other gardening items you have for the store. We had gloves, a mini shovel and rakes and watering cans.
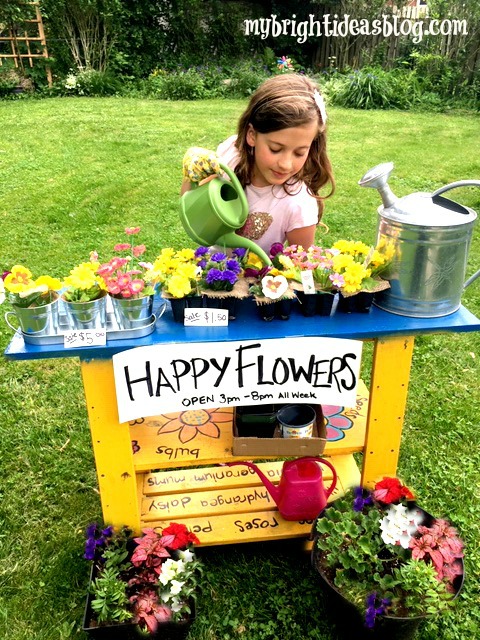
Hopefully, this inspired you to get the kids out playing with their imaginations.
…
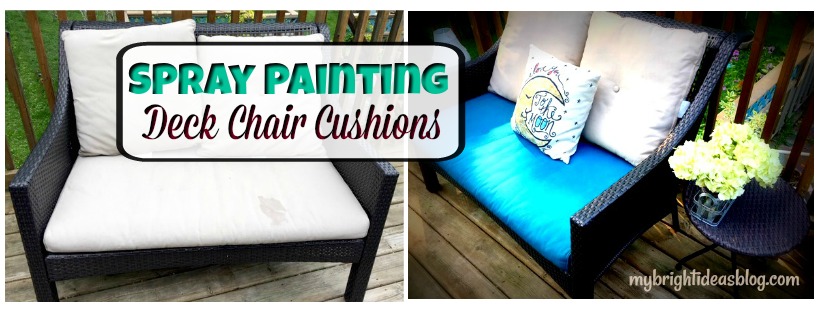
How to Spray Paint Deck Chair Cushions
Have you had nasty stains on your deck chair cushions. Leaving them out in the rain is part of the problem, or people spilling their dinner, sticky fingers and the kids sitting on the chair immediately after applying spray on sunscreen…. Grrrr
So you could just buy new cushions but that is gonna cost ya! As a bit of a cheapskate I would like to get another 2 or 3 years out of these ones.
My solution is to spray paint…I tried 2 brands and let me tell you about how it turned out.
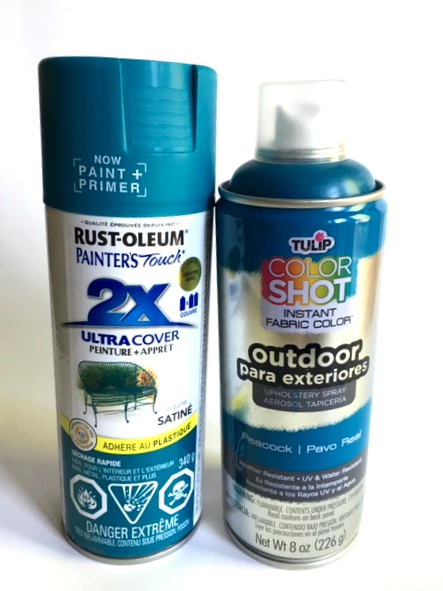
I’m comparing these 2 spray paints.
Rustoleum Painter’s Touch-Satin-Lagoon
and
Tulip Color Shot Outdoor Upholstery Spray-Peacock
The truth is the reason I tried 2 spray paints is not simply to experiment with different paints. I didn’t buy enough and ran out of my first bottle and couldn’t find another store that sells it. Fortunately, I found almost the identical color with another brand so I could finish the project.
So let’s get started!

So here is the beige cushions that I have started out with. We bought this loveseat from Canadian Tire 4 or 5 years ago…so it has really lasted well so far. In the back corner you can see the water damage….this is the good side.
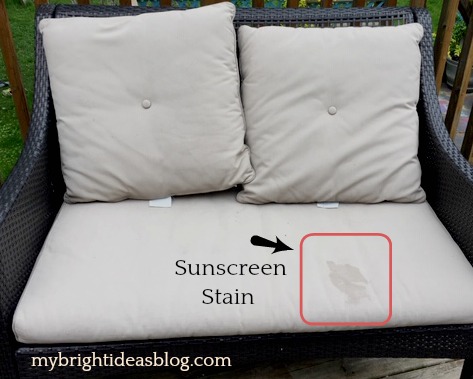
This year somebody left a big ugly greasy sunscreen mark. Hello summer!
If you chose a spray paint closer to your current cushion colour you might get away with just purchasing one bottle of spray paint but since my cushion is beige and I’m turning it so dark I need several coats. Definitely get 2 bottles.
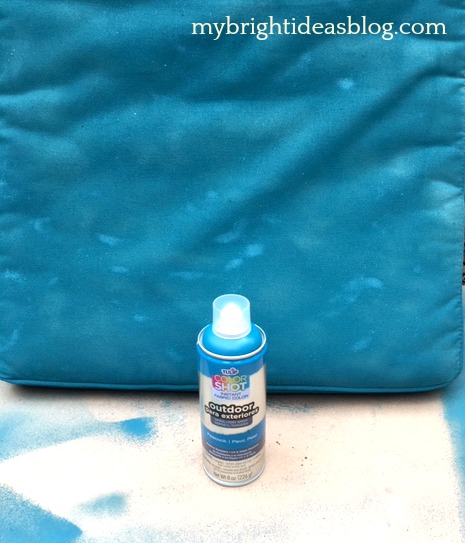
To start with I bought one can of Tulip Color Shot Outdoor Upholstery Spray- in Peacock blue from Hobby Lobby.
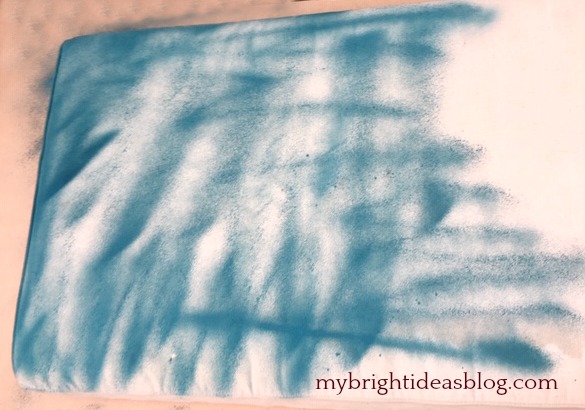
I love to spray paint things but this one is not even. This paint is supposed to make the fabric still feel flexible and nice to touch. But in my opinion, the way that it sprays is ineffective and wasteful.
This brand does not spray wide so you will get lines like the photo above. This is what the cushion looked like when my hubby came home and saw it. He wasn’t loving this idea. Pretty much it looked like I ruined it and now I’m all out of spray paint. One can covered the one side of the cushion and part of the second side.
I’m an hour drive away from Hobby Lobby so trying not to panic… I let it dry for several days while I searched to find a local store that sells it. No one near me sells it!
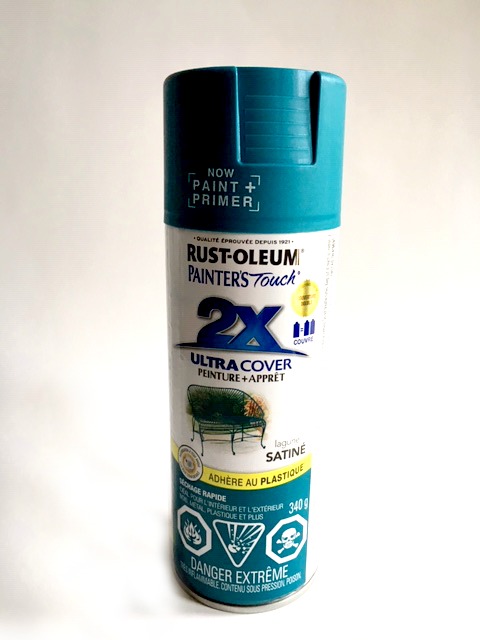
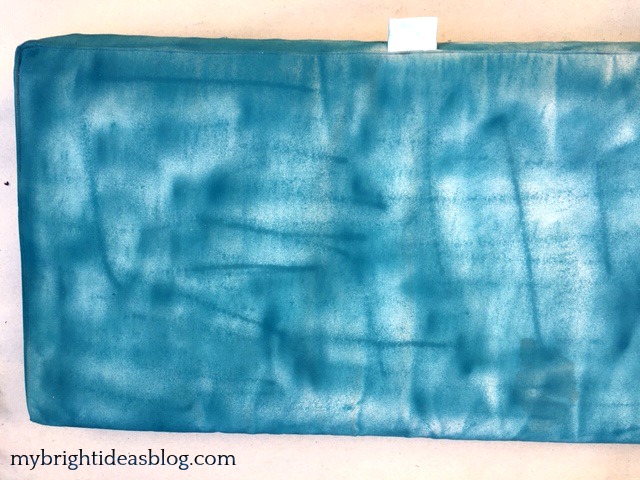
After checking 4 big stores I tried the little hardware store near to me. It has a great selection of spray paint. I took in my empty bottle and found a near perfect match with Rustoleum Painter’s Touch-Satin-Lagoon.
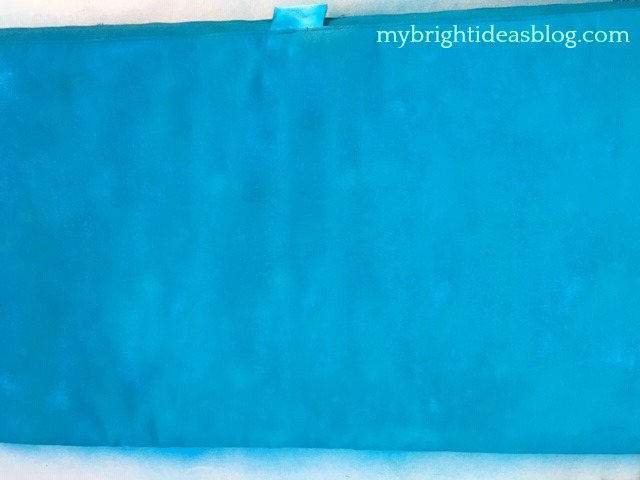
This spray paint has a wide even spray. It took a quick coat from this spray paint and it was nearly done. What a relief! An even and vibrant turquoise. After the paint dried it looked even better. It did need a little bit more coverage so it got another light coat of paint.
I would definitely recommend Rustoleum Painter’s Touch-Satin (Colour: Lagoon).

Looks fantastic right!?! Make sure you follow the instructions on your spray paint to see how long it would take to dry. I would make sure you have this project done several days before you have a backyard dinner party. You’ll want to make sure its fully dried. I have had no problems with the paint coming off on the pillows or anyone’s clothes. It’s really set and permanent.
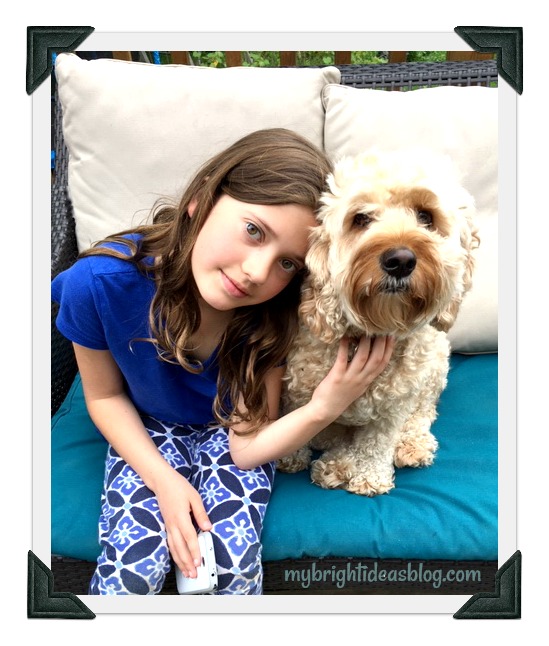
Gus approves of the new colour but lovely daughter M feels its not as soft to sit on. True enough, but I don’t mind how it feels. It’s a great solution to the stains and you can stretch the life of your current cushions for a few more years. Plus you could choose from a wide variety of colours and tape off sections to make your own designs.
Have fun adding color to your yard with spray paint…Lets see if I have some other ideas for adding color to things….
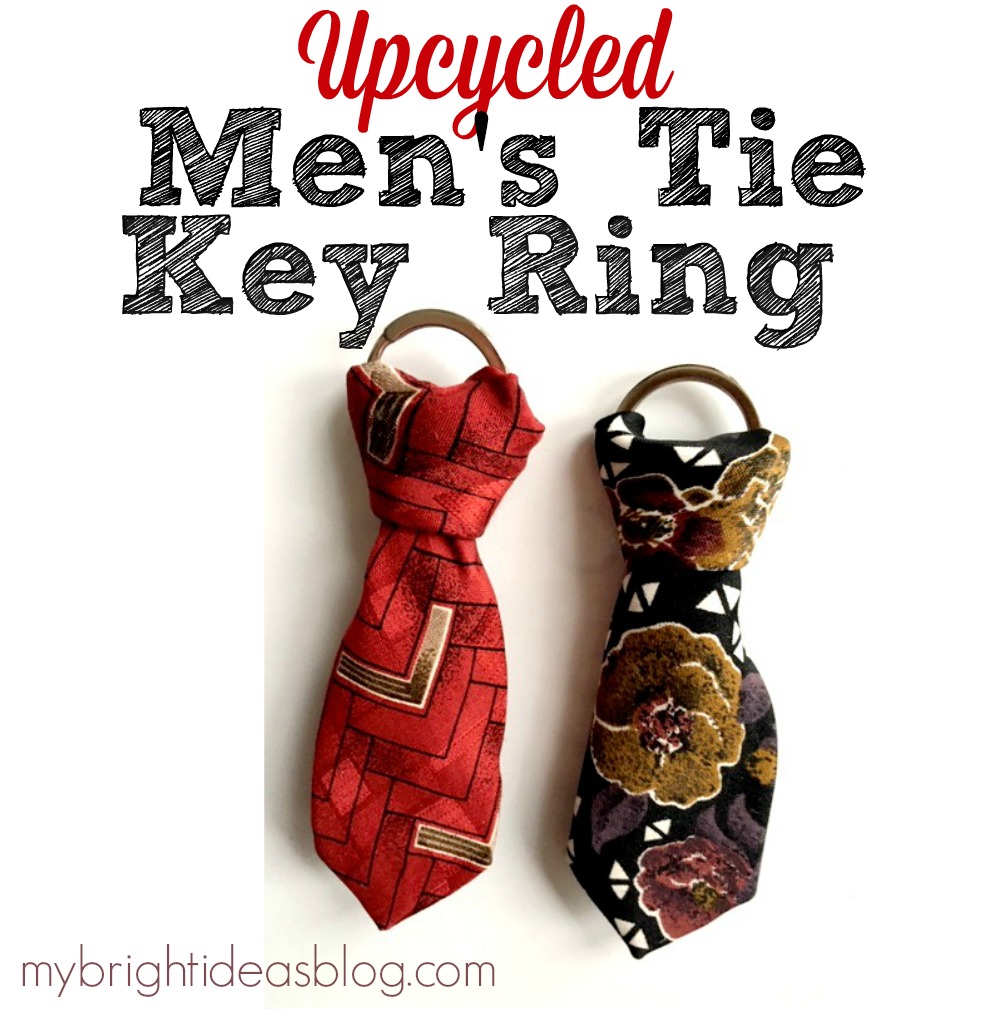
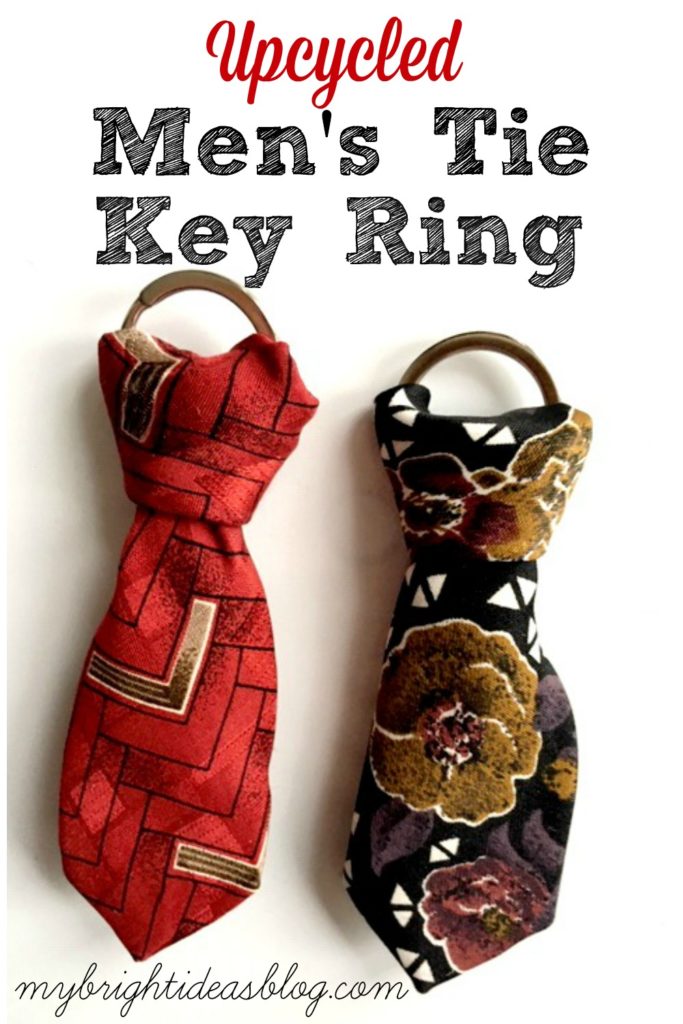
Upcycle Men’s Necktie for a fun Dad Gift Key Ring
Looking for a fun way to upcycle a men’s tie? Here is an easy and super cute idea to turn it into a key ring.
You will need:
- an old tie
- a key ring
- scissors
- needle and thread (or glue)
- ruler
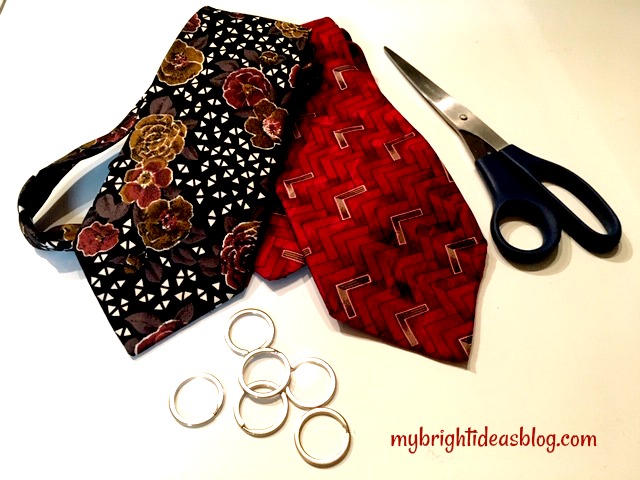
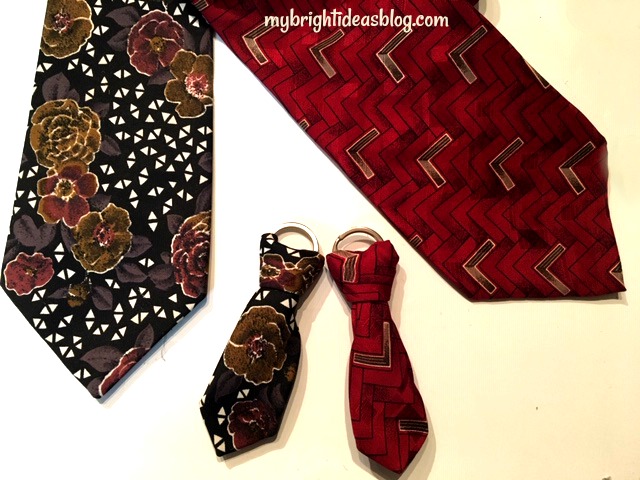
My hubby happens to have a lot of ties so he was willing to sacrifice these two ties for my project. Thanks dear!
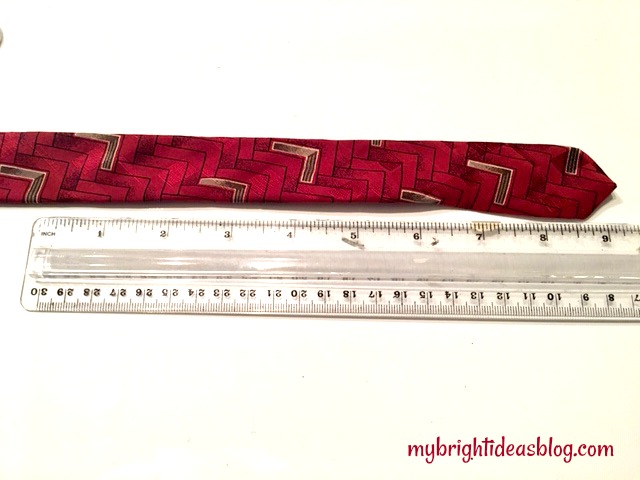
Cut the tie approximately 9 inches long.
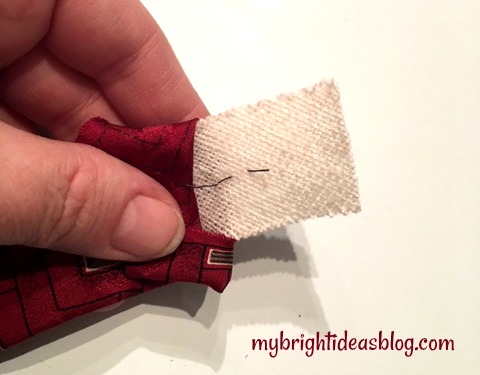
At the cut end, tuck the fabric out of the way and trim 1/2 inch (1cm) off interfacing that is inside.
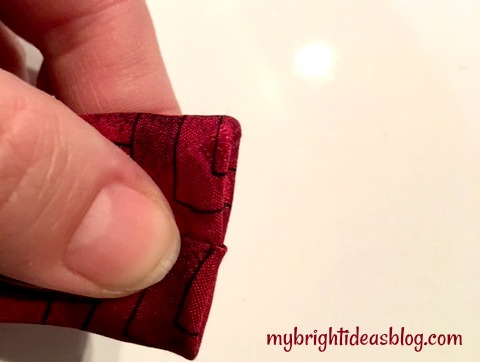
Fold inside and tuck the fabric inside. You could sew or glue this end to make a clean edge.
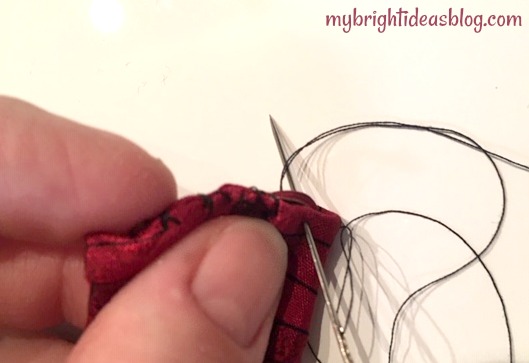
I sewed it with just a few stitches.
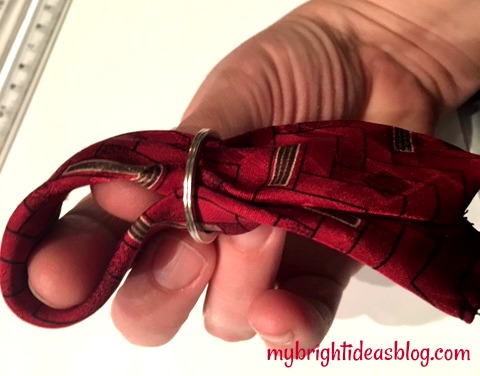
Next, fold the mini tie in half and slide it into the key ring.
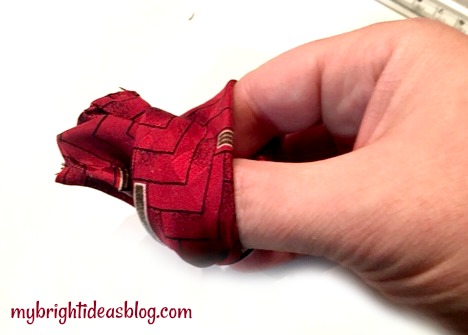
Pull the ends through the loop to form a knot.
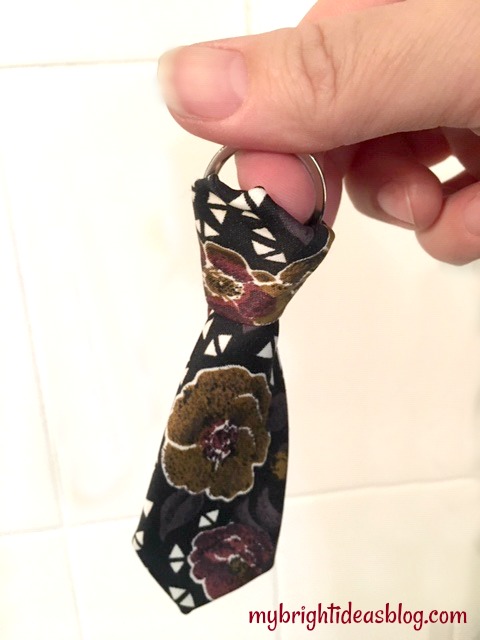
Pull the knot tight by tugging on the key ring. It looks like a proper tie knot without actually having to know how to tie it. The pointed end is perfect for the size of the key ring.
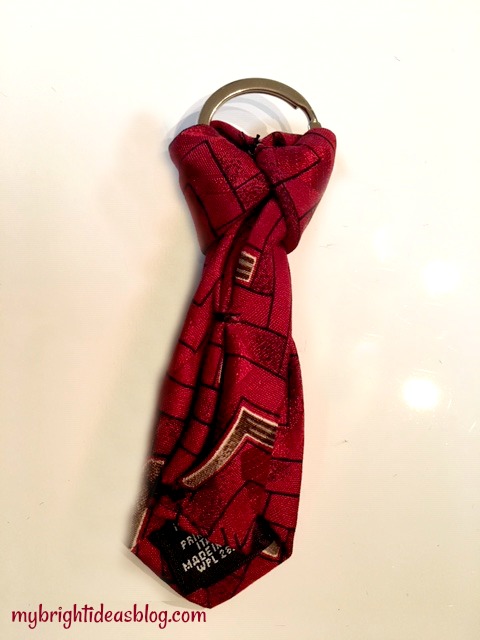
This is the back side of the tie. I added a few more stitches so the tie wouldn’t shift around, but that is optional.
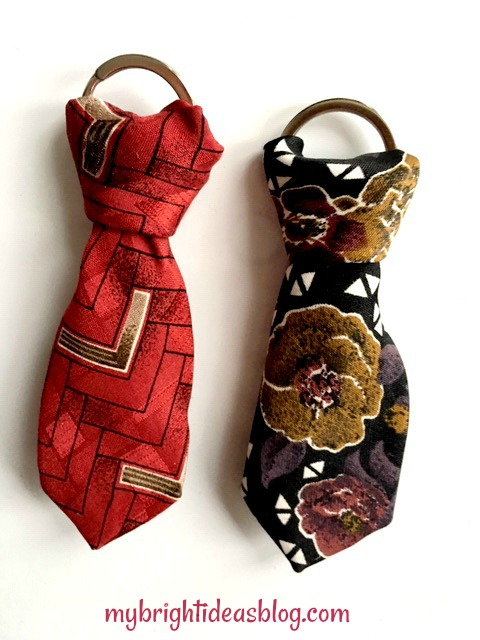
How cute is this?!?
Now there is still half of a tie left so I’m going back to Pinterest for some more ideas for tie upcycling. I will let you know how that goes!
…
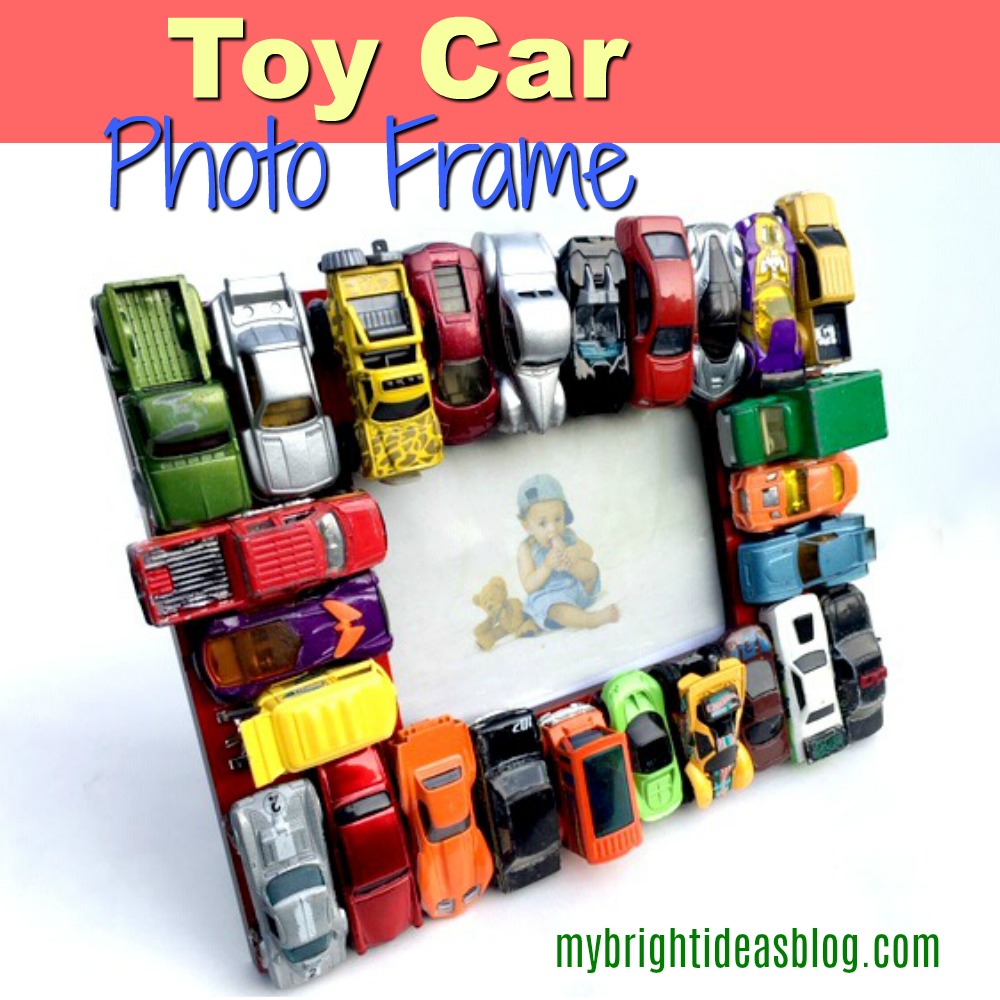
Upcycled Frame with Toy Cars
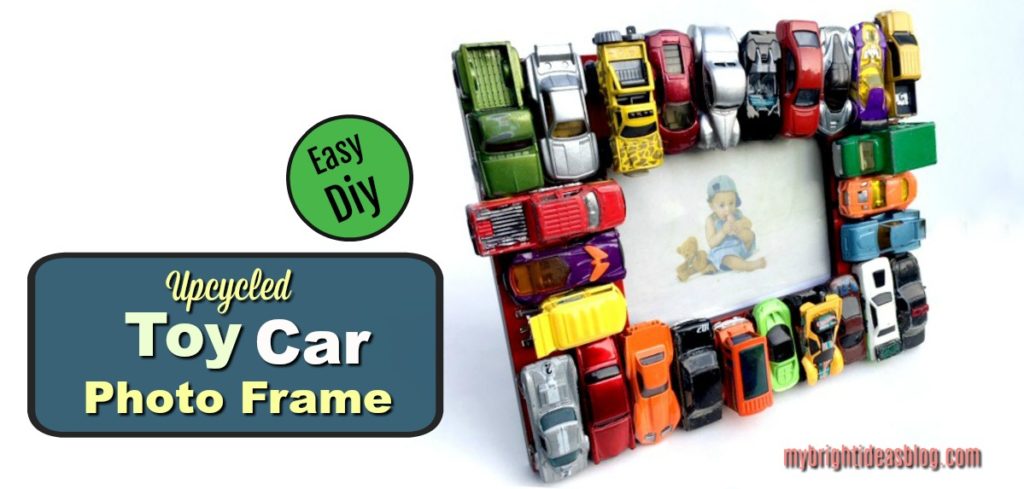
Ready for a super easy craft? You might have all of the supplies at home. If you don’t you can easily pick them up at your local thrift store.
To make an upcycled toy car photo frame you will need:
- toy cars
- picture frame
- spray paint
- hot glue gun and several glue sticks
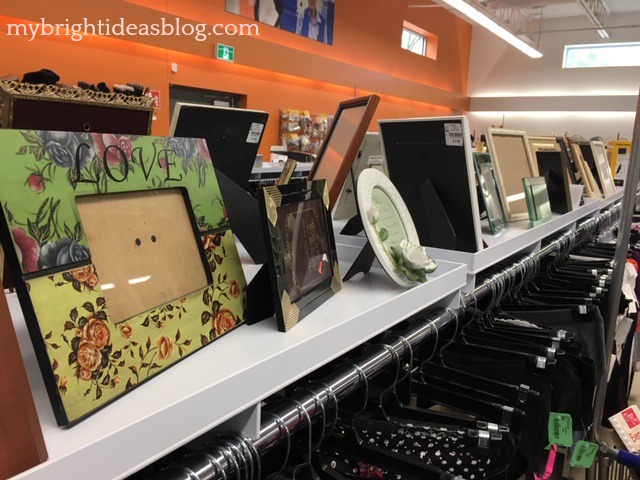
I wandered through a newly renovated Goodwill and that’s when I this idea hit me. Find a flat frame and glue something to it! Yeah! The frame I chose was really out of date with its flowers “Love” on the top. I thought it would be the perfect size to fit a parking lot of cars.
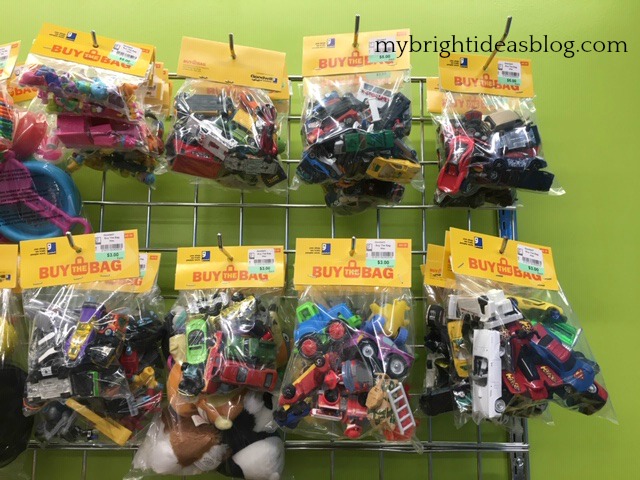
Then I went to bulk toy area and looked at the bags of cars! I chose 2 bags of cars for $3.00 each.
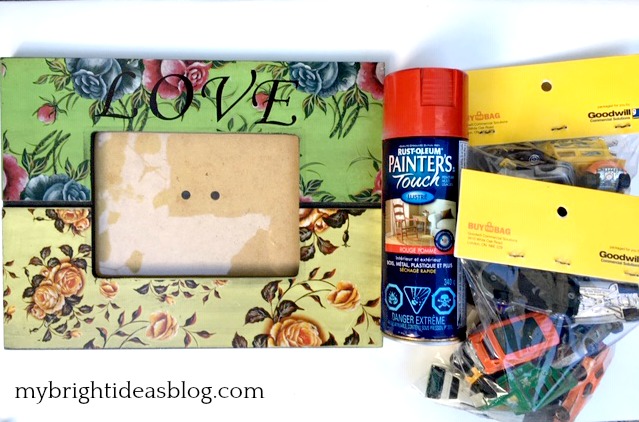
I brought everything home and admired it all….then located some left over spray paint in my painting stash. You don’t need much-so a bottle of spray paint left over from another project is perfect. I had a bright red Rustolium Painter’s Touch called “apple red”.
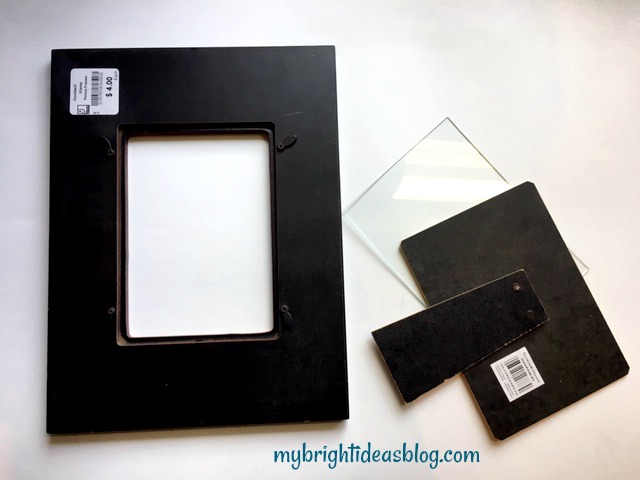
Take the backing and glass off of the frame and wipe it down with a damp cloth.
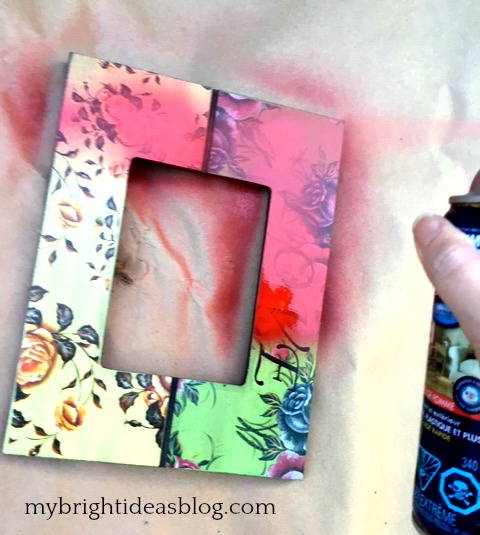
Shake up your can of spray paint and lay down some cardboard or news paper. Always spray paint outdoors on a day where there is barely any breeze.
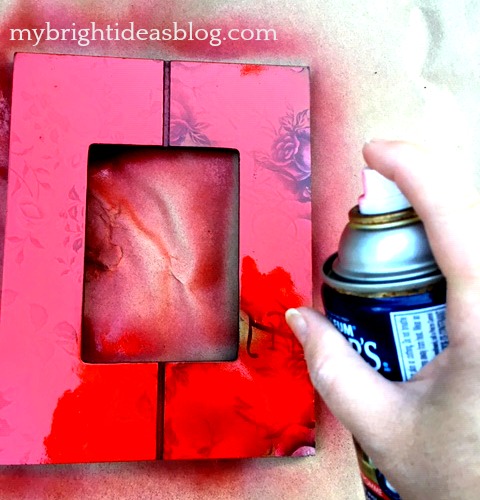
Follow the instructions on your paint as to when to do a second coat. The pattern on this frame wanted multiple coats. It is black on the sides and back so I just spray painted the front. It wasn’t perfectly covered with 2 coats but since we are covering it with cars I didn’t bother with a third coat.
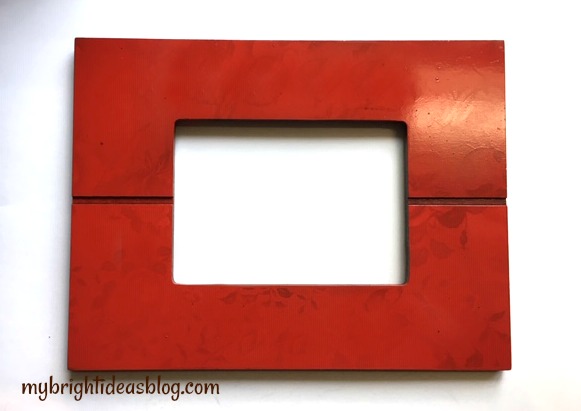
Allow it to fully dry before you begin the next step. I let it dry overnight. You can use that time to wipe down your model cars if they are dusty or sticky.
Now the fun part!
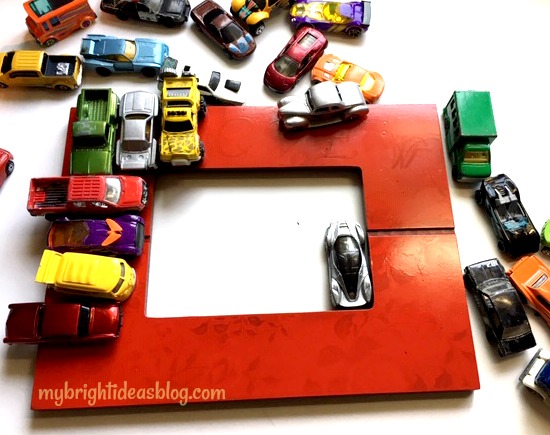
Arrange all the cars around the frame. I used 26 cars in total and would you believe my goodwill bags had 27. If your frame was narrower you could have them hood to bumper around the perimeter of the frame…like a traffic jam. This wide frame was a perfect for my parking lot.
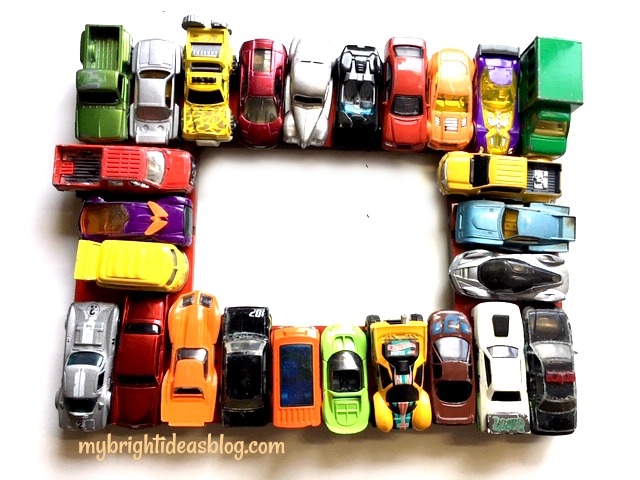
Watch for variety in color as you place the cars around the frame.
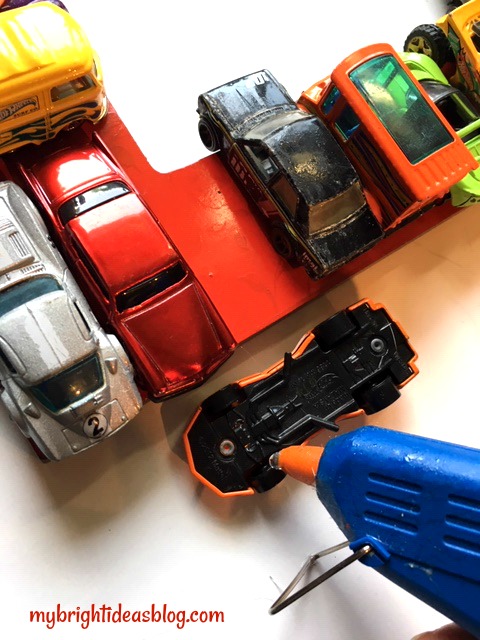
Next, you are ready to glue the toy cars onto the frame. Place a dot of hot glue on each wheel. These will be part of the car making contact with the frame.
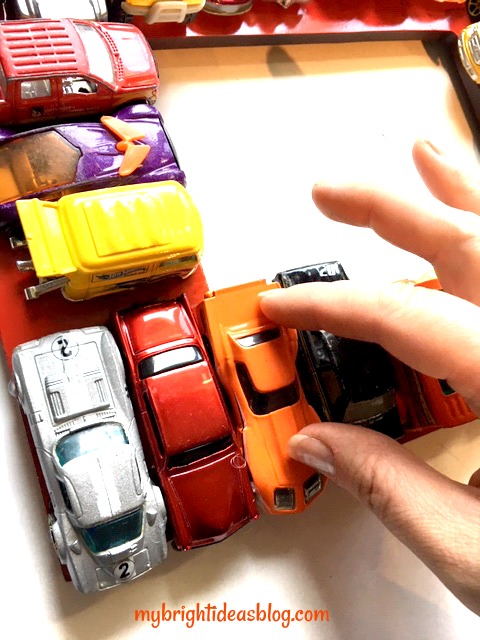
Put the car back in its place and press firmly. After attaching the toy cars and trucks all around the frame check each one again to make sure that they are secure.
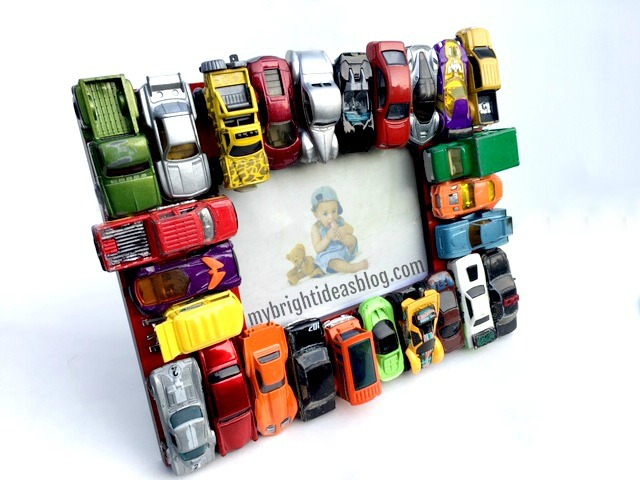
Since this frame will be sitting on a shelf I made sure that the bottom of the cars lined up closely on the bottom with no overhang. Otherwise it could be wobbly. Also, I should mention, that the frame is actually really heavy with 26 cars on it. Put it in a place where it won’t get knocked and fall on a toddler.

That is all there is to this project! Have fun!