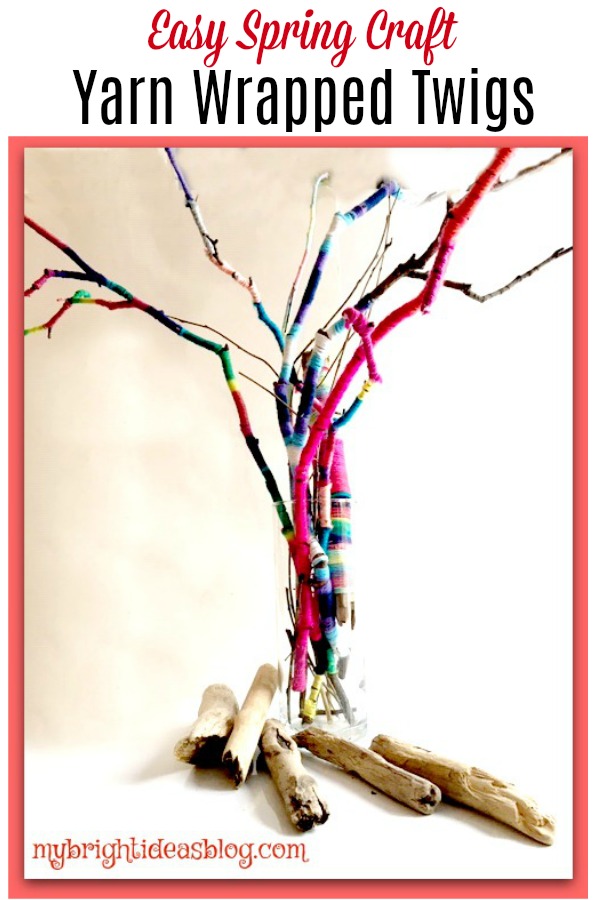
Want to add some spring colours to your home? Why not try wrapping yarn around some sticks?
Part of my inspiration:
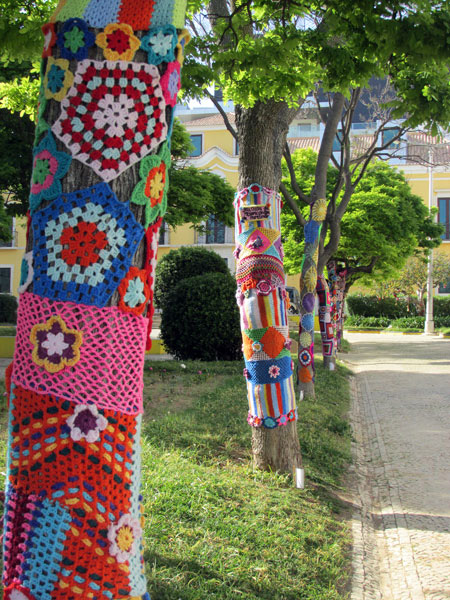
Have you heard of yarn bombing? If you haven’t you really should google it. It’s hilariously amazing! People are knitting or crocheting a sort of non permanent graffiti. You might find a park bench, bike, phone booth or a tree that is literally wearing a perfectly fitting, bright coloured sweater! Sometimes the crafter that does it wants to make a point and sometimes it just adding color to something grey and sterile like a light post.
https://algarveblog.net/2014/05/05/yarn-bombing-in-portimao/
Here is just one cheery photo so you can see what I mean!
Anyhoo the photos people have posted make me so happy but I can’t knit or crochet ask my friends Lana and Gen who just attempted to teach me how-they were patient but it didn’t take I’m afraid. Someday I will give it another try but for now here is my happy alternative.
It’s so easy and cheerful you are going to love this craft idea!
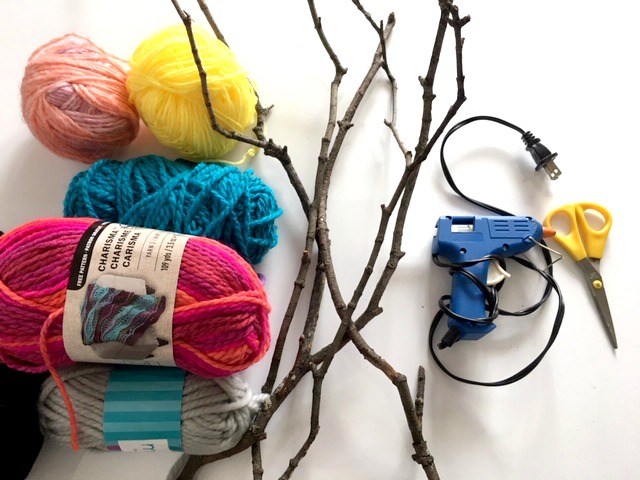
You will need:
- sticks
- yarn
- hot glue (optional)
- scissors
- vase
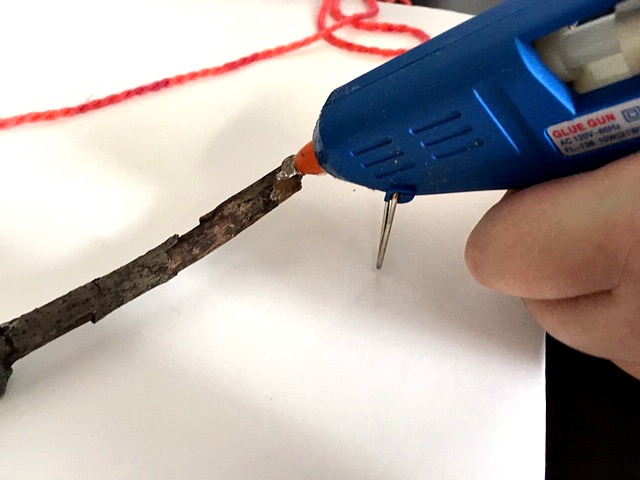
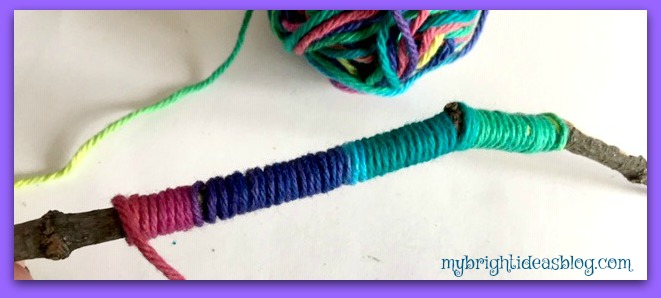
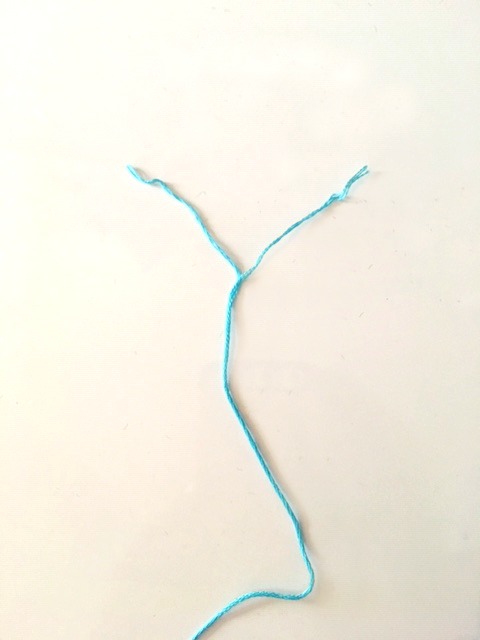
If you love your hot glue gun (as much as I do) start by adding a dab of glue to secure the end of the yarn.
If you don’t want to use hot glue then just tie a loop around the end of the stick and tuck the tail in-as you wind the yarn around the stick.
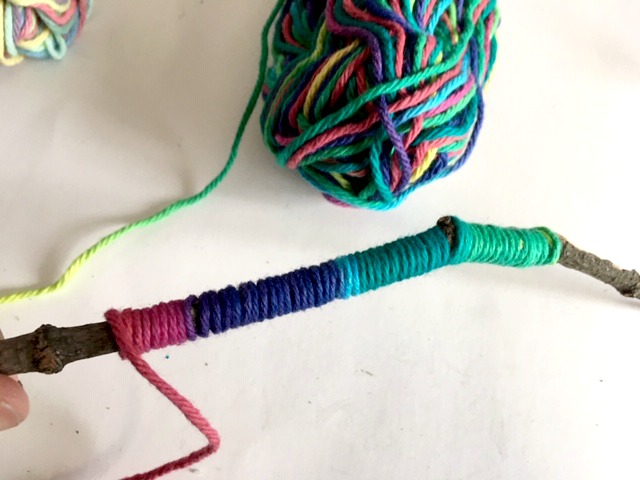
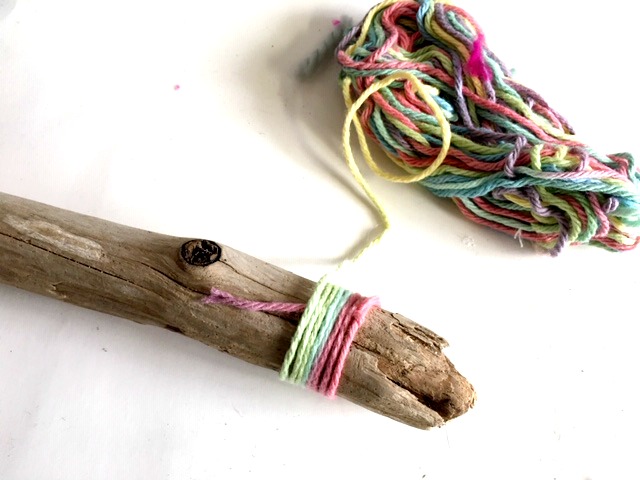
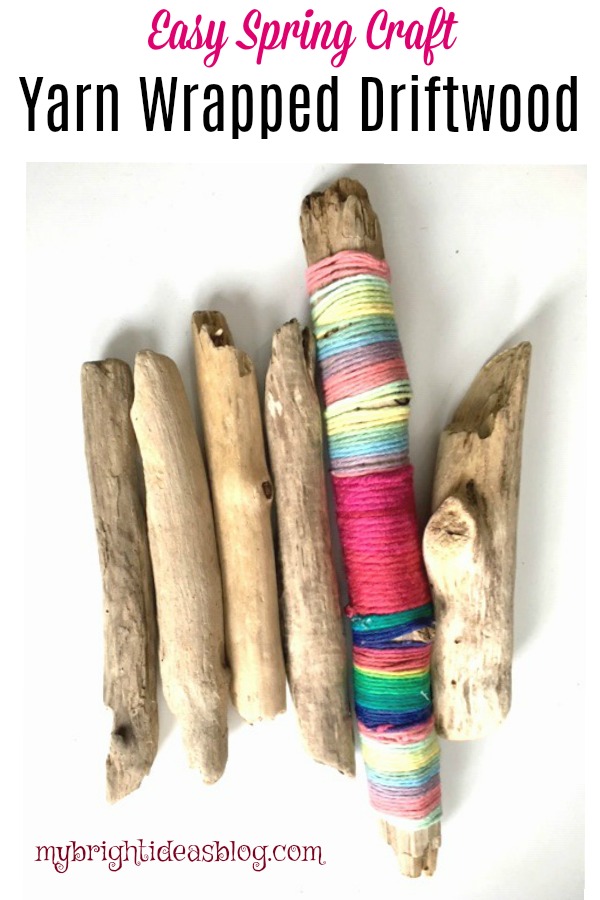
I really love the yarn that transitions the colours as you go. Its very smooth looking and only need to deal with the end at the beginning and the end.
If you don’t have yarn on hand that transitions you can use several colors and just change them as you get an inch down the branch.
When you are done just snip the stray ends.
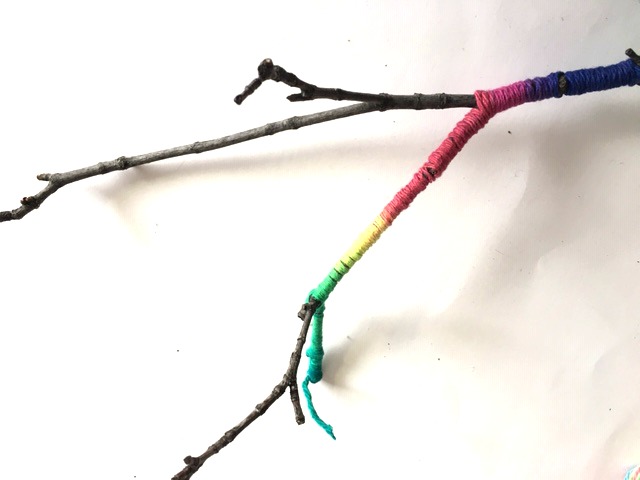
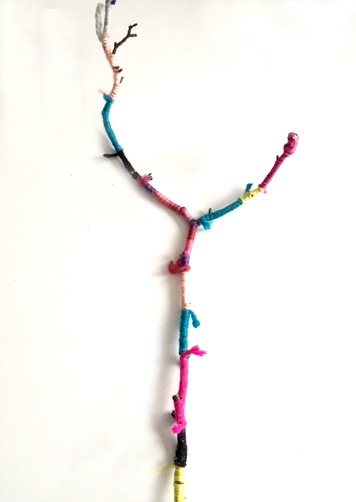
When you get to a split in the twig’s branches continue down one side and then go back to complete the other stems.
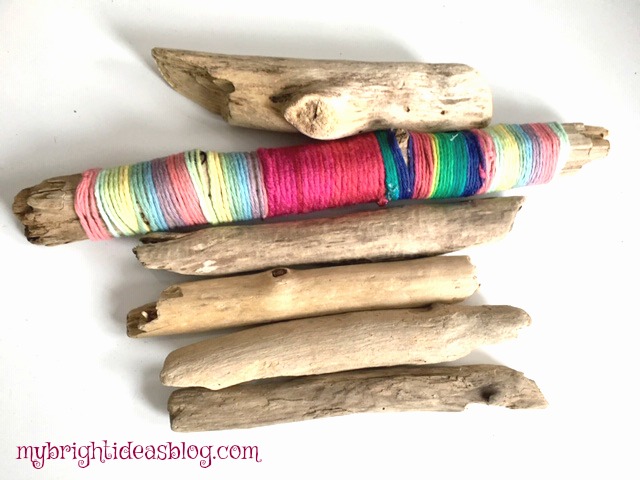
Using drift wood is even easier to manage.
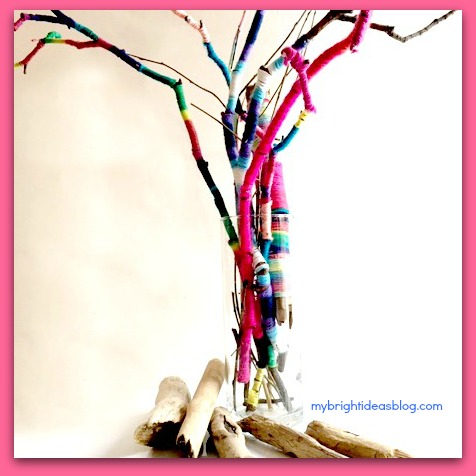
This took my 11 year old daughter and I an hour to do all of the sticks in the vase. We both enjoyed doing this. It was kind of an easy, soothing craft. It made a great mother daughter moment to stop and talk about things on our minds.
The results are very cheery decorative sticks with springtime colors that will go on a shelf or mantle.
Have a look at the other crafts linked below. I seem to enjoy the stick/twig projects. Mostly because they are free-out of the garden and something always need trimming.
Happy crafting!
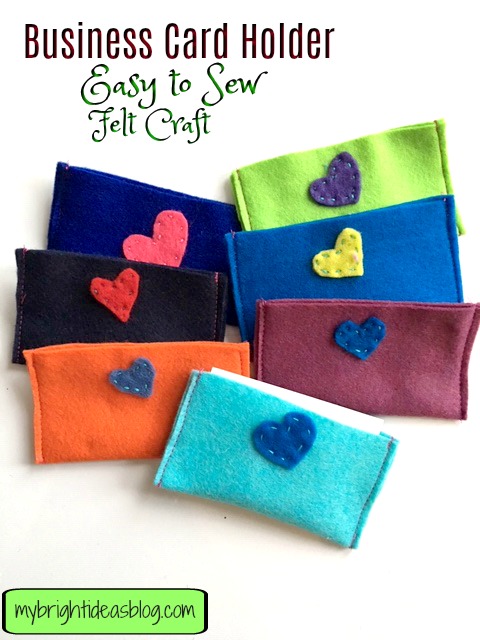
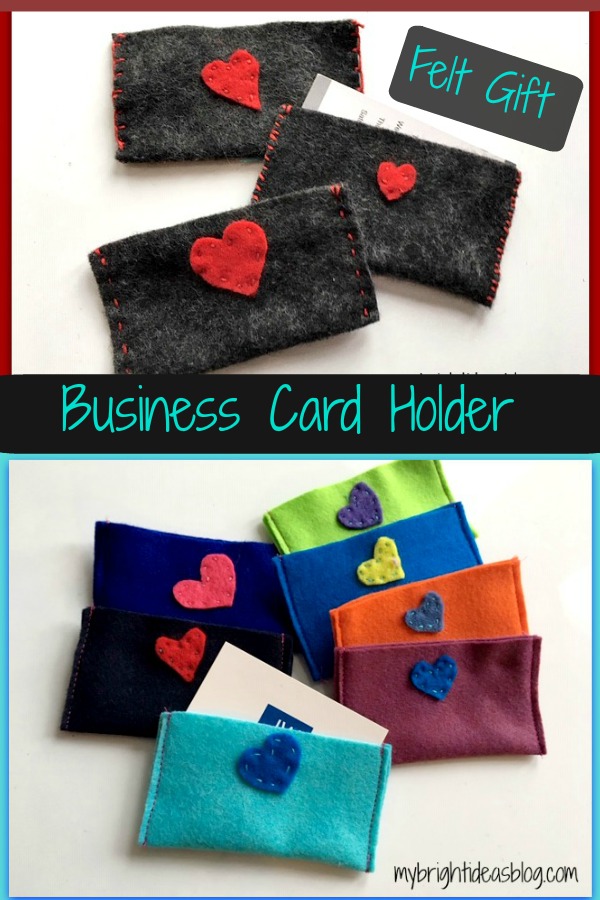
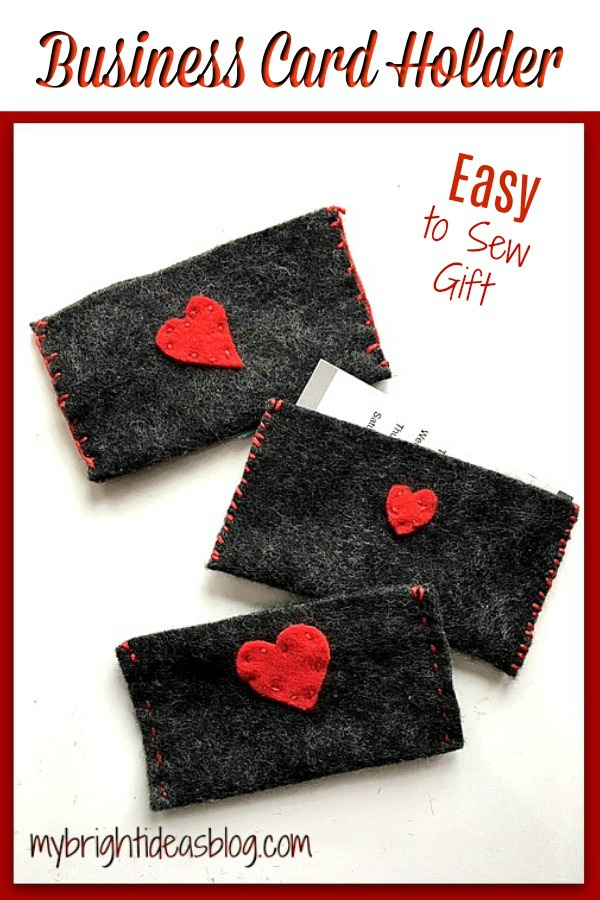
Felt Business Card Holder – Easy Kid’s Project!
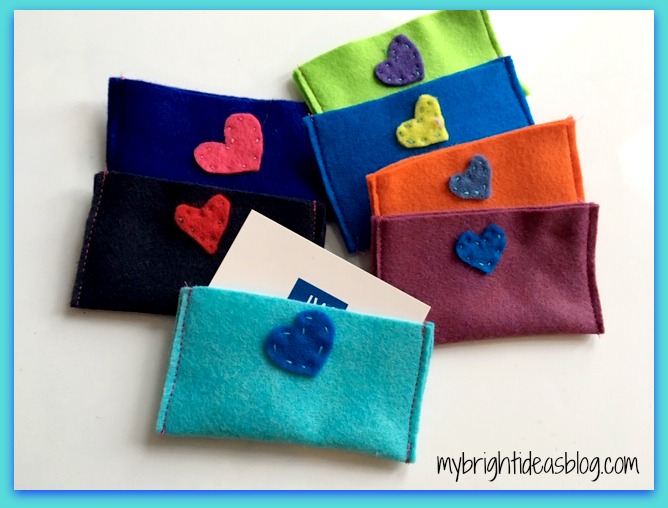
Learn how to make Business Card Holders out of Felt!
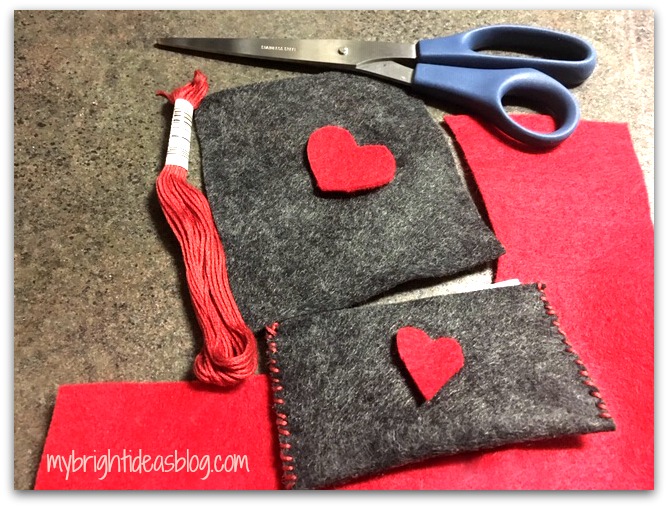
Looking for an Easy Sewing Project? Teach your child how to hand or machine sew with this quick gift idea. I’m going to show you how to make a felt business card holder with hearts or buttons for decoration and 3 ways to hand stitch.
We have a big event coming up where thousands of people from all over the world will be gathered and at the end swapping little gifts. So I have been searching for little homemade souvenirs for our family to give to the friends we meet. We might even get business cards printed-with our family email to put in the felt holder so we can become pen pals.
This seemed like an easy, fun, cute craft to make together. Plus teach some basic sewing skills…Brilliant!
You will need:
- 1 full piece of craft felt
- scrap pieces of felt for the heart
- scissors
- needle
- embroidery thread
- a business card
- sewing machine (optional)
- bright buttons (optional)
If you don’t already have felt and embroidery thread on hand you can get these from the dollar store, Walmart and craft stores.
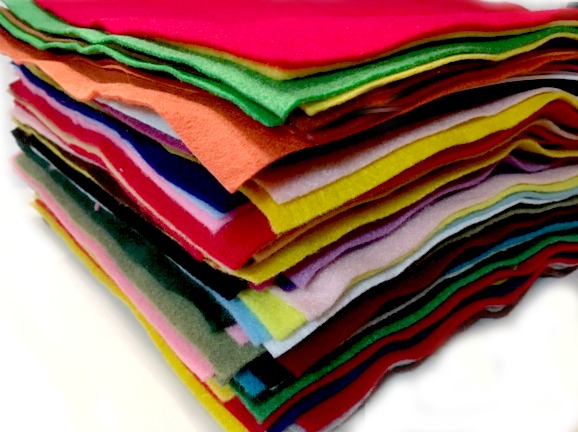
I must admit, I am a bit of a felt hoarder-so I have bought mine from several sources. I found the felt sold by Hobby Lobby for 33 cents was the best quality and value.
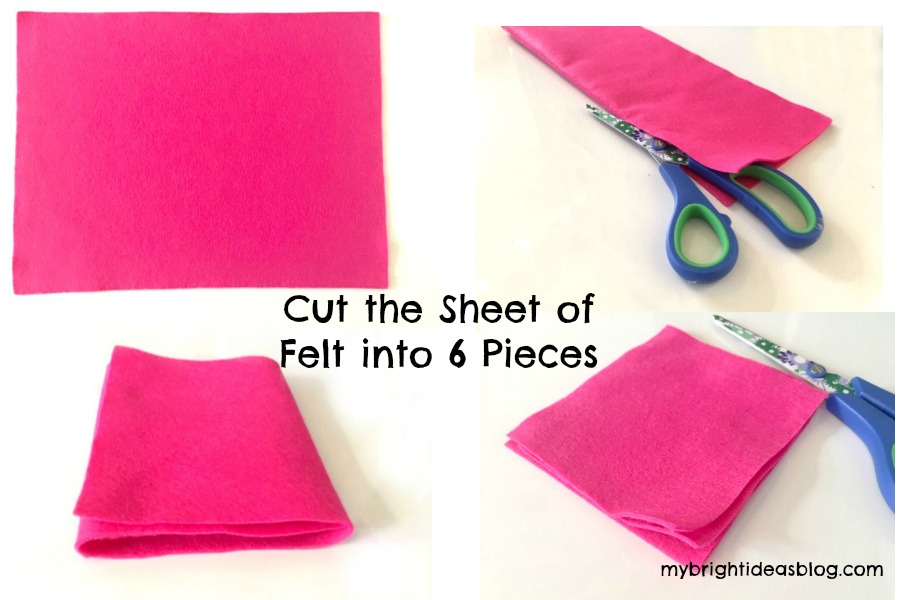
One sheet of felt is usually around 9 1/4 x 12 inches (24 x 30 cm). This is the perfect size to cut into 6 business card holders. Fold the sheet in half lengthwise and cut along the fold. Fold one of those pieces into thirds and cut on the fold. (bottom photos) In the end you should have 6 pieces 4 x 4 1/2 inches (10 x 12 cm).
Have a business card handy to make sure it fits.

To get started cut small love hearts to decorate the outside of the card holder.
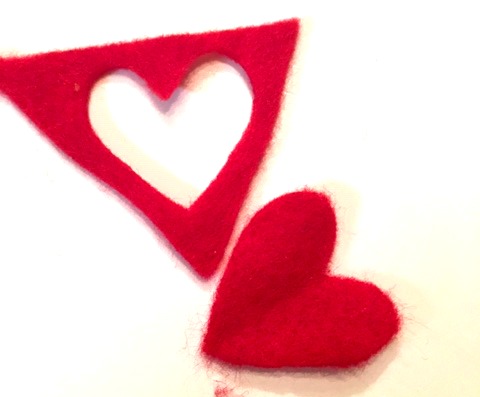
The easiest way to cut a heart is to fold the scrap of felt in half and then cut half the heart so both sides are the same.

Choose matching or contrast embroidery thread.
Divide regular embroidery thread into 2 sections of 3 strands each.
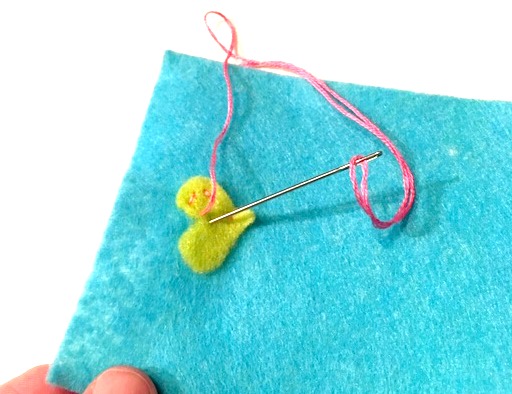
Knot the embroidery thread and begin sewing small stitches to attach the heart to the top of the felt.
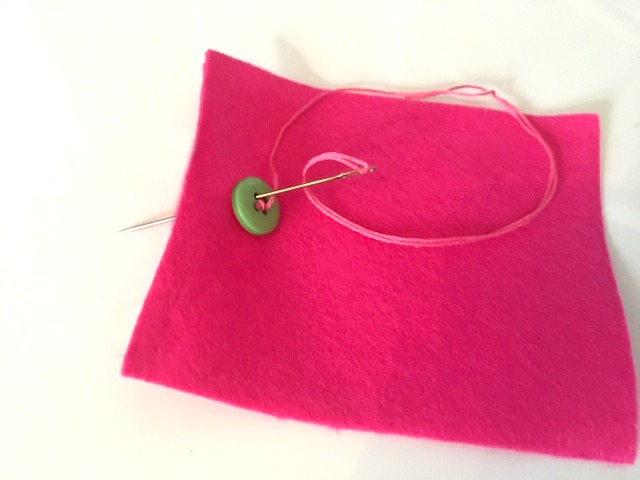
Another idea is just to sew a bright button on instead of a heart. Teaching your child how to sew a button on and a simple hand sewing could really be helpful later in life.
A side note: Would you believe that while I was proof reading this my hubby has handed me a pair of his work pants and a button that just fell off. That proves just my point-thanks dear!
Fold the felt in half to form the little folder to hold the business cards. Here are 3 options we tried for hand stitching.
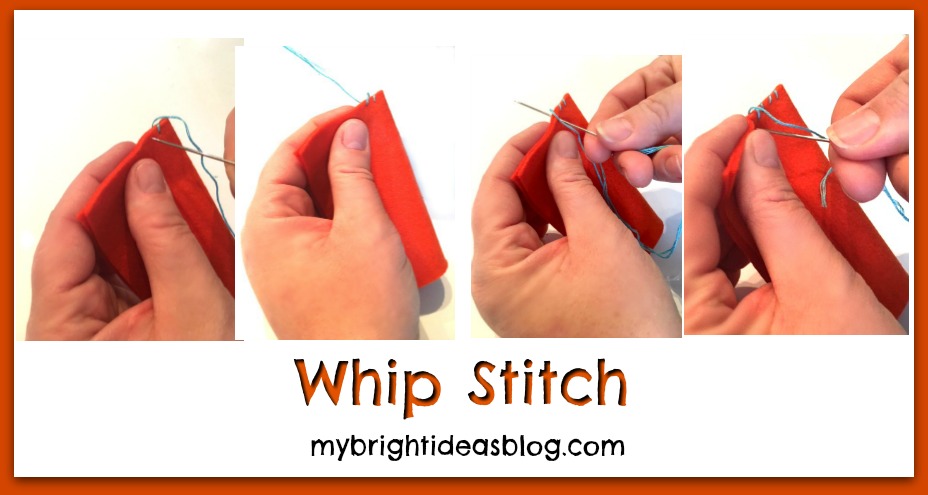
Whip Stitch: Knot the end of the thread and start on the inside of the fabric. Sewing in from the front and out the back and around. Back in the front a smidge to the left of the previous stitch.
![]()
Blanket Stitch: Start from the inside to hide the knotted end, then go through both layers. Stitches can be a bit further apart with the blanket stitch. Go in through the front of the fabric. As you pull the thread through, insert your needle through the loop and pull it securely to make your knot. Insert the needle into the front again the same distance from the previous stitches. At the final stitch go through a second time to make that knot and then insert your needle between the two layers of fabric and cut the thread.
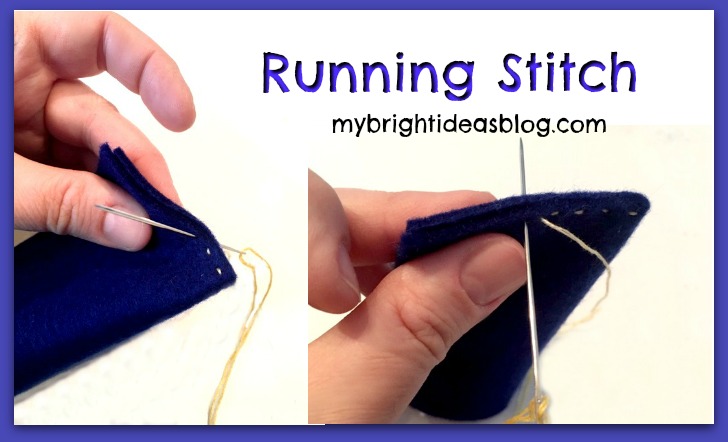
Running Stitch: Knot the embroidery floss and begin on the inside to hide the knotted end. Use a running stitch to go in and out all the way up both edges.
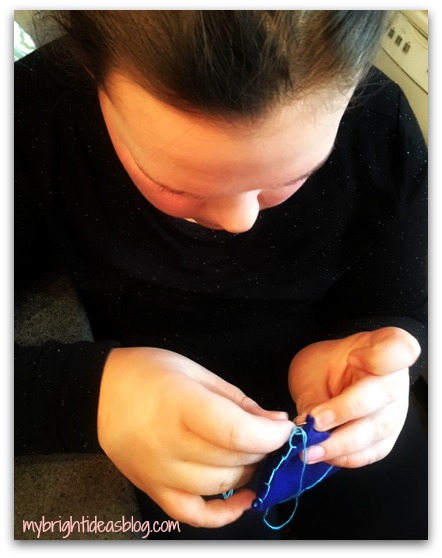
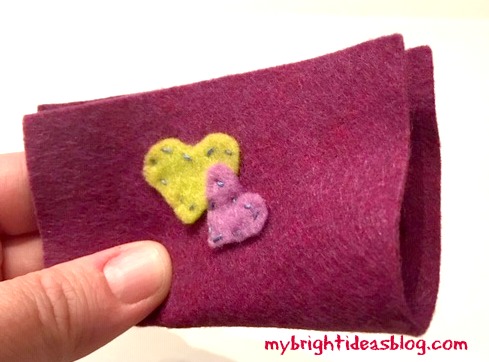
My 11 year old preferred the blanket stitch. Not bad for her first attempt.
She also liked having one small heart over a larger heart.
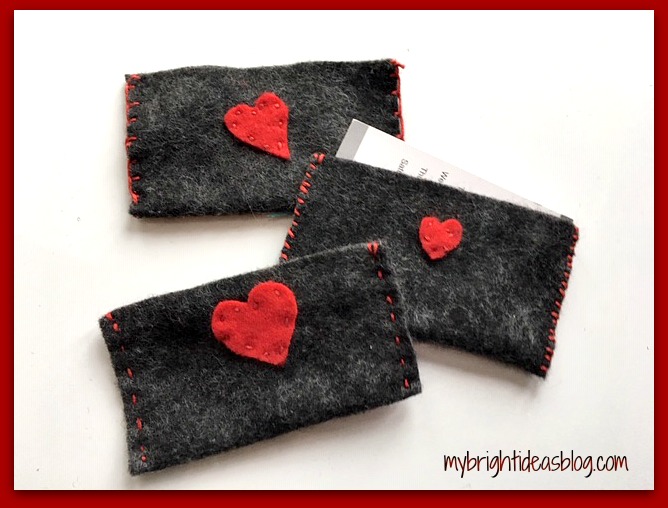
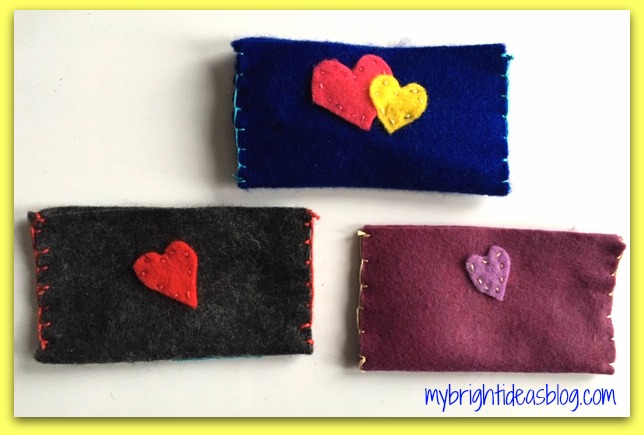
The grey felt with red hearts with red stitching looks pretty good!
Option 2
To make the process faster (as I mentioned we want to make a lot of them)…we sewed the hearts on first and got a little bit faster with each one.
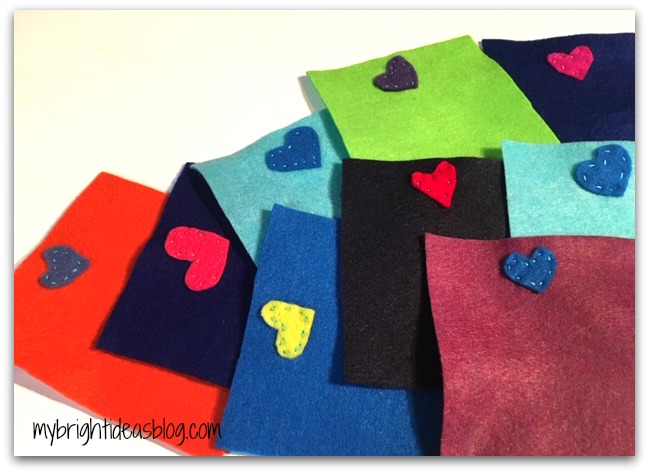
We hand sewed 10 hearts onto squares of felt and ran them through the sewing machine to make a tidy edge.
Could this get any easier! What a great idea…I want to thank my friend Ashley for sparking this idea over dinner last week. Great food, lovely ladies and a bit of craft talk snuck into to the evening…my favorite!
On this blustery, winter day you might be inspired to work with felt too! I have added links to a few of my posts from last year for you skim through and see if an idea is sparked for you too.
Sew a Super Easy to Make Felt Crown – Add to your dress up clothes!
100th Day of School Celebration-Glue Buttons on a shirt for a Gumball Machine
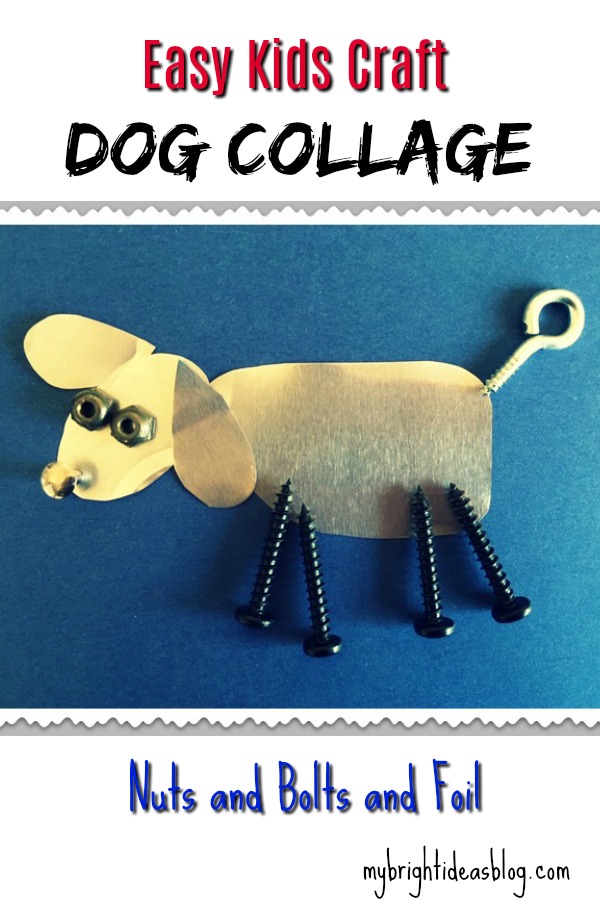
Easy Kids Craft – Foil, Nuts and Bolts Art
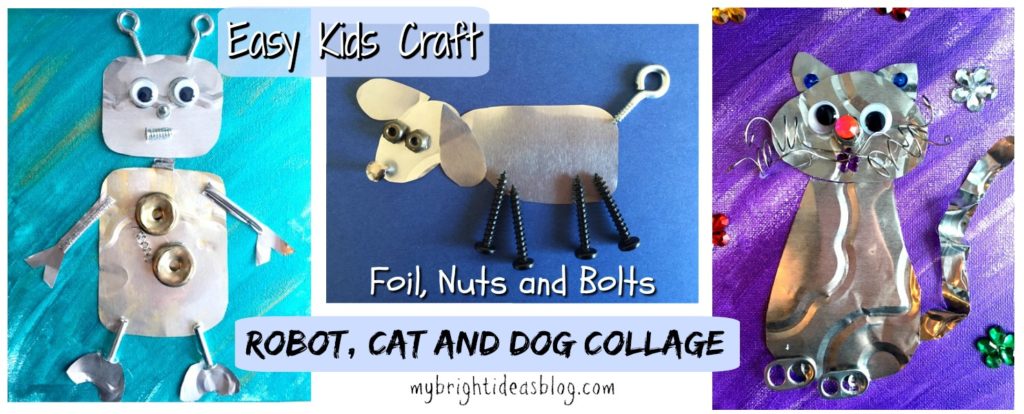
Today’s craft goal is create something fabulous but only use things you already have. Nuts, bolts, a foil cake pan… all of these things can be turned into a super cool craft and wall art for a kids room. We made a robot, a cat and a dog for our examples. But you feel free to let your imagination run wild.
You will need:
- an 8×10 canvas or piece of cardboard
- nuts and bolts and odds and ends
- a foil cake dish
- metallic craft paint and paint brush
- googly eyes (optional)
- scissors
- hot glue gun (or regular glue)
- a sharpie
Warning: This project is intended for older children not toddlers who might put these things in their mouths. Keep an eye on the little parts used for this. It could be sharp or a choking hazard for babies and pets.
Be safe lovely crafters!
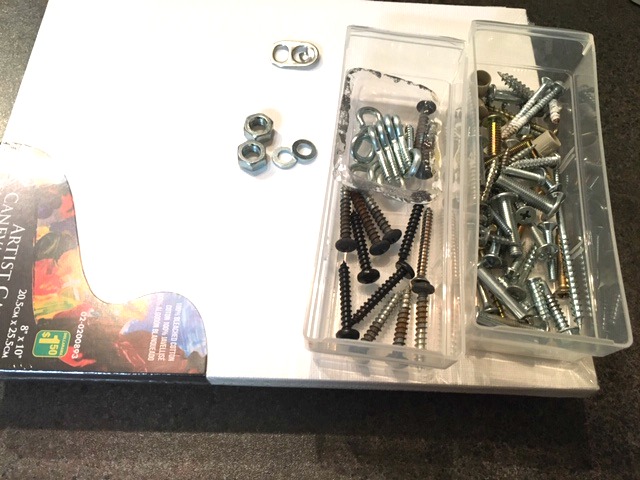
I’m just assuming that everyone out there has a few little miscellaneous drawers of screws from old projects and furniture that won’t be missed if we use them for a random craft project.
The canvas iwas a dollar store purchase. You can get the foil cake pan there too. Or you could just buy a cake or food in one of these pans and do the craft after you’ve licked it clean! :o)
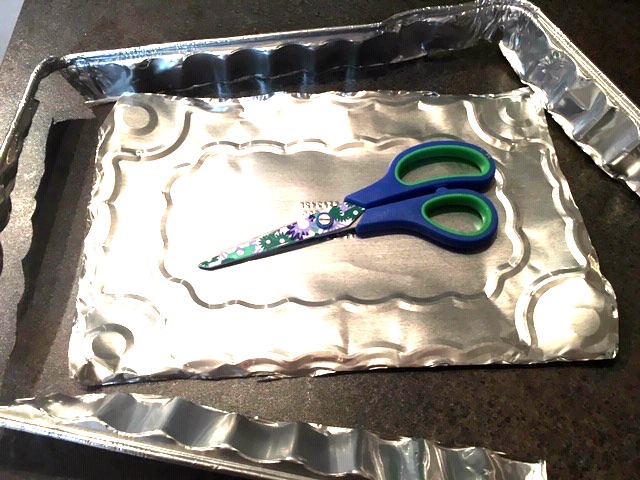
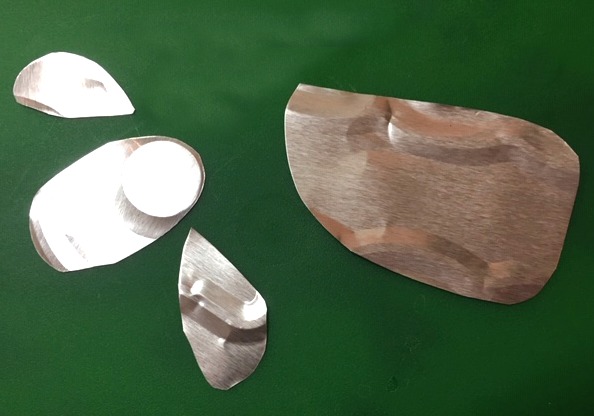
To prepare for this craft, cut out the bottom of the cake pan.
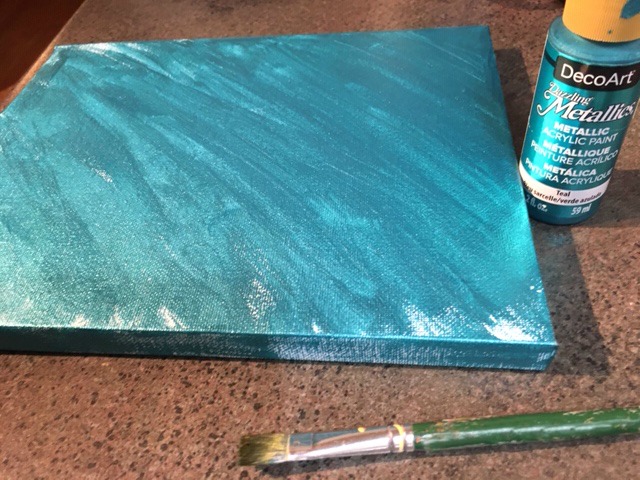
Paint your base canvas. I used metallic paint colours. If you don’t have a canvas just cut a piece of thick carboard to size and paint it.
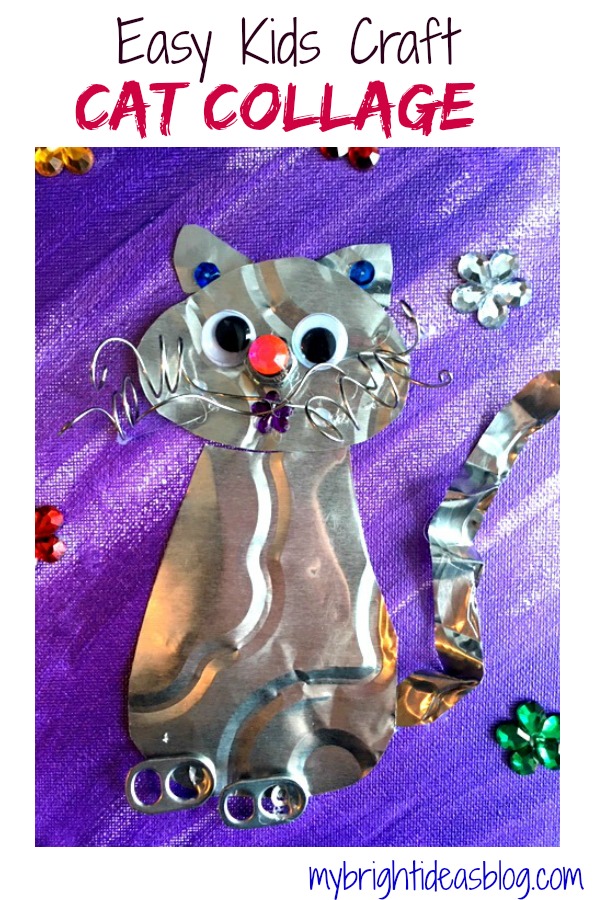
Cat
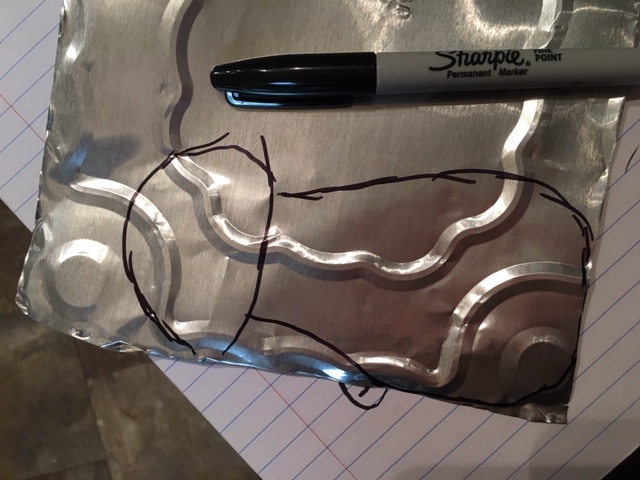
Draw the shape onto the foil with a sharpie. It doesn’t stay permanent on the cake pan foil right away so you can wipe it off if you make a mistake.
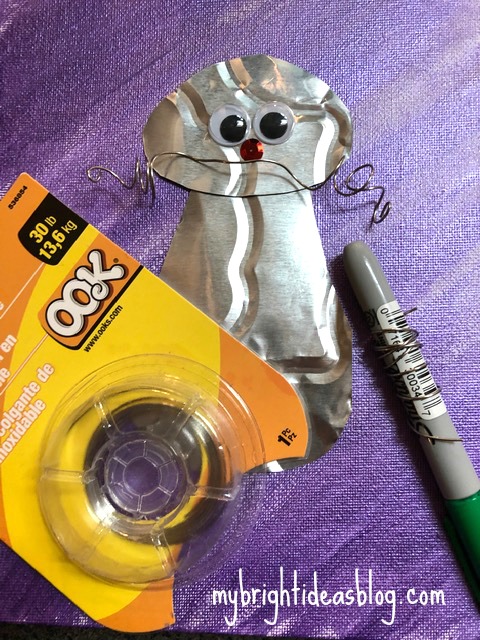
Lay out the pieces before you hot glue them to the canvas. To make the spiral for the cat’s whiskers I wrapped a wire around a pen. Then I stretched the wire out a bit so it looked a bit crazy. Wire is a bit hard to glue on. Find some points that will be touching the canvas and add a drop of hot glue to just those spots.
I used a bolt for the cat’s nose and then put a gem on top. For the tail I took a part of the edge of the pan and scrunched it a bit to give it extra wave. Secure it with a few dots of glue to the canvas.
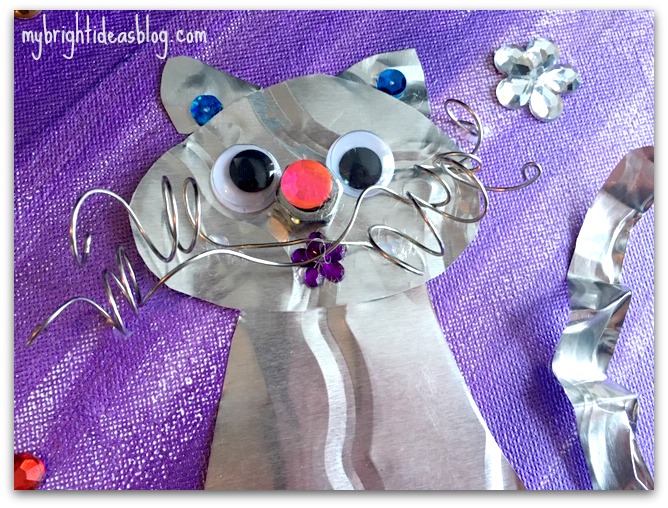
The one gem on her nose looked so nice-I added one for the mouth, 2 for the ears and some big ones randomly around the cat.
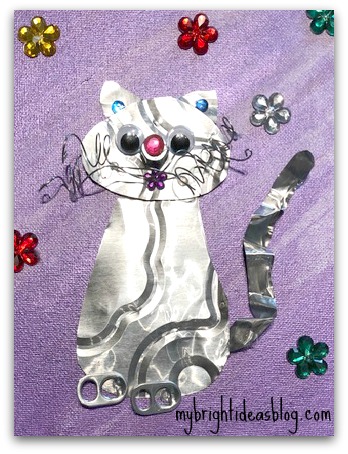
I almost forgot to mention the two pop can tabs were added for feet!
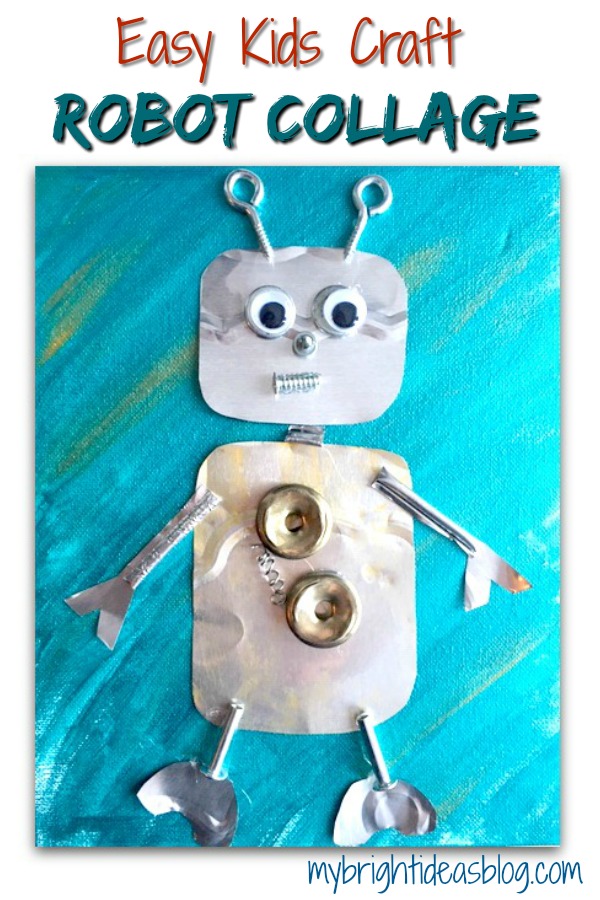
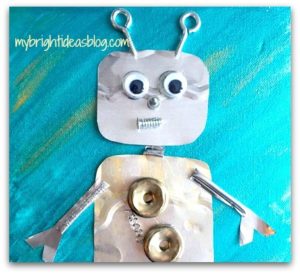
Robot
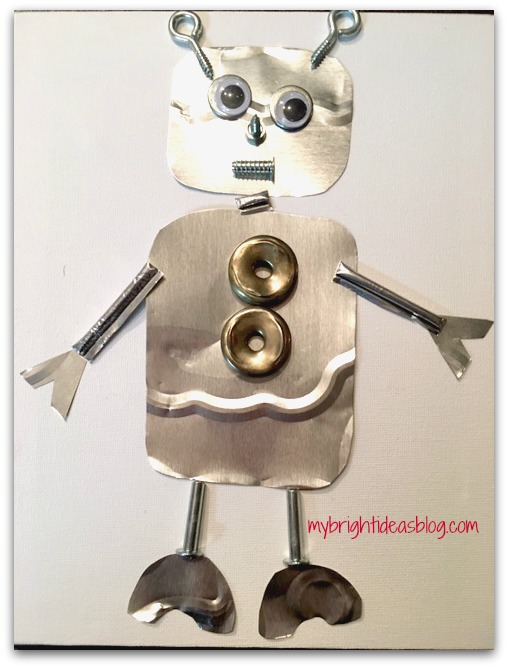
Again for the Robot, lay out your materials and arrange them together for the collage.
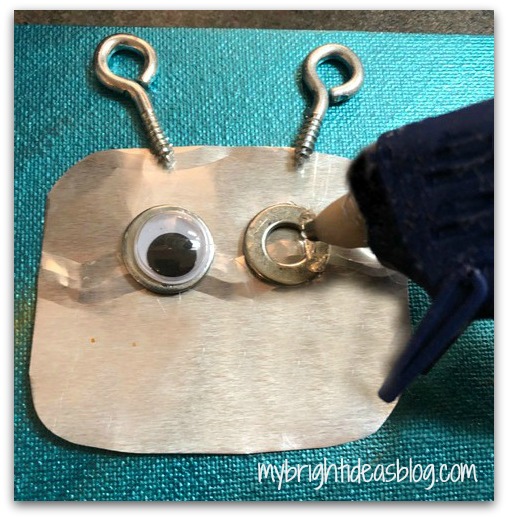
Secure each item with glue to the pre-painted canvas.
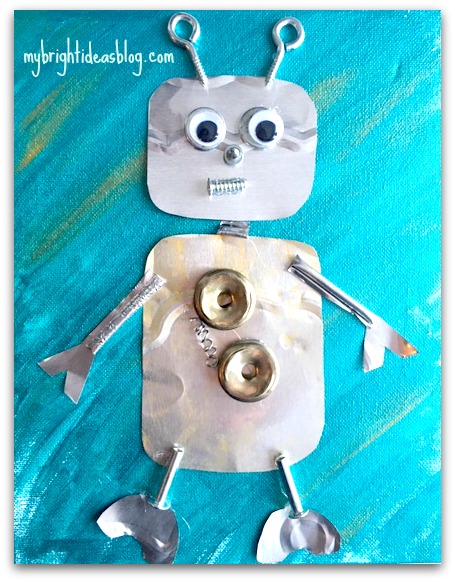
The robot is made of 2 squares with rounded corners. A few miscellaneous items from the junk drawer and cut up scraps from the foil cake pan. The wire on the middle of the robot is the same wire from the cat project but it looks smaller because I wound around a smaller object. If you have a spring from an old pen it would be similar.
This robot turned out great! You’ll love how the metal of the foil reflects the light.
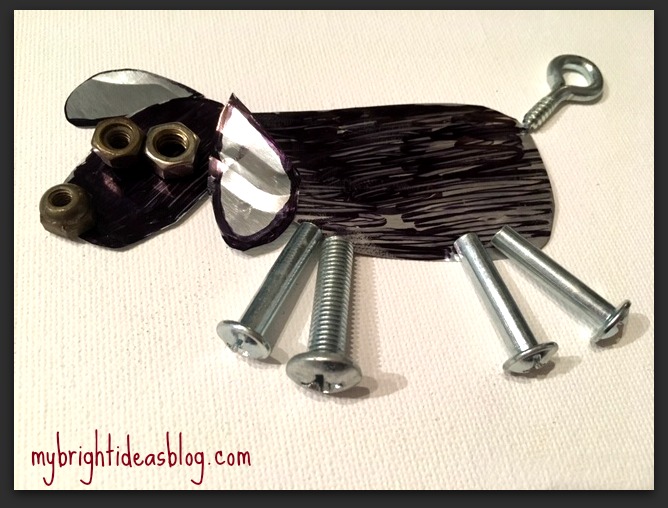
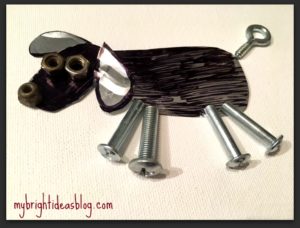
Dog
The dog is simply 4 pieces cut out of the cake pan.
I made one on a white canvas so I colored it in with black sharpie.
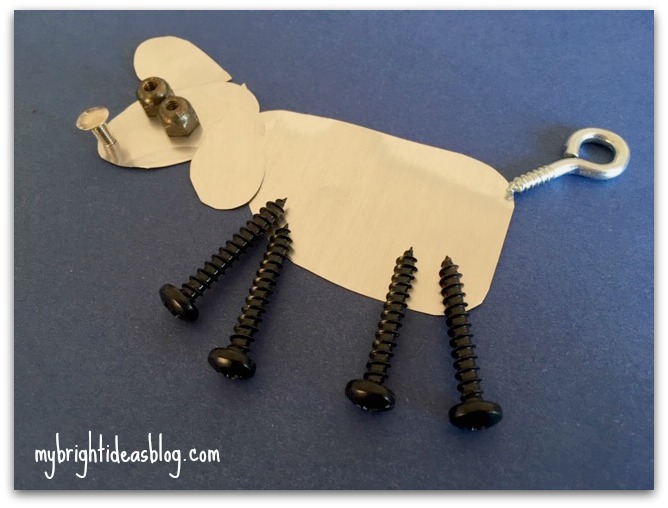
I also make another one on a piece of dark blue cardstock. The foil cake pan looks white in this photo but its still metallic silver. I think it looks like a sheep! Bahhhhh.
This was a super easy and fun craft to make!

Here are some previous blog posts with simple fun projects for the kids!