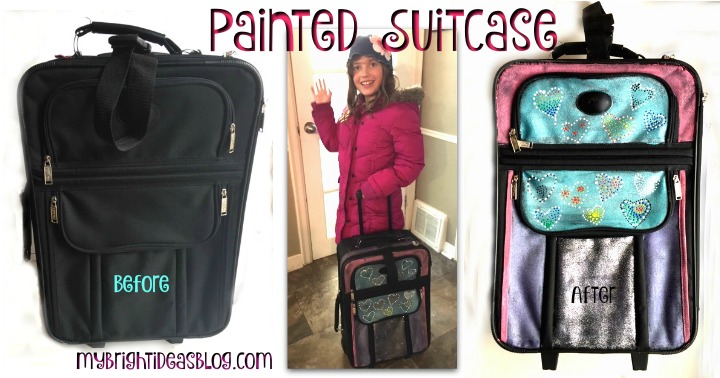
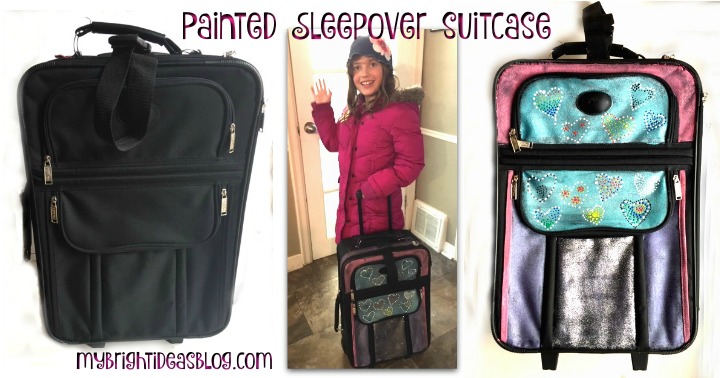
Today we personalized a boring black suitcase with craft and fabric paint! It turned out amazing.
If you have ever been to the airport you will know that the classic black suitcase is still the most popular. This makes it difficult to determine which suitcase is yours, there could be dozens of black suitcases on the carousel. If all you have on it, to identify your bag is your address, you are going to be there a while.
Let’s save you some time and make your bag stand out from the crowd and get you on your way.
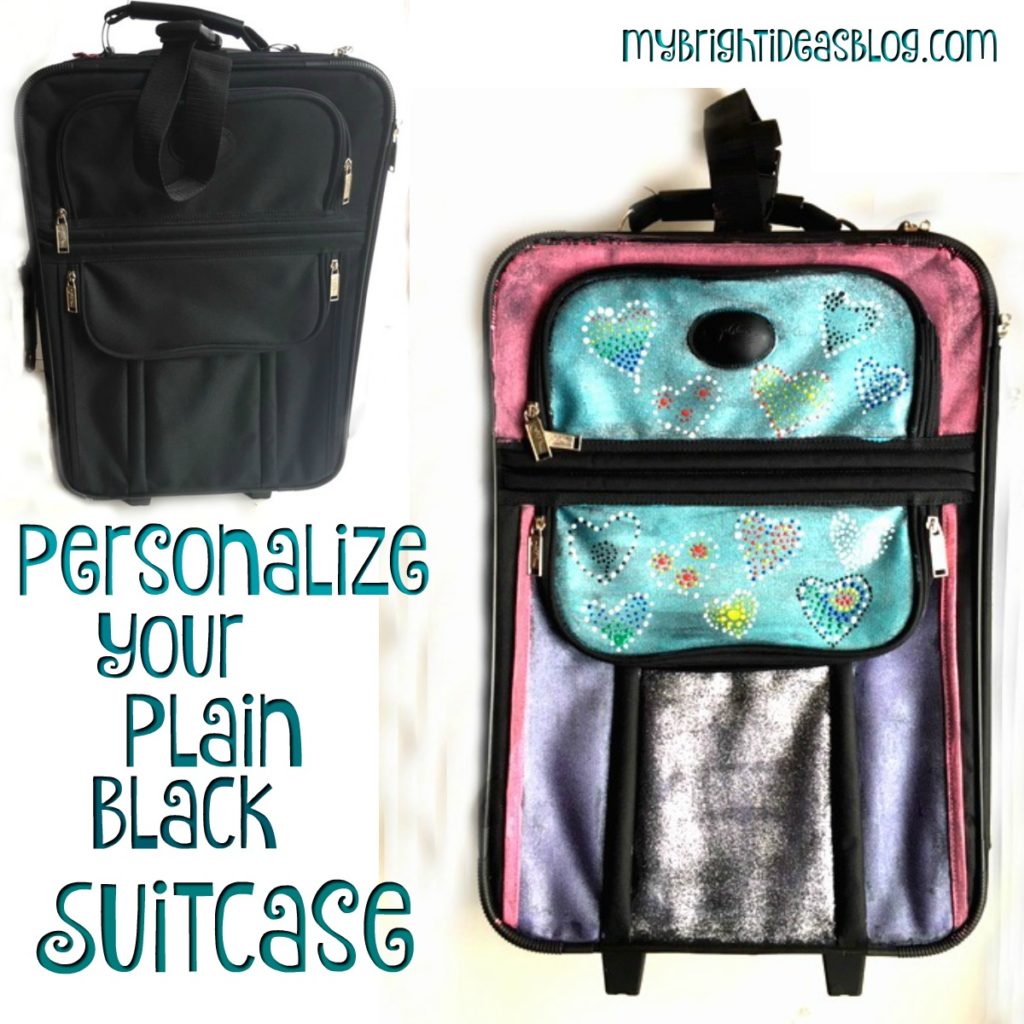
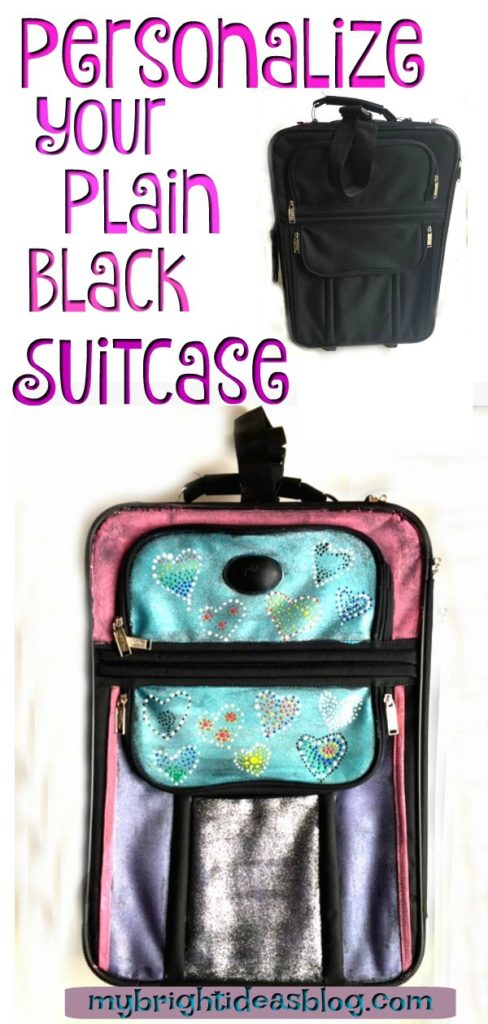
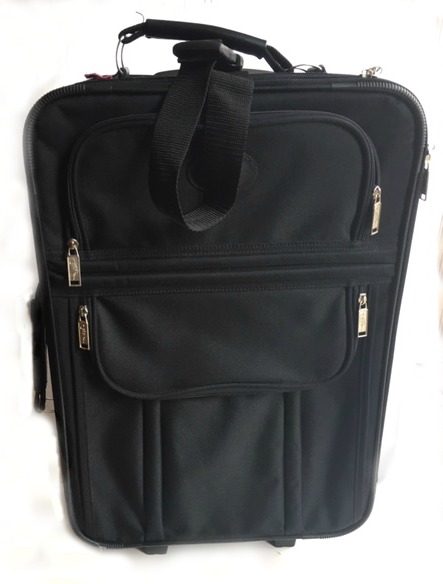 Introducing the black suitcase. Zzzzz boring…. Zero personality. Why not turn it into something really special. Your own work of art.
If its your tween’s bag maybe its shouting for some glitter. I’ve even seen some funny messages painted on it like…”Going to Gramma’s, Where Life is Good!!” Sleep over at the grandparents house? or “Oh the places you’ll go” or “I love you to the moon and back” which I could totally see on a bag for a child going to camp. There are some really great ideas for vintage suitcases too.
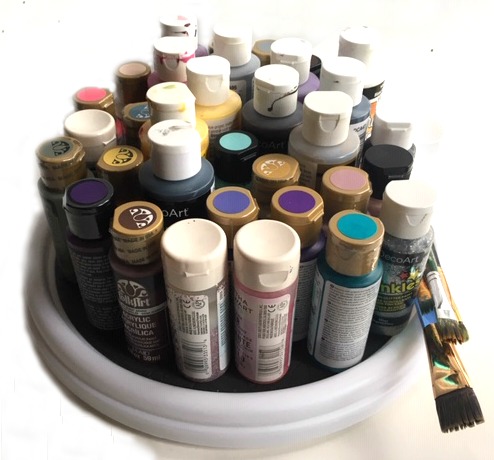 You will need:
- multi-surface craft paint
- paint brushes
- fabric dimensional paint (optional for details)
- clear spray sealer (optional for extra protection)
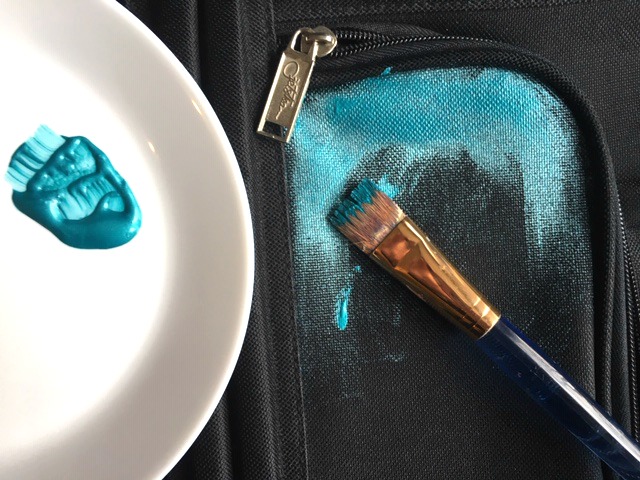
I started with metallic paint from Deco-Art in Teal. Its just a multi-surface craft paint from the craft store. Treat your suitcase like a canvas and start with your base colours for your design.
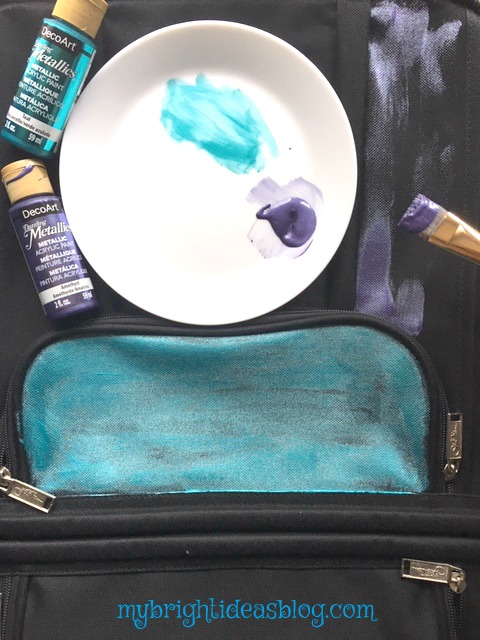
After I finished painting a pocket with “Metallic Teal” I moved on to painting the side panels with “Metallic Amethyst” purple from Deco-Art. I did go back and do another coat of these colours as needed.
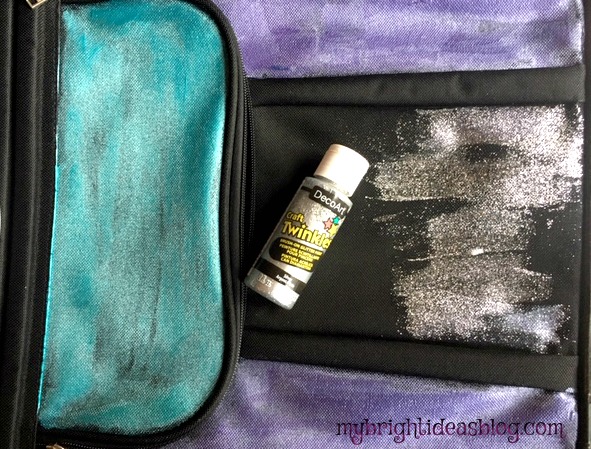
For the centre panel I used Deco-Art Silver Twinkles. The silver glitter paint really added some wow factor. Now my 8 year old would like it in her room to hold her stuffed animals.
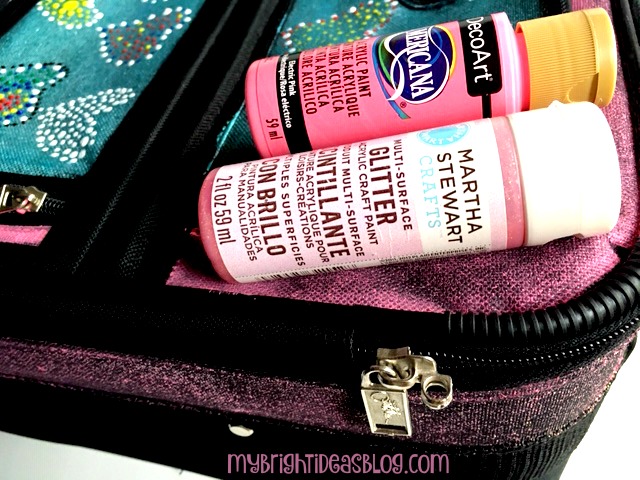
The edge was done with Martha Stewart Glitter paint by itself.
The front pink areas were done with a mixture of Martha Stewart Glitter paint mixed with DecoArt Electric Pink.
I should mention that if you get paint on the plastic parts of the suitcase you can wait until it dries and scrape it off with a finger nail. Having a damp piece of paper towel handy is good idea too.
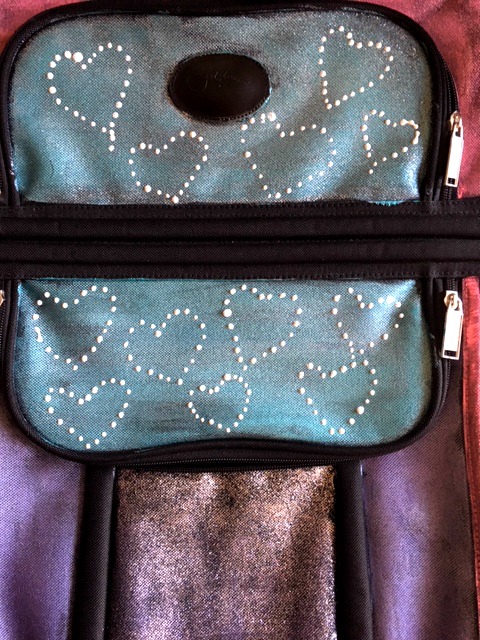
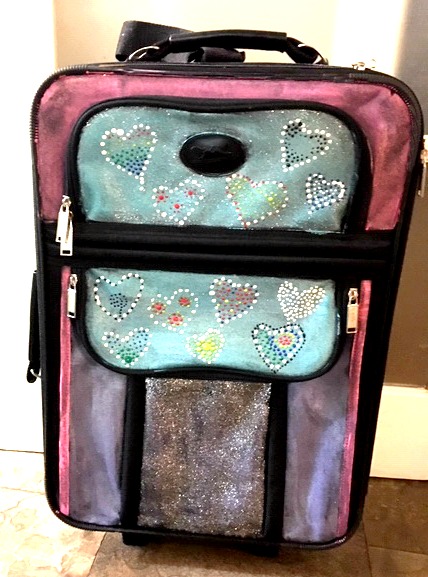
![]() Now, it looks fabulous without going onto the next step. Already its a one of a kind suitcase that is unmistakably my own.
Now, it looks fabulous without going onto the next step. Already its a one of a kind suitcase that is unmistakably my own.
It’s at this point that you have to decide whether to keep going with embellishments or stop while your ahead.
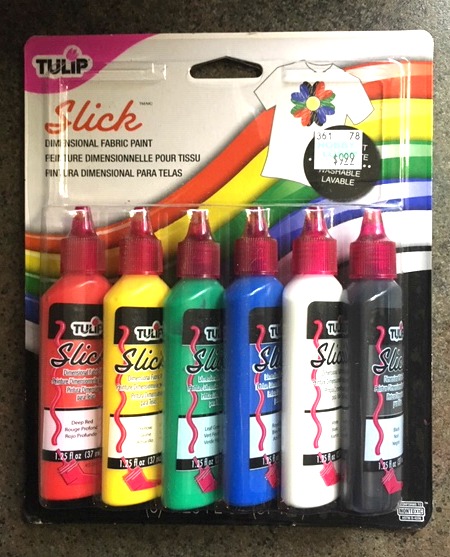
I carried on with some Tulip Slick fabric paint. This was $9.99 at Hobby Lobby but I had a coupon. This package has black, white, green, red, blue and yellow. You can purchase individual colours if you don’t need 6. I wish I had some metallic colours on hand for this but I used what I had.
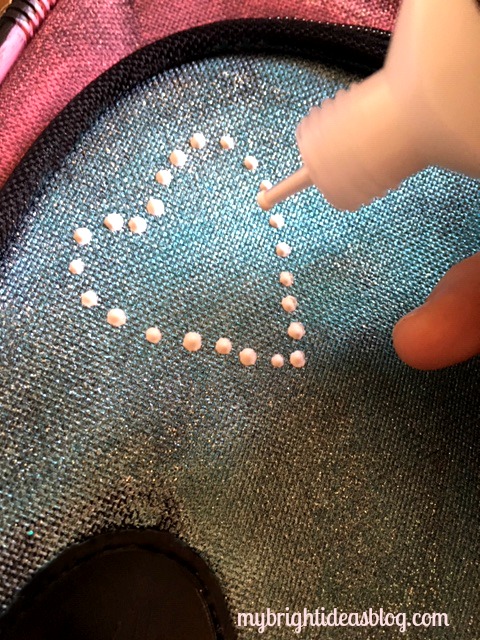
These fabric paint bottles are great for writing because of the fine tip. I like doing dots with them.
Should we stop with just white hearts or keep going? Decisions, decisions….
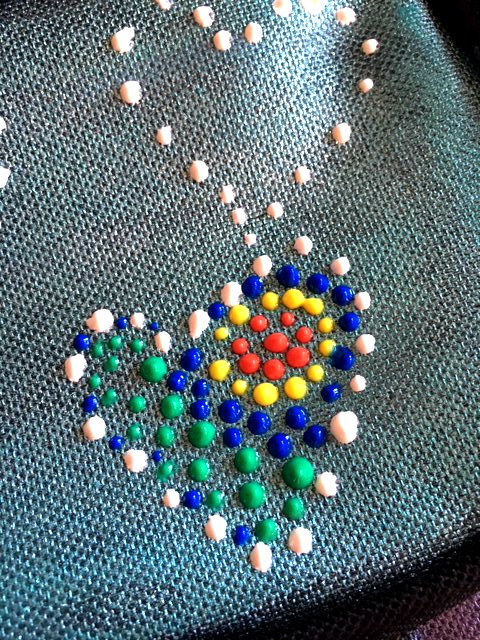
So of course, I kept going and filled in the hearts with more dot designs.
When you are finished, you may want to spray with a clear protective coat if you are going to using it a lot and its going to be tossed around in the airports.
The carry-on size suitcase would be perfect if you take your craft supplies with you to work with friends or classes.
I have seen where sewing pros have embroidered something onto fabric and then mod-podged the fabric onto their bags. Why not! If your using this for crafts you could put your name on it. But I wouldn’t write a name or phone number on it if you use it for travelling just for safety sake. Maybe a monogram though.
…
This goes to show you how you can make art out of anything.
Happy Crafting Friends! See you again soon!
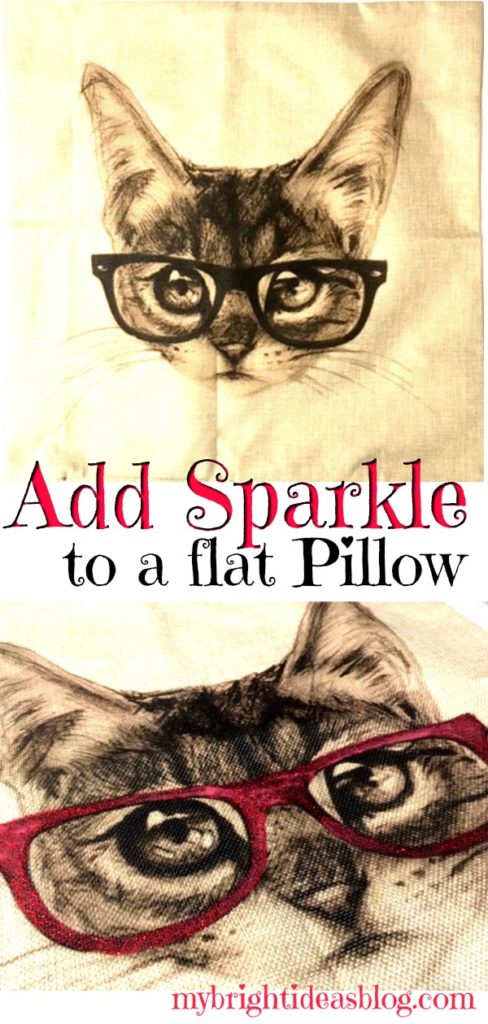
Add Glitter and Sparkle to a Drab Pillow
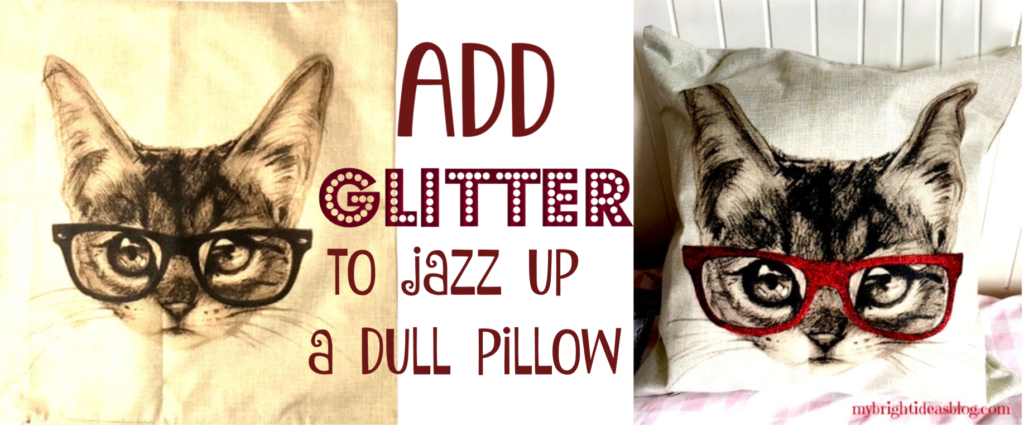
Have you ever seen a black and white print on a pillow or t-shirt and thought…this is a bit dull…how can I jazz this up? Maybe a bit of glitter paint is needed.
A while ago, I purchased a lot of pillows from Ebay for super cheap…Like $4 each. The price was ridiculous…and so was the quantity I bought! Now I had lots and lots of gifts to give to cat and dog lovers. and housewarming presents.
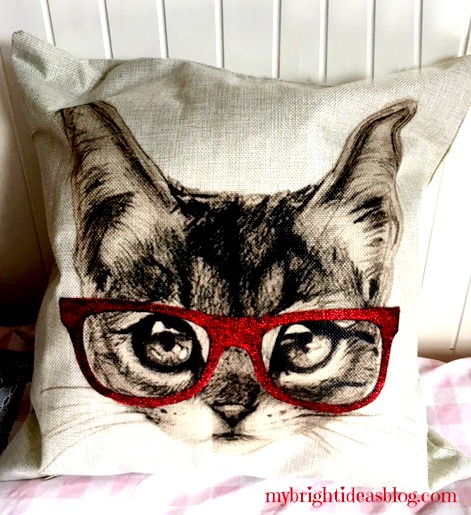
I really like these two pillows but…. Boring…zzzzz
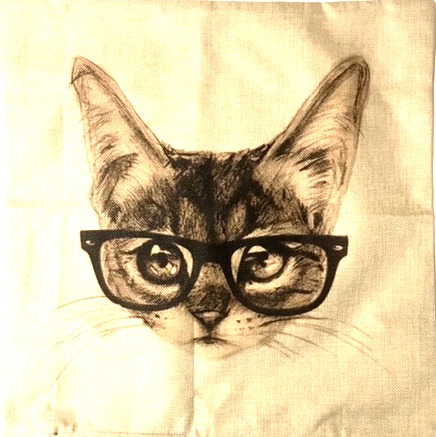
I love this black and white cat but after a while I thought it was a bit flat. So out came a paint brush and the sparkle paint.
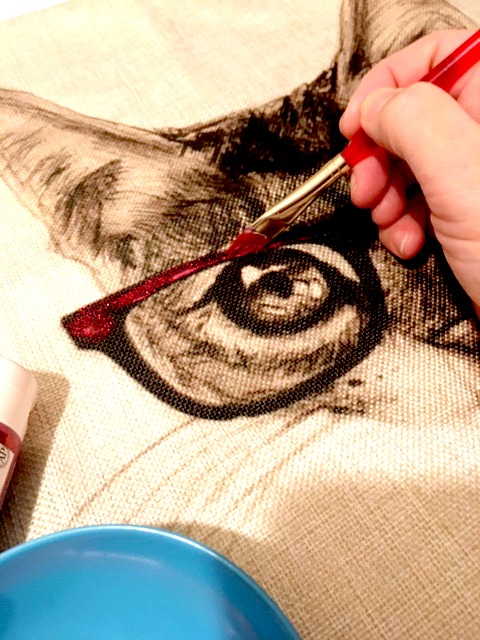
I tested the glitter paint I had on hand before I put it on the pillow. I don’t like having a trail of glitter after a craft. So I tested the Martha Stewart Multi-surface Glitter paint.
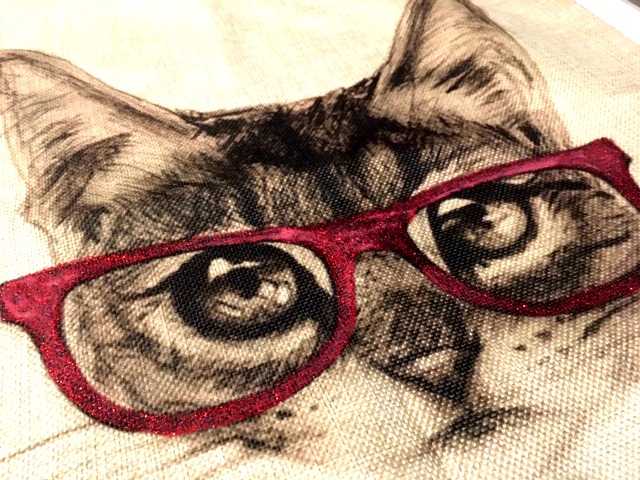
Now that makes it pop!
Here is another one…
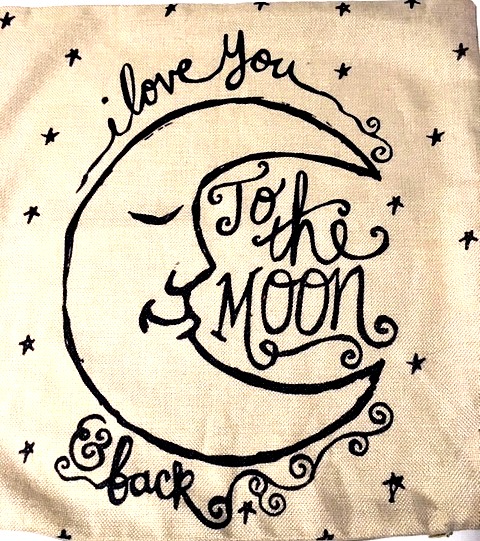
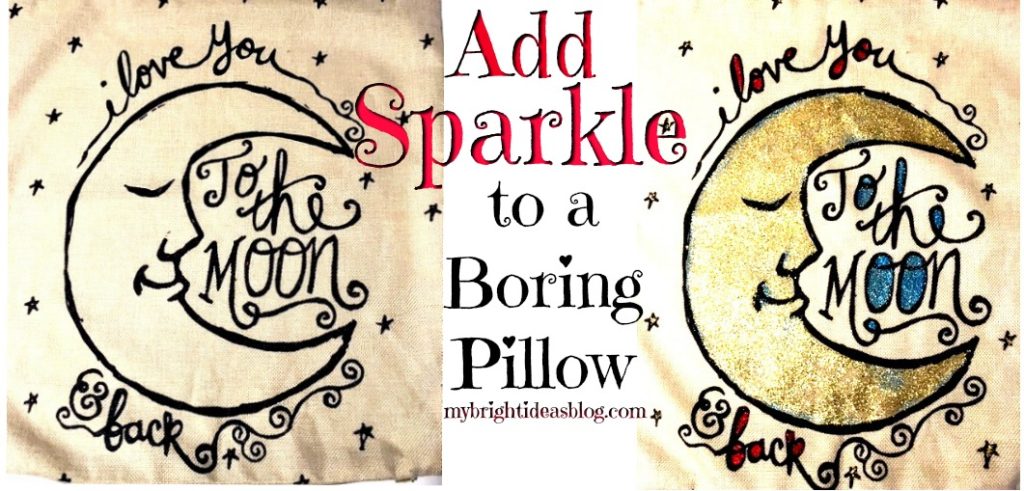
I must confess, I will buy just about anything that says “I love you to the moon and back”. It’s something my youngest and I have said for years especially when I tuck her in at night. This pillow is sweet but also a bit plain Jane.
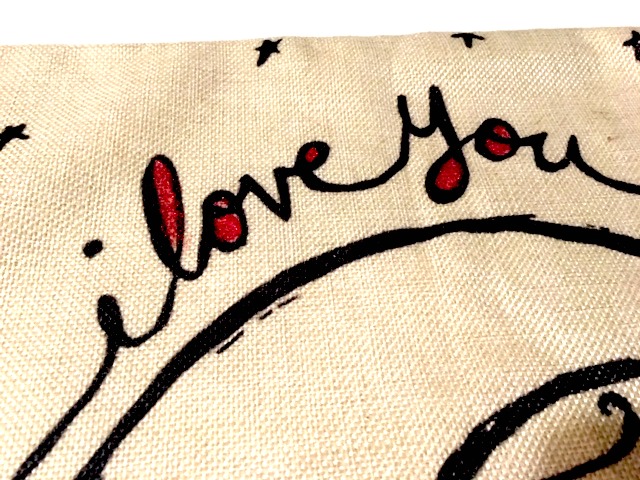
At the moment I only have gold, red and blue sparkle paint. So I used all three.
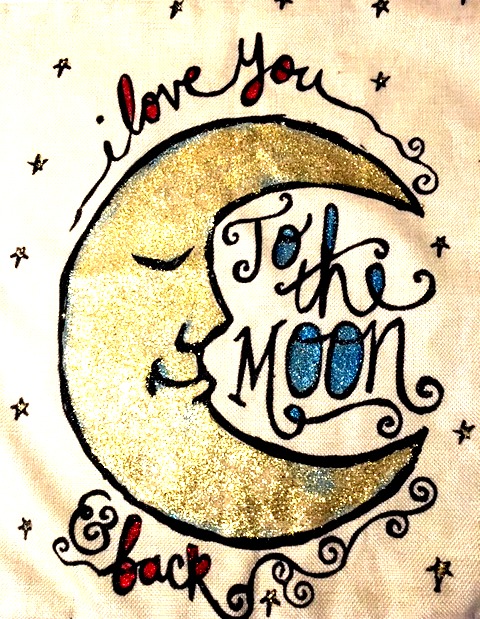
Wowie zowie this turned out great too!
Thanks for checking out this post. I hope you can find something to add some sparkle to also.
Remember to Pin this to Pinterest or share it with your favorite social media!