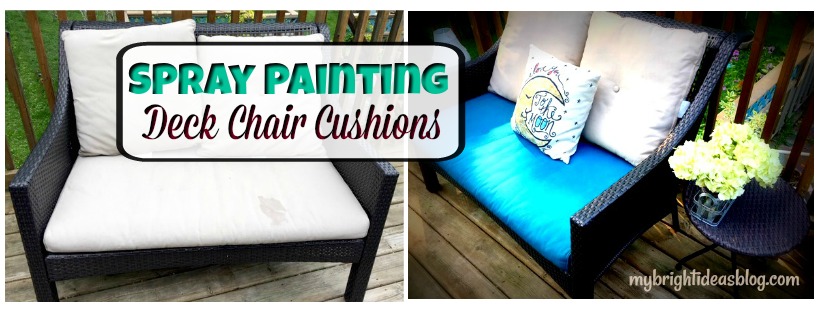
Have you had nasty stains on your deck chair cushions. Leaving them out in the rain is part of the problem, or people spilling their dinner, sticky fingers and the kids sitting on the chair immediately after applying spray on sunscreen…. Grrrr
So you could just buy new cushions but that is gonna cost ya! As a bit of a cheapskate I would like to get another 2 or 3 years out of these ones.
My solution is to spray paint…I tried 2 brands and let me tell you about how it turned out.
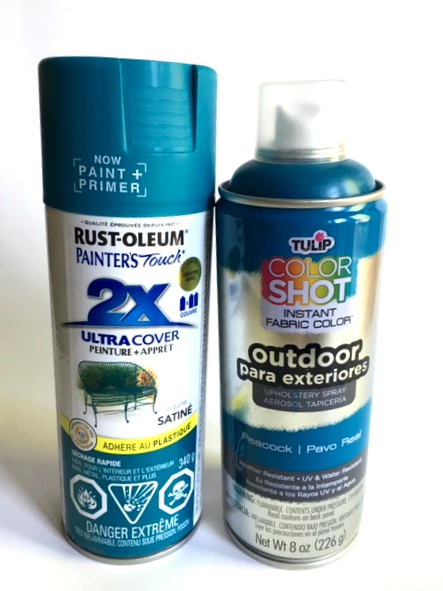
I’m comparing these 2 spray paints.
Rustoleum Painter’s Touch-Satin-Lagoon
and
Tulip Color Shot Outdoor Upholstery Spray-Peacock
The truth is the reason I tried 2 spray paints is not simply to experiment with different paints. I didn’t buy enough and ran out of my first bottle and couldn’t find another store that sells it. Fortunately, I found almost the identical color with another brand so I could finish the project.
So let’s get started!

So here is the beige cushions that I have started out with. We bought this loveseat from Canadian Tire 4 or 5 years ago…so it has really lasted well so far. In the back corner you can see the water damage….this is the good side.
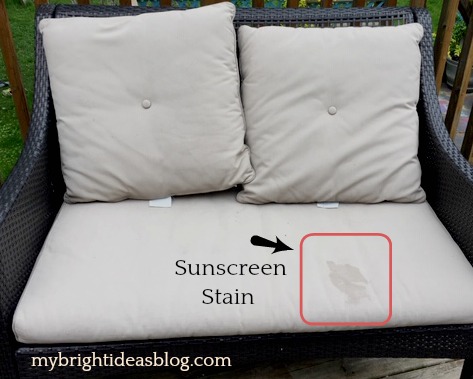
This year somebody left a big ugly greasy sunscreen mark. Hello summer!
If you chose a spray paint closer to your current cushion colour you might get away with just purchasing one bottle of spray paint but since my cushion is beige and I’m turning it so dark I need several coats. Definitely get 2 bottles.
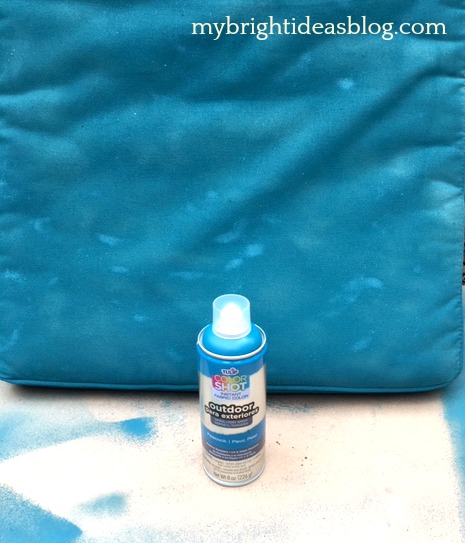
To start with I bought one can of Tulip Color Shot Outdoor Upholstery Spray- in Peacock blue from Hobby Lobby.
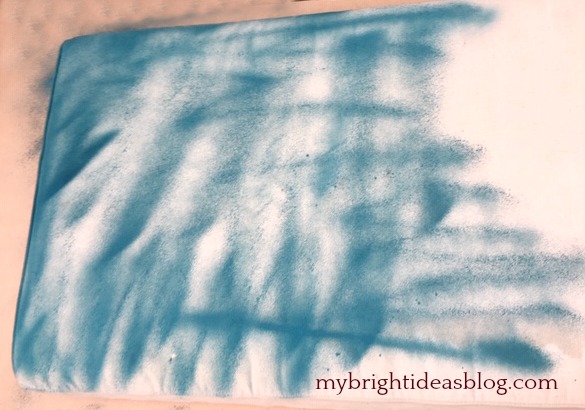
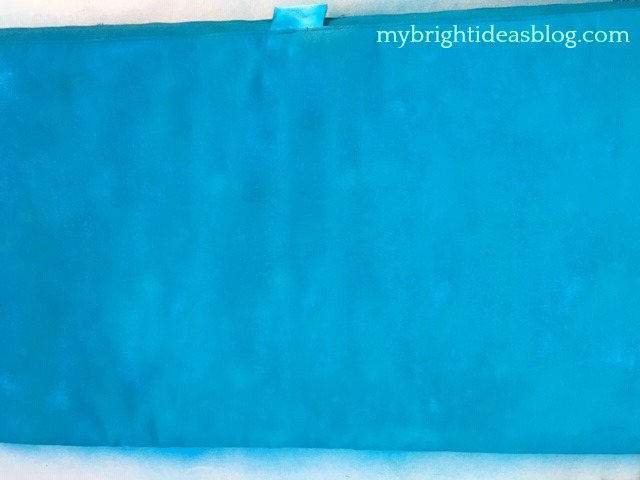
I love to spray paint things but this one is not even. This paint is supposed to make the fabric still feel flexible and nice to touch. But in my opinion, the way that it sprays is ineffective and wasteful.
This brand does not spray wide so you will get lines like the photo above. This is what the cushion looked like when my hubby came home and saw it. He wasn’t loving this idea. Pretty much it looked like I ruined it and now I’m all out of spray paint. One can covered the one side of the cushion and part of the second side.
I’m an hour drive away from Hobby Lobby so trying not to panic… I let it dry for several days while I searched to find a local store that sells it. No one near me sells it!
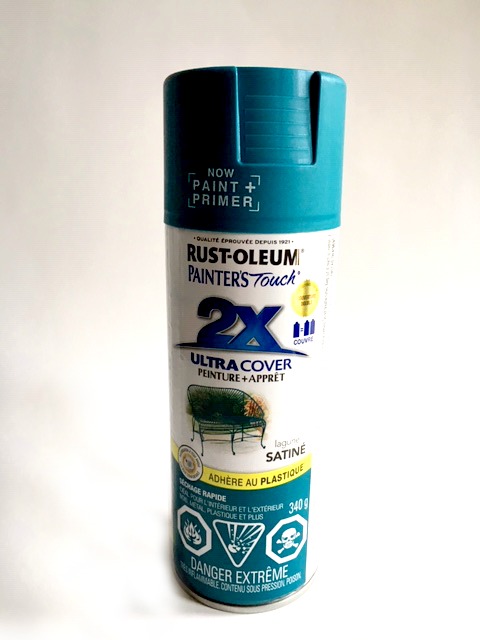
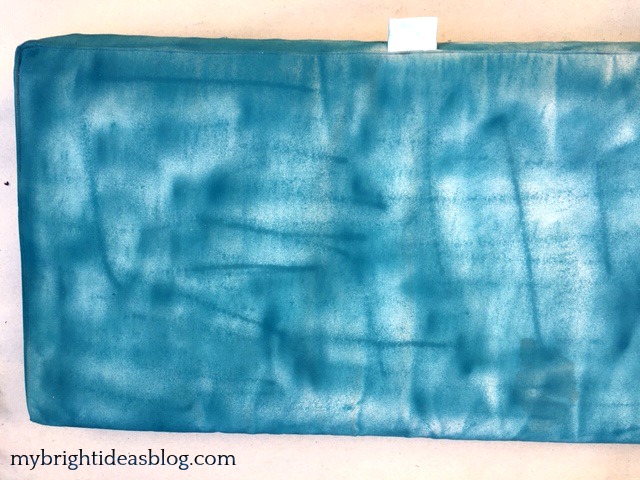
After checking 4 big stores I tried the little hardware store near to me. It has a great selection of spray paint. I took in my empty bottle and found a near perfect match with Rustoleum Painter’s Touch-Satin-Lagoon.
This spray paint has a wide even spray. It took a quick coat from this spray paint and it was nearly done. What a relief! An even and vibrant turquoise. After the paint dried it looked even better. It did need a little bit more coverage so it got another light coat of paint.
I would definitely recommend Rustoleum Painter’s Touch-Satin (Colour: Lagoon).

Looks fantastic right!?! Make sure you follow the instructions on your spray paint to see how long it would take to dry. I would make sure you have this project done several days before you have a backyard dinner party. You’ll want to make sure its fully dried. I have had no problems with the paint coming off on the pillows or anyone’s clothes. It’s really set and permanent.
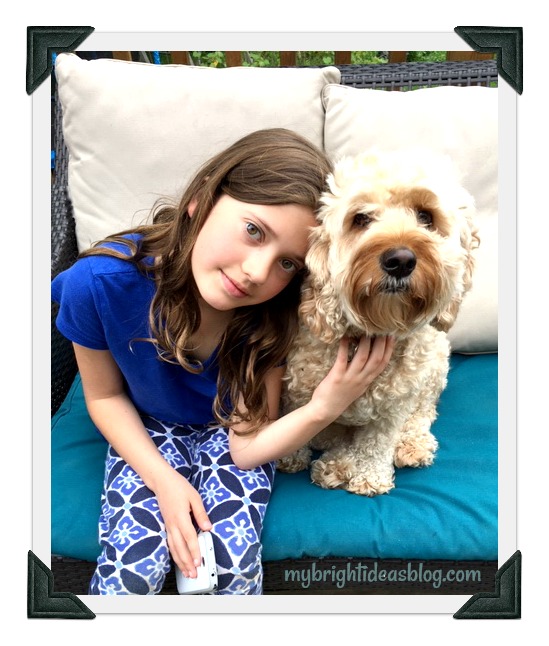
Gus approves of the new colour but lovely daughter M feels its not as soft to sit on. True enough, but I don’t mind how it feels. It’s a great solution to the stains and you can stretch the life of your current cushions for a few more years. Plus you could choose from a wide variety of colours and tape off sections to make your own designs.
Have fun adding color to your yard with spray paint…Lets see if I have some other ideas for adding color to things….
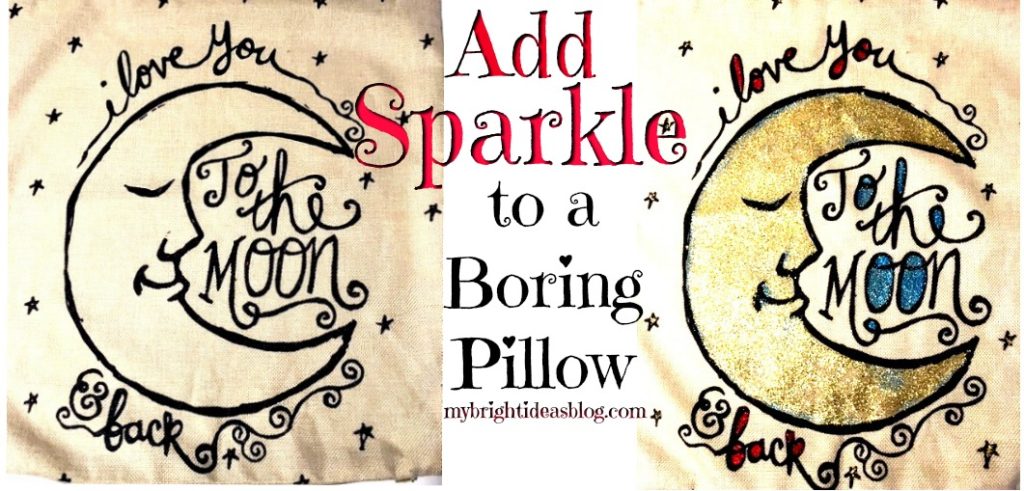
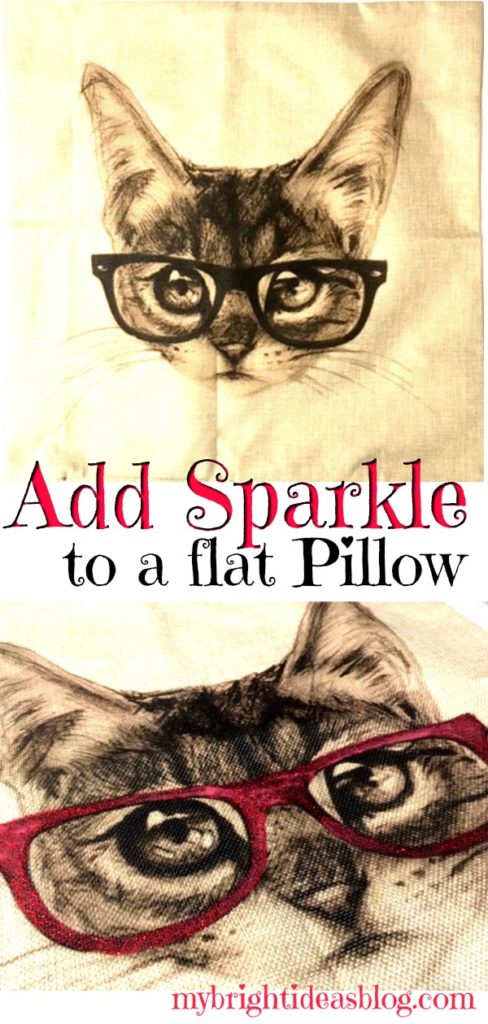
Add Glitter and Sparkle to a Drab Pillow
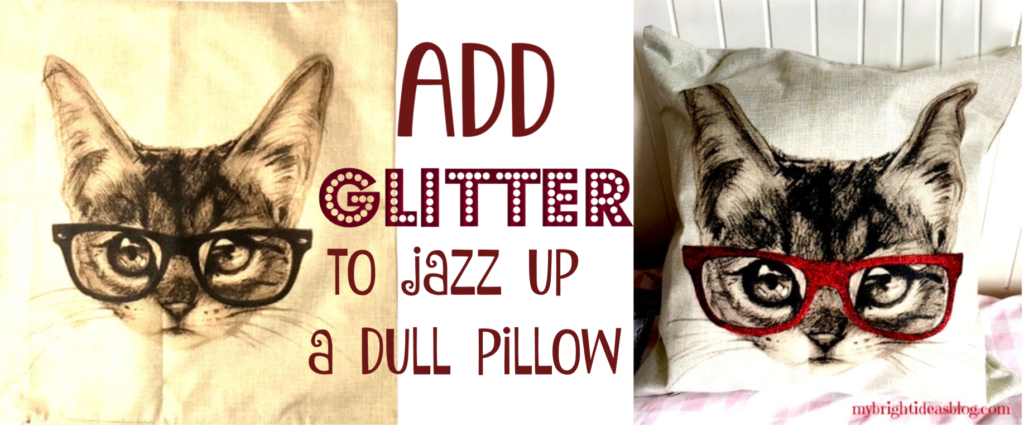
Have you ever seen a black and white print on a pillow or t-shirt and thought…this is a bit dull…how can I jazz this up? Maybe a bit of glitter paint is needed.
A while ago, I purchased a lot of pillows from Ebay for super cheap…Like $4 each. The price was ridiculous…and so was the quantity I bought! Now I had lots and lots of gifts to give to cat and dog lovers. and housewarming presents.
I really like these two pillows but…. Boring…zzzzz
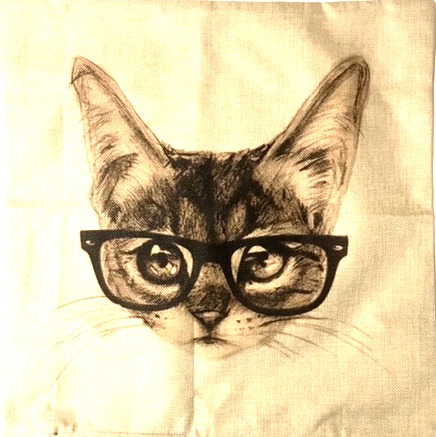
I love this black and white cat but after a while I thought it was a bit flat. So out came a paint brush and the sparkle paint.
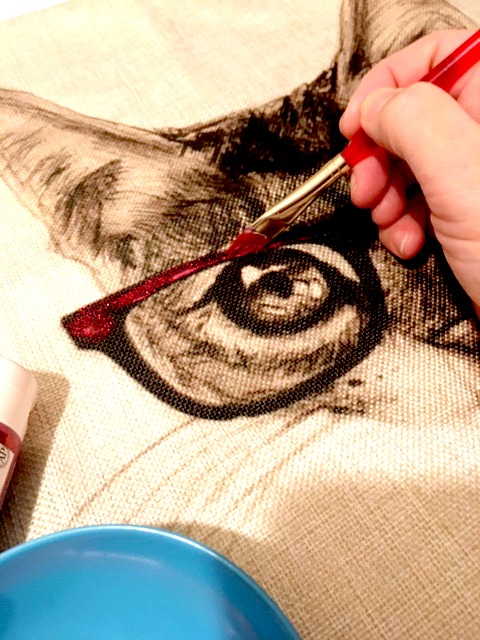
I tested the glitter paint I had on hand before I put it on the pillow. I don’t like having a trail of glitter after a craft. So I tested the Martha Stewart Multi-surface Glitter paint.
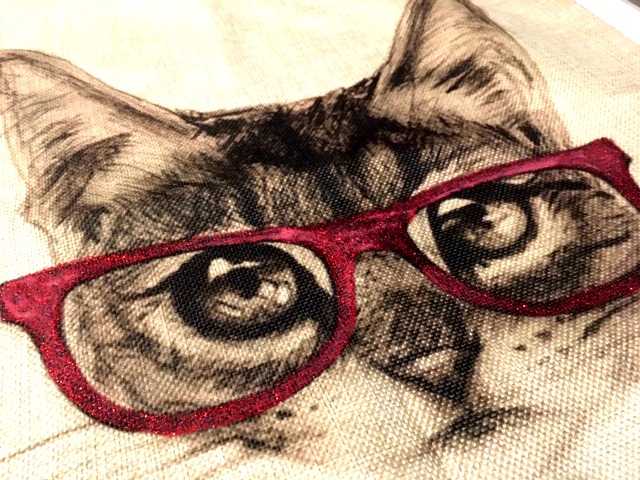
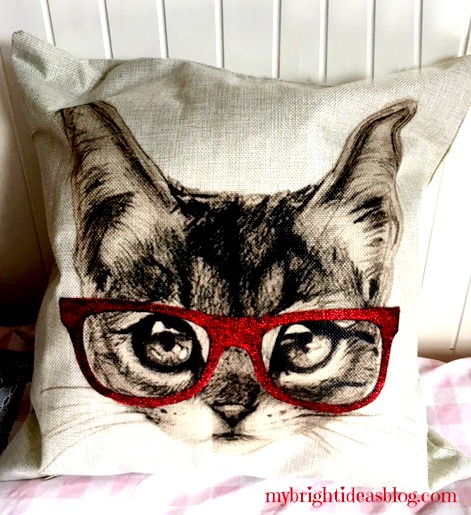
Now that makes it pop!
Here is another one…
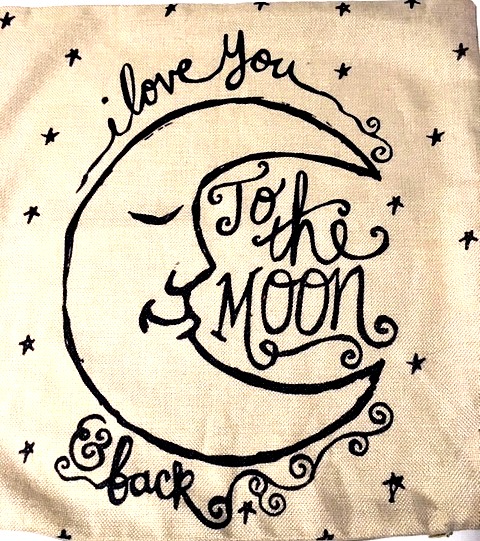
I must confess, I will buy just about anything that says “I love you to the moon and back”. It’s something my youngest and I have said for years especially when I tuck her in at night. This pillow is sweet but also a bit plain Jane.
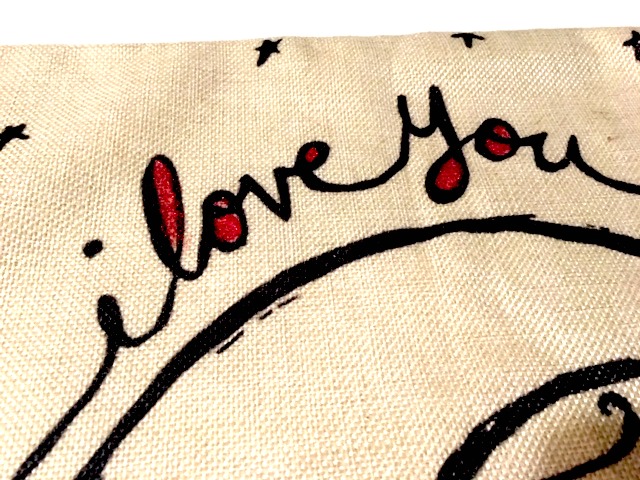
At the moment I only have gold, red and blue sparkle paint. So I used all three.
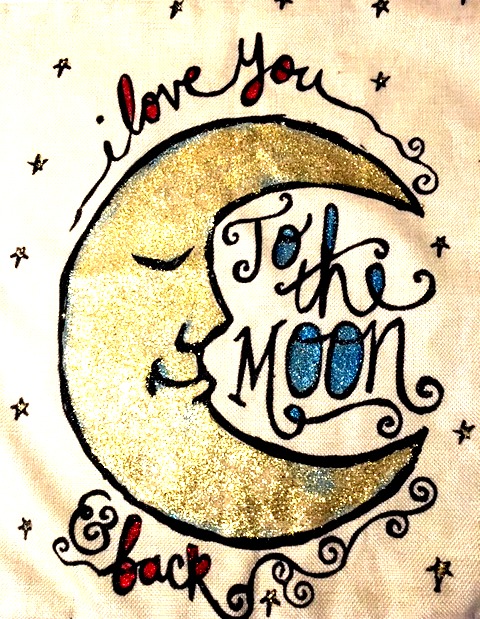
Wowie zowie this turned out great too!
Thanks for checking out this post. I hope you can find something to add some sparkle to also.
Remember to Pin this to Pinterest or share it with your favorite social media!
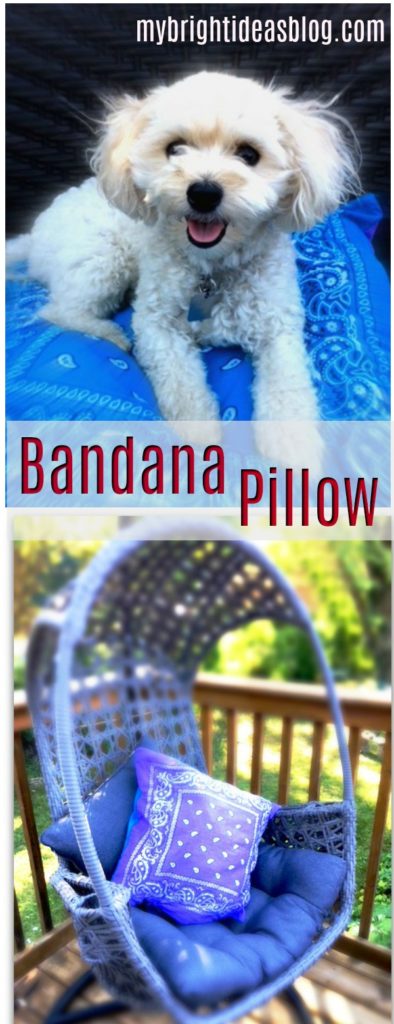
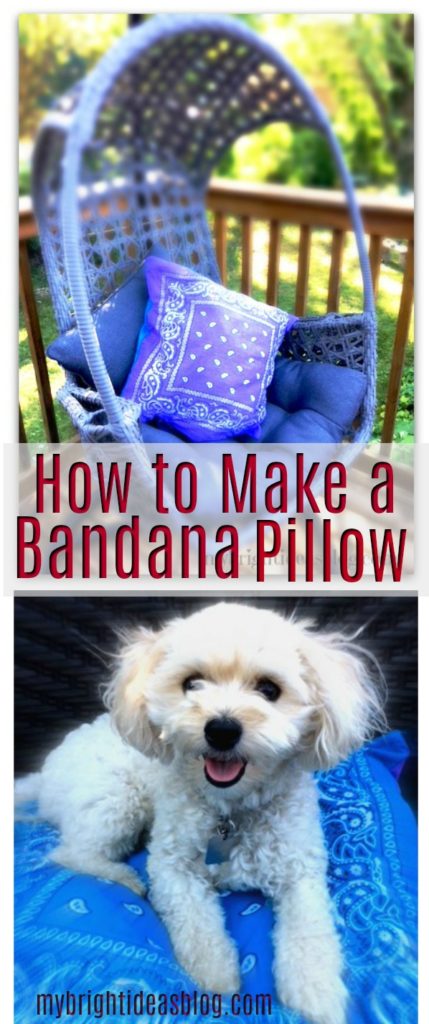
Make an Easy Bandana Pillow
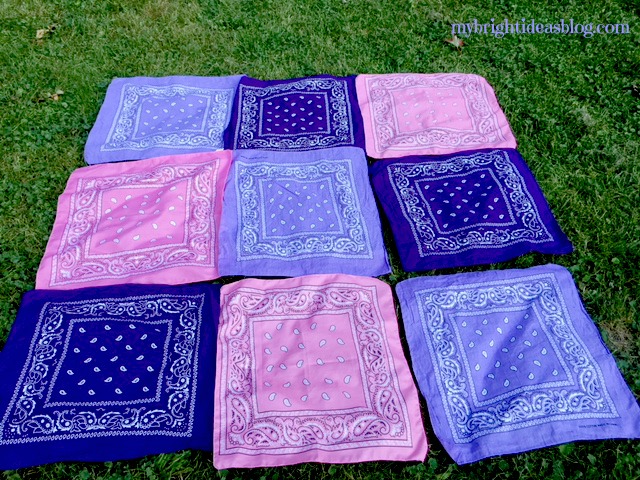
So a month or two ago I purchased way too many bandanas. Since then I’ve been looking for ideas to use some of them in projects. Today I’ll show you how to use 2 more! Let’s make a pillow for the bed, couch, or dog.
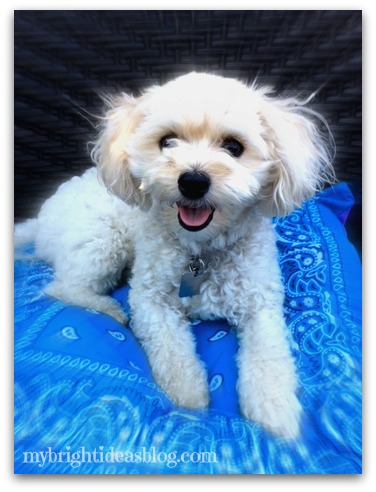
This is the beautiful Gemma. She is our 2 year old Yorkiepoo (Yorkshire Terrier mixed with Poodle). She loves to share my chair when I’m using the computer. Gemma stays up as late as I do and then sleeps in behind the bend in my legs. She is quite yappy to the squirrels but she is a dream dog at home. One of her favorite places to nap is in her crate. So let’s make her a new pillow.
You will need:
- 2 bandanas/handkerchiefs the same color or complimentary colors
- sewing machine
- needle and thread
- pins
- pillow or stuffing
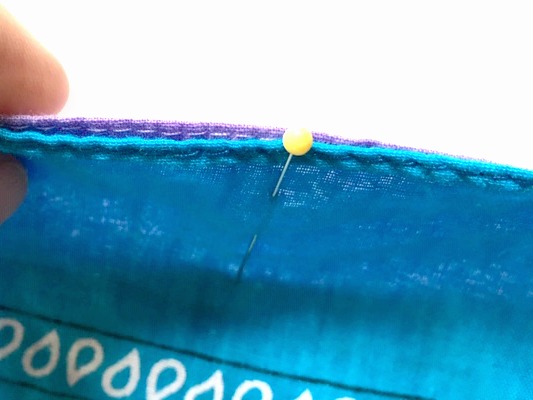
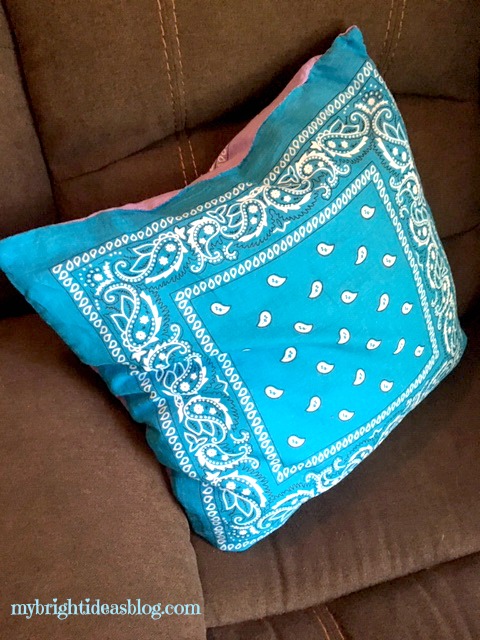
With right sides together, match up the corners and pin them. They don’t make handkerchief/bandanas all the exact same size. So don’t get frustrated. When you sew them together you will be able to correct their wonky sides.
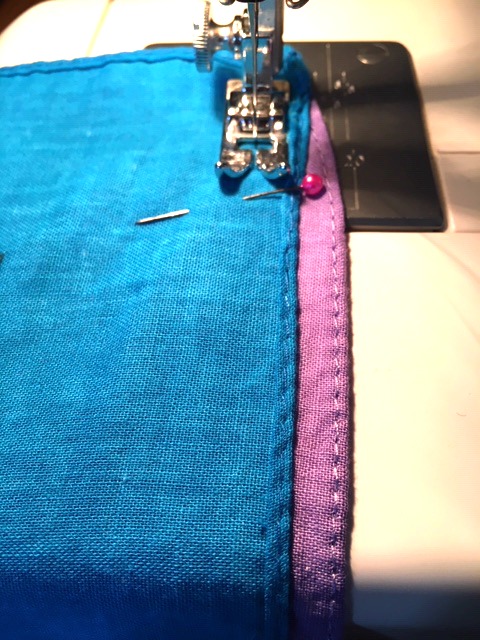
See what I mean. The purple one is not cut straight or is slightly bigger, so it’s sticking out. Sewing them together with a straight line will disguise the mismatch.
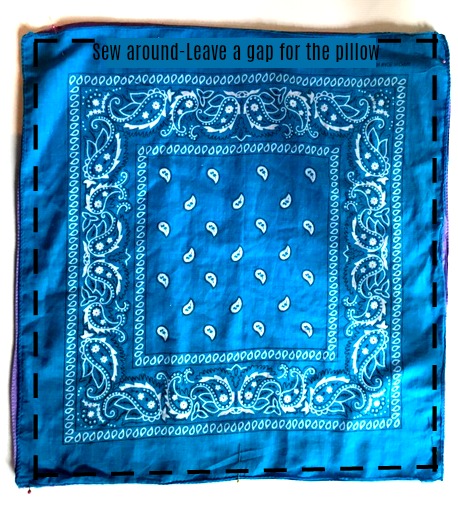
Sew almost all the way around leaving a wide gap on one side.
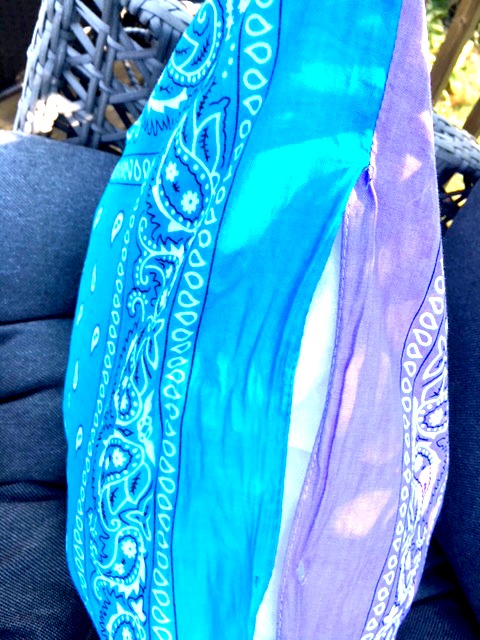
Turn the pillow case inside out and insert the pillow. Since this will be used for Gemma’s crate I didn’t buy a new pillow form. Instead, I used a cheap, old limp bedroom pillow that was wasn’t very fluffy anymore. It easily fit into this pillow case.
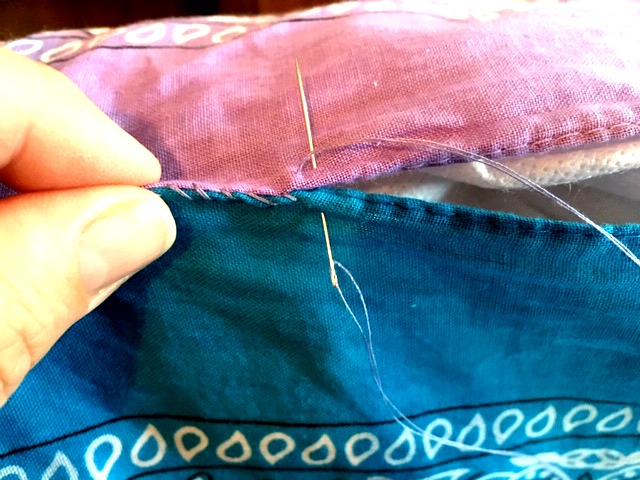
Next, take your needle and thread and hand sew this opening closed.
You could use this on the couch, on a bed, outdoor furniture, in the car or……
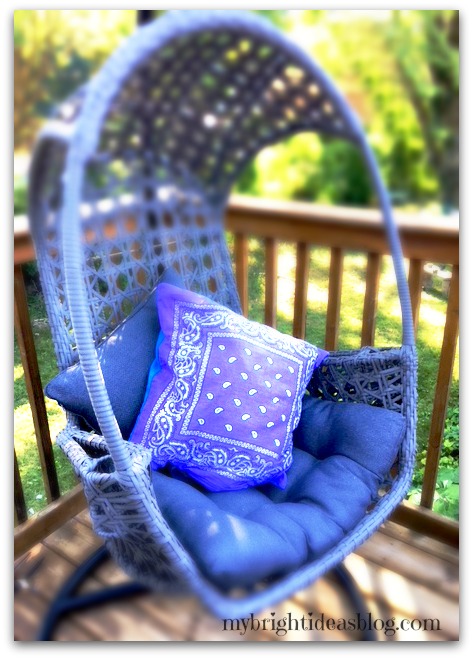
…..for your sweet puppy dog.
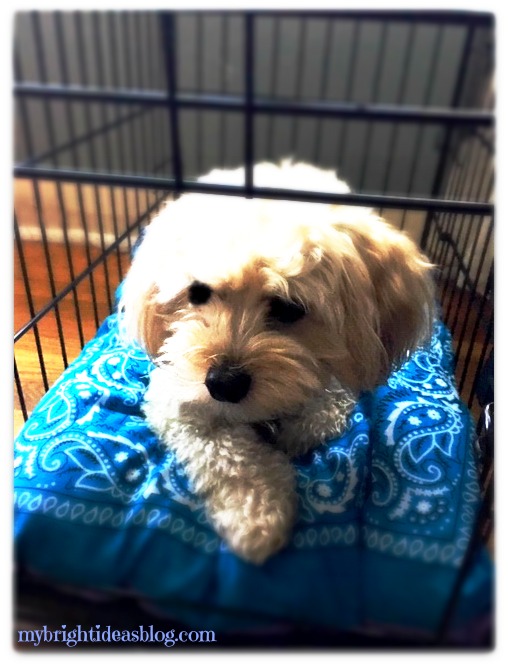
Thanks to Gemma for being a gorgeous model for this little photo shoot.
Feel free to comment with suggestions for what to do with the other 15 bandanas I still have left over. Did you see the Fall table cloth I made last month? Have a look.