
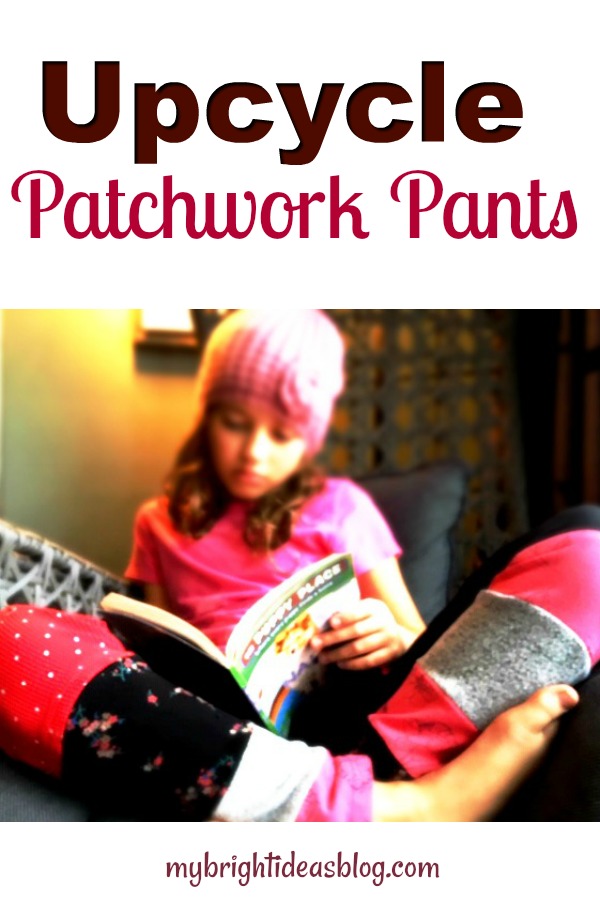
Upcycle Patchwork Leggings!
Have you got old clothes you’d like to add to your new clothes. Well might I suggest making patchwork leggings by mixing patterns together. I’ll show you how!
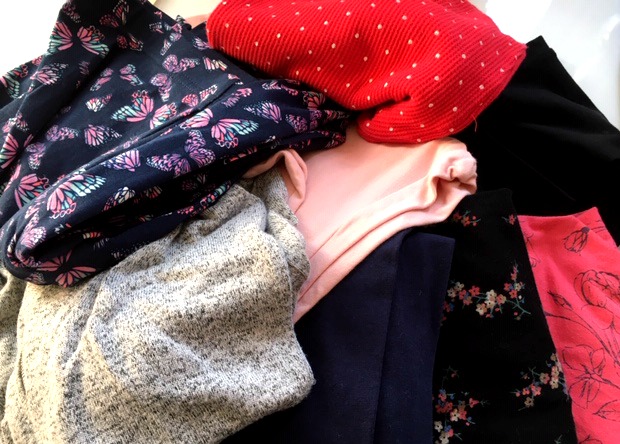
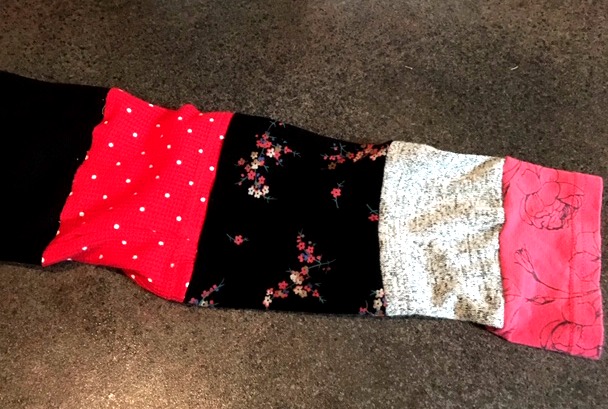
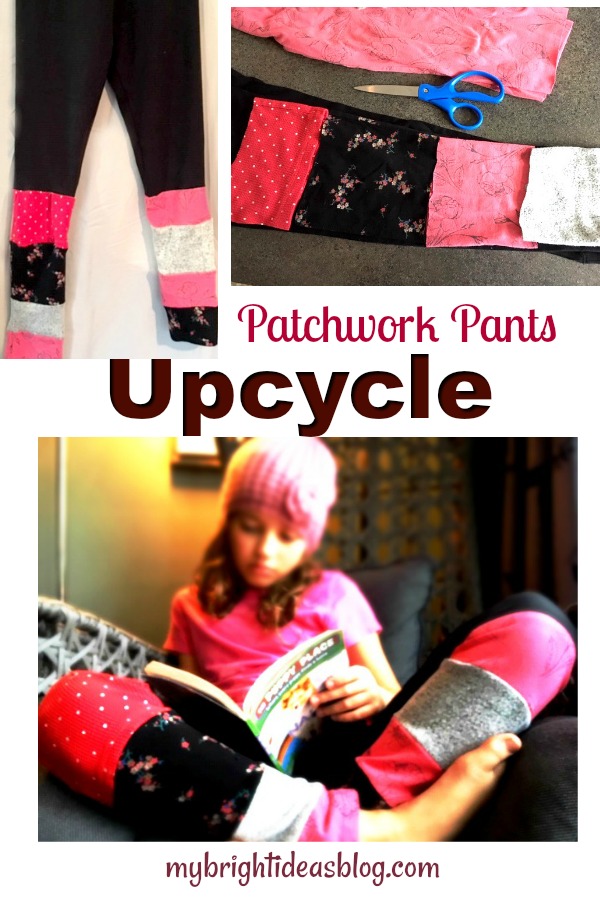
Here is a stack of hand me downs. The grey piece is an adult sweater top and the red and white polk a dot is also a waffle top. I added both of these so that it gave it a bit of texture. The other patterns are all leggings worn a few years ago by my eldest waiting for her little sister to grow in to them.
Change of plans – I’m chopping them up for parts!
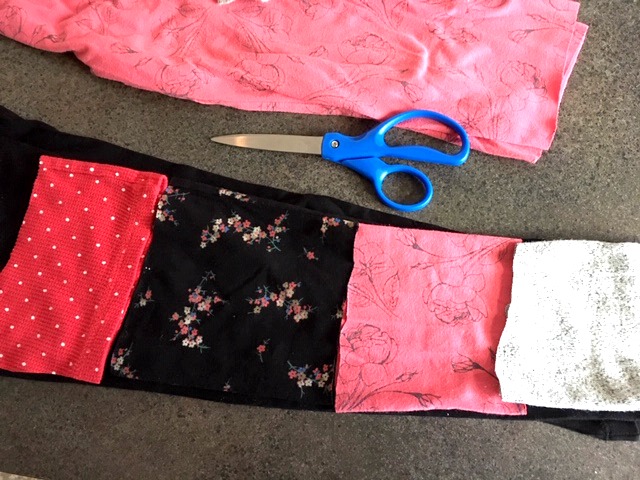
I laid out the new black leggings which is going to be the base piece. Eventually I will cut it off below the knees – But not yet!
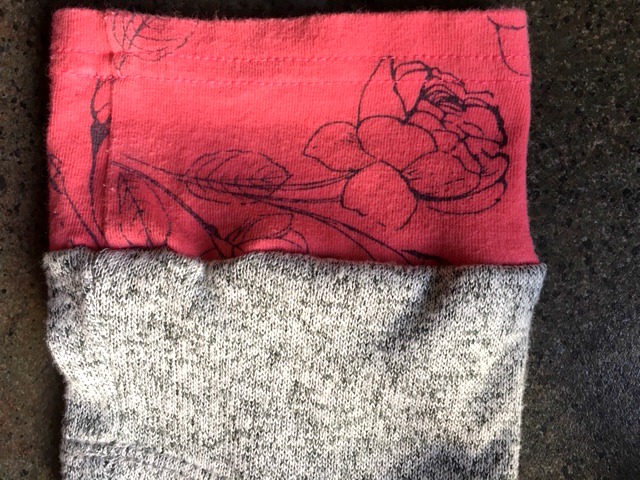
First I used it as a sizing guide. The legs will need to follow the same tapered pattered. The sleeve from the grey shirt was the most narrow so it became the lowest on the leg. It was already hemmed so that saved me hemming it at the end. The red polka-dot shirt I had used a wide piece from the front. That also needed a side seem to make it a tube like the others.
I only wanted below the knee to have patchwork because kids playing on the floor will find seems on the knees irritating if not painful.
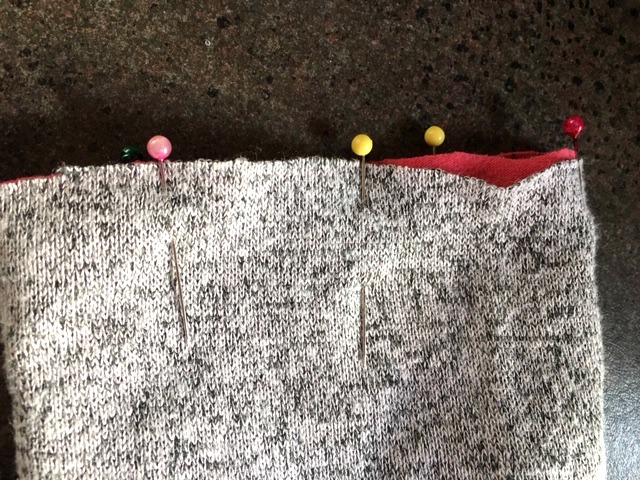
Starting from the bottom of the pantleg, pin the first two pieces – with right sides together.
Turn inside out. Next. with right sides together again, pin on the third piece to the second one. Stich this seam.
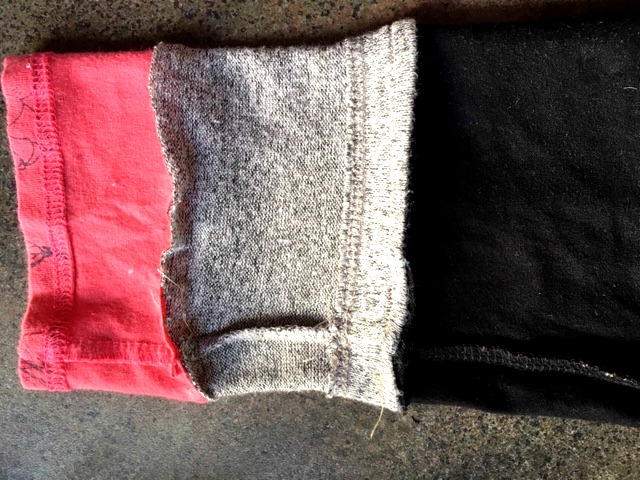
Leggings tend to have one seam on the inside of the leg so make sure they all line up.
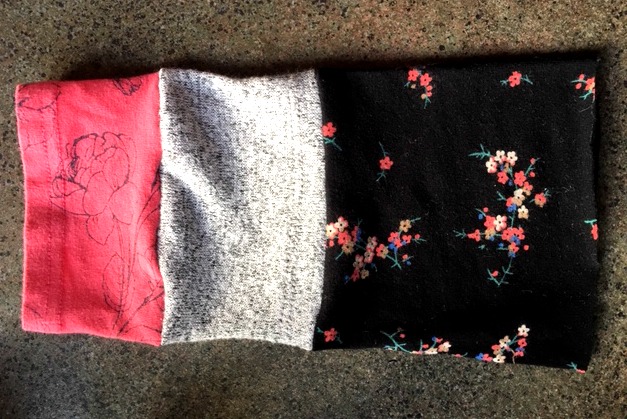
Turn it right side out.
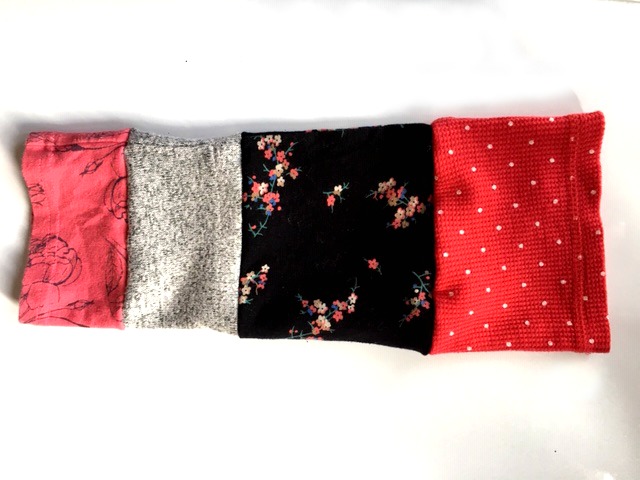
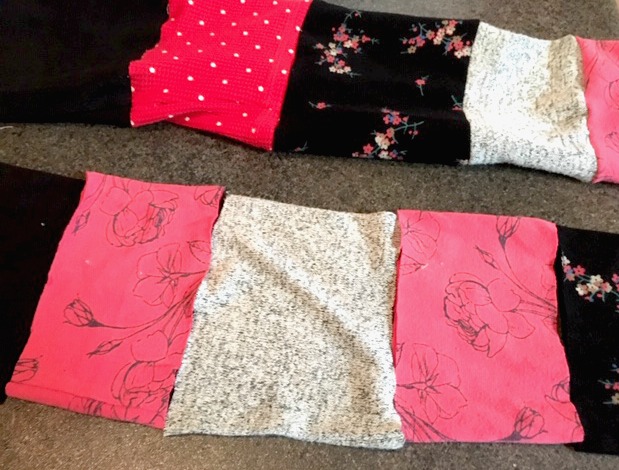
On this pair of legging I sewed 4 pieces on each leg. Then I cut one of the legs off the black pants and pin and sew the 4 patches of the lower leg to complete the pants.
Remember that right sides go together. For some reason I kept sewing it on wrong and then removing it and doing wrong again. Doh!
With one leg completed do the next leg. Make sure they are the same length when completed.
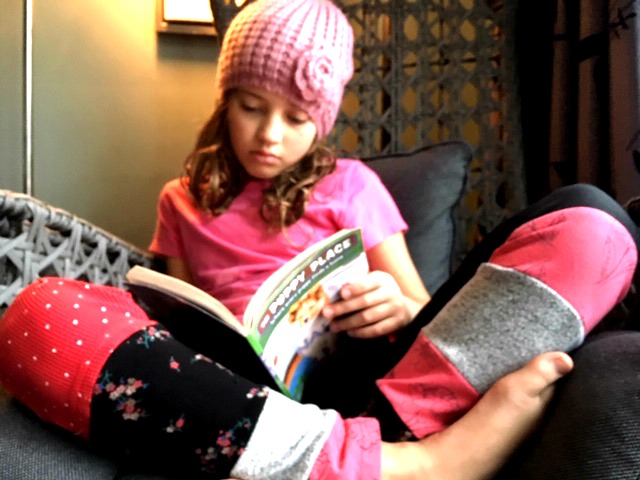
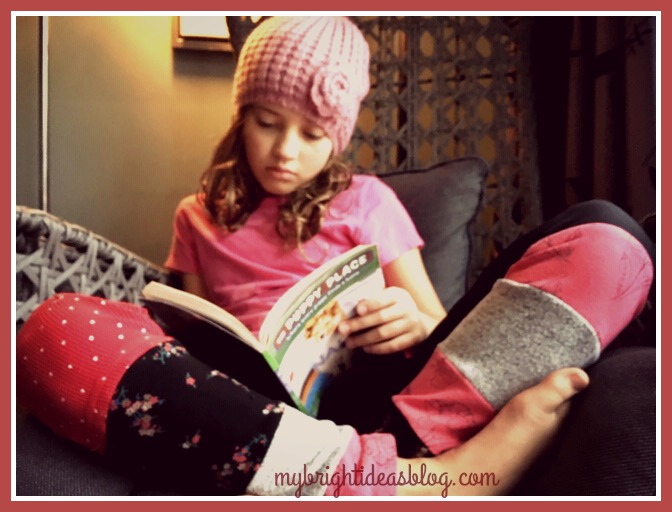
After a while of me taking photos of her while she read she let me know what she thought of that….
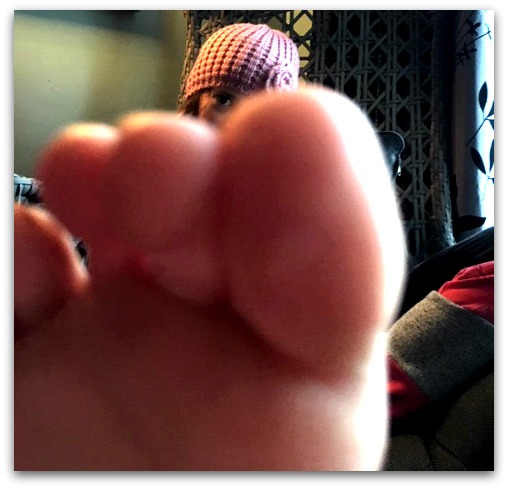
I love how one eye is peeking at me.
Okay I think she has had enough…so I found her sister…
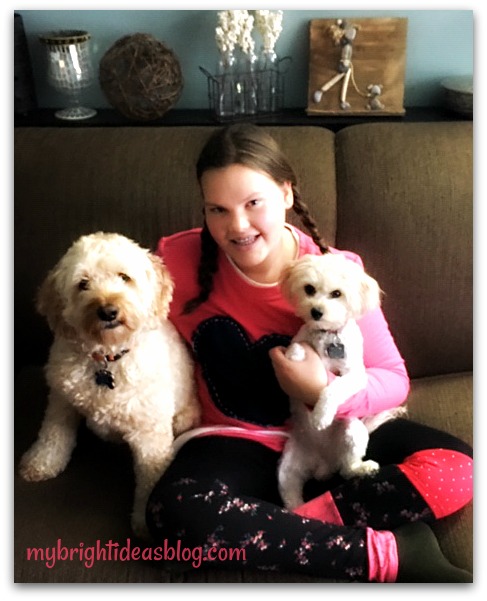 For her leggings I didn’t have them matching with similar patches on both legs. She has a long one and a short one on her right pant leg and smaller patches on her left leg. She was delighted when I pulled this out on Thursday night because Friday was pajama day at school and her pj’s were not for public viewing.
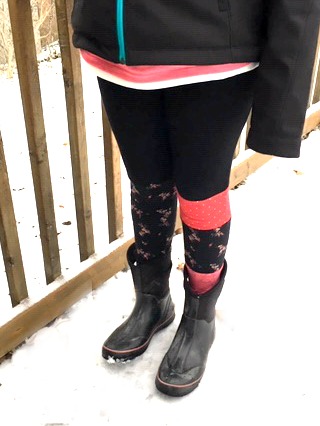 On super cold days these would make great long-johns or pants under snow-pants.
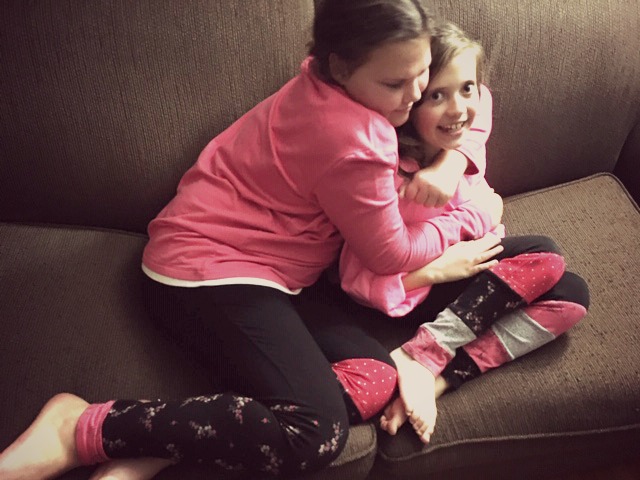
There you have it two girls in upcycled original pants. There is enough scraps left over to make more pants…or to make co-ordinating sleeves on tops.
Thanks for reading another one of my posts. I’ll link some of my other upcycles too.
T-Shirt Refashion – Add details from baby clothes to jazz up plain clothes!
…
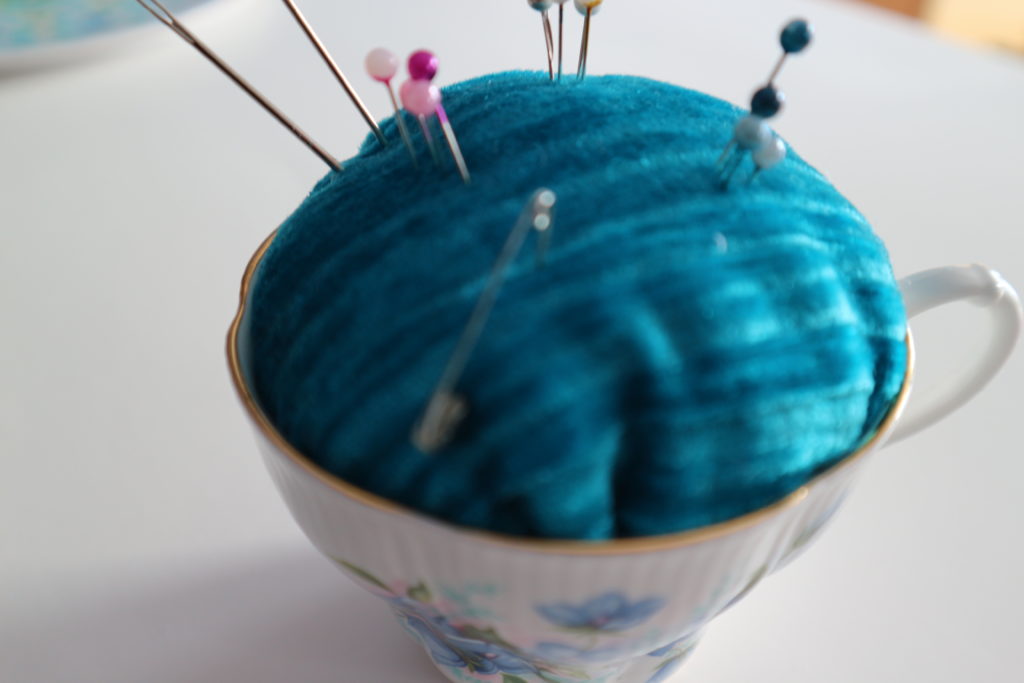
Tea Cup Pin Cushion – DIY Easy Peasy!
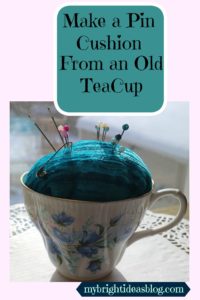
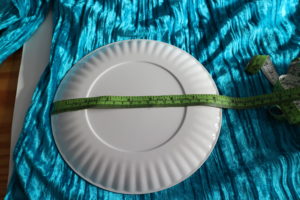
Use an old tea cup-even a broken one, or like mine one that is missing a saucer to make a pin cushion. Its a super fast craft for any skill level.
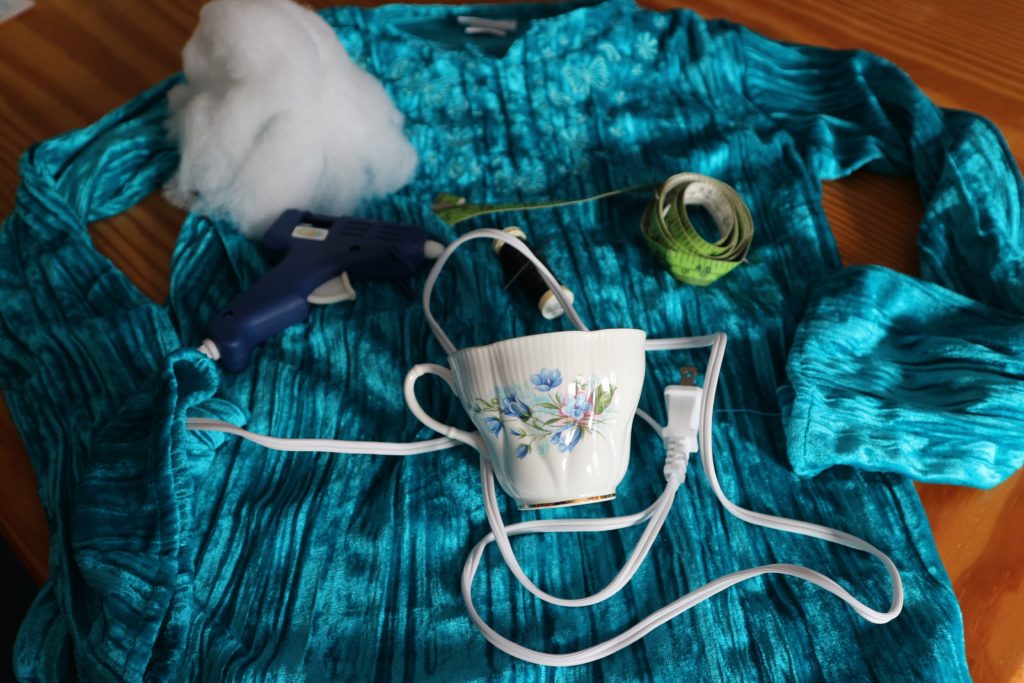
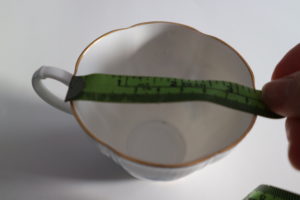
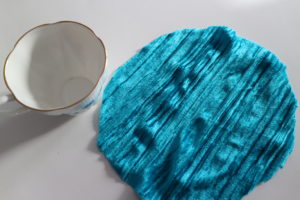
You just need: scrap of fabric, shirt, pillow case, napkin…some sort of cloth….you only need about 8 inches square piece of fabric for most cups. Also grab your measuring tape, stuffing, hot glue gun, a needle and thread.

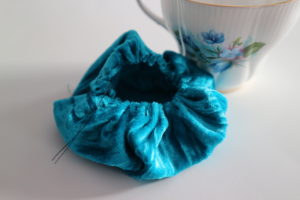

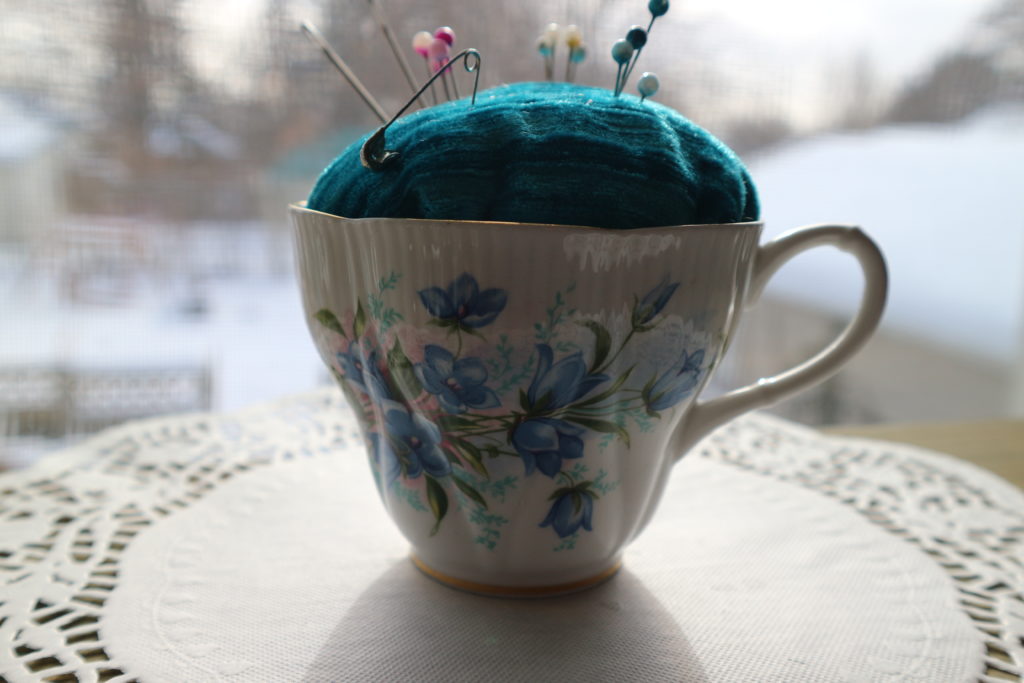
I chose not to glue mine into the tea cup with hot glue simply because my mom might flip out if she ever read this. She has two Royal Albert teapots that are absolute beautiful that leak tea on the table due to a tiny crack. I would love to make a craft out of that….I’m thinking a dainty ivy cascading out of it. Or drilling holes in it to put silver spoons dangling from below as a wind chime…. But she might faint if I asked for it. They cost a pretty penny back in the day and she has loved using them for her guests.

I have seen some tea cup pin cushions that were really glamorous. They glued the cup to the saucer and put laces and trims all around the base. The pin cushion also had a few decorative hat pins and some sort of tassel hanging from the handle. What a gift that would be for someone who still appreciates the dainty things in life. Have fun with this!