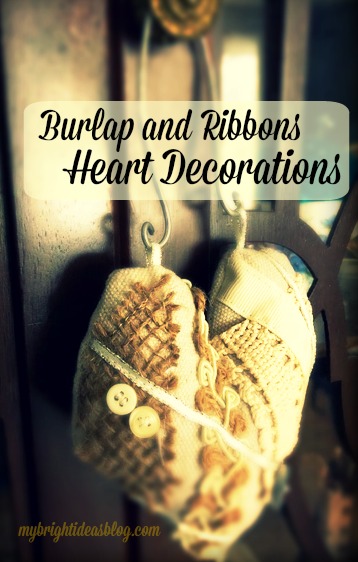
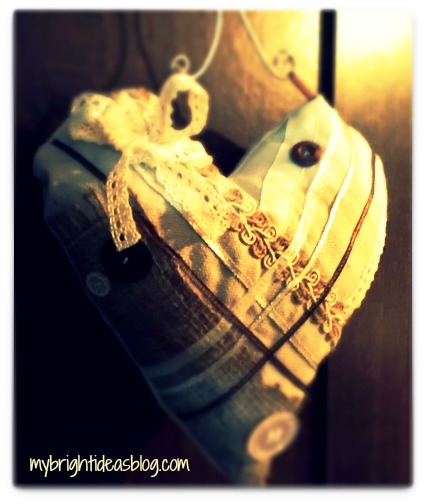
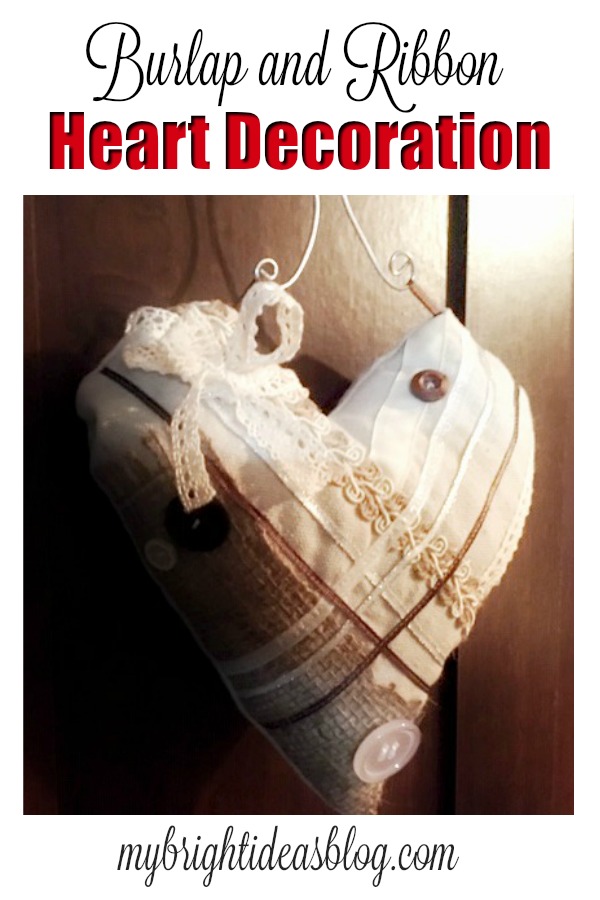
Love is in the air this week! There is a family wedding soon so its time for a beautiful, rustic, heart shaped craft with ribbons and lace!
This pretty little decoration uses up scraps of fabric and trims you already have.
You will need:
- scraps of fabric (I used a piece of drop cloth-it looks like linen)
- paper and pencil
- burlap
- ribbon
- lace
- pretty little buttons
- stuffing
- sewing machine
- scissors and pins
- wire and pliers to hang it up (use string or ribbon if you don’t have wire)
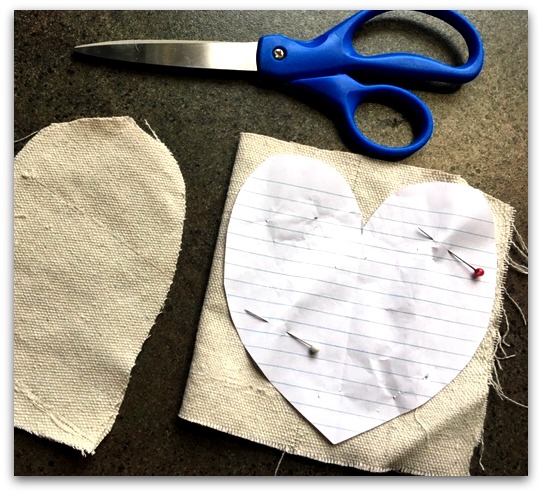
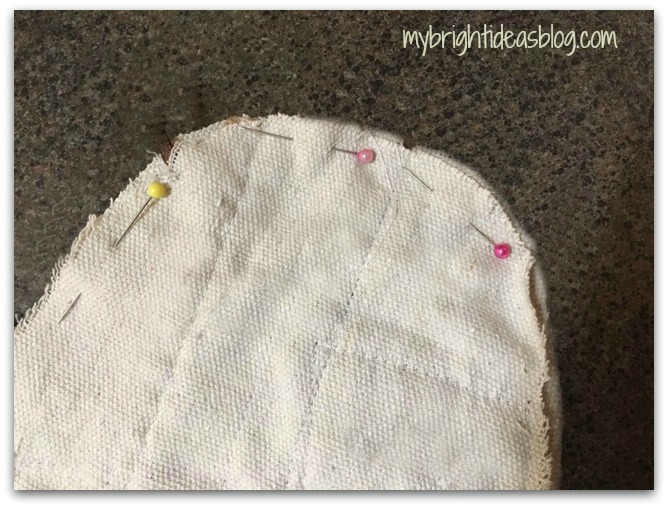
Use a piece of paper to decide what size of heart you would like. Cut the paper into a square. Fold it in half and draw a half heart. Open the page and pin it to your fabric.
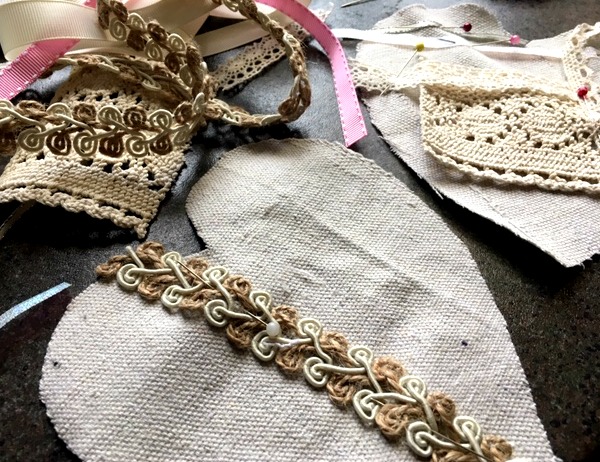
Lay out the ribbons and trims on your heart shaped fabric. My beige fabric looks like linen but its a scrap of a drop cloth from tote bags I have made in the past.
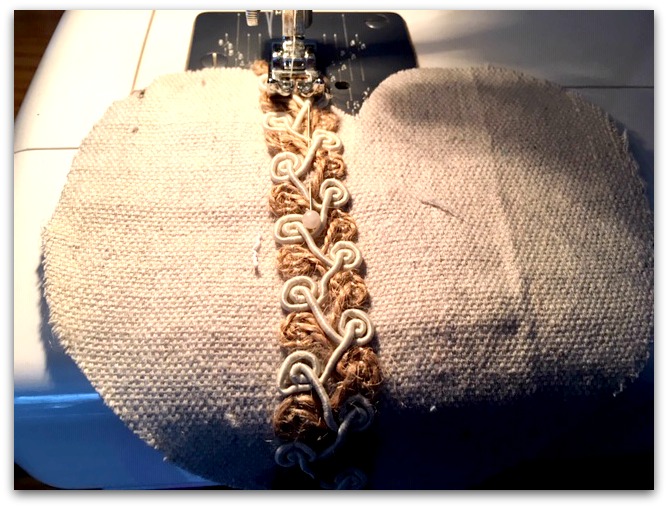
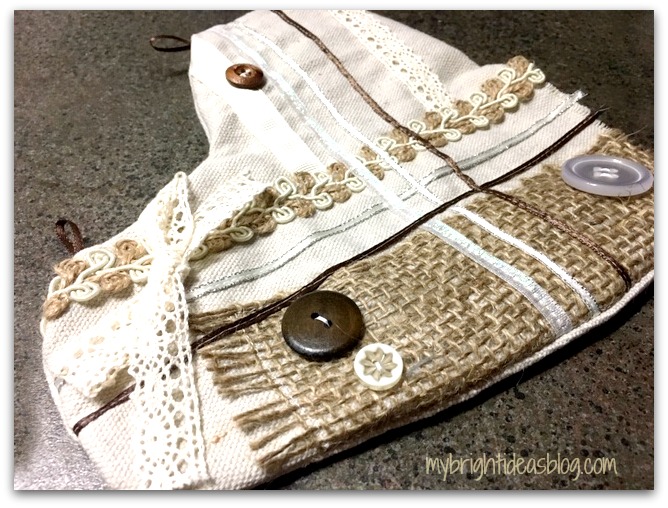
Using a sewing machine, sew each piece of trim, lace or ribbon into place.
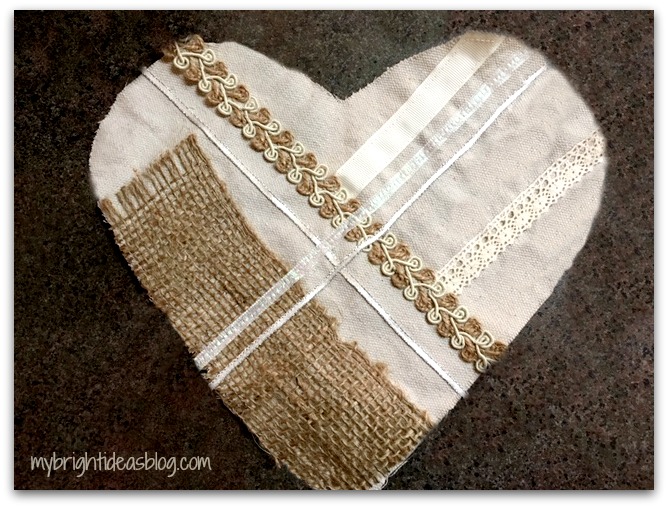
The trims look really nice crisscrossing each other. Try different random pieces. Burlap adds rustic texture to the project.
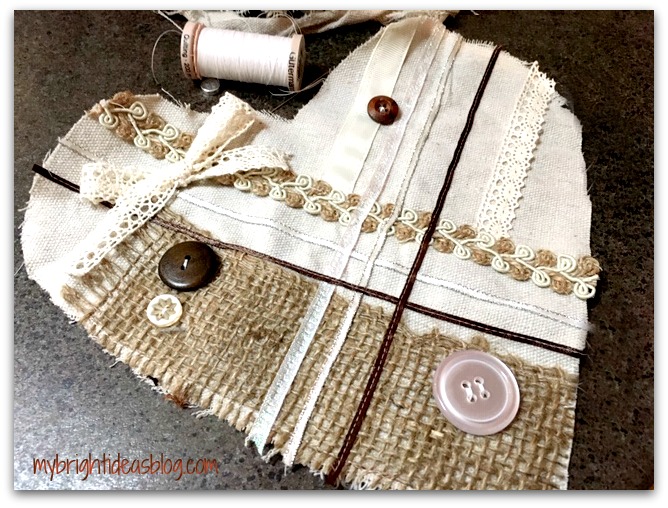
Add buttons and bows to the project. Remember not to place them too close to the edge because you need to sew around the edges.

Add 2 tiny loops of ribbon to the top edge and sew a few stiches to keep them in place.
Pin the two heart shaped pieces of fabric together with right sides facing inwards. Sew around the edge leaving a 1 1/2 inch gap opening so you can later turn it inside out.
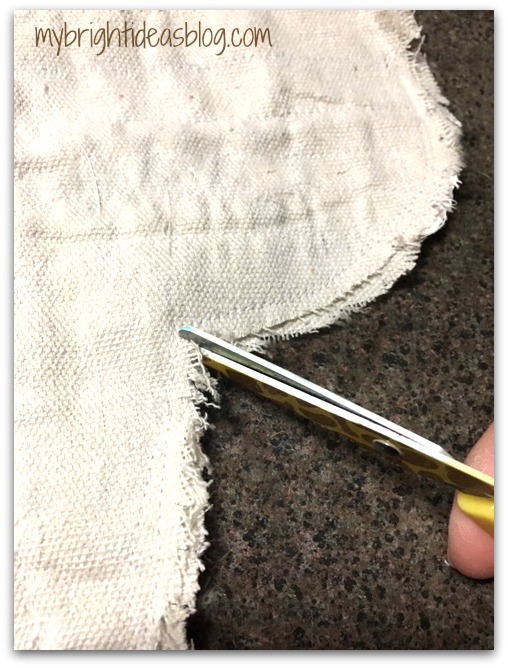
At the top of the heart snip a tiny cut and a few snips around the rounded parts of the top of the heart. Do not cut through the stitched areas.

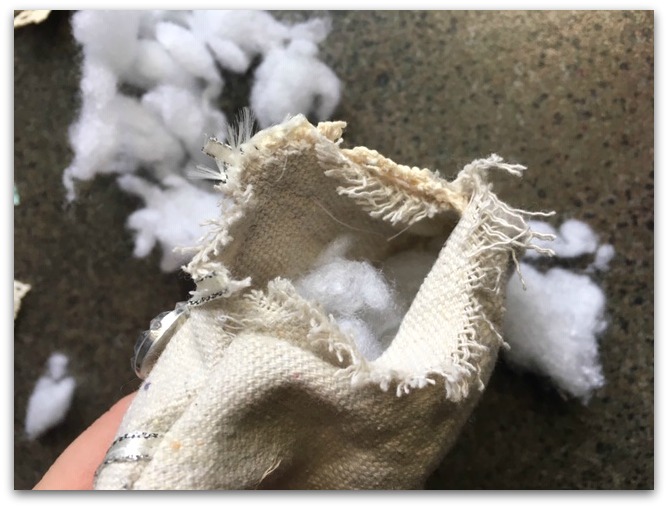
Open the gap and pull the fabric through the hole to turn it inside out.
Add stuffing.
Fold over the edges at the opening, pin in place and hand sew the opening closed.
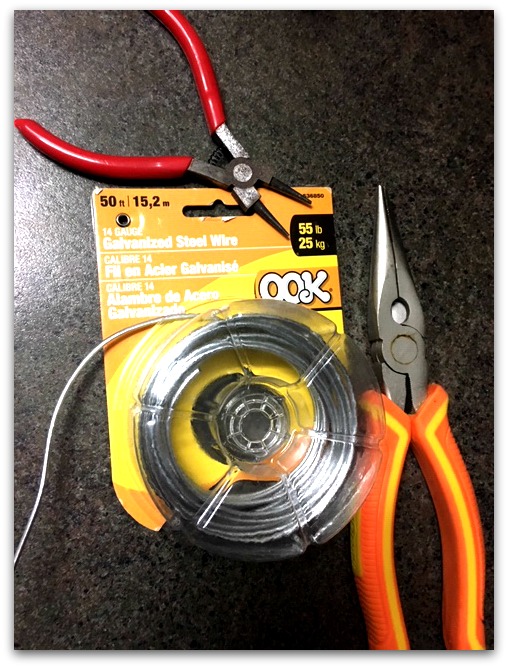
I love wire crafts so I had lots of left overs! For this project I used 14 gauge wire from the hardware store. Use big pliers to cut the wire approx. 8 inches long. Fold the wire in half. (if you don’t want to use wire just use ribbon or twine to hang it)
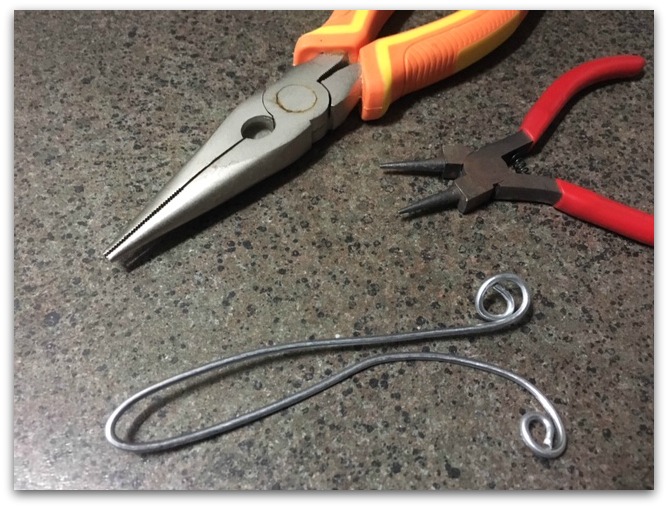
Using round plyers twist the ends into a bit of a spiral.

Hook the ribbon loop around the curled ends of the wire.
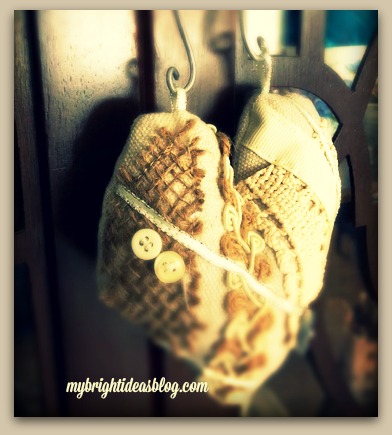
These turned out so pretty!
In the past year I’ve done a few heart shaped gifts and projects. Have a look below!
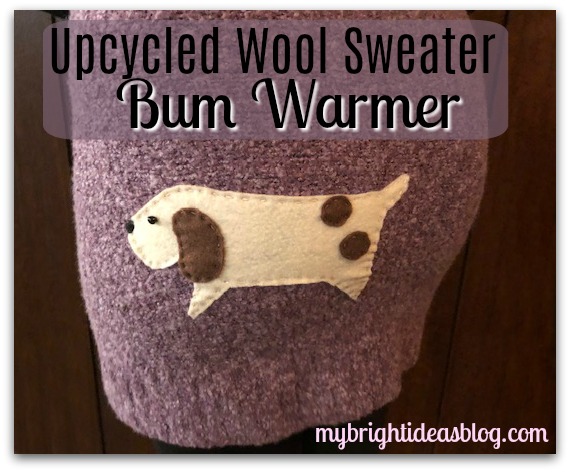
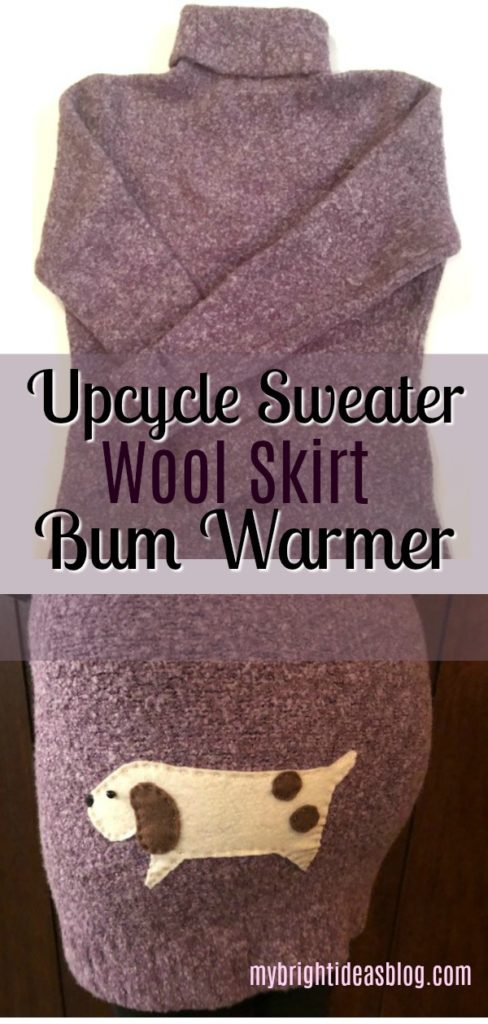
Upcycle Sweater into a Wool Skirt or Bum Warmer for Winter!
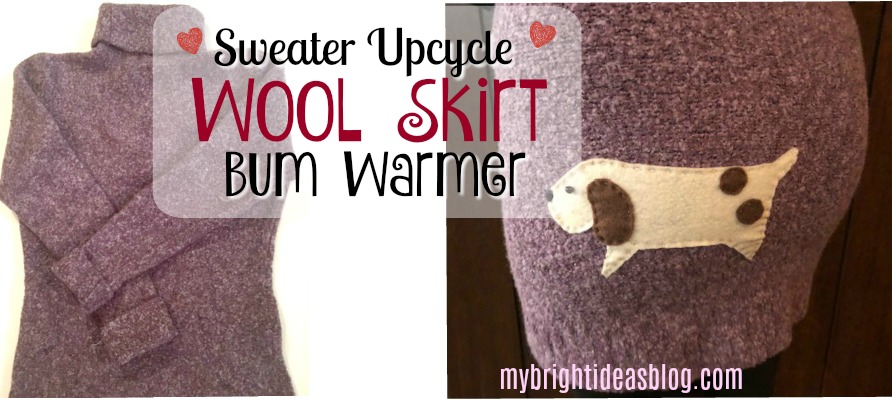
Have you been ice skating or waiting for the bus and felt a cold gust on your behind? Can you get your hands on a wool sweater you don’t mind chopping up for parts? Keep reading and I will tell you how to make an upcycled skirt or BUM WARMER and if you like…put a dog applique on it.
You will need:
- a wool sweater
- scissors
- sewing machine
- elastic
For the optional Dog Applique-you will need:
- embroidery floss (brown, black, cream)
- needle
- felt (cream and brown)
- paper and pencil
- scissors
- 1 black bead (optional, you can do with out a bead and sew a black dot on)

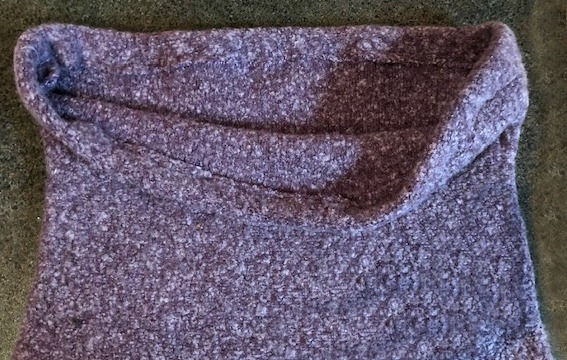
Do you remember the wool sweater above? It’s been upcycled before and now we are cutting it up for more parts! You might already know this but knit sweaters will unravel if you just cut them. So you need a sweater with wool in it. When you wash the sweater in hot water and put it in the dryer it will shrink and “felt”. This prevents it from unravelling. Now we can cut it like it’s fabric.

The sleeves are already gone to the dog, now we are going to use the best part! The area below the armpit could be made into so many things! A purse, tea cozy, slippers, mittens, big dog sweater….So many ideas so little time. If you would like to see what we did with the sleeves scroll to the bottom of the post.
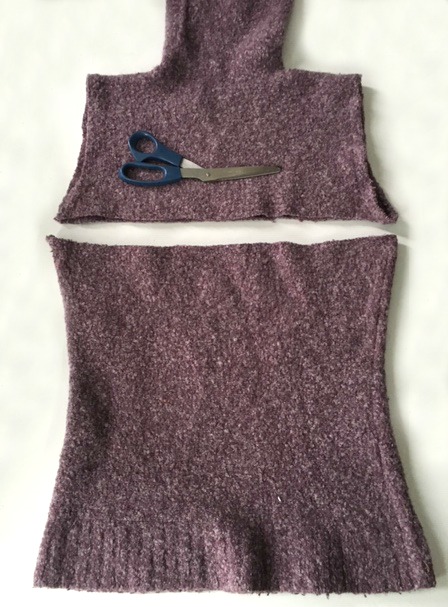
Cut straight across the sweater.
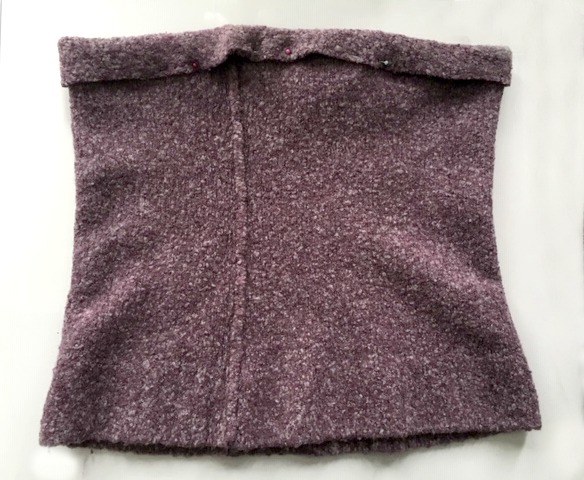
Fold over the top one inch (2 cm), and pin in place.
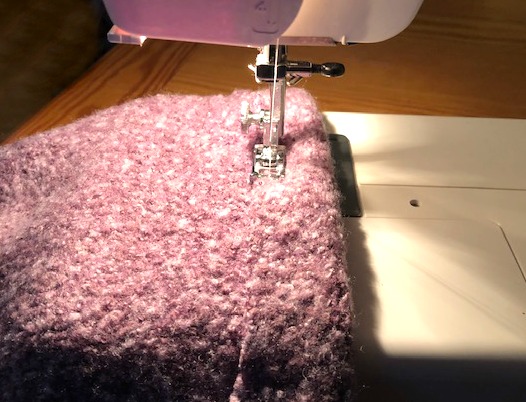
Sew almost all the way around to make a casing. Leave a 1 inch gap to slide the elastic inside.
If you don’t put on the applique and decorate it with felt then slide the elastic in now. However, since I wanted to add something fun to the booty of the bum warmer, I’m going to insert the elastic as the final step.
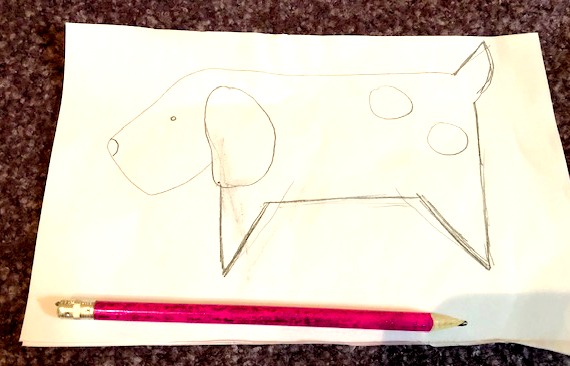
Cut a page in half. Find a photo of what you would like to applique on the bum. I recommend a flower or an animal that is really simple. This dog was found when I searched for dog felt projects or how to draw an easy dog. I tried to copy the simple dog I found.

Pin the page to your felt and cut out the dog applique.
Try on the bum warmer and pin the applique into the area you would like to have it. It can go on the front or the back.
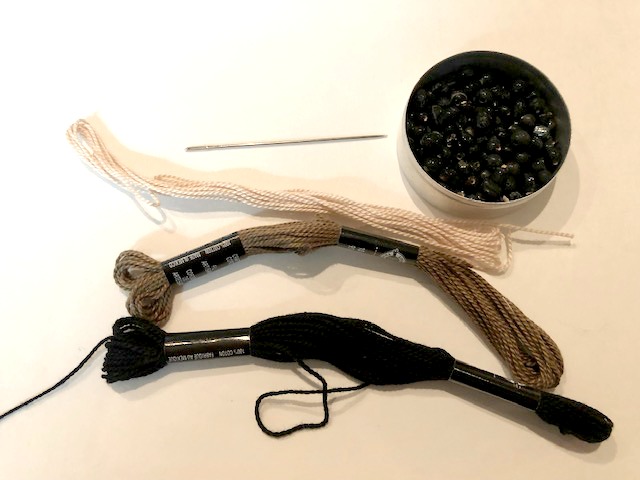
Grab your embroidery floss, needle, scissors and black bead.
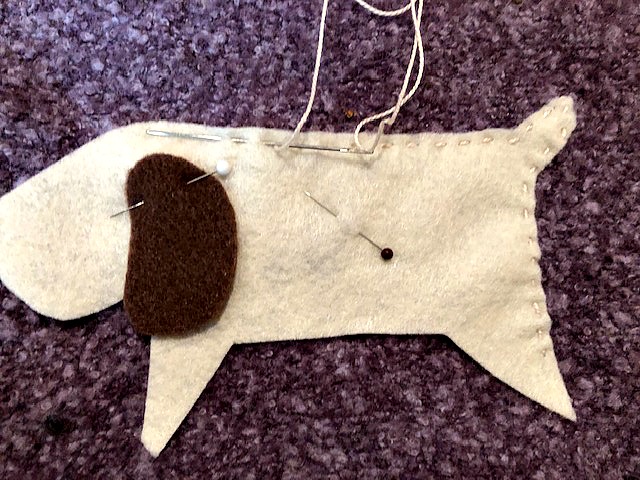
Hand sew the applique on using embroidery floss. I used matching thread but you could make it stand out by using a contrasting thread. I just did a very quick running stitch to attach the dog to the skirt.

Then I added the ear and too spots to his behind.

The last step is to insert your elastic. I like to put a huge pin on the end of the elastic and insert it into the 1-2 inch gap we left. Then wiggle it through the casing. When you get it all the way around the waist area and back to the gap, pin it to the other end. Check to make sure that the elastic didn’t get twisted. Adjust to the desired width. Try the skirt on again and test out the size. If you are happy sew the elastic together and remove the safety pin. Machine sew the casing closed.
This sweater will fit a preteen daughter to an adult XL woman. As long as the elastic is comfortable, the wool will stretch with your size. I could have tightened the elastic and made it a skirt for my 8 year old too. If you find its getting a bit stretched out just wash it again. Use warm water instead of hot and warm dryer so it doesn’t shrink too much.
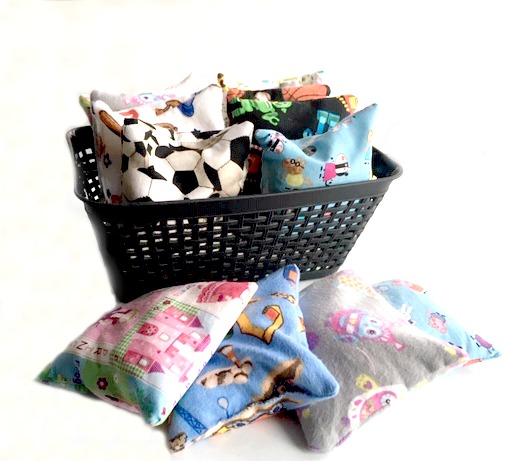
Make Hand Warmers or Ice Packs
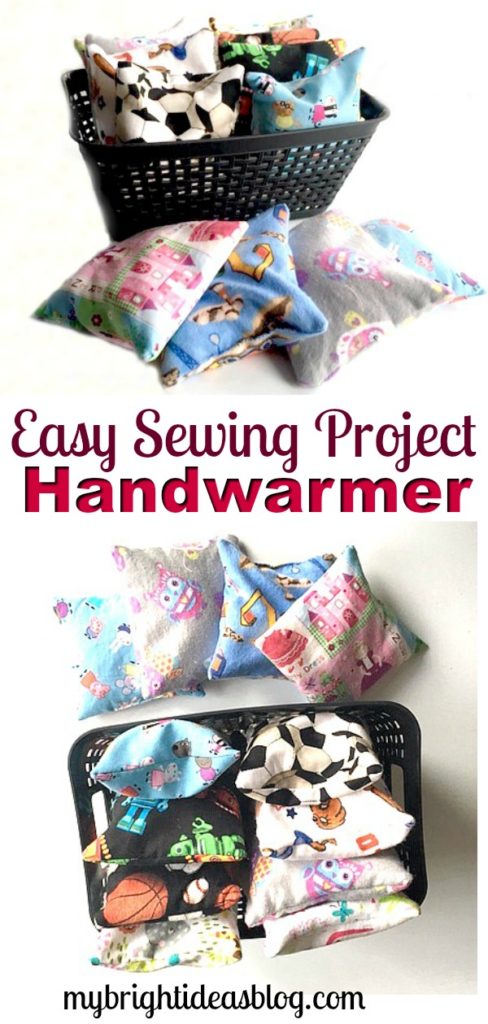
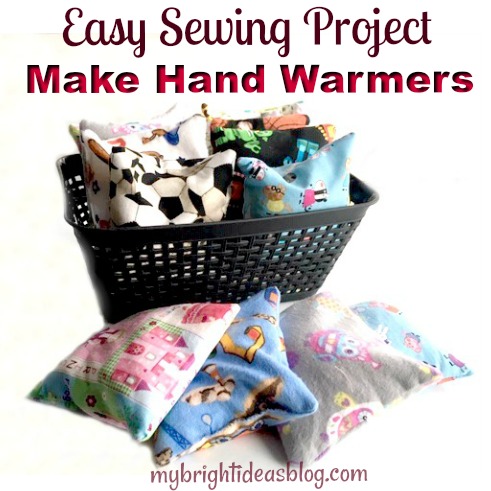
Easy to Make Hand Warmers or Ice Packs
Last year I tried my hand at making a long soothing lavender/rice pack and I LOVED IT! Perfect for sore muscles, tense shoulders or out of the freezer when you need a cold pack. (Link Below)
When summer came I thought how nice it would be to have an ice pack when you hurt yourself. So I put the rice/lavender pack into a Ziploc bag and left it in the freezer to cool. Since its winter, and cold, I’m posting this time a smaller one to warm up your mittens or socks.
What you will need:
- cotton fabric scraps
- scissors
- sewing machine
- needle and thread
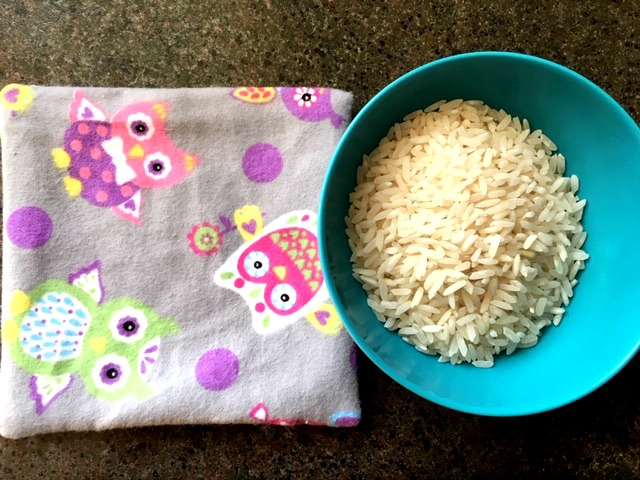
- uncooked white rice
- lavender (optional)
- essential oils-lavender, peppermint, citrus etc (optional)
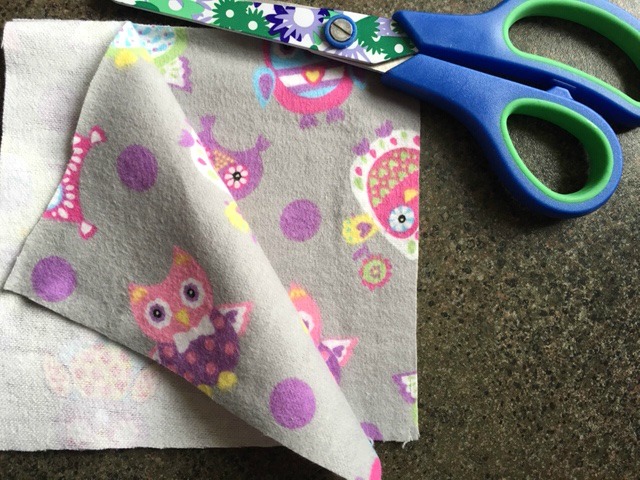
Cut fabric to the size. 3 x 3, 4 x 4 or 5 x 5inches. (I chose to make mine 5×5)
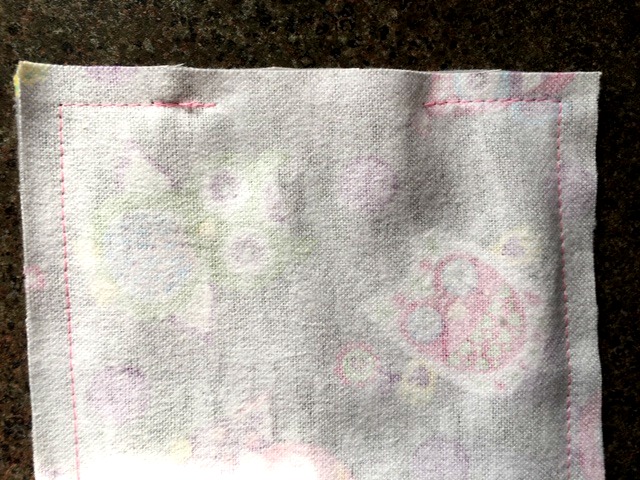
Sew all the way around the fabric leaving a 2 inch gap.
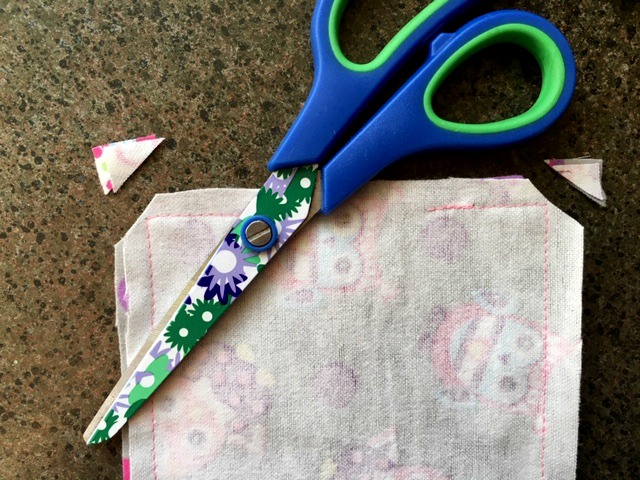
Trim the corners off.
Turn the square inside out by pulling it through the 2 inch gap.
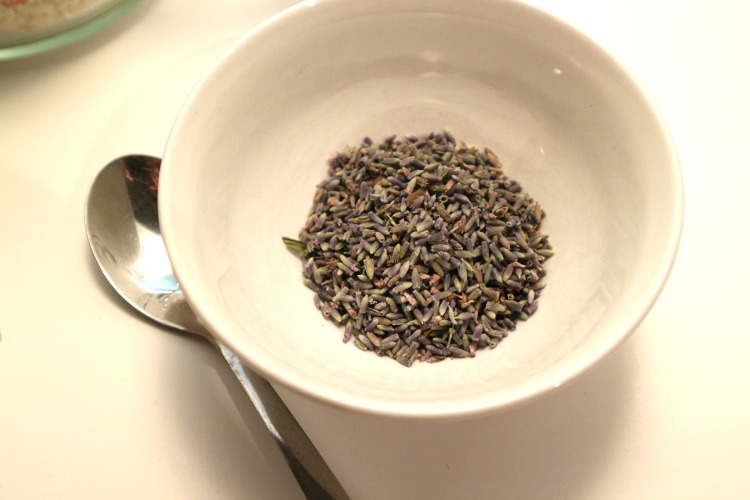
If you like the smell of lavender add a pinch to the uncooked rice. When it is warmed in the microwave the lavender smell will get stronger.
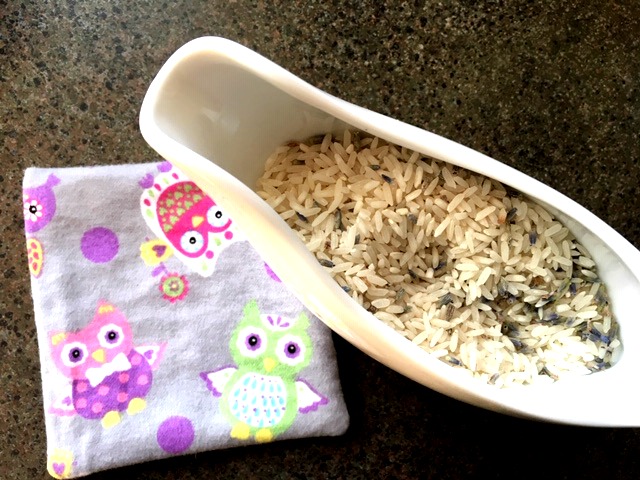
I used my gravy boat to help pour the rice and lavender into the hole.

Fill the square fairly full but not rock hard. Fold over the edge and sew the 2 inch seam closed with a needle and thread.
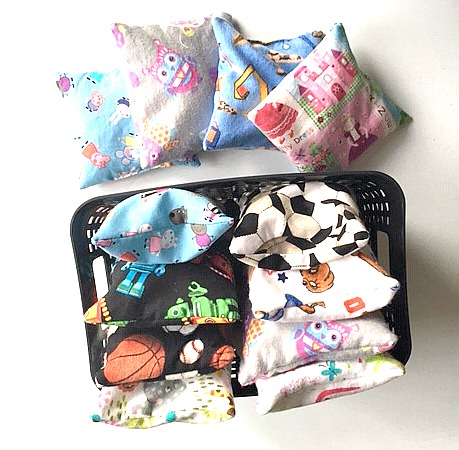
To keep it away from my ice cubes I keep the rice packs in a ziplock bag in the freezer for ouchies.
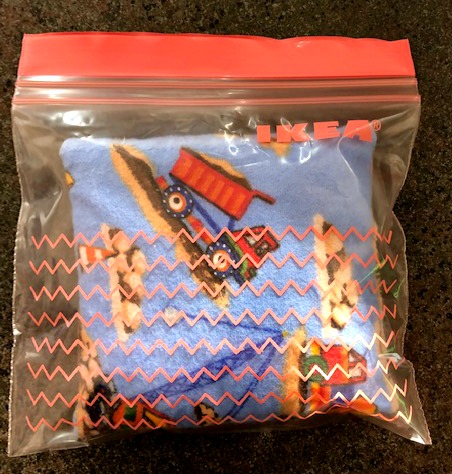
As a warm pack I still store them in ziplock bags while not in use. Microwave for 30 seconds each and hold onto it or pop into your mittens to warm up you hands.
Easy to Make Fleece Hat with Flowers – Simple Sewing Project
Patchwork Leggings DIY
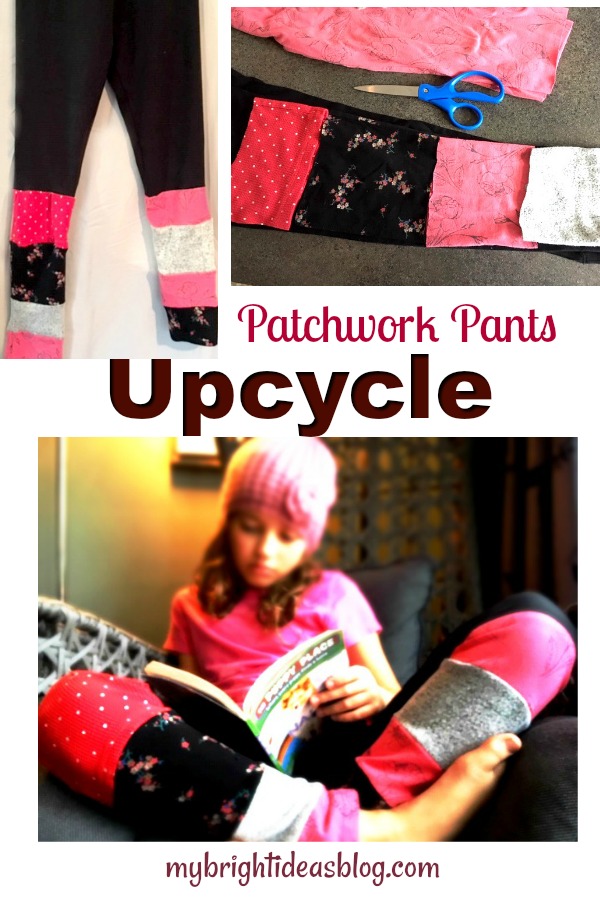
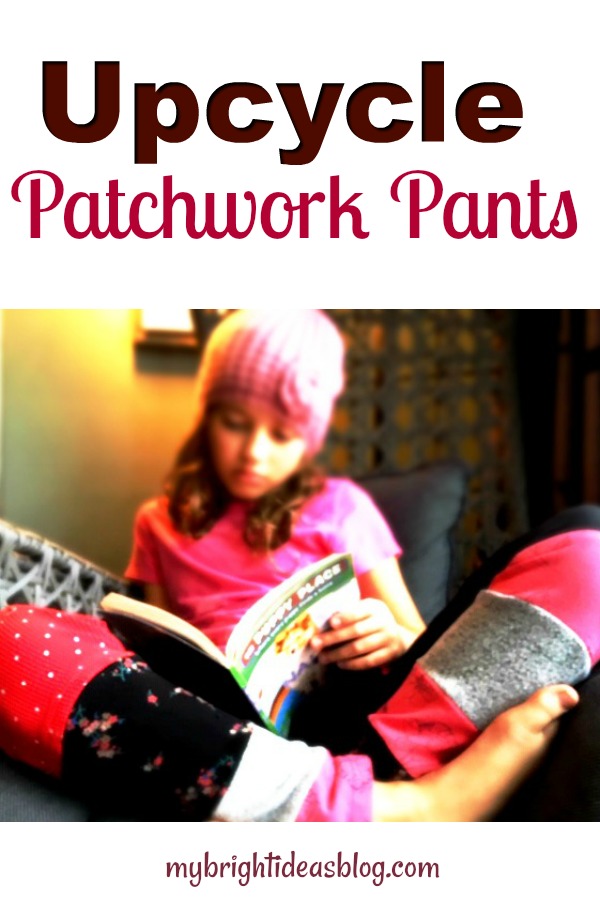
Upcycle Patchwork Leggings!
Have you got old clothes you’d like to add to your new clothes. Well might I suggest making patchwork leggings by mixing patterns together. I’ll show you how!
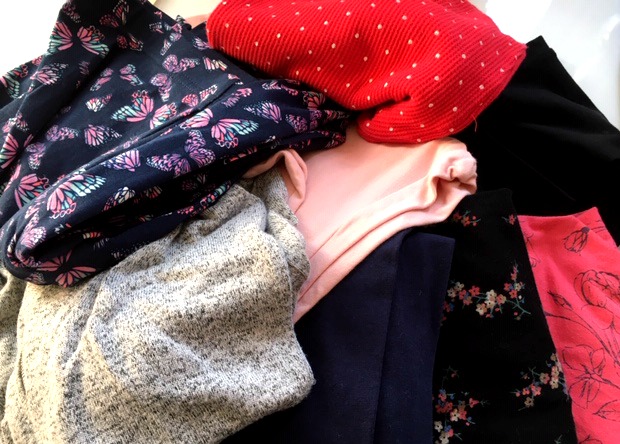
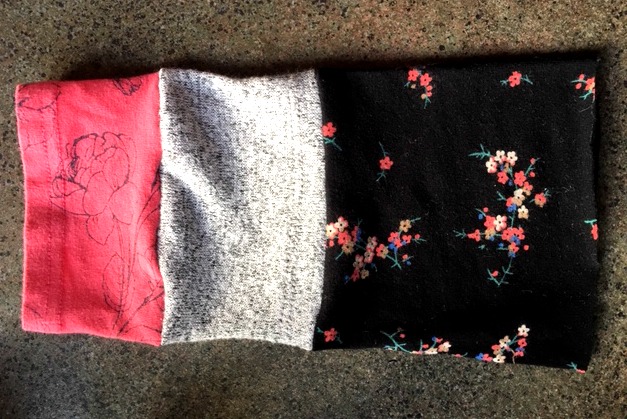
Here is a stack of hand me downs. The grey piece is an adult sweater top and the red and white polk a dot is also a waffle top. I added both of these so that it gave it a bit of texture. The other patterns are all leggings worn a few years ago by my eldest waiting for her little sister to grow in to them.
Change of plans – I’m chopping them up for parts!
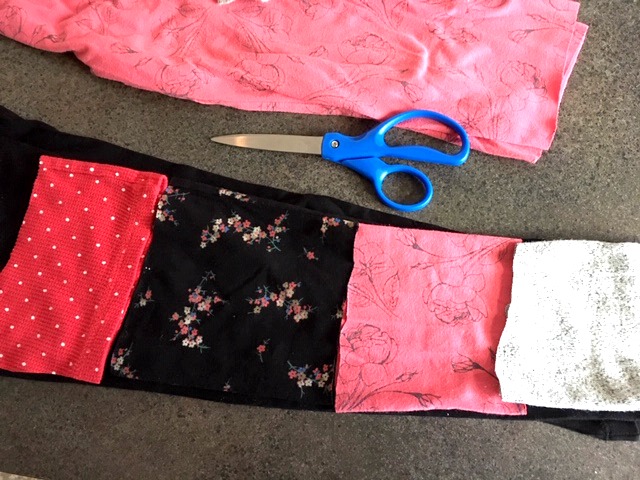
I laid out the new black leggings which is going to be the base piece. Eventually I will cut it off below the knees – But not yet!
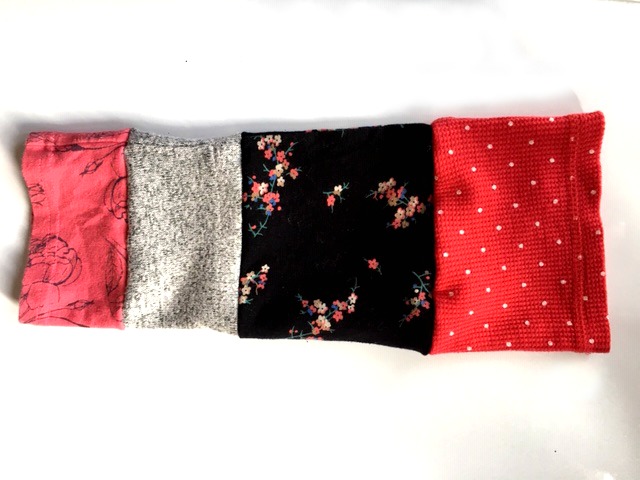
First I used it as a sizing guide. The legs will need to follow the same tapered pattered. The sleeve from the grey shirt was the most narrow so it became the lowest on the leg. It was already hemmed so that saved me hemming it at the end. The red polka-dot shirt I had used a wide piece from the front. That also needed a side seem to make it a tube like the others.
I only wanted below the knee to have patchwork because kids playing on the floor will find seems on the knees irritating if not painful.
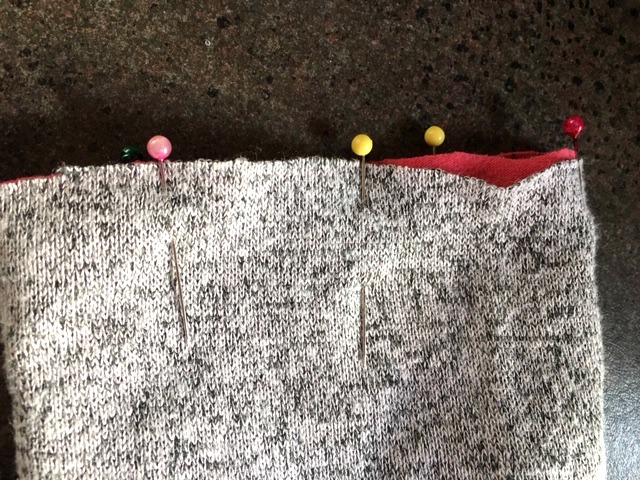
Starting from the bottom of the pantleg, pin the first two pieces – with right sides together.
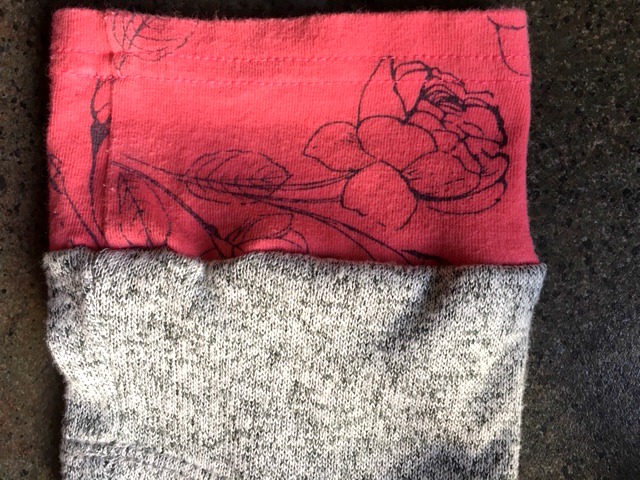
Turn inside out. Next. with right sides together again, pin on the third piece to the second one. Stich this seam.
Leggings tend to have one seam on the inside of the leg so make sure they all line up.
Turn it right side out.
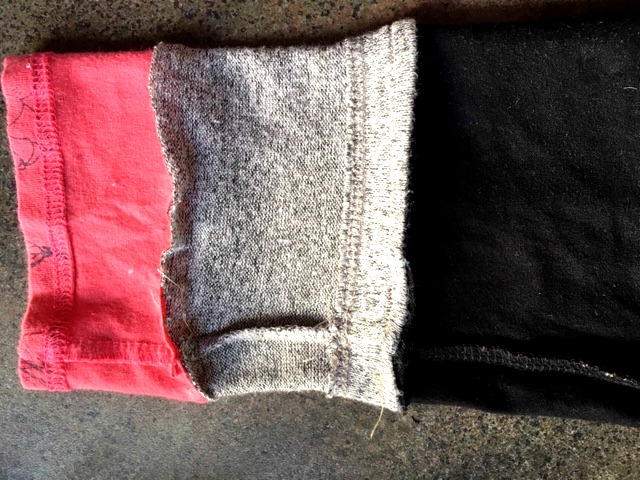
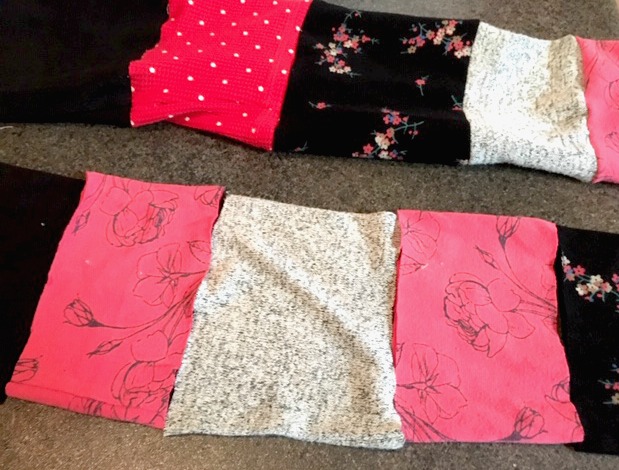
On this pair of legging I sewed 4 pieces on each leg. Then I cut one of the legs off the black pants and pin and sew the 4 patches of the lower leg to complete the pants.
Remember that right sides go together. For some reason I kept sewing it on wrong and then removing it and doing wrong again. Doh!
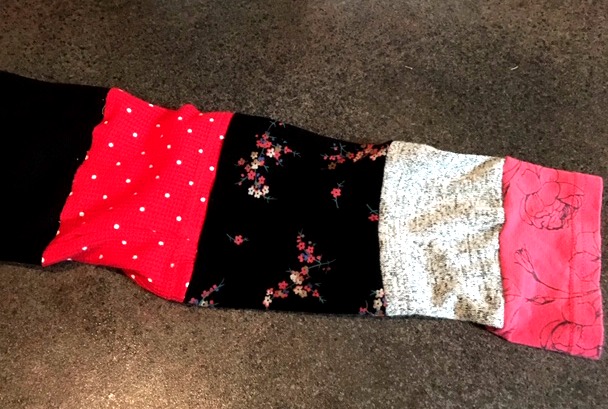
With one leg completed do the next leg. Make sure they are the same length when completed.
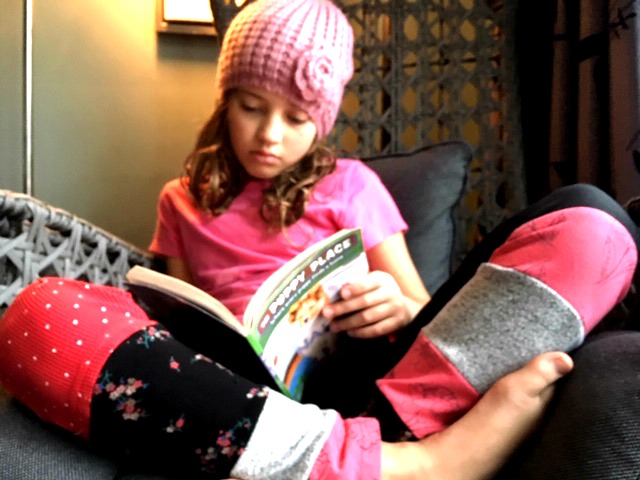
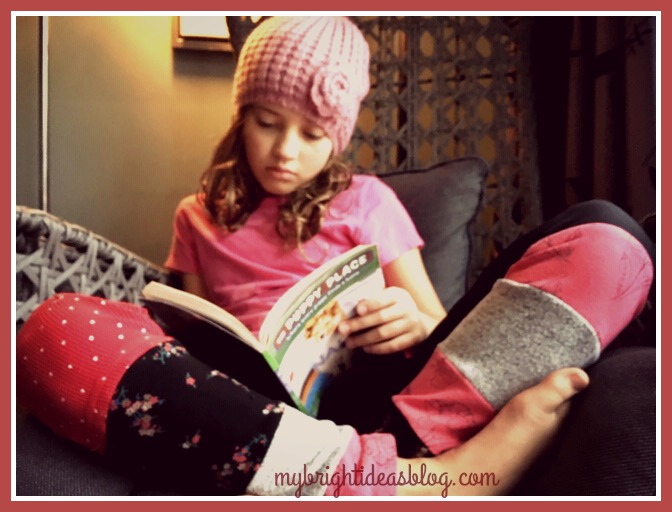
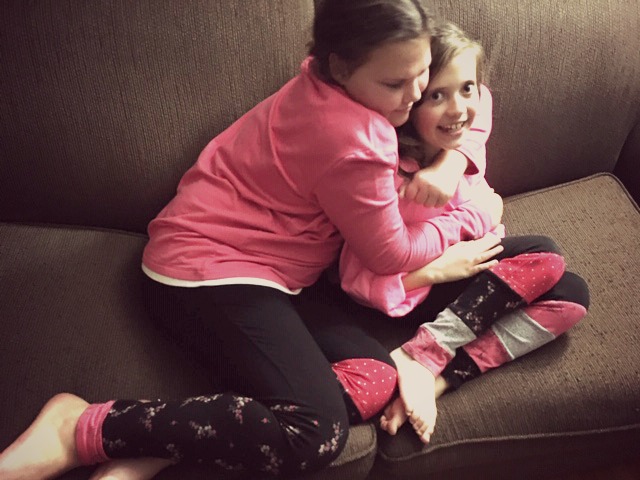
After a while of me taking photos of her while she read she let me know what she thought of that….
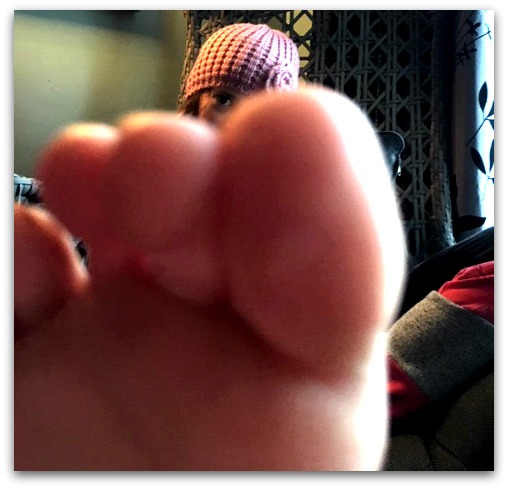
I love how one eye is peeking at me.
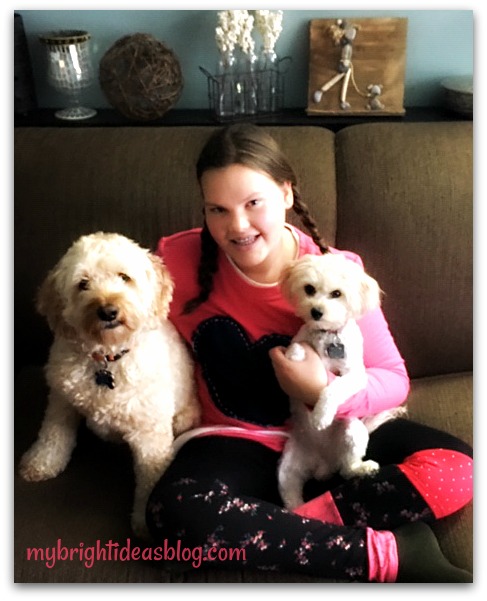
Okay I think she has had enough…so I found her sister…
 For her leggings I didn’t have them matching with similar patches on both legs. She has a long one and a short one on her right pant leg and smaller patches on her left leg. She was delighted when I pulled this out on Thursday night because Friday was pajama day at school and her pj’s were not for public viewing.
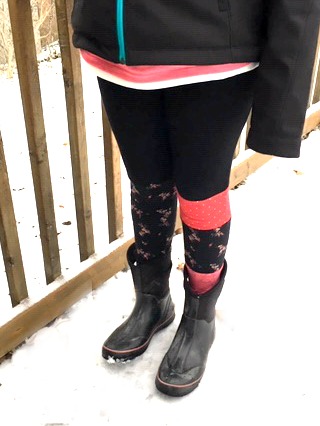 On super cold days these would make great long-johns or pants under snow-pants.
There you have it two girls in upcycled original pants. There is enough scraps left over to make more pants…or to make co-ordinating sleeves on tops.
Thanks for reading another one of my posts. I’ll link some of my other upcycles too.
T-Shirt Refashion – Add details from baby clothes to jazz up plain clothes!
…
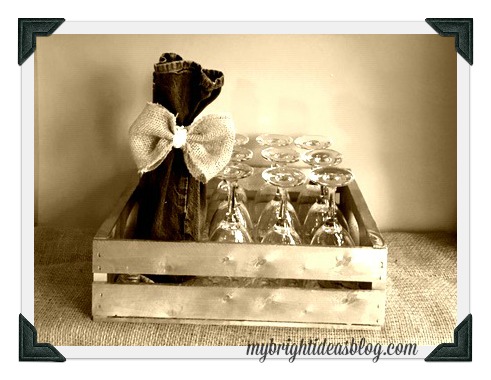
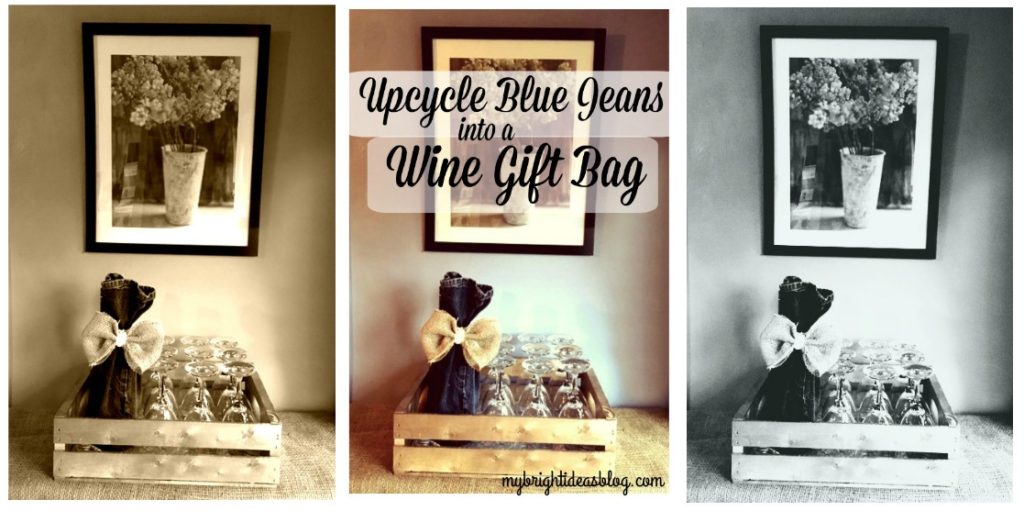
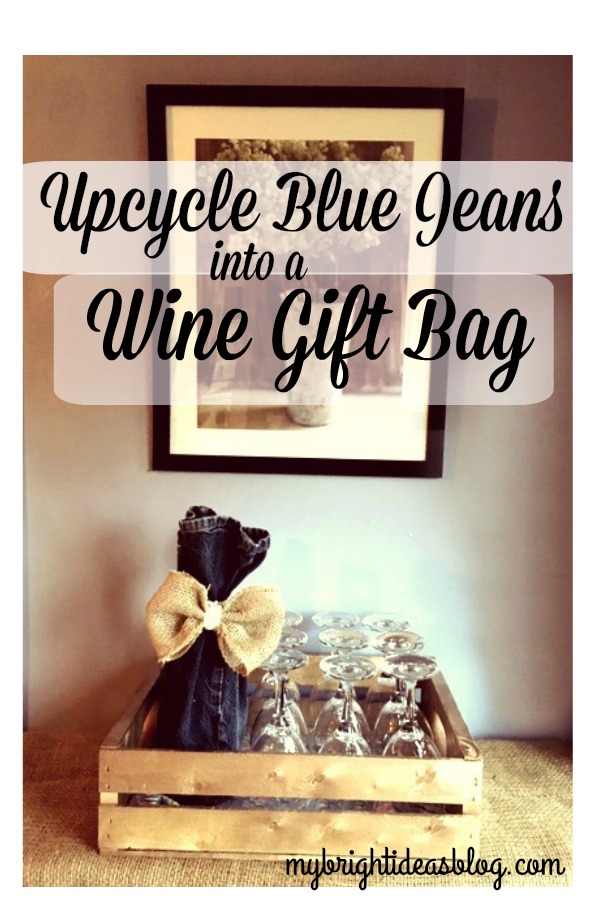
Upcycle Jeans into Wine Gift Bags!
Repurpose Jean Pant Legs Into Wine Bags!
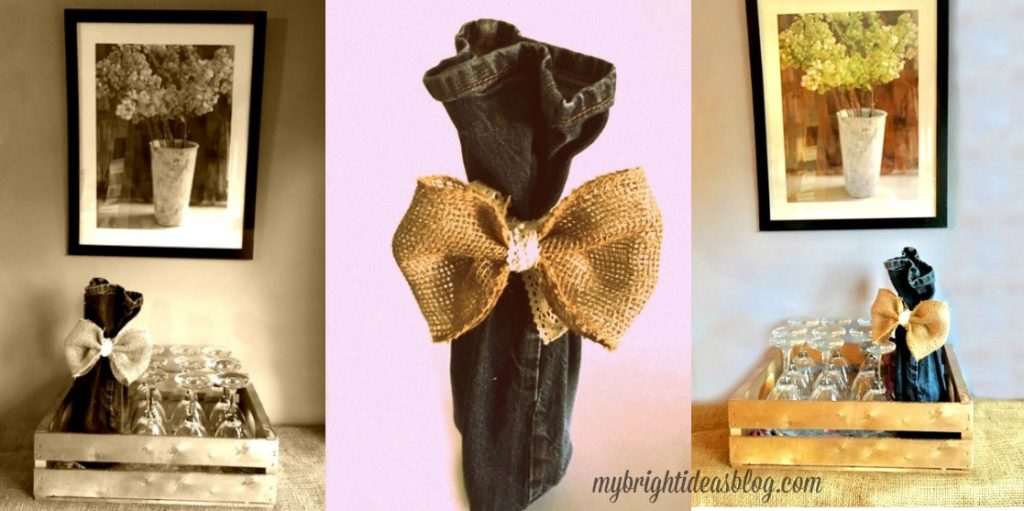
Want to bring an original hostess gift to a casual dinner party? Dress up your wine bottle with a pair of old blue jeans!
This will get your mind inspired for other upcycling and gift wrapping ideas too!
You will need:
- Blue jeans you don’t mind cutting up (child’s size would be ideal)
- Sewing machine or needle and thread
- Ribbon/String/Twine
- Burlap for bow or something else you can add to embellish
As long as the jeans are freshly washed it doesn’t matter if there is fraying on the cuff. We want the bottom of the jeans to be at the top so it can add character.
The pant leg opening should be around 6 inches (15cm) wide. So skinny jeans or children’s jeans are perfect. I picked up 4 pairs of kids jeans from my goodwill for around $3 each. I will be making more blog posts out of the scraps and pockets too. Save any decent leftovers when you are done.
If your jeans are adult size, no problem you can trim the pant leg width and make a seam.
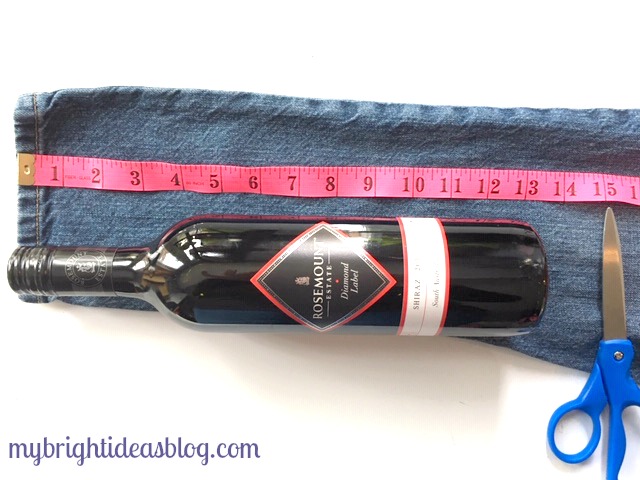
Cut the pant leg approximately 15 inches (or 38 cm). This will give you a bit extra for the seam on an average 13 inch bottle.
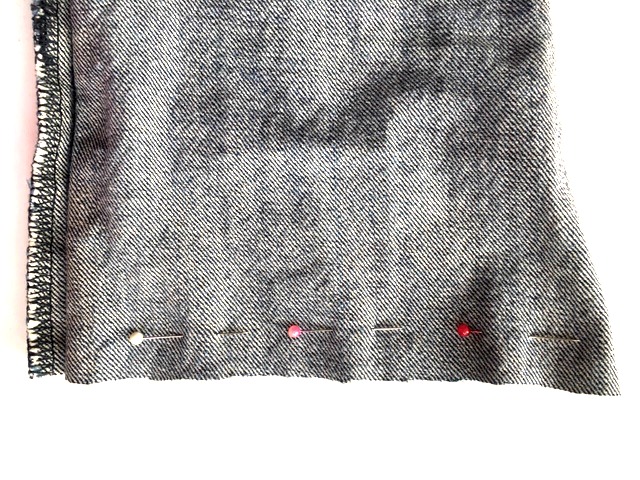
Turn the pant leg inside out and pin closed.
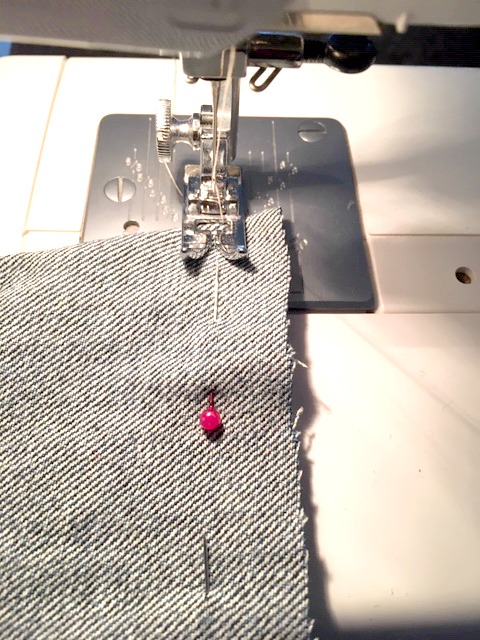
Sew straight across the bottom 1/2 inch or 1 cm from the edge. You could hand sew this if you don’t have a sewing machine.
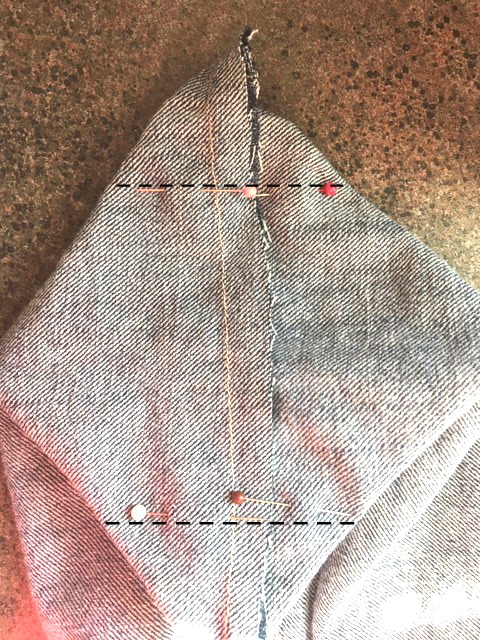
Now flatten the bottom of the bag and pin 1 inch (2.5 cms) from each corner. This will make your bag more boxy at the bottom and easier to stand up. Stitch across this line.
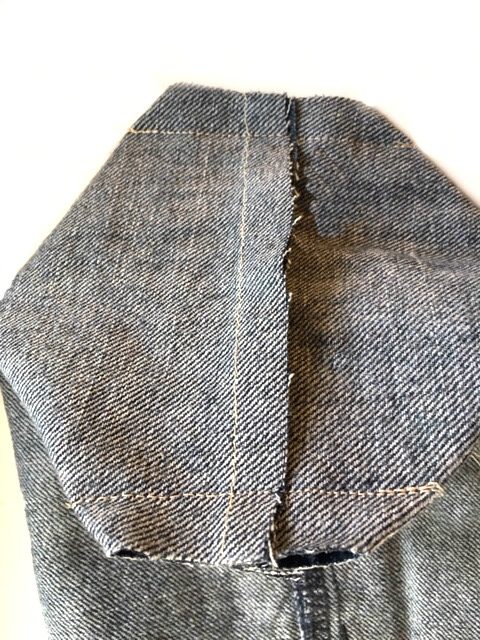
Cut off the triangles on the outside of your last stitch. Turn it right side out again.
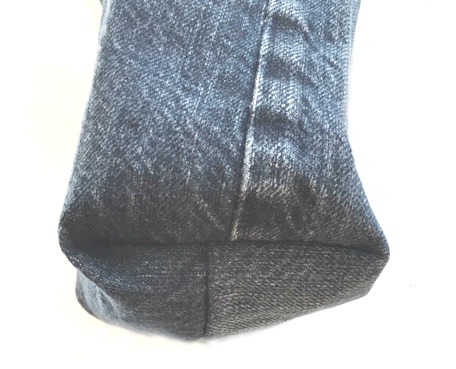 See what I mean? Boxy on the bottom to help it stand up.
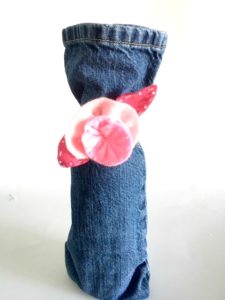
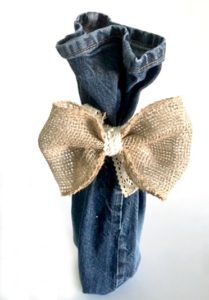
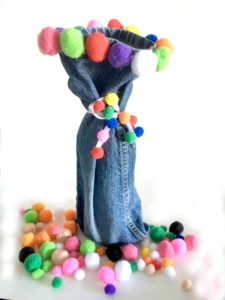
Now decide how you would like to decorate it. Put the bottle of wine in the bag and tie a ribbon or piece of twine.
If you like the felt pink flower in the photo on the left have a look at my cup cozy project link at the bottom of this post. http://mybrightideasblog.com/easy-to-make-felt-coffee-cup-cozy/
I also went a bit nuts with hot glue gun and pompoms in the photo on the right. Maybe you should save that for friends with a great sense of humour. Your accountant friends might think its a bit ridiculous! (no offence to the accountants)
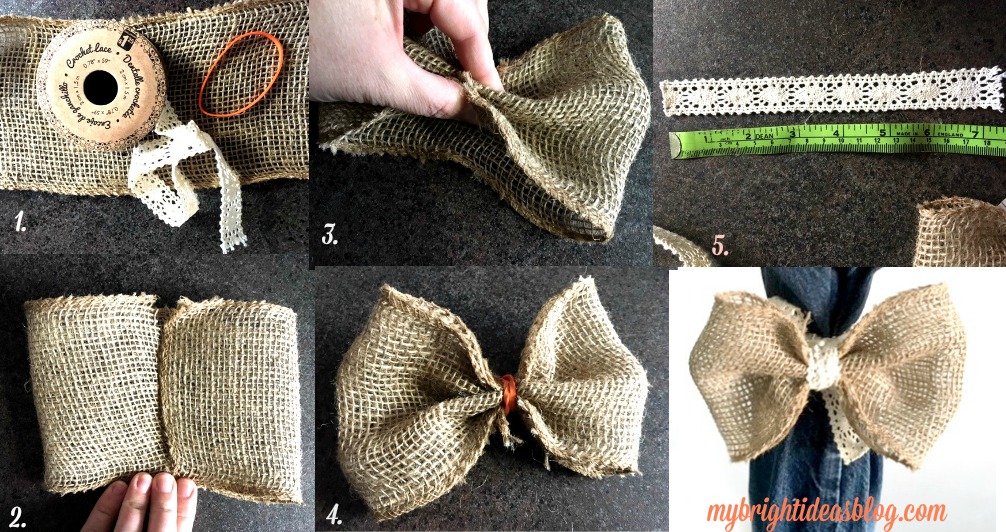
This bow is so easy to make and versatile for other project too!
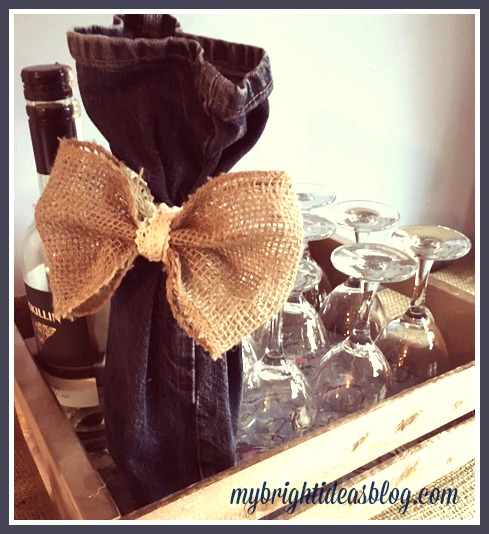
I hope this has inspired you to dazzle up a hostess gift of wine!
….
Easy to Make Fleece Hat with Flowers – Simple Sewing Project
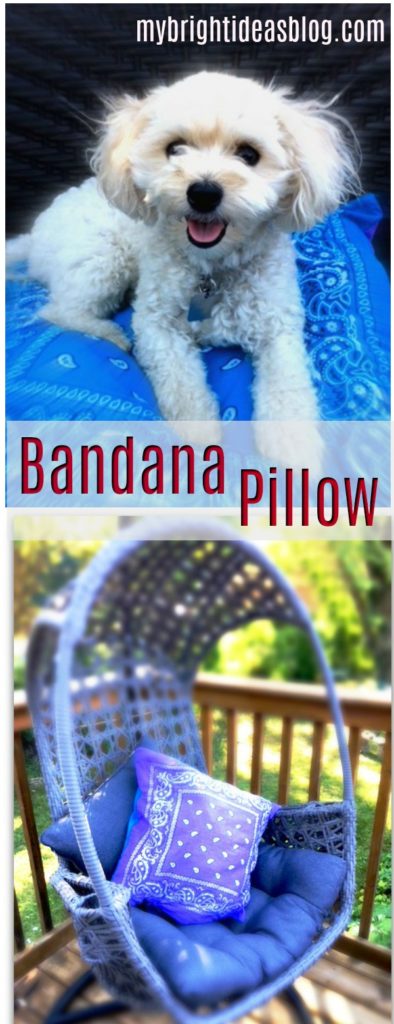
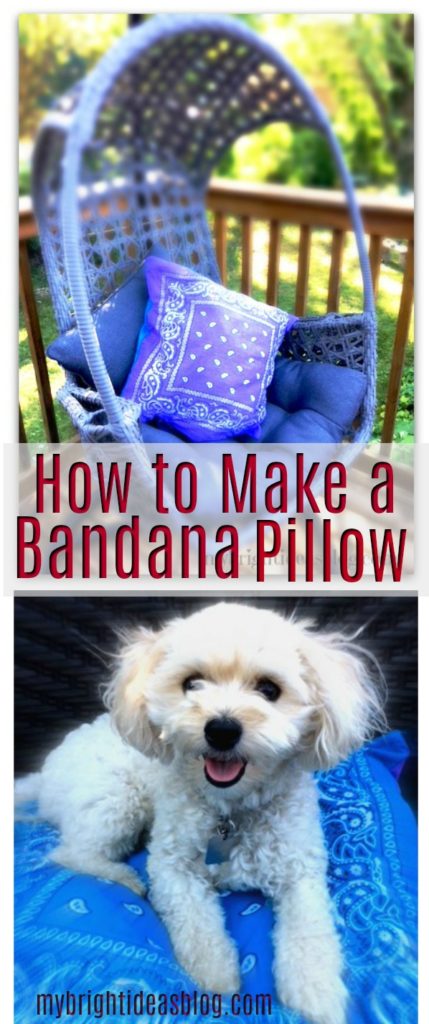
Make an Easy Bandana Pillow
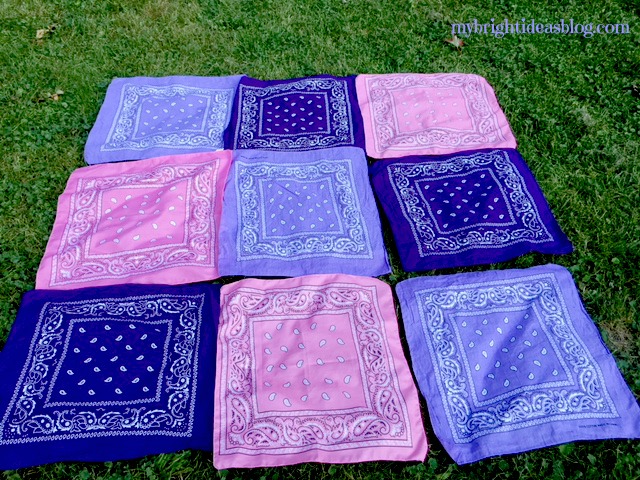
So a month or two ago I purchased way too many bandanas. Since then I’ve been looking for ideas to use some of them in projects. Today I’ll show you how to use 2 more! Let’s make a pillow for the bed, couch, or dog.
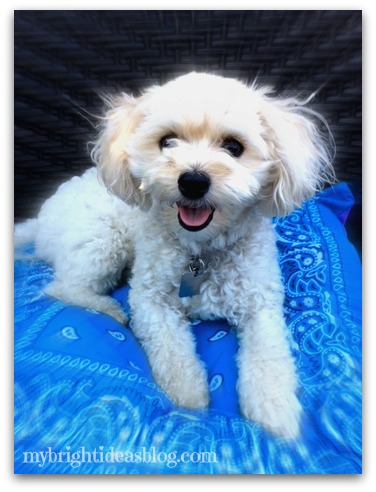
This is the beautiful Gemma. She is our 2 year old Yorkiepoo (Yorkshire Terrier mixed with Poodle). She loves to share my chair when I’m using the computer. Gemma stays up as late as I do and then sleeps in behind the bend in my legs. She is quite yappy to the squirrels but she is a dream dog at home. One of her favorite places to nap is in her crate. So let’s make her a new pillow.
You will need:
- 2 bandanas/handkerchiefs the same color or complimentary colors
- sewing machine
- needle and thread
- pins
- pillow or stuffing
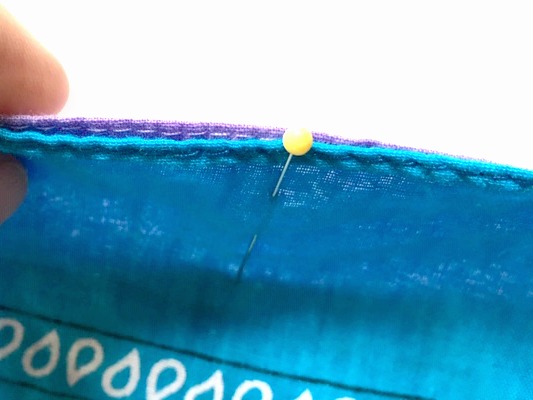
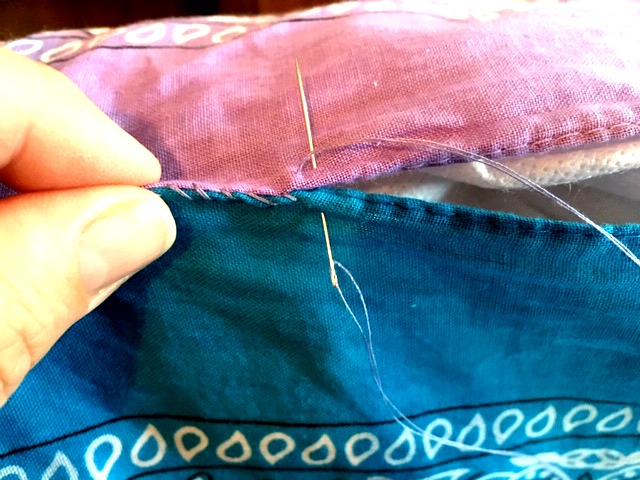
With right sides together, match up the corners and pin them. They don’t make handkerchief/bandanas all the exact same size. So don’t get frustrated. When you sew them together you will be able to correct their wonky sides.
See what I mean. The purple one is not cut straight or is slightly bigger, so it’s sticking out. Sewing them together with a straight line will disguise the mismatch.
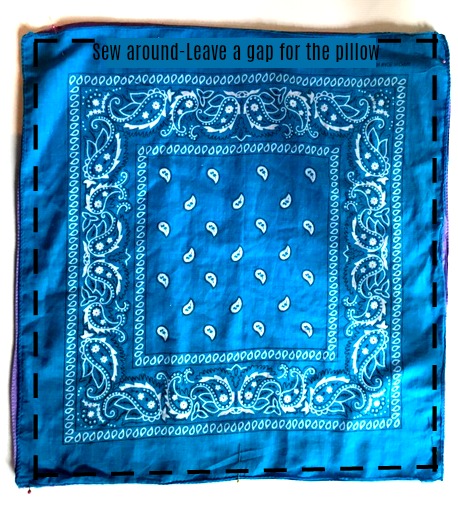
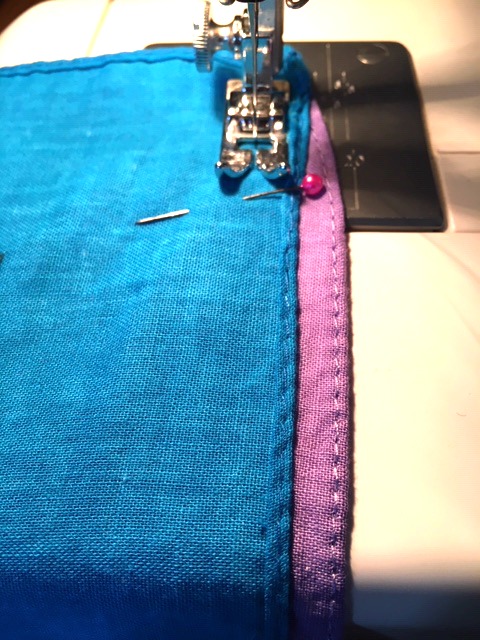
Sew almost all the way around leaving a wide gap on one side.
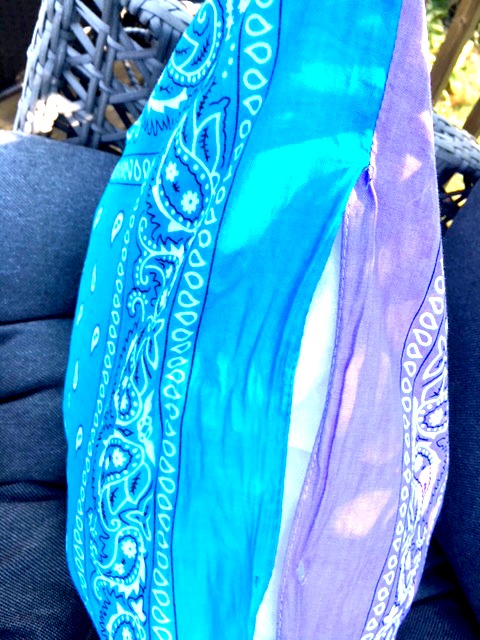
Turn the pillow case inside out and insert the pillow. Since this will be used for Gemma’s crate I didn’t buy a new pillow form. Instead, I used a cheap, old limp bedroom pillow that was wasn’t very fluffy anymore. It easily fit into this pillow case.
Next, take your needle and thread and hand sew this opening closed.
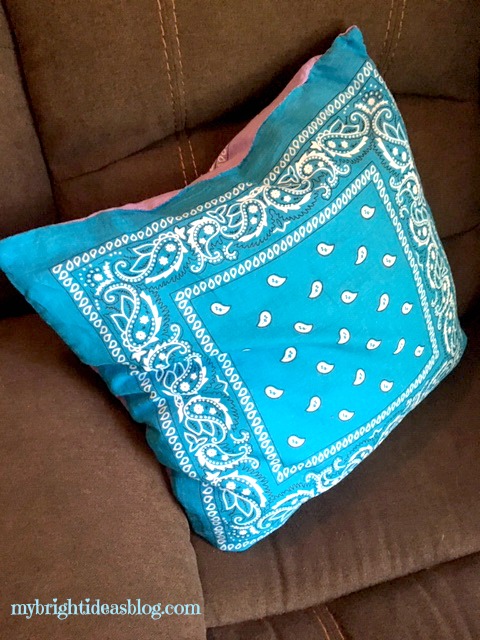
You could use this on the couch, on a bed, outdoor furniture, in the car or……
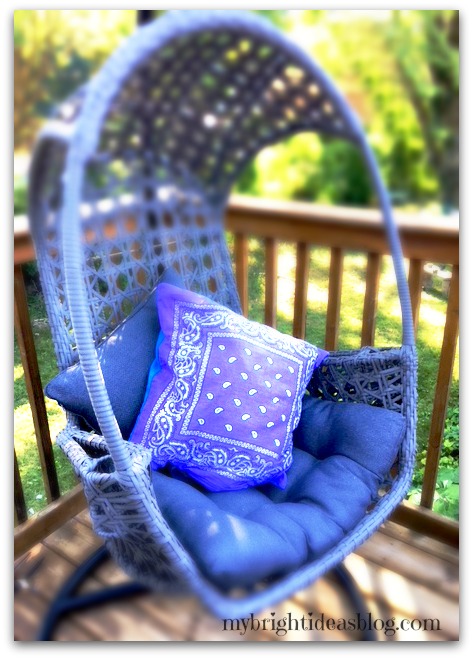
…..for your sweet puppy dog.
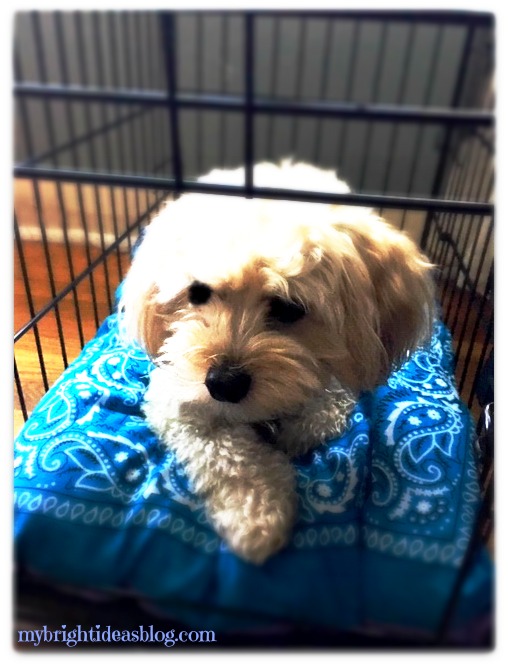
Thanks to Gemma for being a gorgeous model for this little photo shoot.
Feel free to comment with suggestions for what to do with the other 15 bandanas I still have left over. Did you see the Fall table cloth I made last month? Have a look.