This website may contain affiliate links. If you purchase something from one of these, I may receive a small commission.

Mason Jar Tissue Holder

Share this!

Painted Mason Jar Tissue Dispenser. Match to wedding colors for an accessory. Dab tears of joy! mybrightideasblog.com

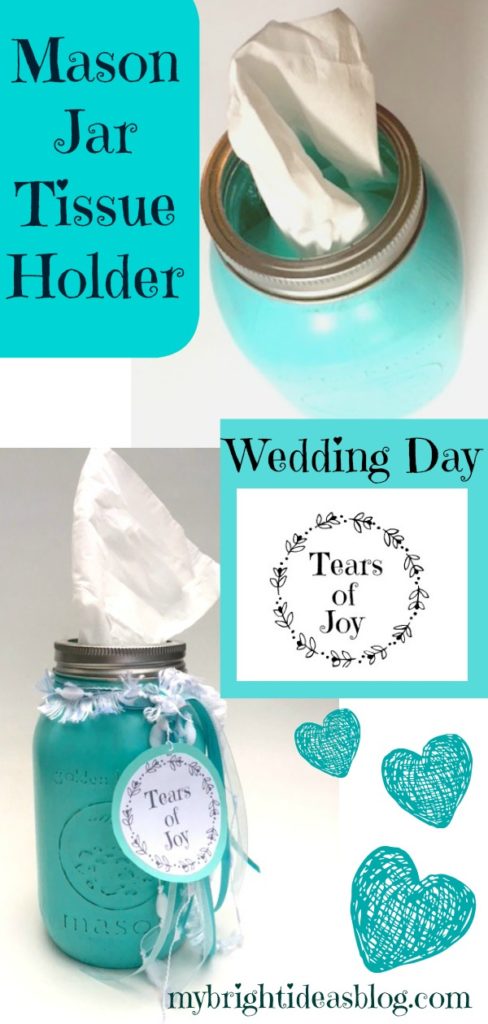
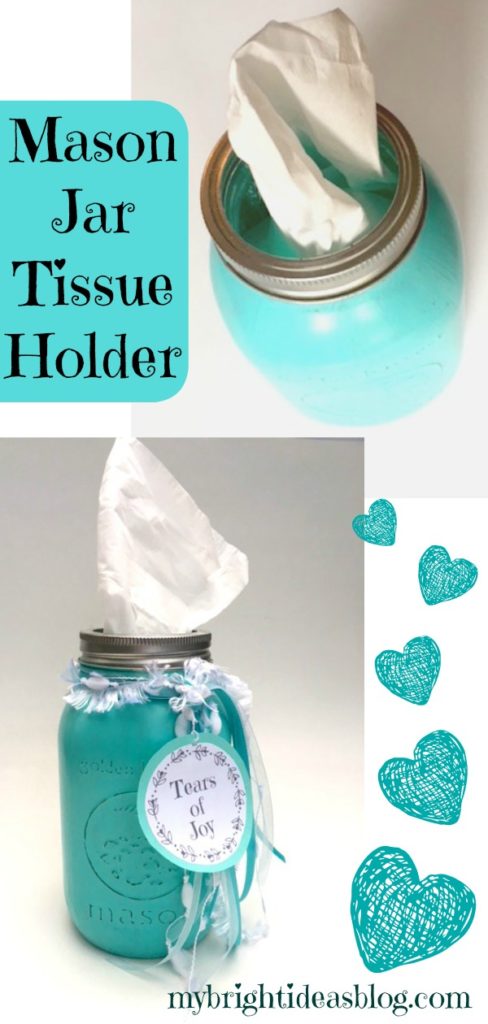
Tomorrow a friend’s daughter is getting married and I’m going to pop around to their house today to drop them of this mason jar tissue dispenser. Even for friends who aren’t prone to crying – weddings and daughters and stress and wedding parties and lack of sleep can bring out the tissues for anyone. Might as well be prepared with a jar of tissues that match the day!

You will need:

  • goo gone or lift off if there is any sticky label residue
  • rubbing alcohol
  • a mason jar
  • multi-surface paint (or glass paint)
  • paint brush or sponge
  • sand paper or emery board
  • box of tissues
  • wide mouth jar band

Painted Mason Jar Tissue Dispenser. Match to wedding colors for an accessory. Dab tears of joy! mybrightideasblog.com

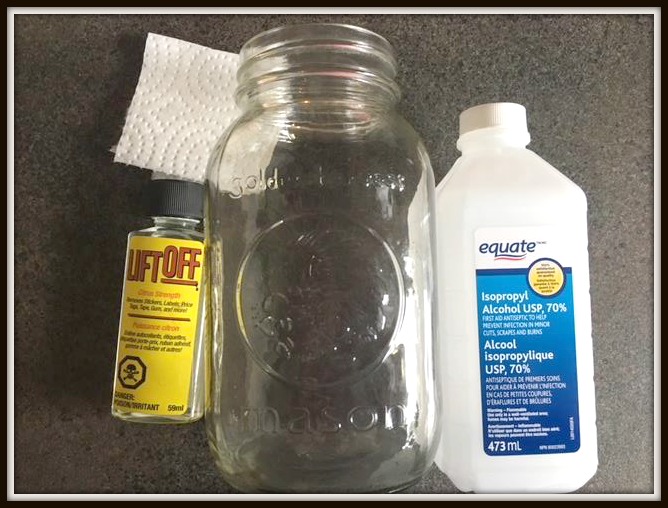
First of all, we need to clean and dry the mason jar. If there is any sticky residue from previous labels take if off with goo gone or lift off – then wash with soap and water. Wipe the outside of the jar with rubbing alcohol.

Painted Mason Jar Tissue Dispenser. Match to wedding colors for an accessory. Dab tears of joy! mybrightideasblog.com

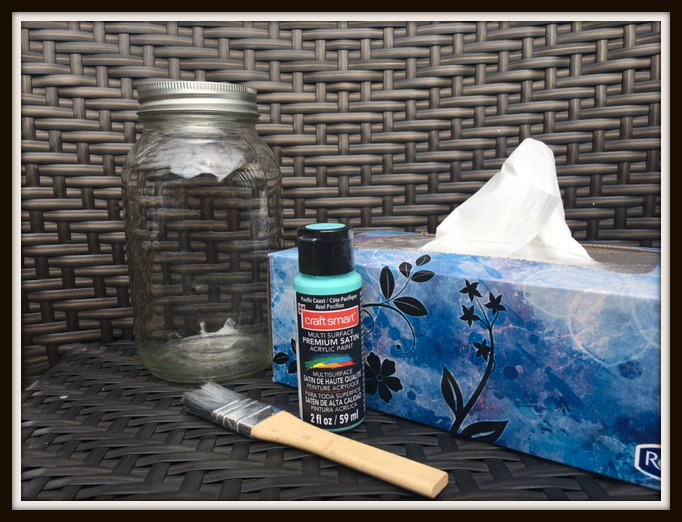
I used a multi-surface, acrylic craft paint from Michael’s-“Pacific Coast”. It was not expensive approx. $3.50. It can be used on fabric, glass, ceramics, wood, metal, plastic, terra cotta etc. Painted Mason Jar Tissue Dispenser. Match to wedding colors for an accessory. Dab tears of joy! mybrightideasblog.com

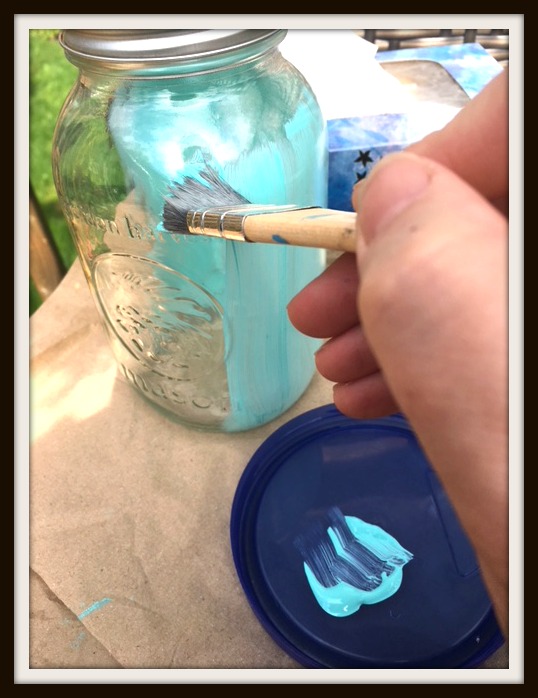
Using a paint brush or sponge, paint the jar and allow to dry. Most likely you will require another coat of paint. It dries fairly quickly.  Leave over night to really allow the paint to dry thoroughly before moving on to the next step.

Painted Mason Jar Tissue Dispenser. Match to wedding colors for an accessory. Dab tears of joy! mybrightideasblog.com

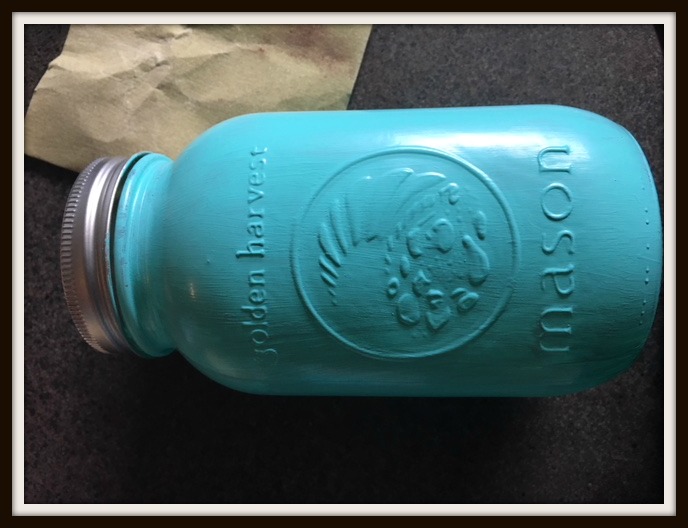
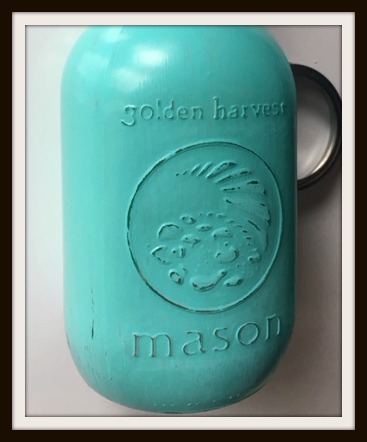
Using an emery board or sandpaper, gently rough up raised lettering.

Painted Mason Jar Tissue Dispenser. Match to wedding colors for an accessory. Dab tears of joy! mybrightideasblog.com

Next we add the tissues!


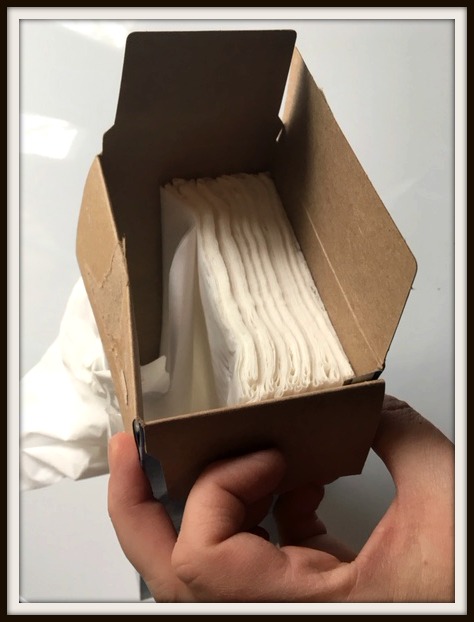
Open the box of tissues at one end. Remove half of the tissues, keeping them in a stack. Keep the top tissue slightly pulled up.


Painted Mason Jar Tissue Dispenser. Match to wedding colors for an accessory. Dab tears of joy! mybrightideasblog.com

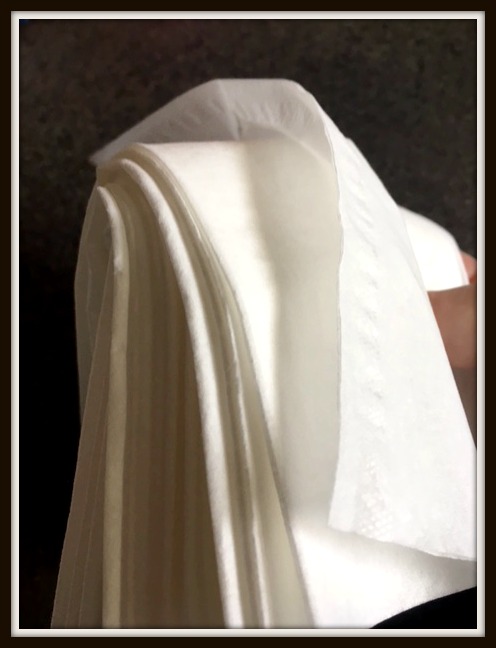
Fold the stack of tissues in half-keeping that top tissue easy to grab.

Painted Mason Jar Tissue Dispenser. Match to wedding colors for an accessory. Dab tears of joy! mybrightideasblog.com

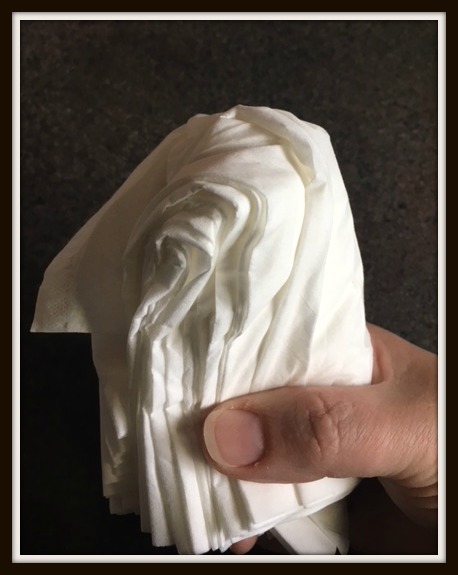
Fold it again so it will be slim enough to slide through the neck of your jar. Then gently wiggle the top tissue upwards. Test to see if the next one will follow.

Painted Mason Jar Tissue Dispenser. Match to wedding colors for an accessory. Dab tears of joy! mybrightideasblog.com

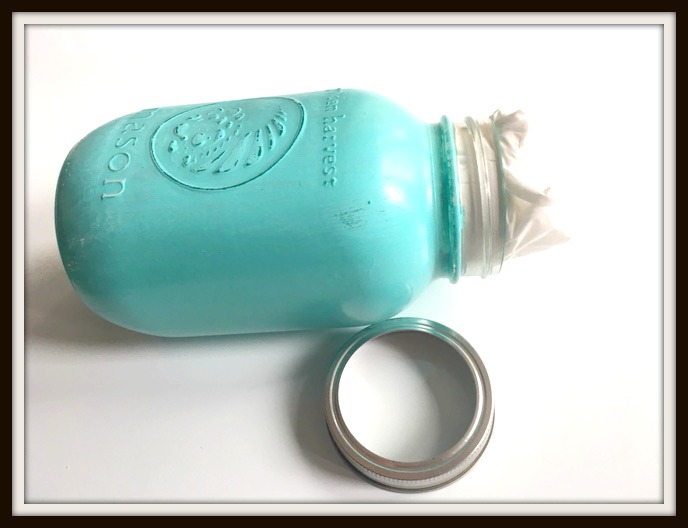
Screw the ring lid back onto the jar. I like the silver ring lids that come with new jars. If your ring is looking shabby or you want a dramatic look you could easily spray paint it black or soft white before screwing it back onto the jar.
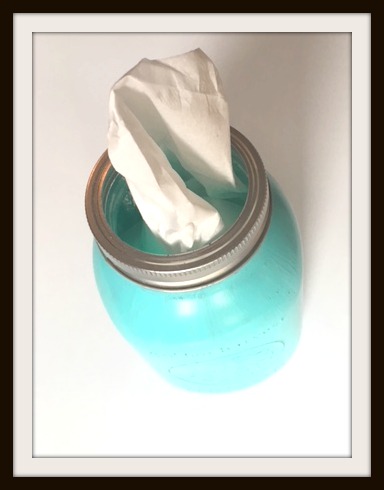
Painted Mason Jar Tissue Dispenser. Match to wedding colors for an accessory. Dab tears of joy! mybrightideasblog.com

Looks good!

Painted Mason Jar Tissue Dispenser. Match to wedding colors for an accessory. Dab tears of joy! mybrightideasblog.com

I added a little bit of random white and matching ribbons and simply tied a not around the neck of the jar. I also printed a little note that says “tears of joy”. Using a glue stick I pasted that onto a piece of coordinating cardstock. I punched a tiny hole in the papers and tied it into the ribbons.


Painted Mason Jar Tissue Dispenser. Match to wedding colors for an accessory. Dab tears of joy! mybrightideasblog.com


Painted Mason Jar Tissue Dispenser. Match to wedding colors for an accessory. Dab tears of joy! mybrightideasblog.com

Just a quick footnote!

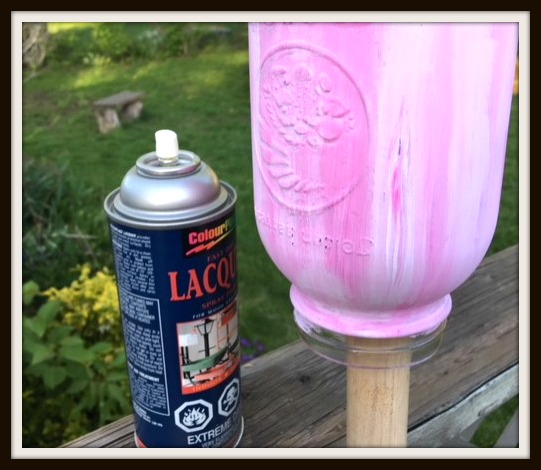
With this pink jar I tried painting with regular pink and white craft glue. It worked but it was a very mat finish so I put it on a broom handle and sprayed it with a clear topcoat. This had the desired finish and kept my hands free from the paint.

Excellent addition to a Wedding! Tissue holder made from a painted mason jar! Super idea! mybrightideasblog.com
Make this easy project from a mason jar, paint, tissues. It can co-ordinate to a baby nursery or wedding party colours. mybrightideasblog.com
Follow me on Pinterest, Facebook, Instagram and Twitter!

Leave a Reply

Your email address will not be published. Required fields are marked *

Copyright@2018 My Bright Ideas Blog

This looks like the beginning of a wonderful friendship!

Want to be the first one to receive the new project ideas?

I'm just starting to roll out my DIY Crafting Website-I'm so touched you came by to see what's happening here. Enter your email address below and I'll send you update straight to your inbox.

Thank You For Subscribing

This means the world to us!

Spamming is not included! Pinky promise.