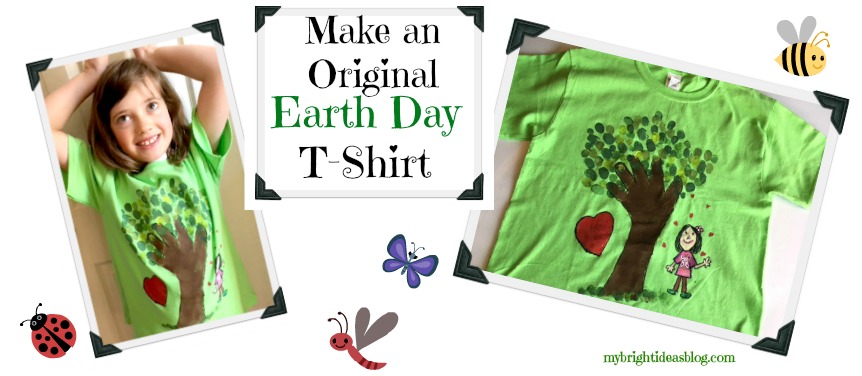
Another Earth Day T-Shirt Post!
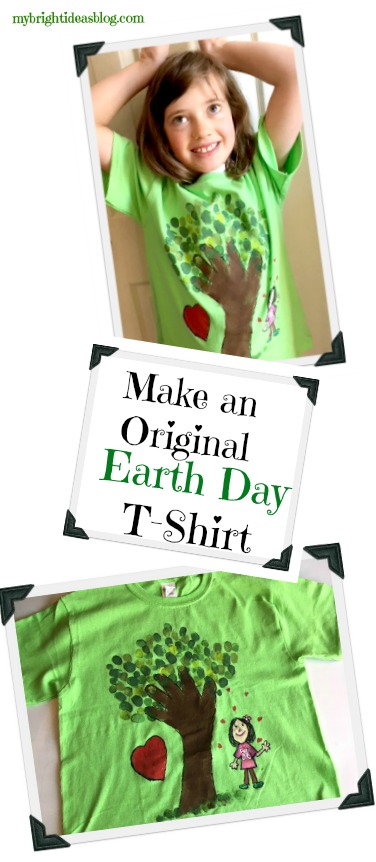
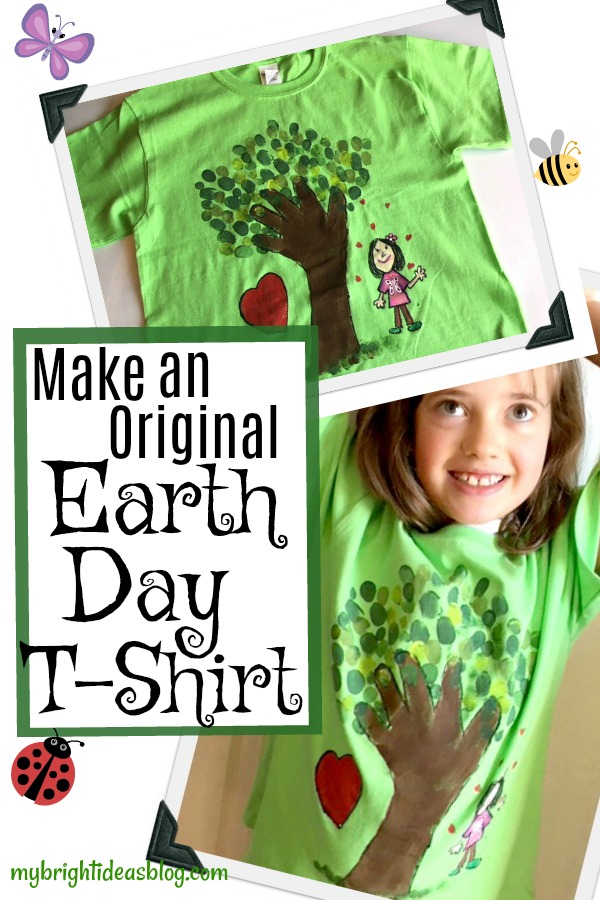
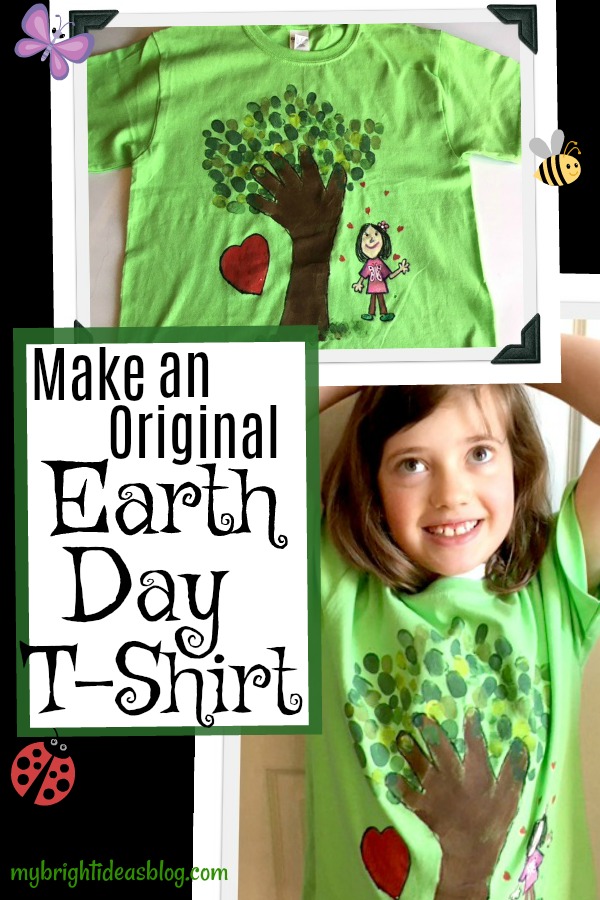
For a while I have been eyeing making this Tree T-Shirt idea-you simply trace your child’s hand and a bit of their arm to make a tree and branches. Thumbprint in a few shades of green paint for the leaves. You could leave it there or keep going by drawing a picture or writing a “green” Earth Day message next to it.
For this one you just need:
- a sharpie (red and black)
- craft paint -browns and greens (optional more if you paint more on the shirt)
- paint brush
- your kids arm, hand and thumb!
I know this is easy enough to follow with just the photos but I’m not a woman of few words. :o)
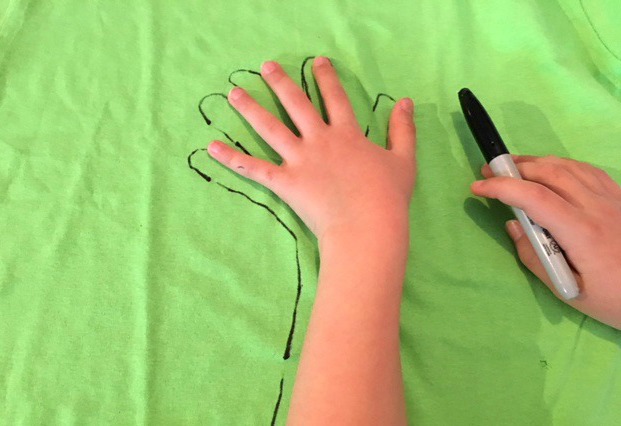
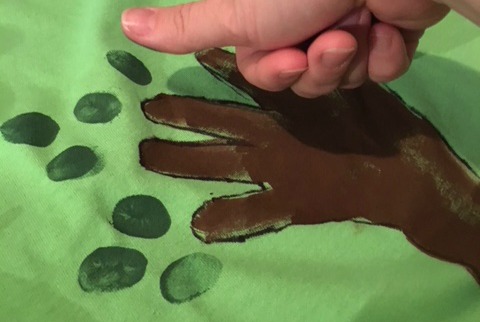
Trace your child’s hand.
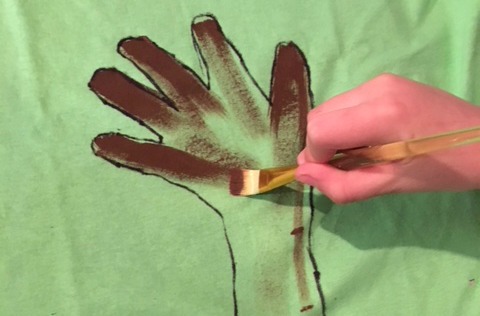
This is the tree trunk and branches so paint it brown.
Use your thumb and dip it in green paint to make leaves.
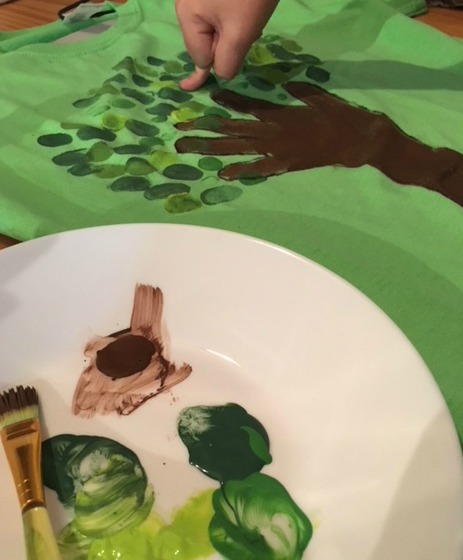
Next put a few shades of craft paint on a plate and dip your child’s thumb into it to make thumbprint leaves. I must admit I did a lot of this part as this darling kiddo didn’t want to get too messy. Of course, I didn’t mind, finger painting is good fun!
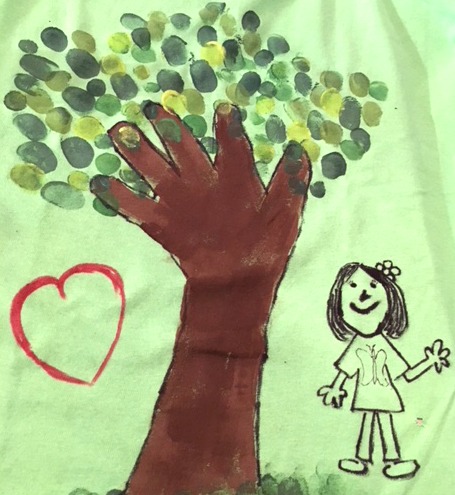
Add a few thumb prints at the base of the tree for grass. Miss M decided not to have words on this T-shirt but a self portrait and love hearts. We drew it on with a sharpie and then found the craft paints were best to color in the clothes and hair and heart etc.
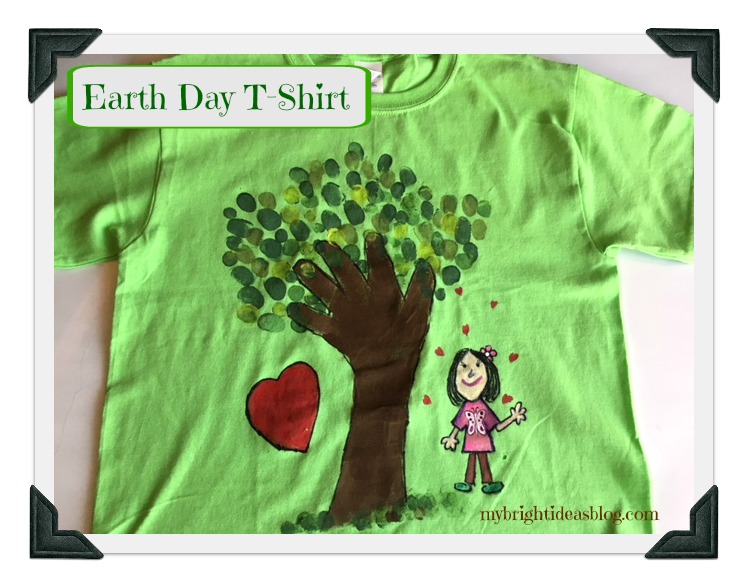 She was very pleased with the results and wore it to school the next day. The entire week was full of earth day activities so she was really into it. We love nature, we love the earth, we love hugging trees.
This shirt is big enough to wear again another year.
Below are some more nature crafts or earth day ideas! Have a look!
Did you see the earlier earth day shirt we made? It’s the planet earth made with blue and green sharpies-and it says “I care”. Check it out!
Nature Craft – Perfect for Earth Day Activity – Clay Imprints with Plants and Flowers
Easy Vermicomposting! How to start an indoor Worm Compost Bin!
…
Make an Easy Earth Day T-Shirt

Earth Day is nearly here and a certain little lady in my house is really into it this year. She is throwing interesting facts about what happens to a recycled bottle and other tidbits into breakfast conversation. I love it!
So we whipped up a T-shirt project in just 10 minutes and let it dry overnight and she is wearing it today. Bam! It’s that fast!
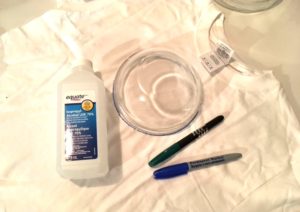
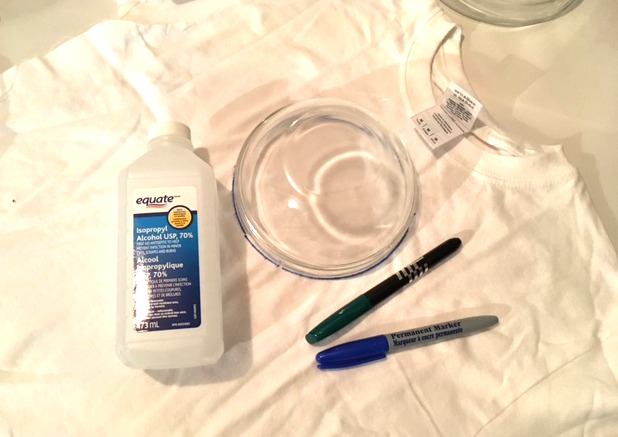
You will need:
- T-shirt
- Rubbing Alcohol
- 2 Bowls
- Elastic Bands
- Sharpies or Permanent Markers (Green, Blue and Red)
- An old Medicine Dropper that you don’t need back after the project

First of all, we should have ironed the t-shirt but it was already after bedtime so its crumpled.
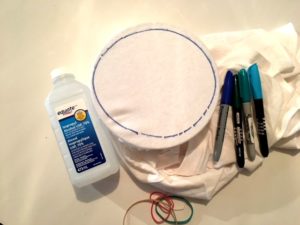
 Trace a circle with a medium sized bowl or plate. Be careful, you are using a permanent marker.

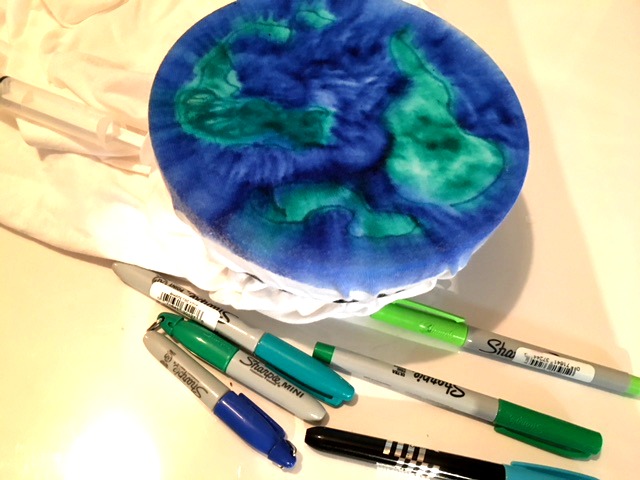
Next we used a slightly bigger mixing bowl and put an elastic around the t-shirt to help lay it flat and keep the project from bleeding out of control.
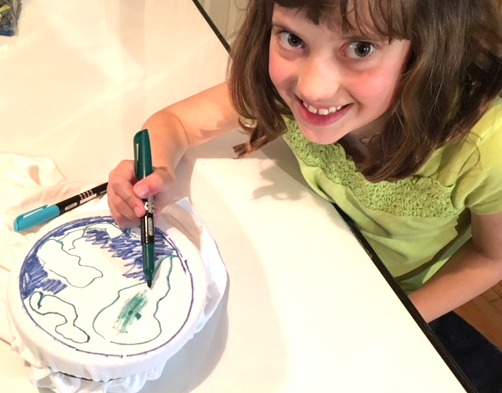
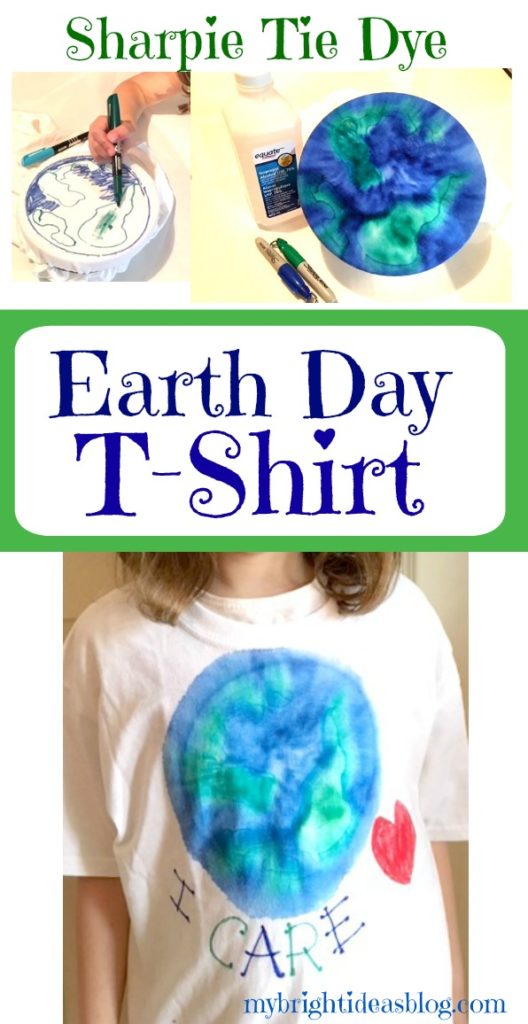
This is where the kids can really have a part! We have the earth-loving-tree-huggin child draw the earth within the circle with blue and green permanent markers. Color in the area as best you can, so there isn’t much white.
Do you recall this project where we watched the sharpie’s cool effect when we add rubbing alcohol? Have a look if you missed it.
This next step involves rubbing alcohol so this should be done by grown ups in a well ventilated area.
Using a dropper to control how much rubbing alcohol comes out-slowly add the alcohol and watch it blend the colors.
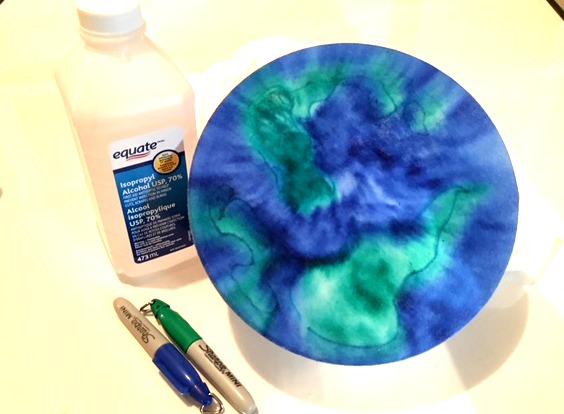
Watch the colors blend for a super cool effect.
Remove the bowl and hang on a hanger for 20 mins while it dries. Better yet put it outside so you don’t smell the alcohol.
Lay it flat with a piece of cardboard in the middle so they color doesn’t bleed thru to the back.
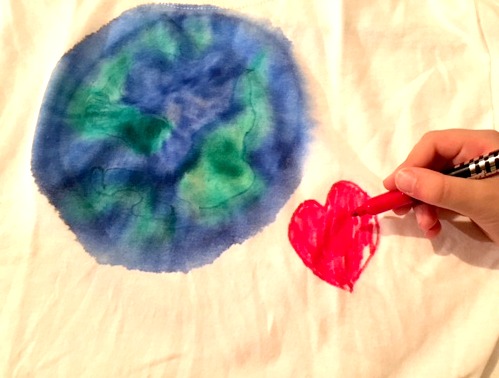
Add a love heart with red permanent marker.
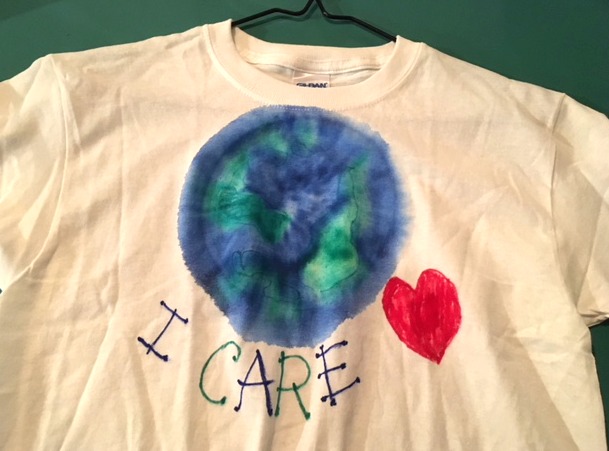
Add your message. We decided to write. “I care”.
It doesn’t take long for the rubbing alcohol to evaporate to be nearly dry.
Here are a few more recent projects for Earth Day you might enjoy!
Nature Craft – Perfect for Earth Day Activity – Clay Imprints with Plants and Flowers
http://mybrightideasblog.com/easy-vermicomposting-how-to-start-an-indoor-worm-compost-bin/
…

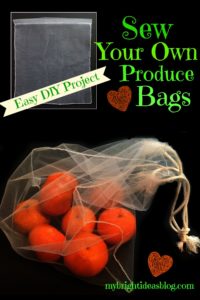
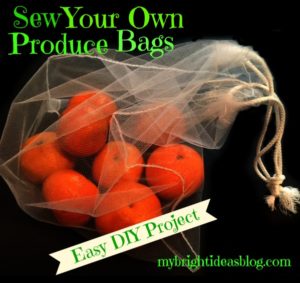
Sew Your Own Shopping Bags for Produce Fruit and Vegetabes – Very Easy!
 Using reusable shopping bags has been the trend for years now when carrying your groceries home. But have you noticed that some stores are encouraging you to bring cloth bags for the produce too? I have seen this trend at my local bulk store.
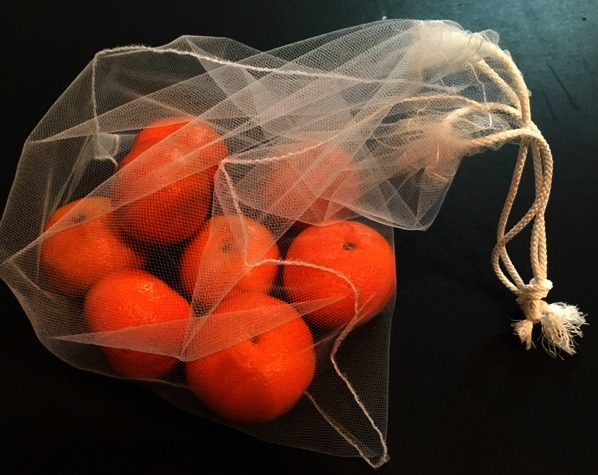
Of course, if you ‘ve been going to the farmers market, cloth produce bags makes so much sense. They often have the container of plums set out and then toss them into a plastic bag for you. They don’t even weigh it. Now that I have made these bags, I want to go the extra distance to the Saturday farmers market!
Fabrics you could use for this project include… cotton, curtain sheers, tulle, sheer nylon….consider though that if your going to a store that will be weighing your produce the heavier the fabric the more you will be paying each shopping trip. Choose lightweight!
On my first trip to the fabric store I was shocked at the cost of nylon….$20 /meter?!? Youch! So I purchased a meter of tulle (wedding veil and tutu sheer fabric) costing a low, low $1.99 per meter. This seemed sensible so I could make them without thinking about how costly any errors will be. I do plan to make them in a few fabrics though including nylon so I can see how different materials hold up with wear and tear. For today’s project I’ll stick with 1 metre (or 1 yard) of toule and 2 meters (or yards) of thin white cording. You could also use ribbon. This is enough to make 4 or 5 bags depending on the size you choose to make.
The first step is to decide on your bag size preference. Grab your ruler and eyeball what these sizes would look like.
6×9, 8×10, 10×13, 12×18, 18×24
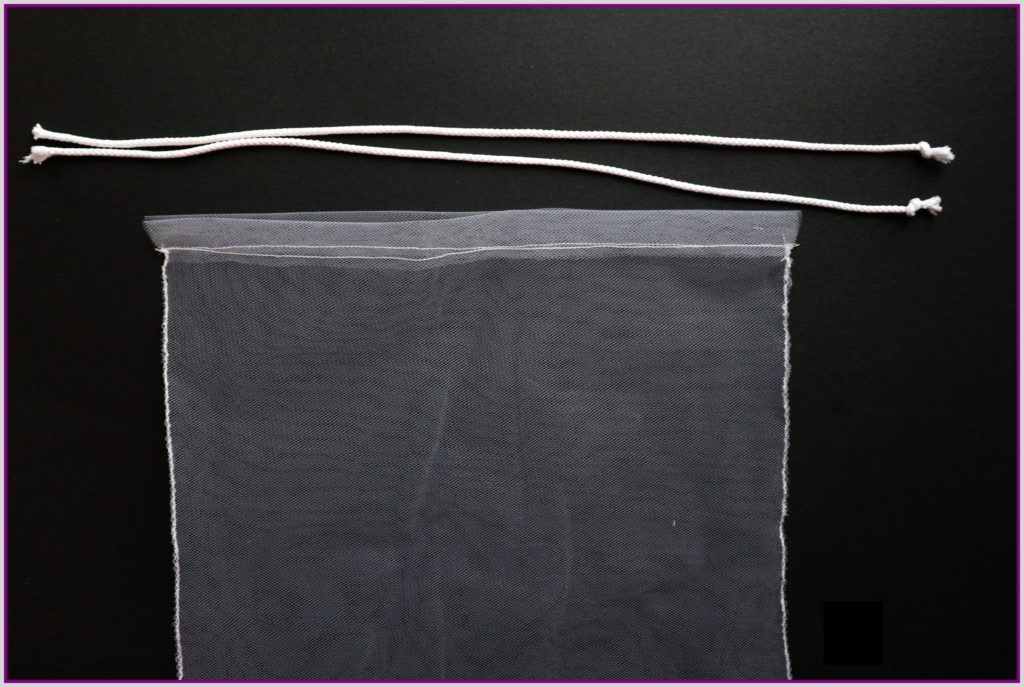
Add an inch for the fold over for the string or ribbon to go through. I want to try a bunch of options…. but for this post I will keep it simple. This one in the photo ended up being 11 inches by 12.5 when finished. I’m not very picky about the sizes-as long as it is big enough to fit 6 apples I’m happy.
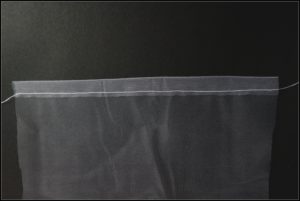 Fold the top edge over 1/2 inch and sew across. This will form the drawstring casing to tie the bag up.
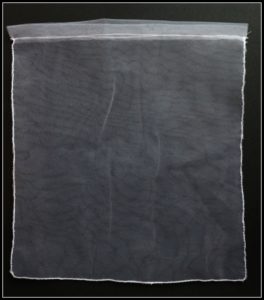
Pin the fabric together-this is slippery stuff- and sew around the sides and bottom. Start and finish sewing just under the casing to the bottom of the bag. I used a straight stitch, then trimmed it fairly close to the stitch and then sew around again with a zig zag stitch to tuck the ends in. If you are using nylon or sheer curtains they will fray if you don’t zigzag.
Attach a safety pin to the end of your ribbon or string and pull through. Tie a knot at the ends.
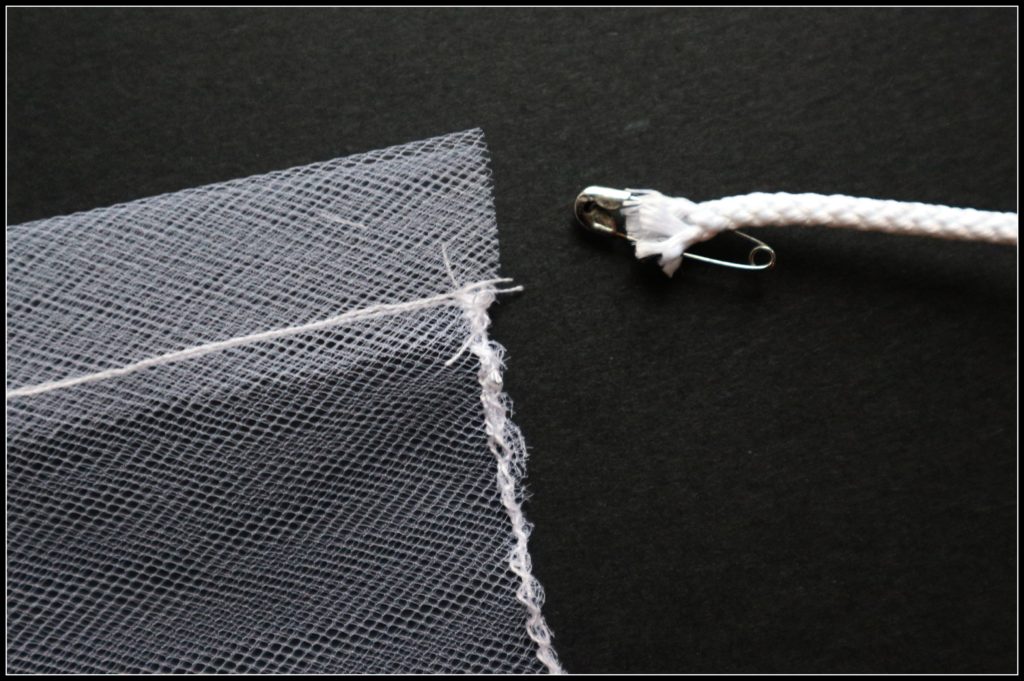
Attach a safety pin to the end of your ribbon or string and pull through. Tie a knot at the ends.