Ready for a super easy craft? You might have all of the supplies at home. If you don’t you can easily pick them up at your local thrift store.
To make an upcycled toy car photo frame you will need:
- toy cars
- picture frame
- spray paint
- hot glue gun and several glue sticks
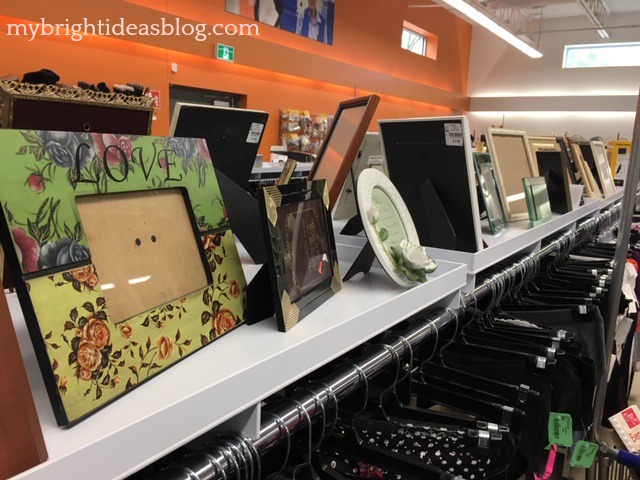
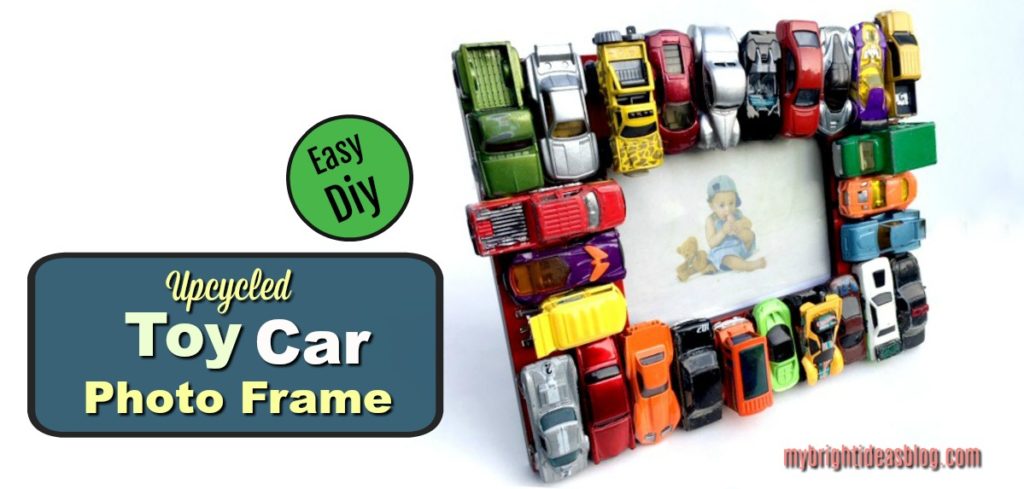
I wandered through a newly renovated Goodwill and that’s when I this idea hit me. Find a flat frame and glue something to it! Yeah! The frame I chose was really out of date with its flowers “Love” on the top. I thought it would be the perfect size to fit a parking lot of cars.
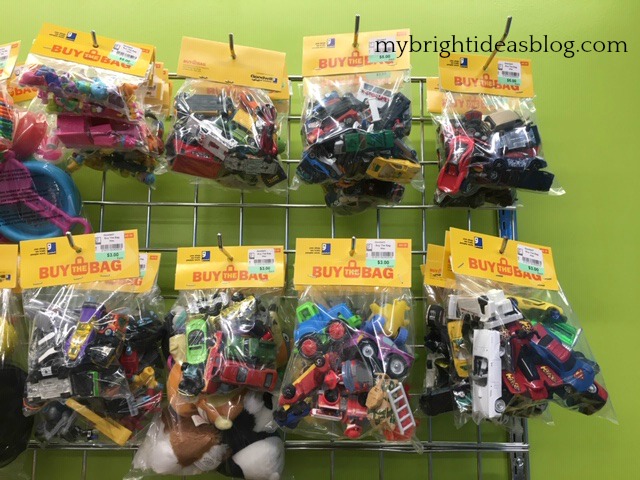
Then I went to bulk toy area and looked at the bags of cars! I chose 2 bags of cars for $3.00 each.
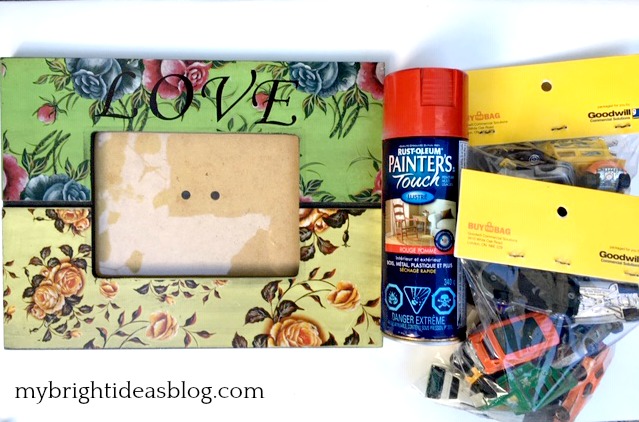
I brought everything home and admired it all….then located some left over spray paint in my painting stash. You don’t need much-so a bottle of spray paint left over from another project is perfect. I had a bright red Rustolium Painter’s Touch called “apple red”.
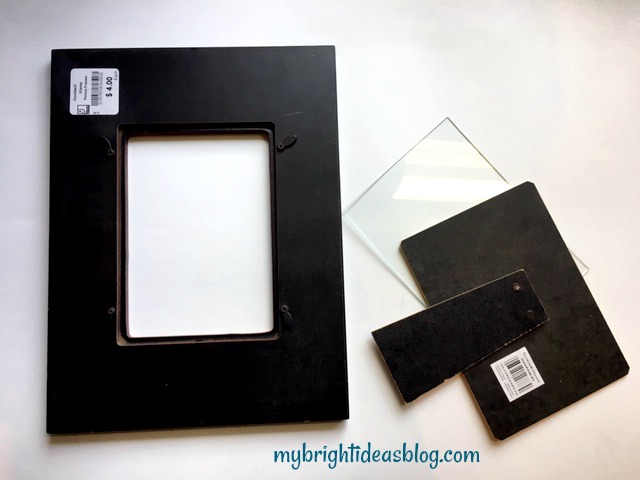
Take the backing and glass off of the frame and wipe it down with a damp cloth.
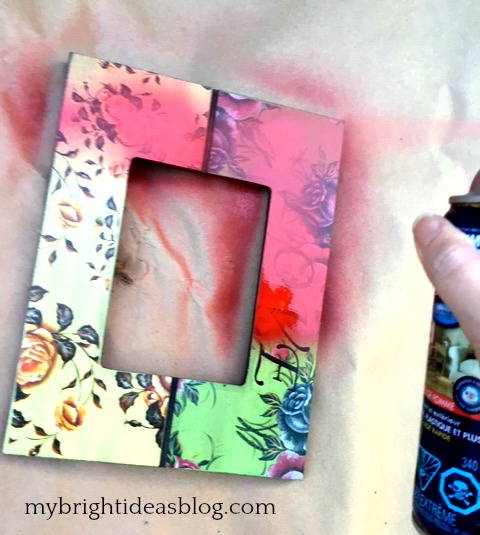
Shake up your can of spray paint and lay down some cardboard or news paper. Always spray paint outdoors on a day where there is barely any breeze.
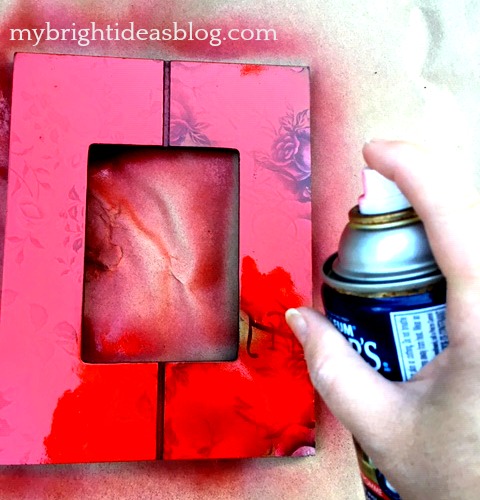
Follow the instructions on your paint as to when to do a second coat. The pattern on this frame wanted multiple coats. It is black on the sides and back so I just spray painted the front. It wasn’t perfectly covered with 2 coats but since we are covering it with cars I didn’t bother with a third coat.
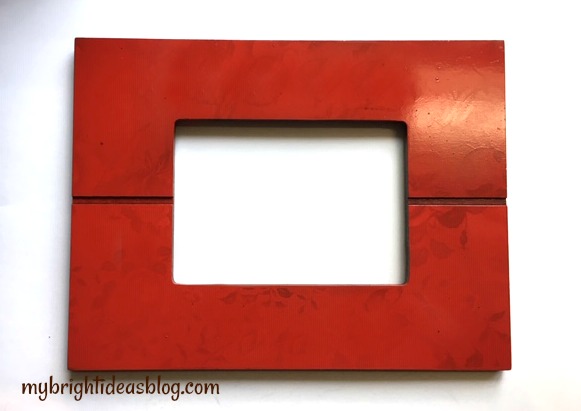
Allow it to fully dry before you begin the next step. I let it dry overnight. You can use that time to wipe down your model cars if they are dusty or sticky.
Now the fun part!
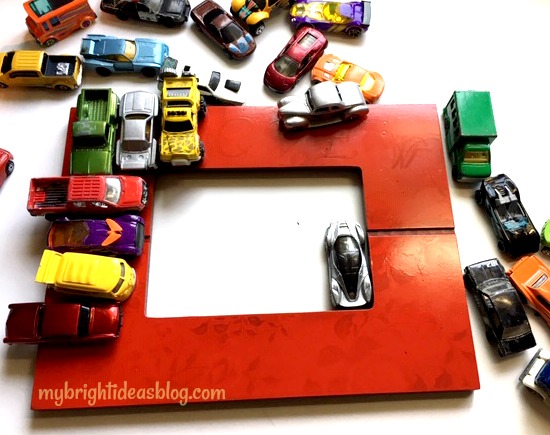
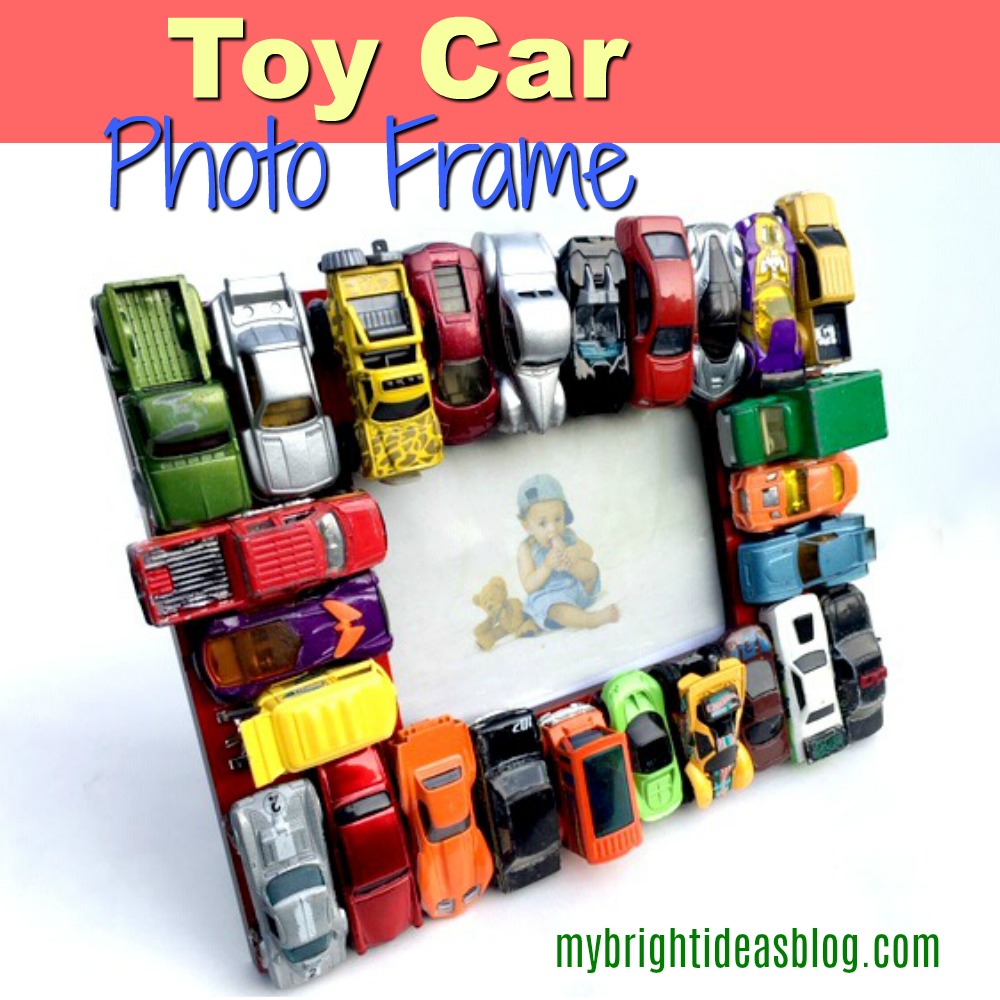
Arrange all the cars around the frame. I used 26 cars in total and would you believe my goodwill bags had 27. If your frame was narrower you could have them hood to bumper around the perimeter of the frame…like a traffic jam. This wide frame was a perfect for my parking lot.

Watch for variety in color as you place the cars around the frame.
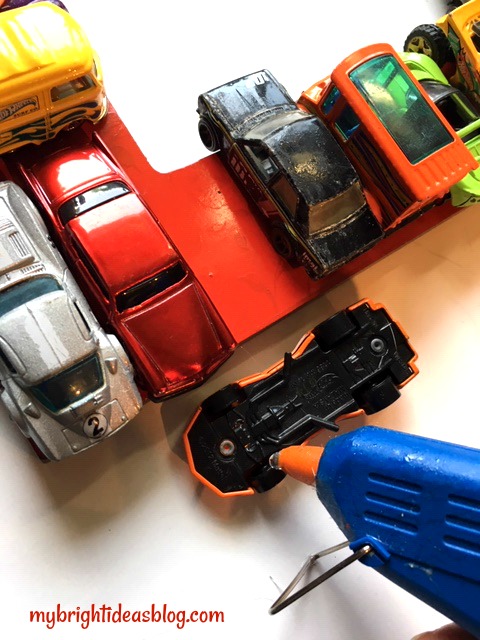
Next, you are ready to glue the toy cars onto the frame. Place a dot of hot glue on each wheel. These will be part of the car making contact with the frame.
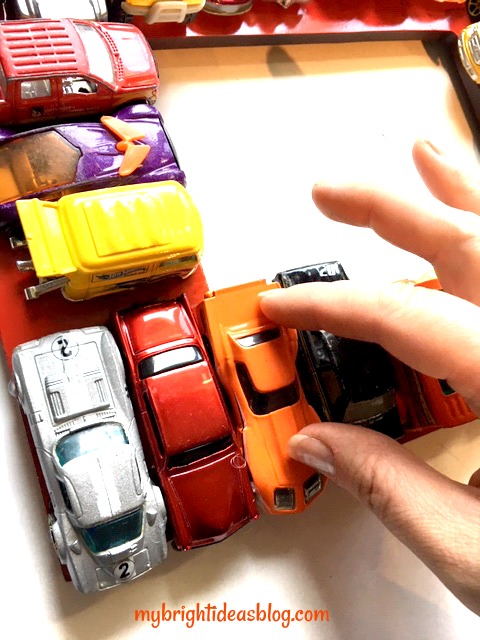
Put the car back in its place and press firmly. After attaching the toy cars and trucks all around the frame check each one again to make sure that they are secure.

Since this frame will be sitting on a shelf I made sure that the bottom of the cars lined up closely on the bottom with no overhang. Otherwise it could be wobbly. Also, I should mention, that the frame is actually really heavy with 26 cars on it. Put it in a place where it won’t get knocked and fall on a toddler.

That is all there is to this project! Have fun!

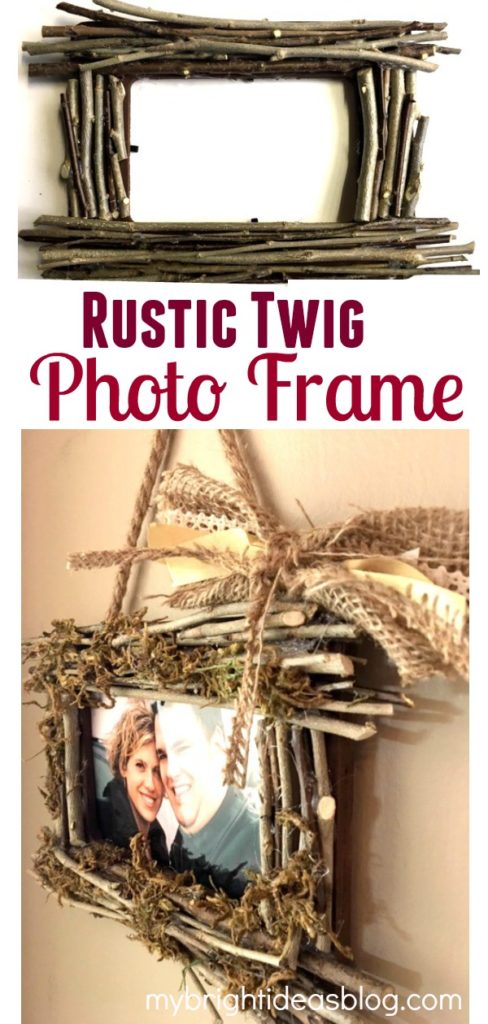
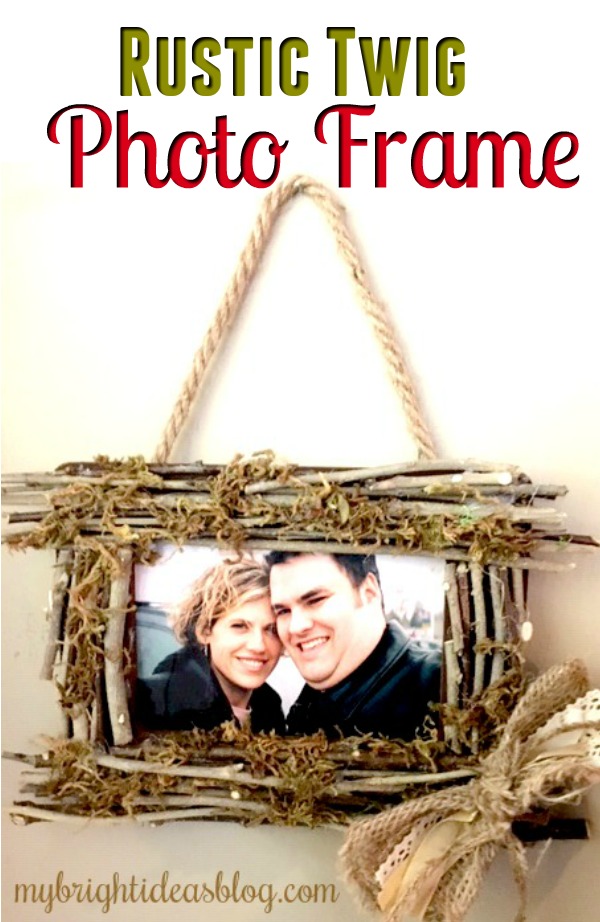
Make a Twig Photo Frame Gift

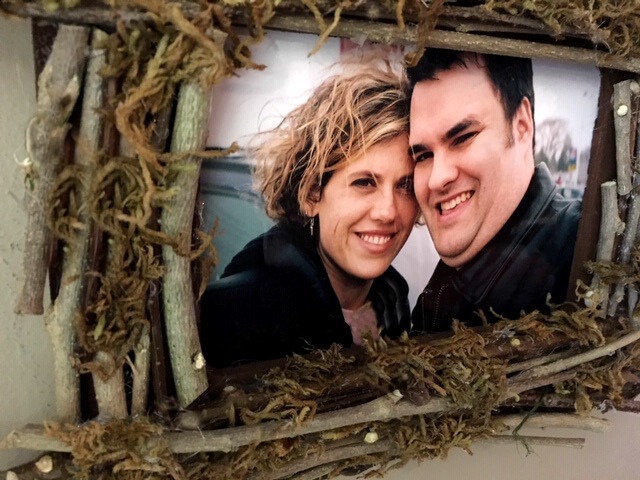
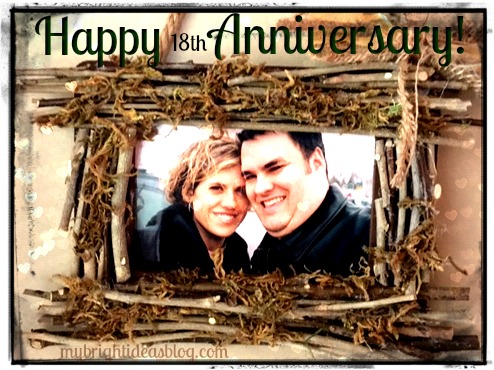
My hubby and I took this picture the day we bought a car together. We had been married a few years by then. It was before kids and a mortgage and grey hair and bags under the eyes. We were so young and dewy. Sigh….
Well that’s nostalgic for days gone by…simpler times. But now we have a home and family and dogs…with our 18th anniversary only a few weeks away we are putting this photo into a home-made twig picture frame.
I have 2 or 3 more twig plans before the winter hits. I love twig crafts because they are natural, rustic and free! I have a slew of shrubs and trees that are needing trimming or after a windy night have left twigs all over the lawn so I have an endless amount of free craft supplies within a few steps of our front or back door.
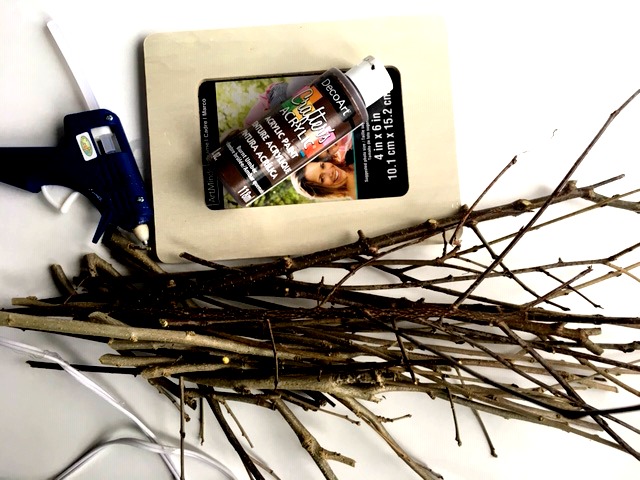
You will need:
- straight sticks/twigs
- gardening snips
- hot glue gun
- inexpensive photo frame
- brown paint
- paint brush
- ribbon/lace/burlap ribbon
- moss
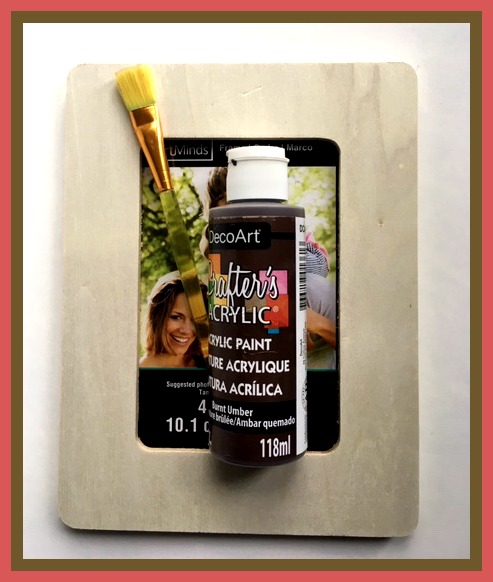
Start by painting the frame with dark brown craft paint. The frame and paint is from my local dollar store, add on the cost of 8 glue sticks and this might cost around $4 dollars….more if you add moss and a burlap bow. This would be a great snow day craft for your older kids (my girls are 8 and 11 and can use a hot glue gun without hurting themselves).

Choose branches that are relatively straight. Snip off the little twiggy parts sticking out. Trim your sticks down to the size just past your frame edge. They don’t have to be exactly the same length-the variation is what makes it rustic. I also didn’t use branches from the same shrubs so the color and texture of the twigs are different.
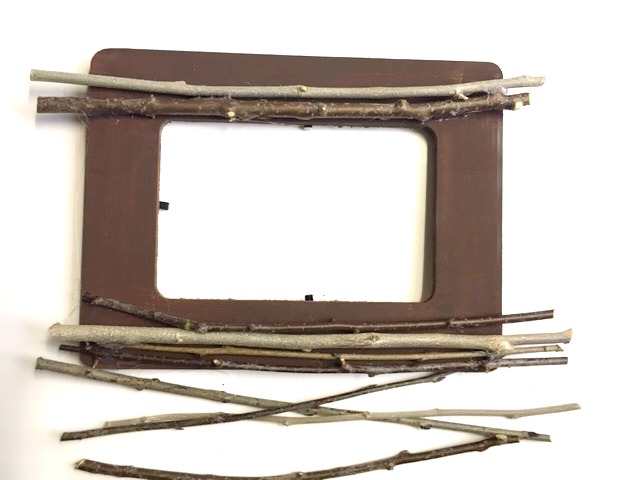
Using your hot glue gun, begin securing twigs to the frame. Start with the long ones on the top and bottom of the frame.
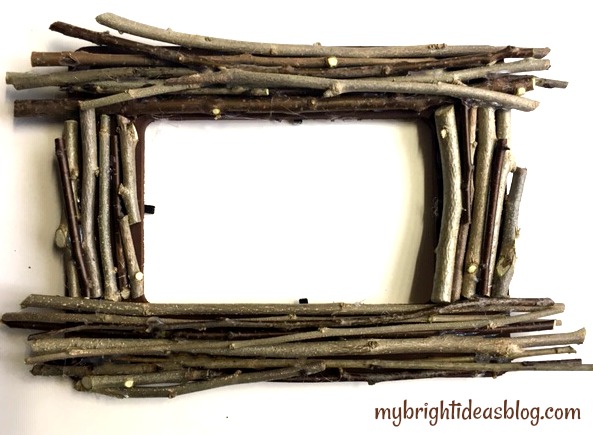
Add smaller twigs to the vertical part of the frame that is bare. Save the skinny twigs until the end to fill in gaps.
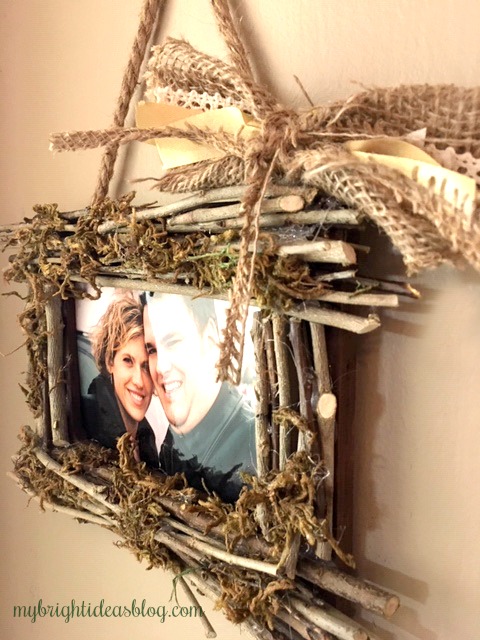
I liked the frame as it was with just twigs…so you might want to stop the project there. But when I added moss to my birdhouse project a few months ago. I really loved it.
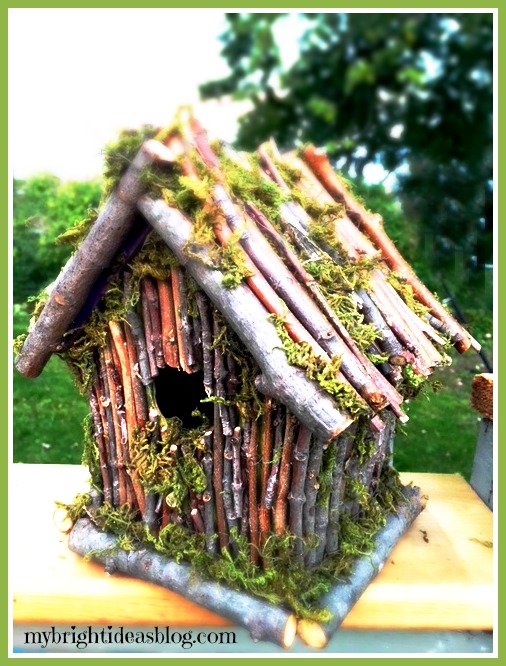
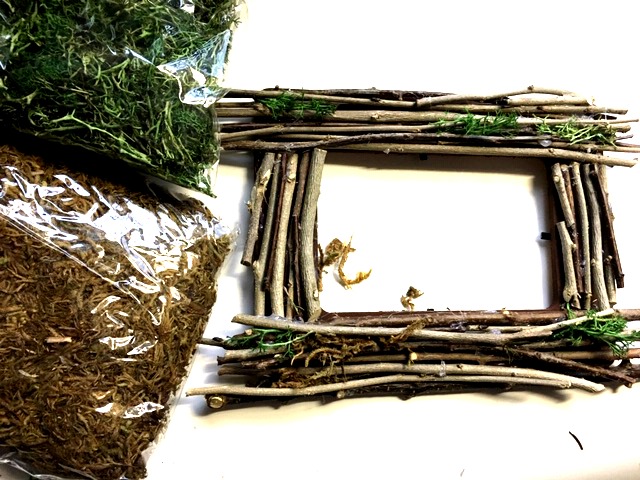
The moss I used on the birdhouse is my favorite but I seem to have run out of it. The one I used on this project is a bit duller. But it looks very natural.
I added some hot glue and pushed the moss into the grooves. It was a bit tricky and my hot glue gun also ended up with rustic coat of moss stuck to it. After the project was done and the glue gun cooled I was able to peel off the mess.
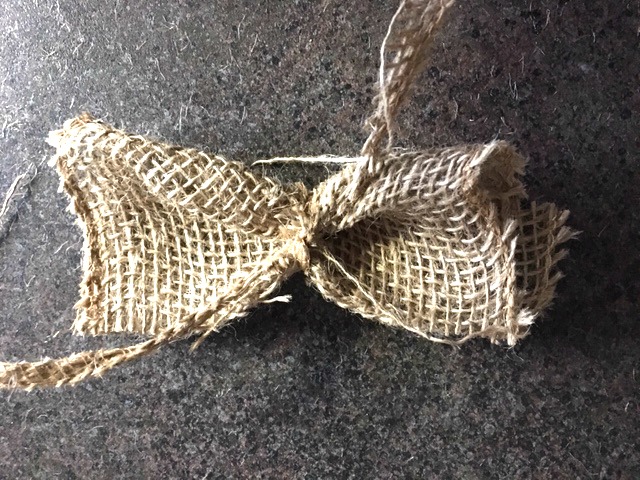
Next I made a few bows out of burlap. This one I just folded a small square of burlap into thirds and used a long thin scrap of the burlap to make a tie in the middle. I had some scraps of ribbons and lace and inserted them under the tie.
You could try out some different bows and where you would place them on the frame.
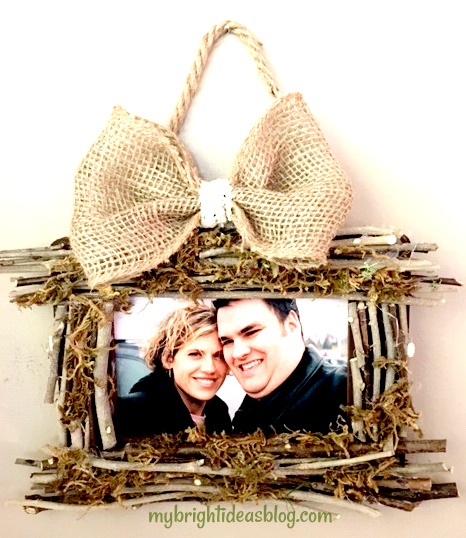
This big bow reminded me of some hair clips I wore as a kid. Maybe if the photo we chose to put in the frame was of children or the dogs….but not over top of hubby’s head. I decided to stick with the previous bow but I didn’t hot glue it on in case I want to replace it later. Using a straight pin, I poked it into the twigs but you could get creative with a straightened paper clip or twist tie or pipe cleaner. Maybe in the spring I will pull off the bow and attach a butterfly or flowers. I’m leaving my options open.
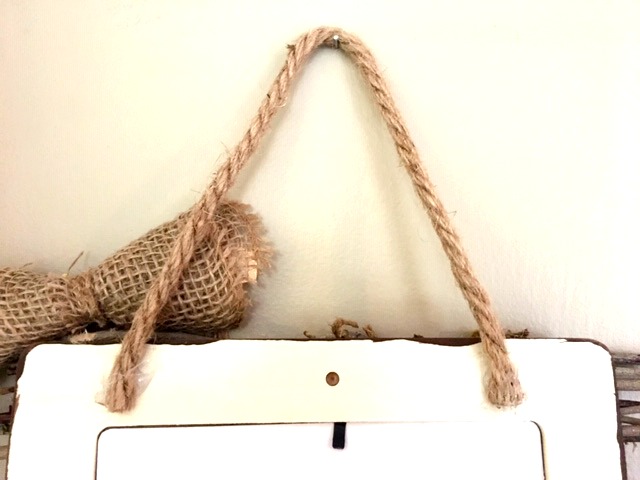
I almost forgot to say that to hang it I cut a piece of jute rope 12 inches long and hot glued the ends to the frame.
Happy Anniversary to my Hubby!
xoxo
Have a look at the other twig projects below. See you again soon!
…