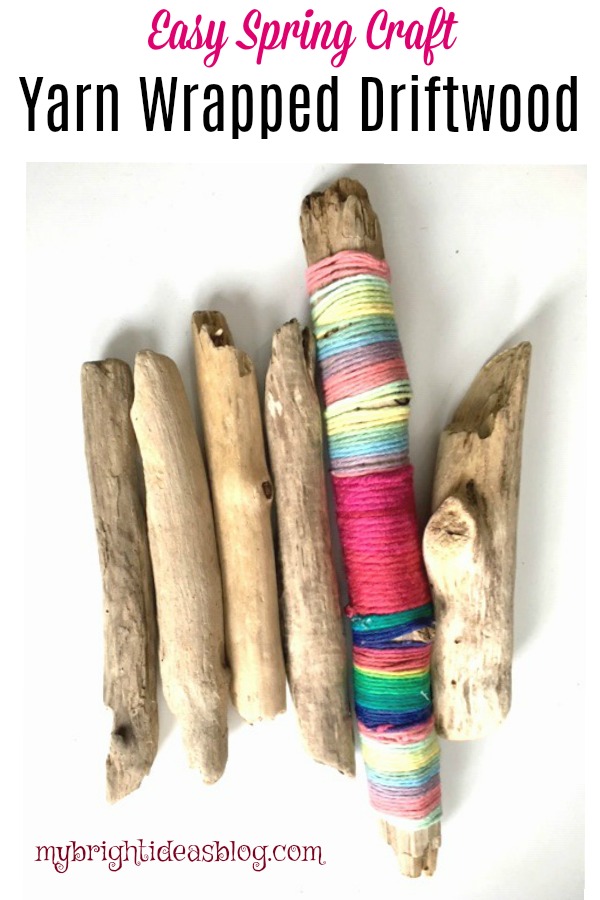
Want to add some spring colours to your home? Why not try wrapping yarn around some sticks?
Part of my inspiration:
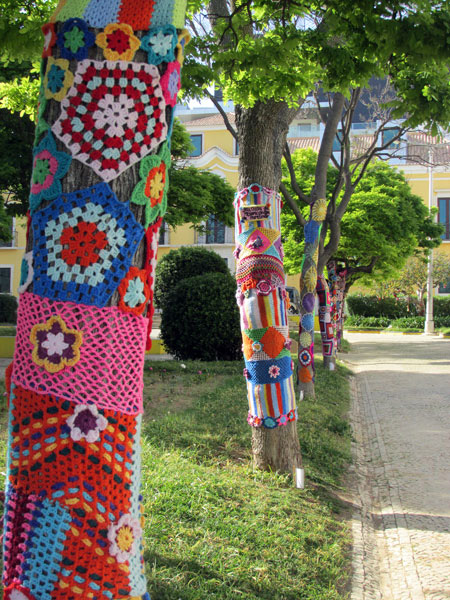
Have you heard of yarn bombing? If you haven’t you really should google it. It’s hilariously amazing! People are knitting or crocheting a sort of non permanent graffiti. You might find a park bench, bike, phone booth or a tree that is literally wearing a perfectly fitting, bright coloured sweater! Sometimes the crafter that does it wants to make a point and sometimes it just adding color to something grey and sterile like a light post.
https://algarveblog.net/2014/05/05/yarn-bombing-in-portimao/
Here is just one cheery photo so you can see what I mean!
Anyhoo the photos people have posted make me so happy but I can’t knit or crochet ask my friends Lana and Gen who just attempted to teach me how-they were patient but it didn’t take I’m afraid. Someday I will give it another try but for now here is my happy alternative.
It’s so easy and cheerful you are going to love this craft idea!
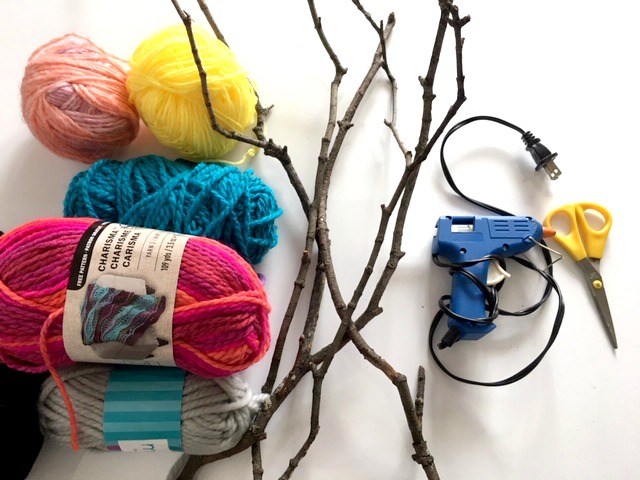
You will need:
- sticks
- yarn
- hot glue (optional)
- scissors
- vase
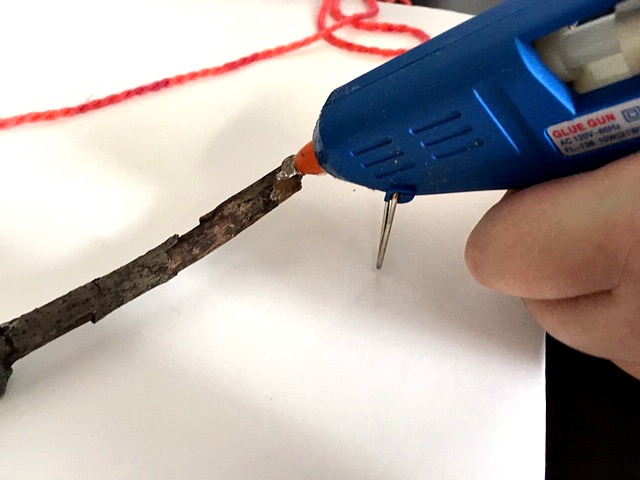
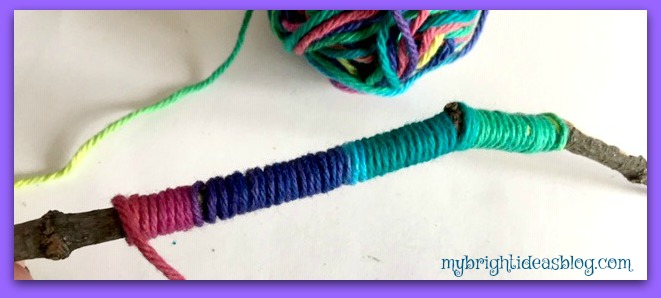
If you love your hot glue gun (as much as I do) start by adding a dab of glue to secure the end of the yarn.
If you don’t want to use hot glue then just tie a loop around the end of the stick and tuck the tail in-as you wind the yarn around the stick.
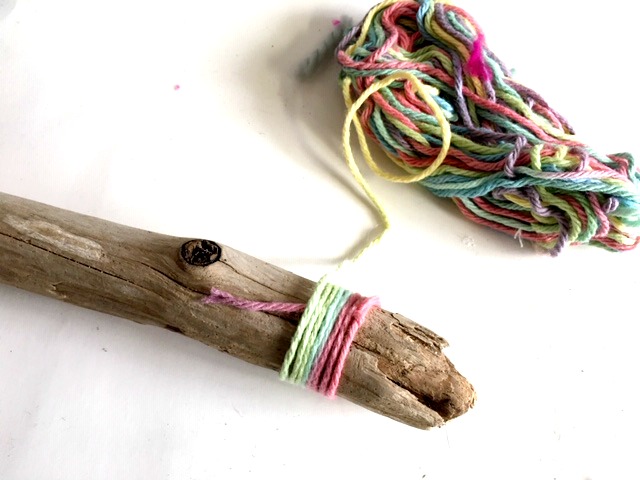
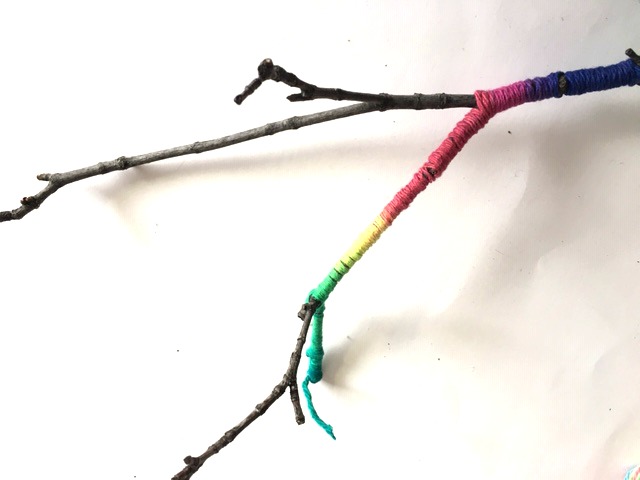
I really love the yarn that transitions the colours as you go. Its very smooth looking and only need to deal with the end at the beginning and the end.
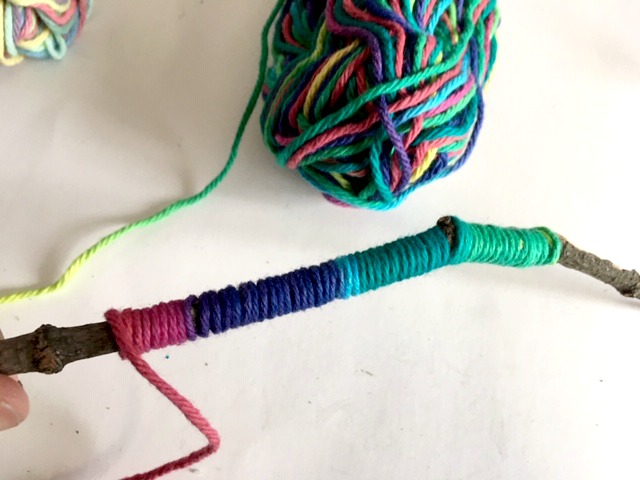
If you don’t have yarn on hand that transitions you can use several colors and just change them as you get an inch down the branch.
When you are done just snip the stray ends.
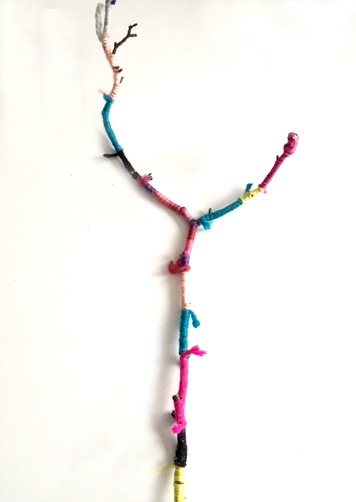
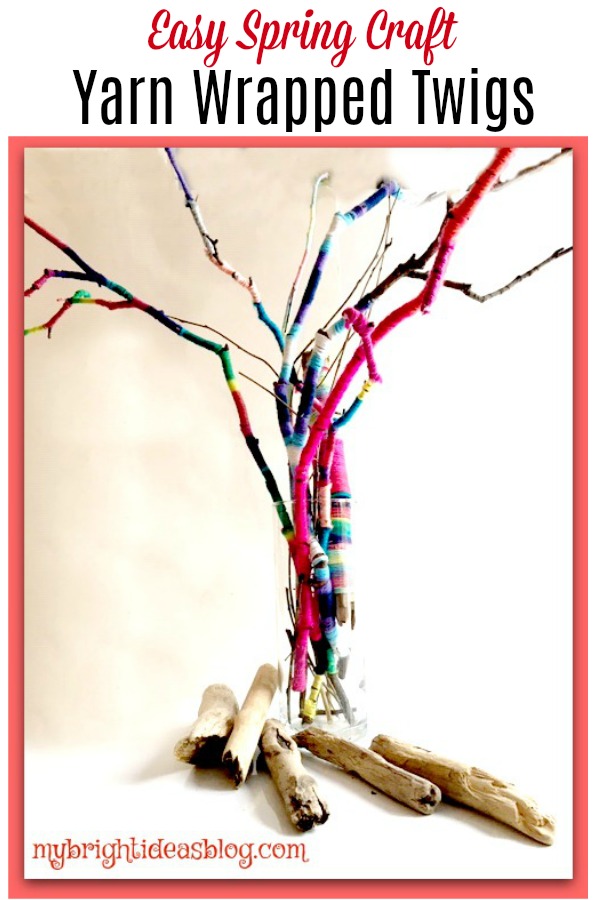
When you get to a split in the twig’s branches continue down one side and then go back to complete the other stems.
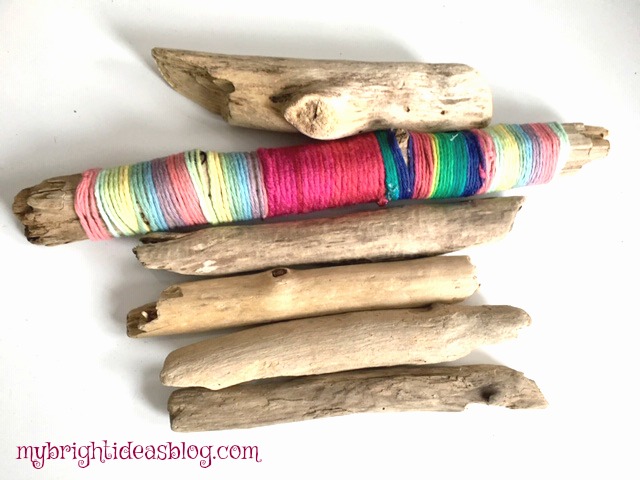
Using drift wood is even easier to manage.
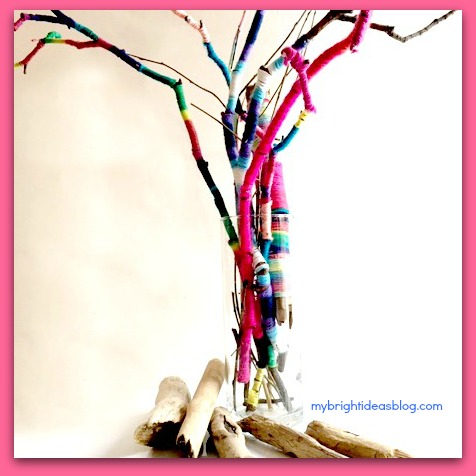
This took my 11 year old daughter and I an hour to do all of the sticks in the vase. We both enjoyed doing this. It was kind of an easy, soothing craft. It made a great mother daughter moment to stop and talk about things on our minds.
The results are very cheery decorative sticks with springtime colors that will go on a shelf or mantle.
Have a look at the other crafts linked below. I seem to enjoy the stick/twig projects. Mostly because they are free-out of the garden and something always need trimming.
Happy crafting!
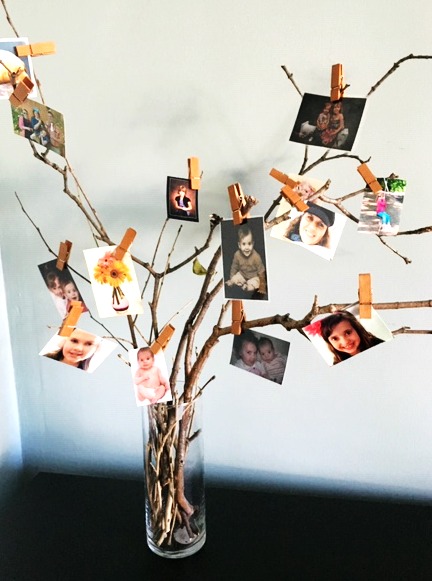
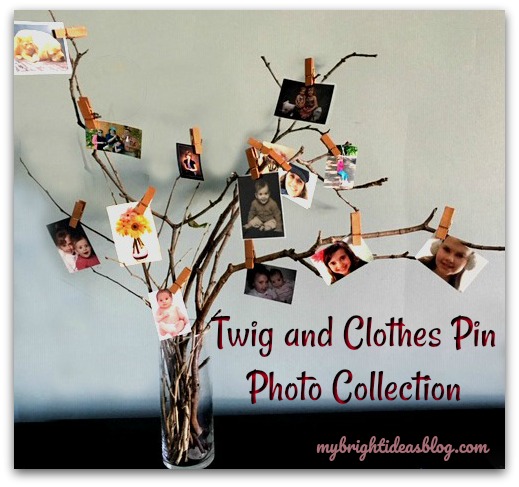
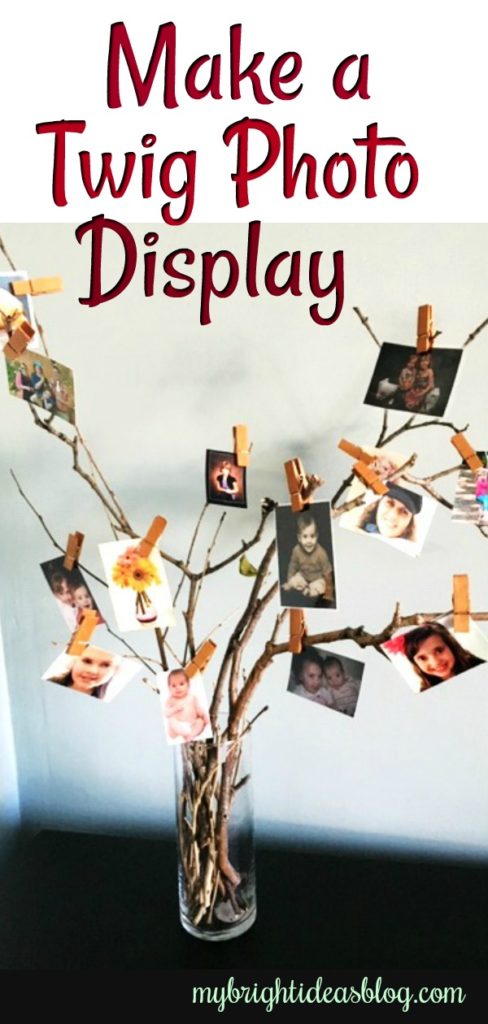
Make a Twig Photo Display
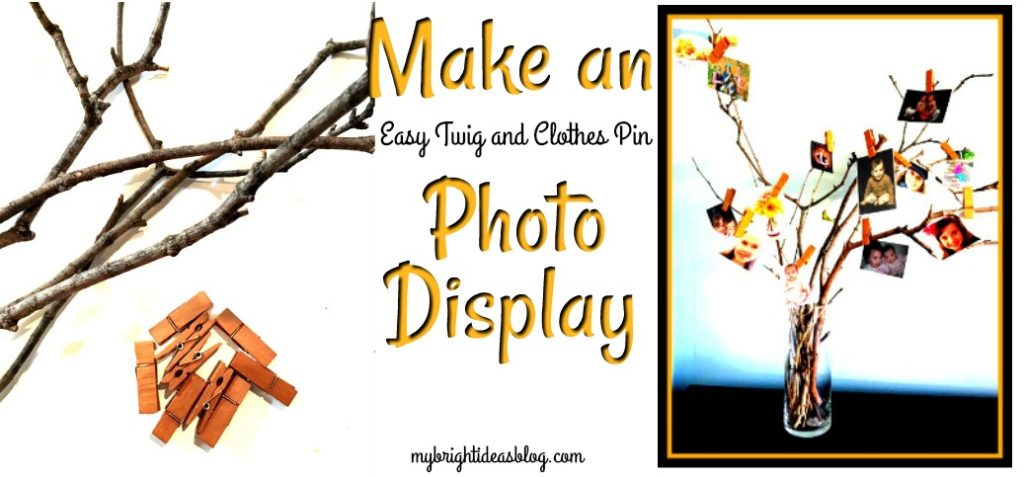
This is such an easy way to set up a quick photo display. It uses things you will already have at home.
I know this is my 4th twig project in the last 3 months but its such a fast, free and rustic product to work with. I have a particular tree that sheds sticks every time the wind blows. My last next door neighbour hated this tree. It made a sweet neighbour very bitter as it would litter those branches and bark all over their lawn too. She would say…that is a messy, messy tree!
What could I do but agree…..and make a craft with it! You know what they say….when life gives you lemons make lemonade.
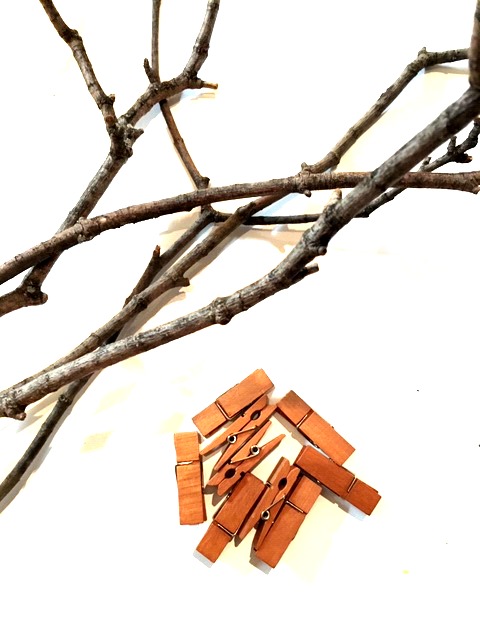
You will need:
- a vase
- sticks
- small photos
- clothes pegs
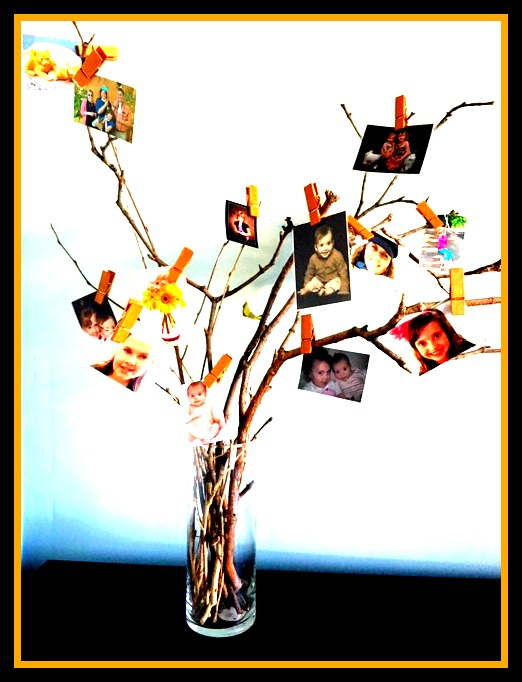
These clothes pins are from the craft store. They are a shorter version of a classic clothes pin with a coat of an orange stain. If you use regular clothes pins you could spray paint them or decorate the clothes pins to make them a little fancier.
Usually my posts are tutorials showing you how to do a project step by step. But I imagine most people can figure out that you put the sticks into the vase, clip the photos onto the sticks. Done.
If you have an open space on a table top-that looks bare, this could be a perfect solution.
Thank you for taking a moment to pause by my twig-projects-filled blog! I hope you will check out the other posts I have done with twigs…or sewing…or…photo frames…
See you again soon!

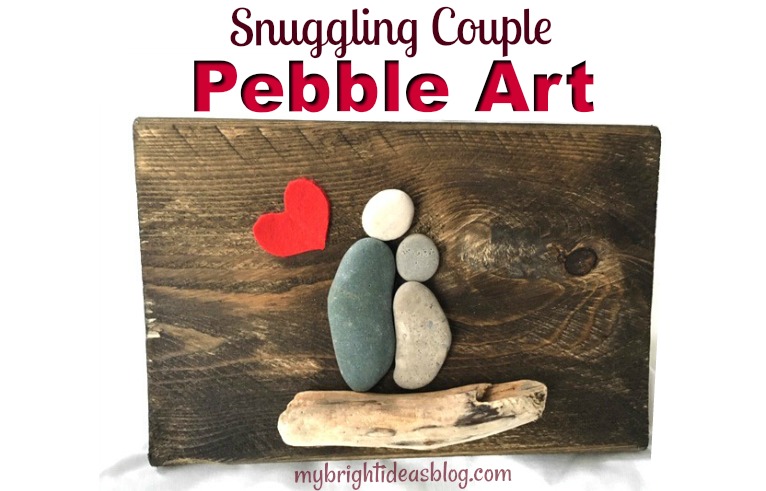
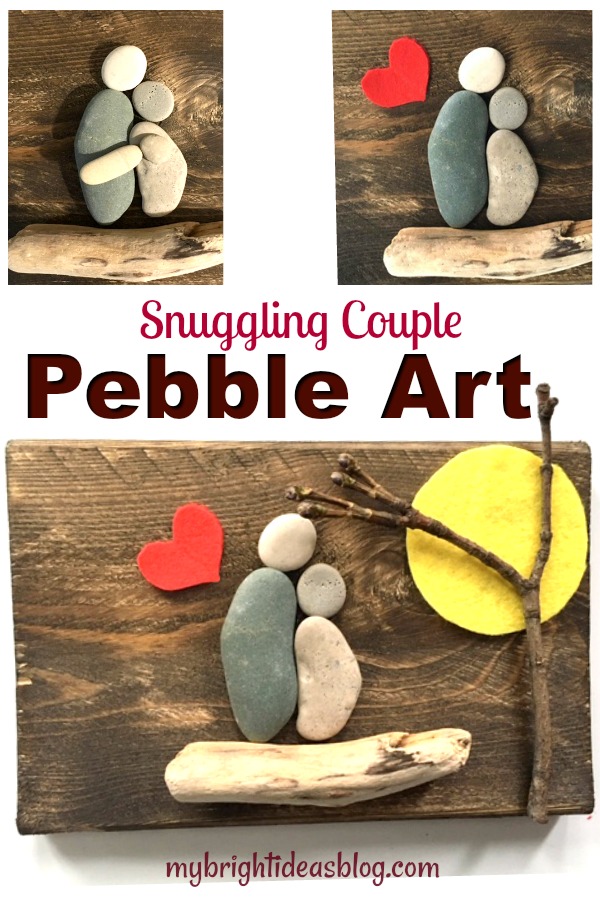
Pebble Art – A Snuggling Couple
I got a nice collection of flat rocks when the weather was warmer. When you start becoming a beach pebble collector its hard to stop. Even now, although its freezing rain I still would love to escape to the beach…an hour drive away…to look for my favorite shapes of stones (hearts, ovals, circles). So I’ve stained a few small boards to turn them into Pebble Art.
I’ll show you what I made this time….
What you will need:
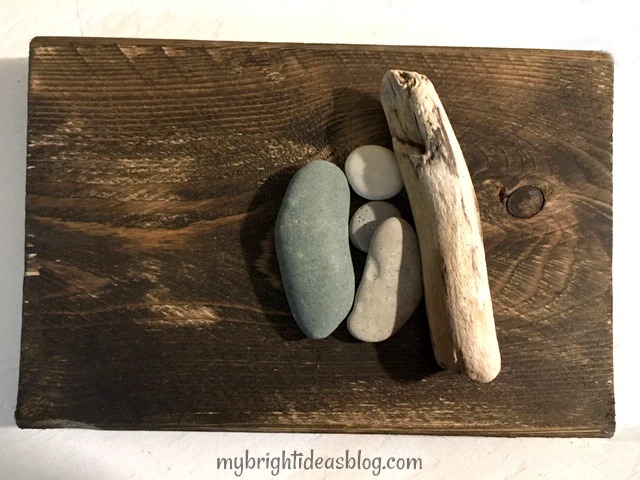
- 2 long pebbles
- 2 round pebbles
- small piece of drift wood
- red and yellow felt
- a twig
- a scrap of stained board or a plain canvas
- hot glue gun or E6000 glue
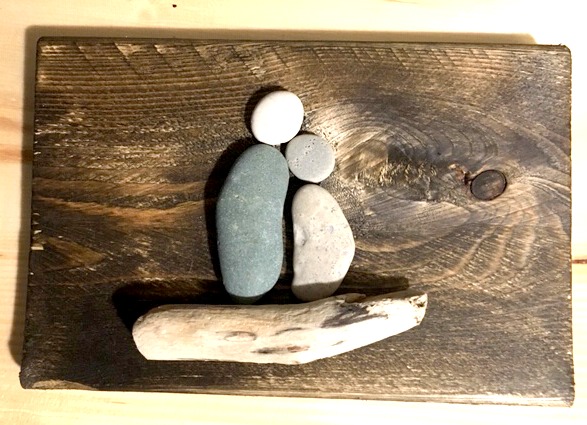
These two long rocks fit together perfectly for the bodies. Two round stones on top for the heads. A small piece of driftwood for them to sit on. Glue everything in place. You can stop with just these natural items or keep going to add some colour.
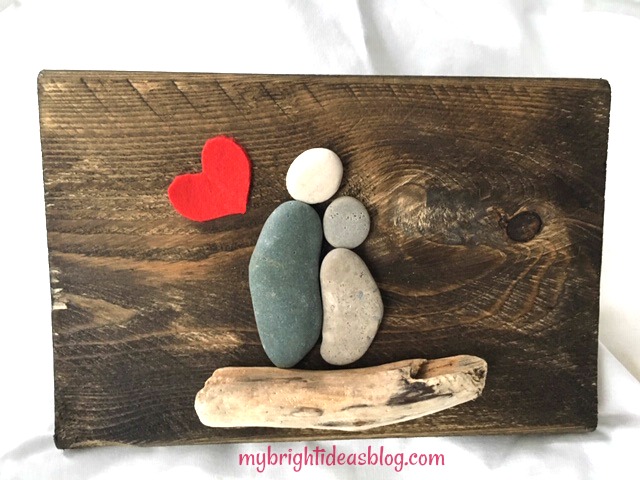
Here I took an inch of red felt and folded it in half and cut the shape of half a heart. I find this is the best way to get your heart shape. If I try to cut it freehand it turns out lopsided.
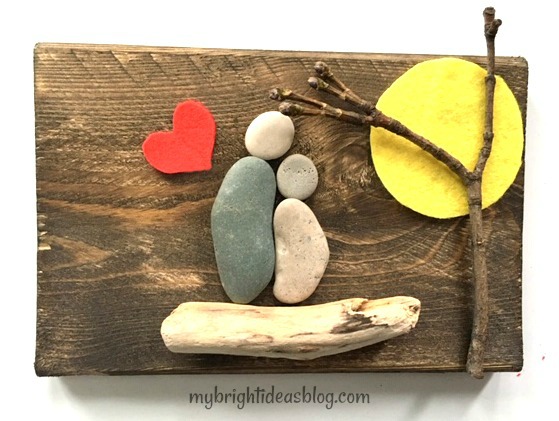
Trace a tin can from your pantry to make a felt round sun. Put a twig on the side and now its done.
Now it’s a couple having a snuggle at the beach, watching the sunset. Although, my 8 year old would like it to be a mother and daughter. Awe she is snuggler. I better make her one for her room!
Thanks for reading another one of my easy crafts….Have a look below for links to some of my other “Pebble Art” projects.
…
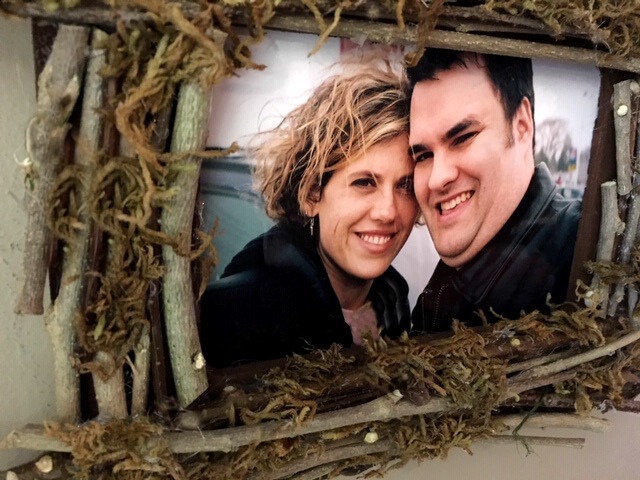
Make a Twig Photo Frame Gift

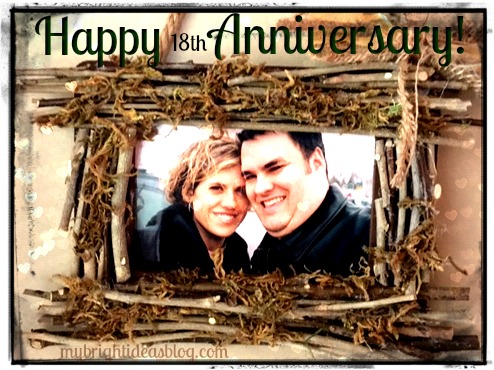
My hubby and I took this picture the day we bought a car together. We had been married a few years by then. It was before kids and a mortgage and grey hair and bags under the eyes. We were so young and dewy. Sigh….
Well that’s nostalgic for days gone by…simpler times. But now we have a home and family and dogs…with our 18th anniversary only a few weeks away we are putting this photo into a home-made twig picture frame.
I have 2 or 3 more twig plans before the winter hits. I love twig crafts because they are natural, rustic and free! I have a slew of shrubs and trees that are needing trimming or after a windy night have left twigs all over the lawn so I have an endless amount of free craft supplies within a few steps of our front or back door.
You will need:
- straight sticks/twigs
- gardening snips
- hot glue gun
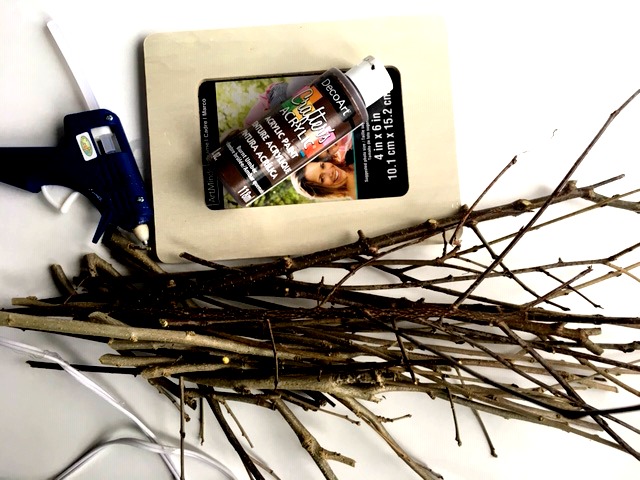
- inexpensive photo frame
- brown paint
- paint brush
- ribbon/lace/burlap ribbon
- moss
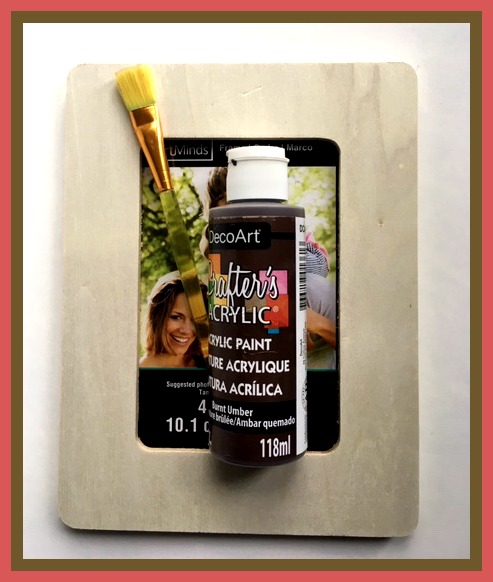
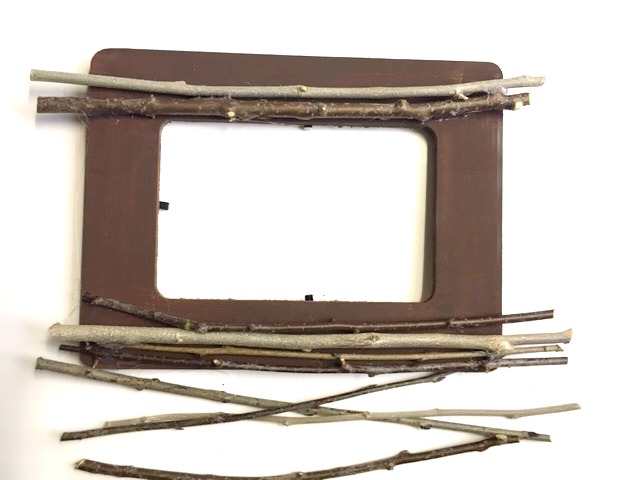
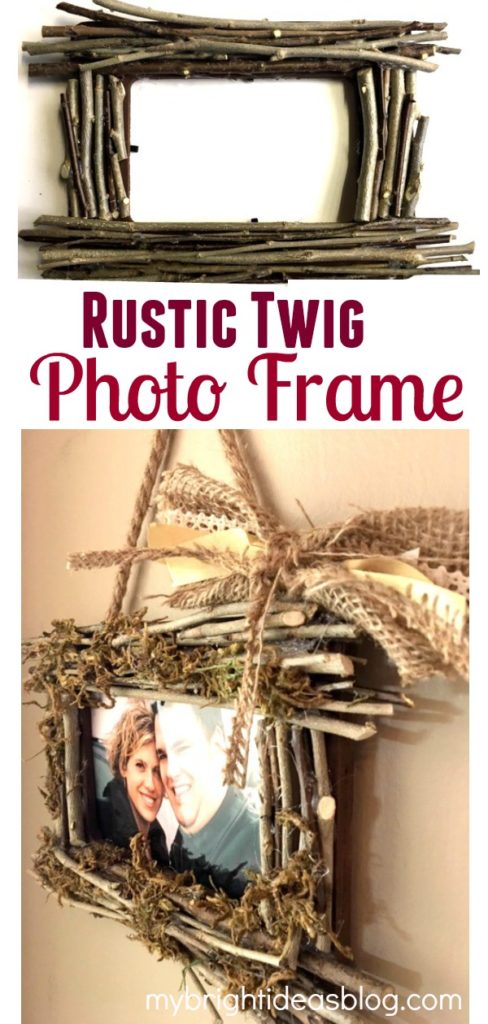
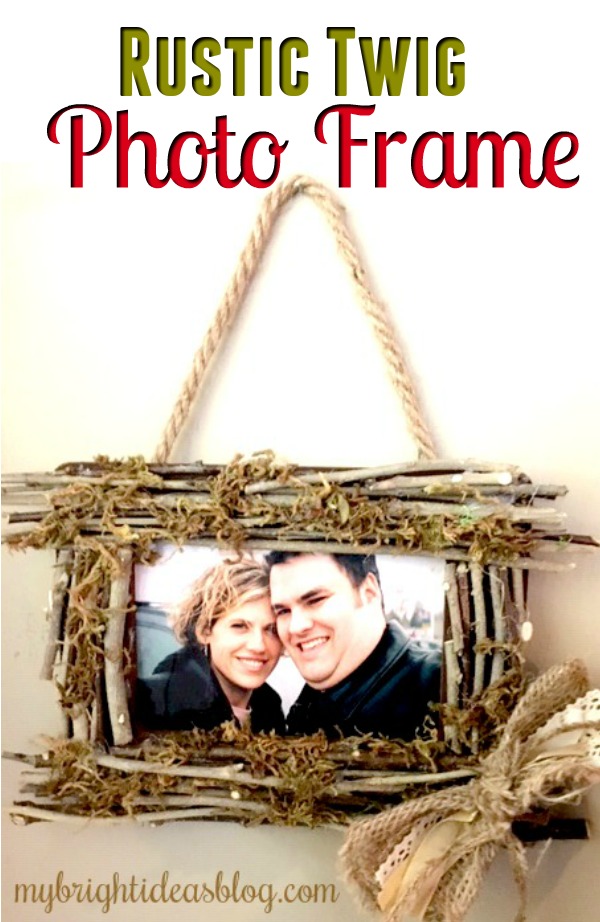
Start by painting the frame with dark brown craft paint. The frame and paint is from my local dollar store, add on the cost of 8 glue sticks and this might cost around $4 dollars….more if you add moss and a burlap bow. This would be a great snow day craft for your older kids (my girls are 8 and 11 and can use a hot glue gun without hurting themselves).

Choose branches that are relatively straight. Snip off the little twiggy parts sticking out. Trim your sticks down to the size just past your frame edge. They don’t have to be exactly the same length-the variation is what makes it rustic. I also didn’t use branches from the same shrubs so the color and texture of the twigs are different.
Using your hot glue gun, begin securing twigs to the frame. Start with the long ones on the top and bottom of the frame.
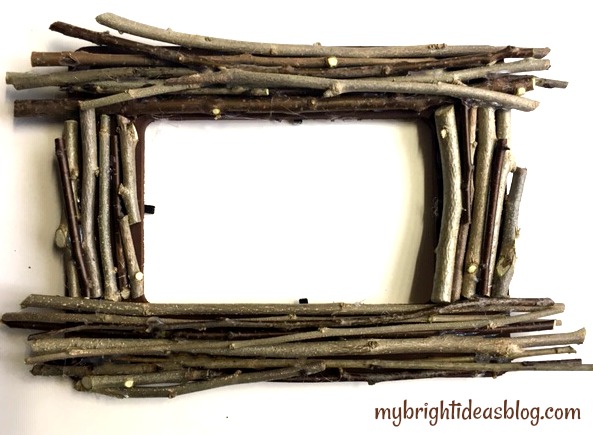
Add smaller twigs to the vertical part of the frame that is bare. Save the skinny twigs until the end to fill in gaps.
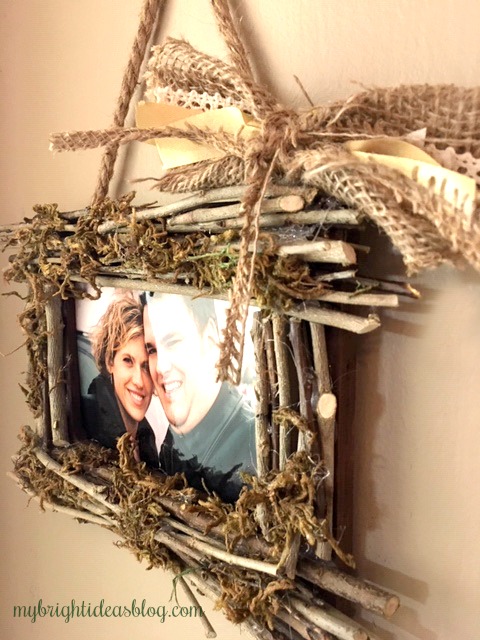
I liked the frame as it was with just twigs…so you might want to stop the project there. But when I added moss to my birdhouse project a few months ago. I really loved it.
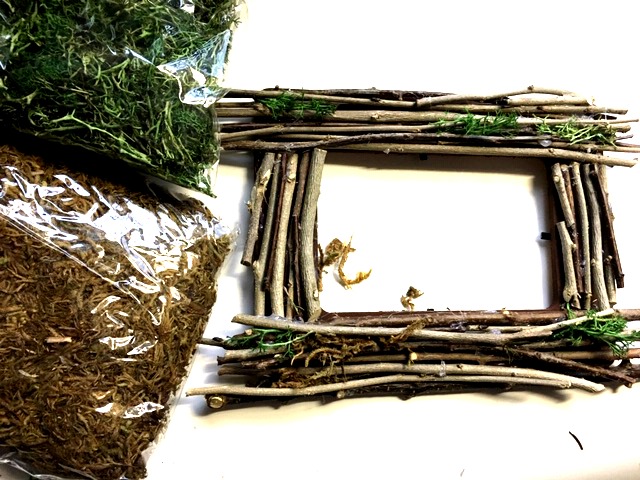
The moss I used on the birdhouse is my favorite but I seem to have run out of it. The one I used on this project is a bit duller. But it looks very natural.
I added some hot glue and pushed the moss into the grooves. It was a bit tricky and my hot glue gun also ended up with rustic coat of moss stuck to it. After the project was done and the glue gun cooled I was able to peel off the mess.
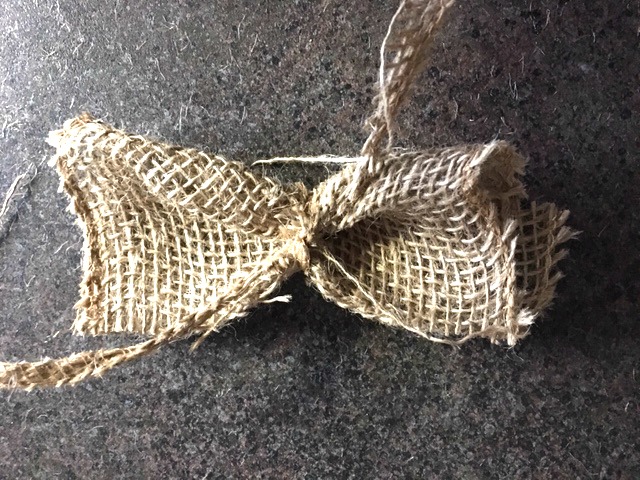
Next I made a few bows out of burlap. This one I just folded a small square of burlap into thirds and used a long thin scrap of the burlap to make a tie in the middle. I had some scraps of ribbons and lace and inserted them under the tie.
You could try out some different bows and where you would place them on the frame.
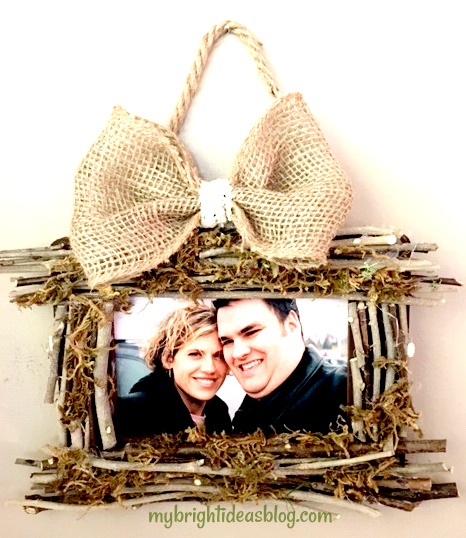
This big bow reminded me of some hair clips I wore as a kid. Maybe if the photo we chose to put in the frame was of children or the dogs….but not over top of hubby’s head. I decided to stick with the previous bow but I didn’t hot glue it on in case I want to replace it later. Using a straight pin, I poked it into the twigs but you could get creative with a straightened paper clip or twist tie or pipe cleaner. Maybe in the spring I will pull off the bow and attach a butterfly or flowers. I’m leaving my options open.
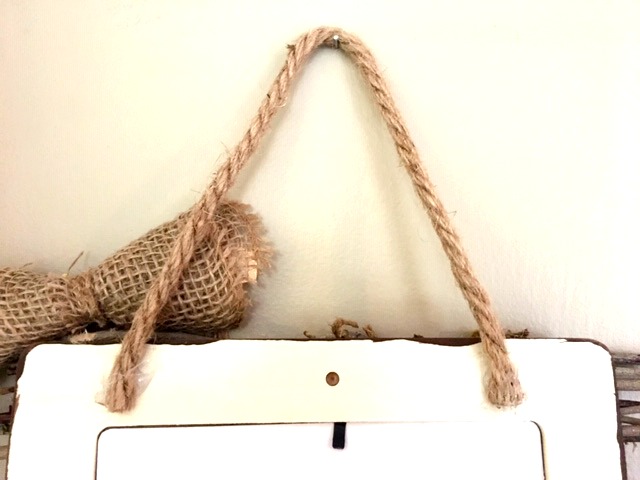
I almost forgot to say that to hang it I cut a piece of jute rope 12 inches long and hot glued the ends to the frame.
Happy Anniversary to my Hubby!
xoxo
Have a look at the other twig projects below. See you again soon!
…
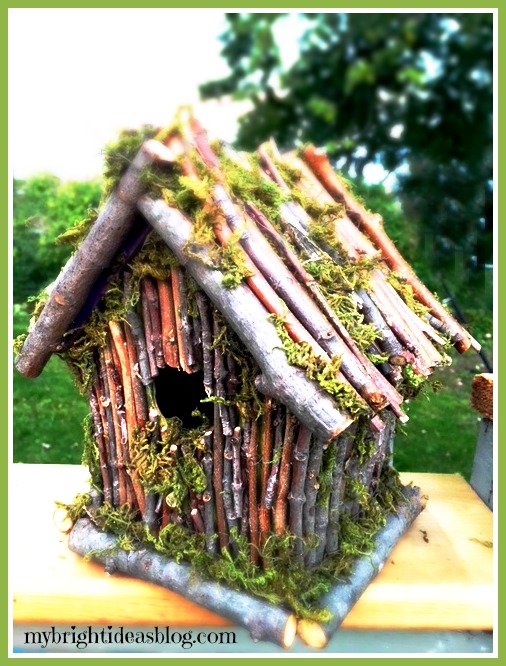
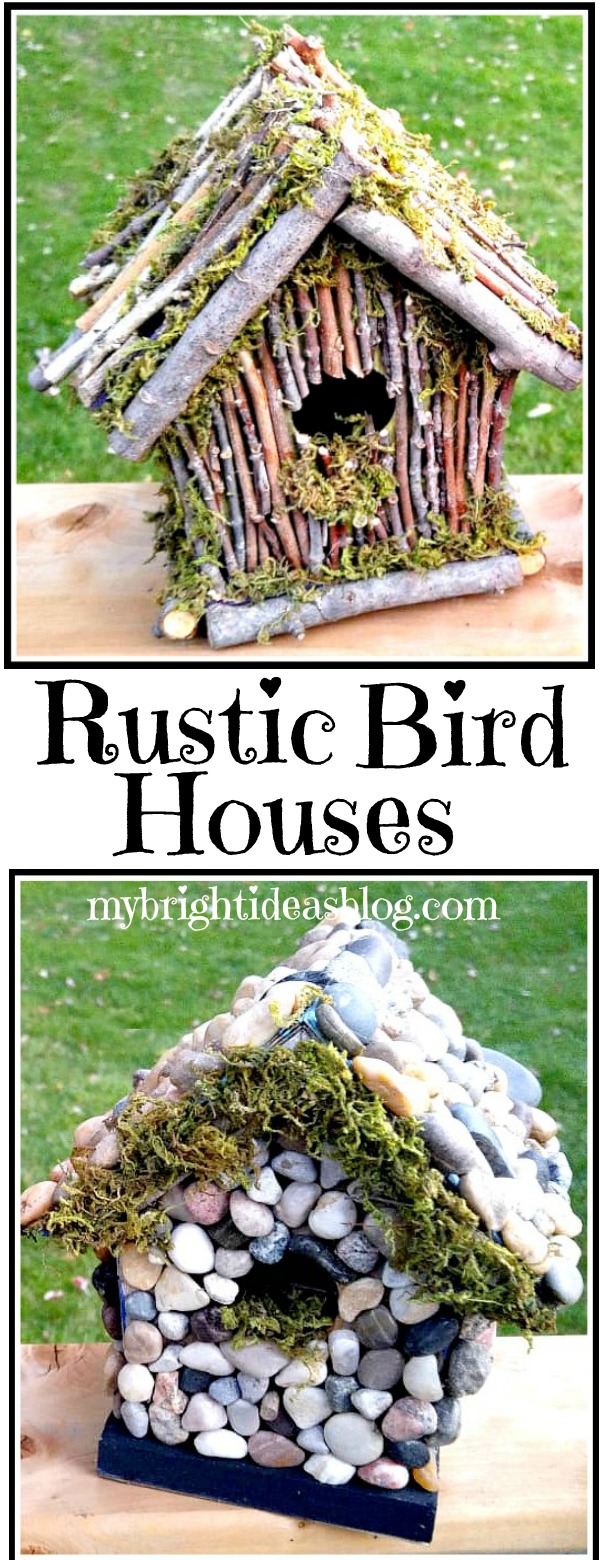
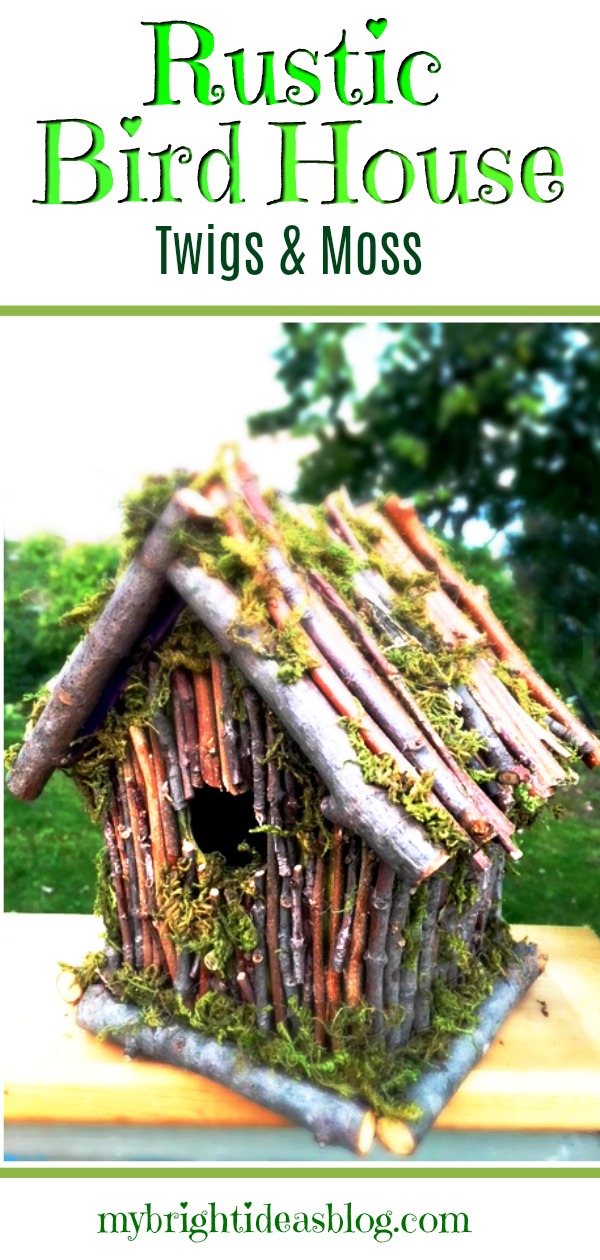
Rustic BirdHouse – Twigs and Moss
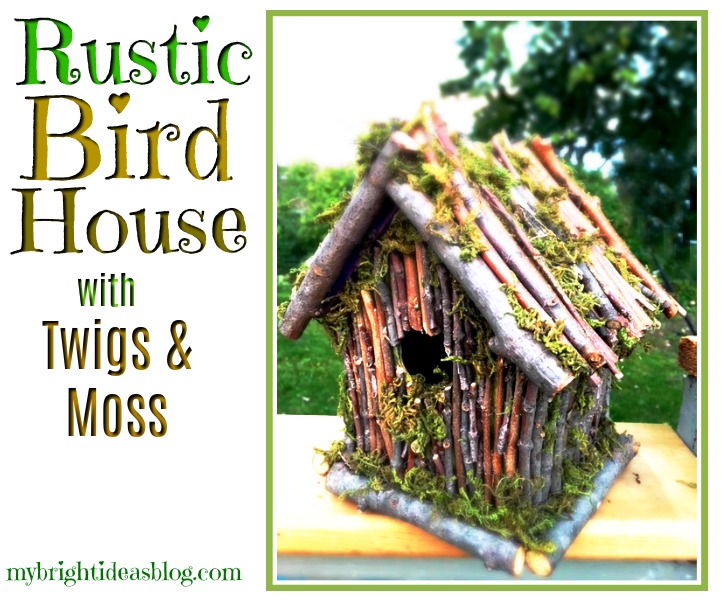
I’m loving sticks and twigs and rocks this year! So you’ll see a lot of these projects from this past summer and heading into the fall and winter. This is birdhouse project, I really enjoyed making and can’t wait to tell you about!
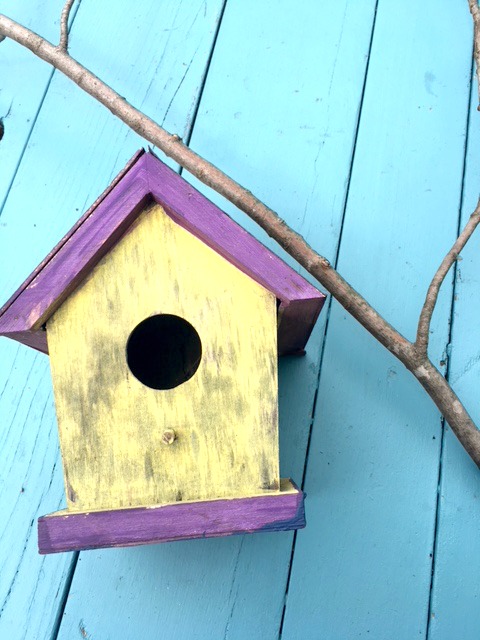
Two years ago my daughter and I painted a bunch of birdhouses and drilled them to the garage. It’s an old wooden garage with peeling paint so if we can distract your eyes from its sad, old, tired look we would! It should get knocked down and rebuilt but we would like it to last a few more years…so instead I’m decorating it.
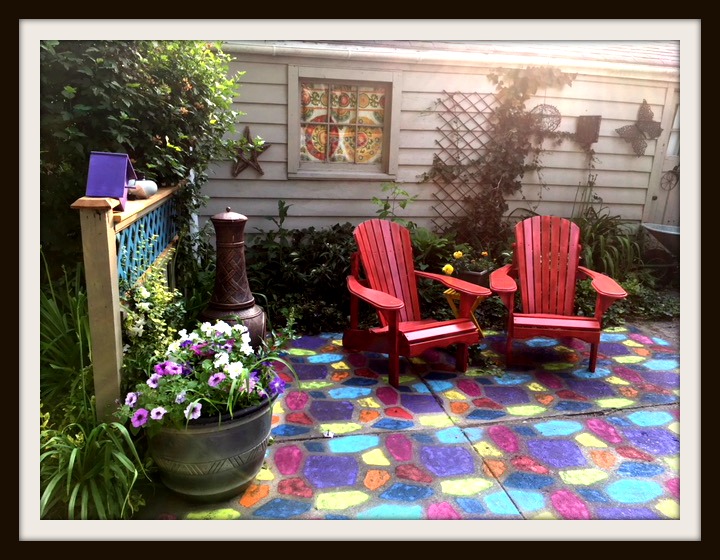
See what I mean…
I apologize we got a bit sidetracked there. Back to the twig birdhouse. After two winters the birdhouse collection had gotten worn out and weathered. They were just cheap wooden ones from the dollar store and we didn’t think ahead to put extra clear coats over the craft paint to make them water resistant. That would have been sensible.
If you would like to try this you will need:
- a birdhouse
- outdoor paint or varnish to water proof it
- branches
- garden snips
- E6000 or other industrial glue
- natural moss
You can get inexpensive birdhouses at the dollar store but if you would like it last for years and years get the sturdy ones from the hardware store or make your own. Paint it or put a protective clear varnish so it will last a long, long time. I opted to use the old weather worn ones to try and upcycle it instead of throwing it out.
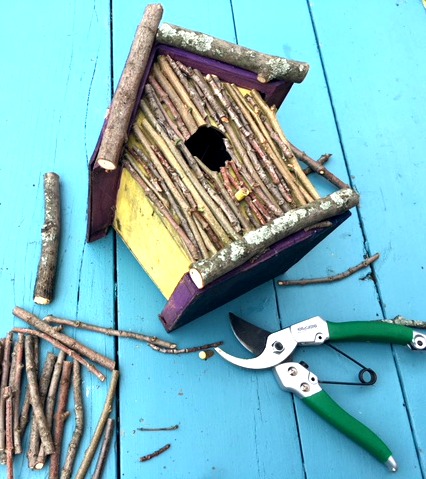
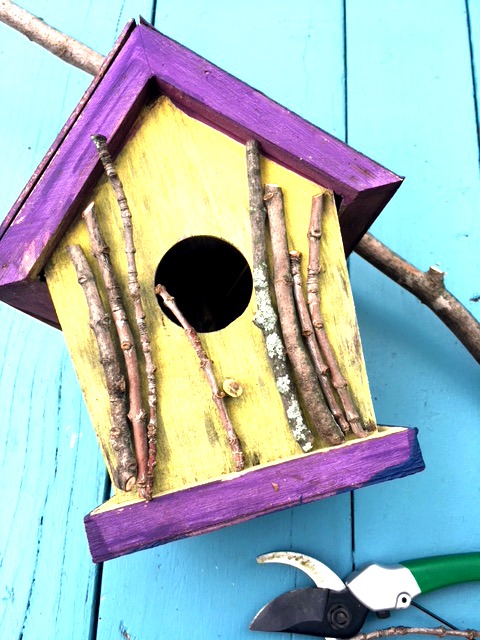
We needed to trim some out of control shrubs and some branches so this project was perfect timing. There was no measuring of the length just line up the twig to the area you want to put it and snip! When I had the area planned out I went back to glue it.
Using E6000 Industrial glue is stinky so I try to use it only outdoors. It is slow to dry but very secure. I have used a hot glue gun to secure sticks and pebbles to things like this before and within a few days it had pieces falling off. If your project is going to be indoors you could get away with quick drying hot glue.
I attached the sticks all over one side of the birdhouse and left it to dry.
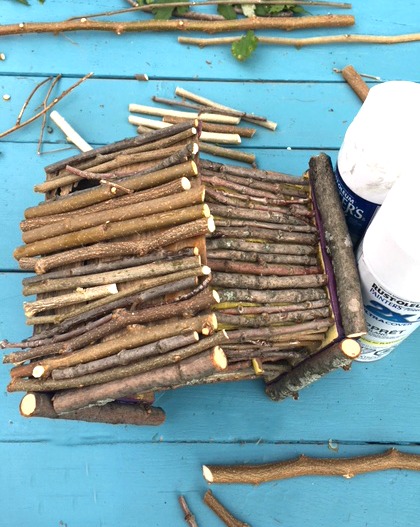
Each side needed several hours to dry. Then I came back to work on the next side. This really slowed down the process. It felt very relaxing making this natural project so I didn’t mind that it took me a few days.
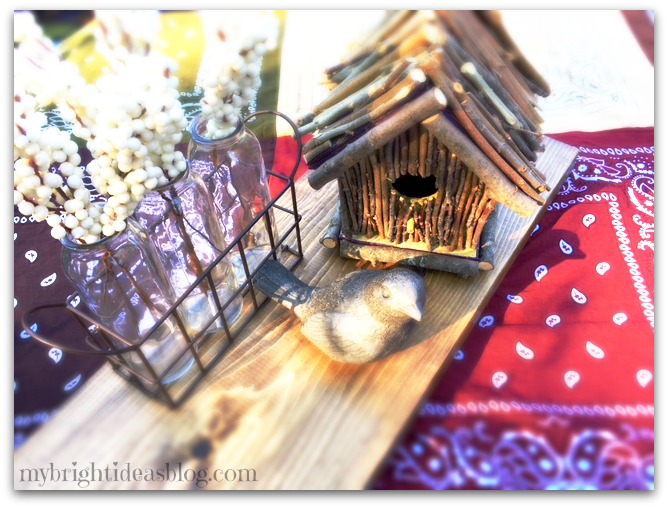
I was actually quite happy with it with just the sticks on the birdhouse. I took this picture a few weeks ago with my bandana table cloth post. It’s cute right!
But then….I had a vision of it with moss and the project took on its final stage….
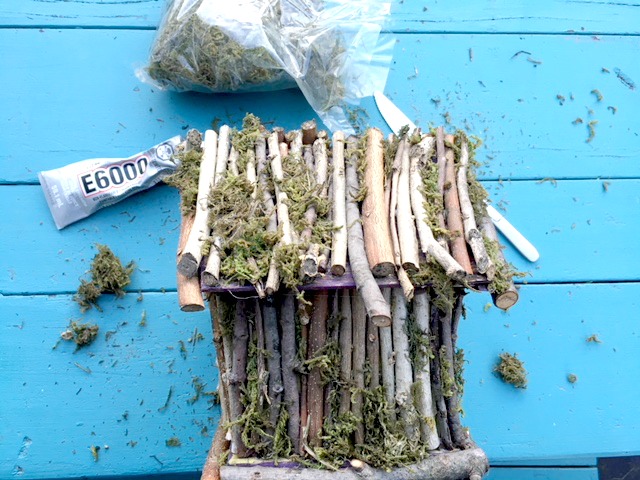
The moss is from the craft or dollar store and comes by the bag. It is quite loose and flakey so it will make a bit of a mess on your work space.
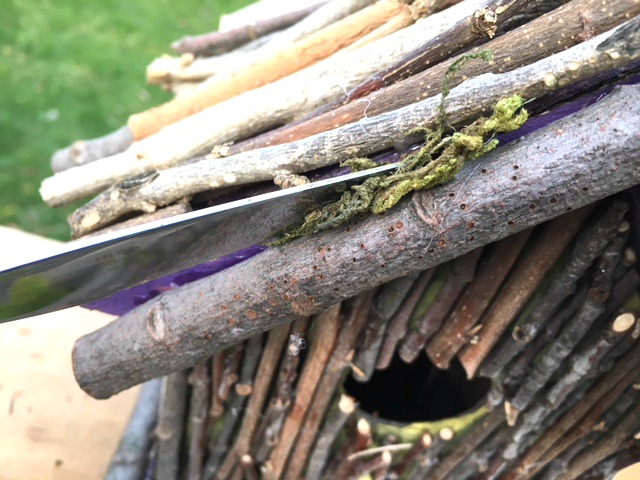
Anywhere I could see the old purple paint I put in some moss. This photo shows me sliding the moss in between each stick using a butter knife as a tool. I also used some dabs of glue plus jamming it in gaps between the twigs.
Heavy rains and wind may be hard on the moss. We will see how it lasts and maybe place it in a bit of a protected area of the garden. A covered porch would likely be ideal.

Isn’t that beautiful! I don’t know that any birds will actually want to use it but for a decorative addition to the garden I’m very pleased with it!
Thank you for reading to the end. I hope you enjoy your day. Before you go feel free to visit some of my other posts. Pin this to Pinterest or share it on your favorite social media.
…
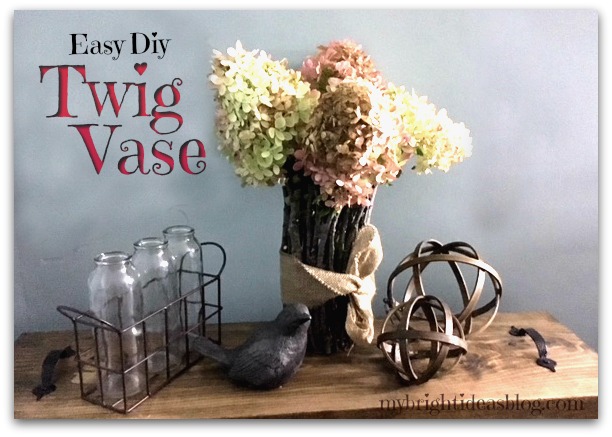
Make a Twig Vase – Super Easy DIY!
Here is a super easy, super rustic, super pretty twig vase! I am loving using twigs and sticks in crafts. It’s free! It’s also time to do some trimming in the backyard gardens so I get the job done and a craft project to do when the work is done!
You will need:
- an inexpensive straight vase
- twigs
- snips
- hot glue gun
- 6 or more hot glue sticks
- burlap or raffia
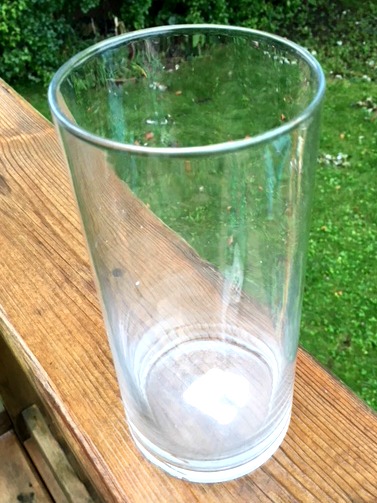
First, choose your vase. If you don’t have a tall straight vase already in the back of your cupboards then pop over to the dollar store, or a thrift store you will definitely find them there. I had this vase on hand. The Dollarama sticker was still on the bottom. $1.25. That is the total expenses on this craft if you already have the glue gun and glue supplies.
I love me a cheap craft!
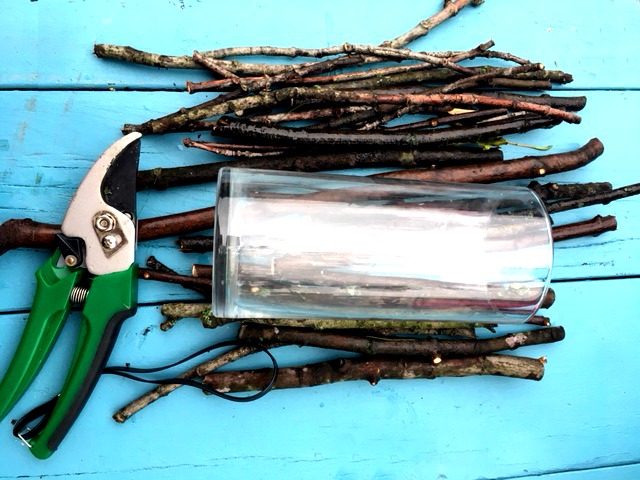
Using sharp shears, cut twigs in different lengths taller than your vase. Choose sticks that are as straight as possible. Trim off any side twigs as short as possible.
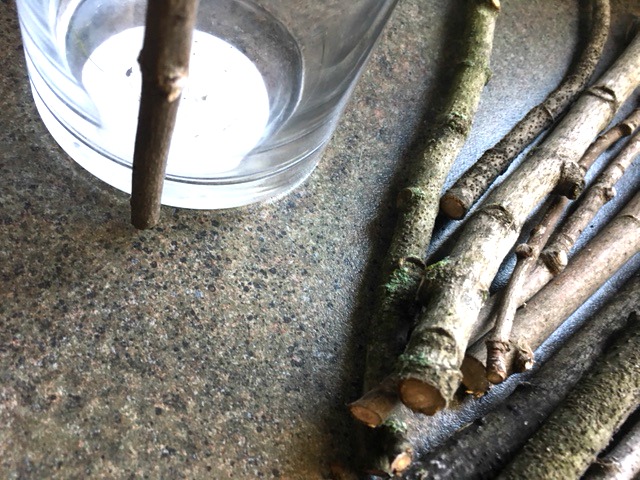
Plug in your glue gun. Set the twig in place and see where it will make contact with the glass of the vase. Add the glue in those contact places. I do this instead of running a line all the way down the stick. That is a lot of waste. Hold the twig in place 10 or 20 seconds while the glue cools. Mind your fingers!
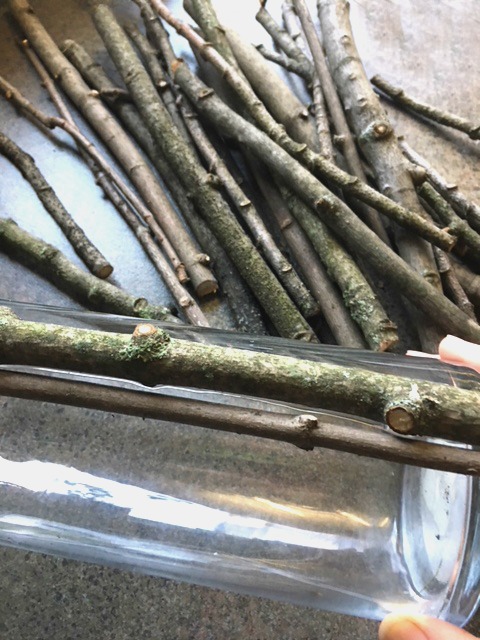
Work around the vase with each twig fitting tightly next to the previous twig. If there are spaces you can put a thin twig in later to fill in the gaps.
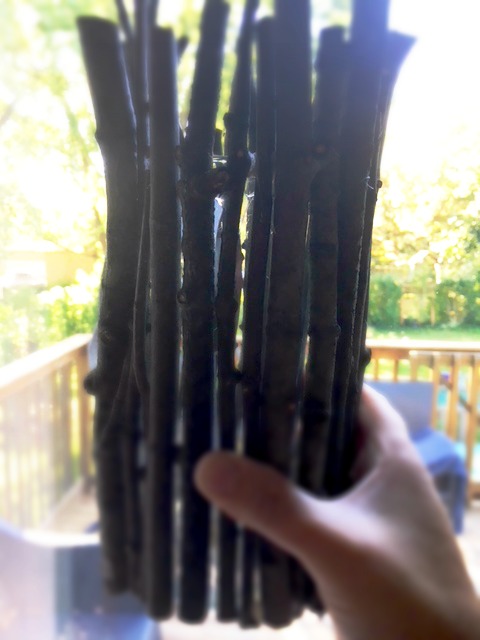
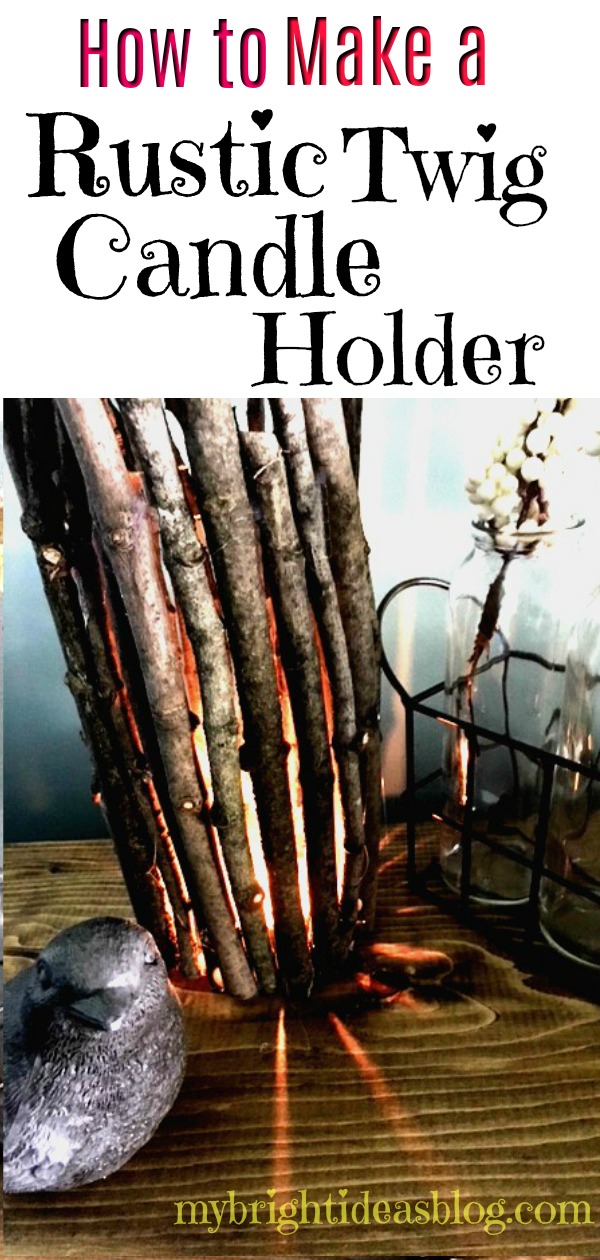
You will notice that the light does pass through the gaps. If that bothers you, cut a brown or black paper down to the vase size and slide it inside.
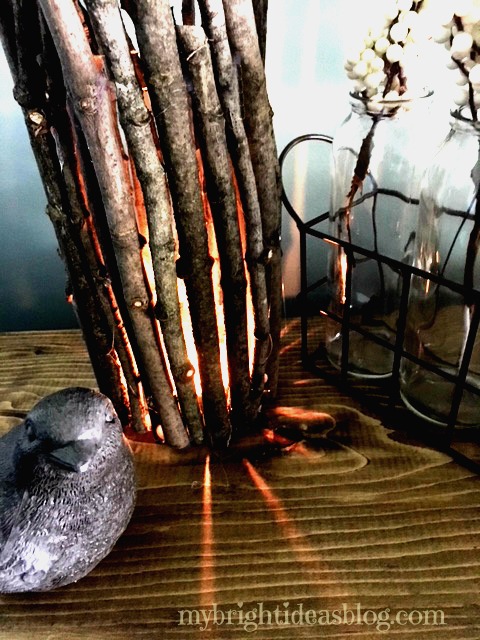
OR…you could embrace these gaps and use it as a candle holder. If you go this route please do not put paper in your vase. You will surely start a fire. Eek!
I didn’t mind the gaps in the vase so I skipped the paper and can use it with a tea light or with dried or artificial flowers.
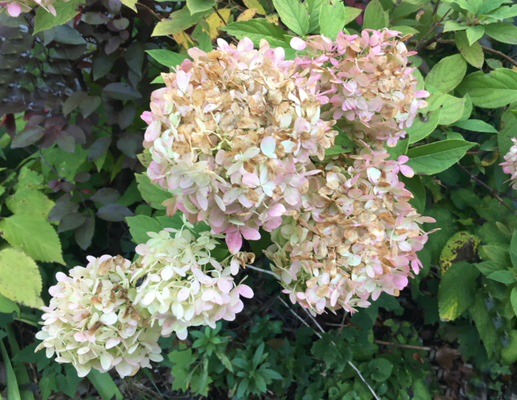
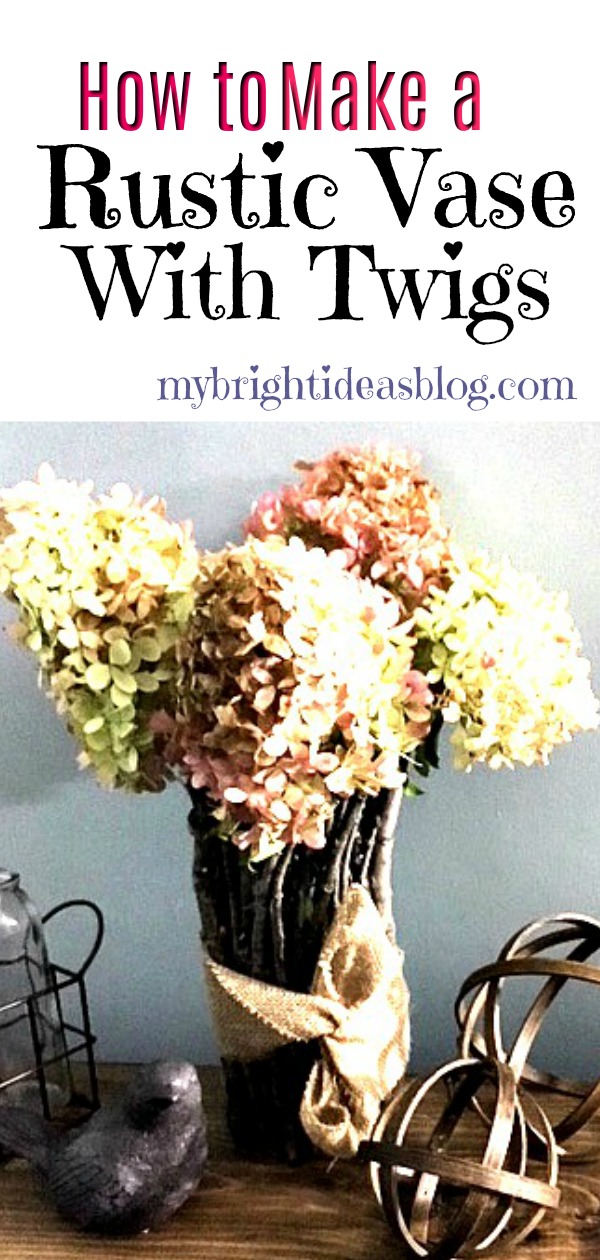
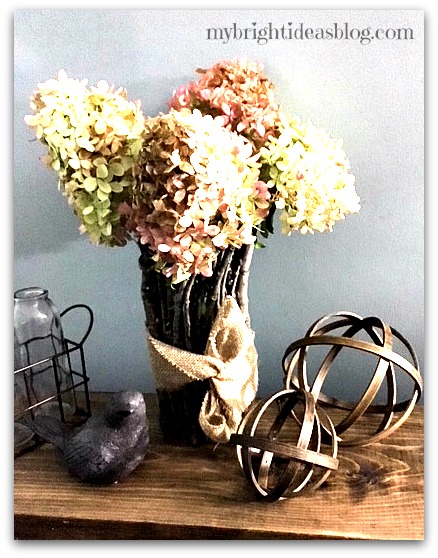
So to the garden we go for some flowers. I cut these hydrangeas. These are going to dry nicely in the vase and look the same for months and months.
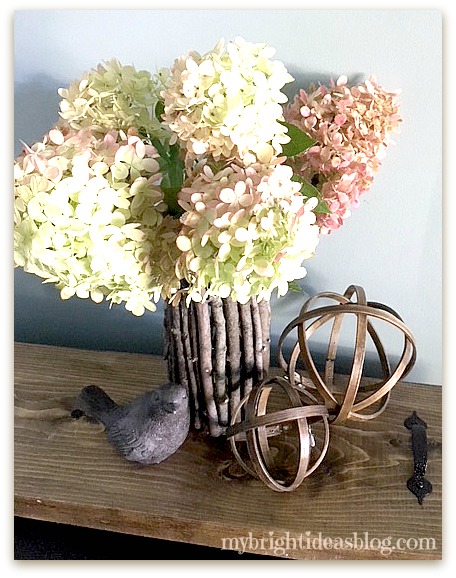
Isn’t that lovely? I hope you enjoyed this rustic twig/stick project. I really love making things with twigs.
Wait! Oh my days!!!! I forgot to put on the bow!
Cancel the photo shoot and back to the craft counter….
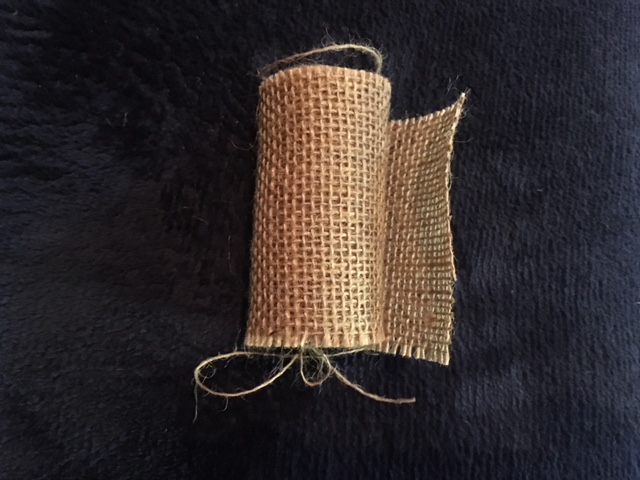
I know I have raffia somewhere but I can’t remember which craft bin I put it in. So instead I used this 3 inch wide burlap roll from the dollar store and wrapped it around the vase.
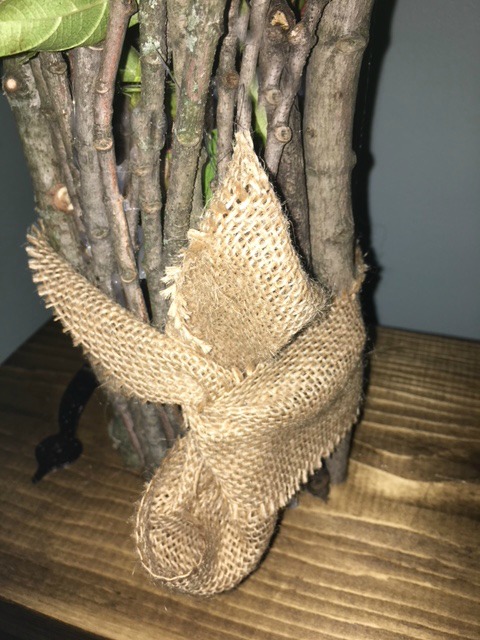
After tying it in a knot I tucked the ends under the centre. It looks like a bow but less bulky.
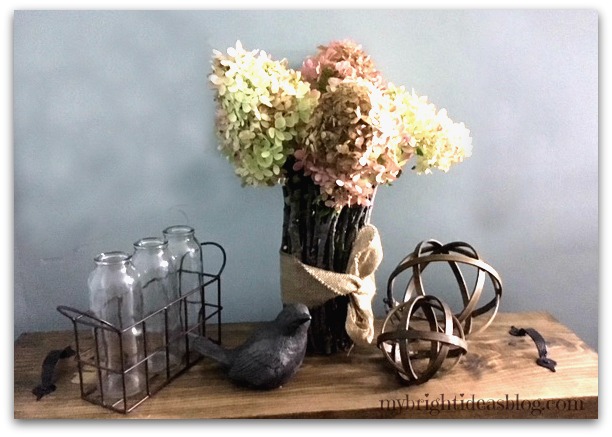
There now that is better! Its a lovely rustic vase perfect for this time of year!
I really appreciate you reading to the end and hope you will remember to pin this or share it on your favorite social media site.
If you would like to see how I made the orbs or wood tray in the photo above, click the links below.
Till next time!
…