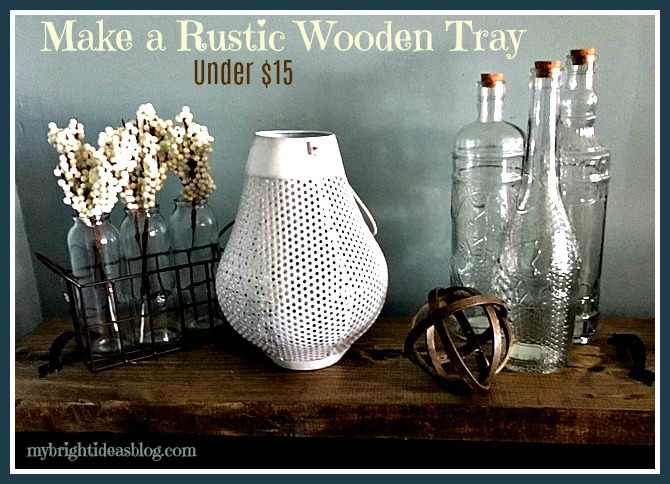
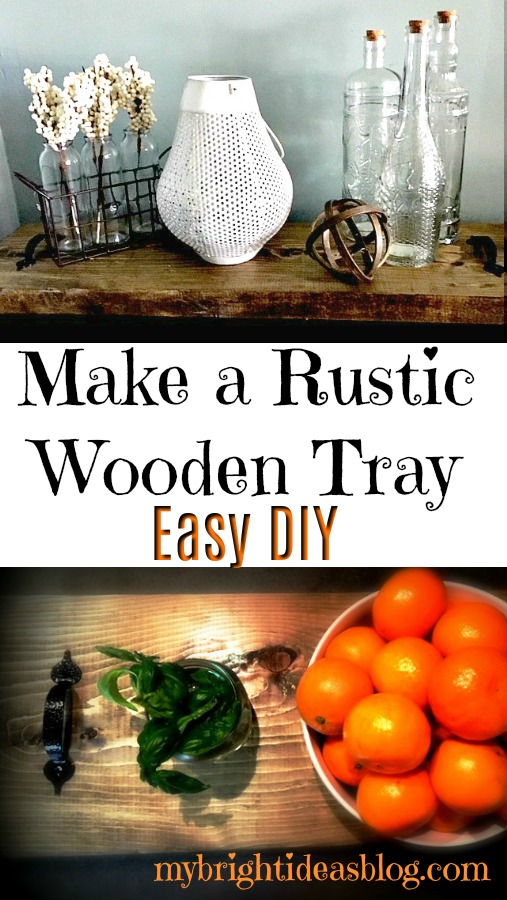
Shortly after making this rustic wood tray I had it placed out on the table with my bowl of clementines and we had company over. My friend Tina’s eyes lit up and said that looks like a Charcuterie Board! I had no idea what she was talking about.
Apparently, these boards are French named partly because harcuterie is the French word for smoked, dry-cured or cooked meats. So during a cocktail party or anytime your entertaining you put out a sampler of all sorts of meats on a wooden board. Cheese and crusty bread or crackers, dips and olives could also be intermingled on your board.
They can be the size of a large wooden cutting board.
reluctantentertainer.com
Or as big as the table top!
moncheribridals.com
The above photo is wedding spread!
Now this is not a blog about entertaining and making beautiful food. I’m a crafter and DIY-er so I’m going to be telling you about how I made my ridiculously easy to make serving tray.
You will need:
- 1 board 2x10x8 (this is long enough to make 3!)
- 2 handles ($3 each)
- sand paper
- stain
- rag
- clear varnish or polyurethane
- paint brush
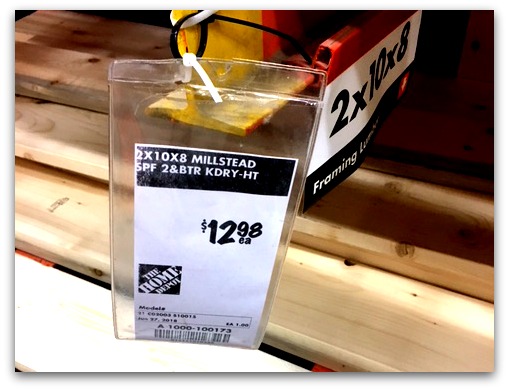 The board above is 2x10x8 cut into three pieces-so you can 2 away as gifts-That makes the lumber approximately $4.50 per tray!!!! That is amazing. When you look at these in the stores and online they can cost $50 to 100.
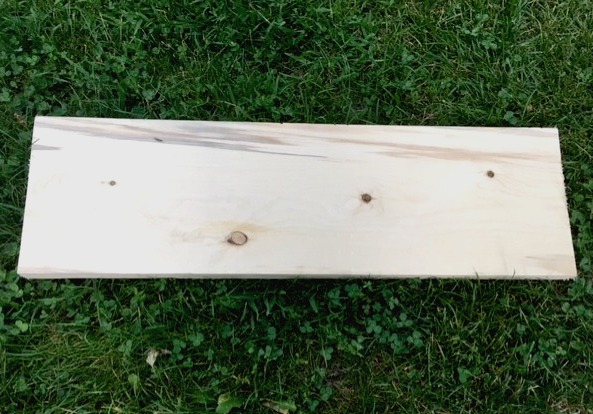
Cut the board into the lengths you prefer. The one I show in the photo was 31 inches long, the second one I made was 30 and the last one was 35 inches. I would recommend that you measure the side table you are going to put this on. Are you planning to make this to be a centre piece in the middle of the dining room table? Then 35 inches is great! But, if its a dresser that is 30 inches wide you don’t want to make it wider than 30 inches.
If you prefer your wood smooth, then you could sand it. If you like it very rustic then you could bang it up a bit with some random tools. I skip the sanding step usually unless there are frayed slivers on the ends of the boards.
With your stain and rag apply the color to your wood.
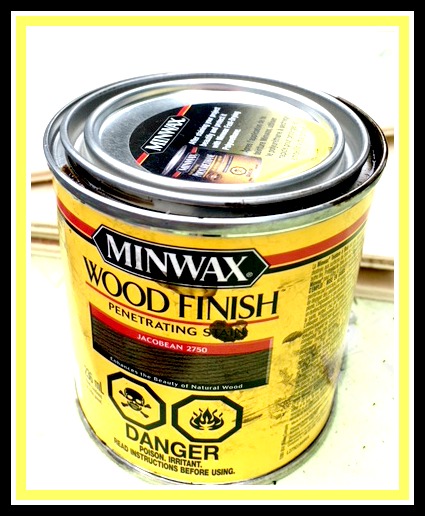
I used my favourite Miniwax color Jacobean 2750. I made the other pieces of board other colors (grey and ebony) but my favorite is always Jacobean.
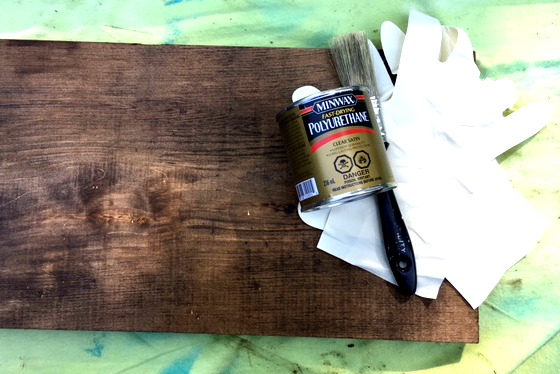
Since I don’t plan to put any food directly on my tray I used my usual clear coat over the wood to protect from wear and tear. This means I could even leave it outside in a rain storm and it would be fine.
If you do want to place food right on top of the tray there are many food safe options. They are not as durable (don’t leave it outside in a rain storm). Food safe options: Pure tung oil, raw linseed oil, mineral oil, walnut oil, beeswax, carnauba wax, shellac. One website suggested a mixture of mineral oil and beeswax. Here is the recipe…. https://www.finewoodworking.com/2006/08/01/food-safe-finishes
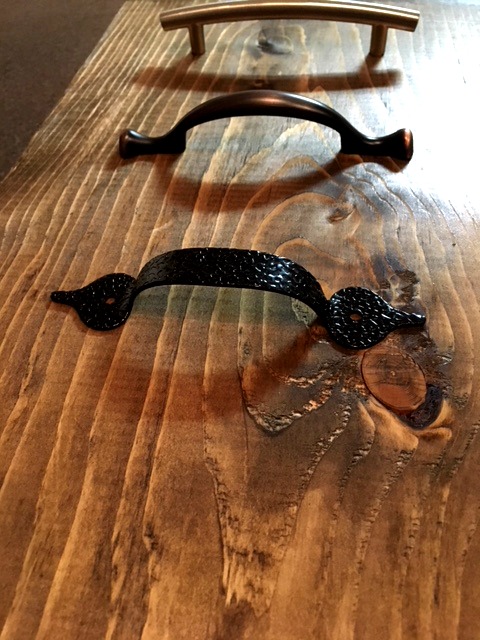
I picked up 3 of the cheapest handles the hardware store had. Each is $3-5 dollars making the cost of the project $11-15 each-assuming you already have the stain and varnish in your DIY stash of essentials. If you find some handles in the craft or specialty shops or even vintage handles by all means use them. They will be on top of the tray so it could be quite the conversation piece.
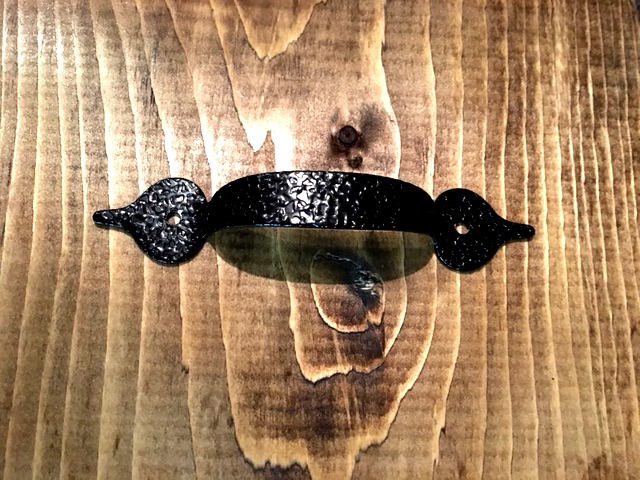
I chose this one because it screws in from the top. This is actually a good point. If you put on handles with screws that go in on the bottom you may need to counter sink the screw so they don’t scratch your table top. Or you could put 2 slim pieces of wood under the wood to lift it.
If like me, you chose handles that screw in from the top this isn’t a problem. Put the handles on the board and see where you would like them to be permanently. I put mine 3 inches from the ends (this board is 30 inches long).
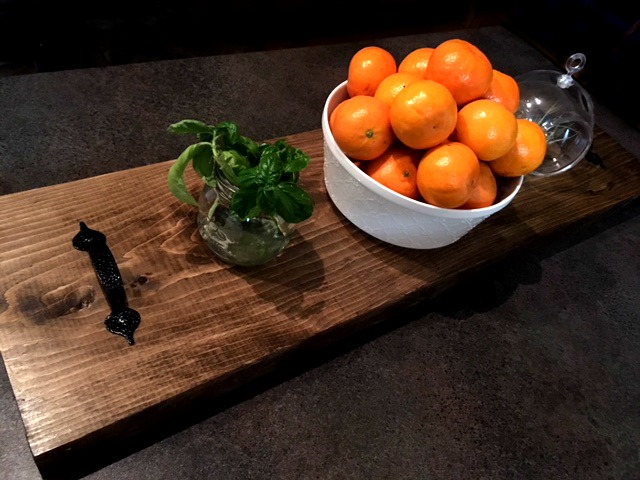
Voila it was that easy…its a simple board with handles.
This would look great on a side table with a few nicknacks between uses. If you do want to use this to lay out meat and cheese, olives and antipasto you could put down paper doilies, little bowls and plates or wrap the board with cling wrap. I would do this even if you use a food safe finish for faster clean up.
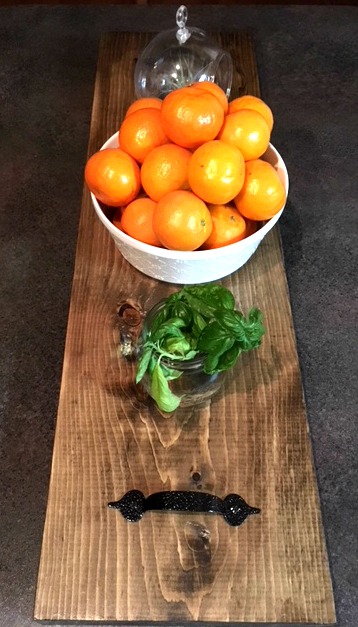
If you find this too long or the wood too thick cut the boards shorter to suit you and your space.
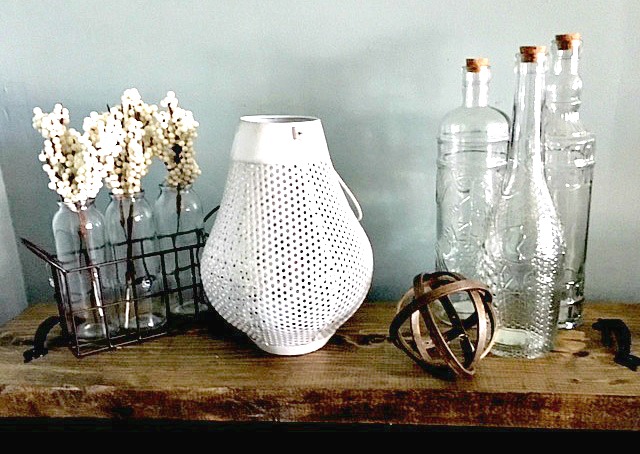
This goes to show that if you see something so awesomely simple, see if you can make it yourself for a fraction of the price.
I hope you give it a try!
…..



I have a charcuterie board that I often use. Yours is very pretty and you spent a lot less money making your own. Happy Autumn!
I have been wanting to make a wooden tray as well, thanks for the inspiration and sharing on To Grandma’s House We Go
Your rustic tray is perfect! Thanks for sharing at Vintage Charm!
Trays are so handy and the one you made has such charm.
Love it, and that big board you showcased is making me drool. I saw online a Charcuterie board was hand carved and with a “live” rough edge….they wanted almost one thousand dollars for it. Guess they are becoming very popular! I love that you added handles to your tray, looks perfect!