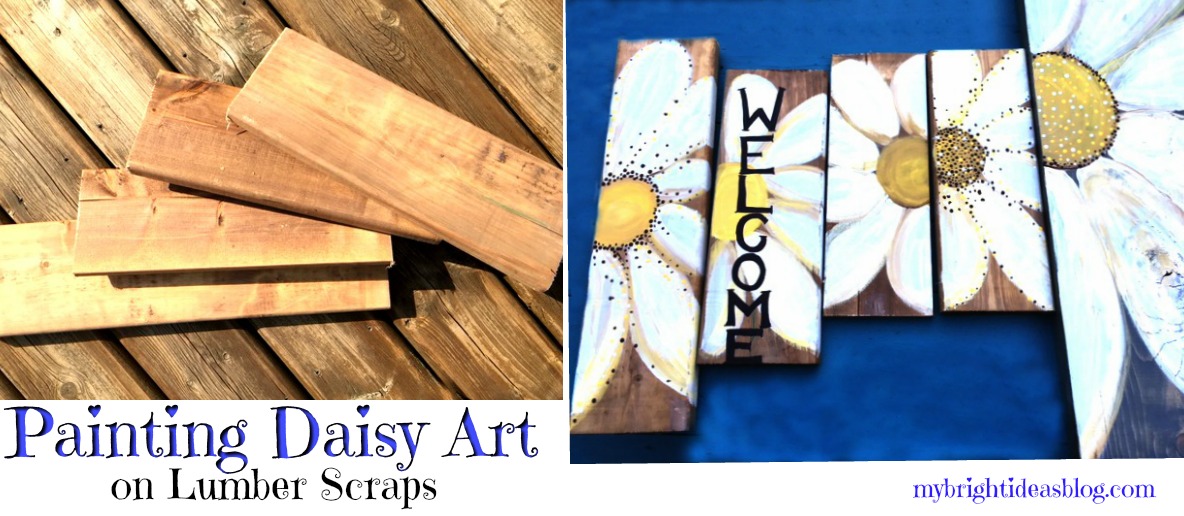
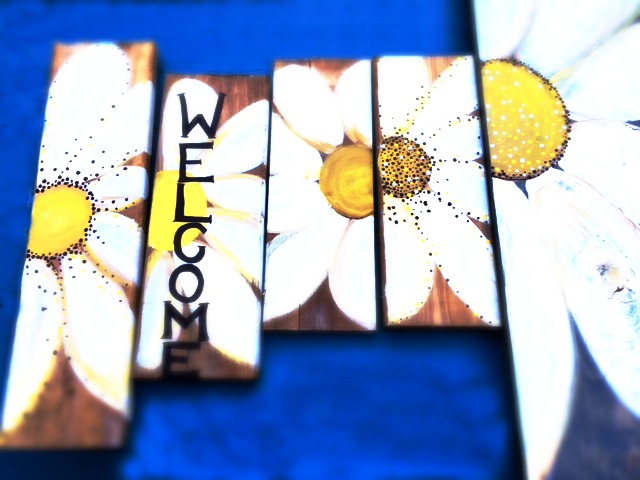
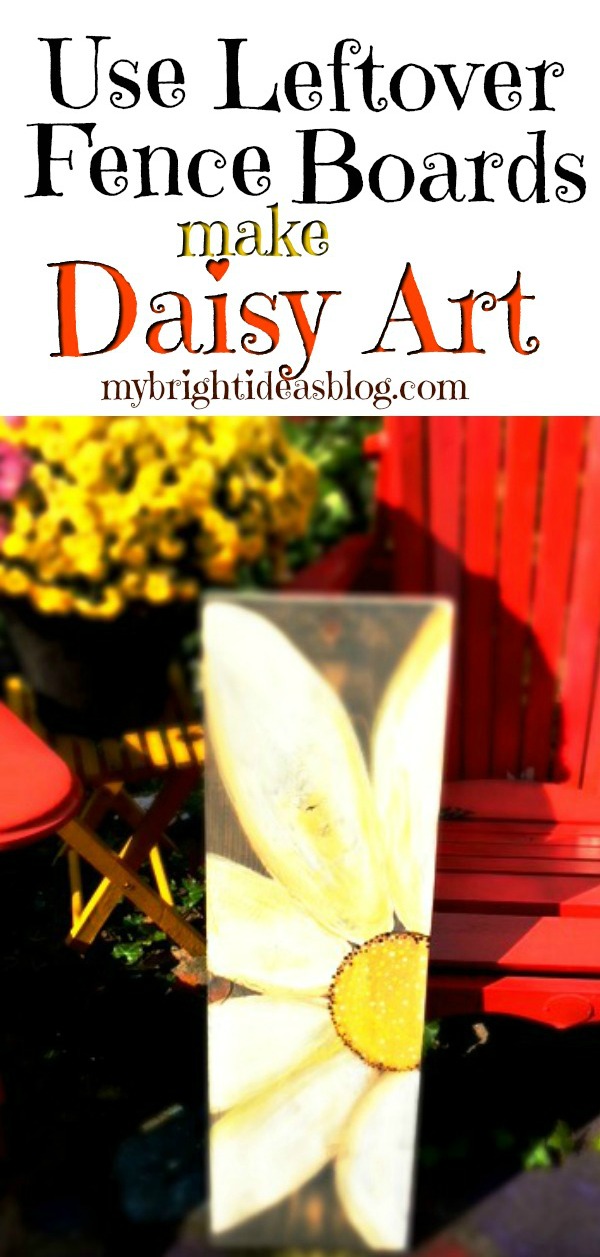
We have done a lot of wood projects this summer and the scrap pile is getting bigger. I am going to show you how to turn your left over wood scraps into painted daisy art that you can use indoor or outdoors. Grab your paint and brushes – lets get started!
You will need:
- lumber or fence boards
- sandpaper
- small and medium art paintbrushes
- craft paint-yellow, white, beige, black
- polyurethane (clear varnish)
- large brush (that you might throw out)
- hammer
- needle nose pliers (optional)
- picture hanging kit
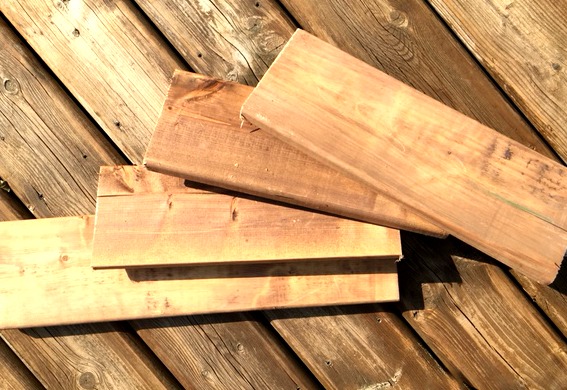
The wood in the photo above is scraps of pressure treated fence or deck boards. The size doesn’t matter-just work with what you have. Mine were approx. 5 1/2 inches x 14 inches (14cms x 36cms). They don’t need to all be the exact same.
Have a quick look at the ends of the boards to see if you have any jagged edges. If yes a quick swipe with your sand paper should remove the frayed bits. No splinters!
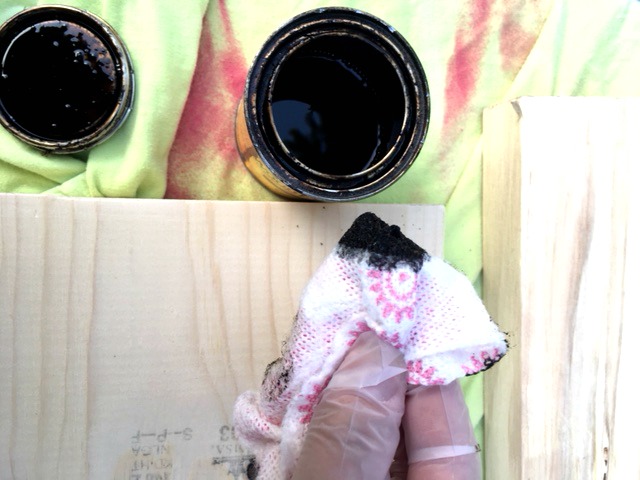
If you don’t have treated fence boards you can use bare lumber but put a bit of stain on to make it darker.
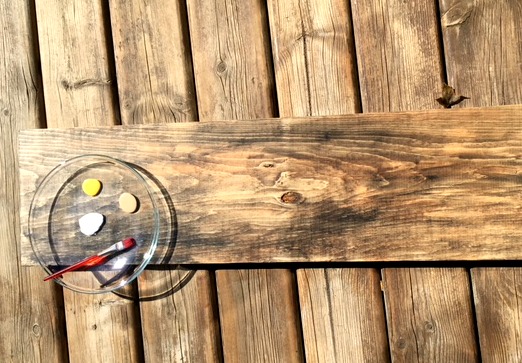
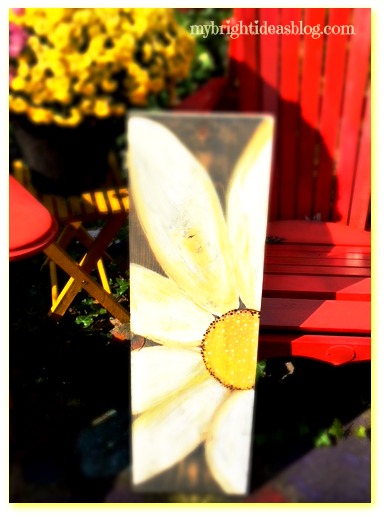
This board was not a fence board but rather a this piece of wood I was going to make another tray out of. It’s 9 1/4 inches wide and 35 inches long (or 24 cms x 89 cms). I had already put my favorite Jacobeen Miniwax on it. So it was ready to be used for something else but instead I put daisy on it for a much bigger version of the fence boards.
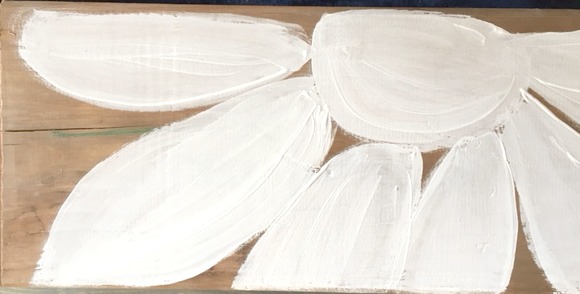
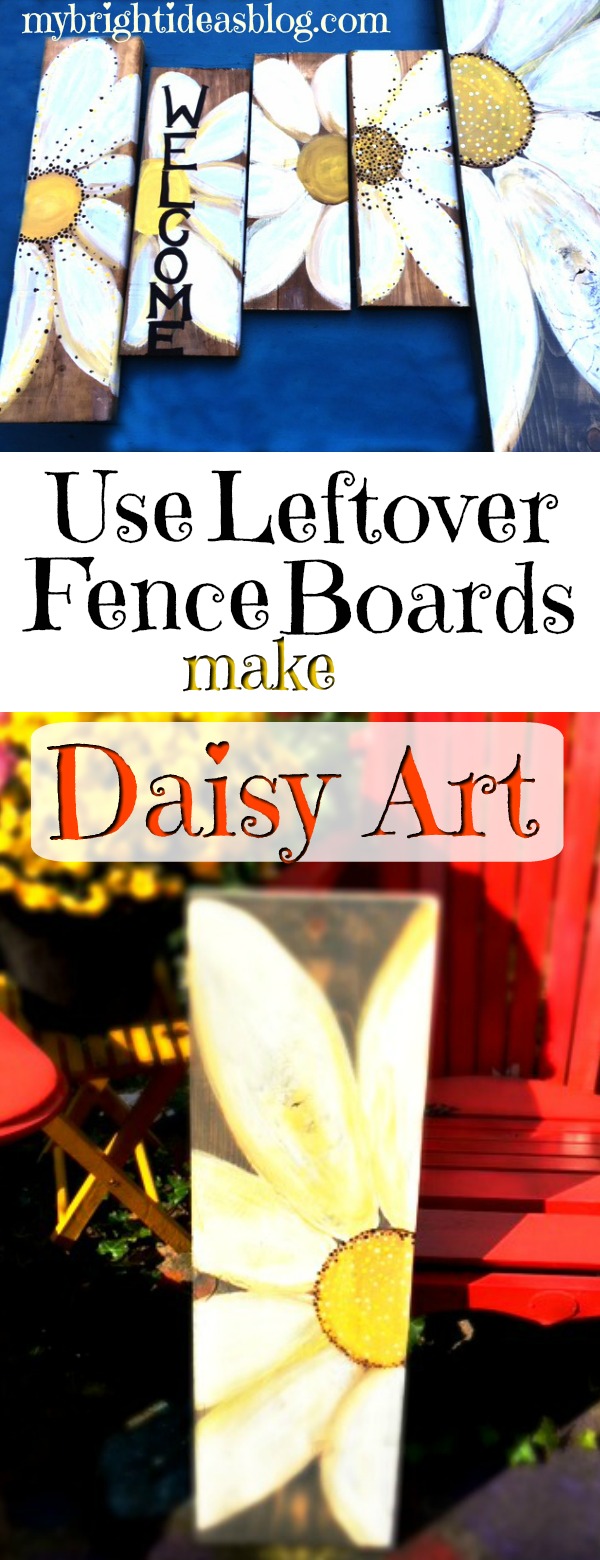
Start with white and paint the shape of the daisy. On this one I painted the centre white also.
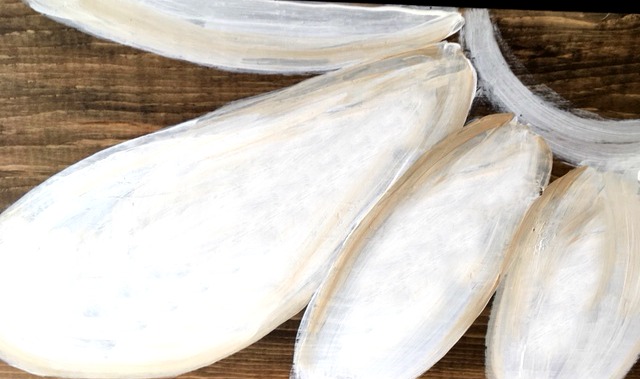
For this board I didn’t paint the centre till later. I double loaded my paint brush with white on the left and dipped a bit of the beige paint on the right side. I went along the edge of the petal to add some depth.
The centre part of the daisy was painted yellow. It doesn’t have to be perfect no one will look at it this close up. The brush strokes look great from a few feet away. If you turn it into a Welcome sign at your entry way or a backyard garden sign, it’s going to look great!
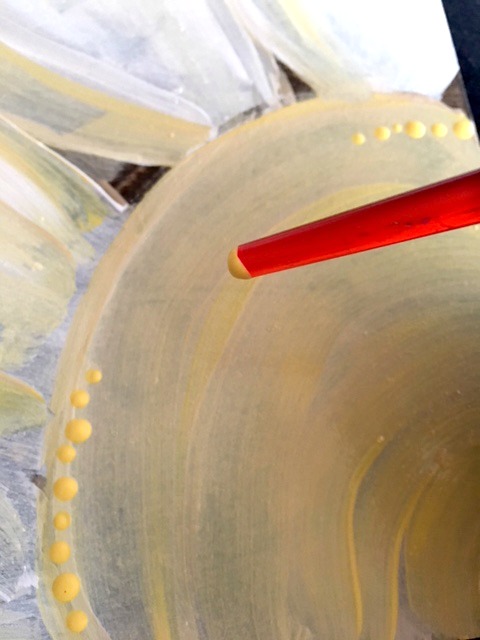
Using the end of the paint brush add dots around the edge of the circle. Some of the boards I didn’t put any highlight dots. The next photo shows I used brown and black dots to make it really stand out. Every board turned out differently.
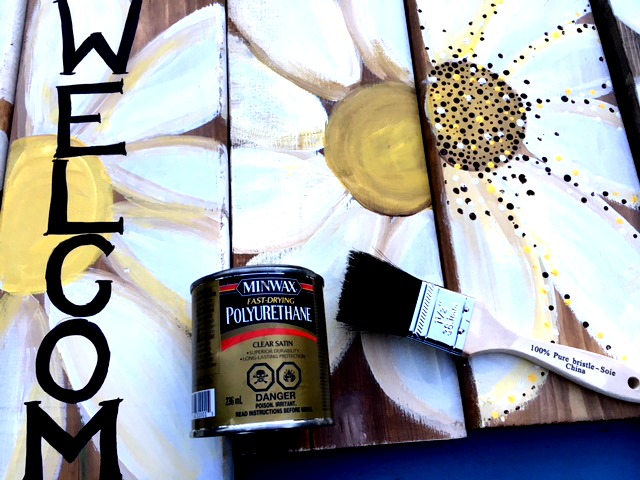
After the craft glue has time to be thoroughly dry, I painted on a clear coat of satin polyurethane. If this is going to be used outside it should have this protection on the front and back and edges. The fence board scraps will be weather resistant but the craft paint might crack in the rain. So this protection over the front and sides is worth the effort.
Oh and I hate cleaning polyurethane out of paint brushes so I just use the cheap brushes so I can toss them out. I have been known to wrap it in a baggy or cling wrap with an elastic band if I am going to need it again in the same day. I also store it that way in the freezer if I will need it again in a few days. If the paintbrush dries it’s hard not usable again.
If you get it on your hands. Make your way to the kitchen-without touching anything. Find a bottle of cooking oil (vegetable or olive have both worked for me). Put it on your hands and massage the oil in and watch the varnish come off your skin. Add hand soap and rinse off. Hands are clean and silky soft! Cool trick!
I made enough to give some away as gifts or put on the office craft table for sale. Since these were scraps and I had all of the supplies in my craft and diy corner…this would be a great item to make some money to sell….gotta support my craft addiction ssomehow!
To hang it or lean it…..mmmm.
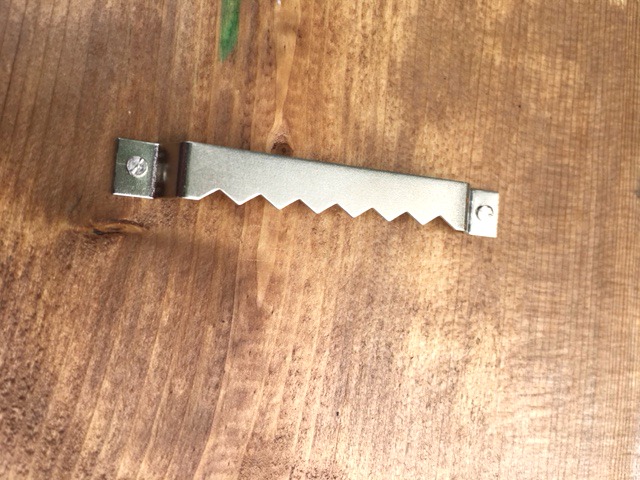
I used these inexpensive picture hangers and just hammered them into the back. The nails are the tiniest nails I’ve ever seen so I hit my fingers with the hammer about 5 times trying to get this nail tapped into the wood. I suggest getting some needle nose plyers to hold the nail while you get it started. Save your poor fingers!
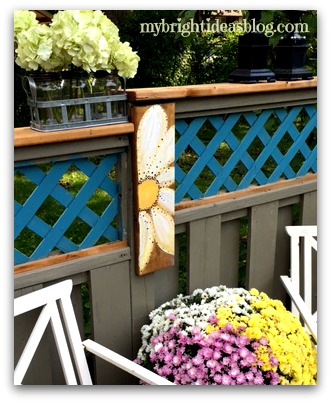
Around the patio we have a very old privacy fence. It has some ugly seams and badly matched up corners. Putting this as a plaque on the fence is a rather awesome solution!
This was super easy to make and looks great! Painting is so therapeutic. I highly recommend it!
Thanks for reading to the end folks! I hope you have a chance to pin this to Pinterest or share it with your favorite social media.
…
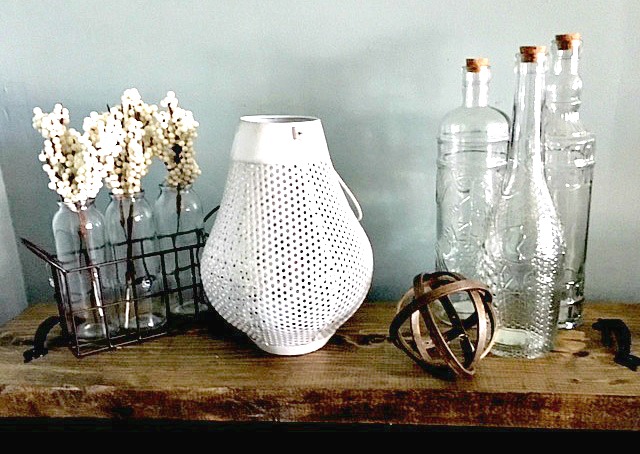
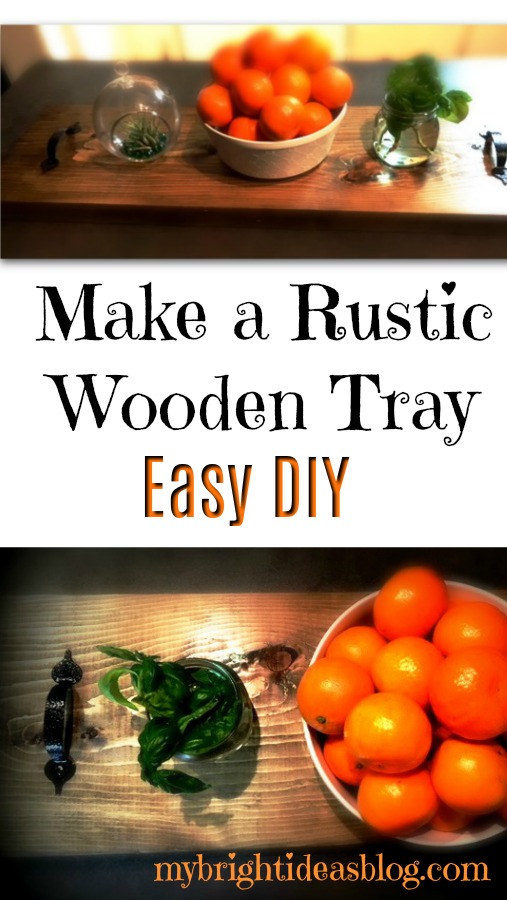
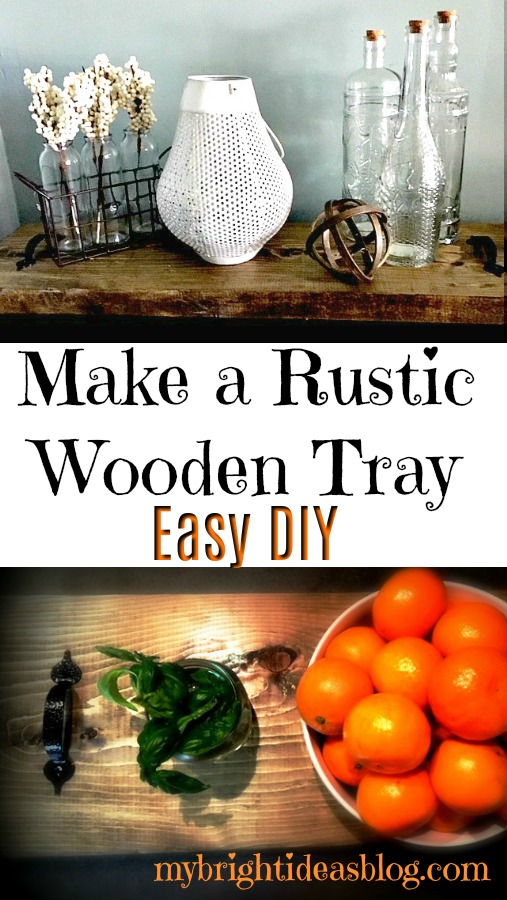
Make a Dark Stained Rustic Wood Tray – Easy DIY!
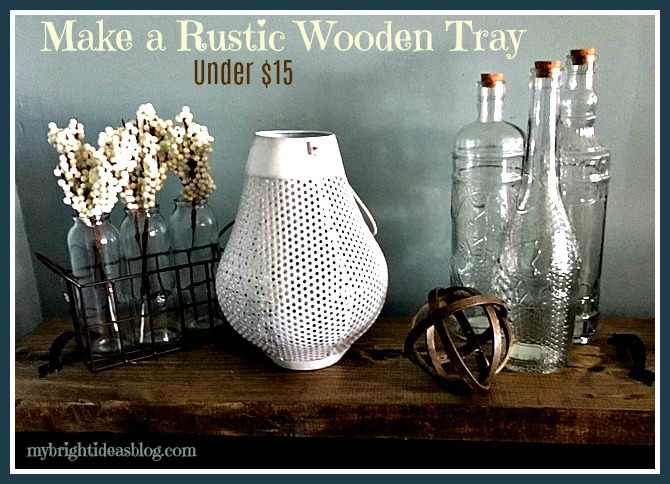
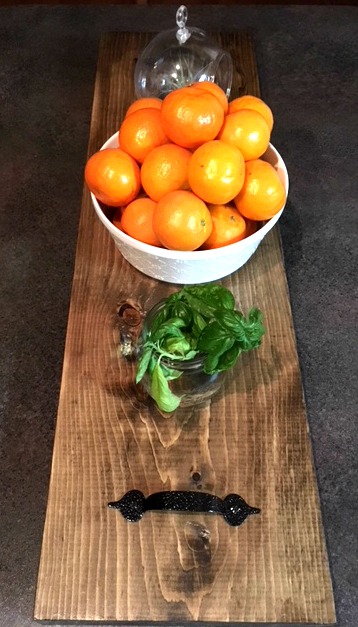
Shortly after making this rustic wood tray I had it placed out on the table with my bowl of clementines and we had company over. My friend Tina’s eyes lit up and said that looks like a Charcuterie Board! I had no idea what she was talking about.
Apparently, these boards are French named partly because harcuterie is the French word for smoked, dry-cured or cooked meats. So during a cocktail party or anytime your entertaining you put out a sampler of all sorts of meats on a wooden board. Cheese and crusty bread or crackers, dips and olives could also be intermingled on your board.
They can be the size of a large wooden cutting board.

reluctantentertainer.com
Or as big as the table top!
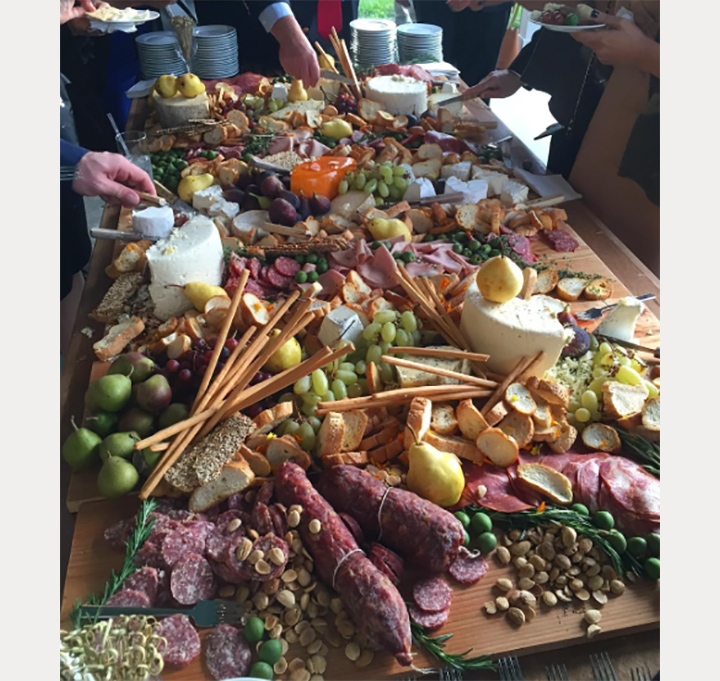
moncheribridals.com
The above photo is wedding spread!
Now this is not a blog about entertaining and making beautiful food. I’m a crafter and DIY-er so I’m going to be telling you about how I made my ridiculously easy to make serving tray.
You will need:
- 1 board 2x10x8 (this is long enough to make 3!)
- 2 handles ($3 each)
- sand paper
- stain
- rag
- clear varnish or polyurethane
- paint brush
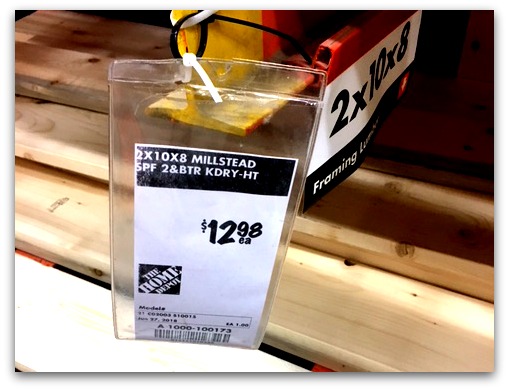 The board above is 2x10x8 cut into three pieces-so you can 2 away as gifts-That makes the lumber approximately $4.50 per tray!!!! That is amazing. When you look at these in the stores and online they can cost $50 to 100.
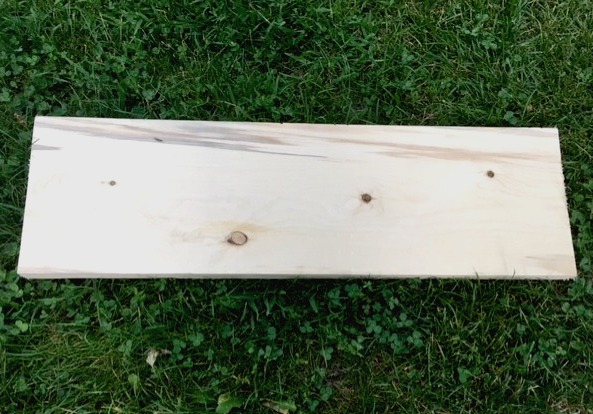
Cut the board into the lengths you prefer. The one I show in the photo was 31 inches long, the second one I made was 30 and the last one was 35 inches. I would recommend that you measure the side table you are going to put this on. Are you planning to make this to be a centre piece in the middle of the dining room table? Then 35 inches is great! But, if its a dresser that is 30 inches wide you don’t want to make it wider than 30 inches.
If you prefer your wood smooth, then you could sand it. If you like it very rustic then you could bang it up a bit with some random tools. I skip the sanding step usually unless there are frayed slivers on the ends of the boards.
With your stain and rag apply the color to your wood.
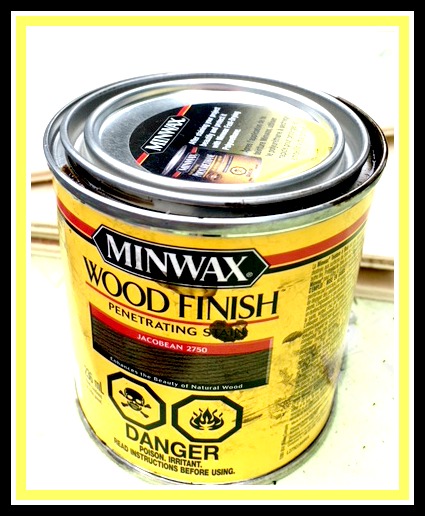
I used my favourite Miniwax color Jacobean 2750. I made the other pieces of board other colors (grey and ebony) but my favorite is always Jacobean.
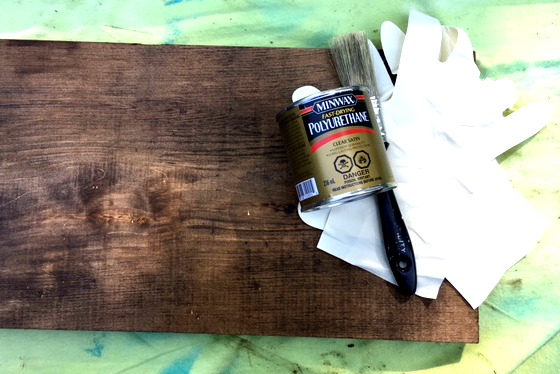
Since I don’t plan to put any food directly on my tray I used my usual clear coat over the wood to protect from wear and tear. This means I could even leave it outside in a rain storm and it would be fine.
If you do want to place food right on top of the tray there are many food safe options. They are not as durable (don’t leave it outside in a rain storm). Food safe options: Pure tung oil, raw linseed oil, mineral oil, walnut oil, beeswax, carnauba wax, shellac. One website suggested a mixture of mineral oil and beeswax. Here is the recipe…. https://www.finewoodworking.com/2006/08/01/food-safe-finishes
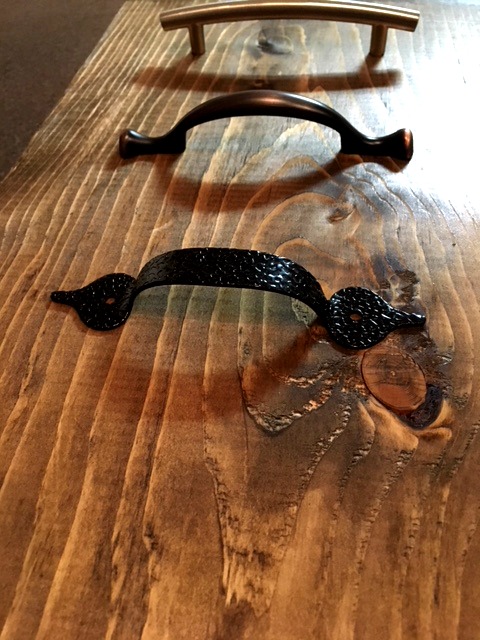
I picked up 3 of the cheapest handles the hardware store had. Each is $3-5 dollars making the cost of the project $11-15 each-assuming you already have the stain and varnish in your DIY stash of essentials. If you find some handles in the craft or specialty shops or even vintage handles by all means use them. They will be on top of the tray so it could be quite the conversation piece.
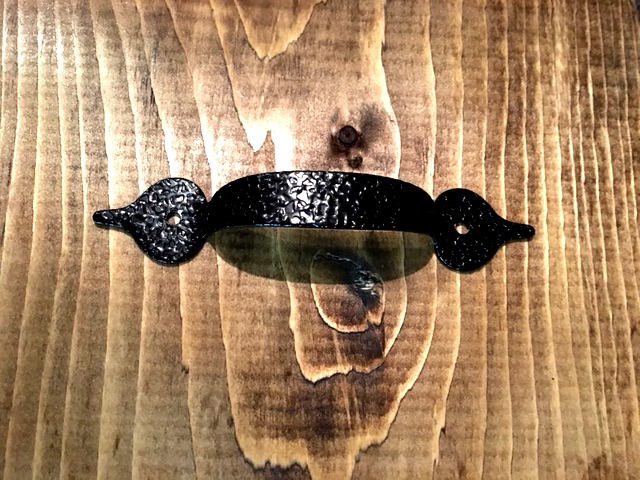
I chose this one because it screws in from the top. This is actually a good point. If you put on handles with screws that go in on the bottom you may need to counter sink the screw so they don’t scratch your table top. Or you could put 2 slim pieces of wood under the wood to lift it.
If like me, you chose handles that screw in from the top this isn’t a problem. Put the handles on the board and see where you would like them to be permanently. I put mine 3 inches from the ends (this board is 30 inches long).
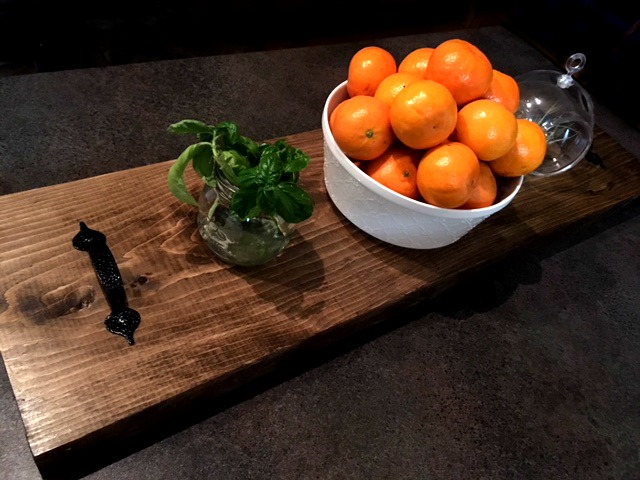
Voila it was that easy…its a simple board with handles.
This would look great on a side table with a few nicknacks between uses. If you do want to use this to lay out meat and cheese, olives and antipasto you could put down paper doilies, little bowls and plates or wrap the board with cling wrap. I would do this even if you use a food safe finish for faster clean up.
If you find this too long or the wood too thick cut the boards shorter to suit you and your space.
This goes to show that if you see something so awesomely simple, see if you can make it yourself for a fraction of the price.
I hope you give it a try!
…..

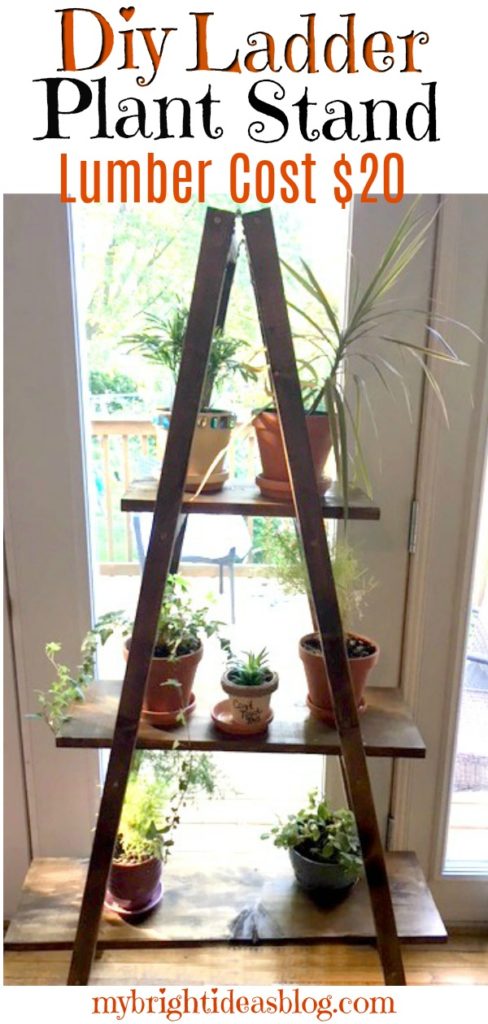
Make a Ladder Plant Stand – Easy DIY – Only $20 for Lumber
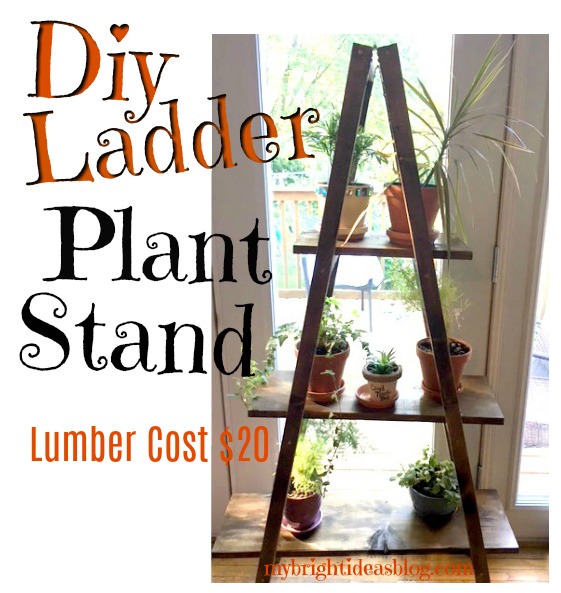 How to make an amazing plant stand on a small budget.
Help! I’m becoming a crazy plant person! My collection of plants has been growing in the last 6 months and then the plants are growing bigger…so its getting a little overwhelming…they are on the kitchen counters, bookcases and dangling from window hooks. The back of the house by the deck gets the sunshine so they are all in the same area.
After spotting the ladder-style plant shelves made out of antique ladder…..I thought the ladder shelf would be the right solution for this nutty plant buying lady.
This photo from https://abeautifulmess.com/2013/02/nesting-ladder-display-makeover.html is what got me thinking about it. I love that they painted it mustard yellow!
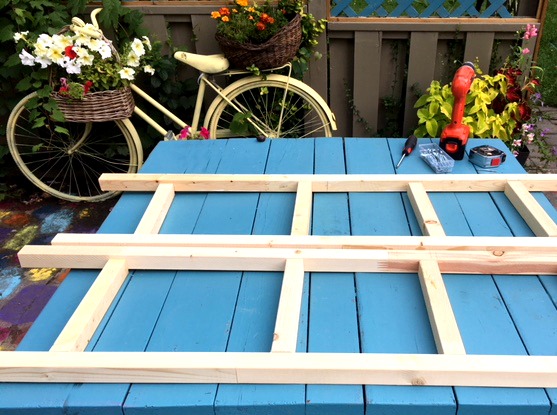
Rather than go in search for a old ladder I went right to the lumber store to make my own. Just a few weeks back I made a blanket ladder and its virtually the same thing-add a hinge at the top and some cross boards across.
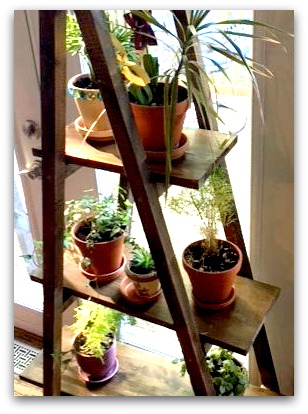
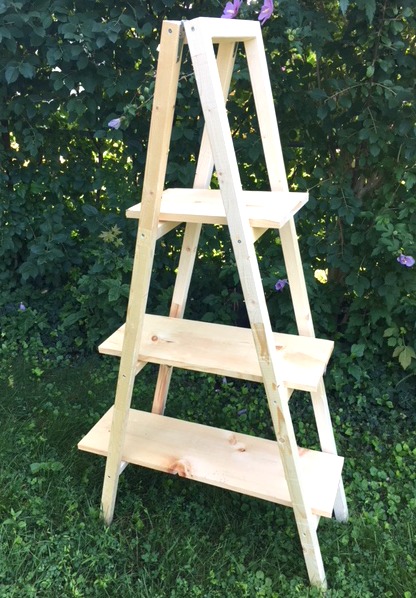
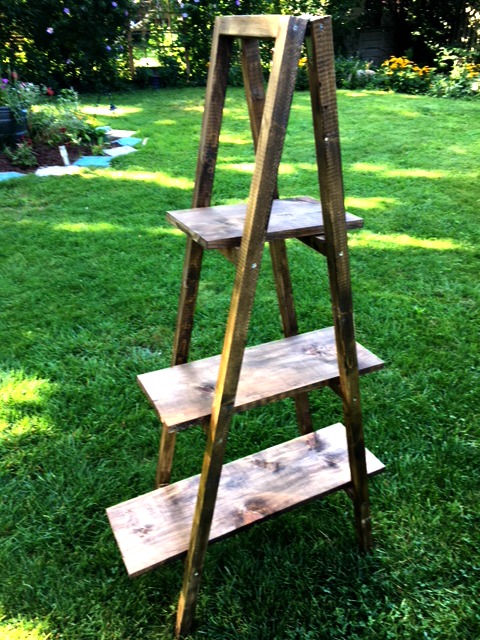
You can change your plant stand size to be taller or shorter and add another shelf if you prefer. My plant stand is 60 inches tall and at the widest shelf, 32 inches wide. As you can see it has 3 shelves.
You will need:
- 1 – 1x9x8 Board (this might be 1x10x8 but actually is 9 inches wide)
- 4 – 2x2x8 Boards
- 2 Hinges
- Sand Paper
- Tape Measure
- Pencil
- Square
- Drill/Screwdriver
- Mitre Saw (or get them to cut the pieces at the store)
- Stain (Miniwax Jacobean)
- Varnish (Clear Coat)
- Rag and Paintbrush
- Rubber Gloves
Cut Lumber
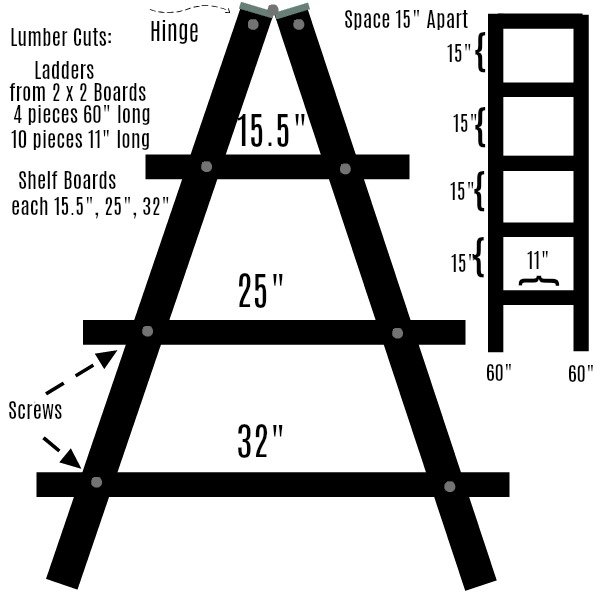
Cut the 2 x 2 boards:
- 4 pieces 60 inches (177 cms) long
- 8 pieces 11 inches (28 cms) long
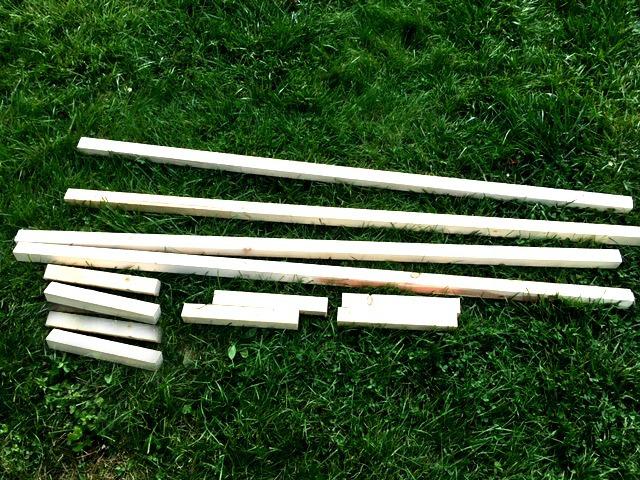
Next cut the 1 x 9 x 8 (or 1x10x8). This board was cut into 3 different lengths.
- Top – 15.5 (40 cm)Middle – 25 (64 cm)Bottom – 32 (82 cm)
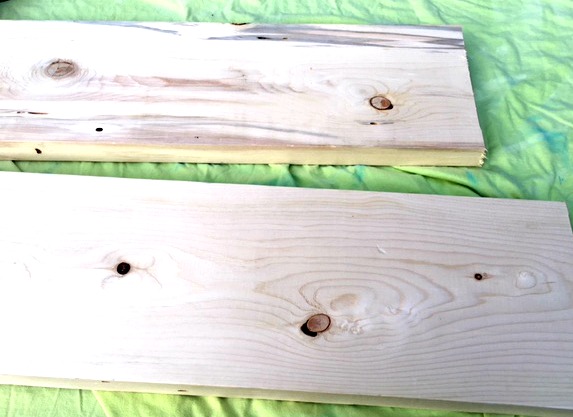
Sand any rough areas after the wood is cut. If you like the distressed look you could rough the boards up by hitting it with your hammer. Scratching with the side of a screw etc. I like the rough look with this dark wood stain but I don’t want slivers. So I just sanded the ends.
A sensible person might have put the stain on now before putting it all together. However, I wasn’t feeling sensible and wanted to see if this would turn out how I imagined it. So I put it all together first and stained it at the end.
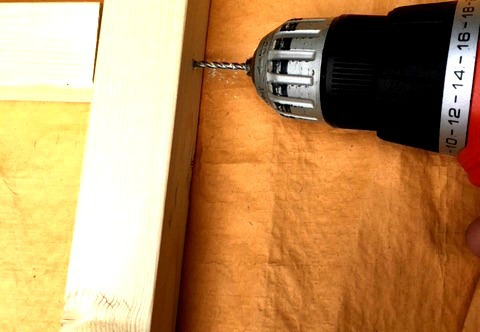
Lay out the pieces in place. Pre-drill where the screws will go. Using the 2 1/2 inch screws to attach the rungs into the sides. I put the first cross board right at the top. The next one was 15 inches below the first. The next one was 15 inches below and so on.
Now the 2 ladders are done. Lets move onto the hinges.
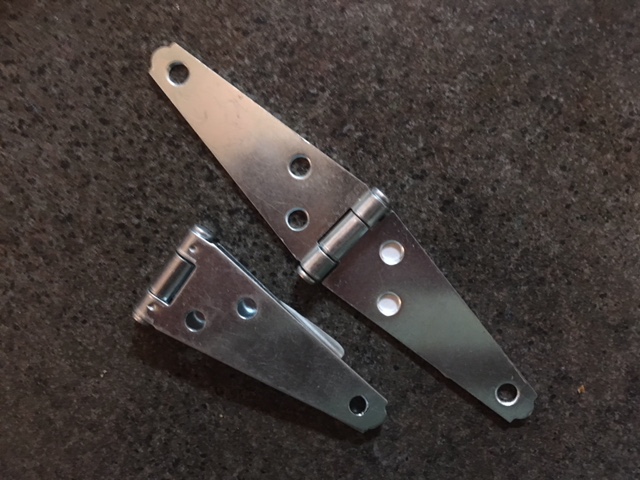
I chose these hinges because they are long and skinny rather than wide and short like the hinges on a cupboard.
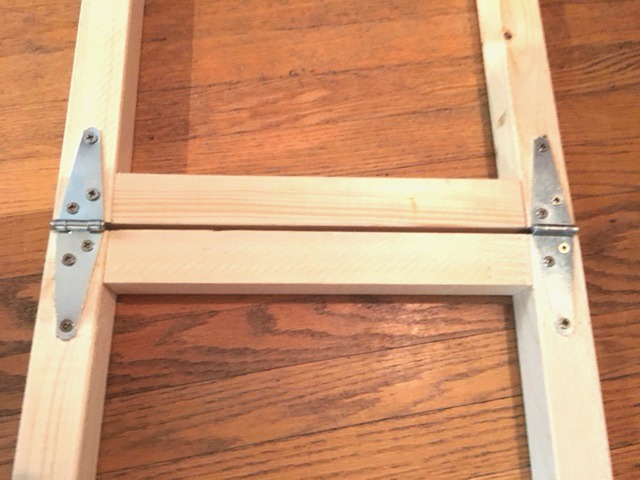
Lay the ladders head to head on a very flat surface. Set the hinges on top and screw them into the wood.
Now I could set it up and make sure I was happy with it before going to the finishing steps.
Yup, I’m Very Happy!!!! 🙂
Stain and Protect the Wood
Almost done! Next we stain the wood. I used Miniwax “Jacobean” for a dark wood finish. I love this stain!
Wearing gloves, dip your rag into the stain.
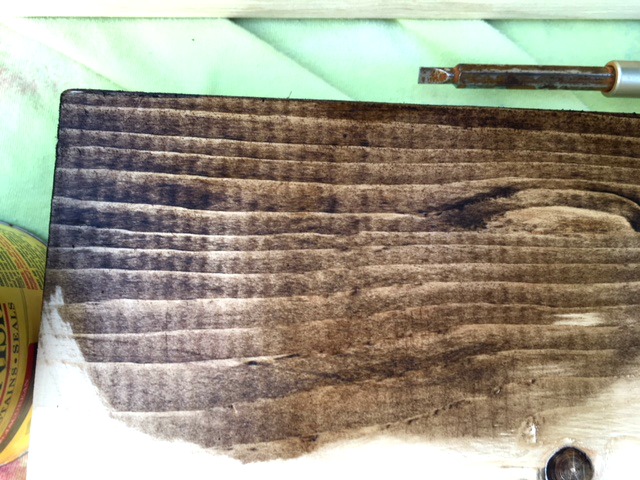
Rub the stain onto the wood. Now is when you will wish that you did this step earlier before the ladder was put together. There is lots of corners to do if its already put together so it adds time and work. Look at it from every angle so you don’t miss any sides.
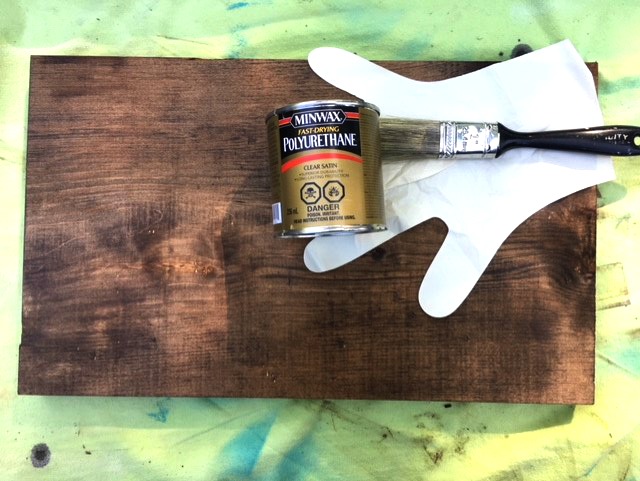
The final step is to put a clear coat. Since water could be spilling on the boards putting a clear coat of polyurethane is recommended. If you plan to put the shelf outdoors for a few months of the year you may want to put on a few coats.
I stained and allowed it to dry overnight. The next day I put on the clear coat and allow to dry over night.
It’s hard to be patient for the drying time when the rest came together so super fast!
Now the happy moment has arrived to bring it inside and add the plants.
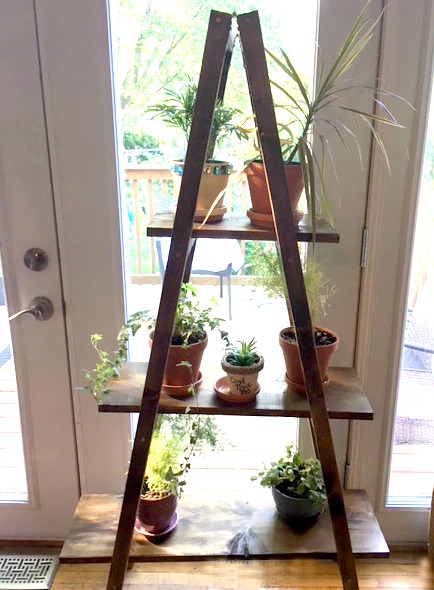
TA DA! Having all my plants together is going to make it so much easier to remember to water them all!
This project is so simple and easy to make and inexpensive. If you have a toddler at home you may want to keep an eye on them around a project like this. The shelves are just resting on the ladder rungs. To make it more secure you could put an L shaped bracket under each shelf. Its a ladder shape but no climbing on it kids!
Don’t Forget to Pin or Share this Post!
Previous Posts You Might Be Interest In…..
Plant Puns on Painted Potted Flower Pots – Adorable Gift Idea to Make Them Smile!