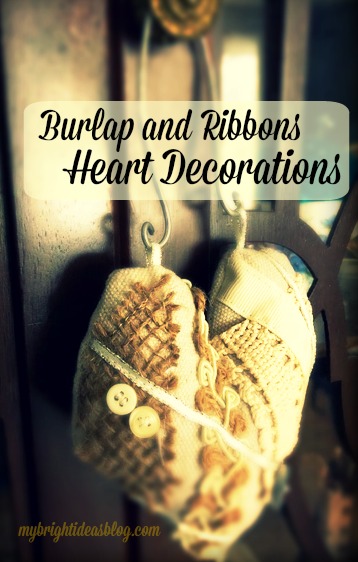
Love is in the air this week! There is a family wedding soon so its time for a beautiful, rustic, heart shaped craft with ribbons and lace!
This pretty little decoration uses up scraps of fabric and trims you already have.
You will need:
- scraps of fabric (I used a piece of drop cloth-it looks like linen)
- paper and pencil
- burlap
- ribbon
- lace
- pretty little buttons
- stuffing
- sewing machine
- scissors and pins
- wire and pliers to hang it up (use string or ribbon if you don’t have wire)
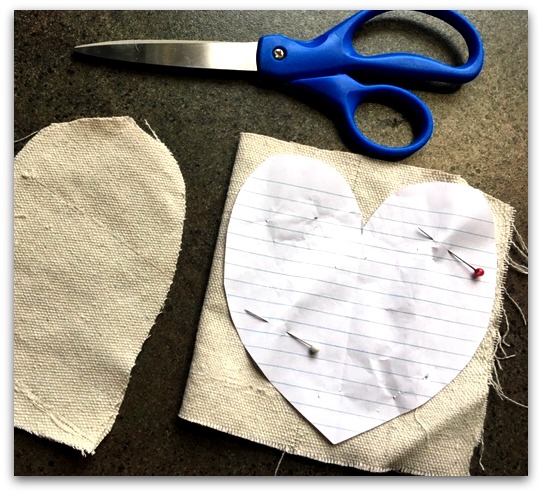
Use a piece of paper to decide what size of heart you would like. Cut the paper into a square. Fold it in half and draw a half heart. Open the page and pin it to your fabric.
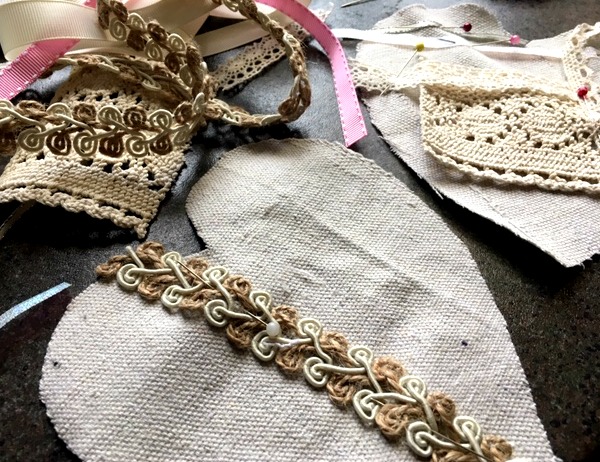
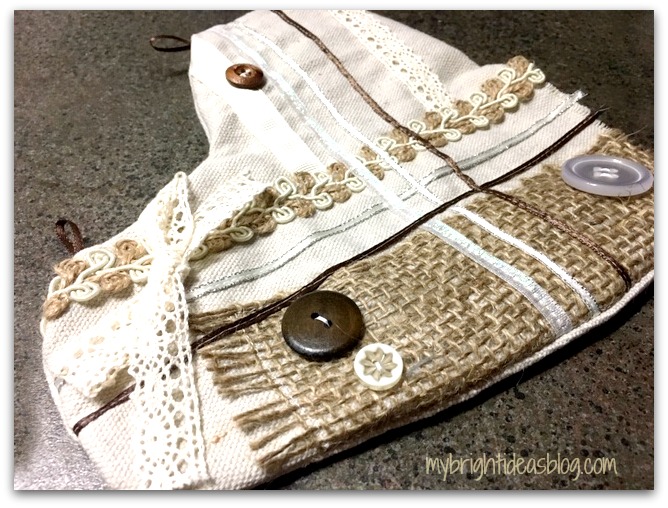
Lay out the ribbons and trims on your heart shaped fabric. My beige fabric looks like linen but its a scrap of a drop cloth from tote bags I have made in the past.
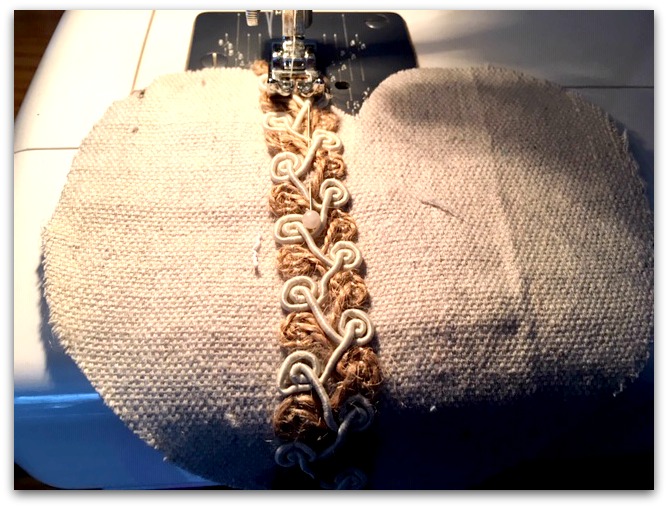
Using a sewing machine, sew each piece of trim, lace or ribbon into place.
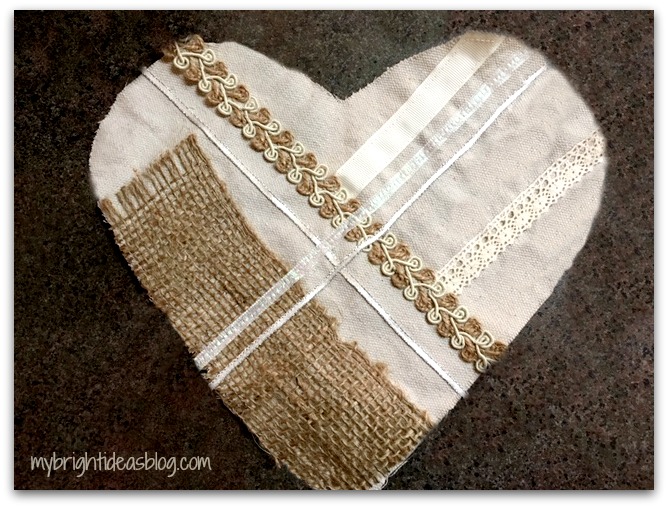
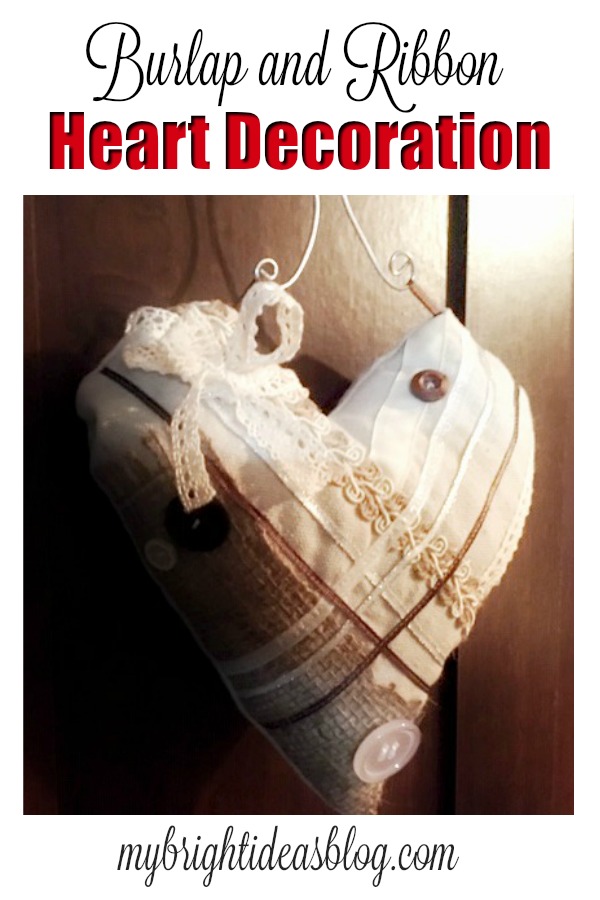
The trims look really nice crisscrossing each other. Try different random pieces. Burlap adds rustic texture to the project.
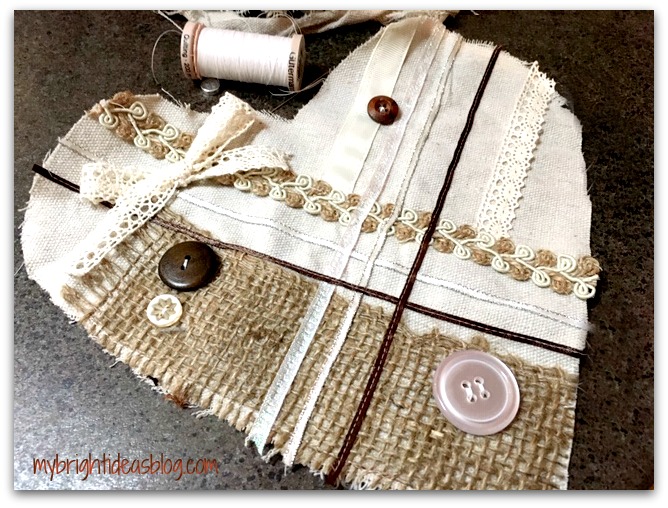
Add buttons and bows to the project. Remember not to place them too close to the edge because you need to sew around the edges.

Add 2 tiny loops of ribbon to the top edge and sew a few stiches to keep them in place.
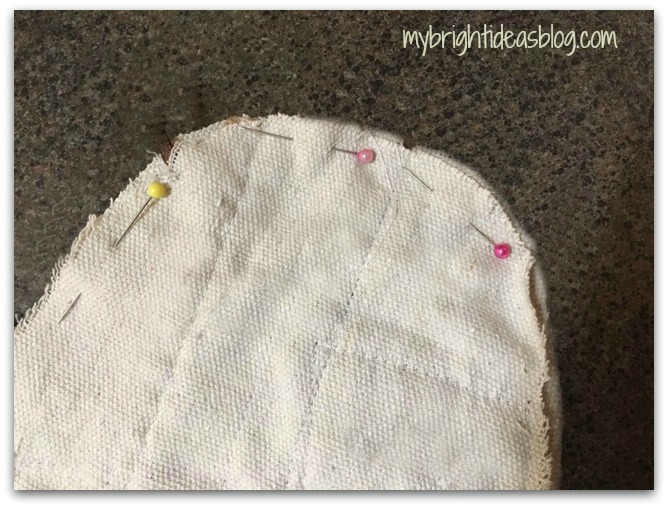
Pin the two heart shaped pieces of fabric together with right sides facing inwards. Sew around the edge leaving a 1 1/2 inch gap opening so you can later turn it inside out.
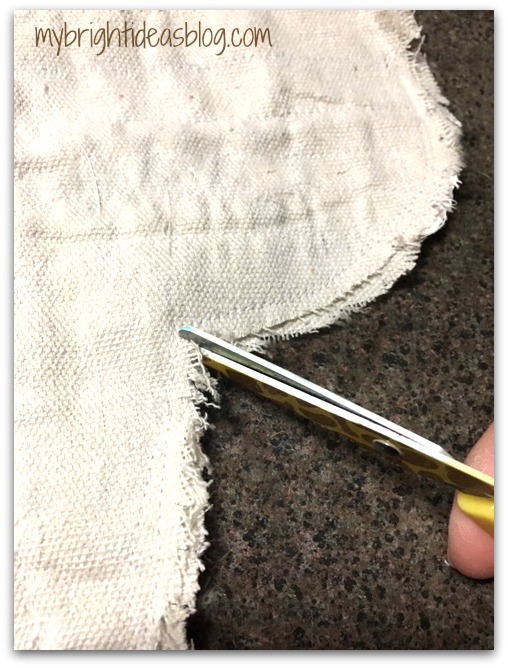
At the top of the heart snip a tiny cut and a few snips around the rounded parts of the top of the heart. Do not cut through the stitched areas.

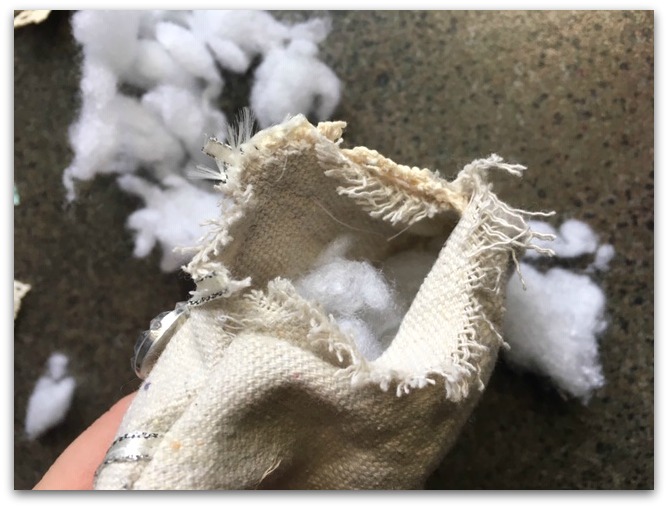
Open the gap and pull the fabric through the hole to turn it inside out.
Add stuffing.
Fold over the edges at the opening, pin in place and hand sew the opening closed.
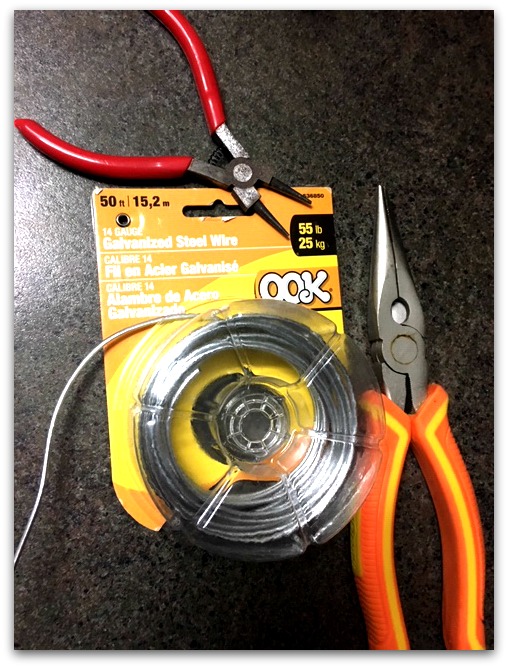
I love wire crafts so I had lots of left overs! For this project I used 14 gauge wire from the hardware store. Use big pliers to cut the wire approx. 8 inches long. Fold the wire in half. (if you don’t want to use wire just use ribbon or twine to hang it)
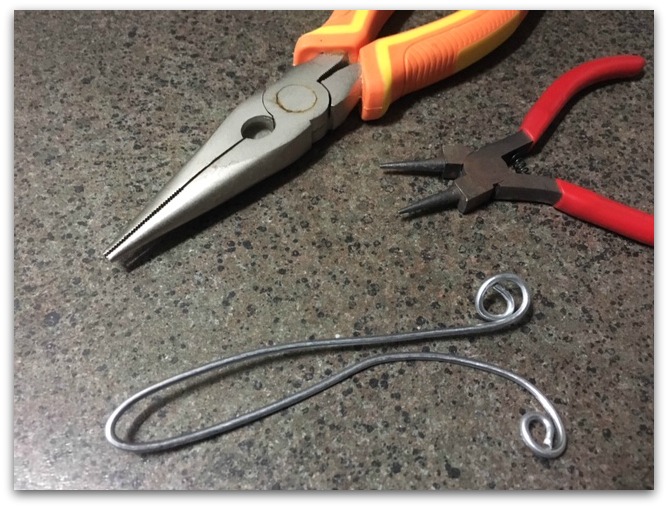
Using round plyers twist the ends into a bit of a spiral.

Hook the ribbon loop around the curled ends of the wire.
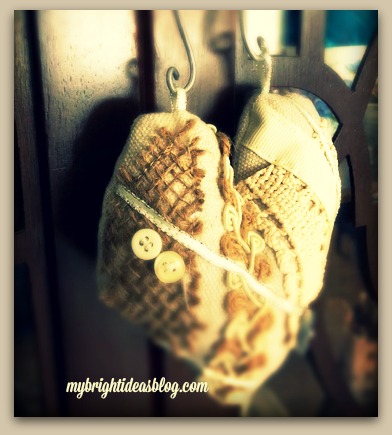
These turned out so pretty!

In the past year I’ve done a few heart shaped gifts and projects. Have a look below!
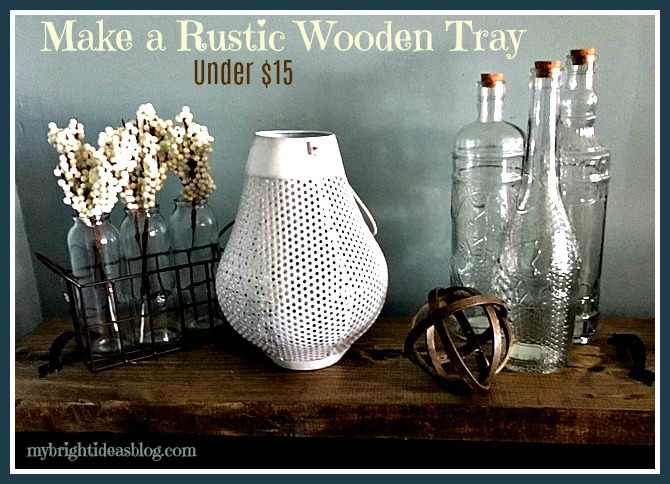
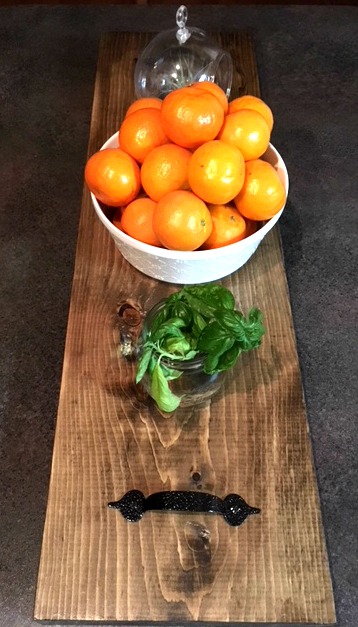
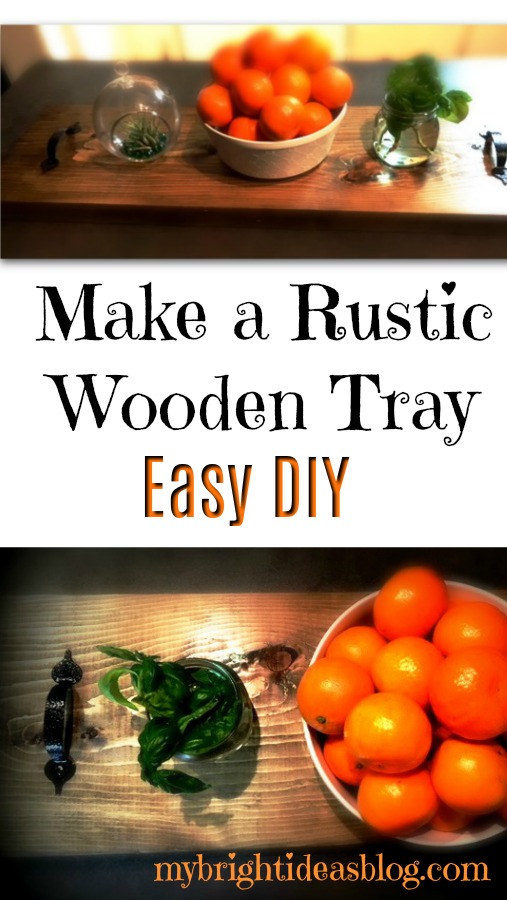
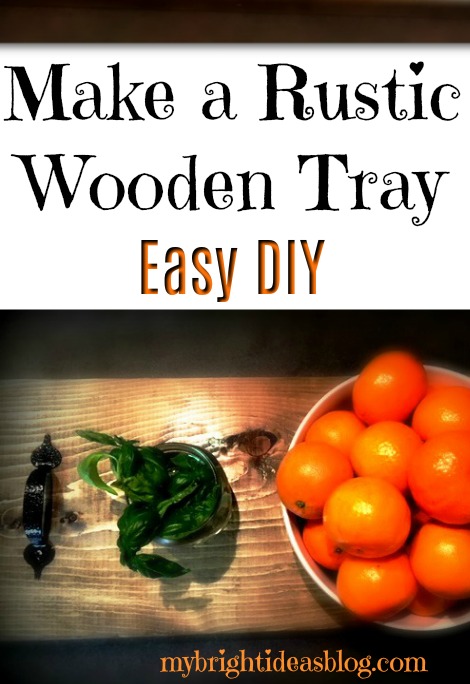
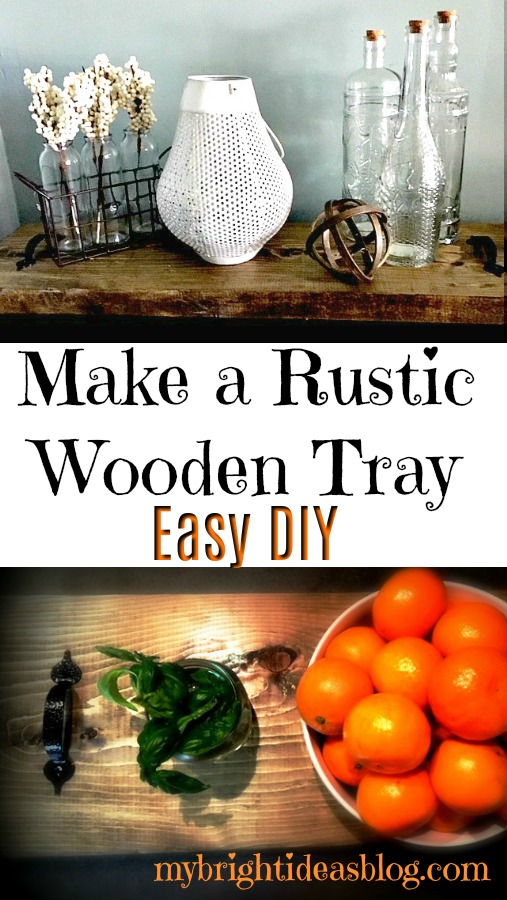
Make a Dark Stained Rustic Wood Tray – Easy DIY!
Shortly after making this rustic wood tray I had it placed out on the table with my bowl of clementines and we had company over. My friend Tina’s eyes lit up and said that looks like a Charcuterie Board! I had no idea what she was talking about.
Apparently, these boards are French named partly because harcuterie is the French word for smoked, dry-cured or cooked meats. So during a cocktail party or anytime your entertaining you put out a sampler of all sorts of meats on a wooden board. Cheese and crusty bread or crackers, dips and olives could also be intermingled on your board.
They can be the size of a large wooden cutting board.

reluctantentertainer.com
Or as big as the table top!
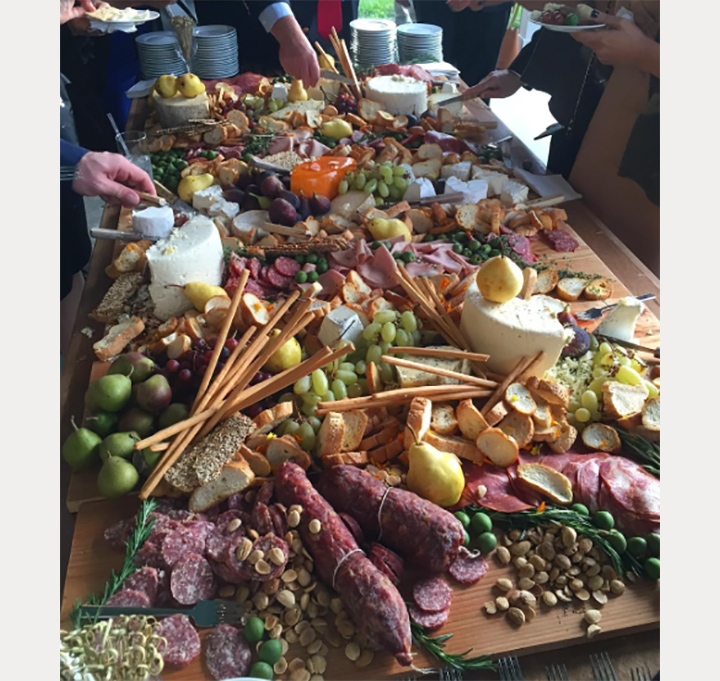
moncheribridals.com
The above photo is wedding spread!
Now this is not a blog about entertaining and making beautiful food. I’m a crafter and DIY-er so I’m going to be telling you about how I made my ridiculously easy to make serving tray.
You will need:
- 1 board 2x10x8 (this is long enough to make 3!)
- 2 handles ($3 each)
- sand paper
- stain
- rag
- clear varnish or polyurethane
- paint brush
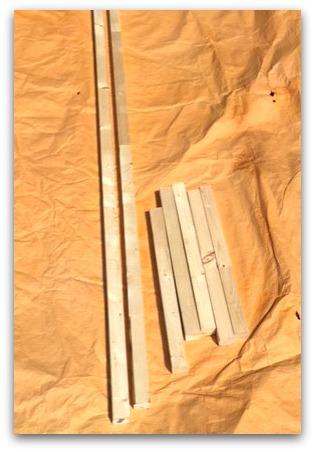
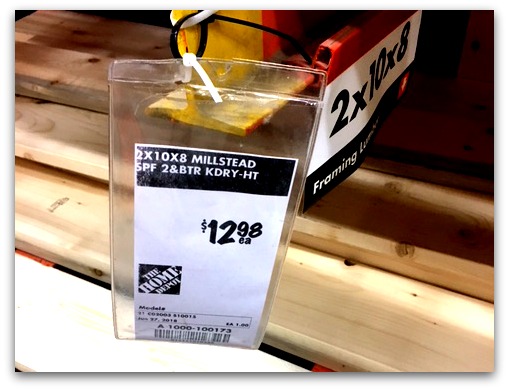 The board above is 2x10x8 cut into three pieces-so you can 2 away as gifts-That makes the lumber approximately $4.50 per tray!!!! That is amazing. When you look at these in the stores and online they can cost $50 to 100.
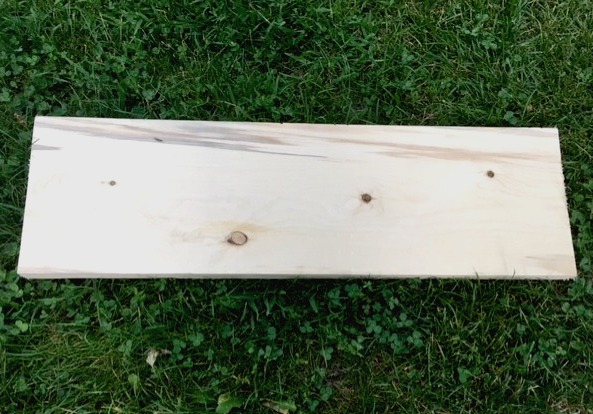
Cut the board into the lengths you prefer. The one I show in the photo was 31 inches long, the second one I made was 30 and the last one was 35 inches. I would recommend that you measure the side table you are going to put this on. Are you planning to make this to be a centre piece in the middle of the dining room table? Then 35 inches is great! But, if its a dresser that is 30 inches wide you don’t want to make it wider than 30 inches.
If you prefer your wood smooth, then you could sand it. If you like it very rustic then you could bang it up a bit with some random tools. I skip the sanding step usually unless there are frayed slivers on the ends of the boards.
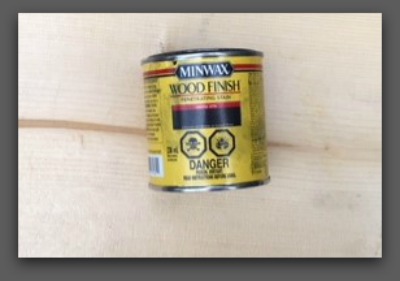
With your stain and rag apply the color to your wood.
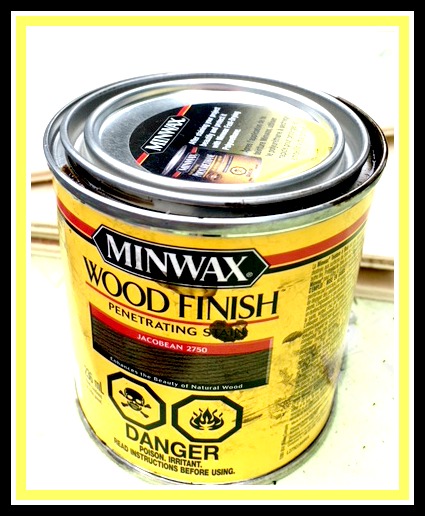
I used my favourite Miniwax color Jacobean 2750. I made the other pieces of board other colors (grey and ebony) but my favorite is always Jacobean.
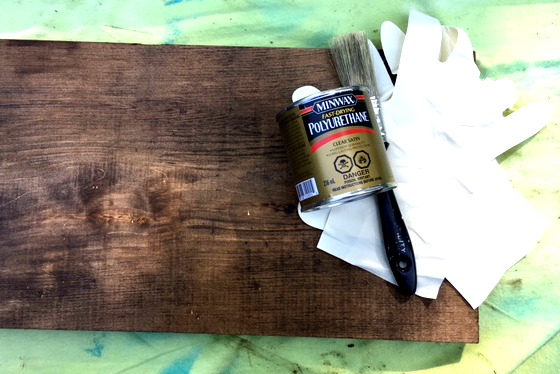
Since I don’t plan to put any food directly on my tray I used my usual clear coat over the wood to protect from wear and tear. This means I could even leave it outside in a rain storm and it would be fine.
If you do want to place food right on top of the tray there are many food safe options. They are not as durable (don’t leave it outside in a rain storm). Food safe options: Pure tung oil, raw linseed oil, mineral oil, walnut oil, beeswax, carnauba wax, shellac. One website suggested a mixture of mineral oil and beeswax. Here is the recipe…. https://www.finewoodworking.com/2006/08/01/food-safe-finishes
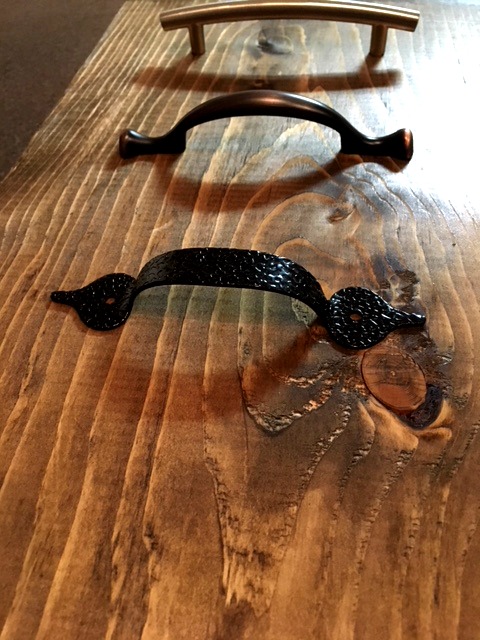
I picked up 3 of the cheapest handles the hardware store had. Each is $3-5 dollars making the cost of the project $11-15 each-assuming you already have the stain and varnish in your DIY stash of essentials. If you find some handles in the craft or specialty shops or even vintage handles by all means use them. They will be on top of the tray so it could be quite the conversation piece.
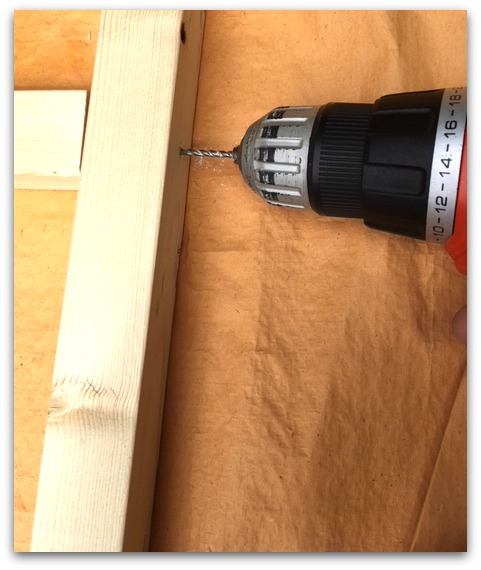
I chose this one because it screws in from the top. This is actually a good point. If you put on handles with screws that go in on the bottom you may need to counter sink the screw so they don’t scratch your table top. Or you could put 2 slim pieces of wood under the wood to lift it.
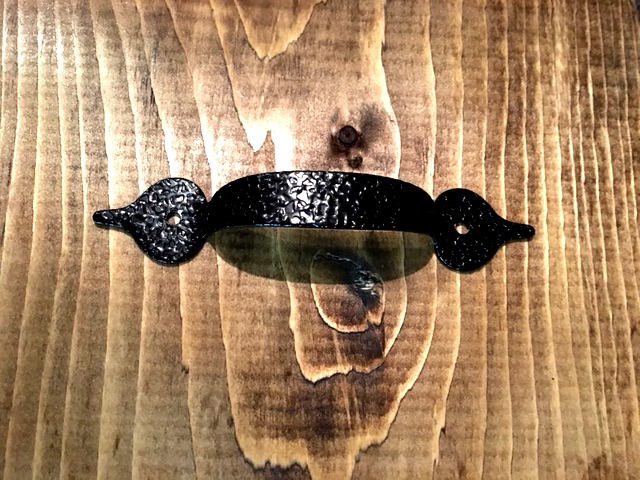
If like me, you chose handles that screw in from the top this isn’t a problem. Put the handles on the board and see where you would like them to be permanently. I put mine 3 inches from the ends (this board is 30 inches long).
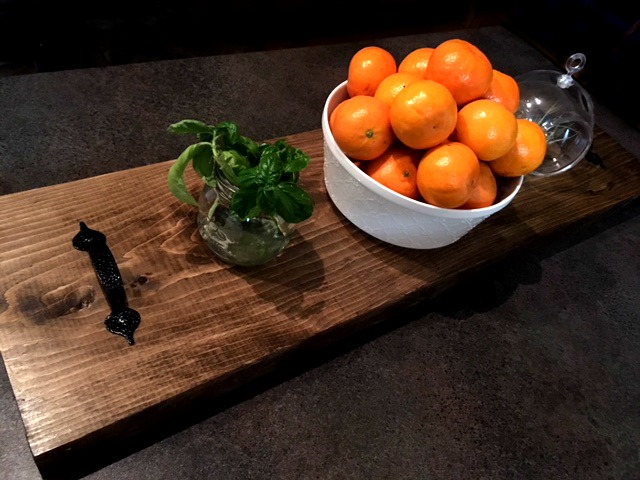
Voila it was that easy…its a simple board with handles.
This would look great on a side table with a few nicknacks between uses. If you do want to use this to lay out meat and cheese, olives and antipasto you could put down paper doilies, little bowls and plates or wrap the board with cling wrap. I would do this even if you use a food safe finish for faster clean up.
If you find this too long or the wood too thick cut the boards shorter to suit you and your space.
This goes to show that if you see something so awesomely simple, see if you can make it yourself for a fraction of the price.
I hope you give it a try!
…..
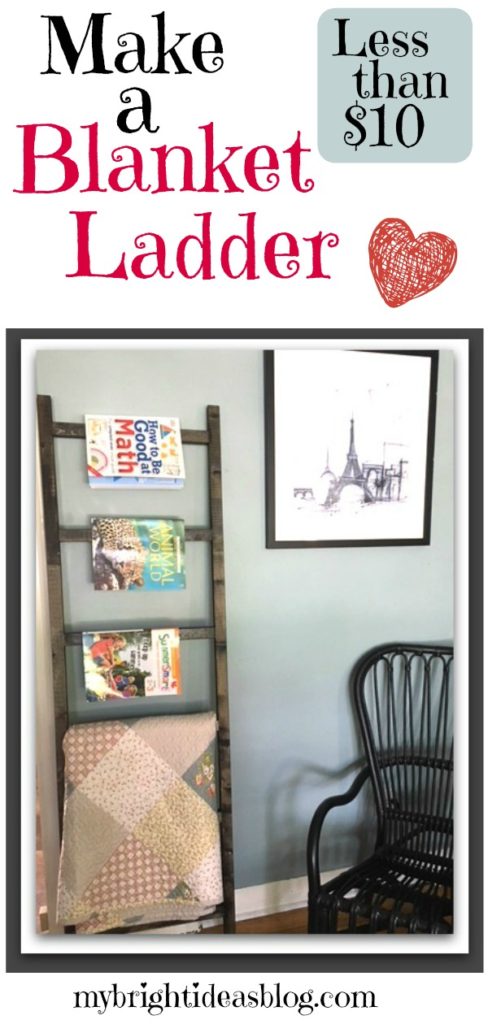
How to Build a Blanket Ladder – Easy Project!
Blanket Ladder DIY
This project is one of the cheapest projects you could make. If you have the stain, varnish and screws left over from a previous project the great news is the lumber should be less than $10.
You will need:
- Lumber 3 – 8 foot 2×2 (3 x $2.50 each = $7.50)
- Power Drill, drill bit and screw driver bit
- Pencil
- Stain
- Sand paper
- Clear Coat Varnish
- 10 – 2 1/2 Wood Screws
 Cut 2 pieces to 6 feet long. Cut 5 pieces to 18 inches long. (This is the size I made)
OR
Cut 2 pieces to 5 feet long. Cut 4 pieces to 18 inches long. (Good if you have a small room)
![]()
Do you see that blue sky? 30 mins later the sky had dark clouds and I was hustling everything back into my garage to avoid a major thunderstorm.
![]() Lay out the wood and decide on your set up. I chose to put the first ladder rung 3 inches from the top. Then each one is set to be 12 inches below the next one. This left about 6 inches from the bottom of the ladder.
Lay out the wood and decide on your set up. I chose to put the first ladder rung 3 inches from the top. Then each one is set to be 12 inches below the next one. This left about 6 inches from the bottom of the ladder.
 I predrilled the holes to help the wood not split. That would ruin the wood-trust me I’m famous for doing this and having to head back to the store for a fresh piece of wood. Doh!
![]() I started to drill each screw into the wood to make the next step of adding the rungs easier.
I started to drill each screw into the wood to make the next step of adding the rungs easier.
![]() Use a square to ensure the rungs go on straight.
Use a square to ensure the rungs go on straight.
![]()
Do you want to have it super smooth finish or rough and distressed…decisions decisions…?
Smooth…then its time to go over it with sand paper or a hand sander.
Distressed…last chance to scratch it up a bit. Rub it with the side of a screw or key. You can even wack it with hammer.
![]() Even if you like it distressed you can almost skip all the sanding but do tidy up the ends with a quick rub using sand paper.
Even if you like it distressed you can almost skip all the sanding but do tidy up the ends with a quick rub using sand paper.
Now for the STINKY wood stain!
Next step is staining it. Choose a stain that will go with your décor. I really like a dark walnut finish but this blanket ladder is going into a room with a lot of black. So I used an ebony stain by Miniwax. If you are indoors open a window. If you can do it outdoors that is even better.
![]()
Watch the seams for areas where you have missed stained the first time. I used a craft paint brush to touch up the gaps and unintentional light patches.
After allowing it to dry, put a thin coat of clear protector over top. Keep in mind, clear coats come in a mat finish or glossy. I prefer glossy for the sake of smoother dusting my wood furniture but the mat finish looks really nice too. I chose to use a SPRAY clear coat.
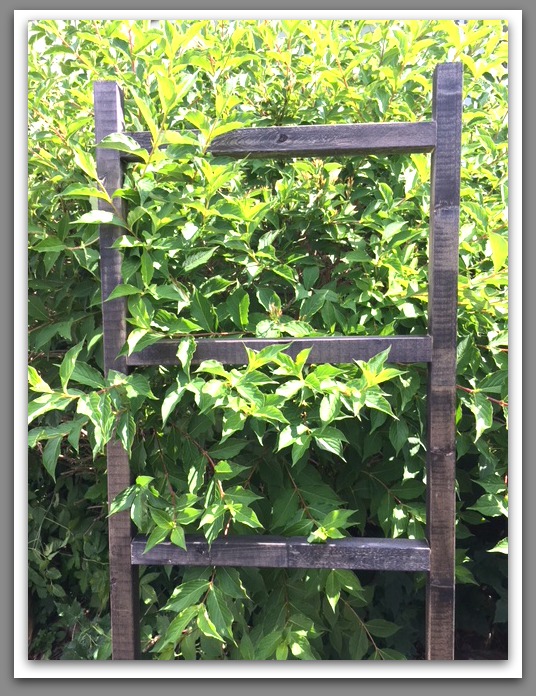
This looks so nice next to the greenery. Maybe I should use it as a trellis instead!
![]()
![]()
This could double as a magazine rack too. I didn’t have any magazines around so I used the kids summer school work books. Tee hee…. :o)

This is such an easy project! Are you teaching your teenager some DIY skills?
What if a teenager used this ladder to set out their school clothes for the week…
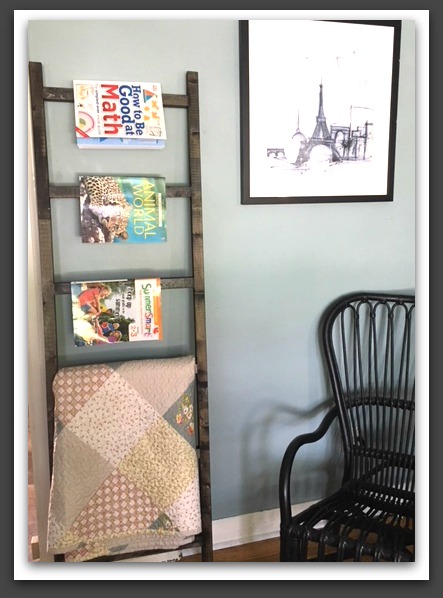
Add a blanket and what a nice housewarming gift this would make!
Crafts Using Burlap and Buttons – Easy Project that Looks Great!