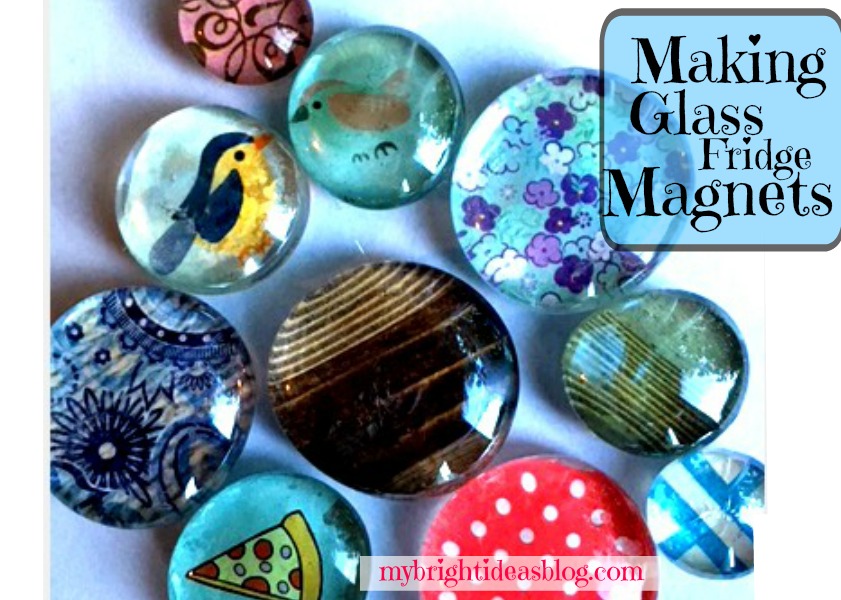
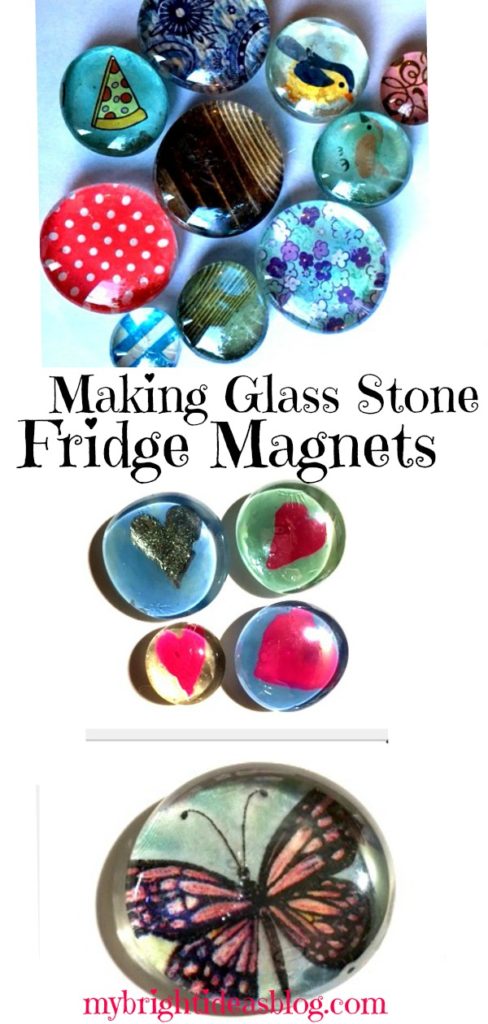
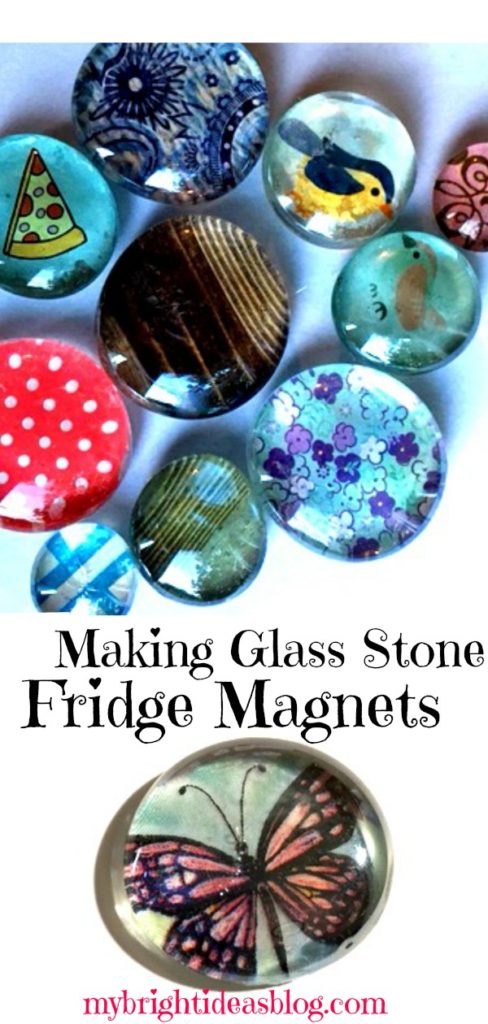
Make Glass Stone Gems into Gorgeous Magnets
This craft is so crazy easy I can’t believe I didn’t make it sooner! Glass gems have a wonderful magnifying effect if you paint or glue a picture to the back of it. Then add a magnet to the back of it and you have a really cool fridge magnet gift or item to sell!
As I mentioned a week or two ago…the craft table at my work office is pretty empty so this is another project the kids and I have been working on to sell.
We will look at 2 ways to make a big impact with Glass Gem Fridge Magnets
Nail Polish Technique
 You will need:
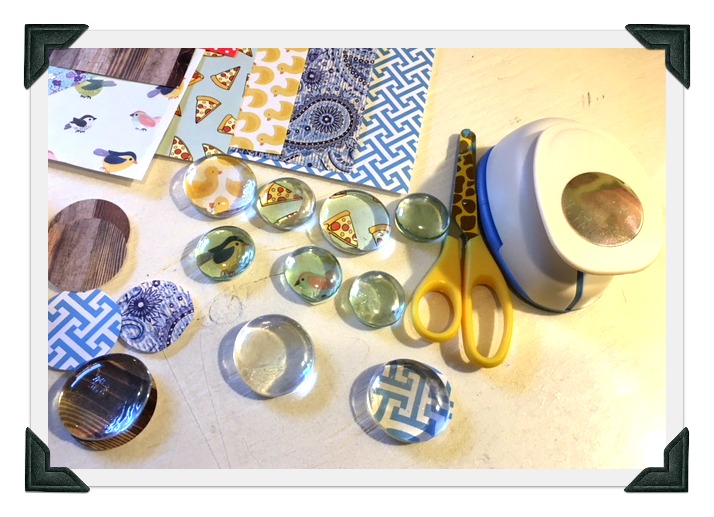
- Clear Glass Gems (flat on one side)
- Nail Polish
- Tooth Picks
- E6000 Glue or Hot Glue Gun
- Magnets
I have worked with 3 sizes (3/4 of an inch, 1 inch and 1 1/2 inches) of clear glass gems for this project. The small and medium sizes I purchased from the dollar tree. The largest size is from Michaels. Both stores also sell the magnets in various sizes also.
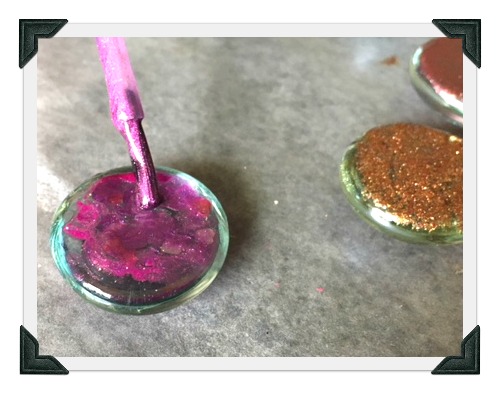
We really enjoyed using our sparkly nail polishes. Paint the bottom flat side of the stone with sparkle nail polish. If it seems sparkly but clear…allow to dry and put another solid cover over the sparkle layer.
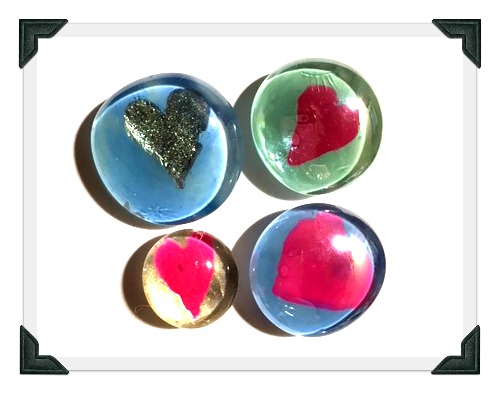
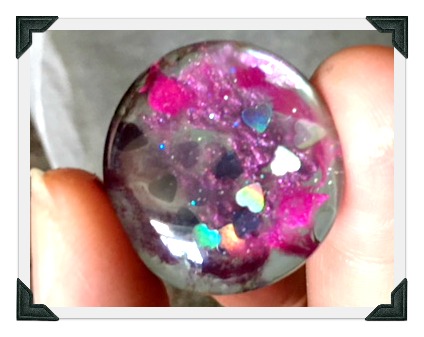 This is a pink love heart sparkle nail polish with clear and solid pink polish over top. When its dry it looks like its magnified.
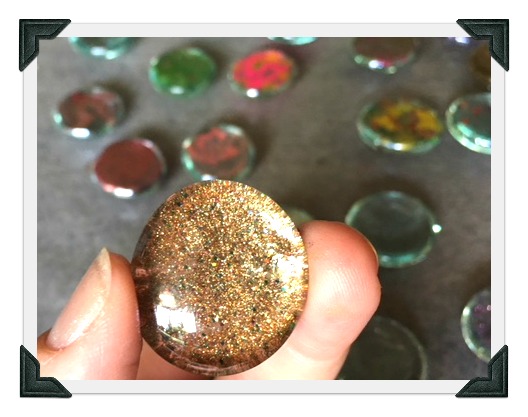
This glass gem has one thick coat of copper/gold nail polish. I love it! What a fabulous nail polish for these glass stone magnets!
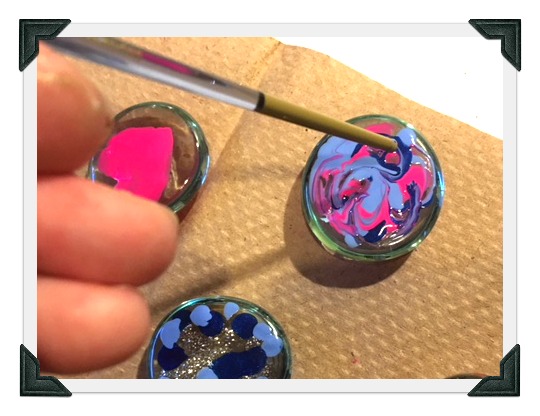
In the above photo you can see we put several dots on the glass stone and took a tooth pick (or end of a paint brush) and simply swirled the nail polish. The kids loved trying this!
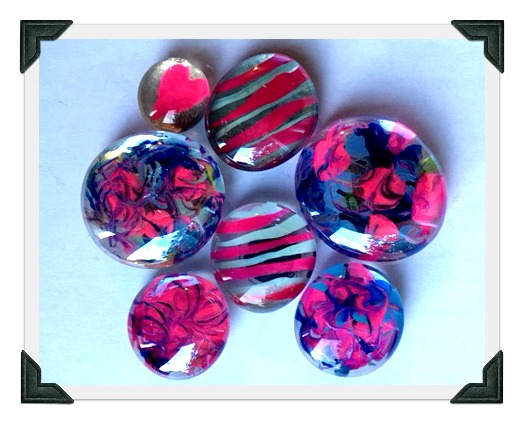
Swirls, stripes and love hearts…
To make the hearts, I took a pink bottle of nail polish and made a love heart on it. After it had fully dried I painted over it with silver sparkle, blue and turquoise for a really sweet gift magnet.
 Allow all nail polish to dry fully and then glue the magnet on the back of the glass stone. For my nail polish magnets I used the E6000 glue which is very durable and very smelly. If you choose to do the same, open the windows and allow ventilation. It’s very smelly stuff. It also is slower to dry so watch that the magnets don’t shift while drying. I found that I needed to space the magnets apart during this process. If placed too close together the magnets would pull towards each other and not dry in the middle of the glass stone. Do not touch for several hours or leave to dry overnight. Using a hot glue gun instead will fix the stinky and shifty problems. But watch your fingers. Neither glue option is great for the kids, so I would recommend the grown ups do the gluing.
Seriously though, open the window. Between the smells of all the nail polish bottles and the E6000 glue you are sure to have a headache and get grouchy. Not allowed! This project is too awesome to get grouchy!
Now lets move on to another lovely option….
Paper Technique
You will need:
- Patterned Paper or Napkins
- Scissors or hole punch
- Glue or Mod Podge
- Paint Brush or Sponge Brush
- E6000 or Hot Glue Gun
- Magnets
 The variety of designs of scrapbooking paper is perfect for this project. But you could also use colorful napkins, tissue paper, photos, something special you draw or you print off. You just need to cut it to size and glue it on.
If you have a hole punch the right size by all means use it for a perfect circle. If not just use scissors and cut it slightly smaller than the stone.
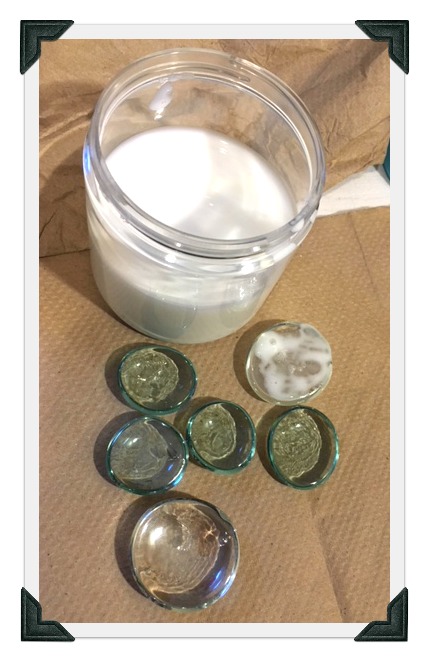 Brush mod podge or glue on the flat side of the glass stone. Add the paper circle with design facing down. When you are finished and flip it over it will show the beautiful paper through the glass.
Press the paper down. Brush on another coat of glue.
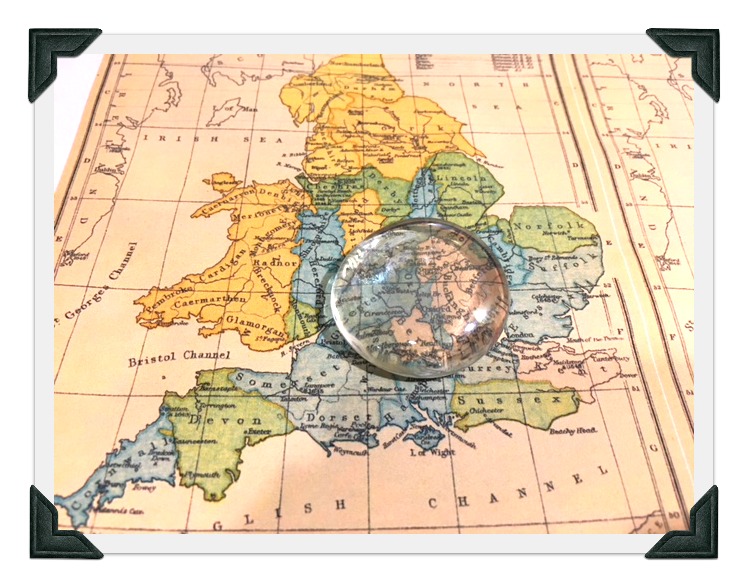 One of my favorite things was using a map. What a fantastic souvenir of a trip! Use the maps and train tickets or even concert tickets for your fridge magnets.
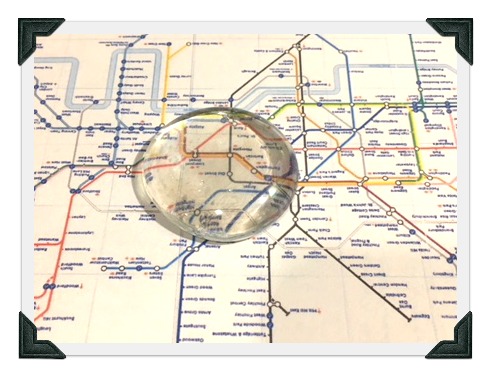
This is a map of the London underground. I wonder if it’s upside down in this picture. LOL!

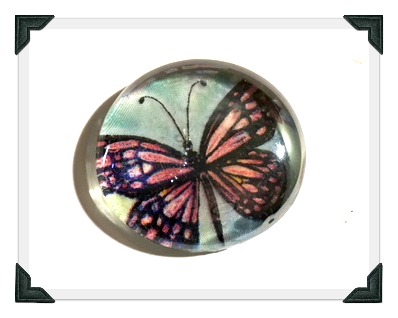
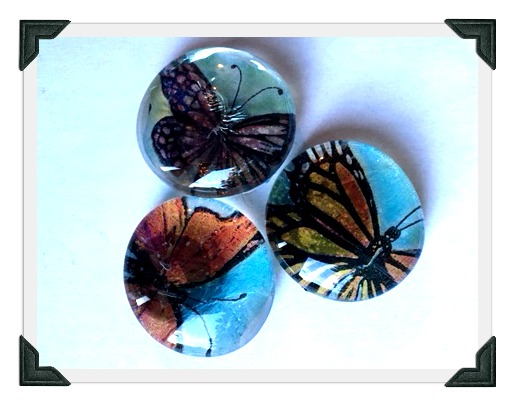
Dinner napkins come in beautiful patterns and I’ve just discovered you can glue/mod podge them to decorate all sorts of crafty projects. Hip hip hurray! Check out the butterfly magnets I made from napkins.
I cut down the napkin to size and removed all the layers of paper except the top one. This is like gluing tissue paper so handle with care.
 I recommend putting a layer of glue on the stone gem and add the tissue or napkin on top. Then after it is fairly dry, I would put another coat of glue on top of the paper to seal it from this side. If you put it on too soon it could shift or tear the tissue.
 When it is all dry glue the magnet to the back. As you can see from the butterfly on the bottom left of this photo-the magnet may show through the finished design. This is because the tissue was so thin it made it a bit transparent. I could have prevented this by putting a bit of paper on the back or even adding a coat of opaque paint or nail polish.
This project is a bit addictive! So its a good thing we are taking them to the craft table at work and sharing their beauty with others. To display these for sale we are using an inexpensive cookie sheet.
As we have invitations to parties and BBQ’s this summer this is a great hostess gift for the kids to show their gratitude.
Check out this previous blog post where I also used the nail polish gems with wire for a suncatcher for the garden.
…
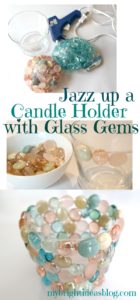
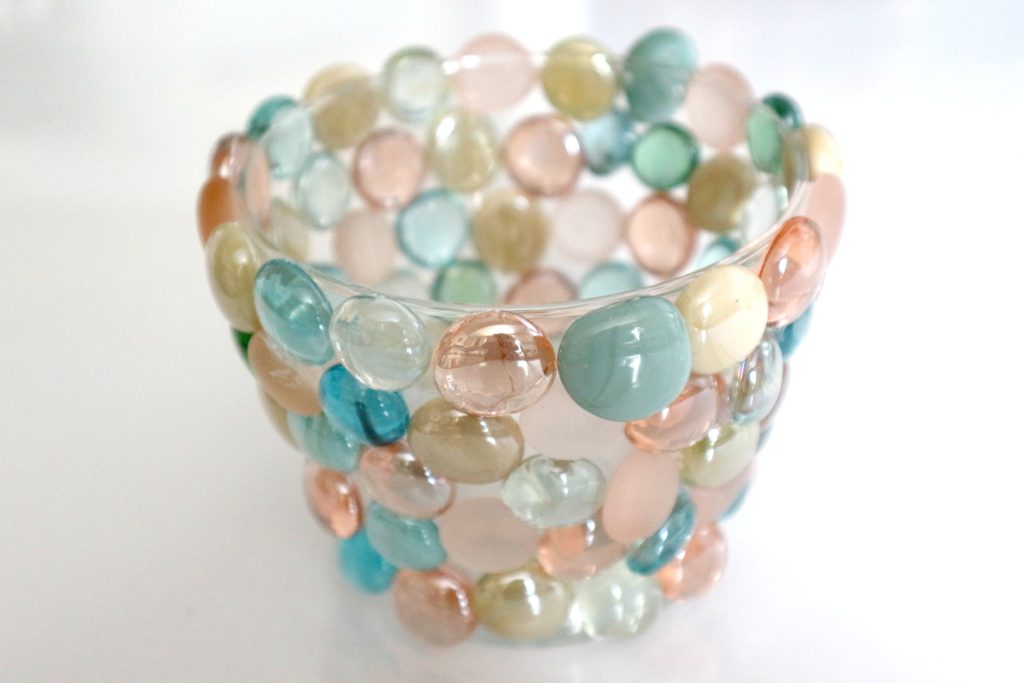
Jazz up a Vase or Candle Holder with Glass Gems and Hot Glue!
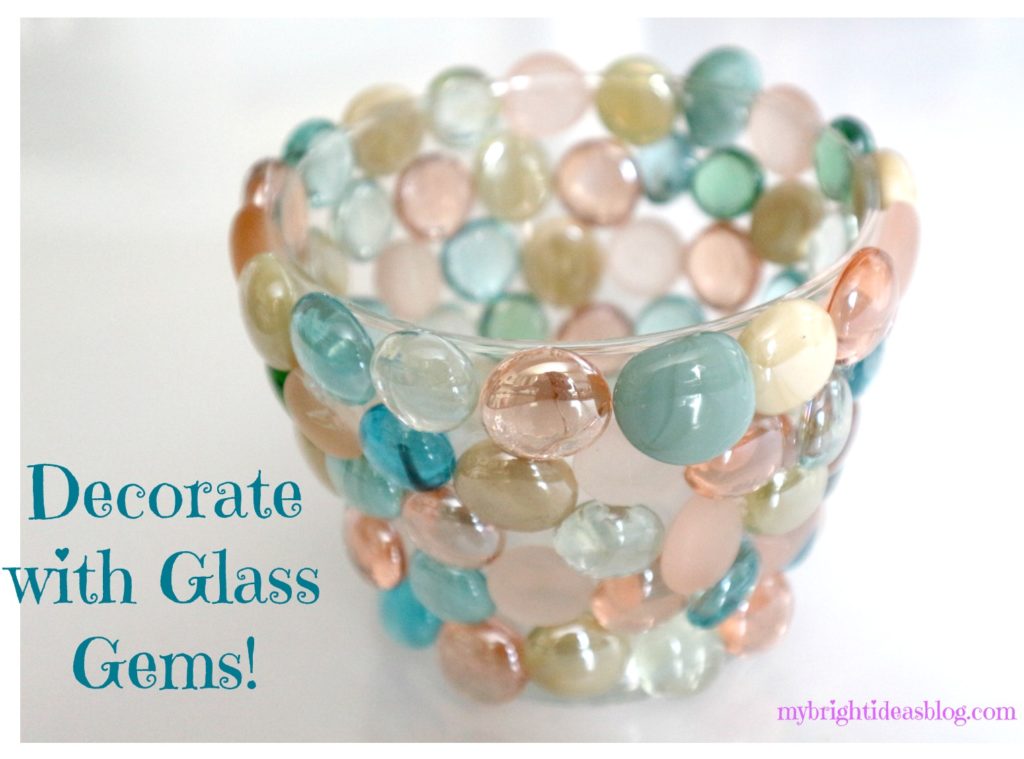
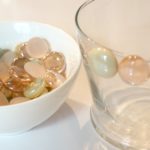
When I saw this bag of glass gems at Michael’s craft store I had to get it even though I didn’t know what project to use it for yet. The beads had pearl and pink and turquoise….so pretty!
The vase is small either for short cut flowers or its a candle holder…I’m not sure. One bag of gems was enough to cover this vase…candle holder…for simplicity lets call it a vase.
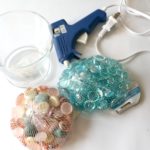
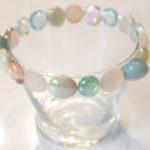
It doesn’t really require instructions its so easy. Alternate the gems for variety. Try to save some smaller ones so you can fit them into the small spots. I found the ones on the bottom wanted to pop off because the edge is a little rounded. So another glue might be better for a curvy vase. Or just put it in a place that won’t tempt your children to touch it.
…