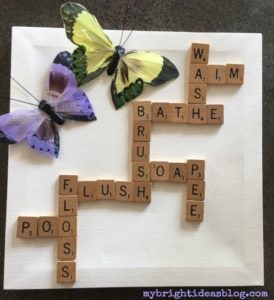
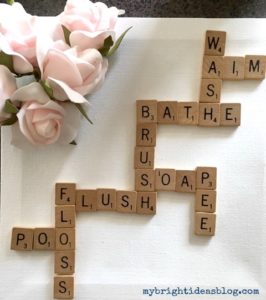
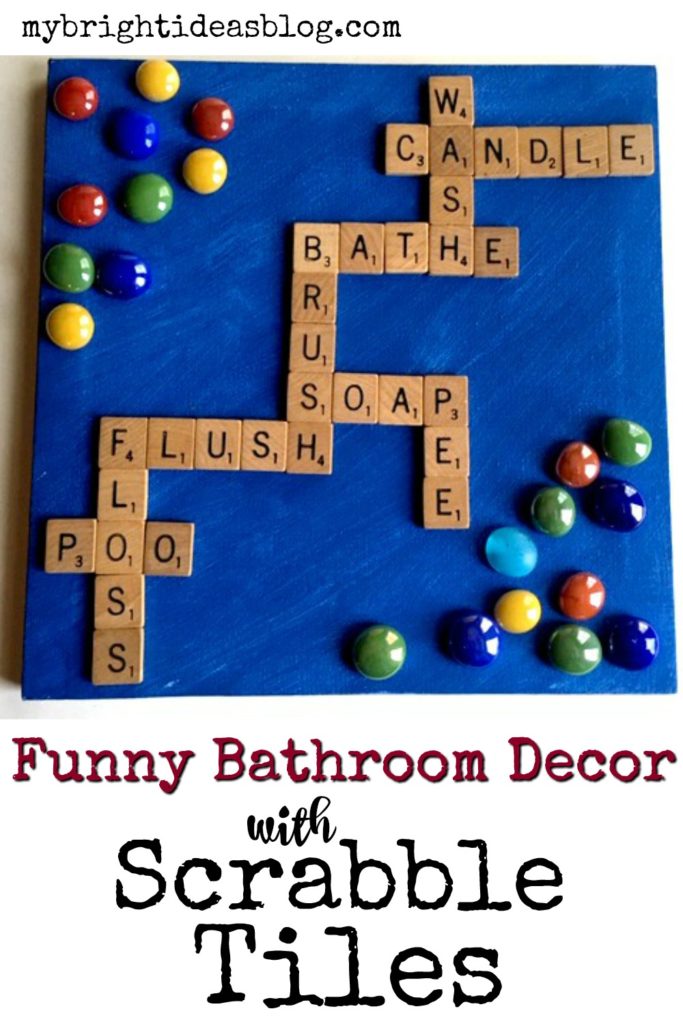
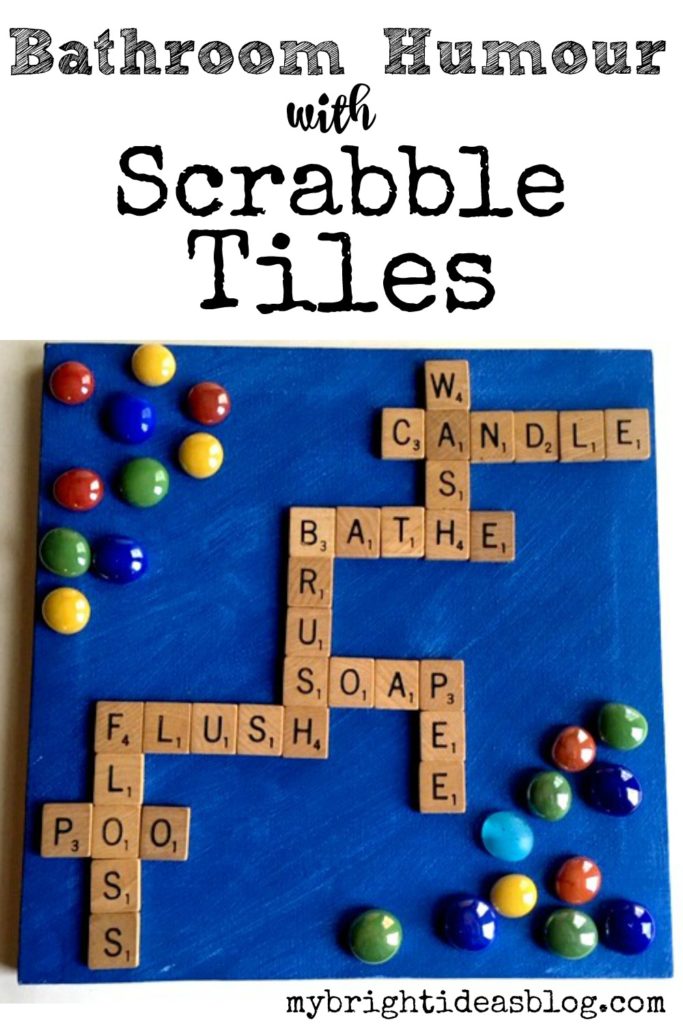
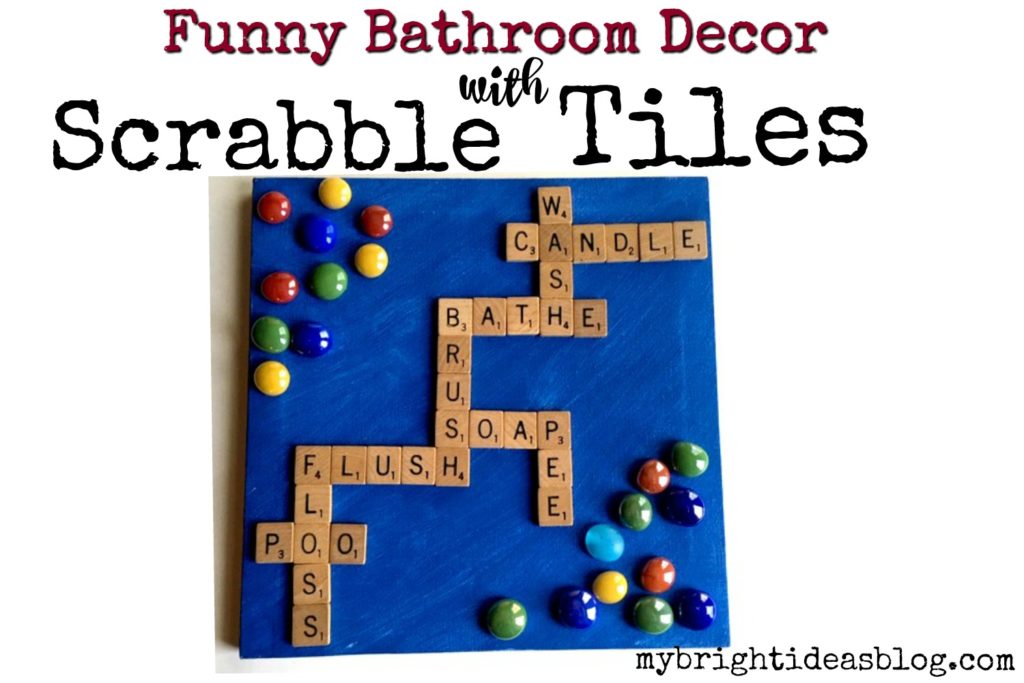
Here is a fun idea for using scrabble tiles to make a bathroom sign that will make your guests chuckle!
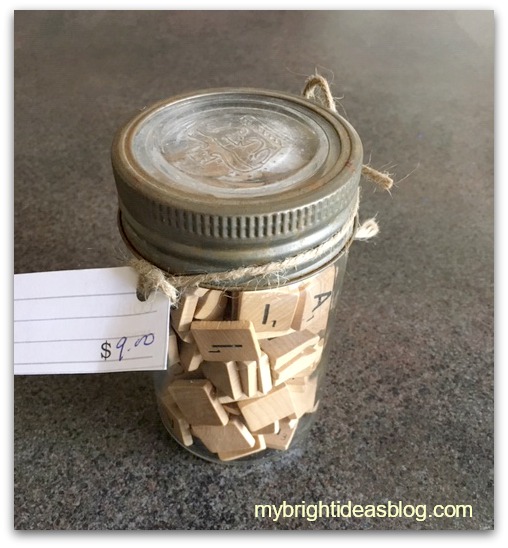
A while ago, I found this jar of scrabble tiles at an antique store. I could probably find scrabble tiles for a cheaper price in an old board game box at a thrift store but this cool old jar reminded me of my mom’s canned peaches…so I bought it.
For this craft you will need:
- scrabble tiles
- blank canvas
- craft paint and paint brush
- hot glue gun
- glass stones or other decorative items
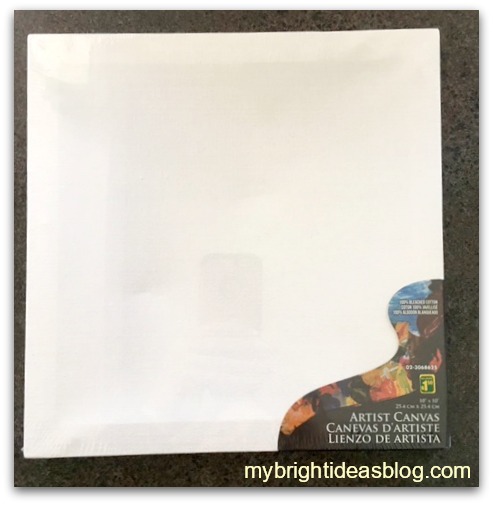
I used a 12×12 blank artist canvas from the dollar store. Nothing but the best! Tee hee.
It would be sensible to paint your canvas right away so that it’s got time to dry.
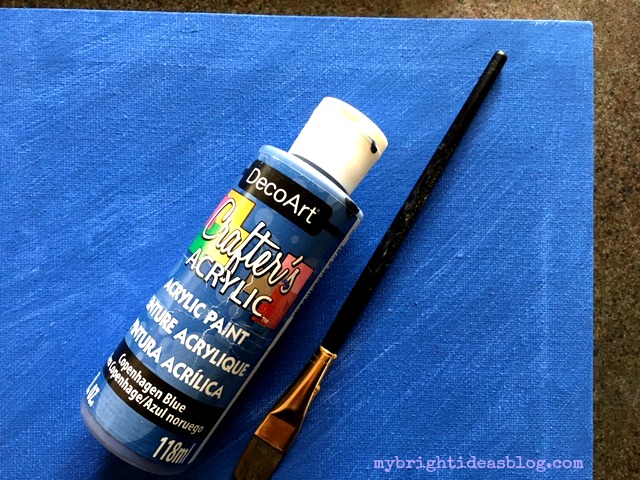
“Copenhagen Blue” craft paint, my brush, canvas, hot glue gun and glue are all dollar store supplies. I was really tempted to leave mine white so I didn’t paint it right away. But later I changed my mind. This meant that I needed to slide all the tiles off and paint it before I could glue it on.
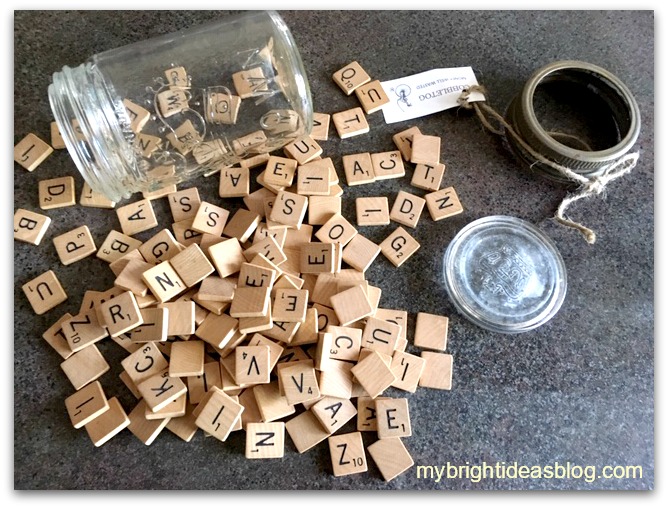
Now for the fun part!
Spread out your tiles and see what sort of bathroom words you can find.
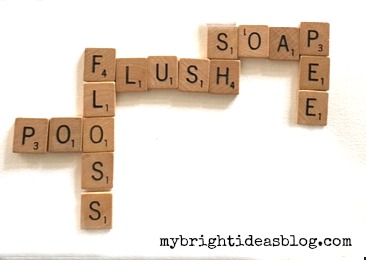
Pee, poo, aim and flush are my best toilet words. Shower, wash, bathe (or bath), soap, bubbles, shampoo, tub etc. for the bathtub words. Brush, floss, gargle, spit for the dental hygiene words.
After you have found the letters to your favorite words you need to make them line up with other words on your canvas or board. This can be a bit frustrating.
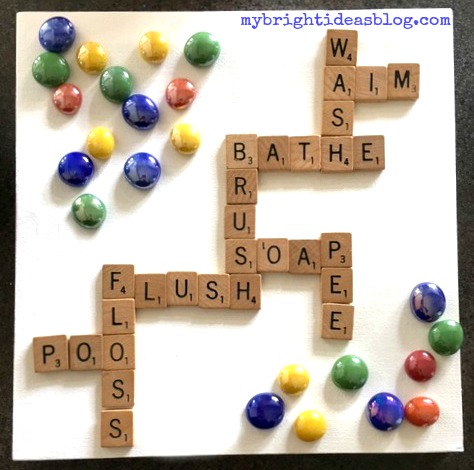
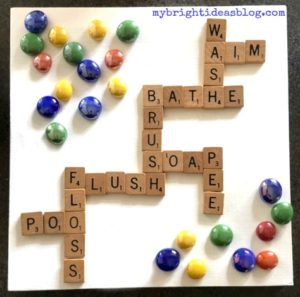
I tried some random craft supplies before I settled on the bright glass stones and blue paint.
Since I hadn’t painted it yet I needed to carefully remove the tiles and set them aside while I painted my canvas blue. It dries very quickly.
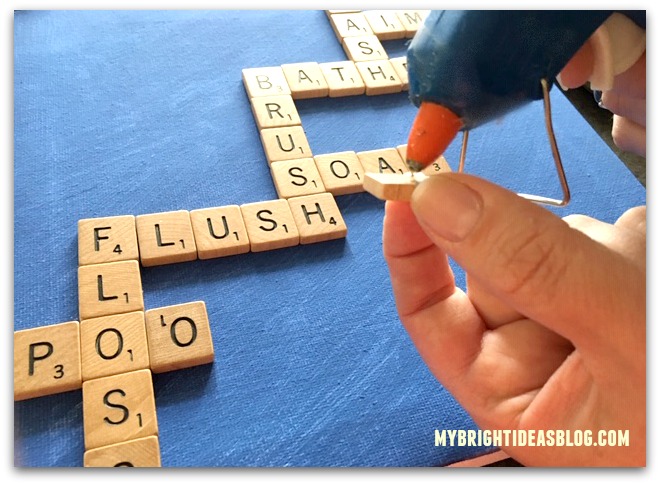
Then I recreated the words in the right order and using a hot glue gun, glue each peice into place.
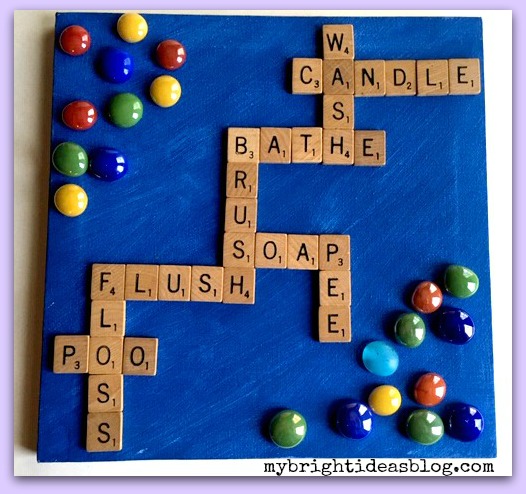
And there you have the final product! I thought the blue represented water and the glass stones were bubbles.
…
Make a Twig Vase – Super Easy DIY!
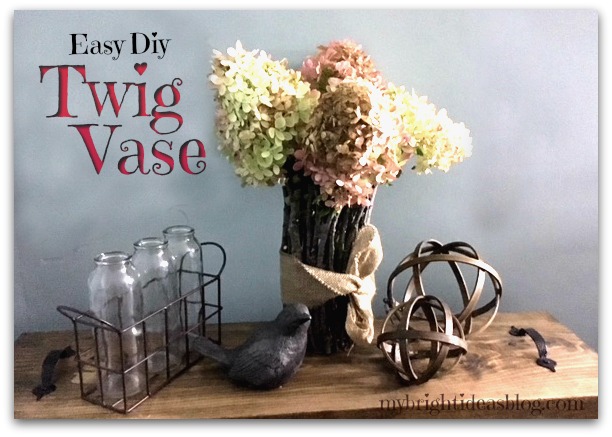
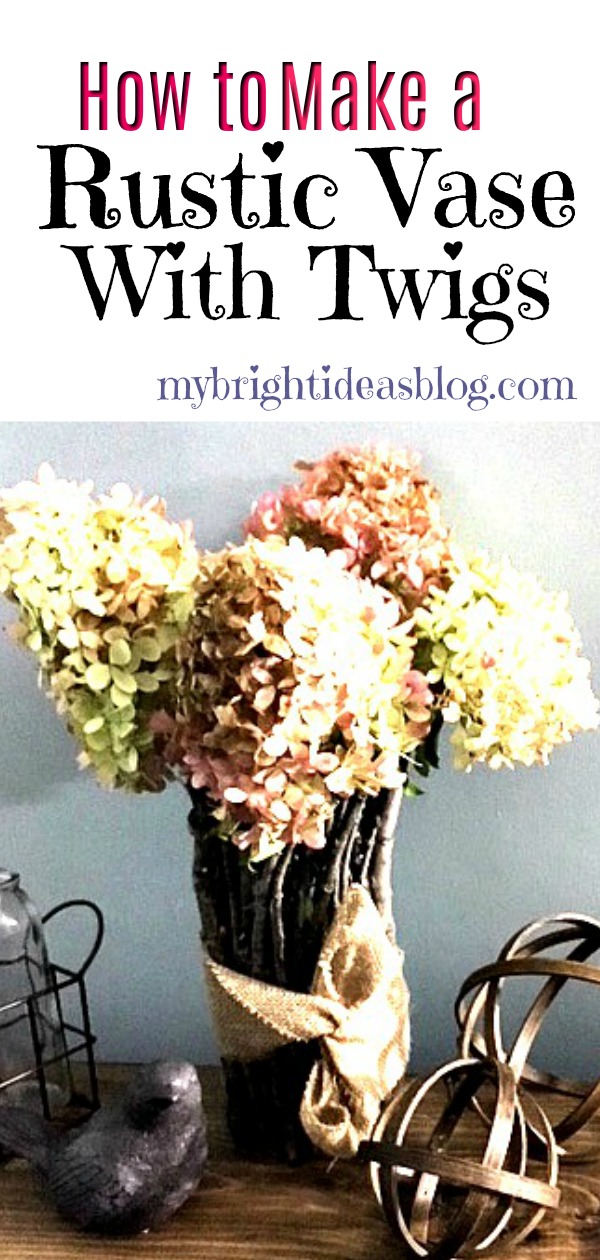
Here is a super easy, super rustic, super pretty twig vase! I am loving using twigs and sticks in crafts. It’s free! It’s also time to do some trimming in the backyard gardens so I get the job done and a craft project to do when the work is done!
You will need:
- an inexpensive straight vase
- twigs
- snips
- hot glue gun
- 6 or more hot glue sticks
- burlap or raffia
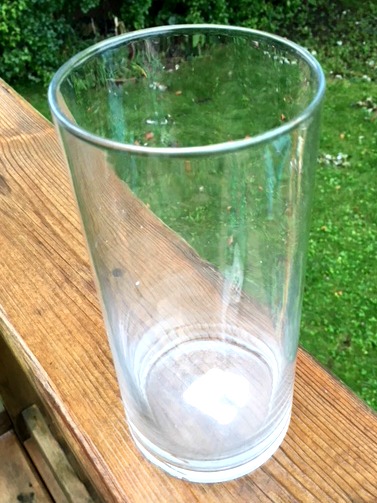
First, choose your vase. If you don’t have a tall straight vase already in the back of your cupboards then pop over to the dollar store, or a thrift store you will definitely find them there. I had this vase on hand. The Dollarama sticker was still on the bottom. $1.25. That is the total expenses on this craft if you already have the glue gun and glue supplies.
I love me a cheap craft!
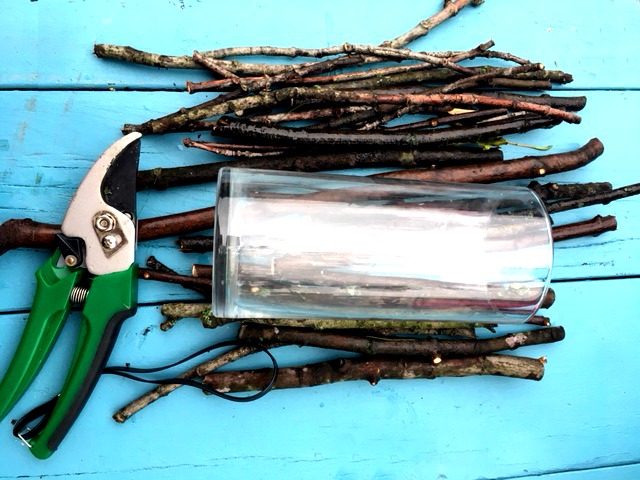
Using sharp shears, cut twigs in different lengths taller than your vase. Choose sticks that are as straight as possible. Trim off any side twigs as short as possible.
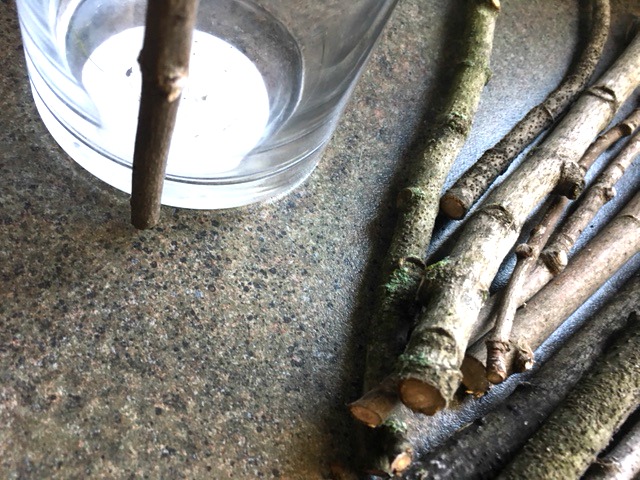
Plug in your glue gun. Set the twig in place and see where it will make contact with the glass of the vase. Add the glue in those contact places. I do this instead of running a line all the way down the stick. That is a lot of waste. Hold the twig in place 10 or 20 seconds while the glue cools. Mind your fingers!
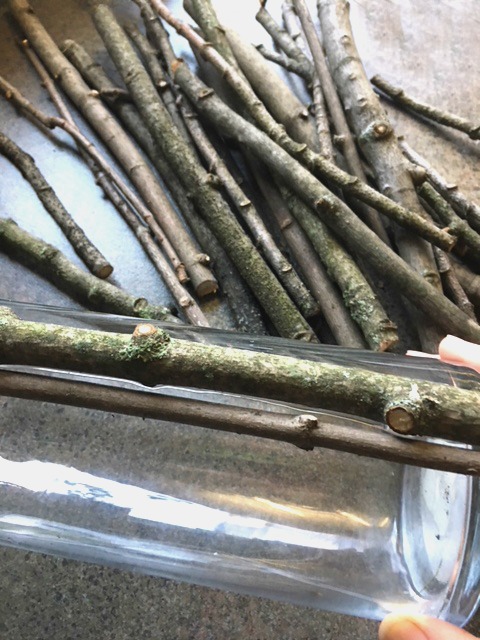
Work around the vase with each twig fitting tightly next to the previous twig. If there are spaces you can put a thin twig in later to fill in the gaps.
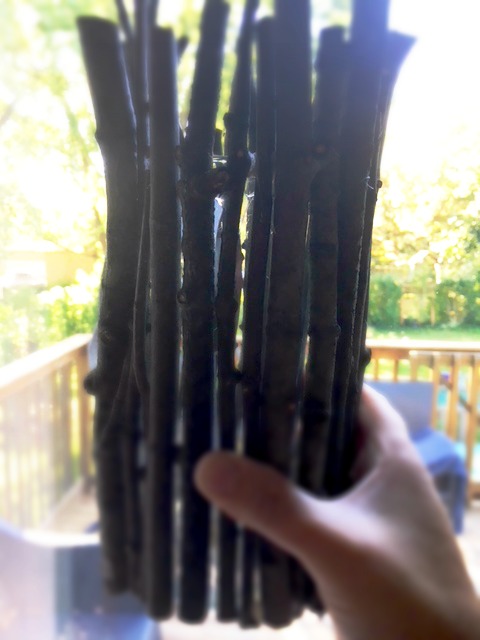
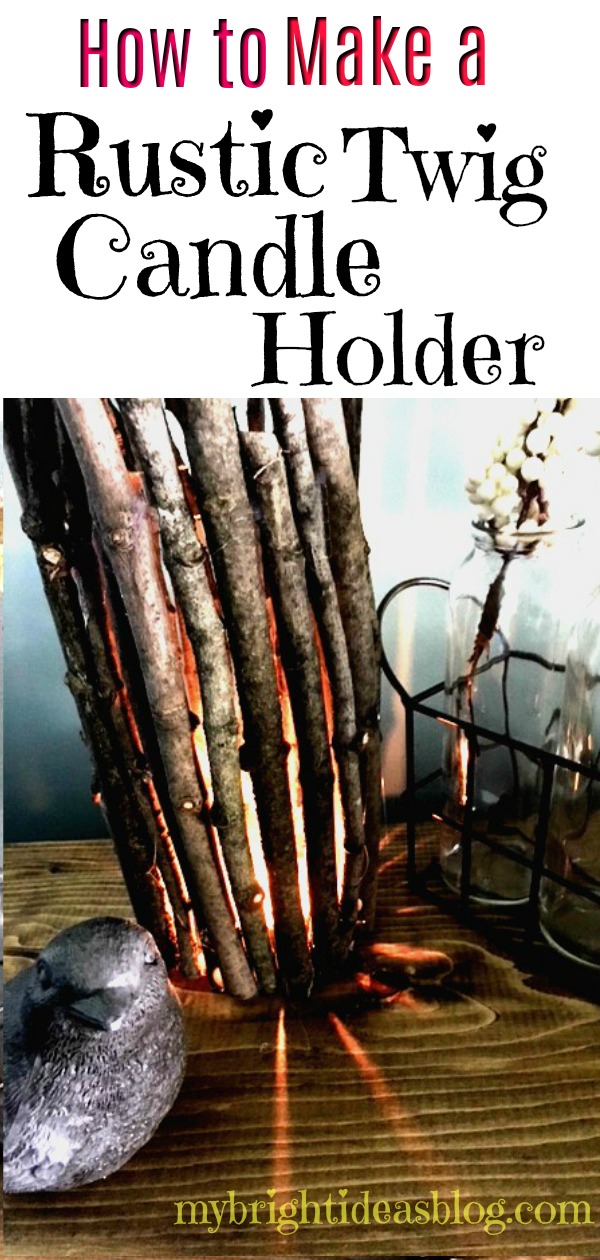
You will notice that the light does pass through the gaps. If that bothers you, cut a brown or black paper down to the vase size and slide it inside.
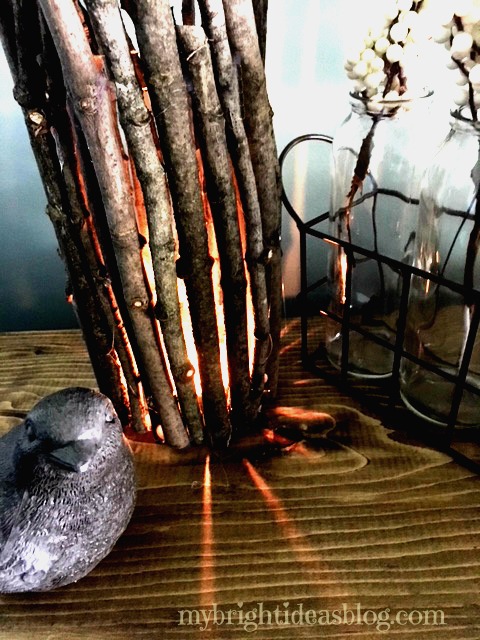
OR…you could embrace these gaps and use it as a candle holder. If you go this route please do not put paper in your vase. You will surely start a fire. Eek!
I didn’t mind the gaps in the vase so I skipped the paper and can use it with a tea light or with dried or artificial flowers.
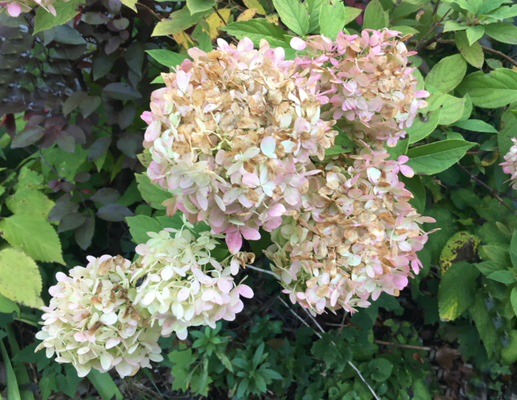
So to the garden we go for some flowers. I cut these hydrangeas. These are going to dry nicely in the vase and look the same for months and months.
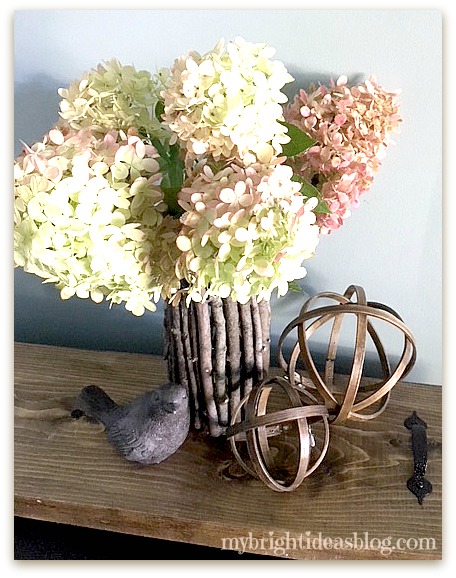
Isn’t that lovely? I hope you enjoyed this rustic twig/stick project. I really love making things with twigs.
Wait! Oh my days!!!! I forgot to put on the bow!
Cancel the photo shoot and back to the craft counter….
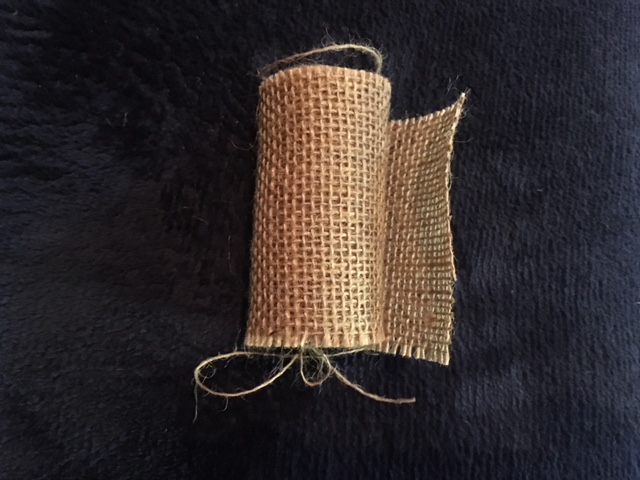
I know I have raffia somewhere but I can’t remember which craft bin I put it in. So instead I used this 3 inch wide burlap roll from the dollar store and wrapped it around the vase.
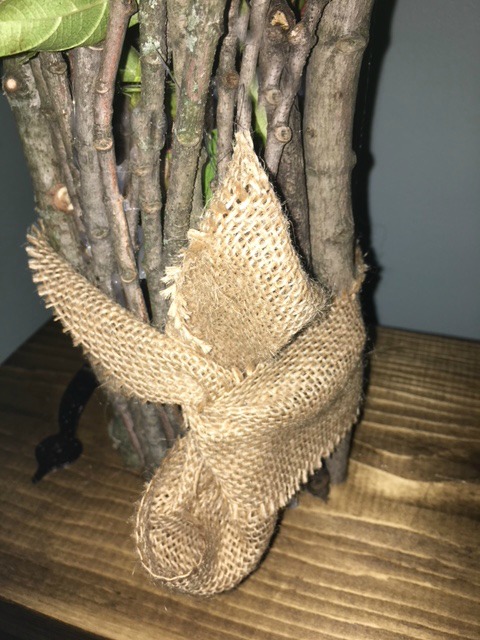
After tying it in a knot I tucked the ends under the centre. It looks like a bow but less bulky.
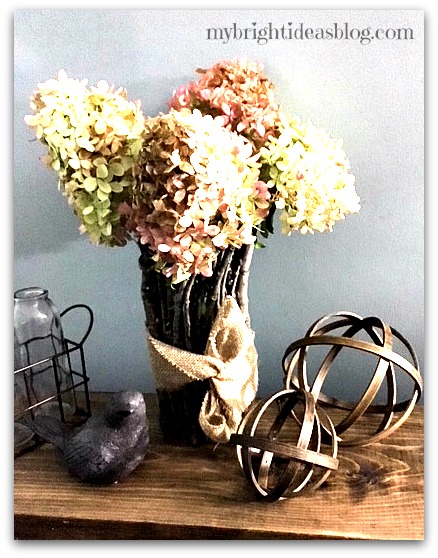
There now that is better! Its a lovely rustic vase perfect for this time of year!
I really appreciate you reading to the end and hope you will remember to pin this or share it on your favorite social media site.
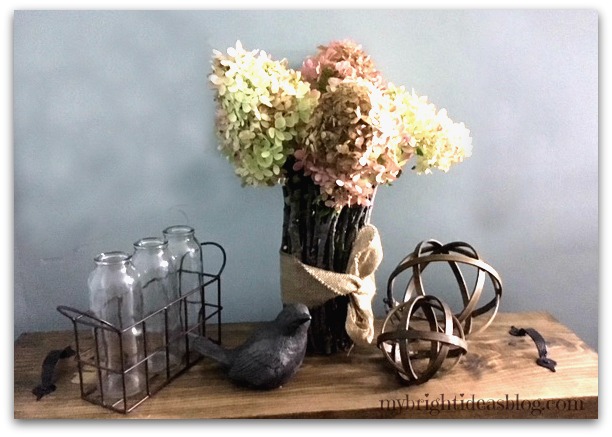
If you would like to see how I made the orbs or wood tray in the photo above, click the links below.
Till next time!
…
Cardboard Spiral Craft – Easy Kids Project
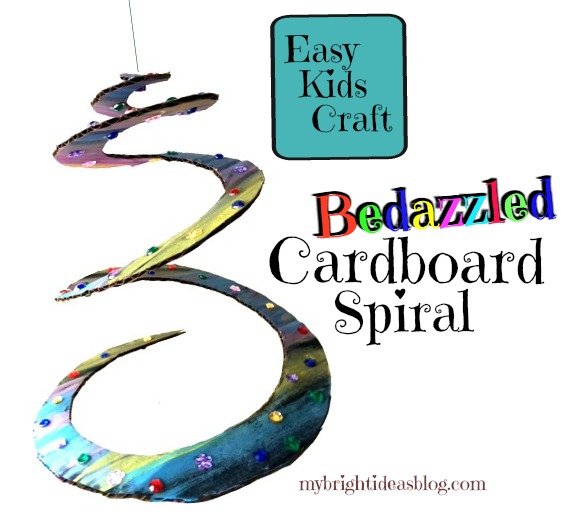
How to Make a Spinning Cardboard Spiral-Easy Craft!
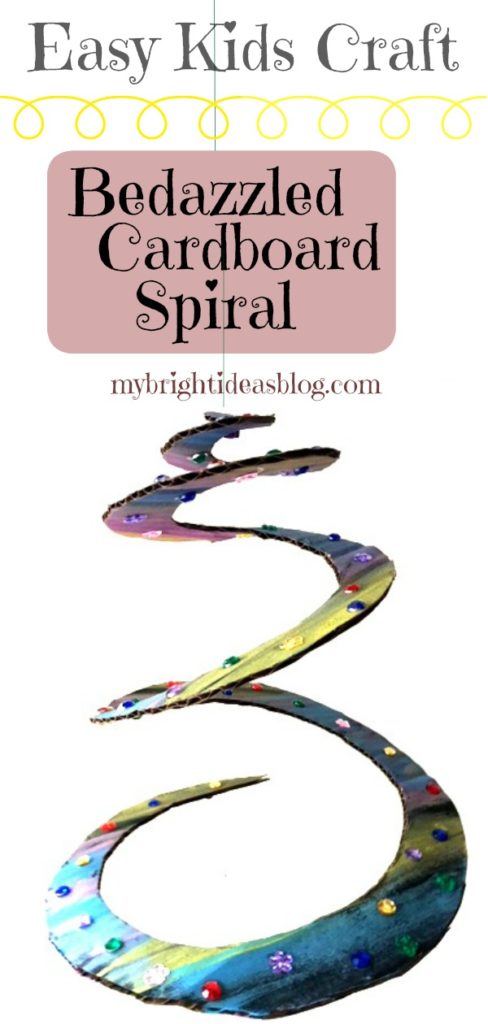
This idea will be a hit with kids as young as toddlers to pre-teen. It’s likely you already have all the craft supplies in your cupboard which makes it the perfect anytime craft.
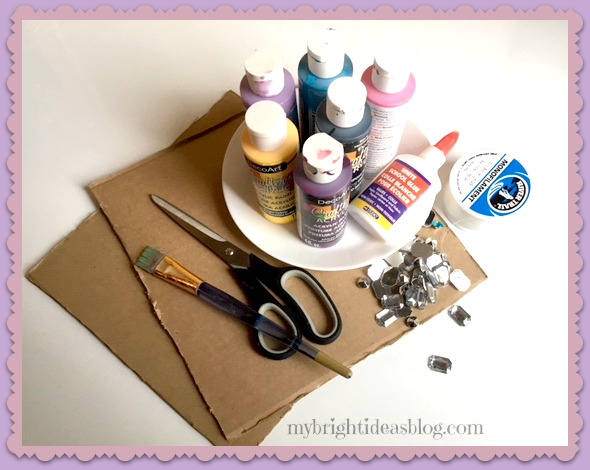 You will need:
- cardboard
- scissors
- glue
- paint
- paintbrush
- gems or stickers
- yarn or fishing line
- one pony bead or small bell
- pencil
- plate to trace the circle
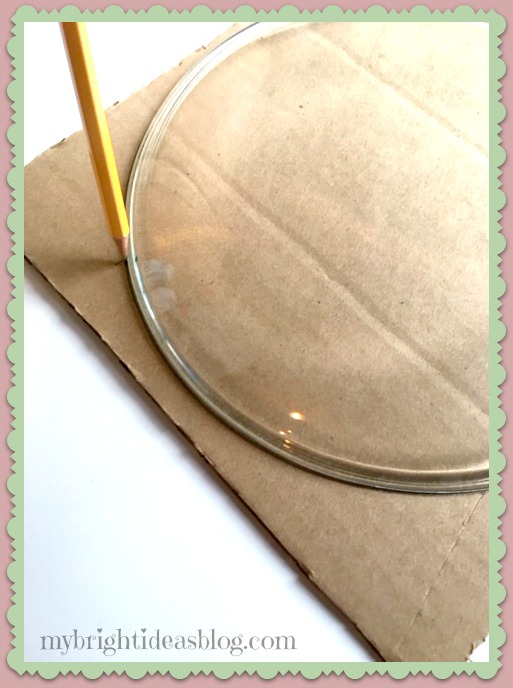 I started with a square piece of cardboard about 11 inches x 11 inches (27cm x 27cm) wide. Trace a 9 or 10 inch plate (20cm wide plate) on the cardboard for a perfect circle.
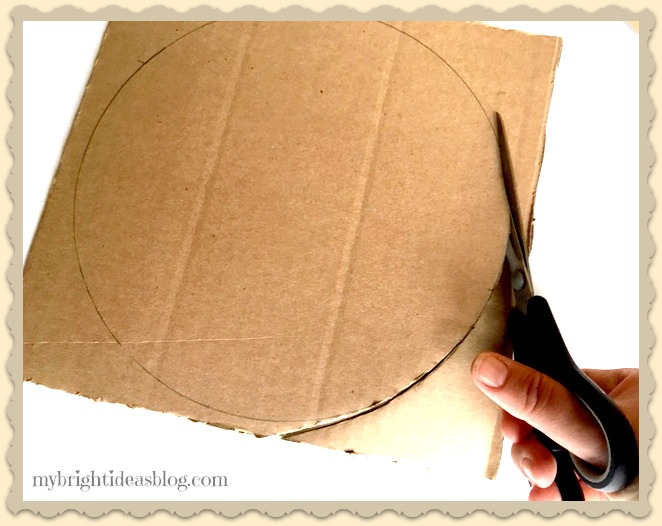 Cut the circle from the cardboard. This is not a job for the little kids. Big scissors and strong hands are needed for this part of the project.
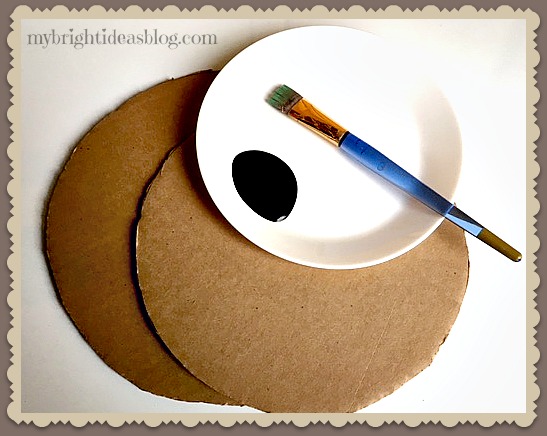 So that the brown cardboard doesn’t show through the I painted a black base coat.
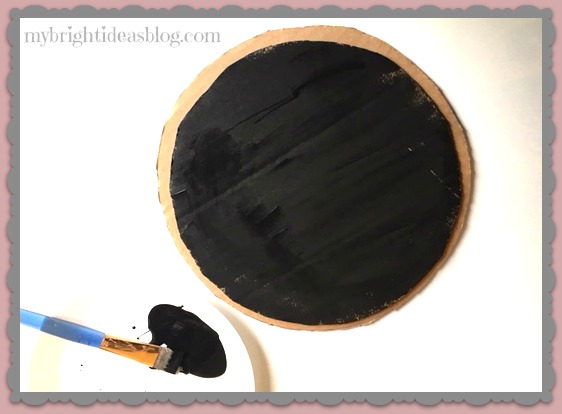
Paint both sides of cardboard and allow a few minutes for this to dry.
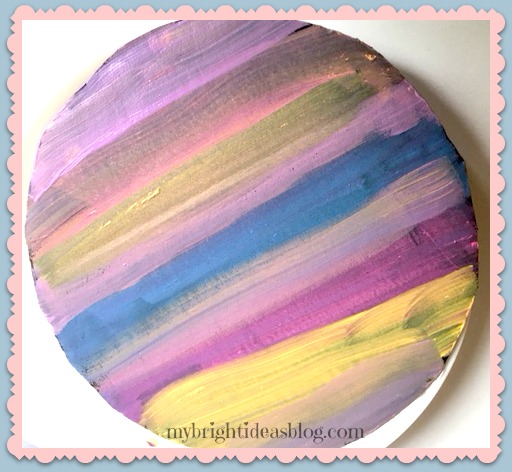
Now paint over the base coat with what ever design or colors you want. You will need to paint both sides again. Allow a good 10 minutes for this paint to dry before moving on to the next step.
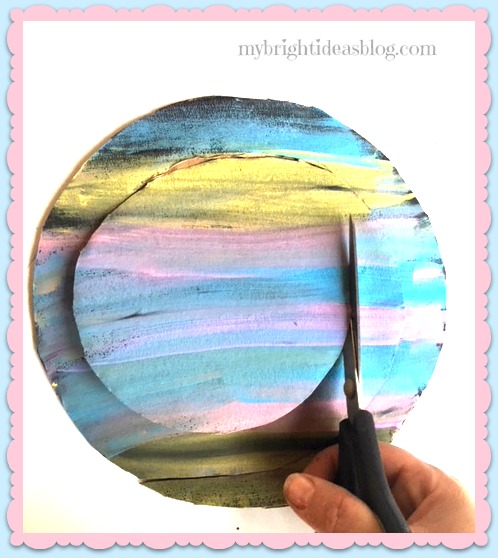 Again, the strong hands and big scissors are needed to cut a consistent spiral in the cardboard. Begin cutting around the circle 1/2 inch (1 cm) wide.
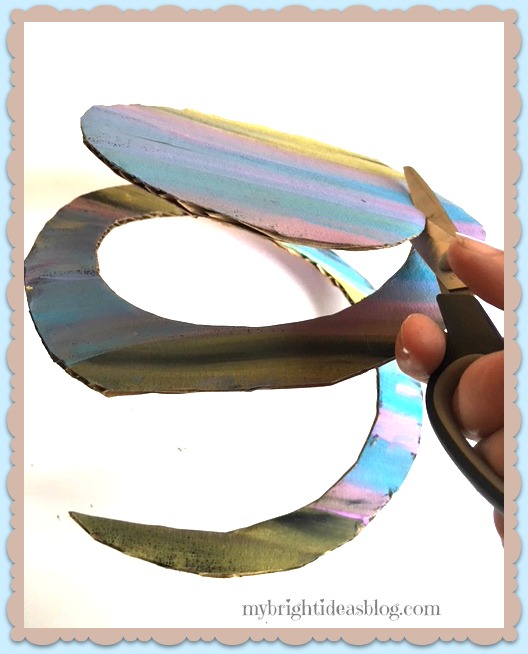
Keep on cutting in a circle until you get to the middle.
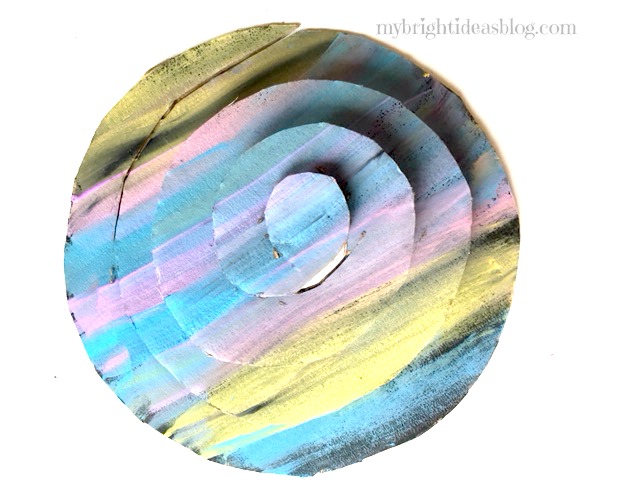 Voila! The spiral is complete.
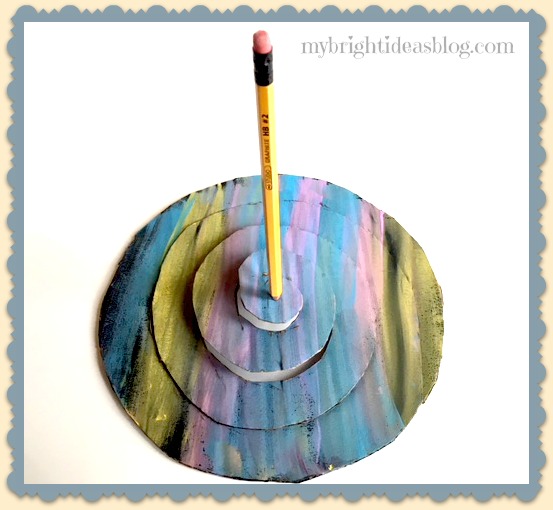 Use a pencil to poke a hole in the centre of the cardboard.
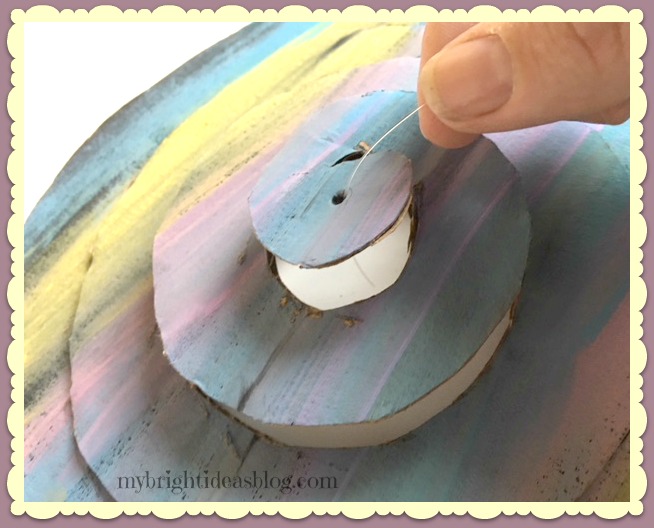
Loop some yarn or fishing line through the end. To make it spin the key is to loop a pony bead or a tiny bell under the hole and then pull the line back up through the hole.
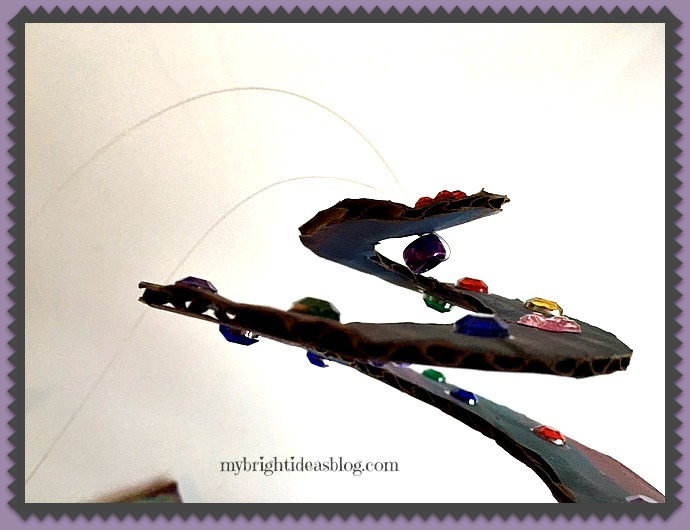
I didn’t take a photo of this step so here it is afterward to show the pony bead. The fishing line is simply looped through the cardboard and then the bead and back out through the hole again.
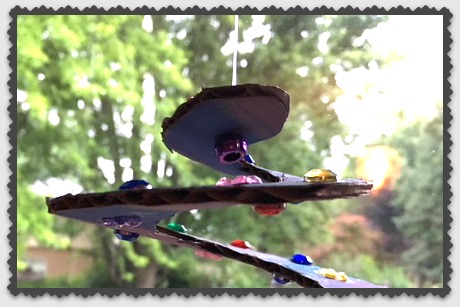
This step allows for it to spin better than if you just tied a knot in the cardboard.
BEDAZZLE TIME!
Bedazzle: (verb) The art of taking ordinary things and making them EXTRAORDINARY by adding sparkles, rhinestones, glitter, stars, beads, etc.
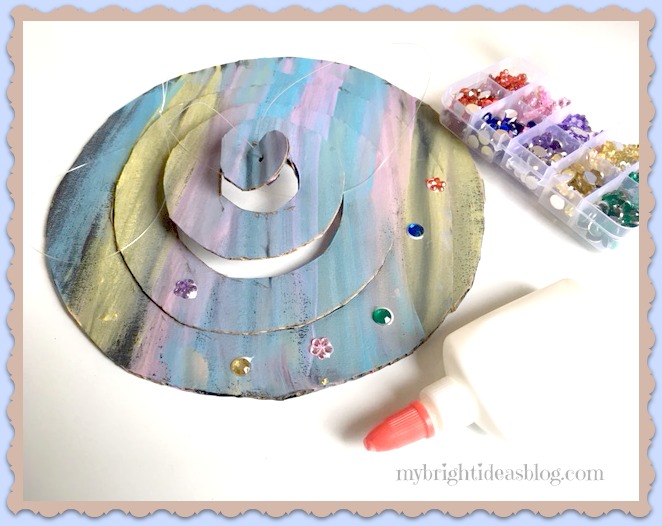
This is the fun part!
Gather your gems, rhinestones and glue to decorate the spiral. The little box of gems in the photo above is from Dollar Tree for $1.25 – it looks small but there is enough to last a lot more projects! I love a cheap craft!
For toddlers you could use shiny stickers instead. Glitter glue would also jazz this up and hide some of the unintentional globs of glue that may end up drying on the project.
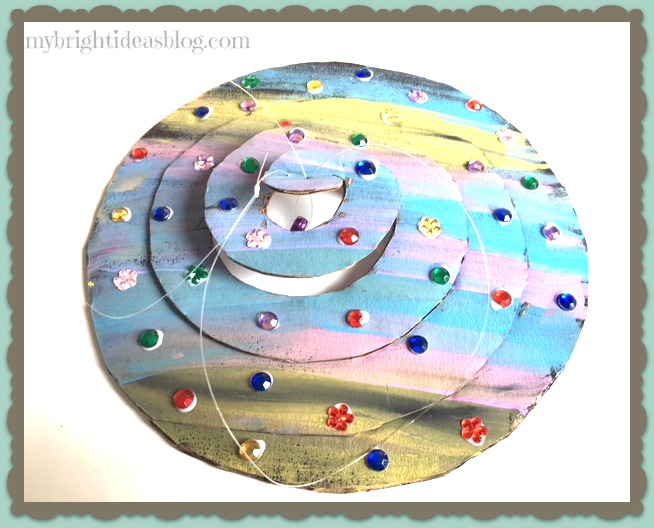
After the first side is dry, flip it over and repeat on the bottom side. This spiral is going to look great no matter what angle you are looking at it.
Allow it to fully dry.
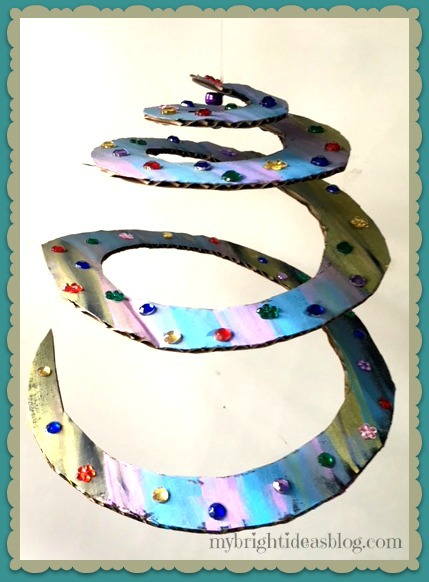
And you are done! Hang the spiral by taping the end of the string or line to the ceiling so it can spin. I used an S hook to hang it from a curtain rod.
Remember to Pin this on Pinterest!
Toilet Paper Roll Crafts-Use your loo roll tube for easy Crafts!
Make Glass Stone Gems into Gorgeous Magnets
Make Glass Stone Gems into Gorgeous Magnets
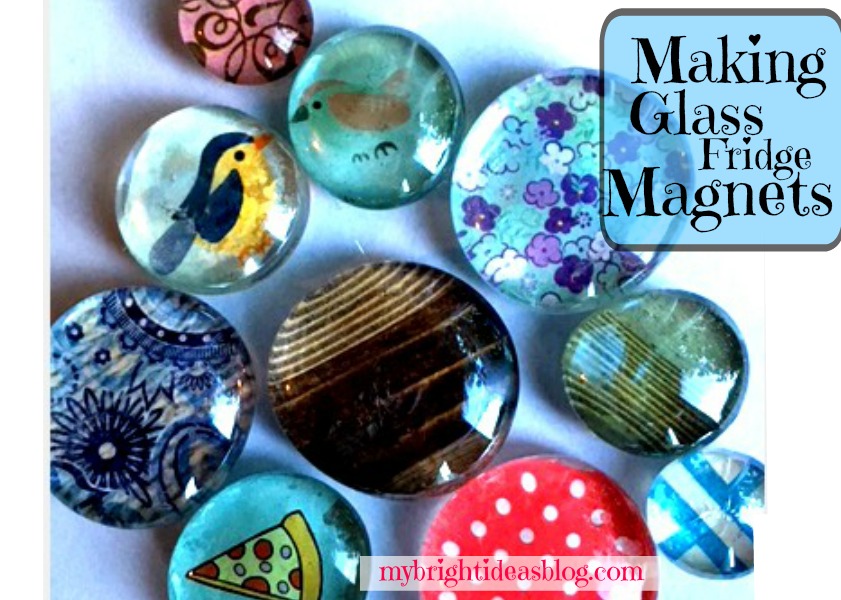
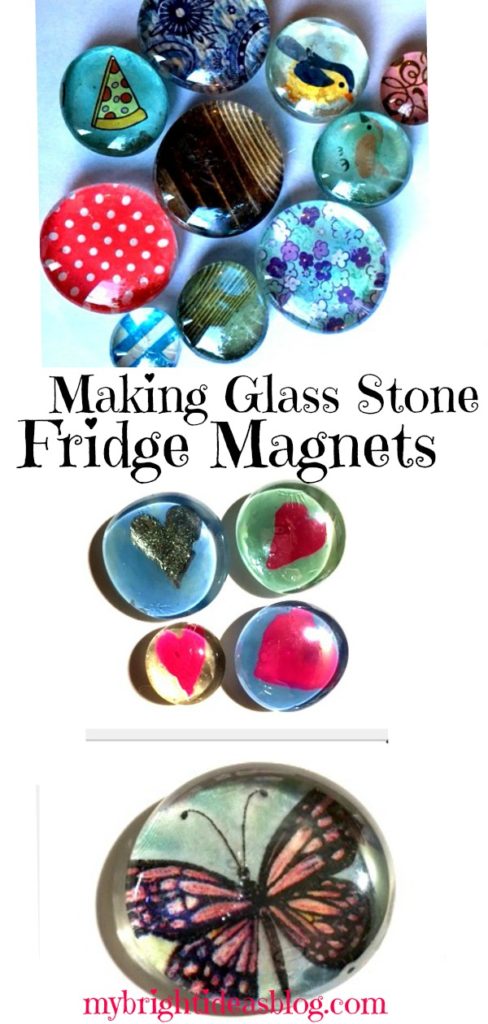
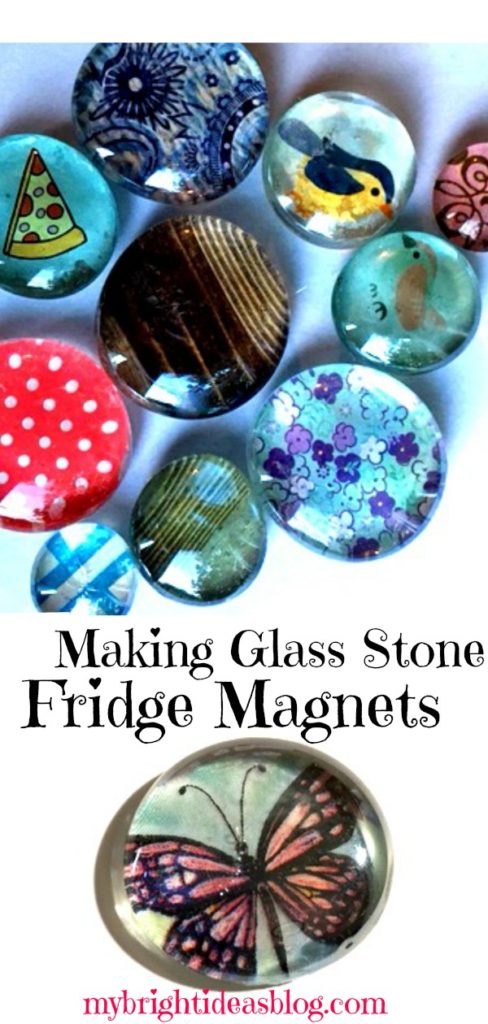
This craft is so crazy easy I can’t believe I didn’t make it sooner! Glass gems have a wonderful magnifying effect if you paint or glue a picture to the back of it. Then add a magnet to the back of it and you have a really cool fridge magnet gift or item to sell!
As I mentioned a week or two ago…the craft table at my work office is pretty empty so this is another project the kids and I have been working on to sell.
We will look at 2 ways to make a big impact with Glass Gem Fridge Magnets
Nail Polish Technique
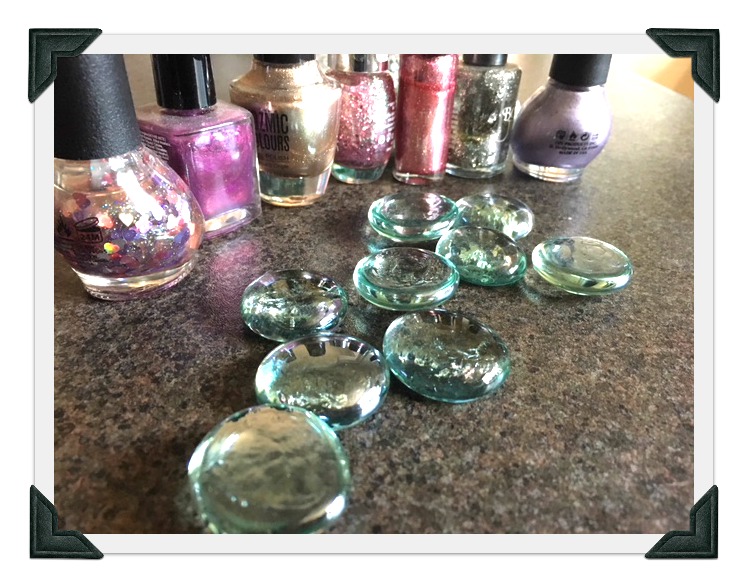 You will need:
- Clear Glass Gems (flat on one side)
- Nail Polish
- Tooth Picks
- E6000 Glue or Hot Glue Gun
- Magnets
I have worked with 3 sizes (3/4 of an inch, 1 inch and 1 1/2 inches) of clear glass gems for this project. The small and medium sizes I purchased from the dollar tree. The largest size is from Michaels. Both stores also sell the magnets in various sizes also.
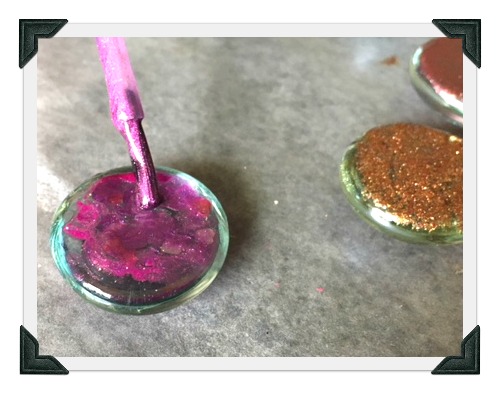
We really enjoyed using our sparkly nail polishes. Paint the bottom flat side of the stone with sparkle nail polish. If it seems sparkly but clear…allow to dry and put another solid cover over the sparkle layer.
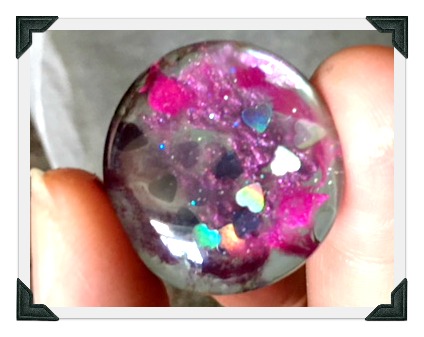 This is a pink love heart sparkle nail polish with clear and solid pink polish over top. When its dry it looks like its magnified.
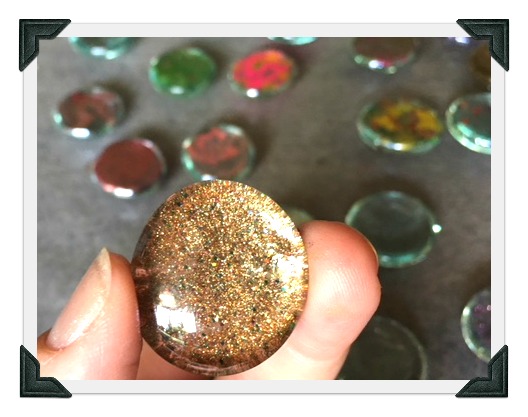
This glass gem has one thick coat of copper/gold nail polish. I love it! What a fabulous nail polish for these glass stone magnets!
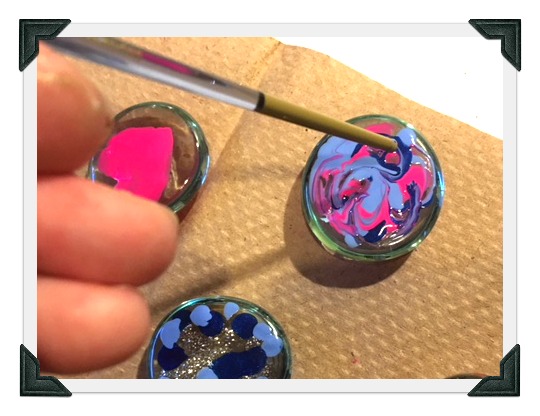
In the above photo you can see we put several dots on the glass stone and took a tooth pick (or end of a paint brush) and simply swirled the nail polish. The kids loved trying this!
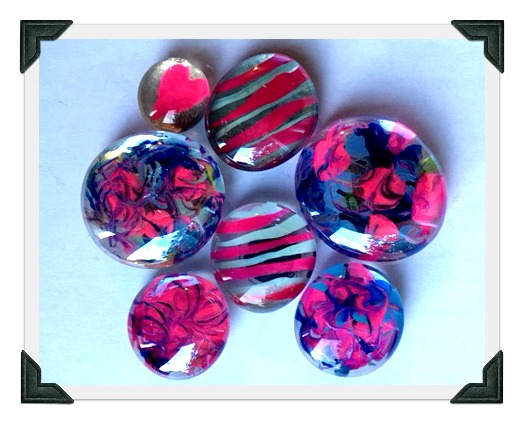
Swirls, stripes and love hearts…
To make the hearts, I took a pink bottle of nail polish and made a love heart on it. After it had fully dried I painted over it with silver sparkle, blue and turquoise for a really sweet gift magnet.
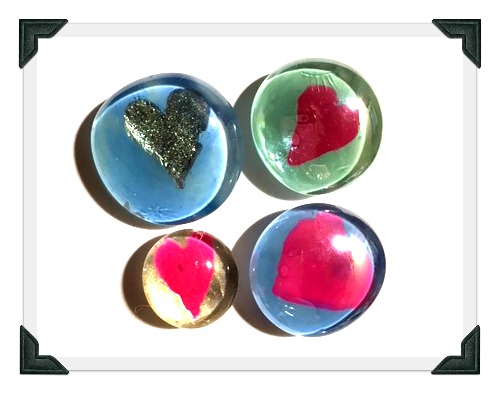 Allow all nail polish to dry fully and then glue the magnet on the back of the glass stone. For my nail polish magnets I used the E6000 glue which is very durable and very smelly. If you choose to do the same, open the windows and allow ventilation. It’s very smelly stuff. It also is slower to dry so watch that the magnets don’t shift while drying. I found that I needed to space the magnets apart during this process. If placed too close together the magnets would pull towards each other and not dry in the middle of the glass stone. Do not touch for several hours or leave to dry overnight. Using a hot glue gun instead will fix the stinky and shifty problems. But watch your fingers. Neither glue option is great for the kids, so I would recommend the grown ups do the gluing.
Seriously though, open the window. Between the smells of all the nail polish bottles and the E6000 glue you are sure to have a headache and get grouchy. Not allowed! This project is too awesome to get grouchy!
Now lets move on to another lovely option….
Paper Technique
You will need:
- Patterned Paper or Napkins
- Scissors or hole punch
- Glue or Mod Podge
- Paint Brush or Sponge Brush
- E6000 or Hot Glue Gun
- Magnets
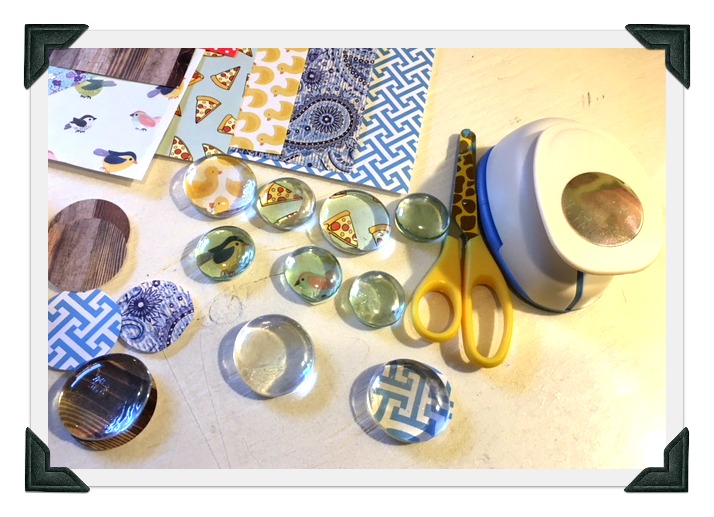 The variety of designs of scrapbooking paper is perfect for this project. But you could also use colorful napkins, tissue paper, photos, something special you draw or you print off. You just need to cut it to size and glue it on.
If you have a hole punch the right size by all means use it for a perfect circle. If not just use scissors and cut it slightly smaller than the stone.
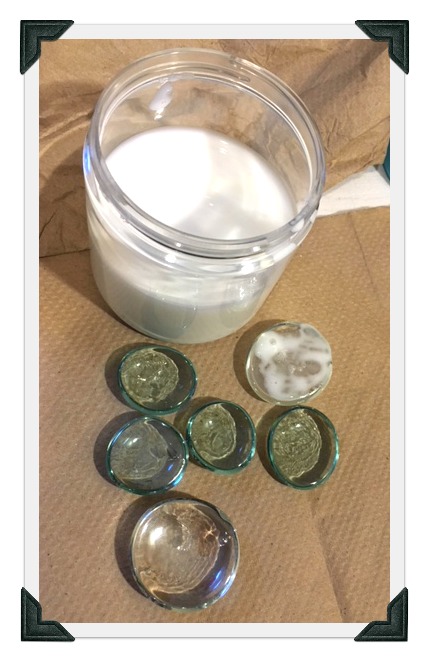 Brush mod podge or glue on the flat side of the glass stone. Add the paper circle with design facing down. When you are finished and flip it over it will show the beautiful paper through the glass.
Press the paper down. Brush on another coat of glue.
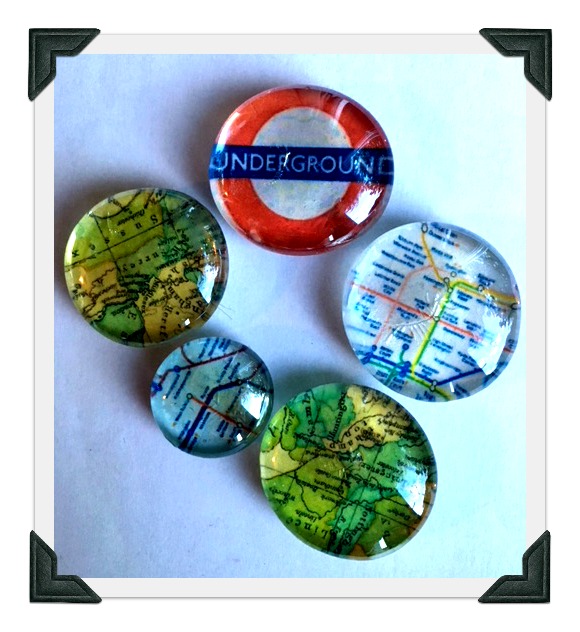
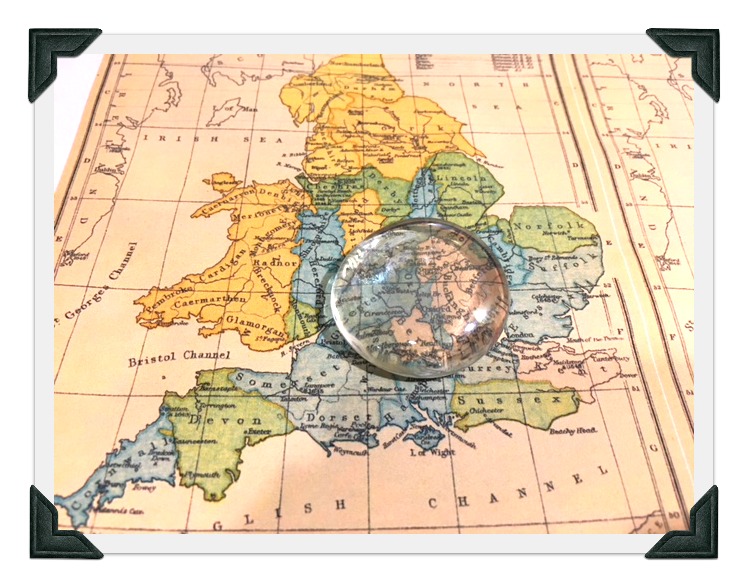 One of my favorite things was using a map. What a fantastic souvenir of a trip! Use the maps and train tickets or even concert tickets for your fridge magnets.
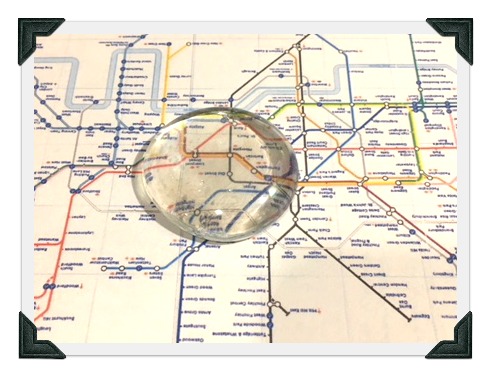
This is a map of the London underground. I wonder if it’s upside down in this picture. LOL!
Dinner napkins come in beautiful patterns and I’ve just discovered you can glue/mod podge them to decorate all sorts of crafty projects. Hip hip hurray! Check out the butterfly magnets I made from napkins.
I cut down the napkin to size and removed all the layers of paper except the top one. This is like gluing tissue paper so handle with care.
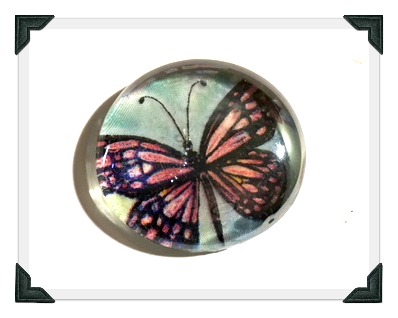 I recommend putting a layer of glue on the stone gem and add the tissue or napkin on top. Then after it is fairly dry, I would put another coat of glue on top of the paper to seal it from this side. If you put it on too soon it could shift or tear the tissue.
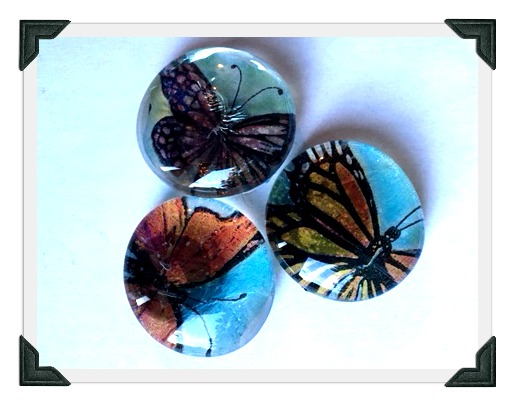 When it is all dry glue the magnet to the back. As you can see from the butterfly on the bottom left of this photo-the magnet may show through the finished design. This is because the tissue was so thin it made it a bit transparent. I could have prevented this by putting a bit of paper on the back or even adding a coat of opaque paint or nail polish.
This project is a bit addictive! So its a good thing we are taking them to the craft table at work and sharing their beauty with others. To display these for sale we are using an inexpensive cookie sheet.
As we have invitations to parties and BBQ’s this summer this is a great hostess gift for the kids to show their gratitude.
Check out this previous blog post where I also used the nail polish gems with wire for a suncatcher for the garden.
…
Make Memory Wire Bead Bracelets
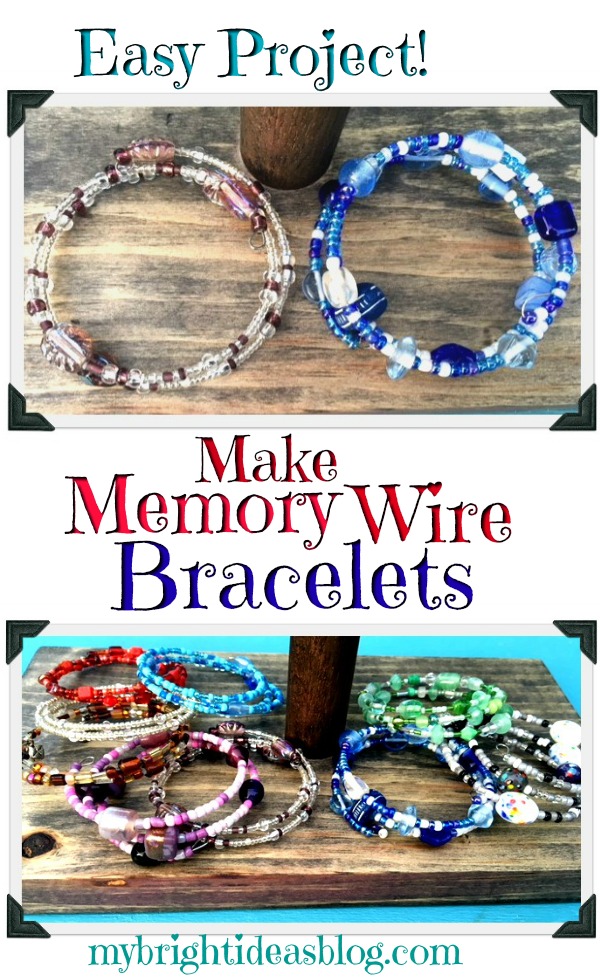
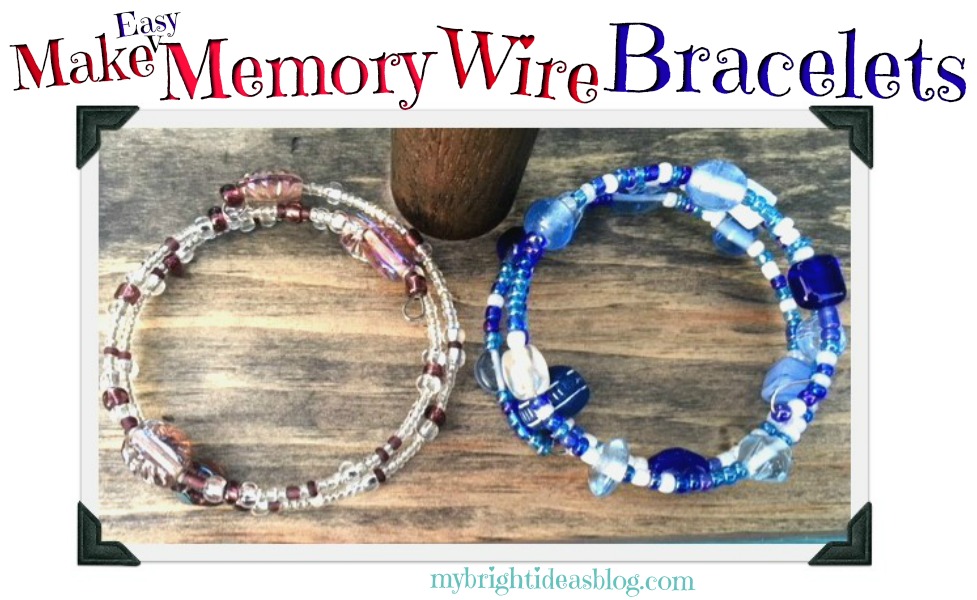 Making Memory Wire Bracelets
Do you need a GREAT gift idea that is easy enough for a child to make? Want to make a craft you could sell? This post is for you!
What got me started on this idea is the craft table at my work (I work in an office at a financial institution). We have a table that any staff member can put out crafty items and a price tag and see if anyone in the building wants to purchase it. For some reason everyone else has taken their stuff off the table and now its just things I have made. Its a little embarrassing. Seriously, besides a few crocheted baby items everything else is mine! So what can I do to make it less empty and pitiful? Hmmm think think think… Add more stuff silly!
Its summer so I have done is enlisted my kids to make a few items. I pay for the supplies and they get crafting and then they get added to the table. The kids will get a bit of money if things sell. I was thinking of asking $5.00 for these. Everybody loves bracelets right?!
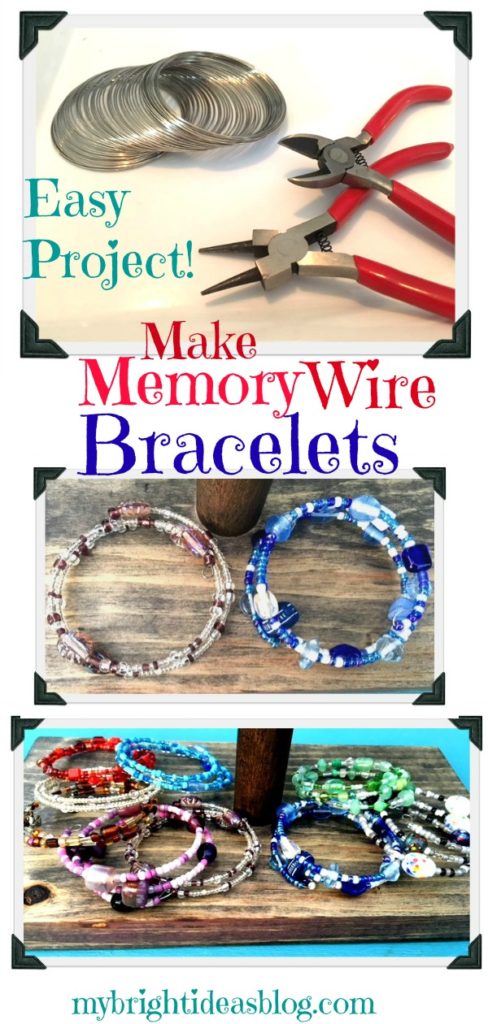
You will need:
- various small beads (check out the dollar store or upcycle old costume jewelry)
- memory wire (bracelet size)
- rounded pliers that twist the wire
- pliers that will cut the wire (if you only have a pair of needle nose pliers you can still do this project)
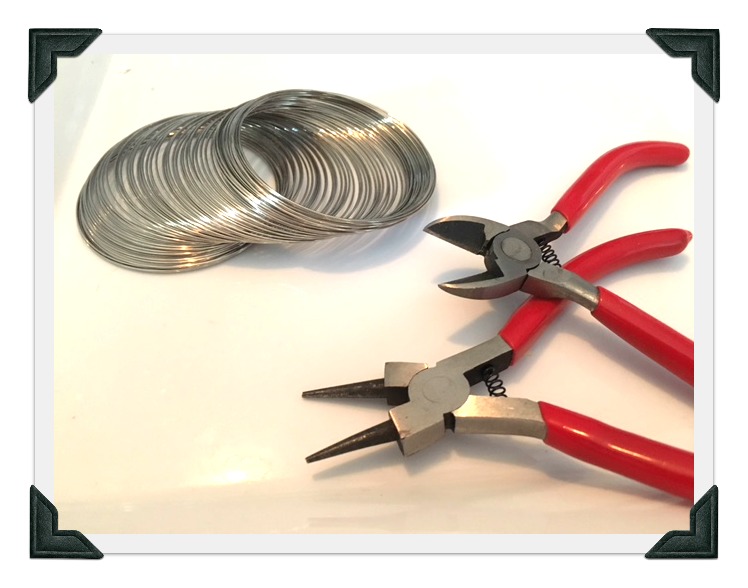 What is Memory Wire?
Memory wire is coiled stainless steel wire. Do you remember the child’s toy SLINKY? Its just like that but meant for jewelry making. The fairly fine wire holds its coiled shape. This makes it, hands down, the easiest product to string beads onto.
For this project I would suggest two pairs of pliers. One to cut the wire and a round nose pair of pliers for a loop at the end. If all you have is a pair of needle nose pliers you will be able to make it work.
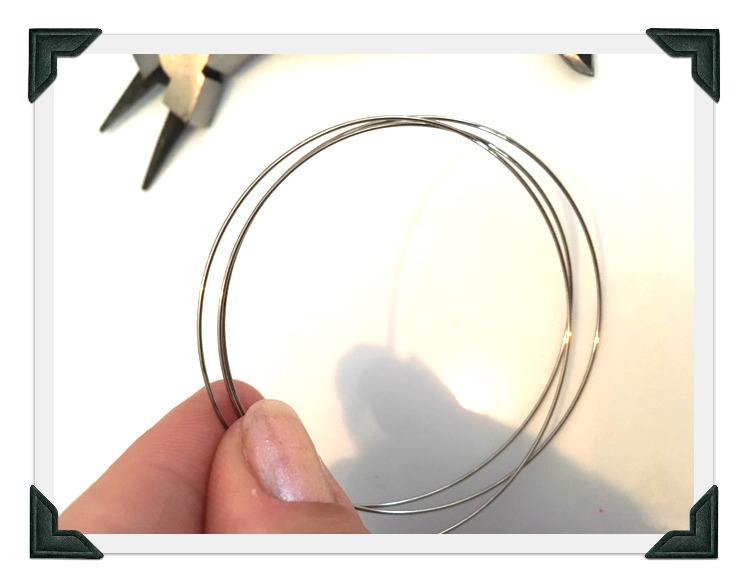 Measure 3 to 5 rings of memory wire and cut the wire.
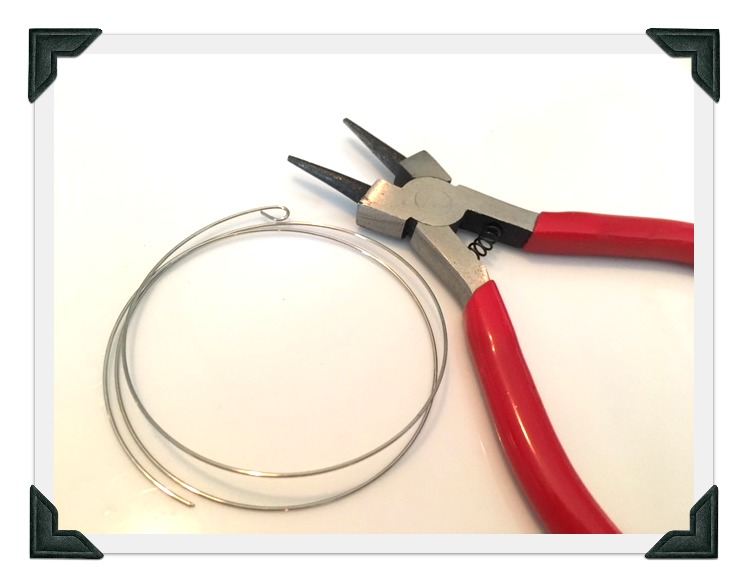 Use the round pliers to bend the end of the wire to make a small loop. This is so that the beads won’t fall off the other end. Now your are ready to begin adding beads!
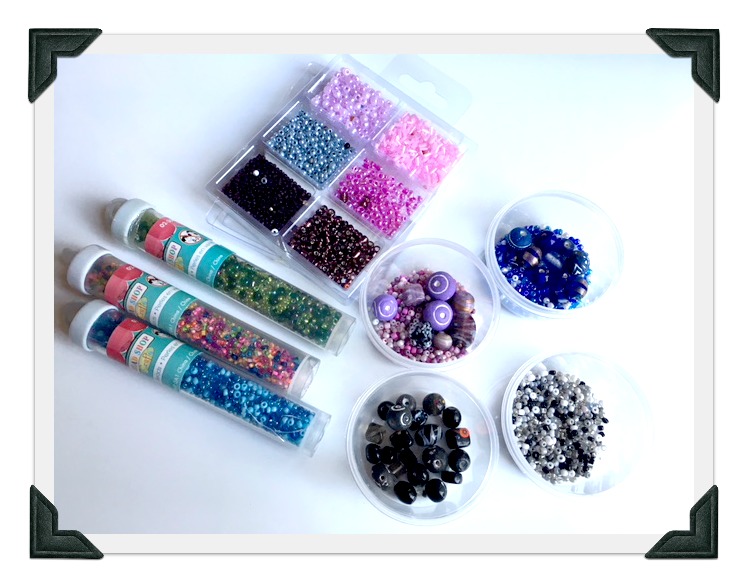 These beads were all $1.25 from the Dollar Tree. I was quite impressed with their glass bead options. Of course, the big craft stores will have a lot more…aisles and aisles of beads in fact. But they will cost more….so look for coupons.
Another option is to go to thrift stores (or your old jewelry drawer) and find old necklaces and bracelets that are wanting to be upcycled. I have lots of necklaces that I made years ago and I love the glass beads but I’m not into them as necklaces any more. Snip the wire or string and empty them into a bowl and reinvent it into a new memory wire bracelet.
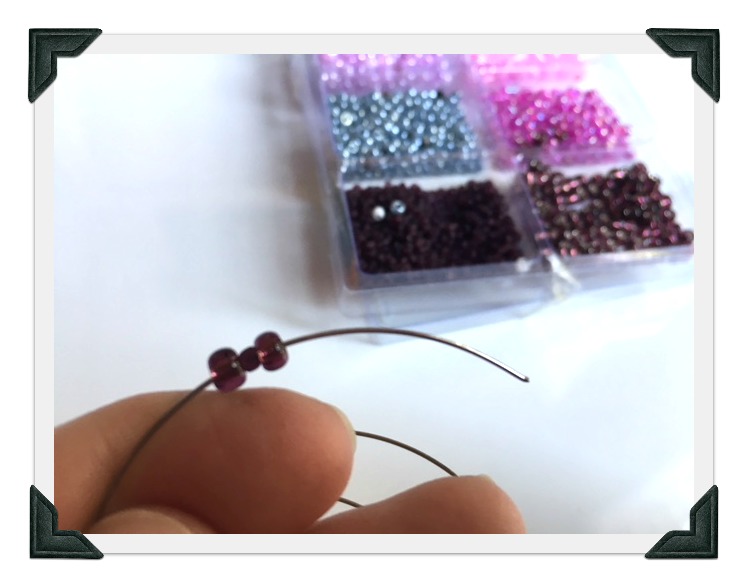 Start with a few beads and slide them around to the bottom. Double check that they are secure with the loop to stop them at the bottom of the coil.
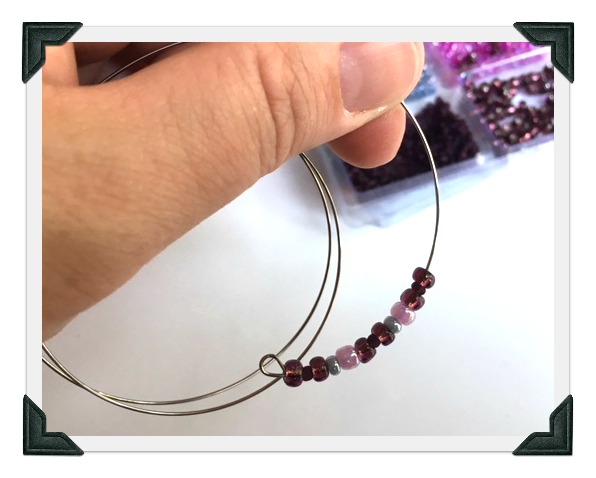 Use a pattern or just go freestyle and grab whatever beads come out of the jar.
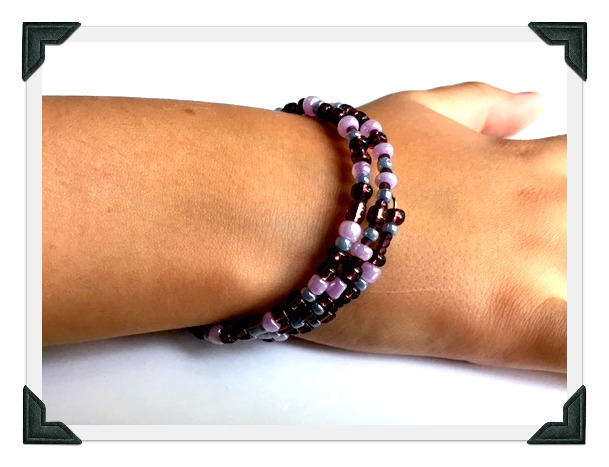 This one is was all small seed beads. It has a nice dainty look to it. These were from a Dollar Tree package so probably all in all this one cost about $.30 to make. We are going to bring it to a play date tomorrow for my 8 year old’s little friend Lilly. Cool gift made by a kid!
Is that one a little too dainty or boring?
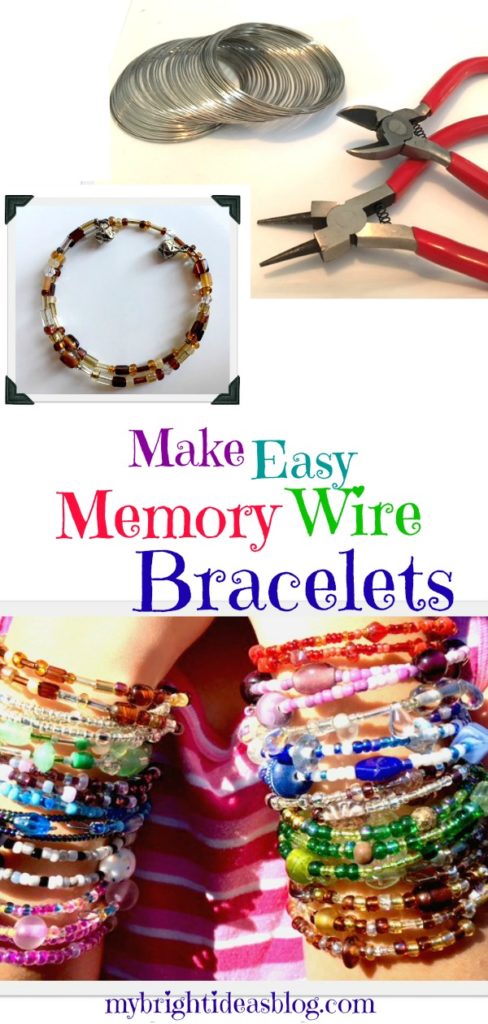
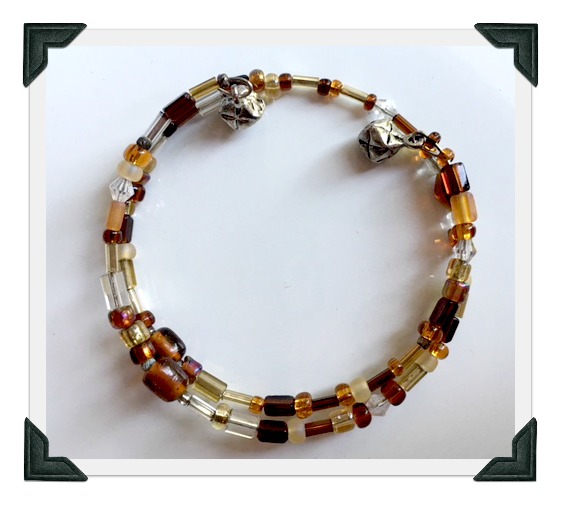 This one has a mixture of brown and clear glass beads all random and mixed up. Notice the dangle beads on the end?
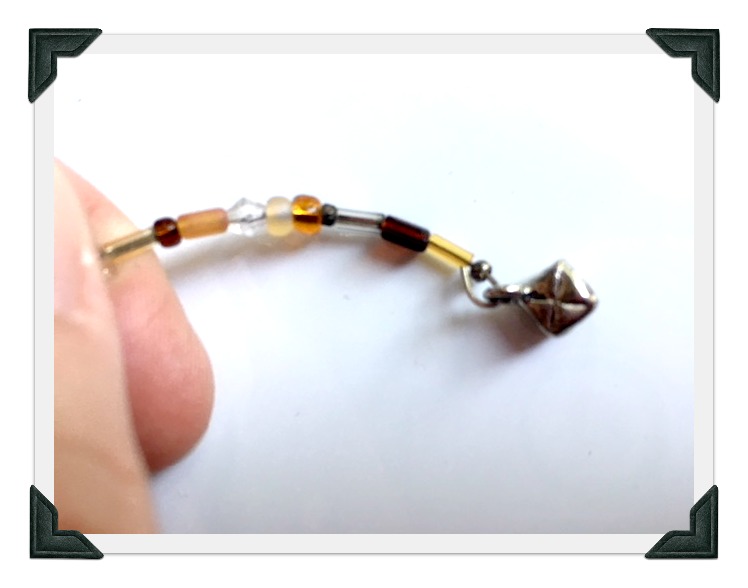 Its so easy to pop a charm or fancy bead on the end of the bracelet.
Every single bracelet will be different. You decide what size and shape. Glass beads, plastic beads, wood beads.
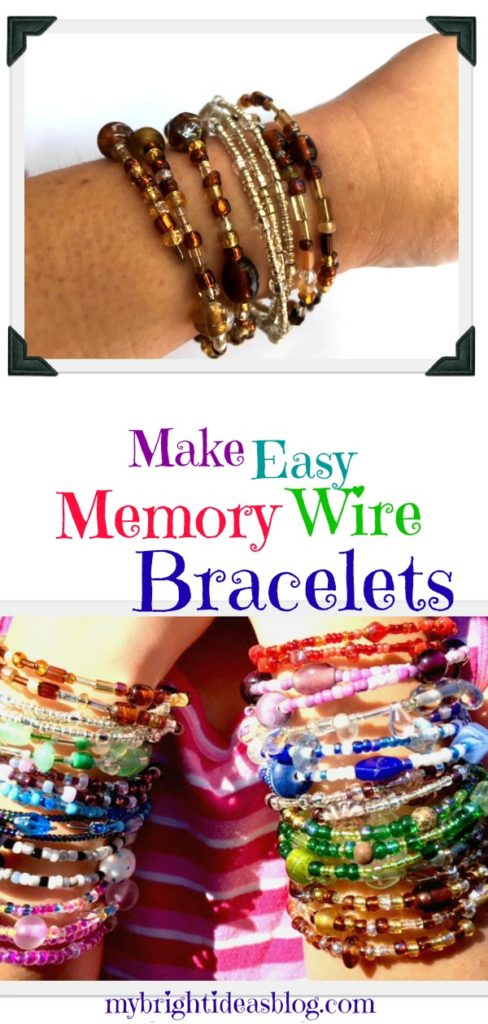
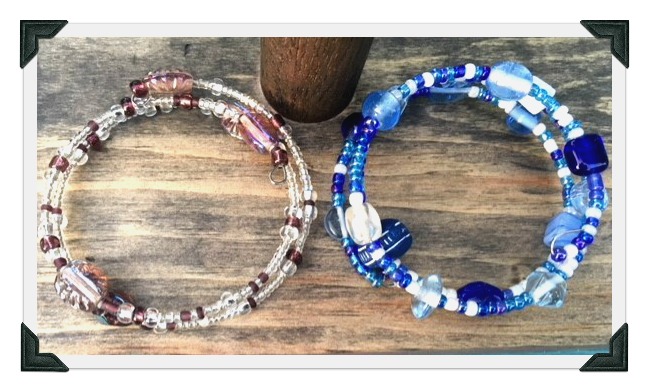
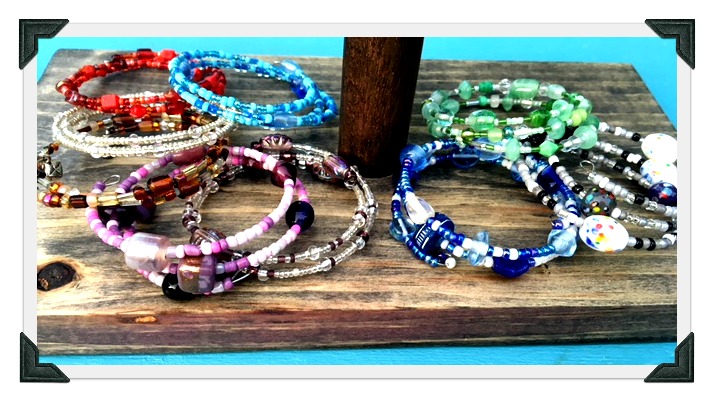 As you can see from this picture of the completed bracelets….sometimes we used a pattern and sometimes we just pinched up a bunch of beads and just put them on the wire randomly.
 As you are nearing the end of the wire leave an 1/2 inch or 1 cm at the end.
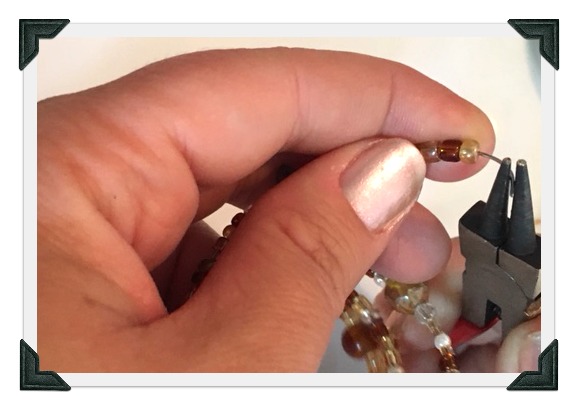 Using the round-nose pliers pinch the end of the wire and bend it around to form a loop.
Bend it closed. The example below still shows a gap. Pinch it closed tightly-you may need to do the final squeeze with another style of pliers.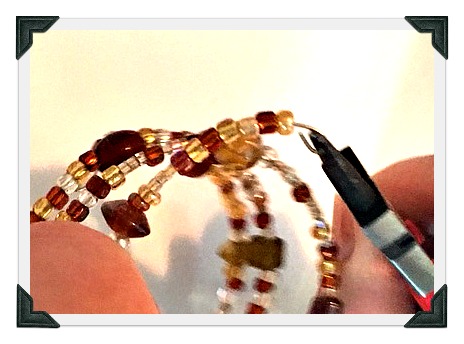 Here is a picture of my 11 year old working on a blue bracelet. I’m telling you this is a great gift project for kids to do.
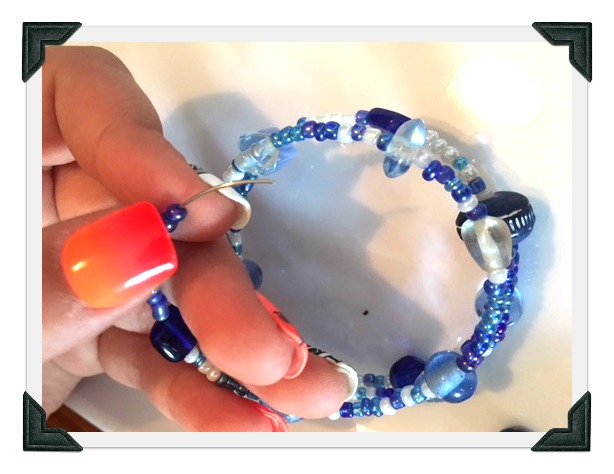 Summertime means stick-on fake nails. Try not be distracted by my daughter’s orange nails. My girls are obsessed with fake nails. But then they quickly want them off. This means they will leave scattered plastic nails on the coffee table or their bedside table. This makes their mother CRAZY-CRACKERS!
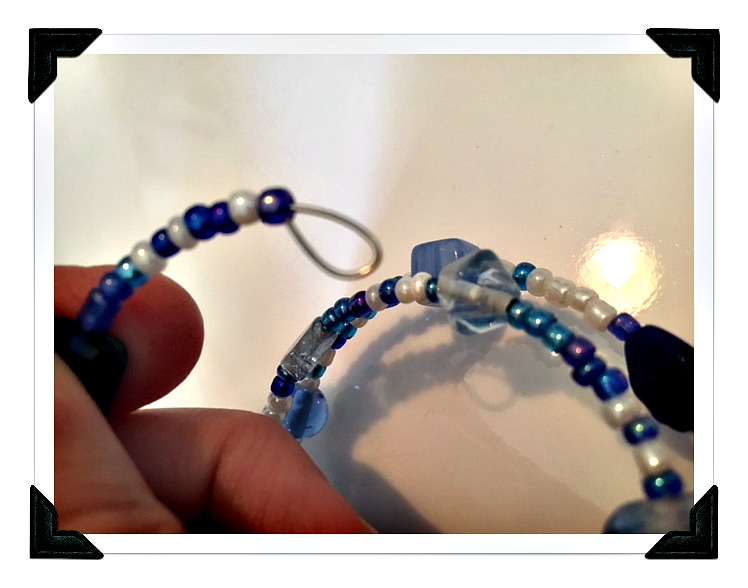 Its that easy! Now the 8 and 11 year old’s can sell or gift their beautiful bracelets. Even younger children could do this if you help with bending the wire at the beginning and end of the project.
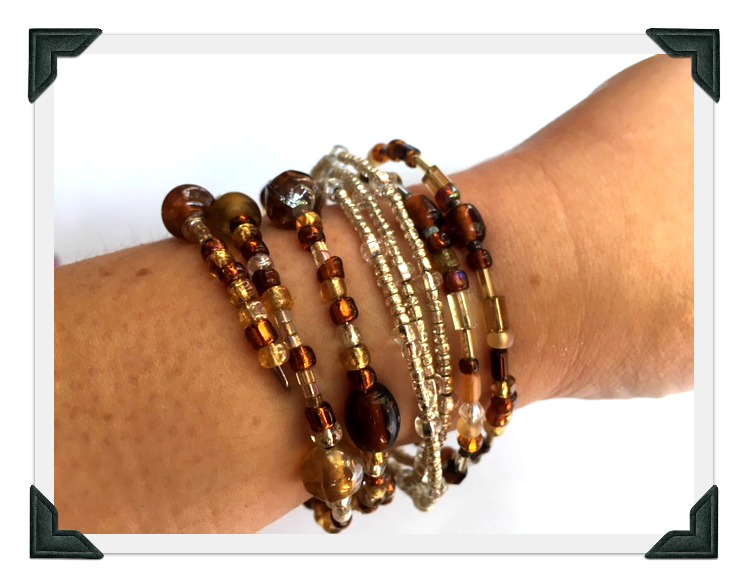
Forget about the kids I love making these! I put 3 together for this photo.
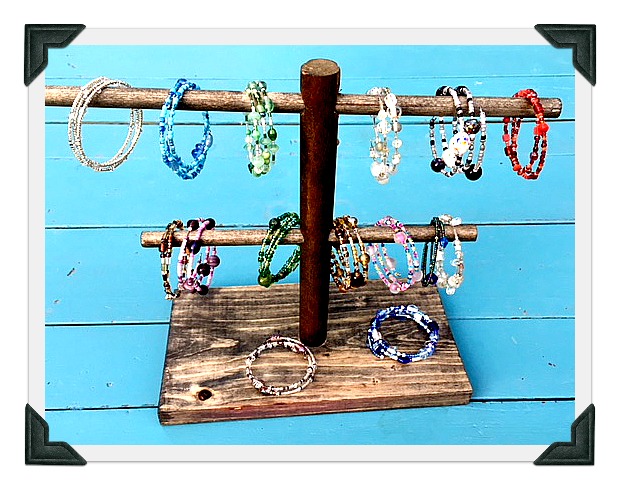 Check out the jewelry stand I made out of scraps of dowel and wood. Its perfect for displaying the finished bracelets on the craft table.
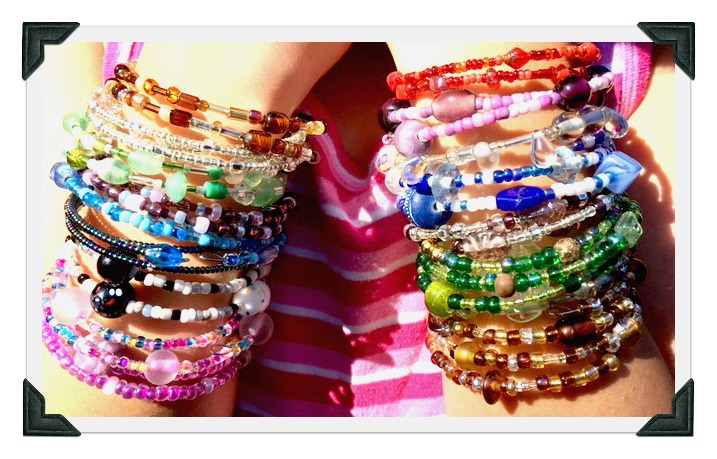
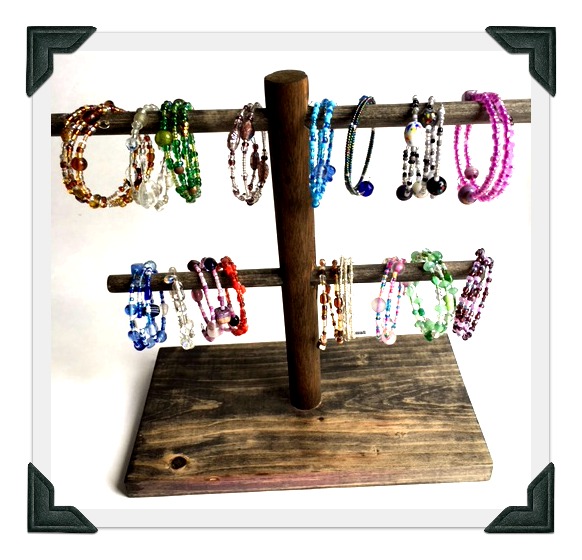 I hope you enjoy making this super easy project. Its rather addictive!
…
…
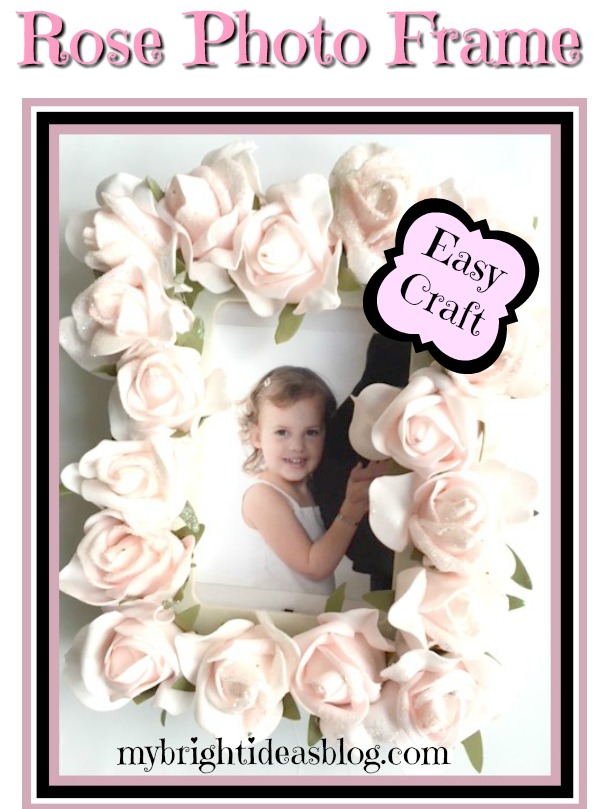
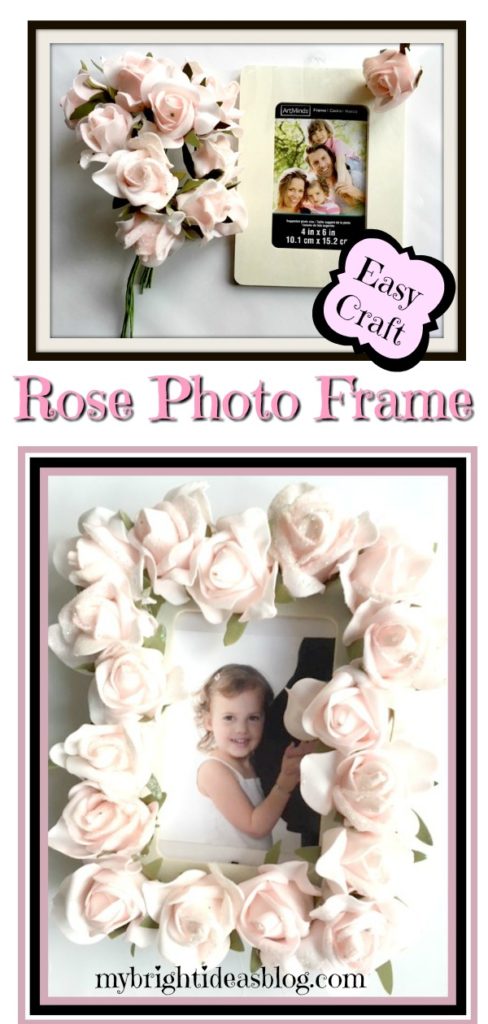
Make a Lovely Rose Picture Frame!

Hello there crafty darlings! Is it wedding season or baby season in your circle of friends? If you are looking for a lovely gift idea…I have just what you need! An easy craft that just requires a few dollars at the craft or dollar store and your trusty hot glue gun. Plug in the glue gun and lets get started!
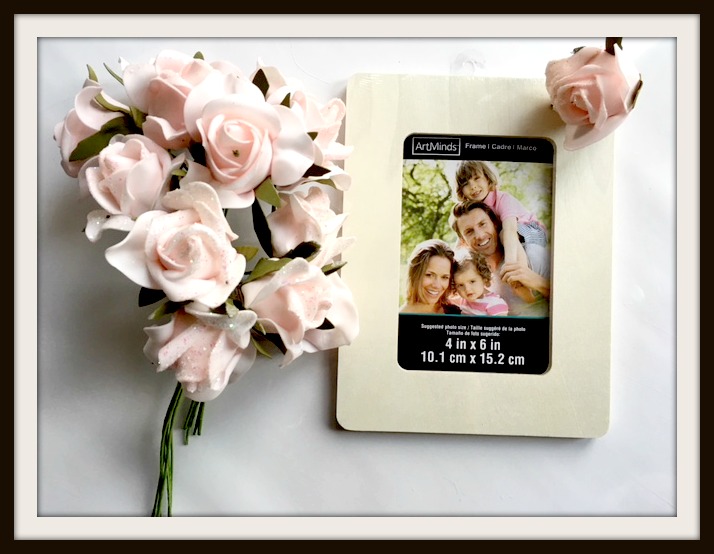
This project needs just 4 things.
- Roses ($3.75 Dollarama 3 bunches at $1.25 each)
- 4x 6 Wooden Picture Frame ($2.00 Michaels)
- Hot Glue Gun
- Wire Cutters
I discovered some pretty dainty pink roses at my dollarstore. Each bunch had 6 flowers and I used 18 flowers for this project.
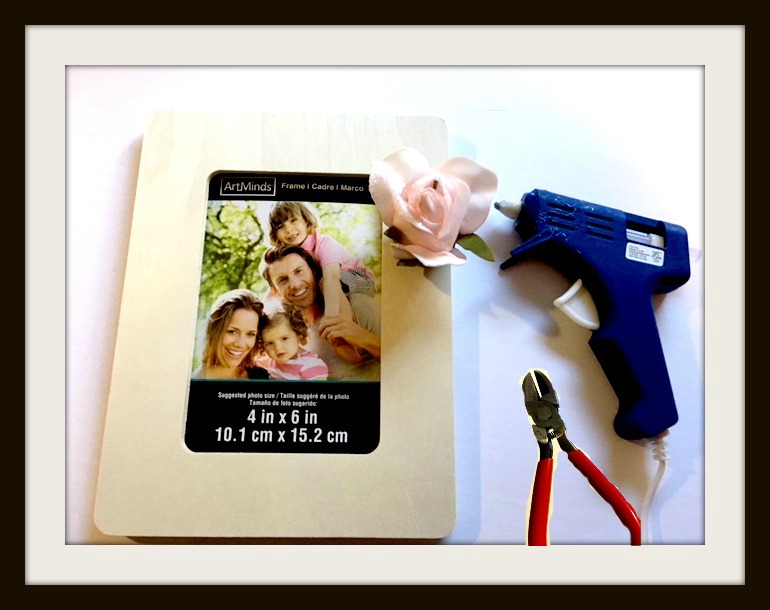
The first step is to trim the stem with wire cutters/pliers and bend the wire stem to the side. This style of flower sits very flat on the photo frame making it easy to glue. Wow this project is so easy!
I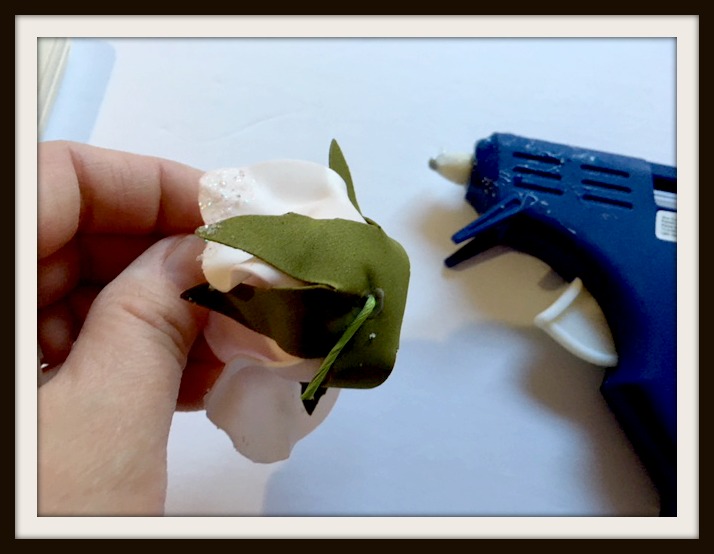
Next lay out your flowers and see how snuggly you want them to fit. Begin gluing the flowers on.
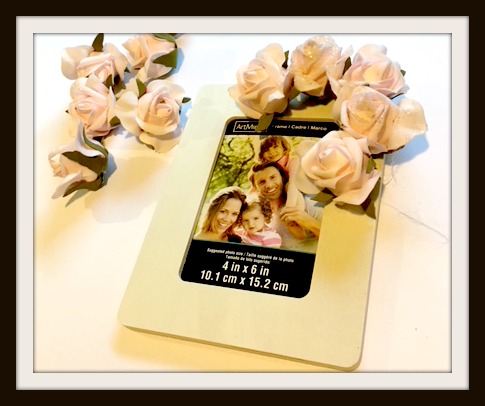
Now pause to admire the beauty and simplicity of this gift. Will you put a photo of the happy couple in the picture frame or their wedding invitation? Or will you put the birth announcement or leave it empty for the expecting parents? Or did you see my last post about putting gift cards or cash in photo frames to add to your thoughtful prezzie. http://mybrightideasblog.com/give-a-money-gift-in-a-picture-frame/
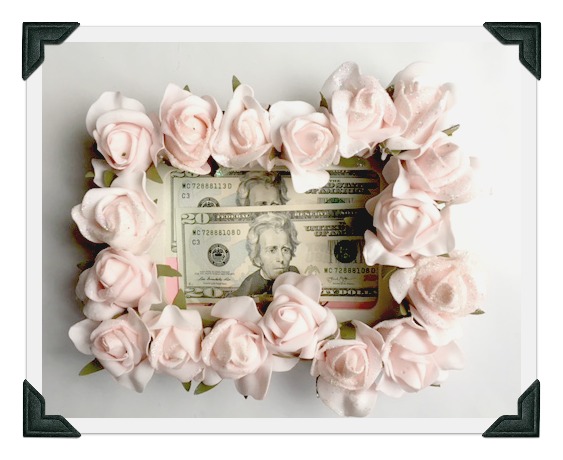
Voila! This project is done in 5 minutes and off you go to the baby shower with your gorgeous homemade picture frame.
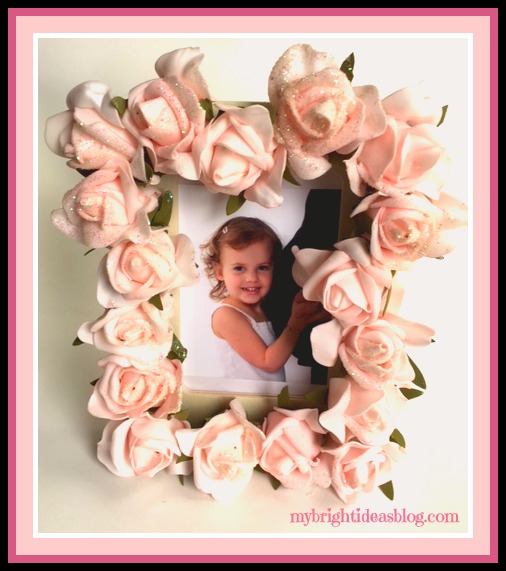
Did you see the tummy sticking out in the photo above? That is my belly growing my second daughter. In the end I’ve decided to give the rose photo frame to Miss B to put in her bedroom. She often remembers the happy times when she was an only child. LOL! This is a nice keepsake to remind her that she was very excited to be a big sister. This kiddo was soooo bald as a baby-not a stitch of hair but here she is a nearly 3 years old and it started to come in beautifully! It’s now 8 year later and her hair is long and luscious! Golly doesn’t time fly!

Wherever you are-I hope you have a super day! Thanks for stopping by!
Make a Clothespin Butterfly and Dragonfly
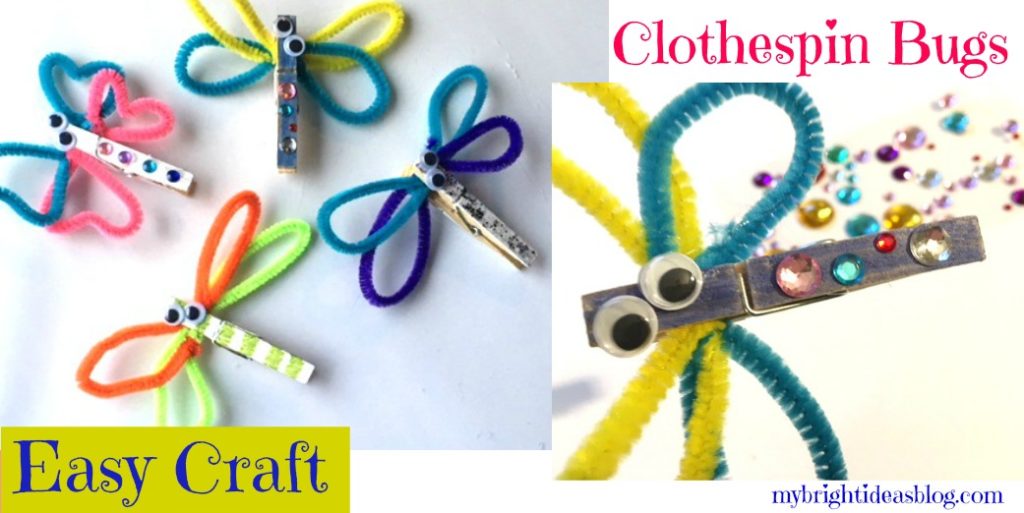
Butterfly and Dragonfly Clothespin Craft
I’m longing to dazzle you with a blog post that has homemade jewelry or reinvent something with scrap wood or a wonderful garment made from a curtain and an old pair of jeans…sigh. But alas, between work and volunteering at the kids school there is no time for more than making a pipe cleaner butterfly and dragonfly. Oh well, its good to take a few minutes out of this busy, busy week for some crafting.
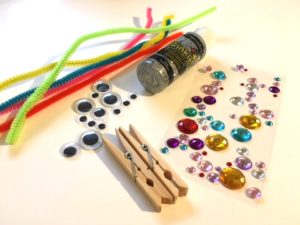
For this super cute project you will need:
- 2 pipe cleaners
- a clothes pin
- 2 small googly eyes
- paint, sparkly glue, gems to decorate it
- hot glue gun or white craft glue
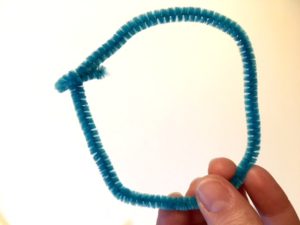
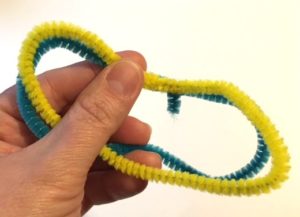
To get started take a pipe cleaner and shape it into a circle. Bend and twist the ends to close the circle. Repeat this step with a second pipe cleaner.
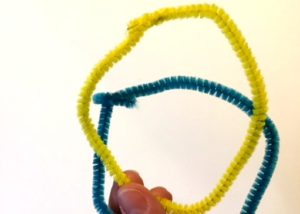
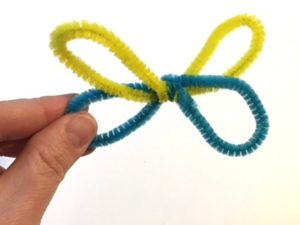
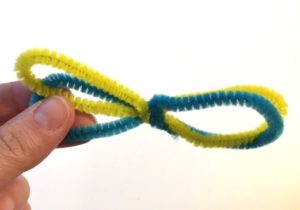
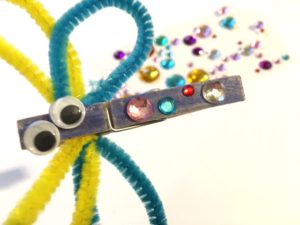
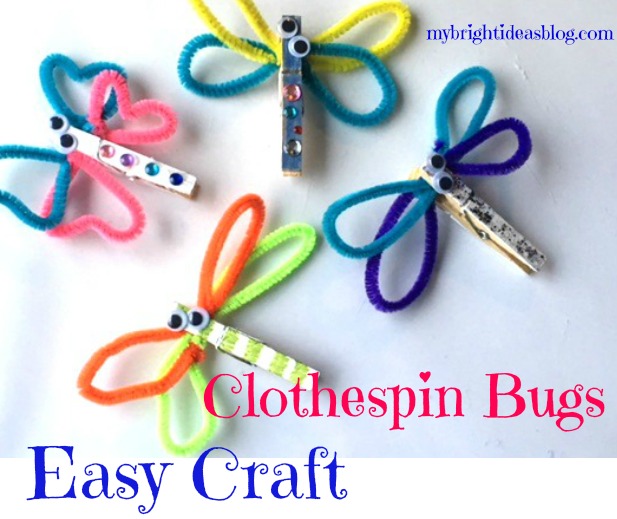
Pinch the circles in the middle and twist the pipe cleaners. Twist again to form the middle of the butterflies wings. As you can see I arranged the pipe cleaners so the yellow made the upper wings and the blue made the bottom wings.
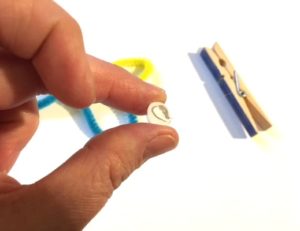
This middle of the wings will be pinched by the clothes pin when opened. You can do that now or wait until after you finish gluing everything on.
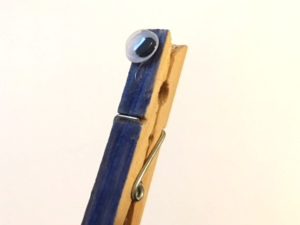
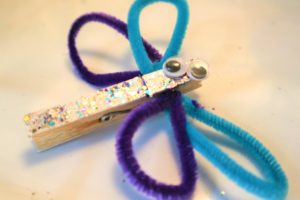
Add a dab of hot glue to the small googly eyes and secure them on the clothes peg. I added some gems from a sheet of stickers. This is a pretty easy project even for youngsters. They should use regular white glue and not hot glue guns.
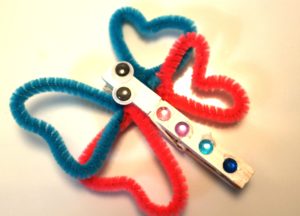
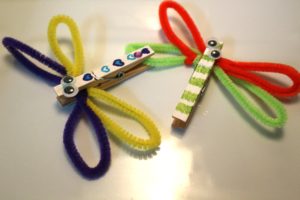
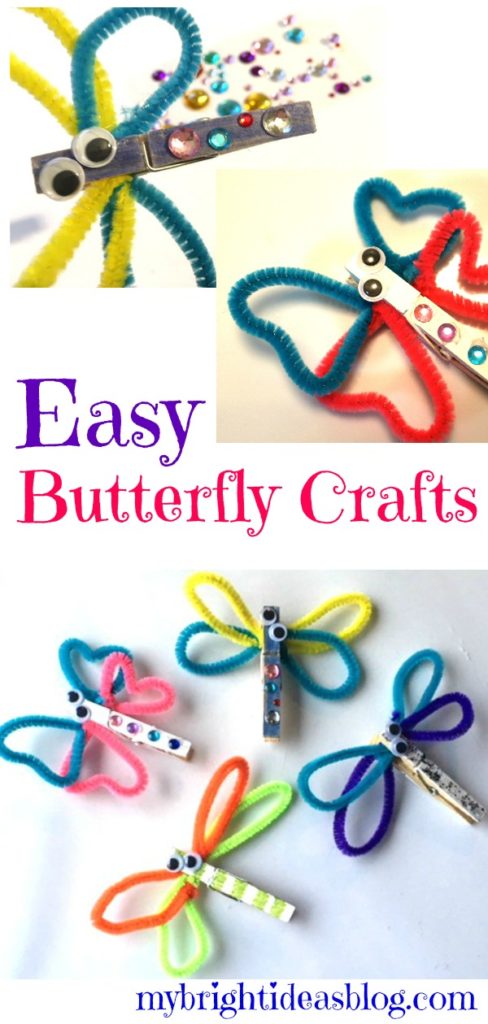
One option to change the wings, is pinch it in so its heart shaped. This way it’s a bit more butterfly-like. Narrow wings look more like dragonflies. Add what you like to decorate the critters. We could easily turn this into a fridge magnet by gluing on a magnet to the back.
Have fun with this easy project and have a super day!
…

