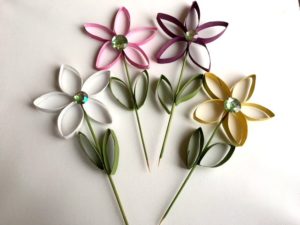
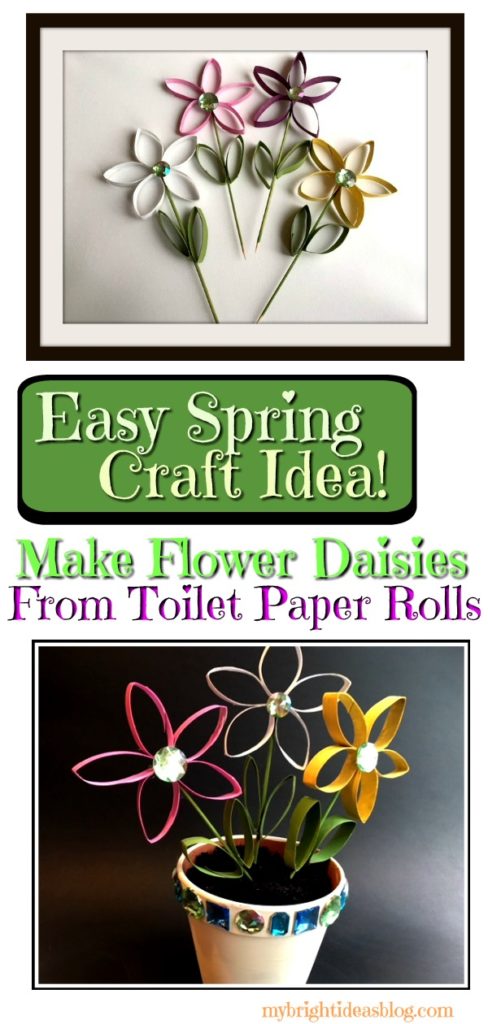
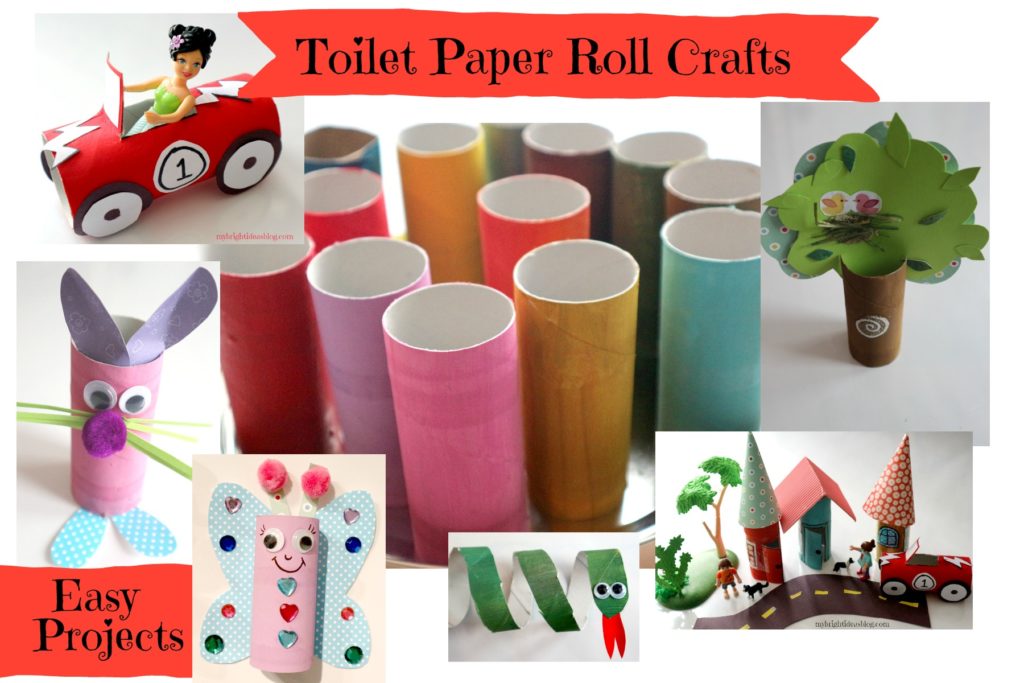
Looking for something to do with all those toilet paper rolls that your hoarding? Or am I the only one who doesn’t toss them directly into the recycle bin? Well all it takes is one toilet paper roll to make 5 flower petals and 2 leaves.
What a nice idea as we welcome Spring…ignore the fact that I’m posting this in mid April and we are shut in from an ice storm. Not to worry, Springtime will be back tomorrow.
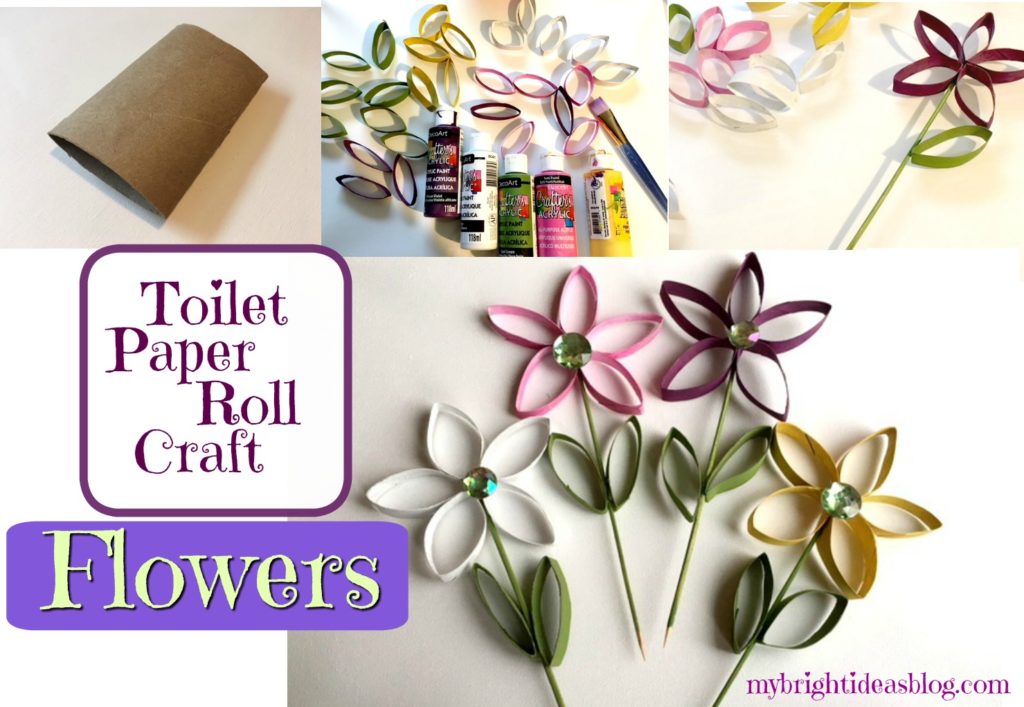
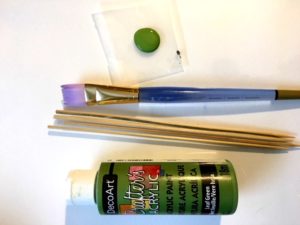
For each flower you will need: 1 toilet paper roll, ruler, scissors, glue gun, craft paint and paint brush. For the stem I used a wooden skewer but for safety sake you could use a popsicle stick. For the flower centre I used a big shiny gem but you could use a pom pom or button.
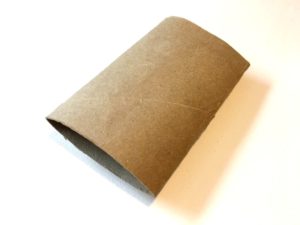
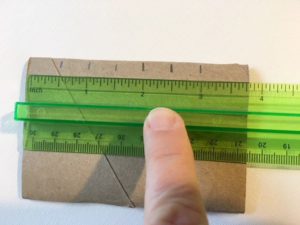
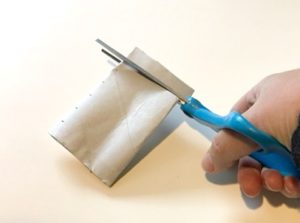
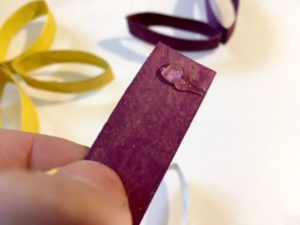
To begin you need to flatten your cardboard roll. Next measure and mark approximately 1 cm or 1/2 inch. It doesn’t have to be exact but we want to end up with it cut into 7 equal pieces.
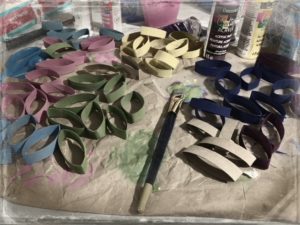
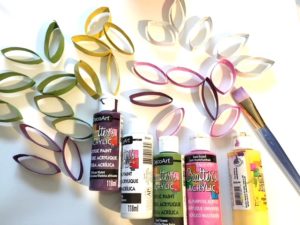
Take 5 pieces of the cardboard tube and paint them all the same color. This will be the flower petals. Paint the remaining 2 pieces green for leaves. I was surprised at how messy you can get trying to paint this. Paint the inside first then the outside. Then paint the stem skewers or popsicle sticks green. As I mentioned I did use skewers but my 8 year old was poking her big sister with it reminding me how dangerous this would be in a toddlers hands. So as a safer option I would choose a popsicle stick. They come in a few sizes-if you can get the long skinny type like they have at Starbucks that’s what I would choose but any kind would work. Now allow everything to dry thoroughly.
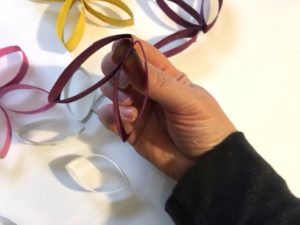
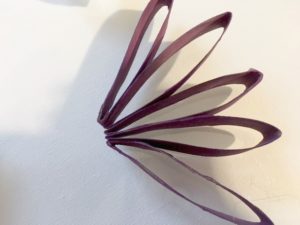
After the petals have had a chance to dry we begin to glue the first two together. Put a dab of glue on the end of one and pinch it with another while it dries. Add a dab of glue to the next one and pinch them together. Add on each one the same way until all 5 petals are glued together.
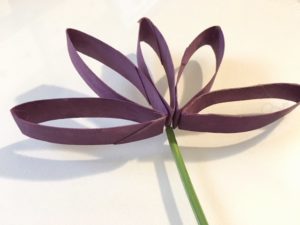
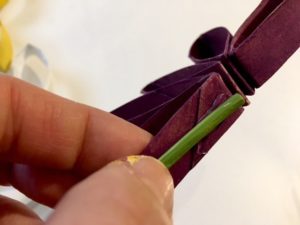
Place the stem in the middle of the petals and add a dab of glue to it. Pinch the daisy petal to the stem. Add a dab of glue on the other side of the stem and pinch the other petal to stem. This will complete the daisy shape. Put a dab of glue on the stem and place on the leaves-one at a time.
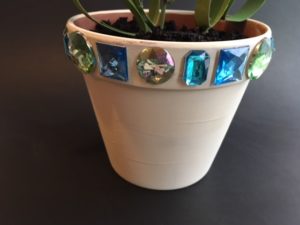
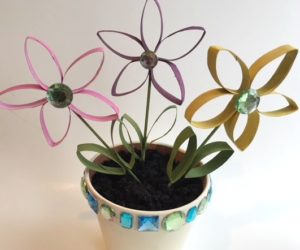
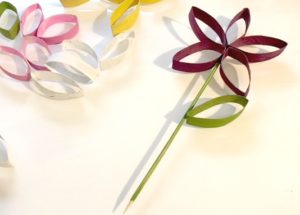
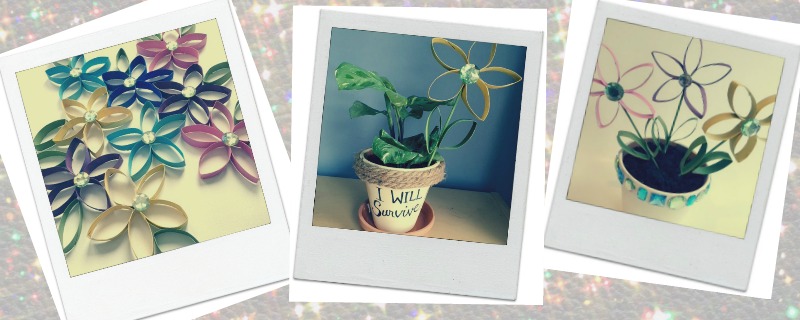
To finish it off glue the gem (or button or pom pom). Now you can pop it into a plant and give it away as a gift. I had extra gems and a flower pot handy so I hot glued the gems all around the flower pot too. It was so easy that I am in the process of making a bit of wall art out of the daisies.
Here is another post using toilet paper rolls.
Toilet Paper Roll Crafts-Use your loo roll tube for easy Crafts!
…

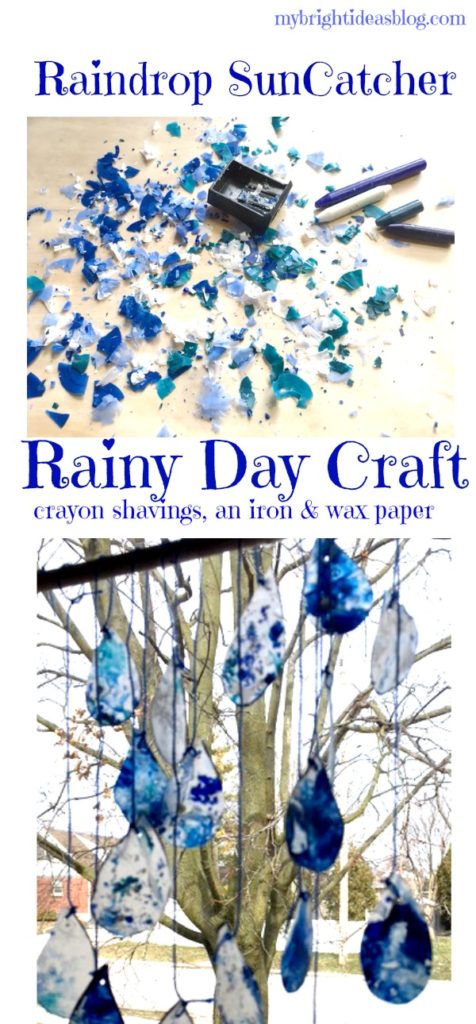
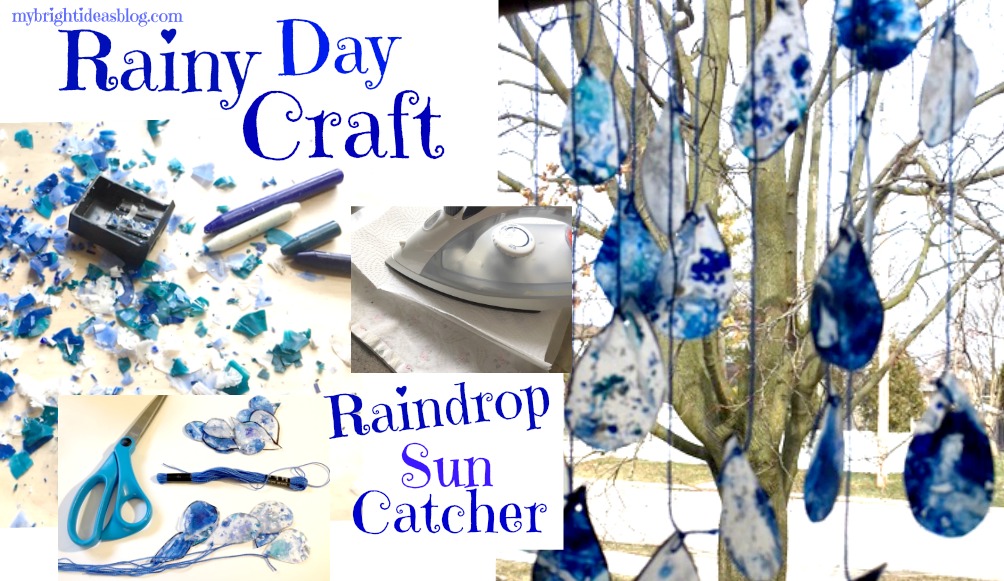
Rainy Day Kids Craft – Raindrop Sun Catchers
 Is it raining near you today? It is spring so we are going to have a lot more to come. Rain and sun is what is going to make my brown lawn green and that naked tree grown luscious leaves. In the meantime, let’s make the best of it with a cool craft.
You will need:
Several shades of Blue Crayons, Wax Paper, Iron-set to low heat setting, Old tea towel and Paper Towel, Scissors, a Pencil Sharpener, String or Yarn or Embroidery Floss (Blue) and a Hole Punch.
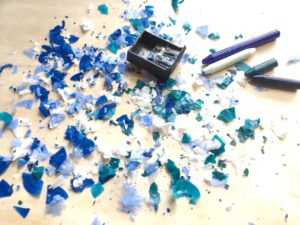
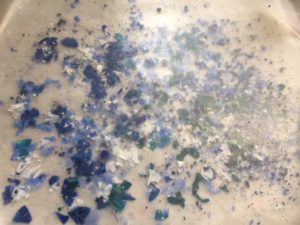
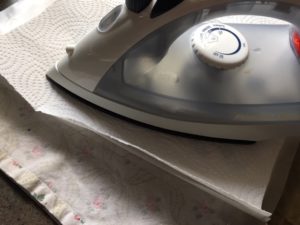
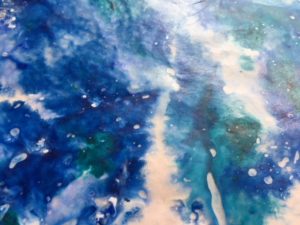
Choose some blue crayons and peel off the paper so they are ready for sharpening. I chose several shades of blue, turquoise and white. Lay out a piece of wax paper and sharpen the crayons overtop of the wax paper. Spread the shavings out. Next cut another piece of wax paper the same size and place it on top of the shavings for a crayon shavings sandwich. I did the craft on a wooden cutting board with a tea-towel under the wax paper and paper towel on top of the other wax paper. The shavings move around a lot so you may end up with some melted to the towels. My main thought was trying to protect the iron from permanently melting crayons to it. Now you make a quick run over the top layer with the iron. Adults should do the ironing-start at lowest setting if it doesn’t seem warm enough increase a bit at a time.
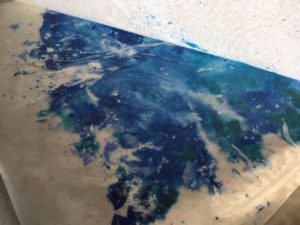
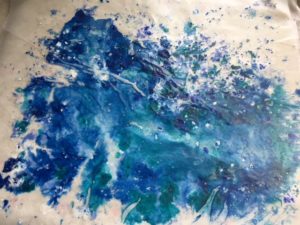
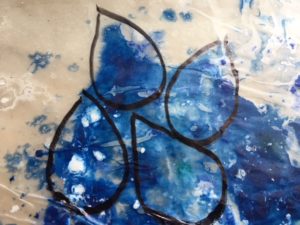
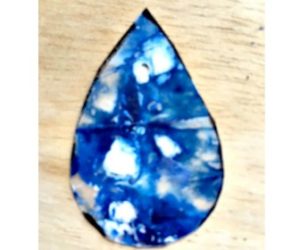
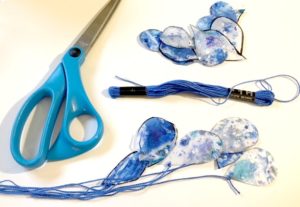
Draw a raindrop shape onto the wax paper and cut out the water drop shape. Next use a hole punch to pop a hole in the top of the raindrop. String up the raindrops and tape or wrap it around a stick or dowel or wooden spoon. If you haven’t got anything to use just put it with a line of tape right on the window. If I had blue painters tape I would have just put a line of that on the window.
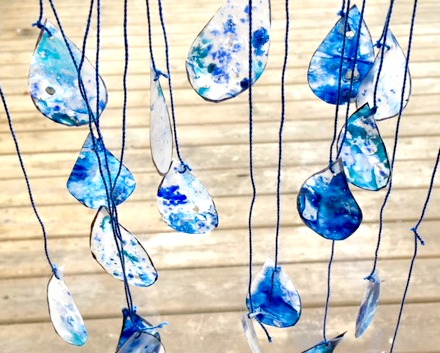 The sun is trying to push through the clouds!! Better hurry and grab a kiddo and doggo and get out for a walk….
Toilet Paper Roll Crafts-Use your loo roll tube for easy Crafts!
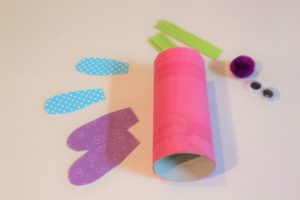
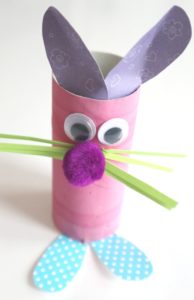
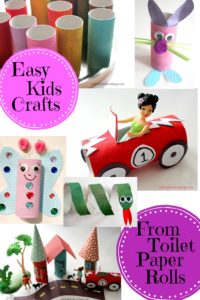
Are you collecting toilet paper rolls for kids crafts?!? Of course you are! Here are some ideas for what to do with them.
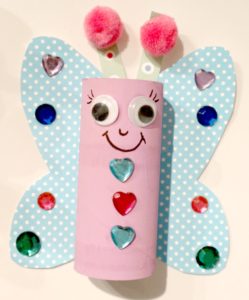

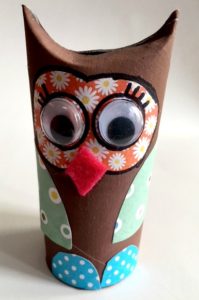
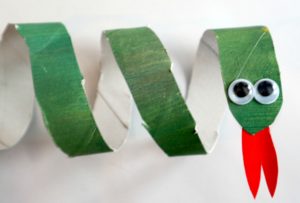
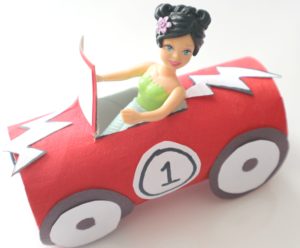
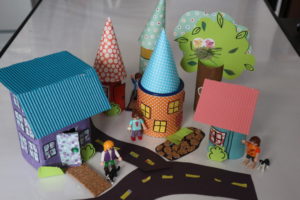
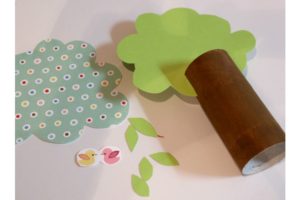
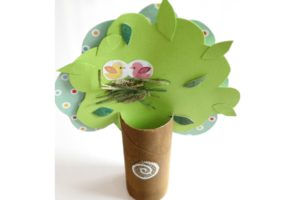
There is just so many things you can make once the ideas start to roll in. I started with the polly pocket race car, then a tree, several houses and a road. Using tea tins and boxes I made some different shaped houses. Several toilet paper houses too.
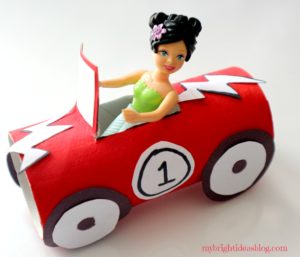
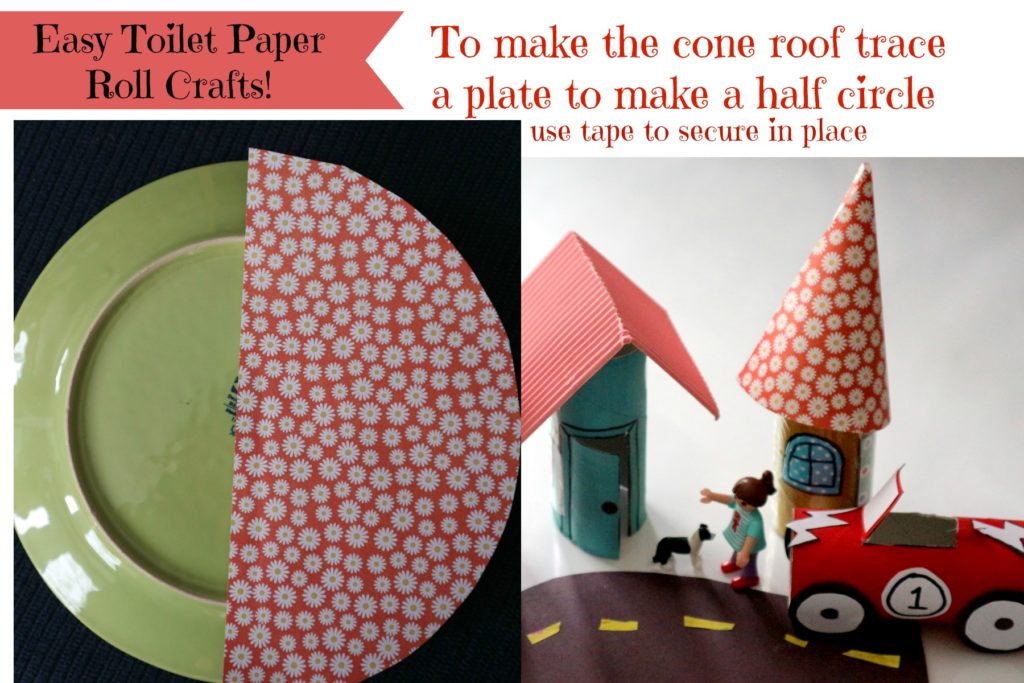
Cruising through pinterest I can see a lot more ideas and not to worry I have plenty of toilet rolls saved for more crafting. March break is this week and that is the perfect time to get out the cheap crafts and paints and glues and make a toilet paper roll community. Have Fun Everyone!
…

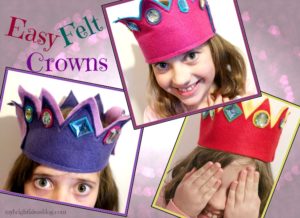
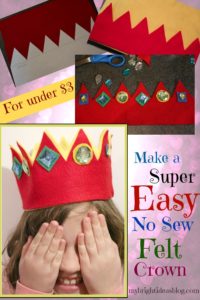
How to Make a No Sew Felt Crown for under $3
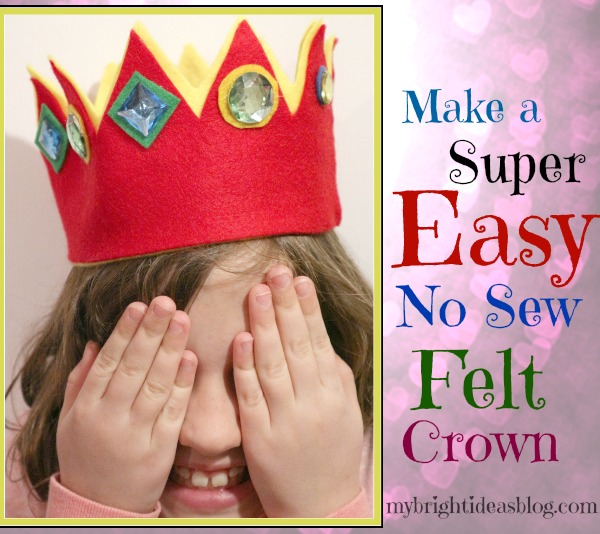
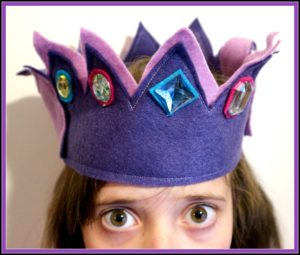
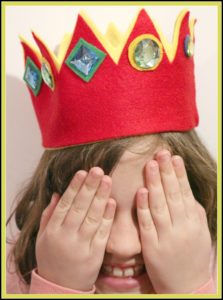
Today we are making a “no sew” felt crown. I tried to be mindful of the cost and simplicity of this project in case you need to make 10 of these for a children’s princess party.
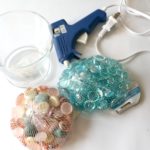
Here is what you need:
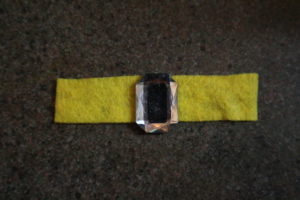
A piece of craft felt can cost $.50-1.25 depending on where you are buying it. For each crown you will only need 2 rectangles of felt-I used different bright colors. You will need some gems, scraps of felt and your hot glue gun.
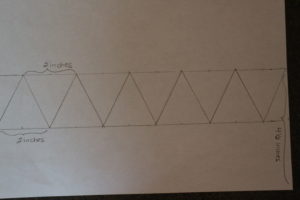
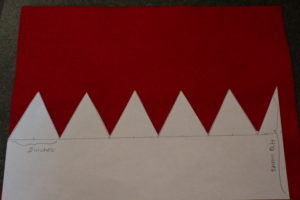
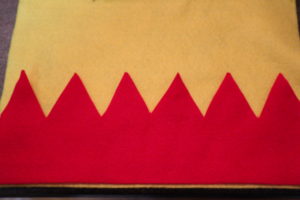
Make a template using a 8 1/2 by 11 standard piece of paper. Measure 4 1/2 inches from the bottom and draw a line. Draw another line 2 inches below that. Put a mark every inch along both lines. Then using your ruler create a zig zag. This measurement should make it possible to do this twice on a felt rectangle that measures 9′ x 11 1/2″. To make sure you don’t cut into the other half you could cut the felt in half lengthwise before you cut the zig zag, If your felt isn’t as wide as mine just shorten the bottom portion of the template. Do the same with the second color that you have. This extra layer will stiffen the project so it can support the gems. It also makes it really pop with the extra color.
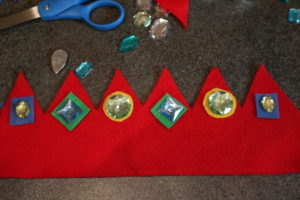
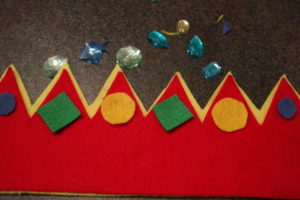
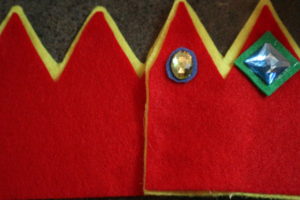
Now comes the fun part! Sort out how you would like to place your gems. Cut pieces of felt out of scraps to place under the gems. Using the hot glue gun, glue the layers together. Then glue on the felt circles and triangles into place, and followed by the gems. This is when I borrowed my daughter’s head for a sizing. Overlap the edges and glue in place. I only put gems on the front of the crown, if you were going to put them all around its important to not have glue gems on the part that is going to be under this over lap. So if I were going to put gems all around I would only put it on the 4 middle zig zags for the back part of the crown.

While you have the felt and gems out and the hot glue gun is still hot…you might as well make a ring and bracelet too.
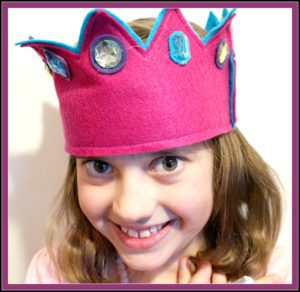
…Here is a link to another post with identical looking crowns but using the sewing machine to sew the felt together and add a Velcro closure.http://mybrightideasblog.com/sew-a-super-easy-to-make-felt-crown/
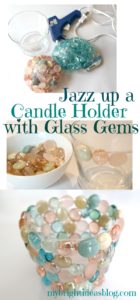
Jazz up a Vase or Candle Holder with Glass Gems and Hot Glue!
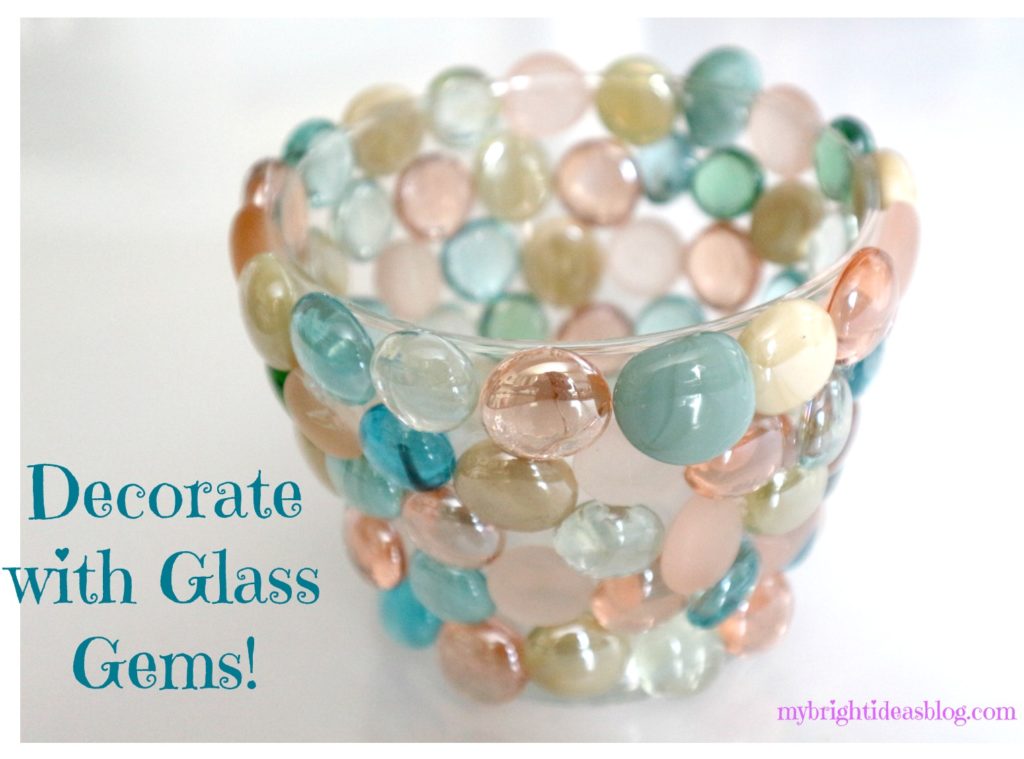
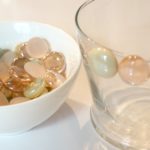
When I saw this bag of glass gems at Michael’s craft store I had to get it even though I didn’t know what project to use it for yet. The beads had pearl and pink and turquoise….so pretty!
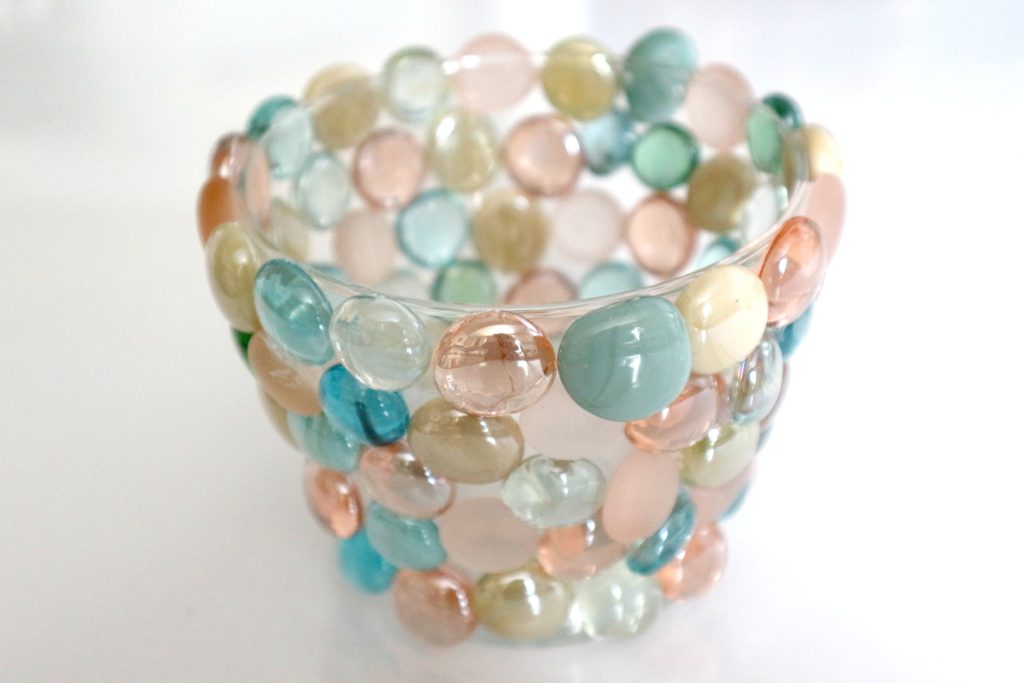
The vase is small either for short cut flowers or its a candle holder…I’m not sure. One bag of gems was enough to cover this vase…candle holder…for simplicity lets call it a vase.
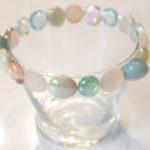
It doesn’t really require instructions its so easy. Alternate the gems for variety. Try to save some smaller ones so you can fit them into the small spots. I found the ones on the bottom wanted to pop off because the edge is a little rounded. So another glue might be better for a curvy vase. Or just put it in a place that won’t tempt your children to touch it.
…
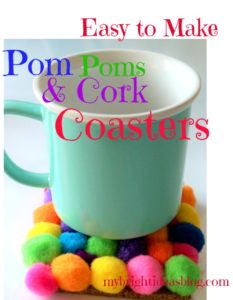
Easy Pom Pom and Cork Coasters
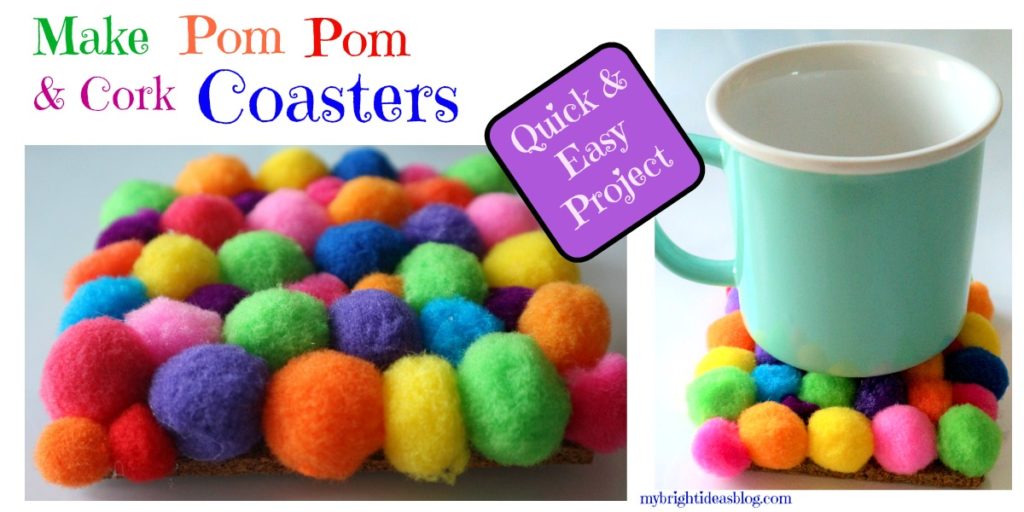
This project is bright and cheery and ridiculously easy to make! All the supplies can be purchased at a Dollar Store so its super inexpensive too!
You will need:
- cork
- bright pompoms (plan for 40 per coaster)
- ruler
- scissors
- hot glue gun
- hot glue sticks
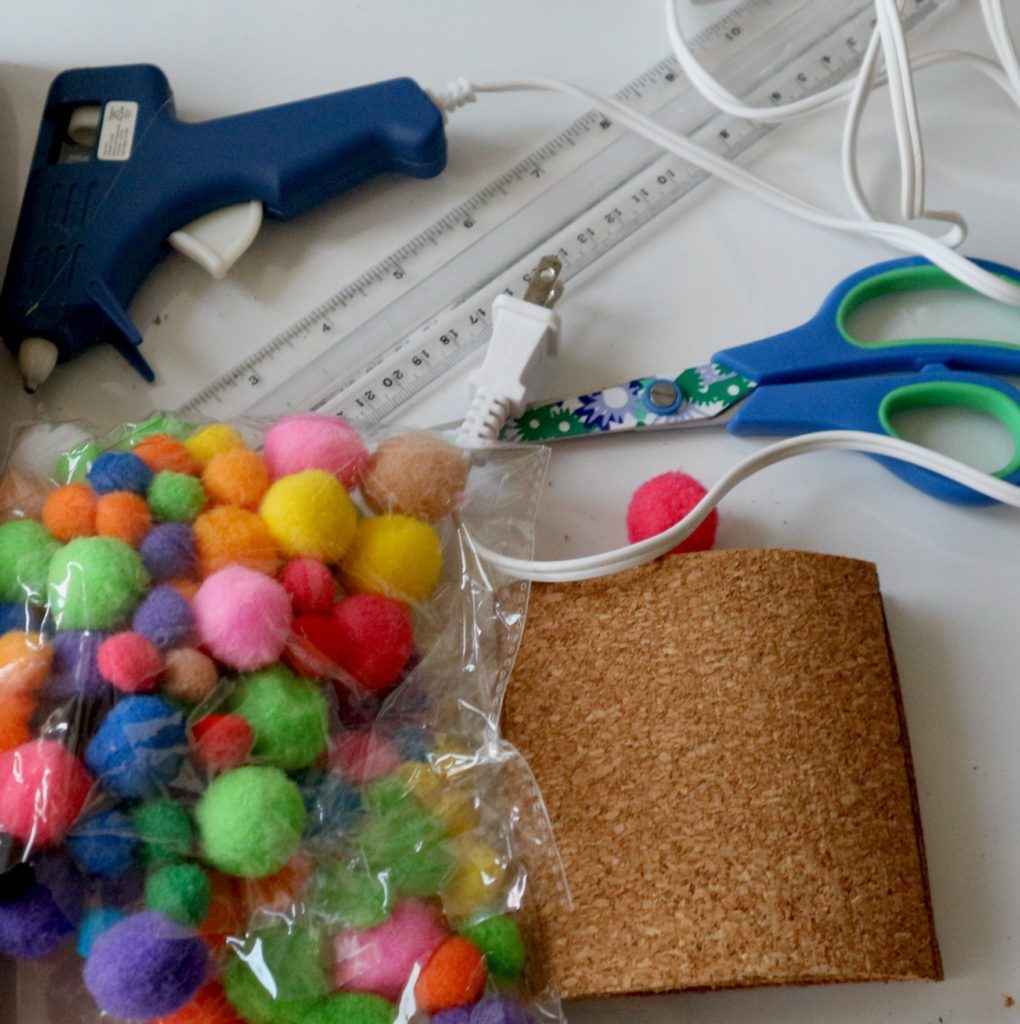
Gather your supplies!
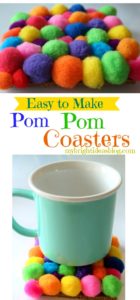
Initially I used a roll of cork but its too light and curvy (you can see in the photo above that it doesn’t lie flat) so use the 12 inch by 12 inch cork square tiles and cut it to the size you like. I cut mine to 4 inches by 4 inches.
![]()
Attach the Pompoms with hot glue. Watch your fingers kids!
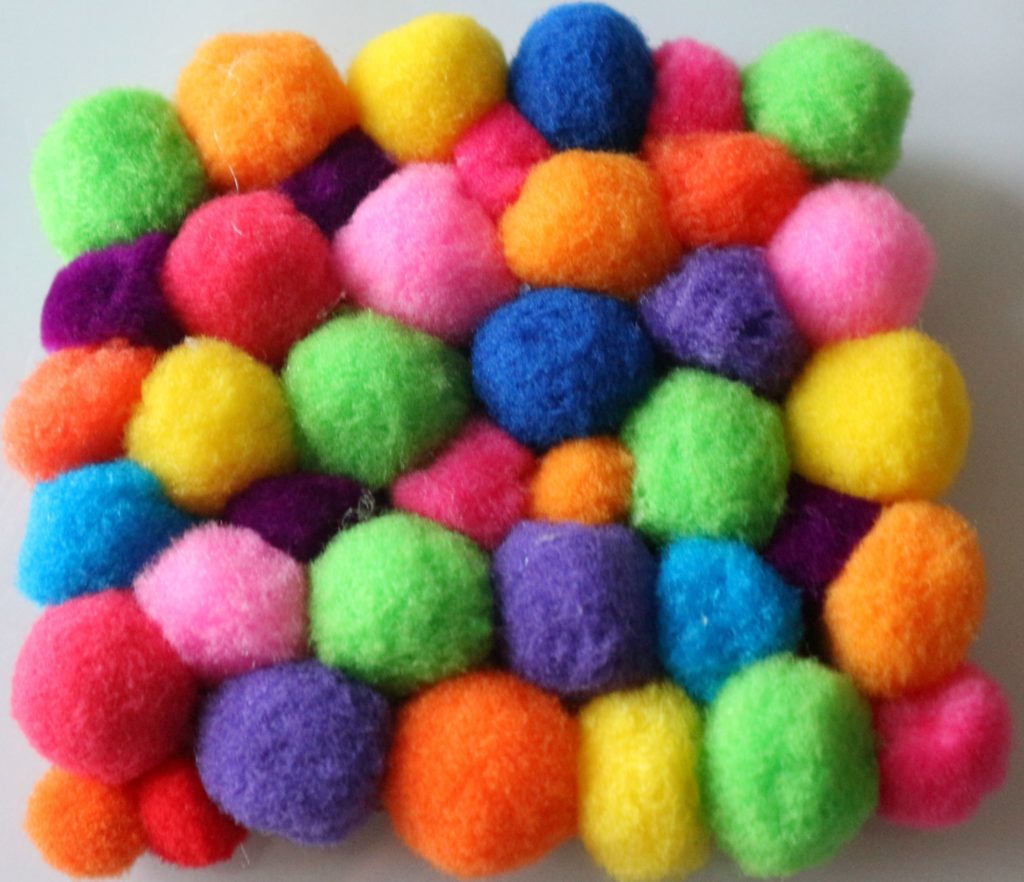
My coaster took nearly 40 pompoms and didn’t have enough the same size. You want them to be fairly consistent so your cup of coffee isn’t tippy on the coaster. Fill in any gaps with smaller ones so you can’t see the cork.
….
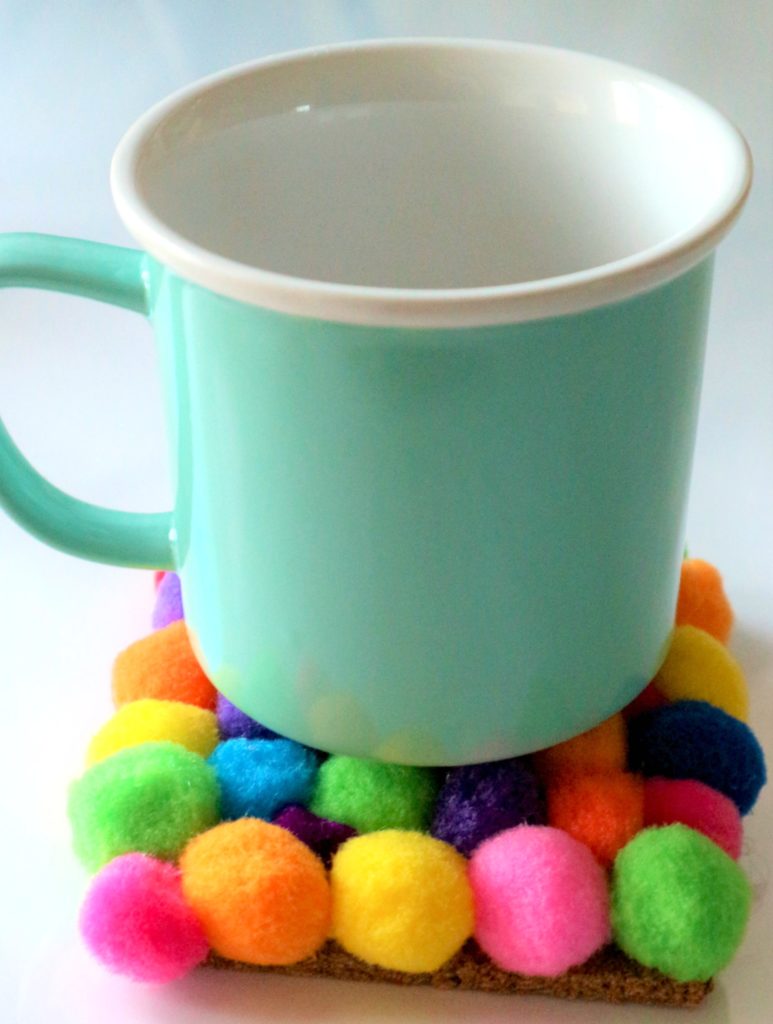
The colors are quite cheery on this grey February morning! It makes me smile every time I look at it!
This would make a great gift for your 10 year old to make and give. I hope you have had fun with color and this very jolly craft!
Remember to pin it on Pinterest or share it with your social media networks.
….
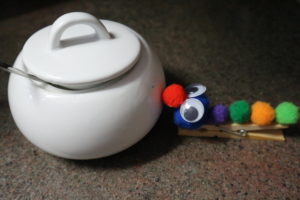
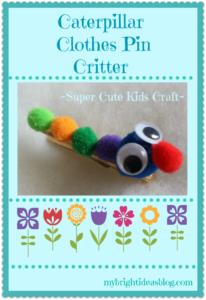
Clothes Peg Caterpiller Easy Craft for Kids!
This caterpillar is such an easy project with just a clothes pin googly eyes, white glue or hot glue gun (for heavens sake choose the hot glue-for everyone’s sanity) and pom poms.
This clothes peg caterpillar craft is such a cute little project. It reminds me of a set of little pom-pom fridge magnets my grand parents had on their fridge. Their names were Henry and Henrietta. They were just as simple, pom poms and googly eyes and a fridge magnet glued on to the back.
You will need small pom poms and a big one for his head. Five or so small pom poms for his body and nose, googly eyes and glue.
It turns out that gluing pom poms takes a lot of glue and they are still not on tight. Its a frustrating project. So if you are working on this with a toddler when they have lost interest move it aside and at nap time hot glue the pieces on firmly. If you glued magnets to the clothes pin you’d have a cute fridge magnet.
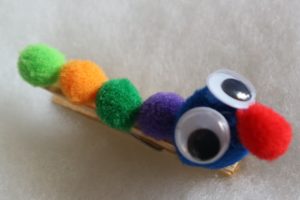
I think he looks very smart! He’s a clothes pin so he could be holding up artwork that is trying from a clothes line.
He kind of reminds me of the very hungry caterpillar book.
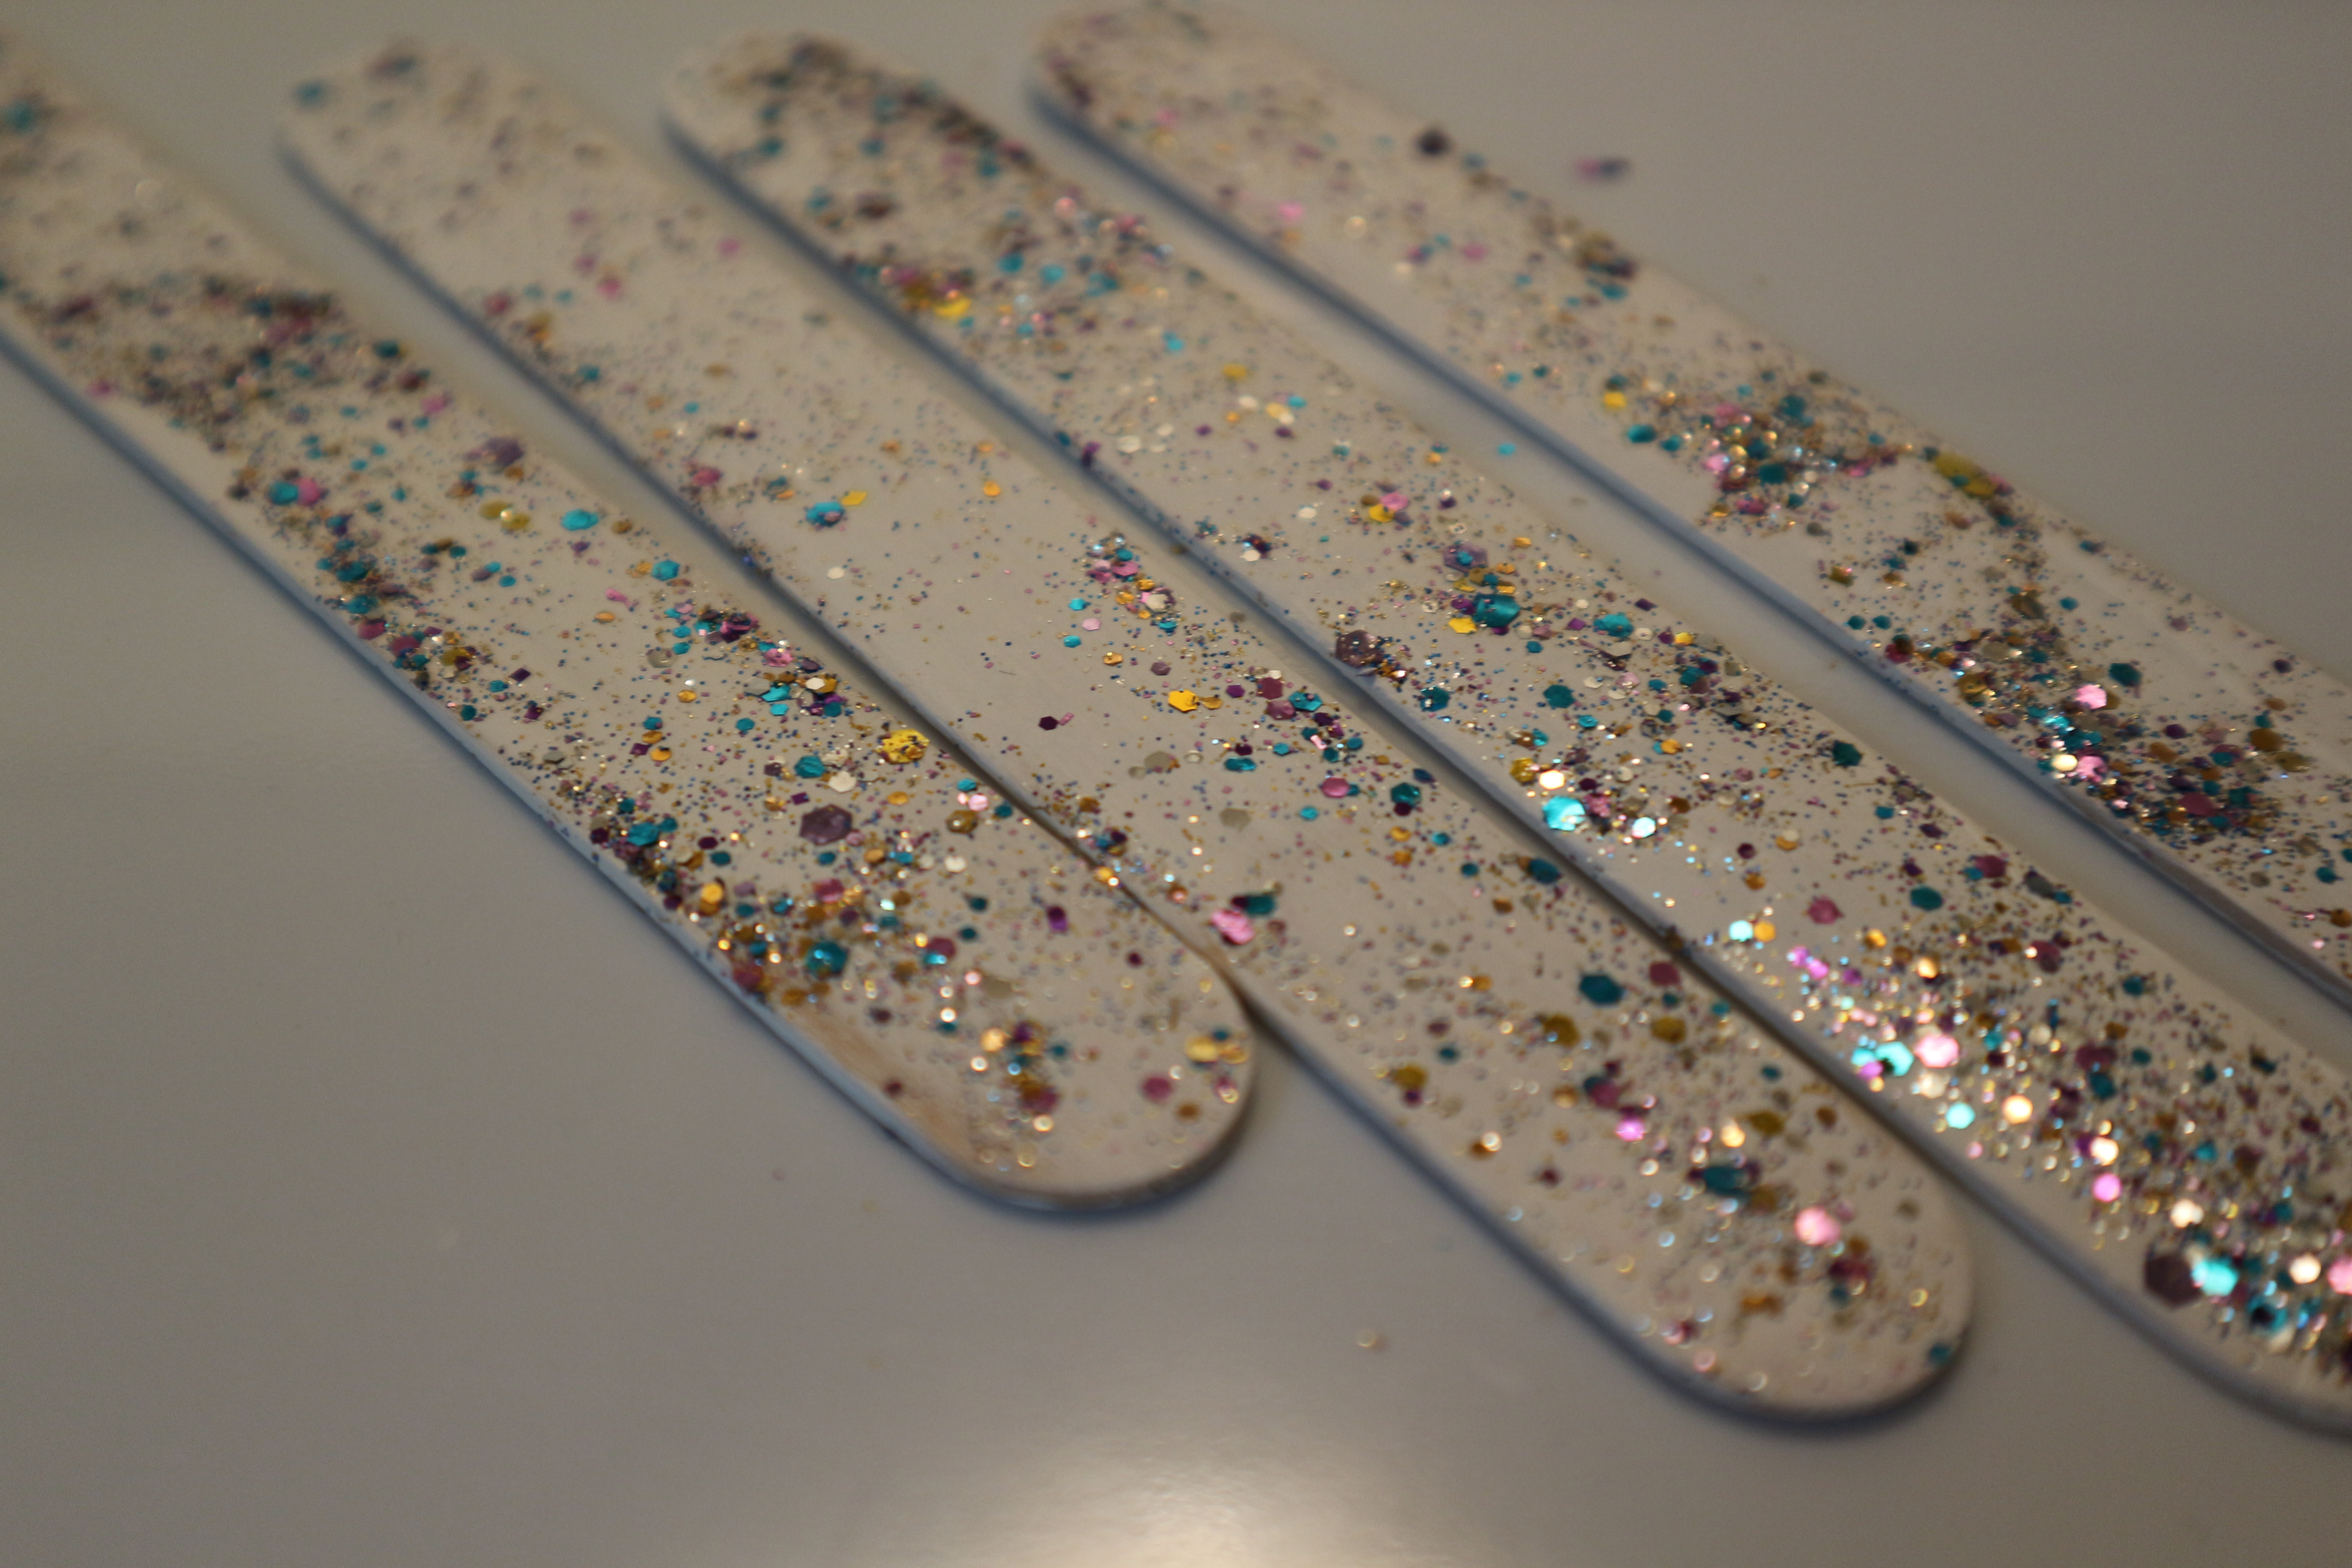
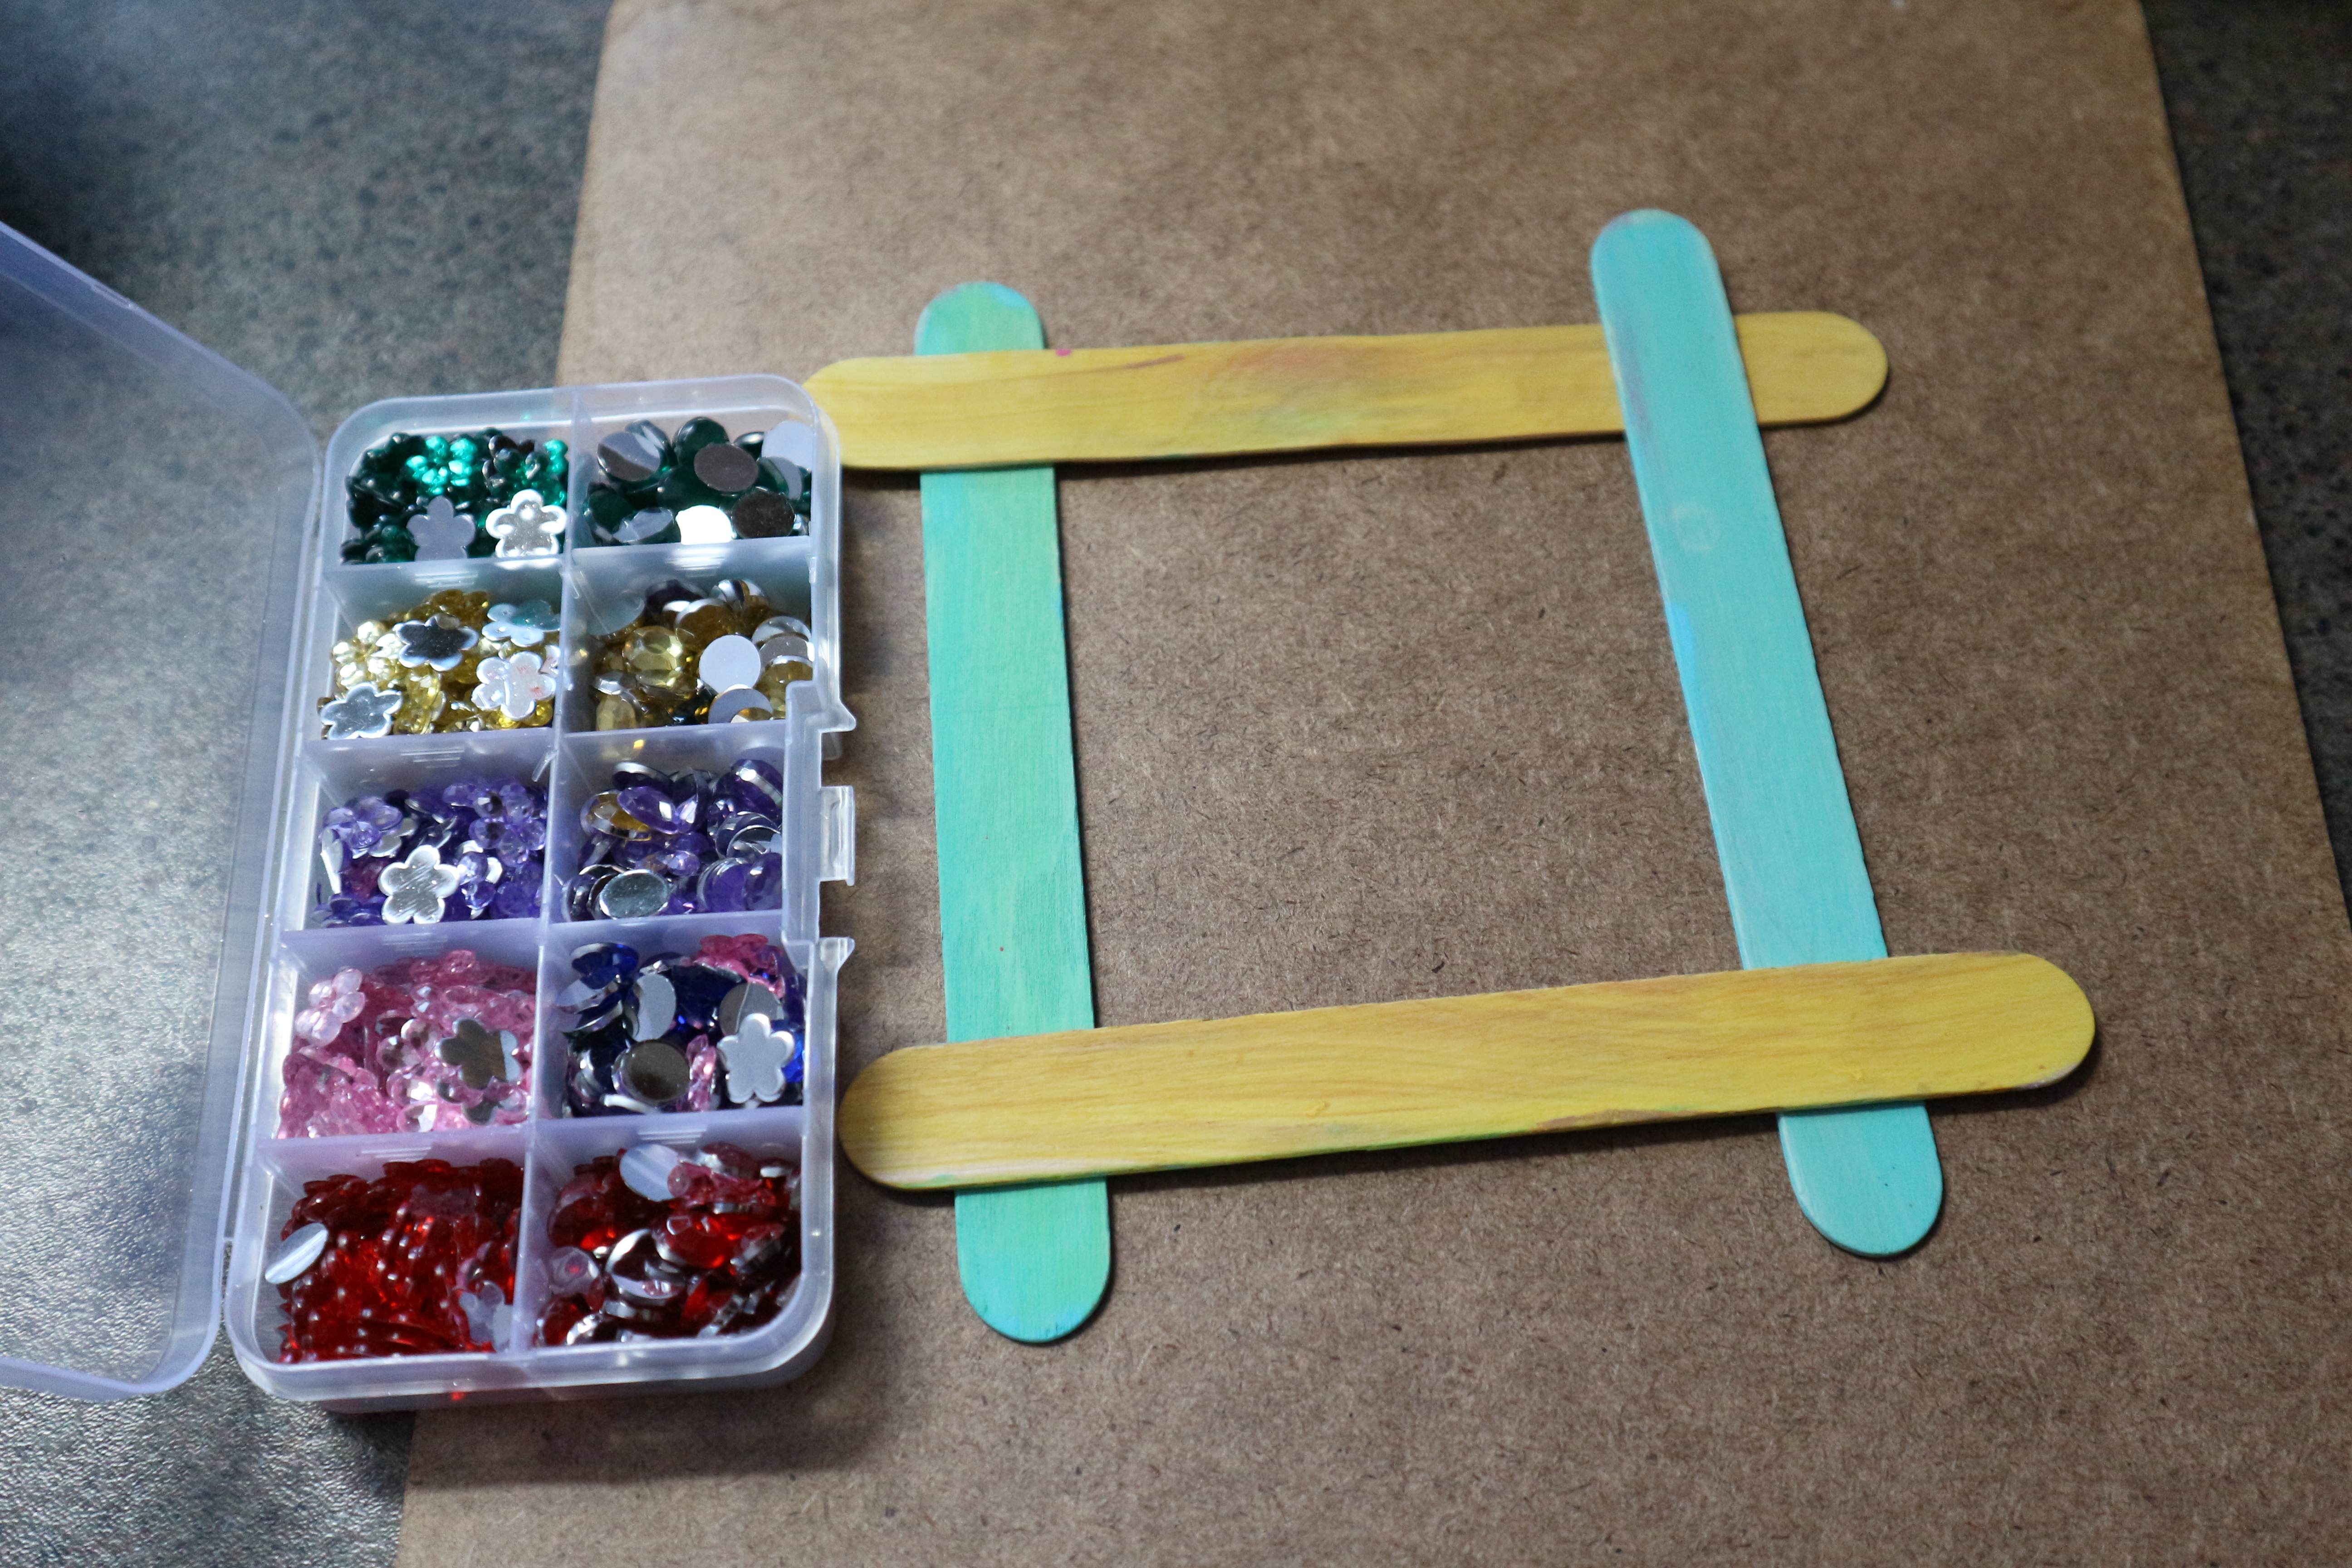
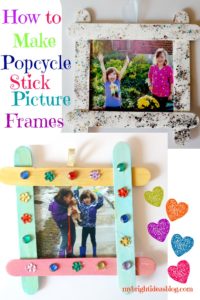
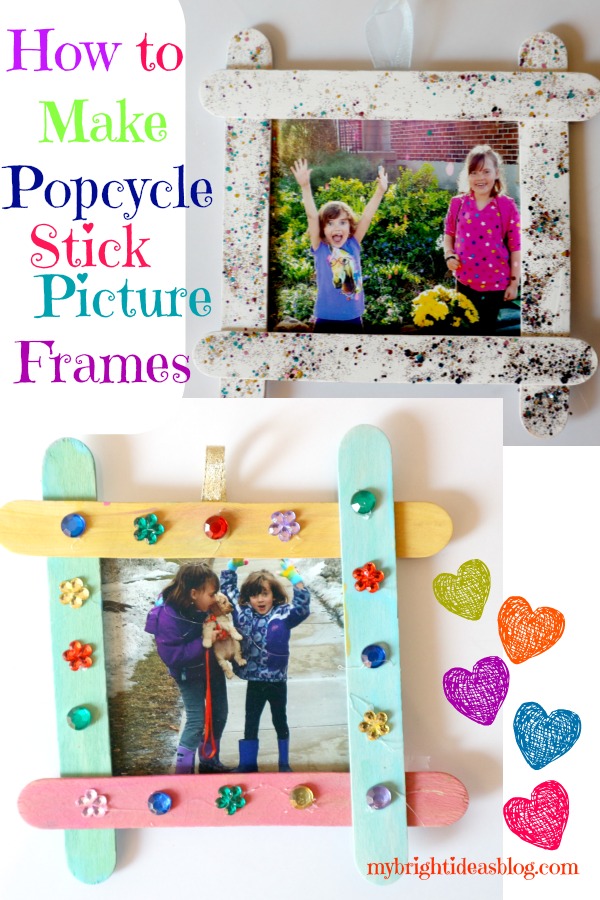
Popcycle Stick Picture Frames -Easy Kids Crafts
 What could be easier than this popcycle stick picture frame. Paint and decorate the popcycle sticks. Glue together to fit the photo you will use. Hot glue works quickly to attached the square of popcycle sticks. Hot glue a piece of ribbon on the back. OR strips of magnets if you would rather this be a fridge magnet.
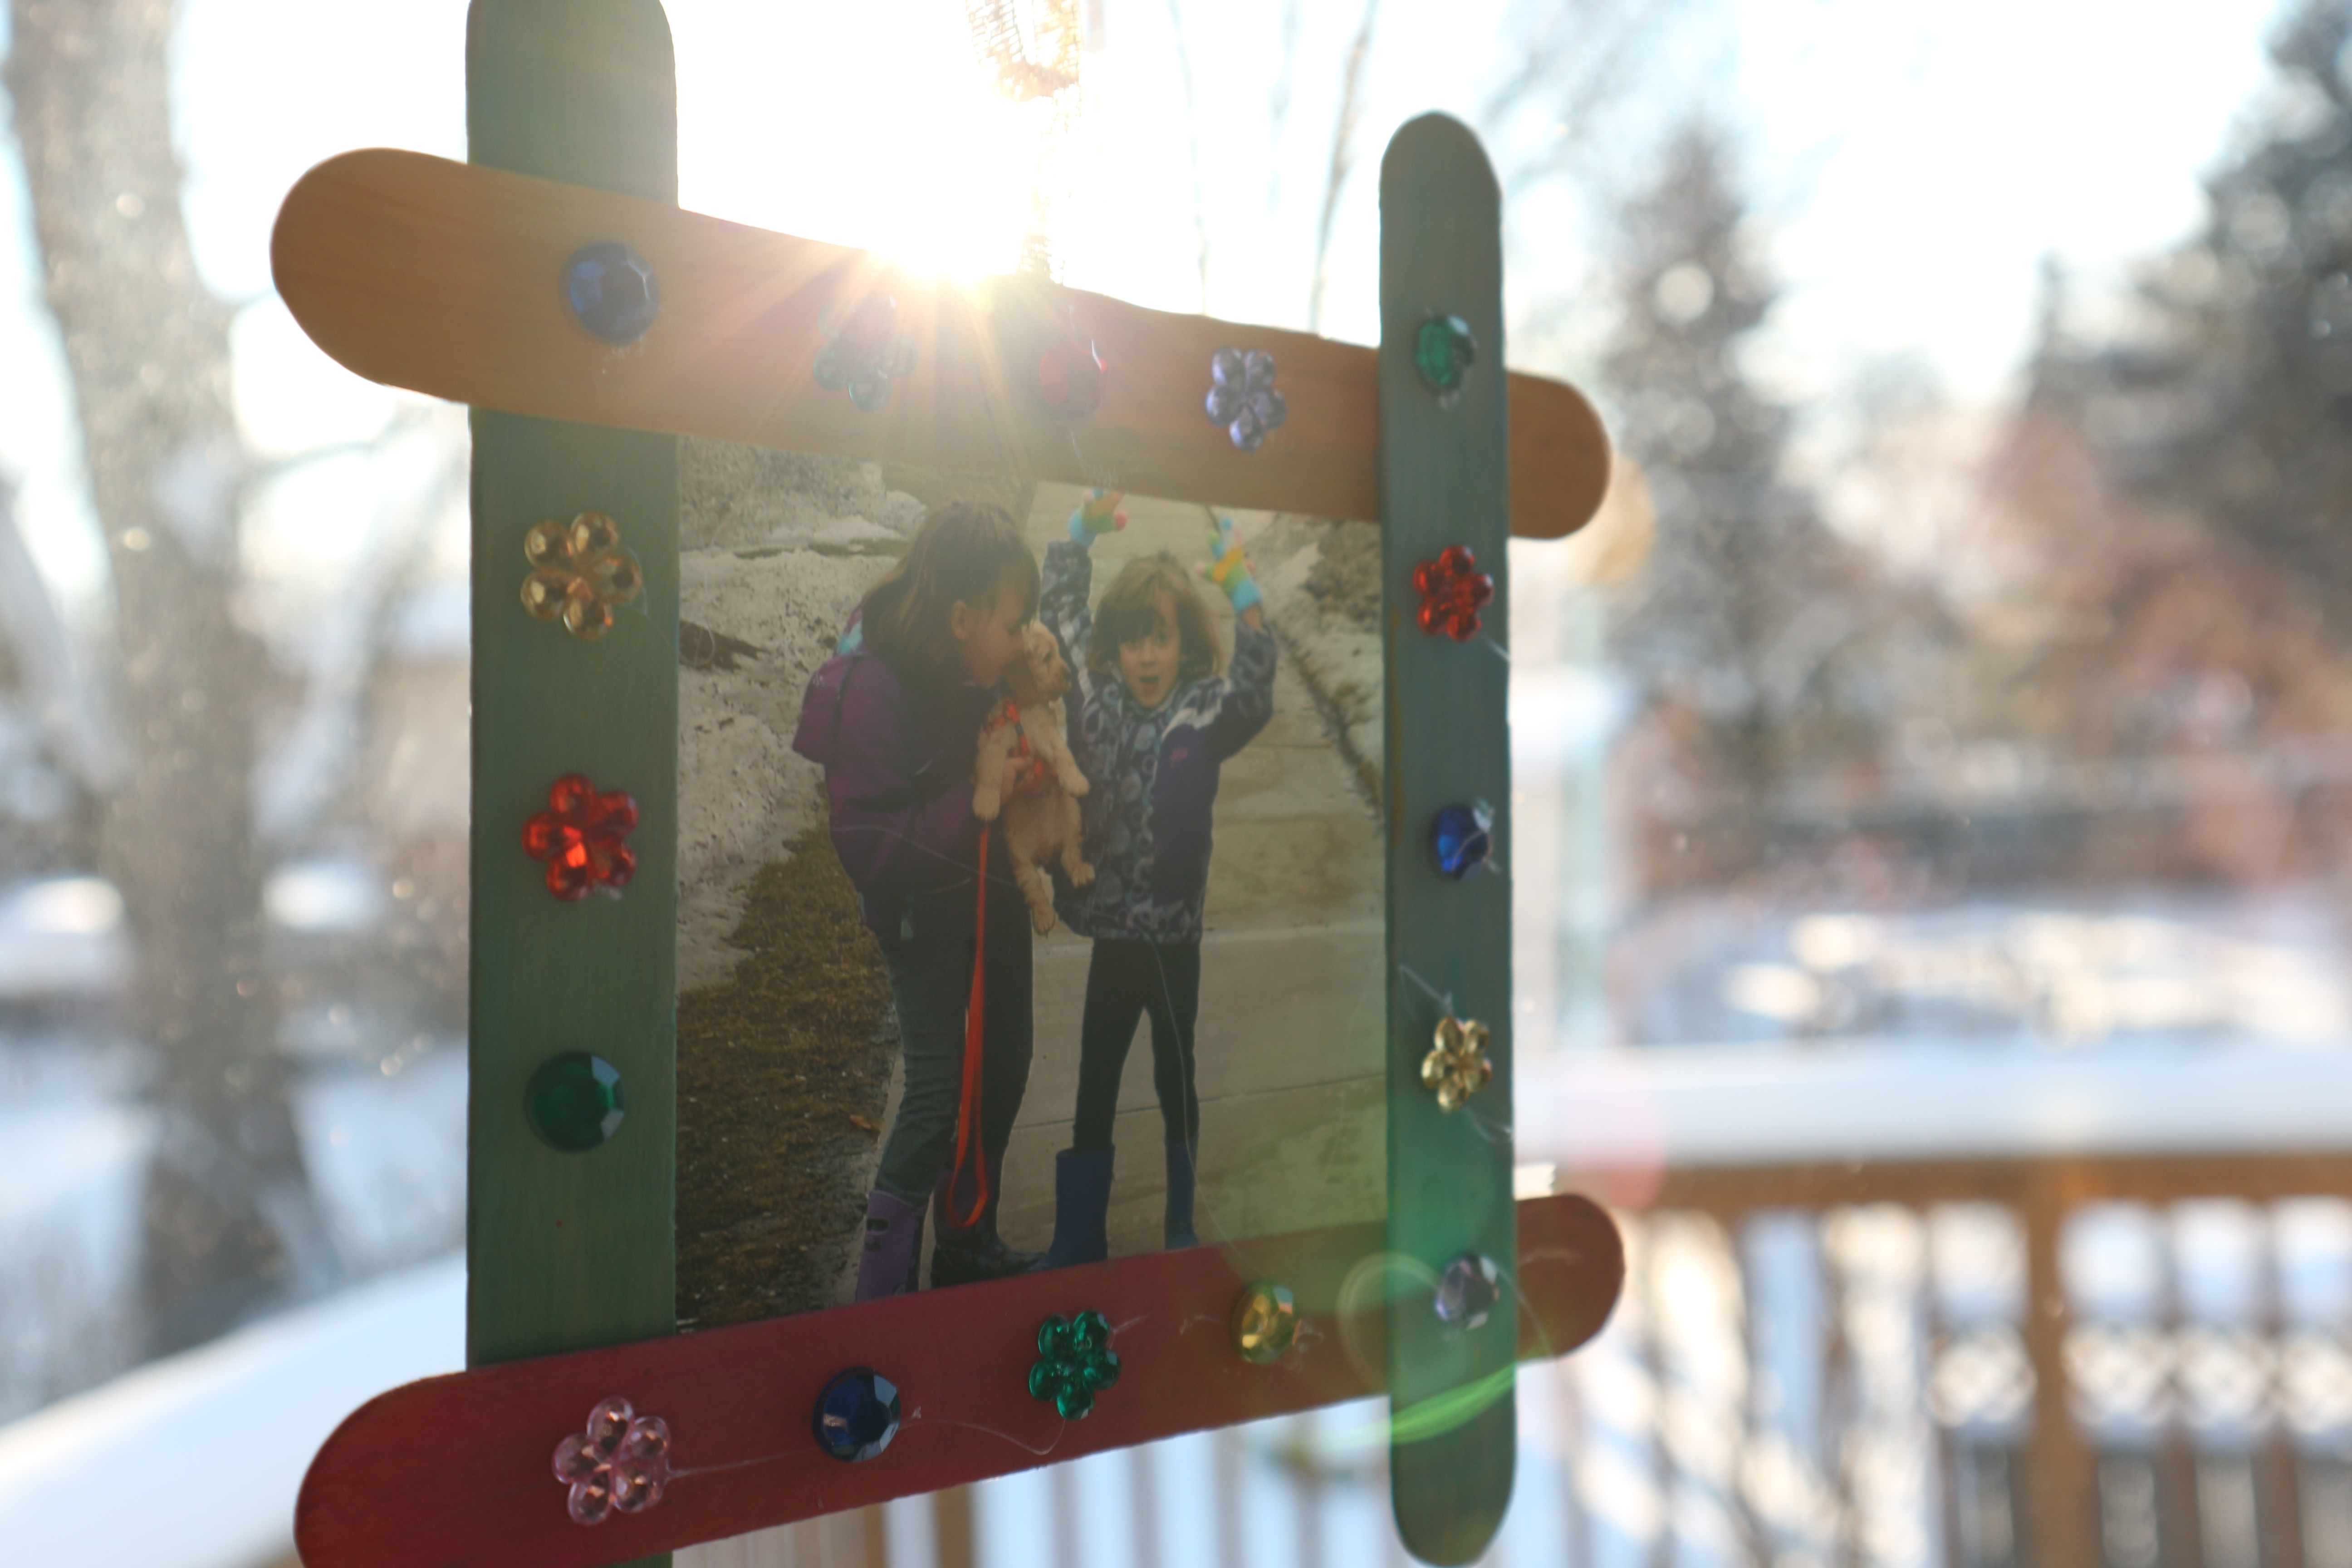
You will need: wide popcycle sticks, glue or glue gun. Glitter glue, gems depending on how decretive you want to get-you could just let a toddler finger paint it.
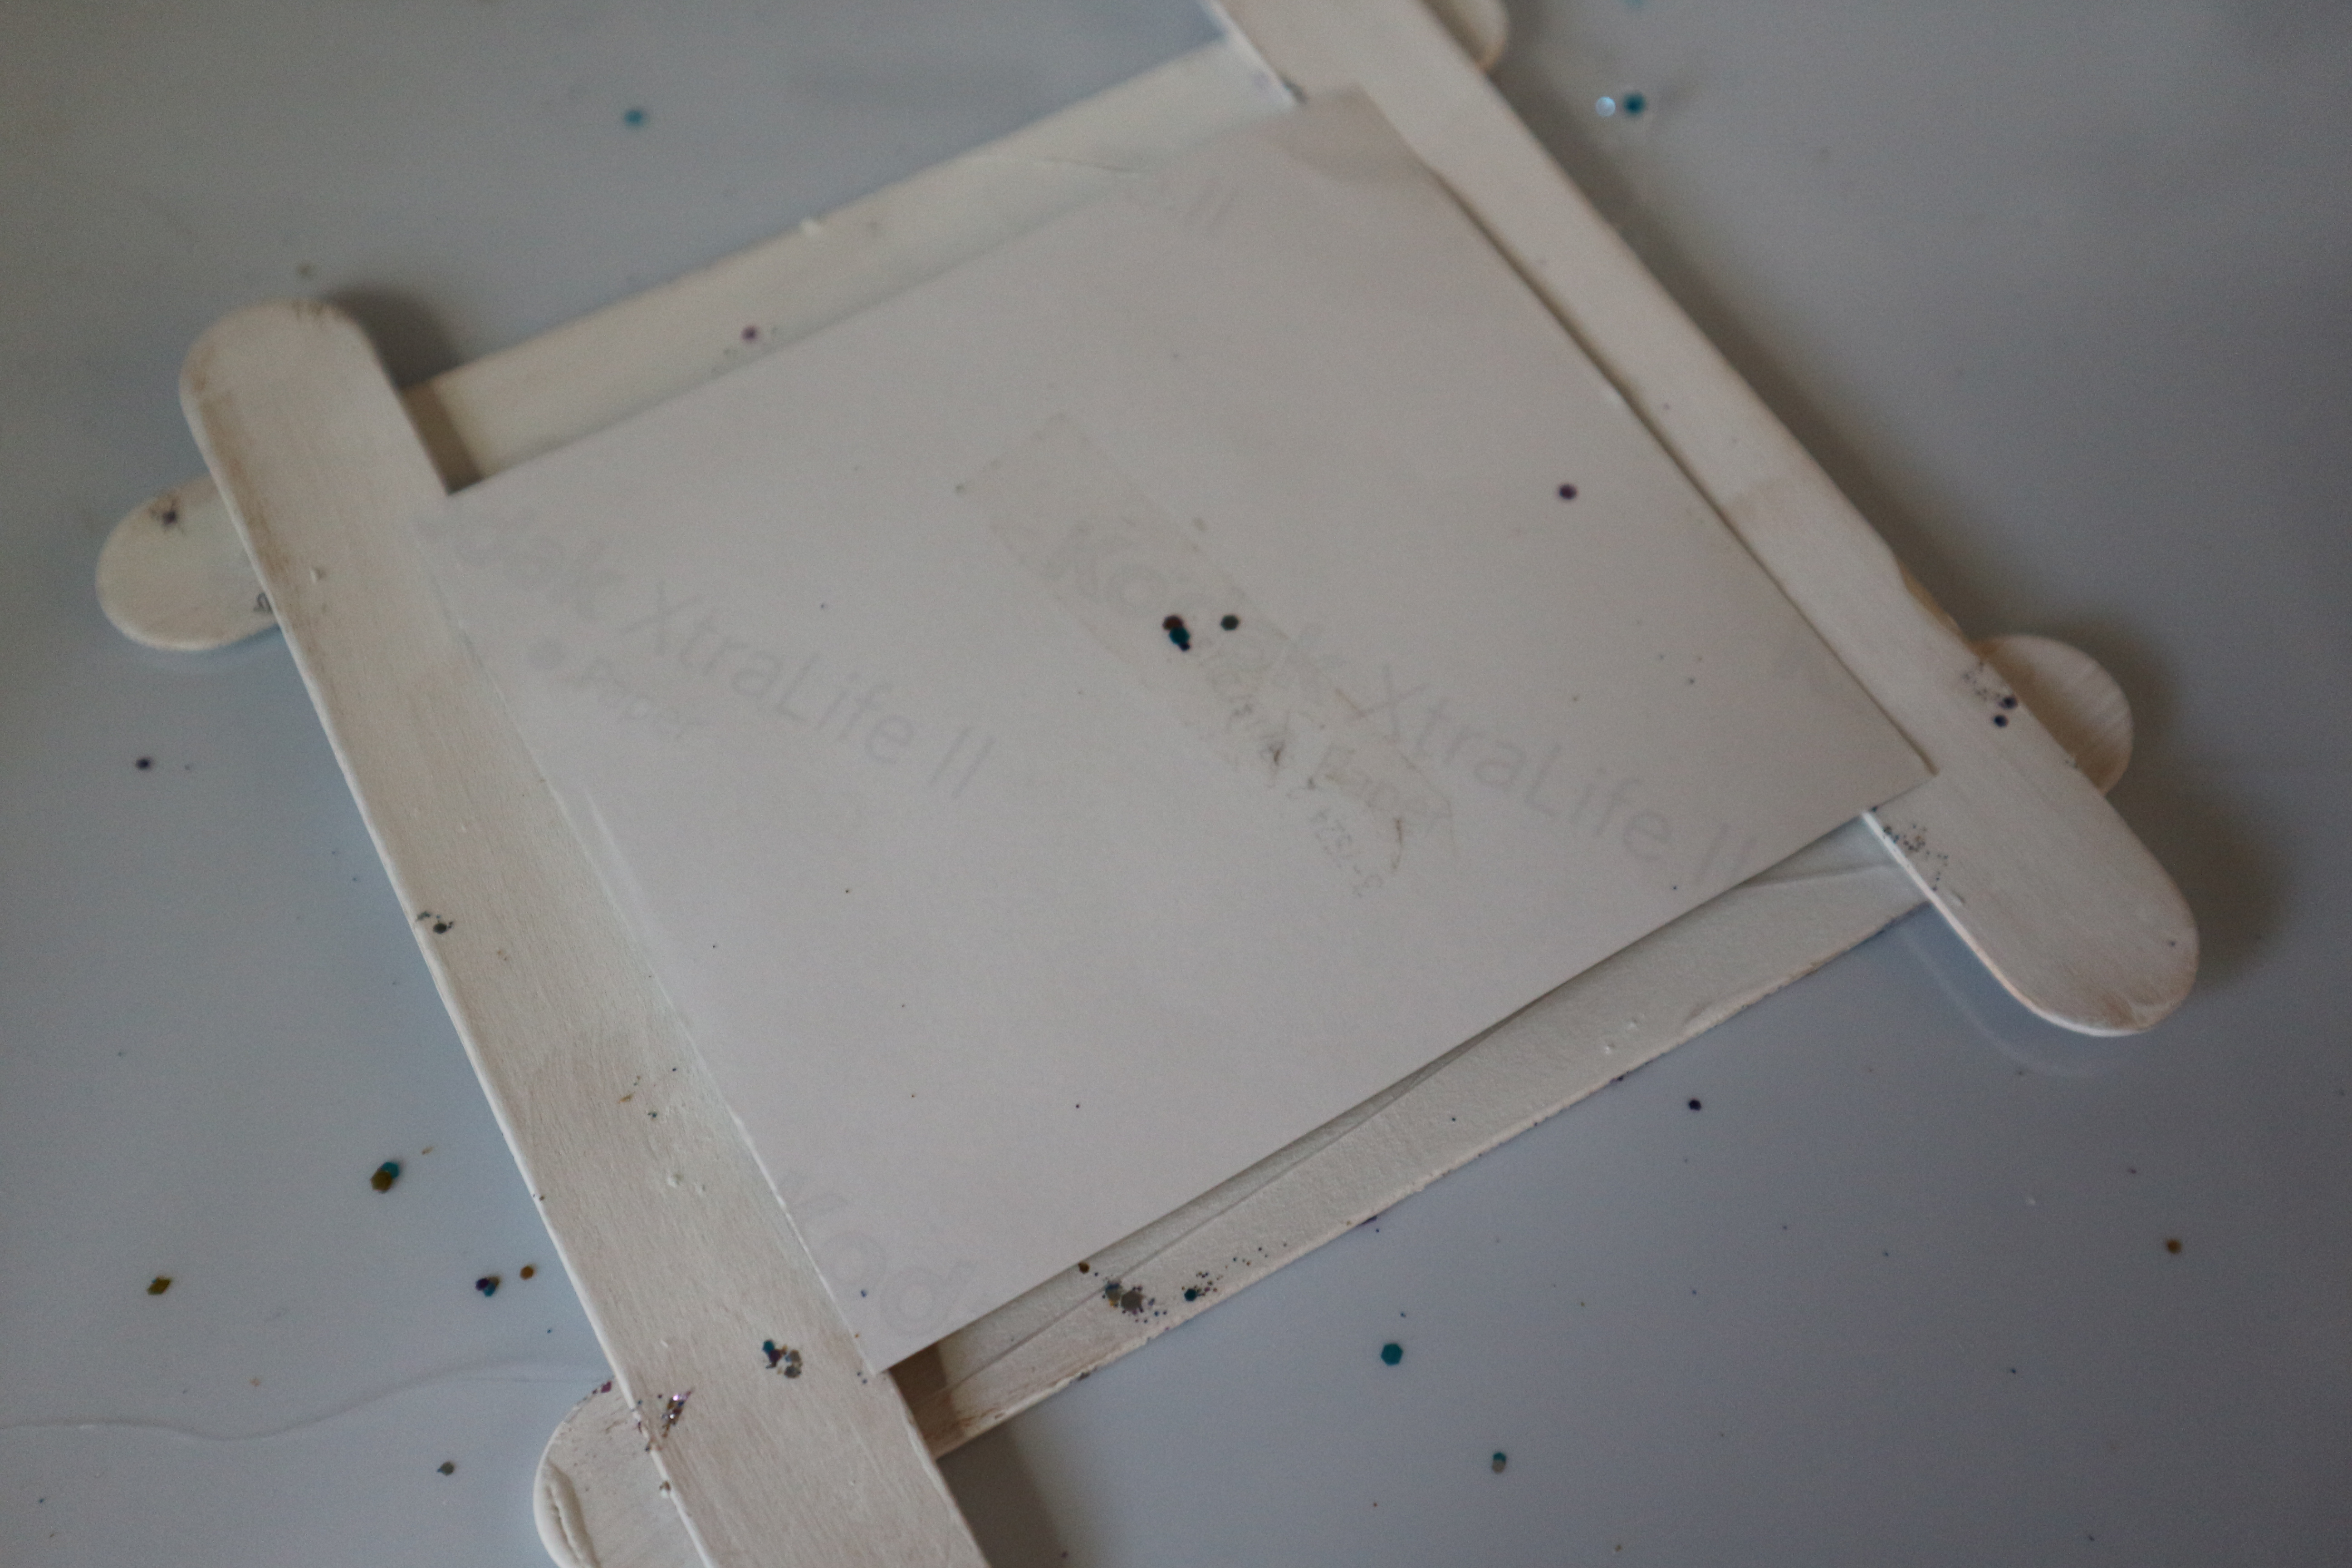
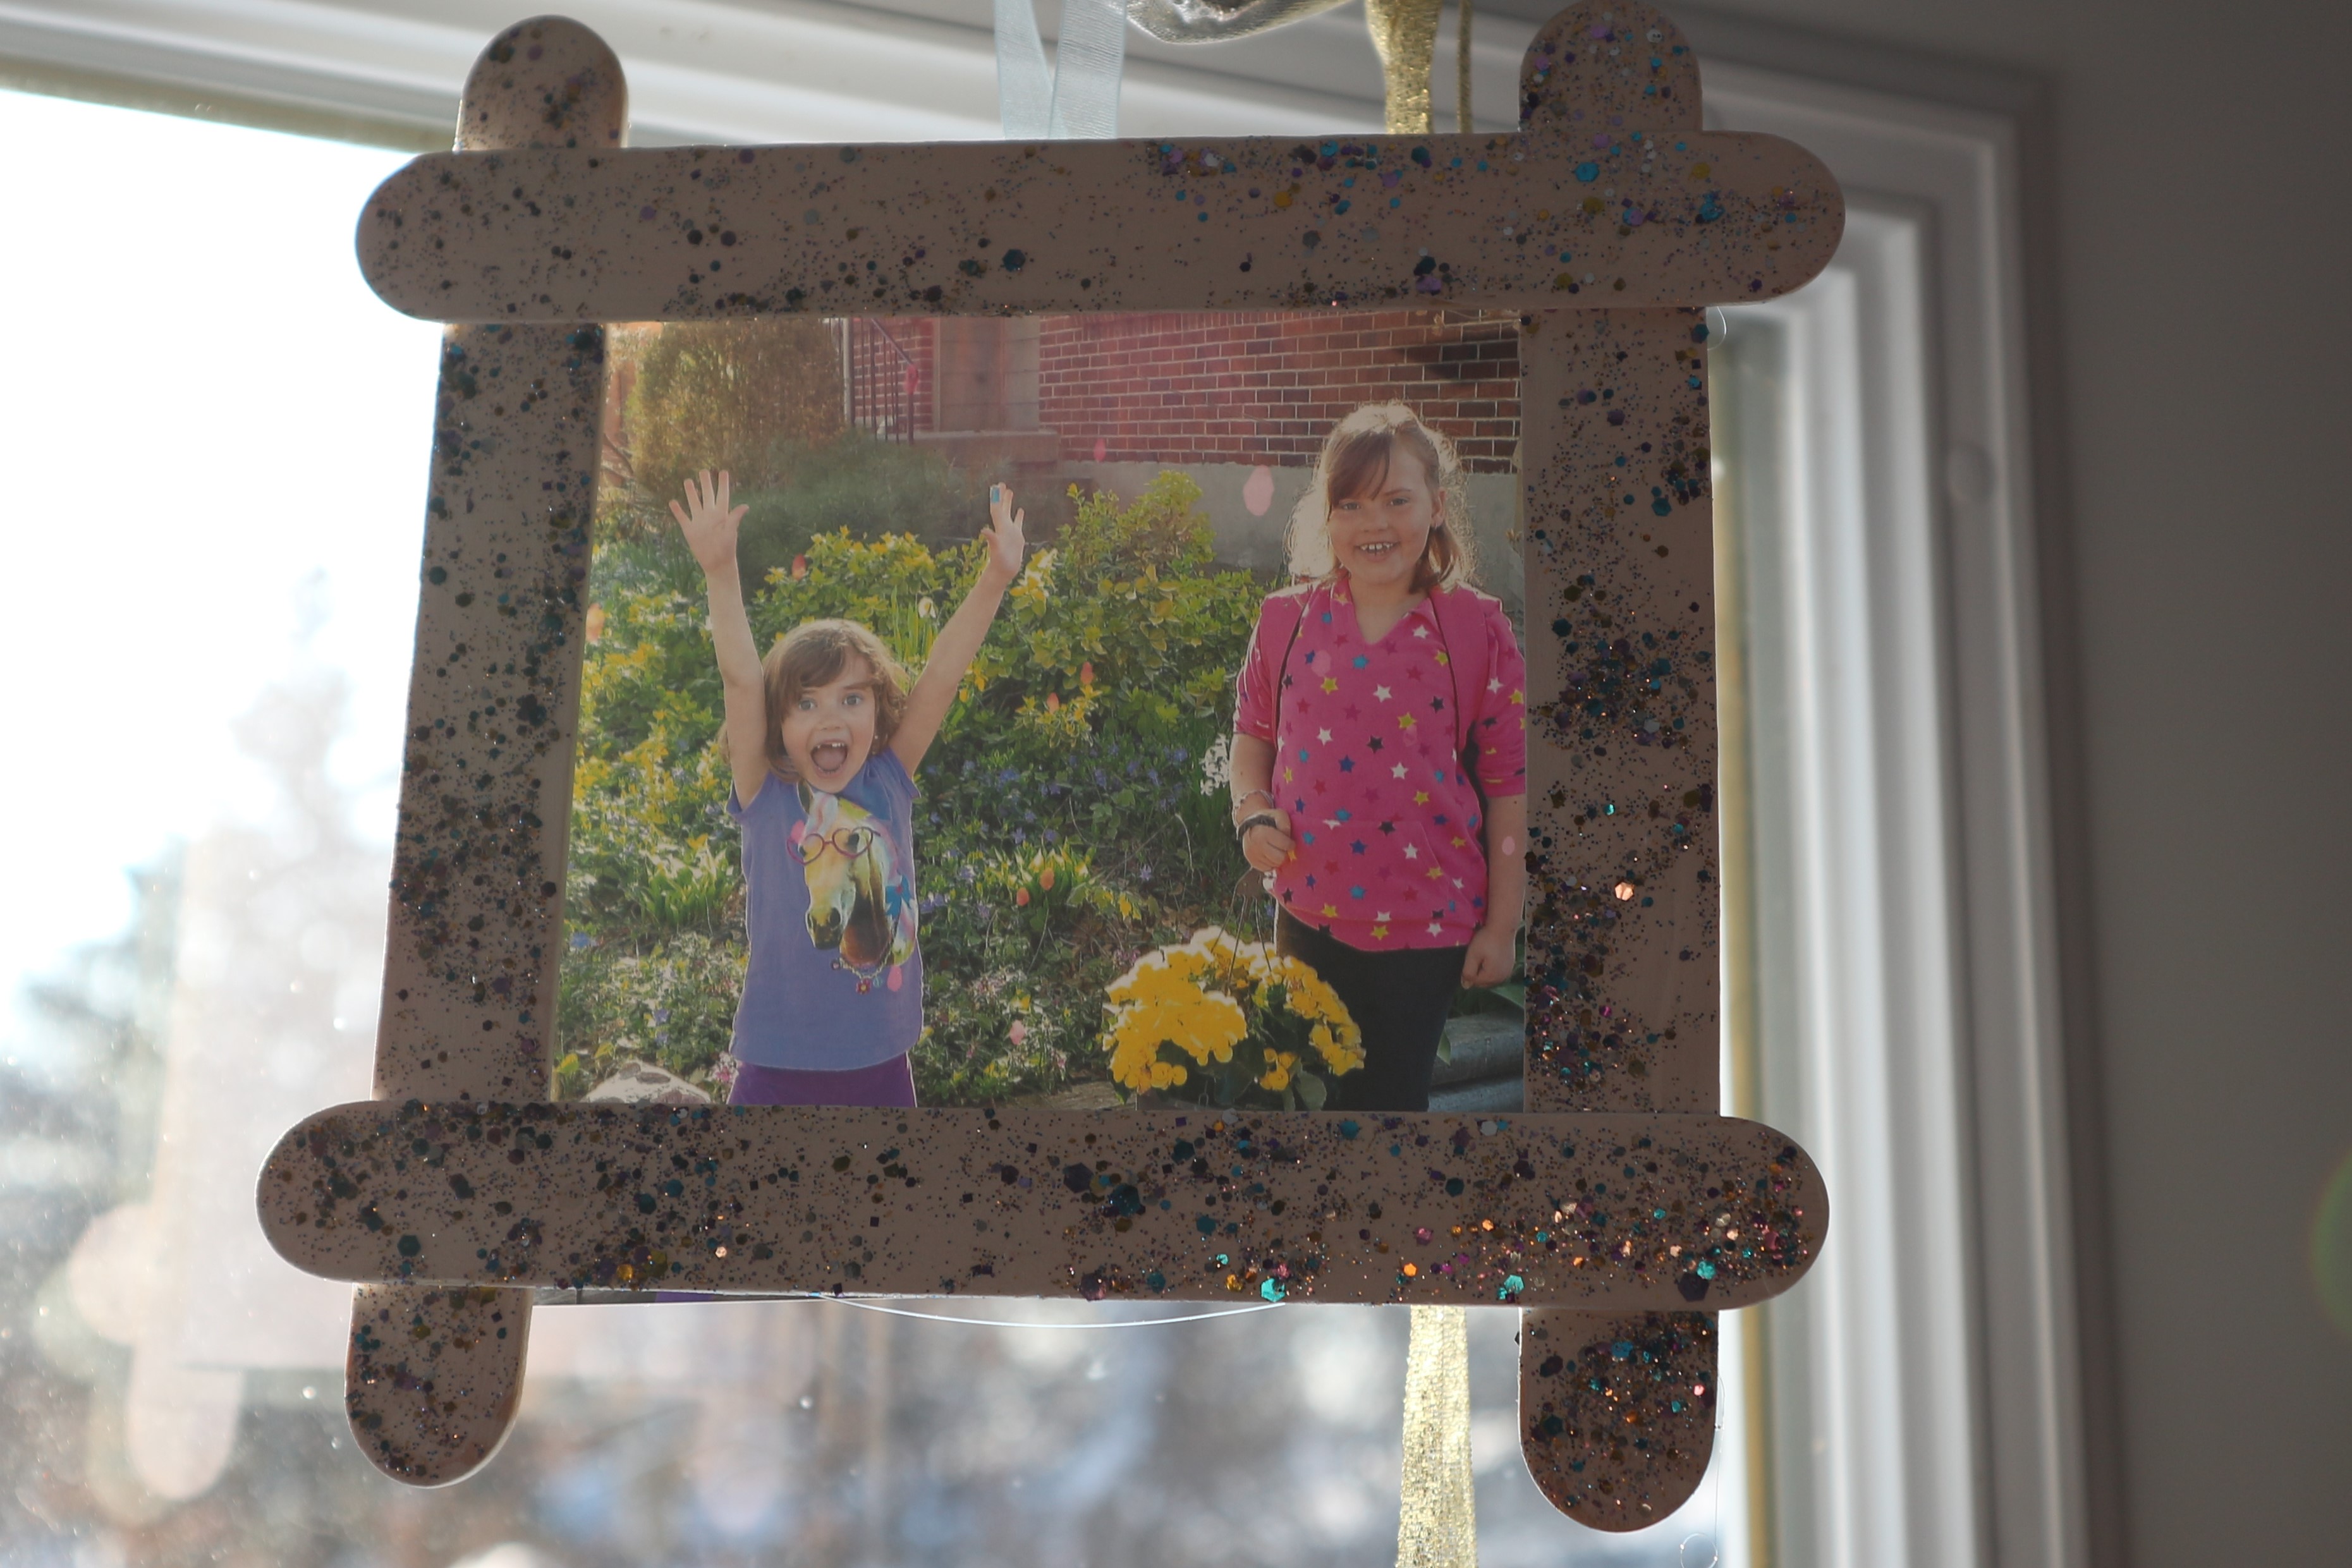
Secure the photo in place with a few pieces of tape. Hang it up and enjoy!
I did this for all of my daycare children back when I ran a home daycare. I strung them all across a string that was fastened to 2 screws so it looks like a bit of a clothes line. It had a really sweet effect. The kids all worked on their own frame and when it was time for them to leave my care and become school kids they took it with them and a scrap book of art I had saved. Ohhh…sentimental pause….. I wonder how my little friends are growing up…..sniff sniff…
…
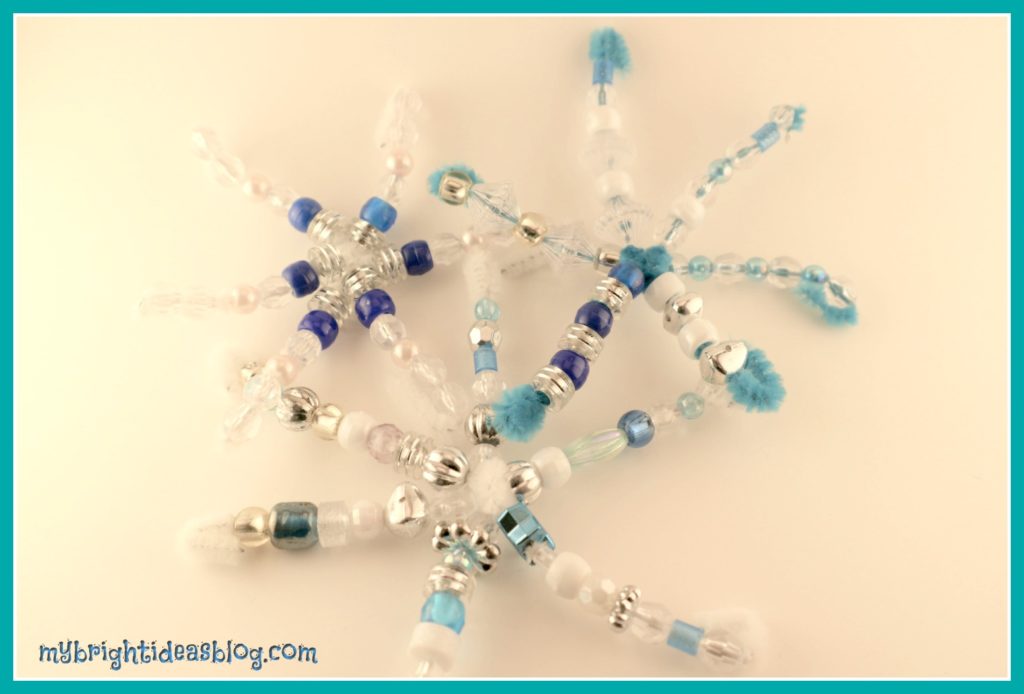
Beaded SnowFlake Suncatcher-Easy Craft for Kids!
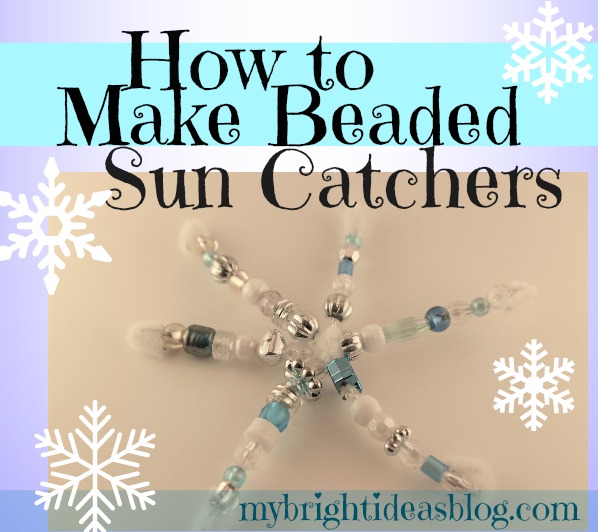
We love Beads and Pipe-cleaners are a craft cupboard essential. So on this snowy winter’s day the kids and I made snow flakes to hang in our windows-and we used just those 2 ingredients. Beads and Pipe-Cleaners! Sparkly beads look so lovely in the window-so this will make a gorgeous sun-catcher.
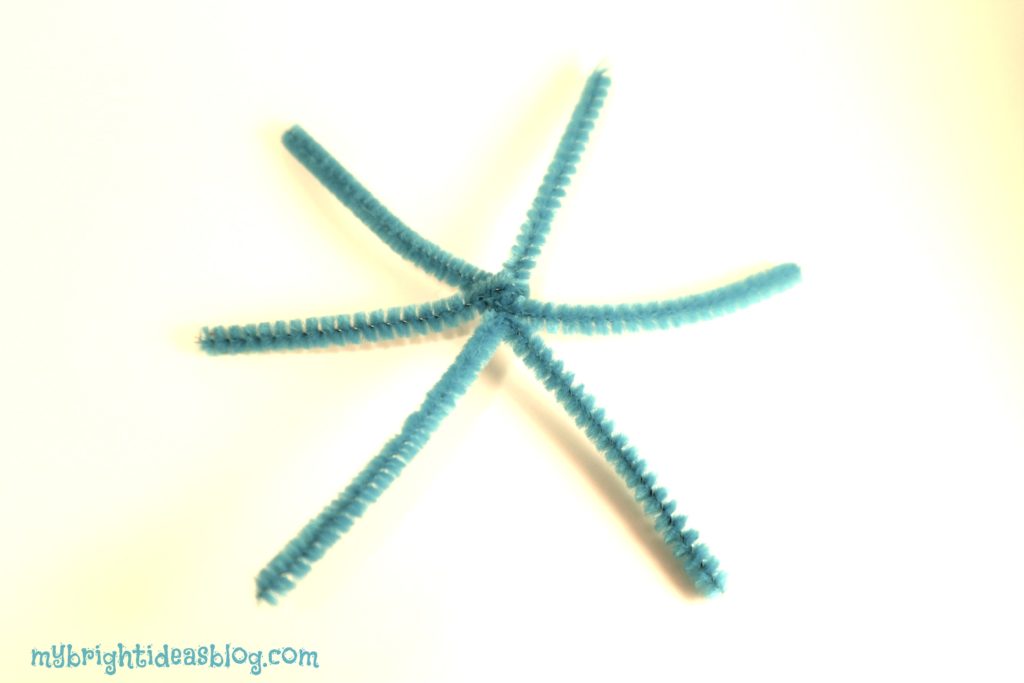
Cut a 3 pipe-cleaners in half. I think the sparkly style would have looked gorgeous but today we only found turquoise and white which both give a nice cool look.
Take the 3 half length pipe-cleaners and twist in the middle so they hold the shape of a snowflake.
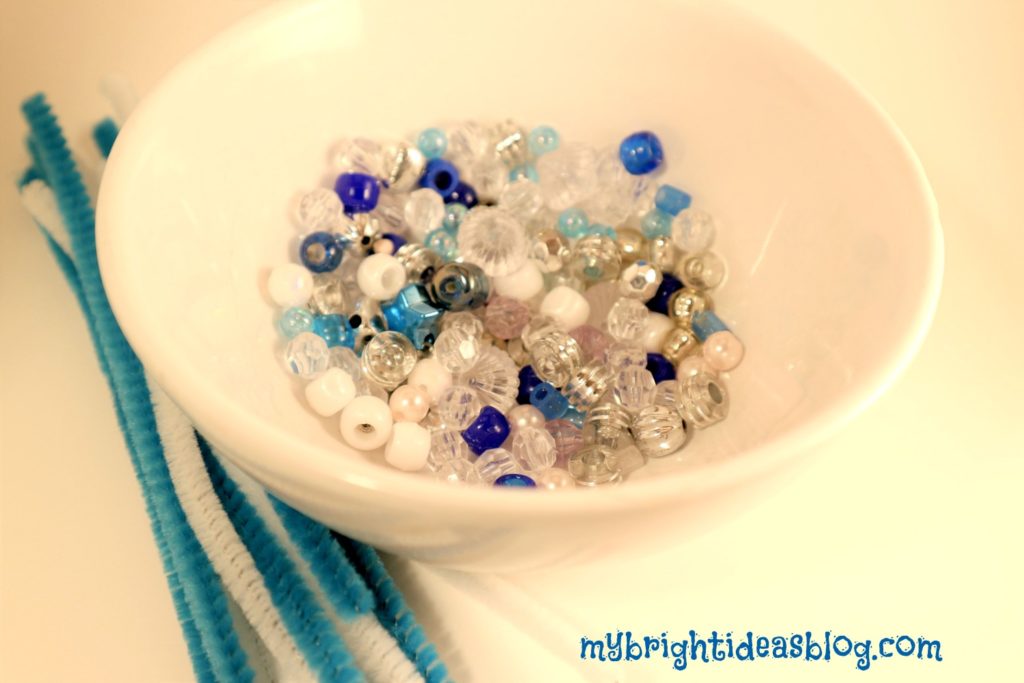
String on plastic beads. As long as the bead hole is big enough to slide a pipe-cleaner through it will work. But if your crafter is younger you may want to use pony beads-the type of plastic bead with big holes.
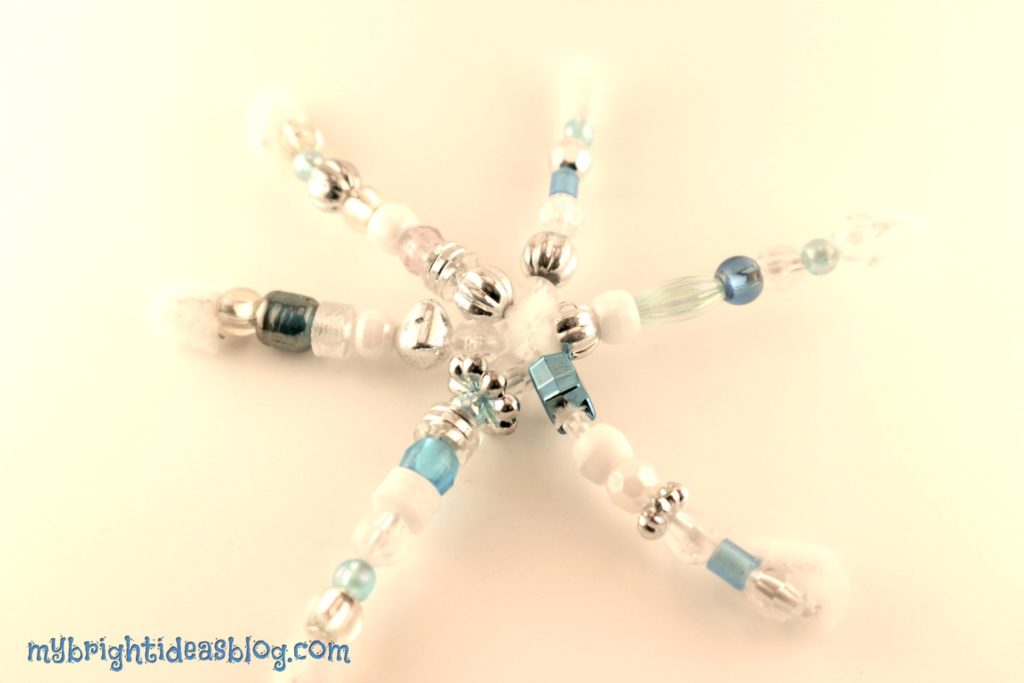
We chose white, clear, silver, turquoise and blue. As you get close to the end bend the pipe-cleaner so that the beads don’t slide off.
Find a scrap of narrow ribbon to tie to an end and hang from the window. Stand back and admire!
….