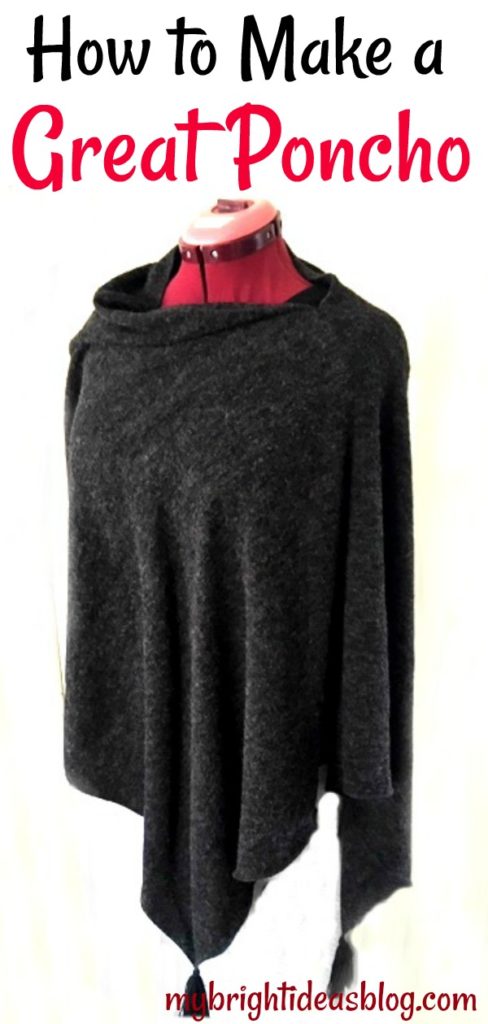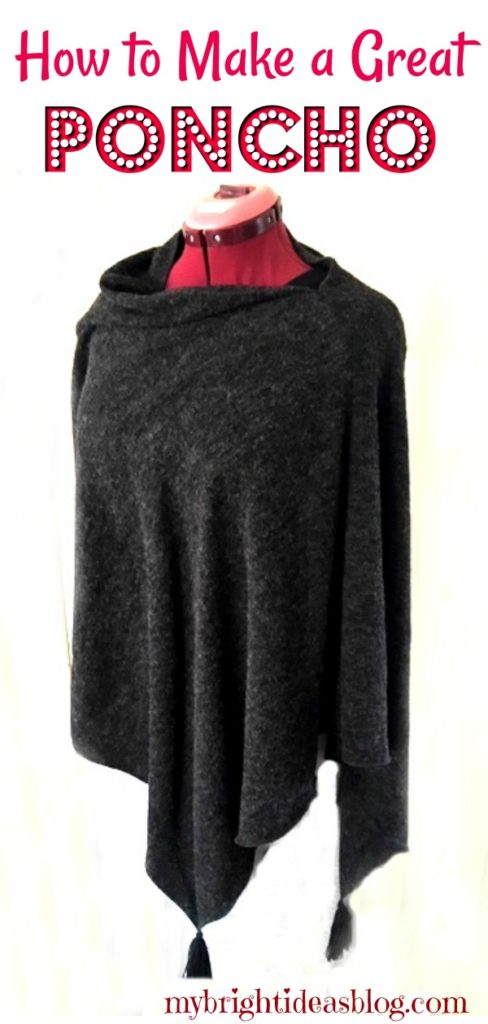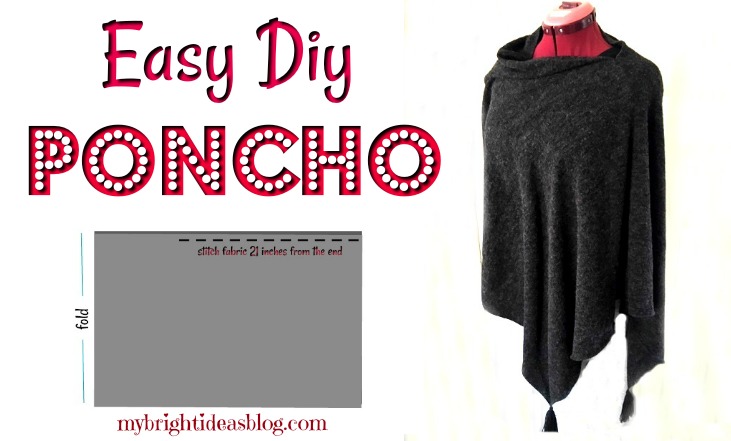
This has got to be the easiest poncho plans ever! Using fleece or another stretch fabric means that you don’t need to hem it. So all it takes is one simple seam and you have a gorgeous poncho you will love to wear!
You will need:
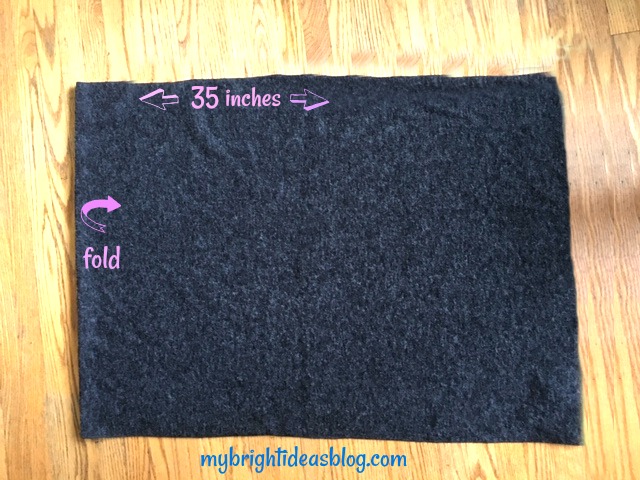
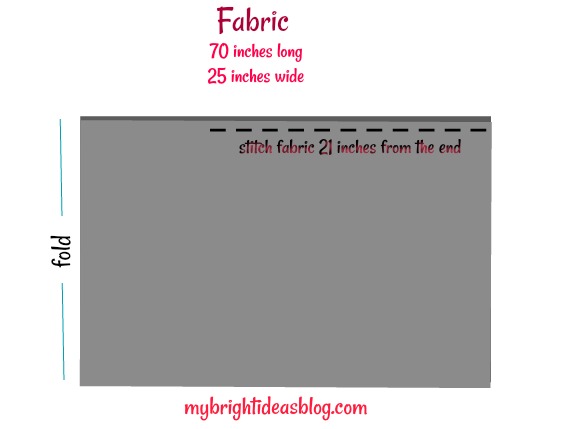
- t-shirt, sweatshirt or fleece fabric 25 inches wide by 70 inches long (64 cms x 178 cms long)
- sewing machine
- 2 purchased tassels (I’ll get working on a DIY for making a tassel soon)
- needle and co-ordinating thread
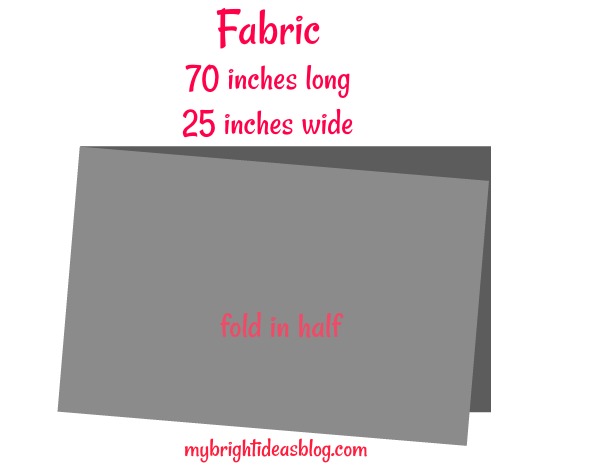
Start by cutting your fabric to size. Cut it carefully to be completely straight. We aren’t planning to hem the fabric so take your time to make the cut as perfect as possible.
Then fold it in half.
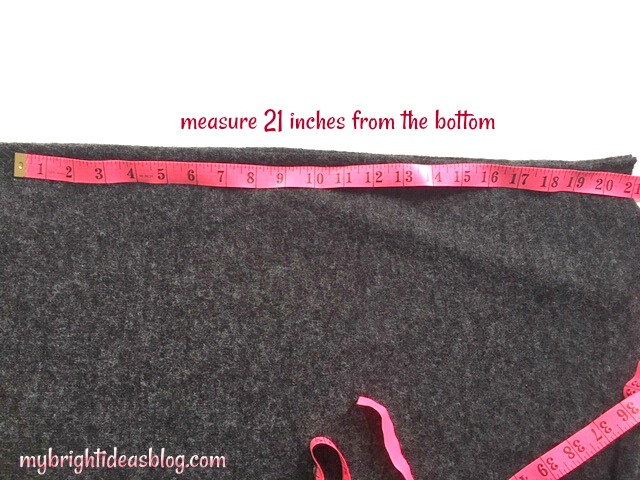
With the fold on the left, measure 21 inches from the right edge of the fabric and pin it together along the top edge.
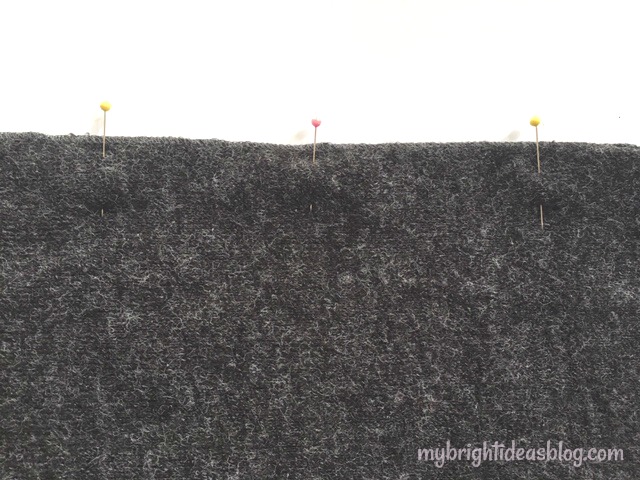
Leaving 14 inches for your neck hole, sew the remaining 21 inches. This is the one seam that you need to sew for this awesome poncho.
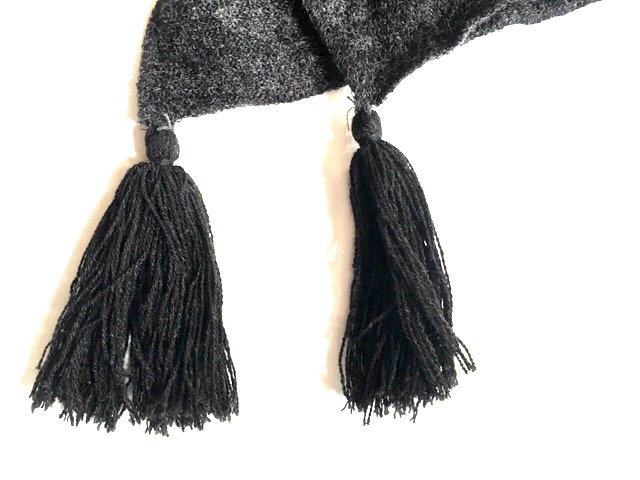
Now add on the tassels-by hand stitching them onto the bottom right corners. This is completely optional. If you don’t have purchased tassels you can skip it. I will make a post about making a tassel soon and link it to this post.
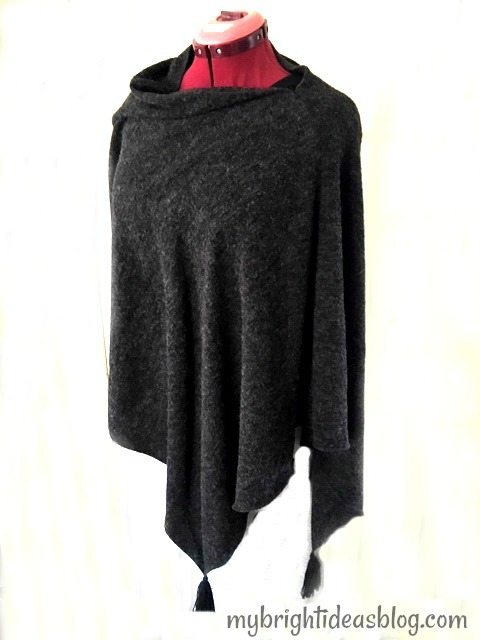
That is all there is to it! This poncho will look great with jeans and boots or dress it up for fancy occasions. If your office is chilly you could have one of these in your desk drawer. You should make a few!
Thanks for reading this post and I hope you will share it with your friends by social media or Pinterest.
Sew a Super Easy Fleece Poncho-Simple Starter Sewing Project
Sew a Super Easy Fleece Poncho-Simple Starter Sewing Project
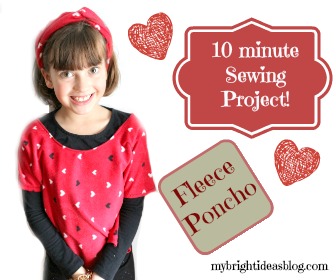
This fleece poncho type body warmer will take the chill off! Its so simple my 7 year old Miss M. did the sewing!
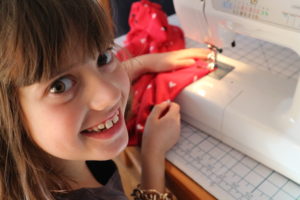
First step. Measure the approximate width over the shoulders for where you would like it to sit. Then measure the body length from the shoulder to around the waist. This is the kind of not very specific measuring I find myself doing all the time. A fitted dress with darts and zippers is not my kind of sewing.
We decided to go 25 inches wide and 20 inches from the shoulder to waist hips area (so double that).
This means you will need to cut a piece of fleece 40 inches by 25 inches.
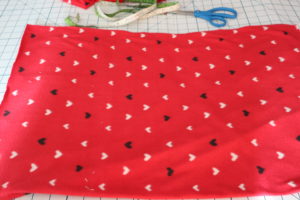
For the neck hole: find the middle and use a t-shirt to show how big the neck hole is and copy that onto the middle of the fleece. I like to fold the fleece in half so the neck will be easier to cut.
I went a bit bigger than the tshirt and wished I had gone a bit smaller instead. As long as it goes over the person’s head its great. If you make a cut that it too small you can try it on and then cut a bit more off.
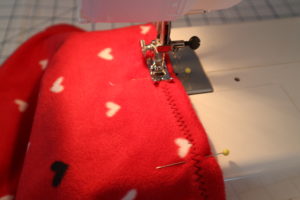
You could leave all the seams unfinished if you would like because they won’t fray like cotton would. However, this was Miss M’s first time at the machine so we wanted some easy sewing. We folded the fabric over once and did a Zig Zag all around the straight edges.
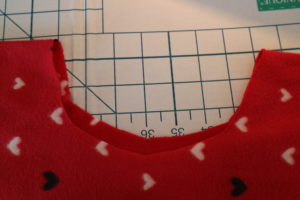
Around the neck we folded over the fabric once and did a straight stitch.
Then we laid it out flat folded in half. We measured 7 inches from the shoulder and put a pin to mark it. Then 3 inches down add another pin. Sew between the 2 pins. We used a straight stitch-this part will be under the arms.

Miss M. pretended that it was a huge inconvenience to come over and take a few photos but she seems to have enjoyed herself.
The fancy hairband will be in this blog: http://mybrightideasblog.com/sew-easy-fleece-hairband/


