
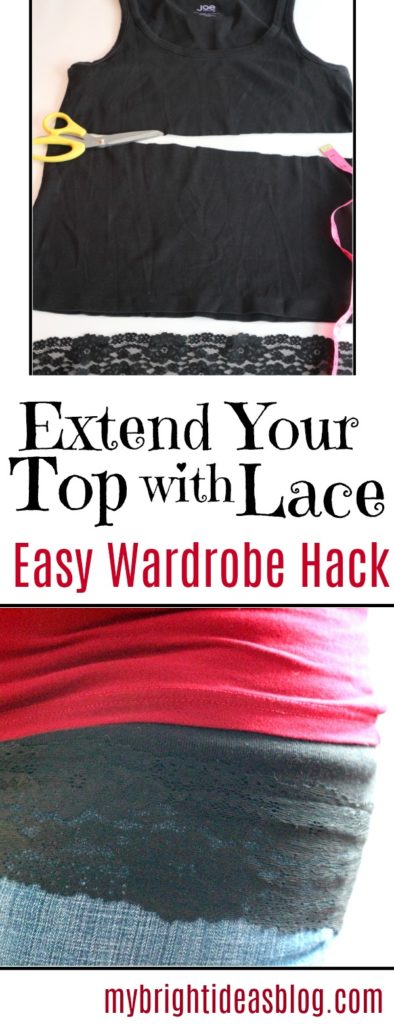
Add inches to the length of your short tops with a lace extender. This is worn around your waist with an elastic waistline and looks like you’re layering tops. This post will show you how to make a shirt-extender from an old shirt and a bit of stretchy lace and elastic.
This is a really easy project and a great item to have in your wardrobe.
When I was pregnant they called it a belly band. A tube of fabric that went under your shirt so your tummy didn’t hang out under a shirt that was getting shorter by the day.
At https://www.motherhood.com/ its called a “tummy sleeve” or “belly band”.
It occurred to me then that EVERYONE could you use a shirt extender. Sometimes your shirt can shrink leaving you with something you aren’t comfortable wearing anymore. Or maybe you like leggings or something to break up a plain shirt. So here is a tutorial about making a t-shirt extension out of an old top.
You will need:
- An old shirt
- Co-ordinating wide stretchy lace (3 inch wide)
- Elastic (1/2 inch or 1 cm wide)
- Safety Pin
- Pins
- Scissors
- Measuring tape
- Sewing machine
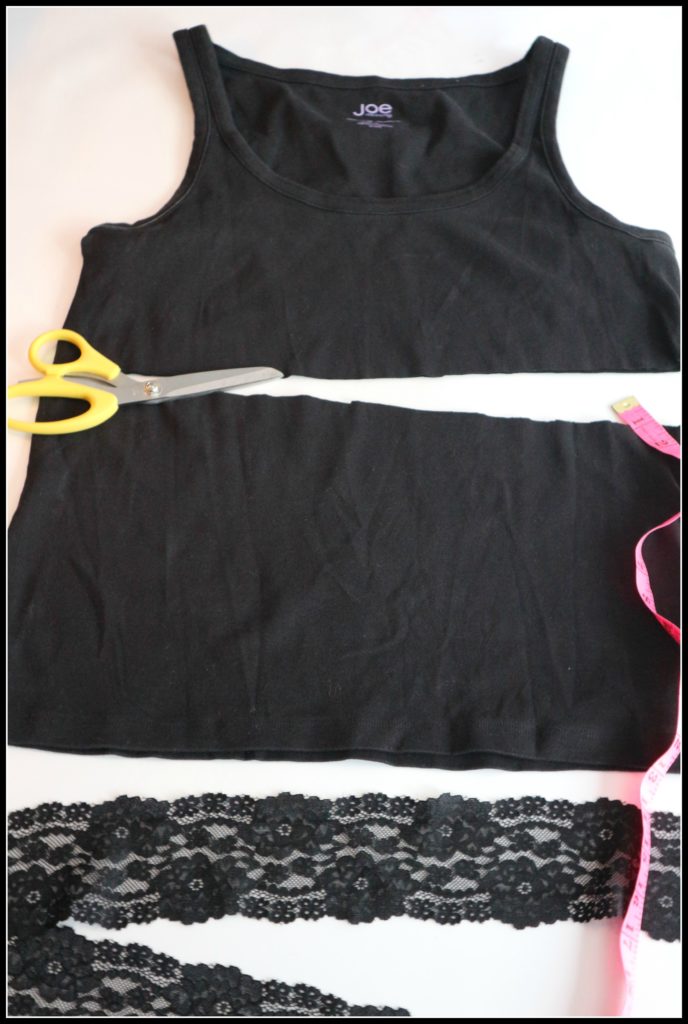
I had a tight fitting cotton tank top that had shrunken and was ready to be re-purposed.
Decide on the length that you would like the top extender to be by measuring your waist to hip with a tape measure. Add on an inch for the casing-plus the lace could add a few inches.
Measure the length and cut off the bottom of your old top. I cut mine 11 inches or 28 cms from the bottom hem. Leave the hem as it is. You can just sew the lace right on top of it.
The length of the lace piece should be a 1/4 inch longer than the width of the shirt hem.
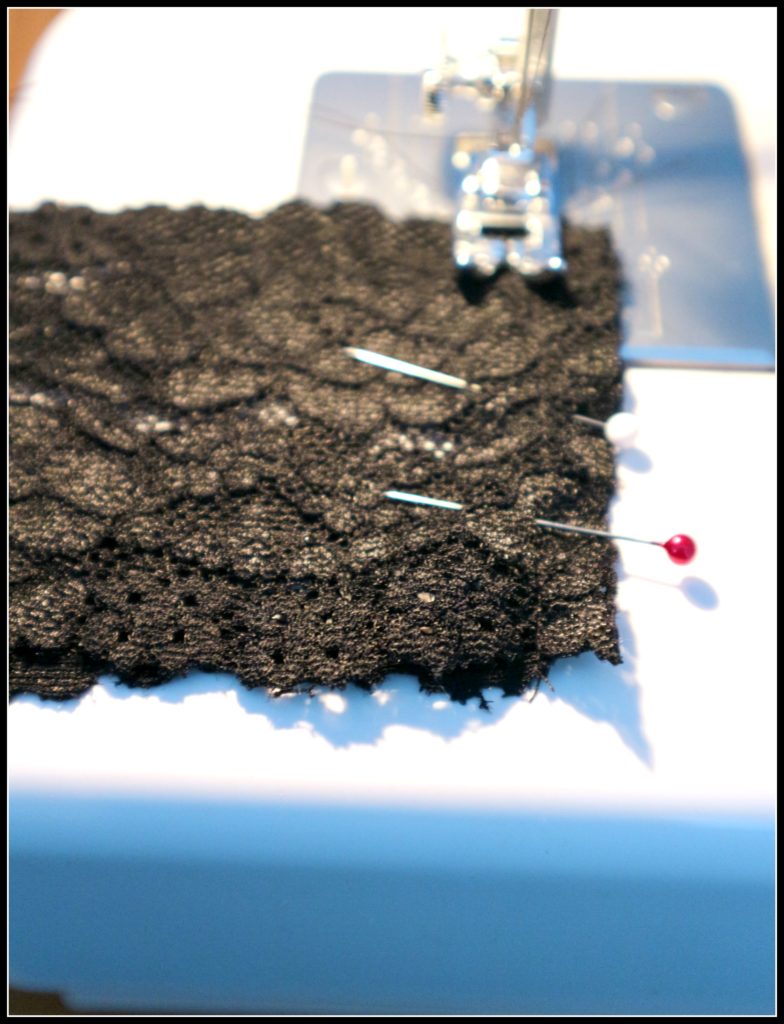
Pin the ends of the lace together and sew the end closed.
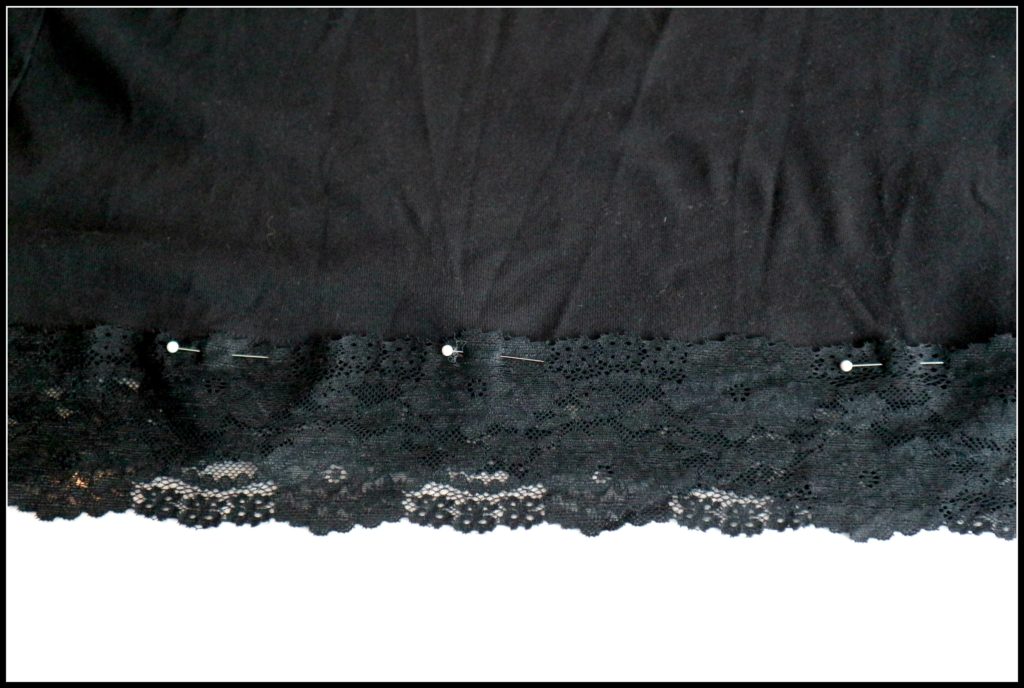
Pin the lace to the bottom of the cut shirt. Be sure that the seam you sewed to join the lace-lines up with the side seem of the top. I decided to sew my lace on top of the t-shirt material. But that was just my preference.

Attach the lace to the bottom edge by sewing all the way around it.
Then we will go up to the top part of the waist band.
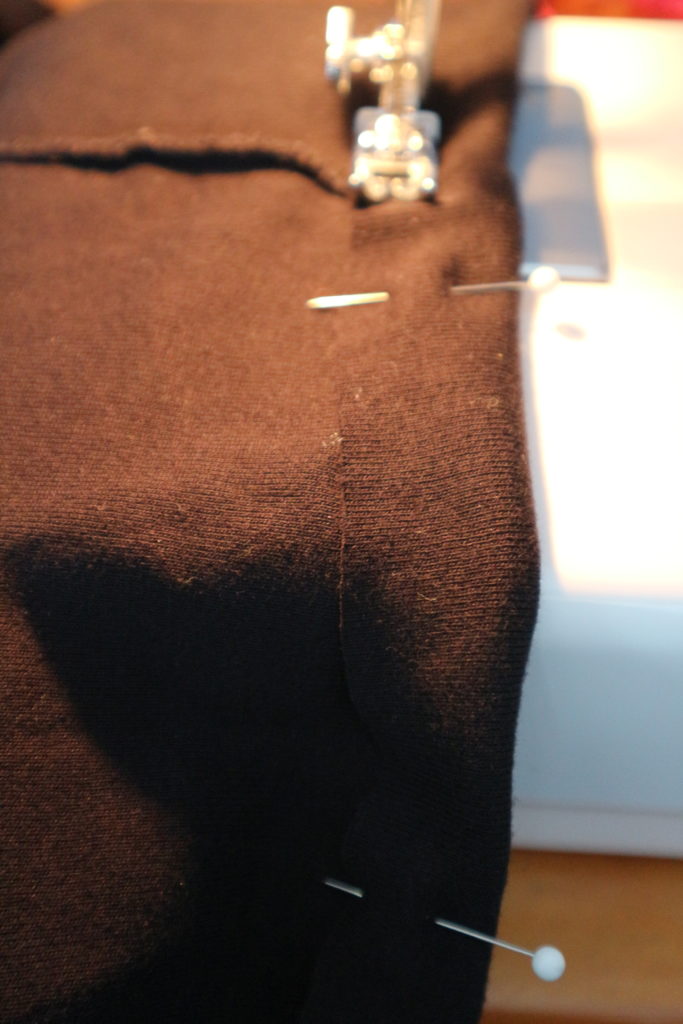
At the top of the fabric, fold over the edge 3/4 of an inch. Pin the edge all the way around to form the elastic casing. Sew in place leaving a 1-2 inch gap.
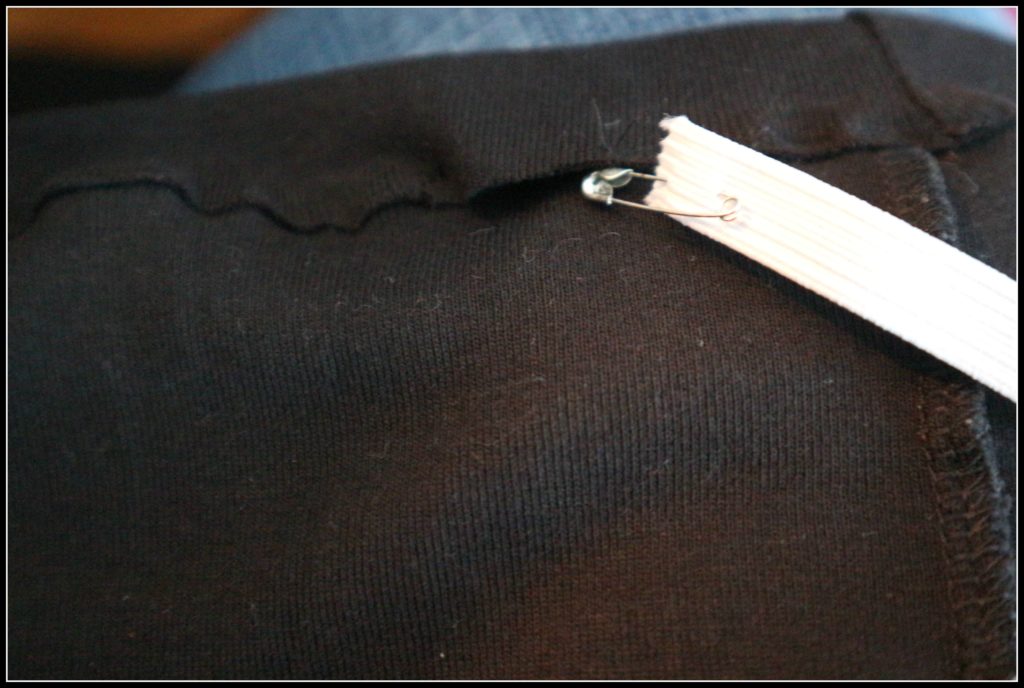
Place a safety pin on the end of your elastic and push it through one side of the 1 inch opening in the casing. Guide the elastic around the casing until you reach the other end of the casing hole. Pin the two ends of the elastic together.
Try on the shirt extender and see how the elastic feels on your tummy. Is it too tight? Or too lose? Or fits just right.
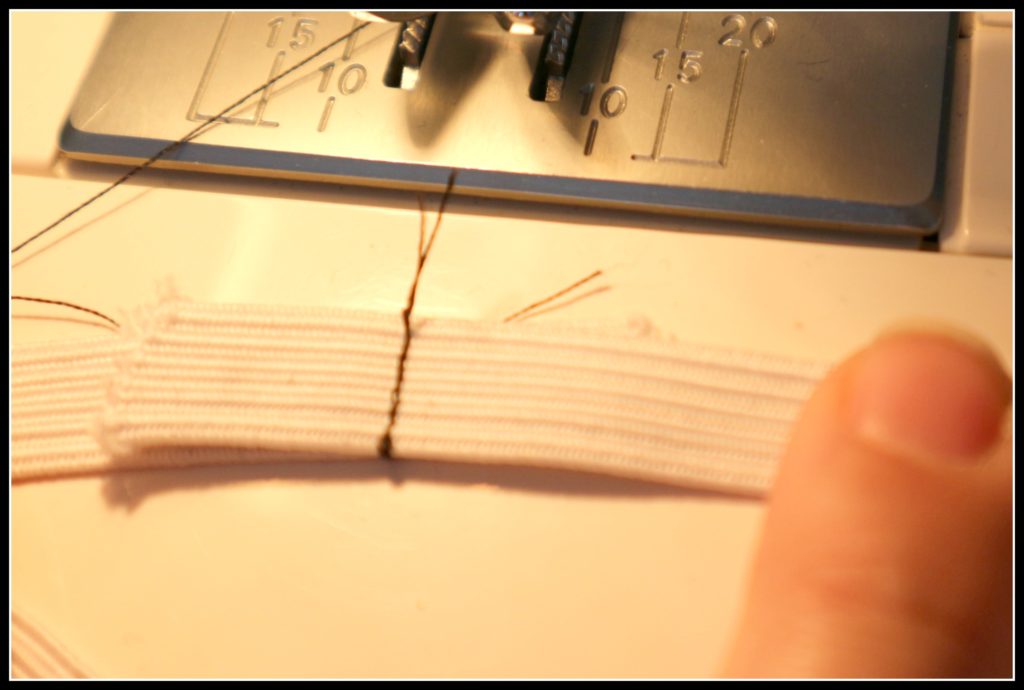
If you are happy with the feel of the elastic, permanently join the ends by sewing them together. I usually go forwards and backwards 2 or 3 times just to be sure.
One final step, finish sewing closed the 1 inch gap in the casing.
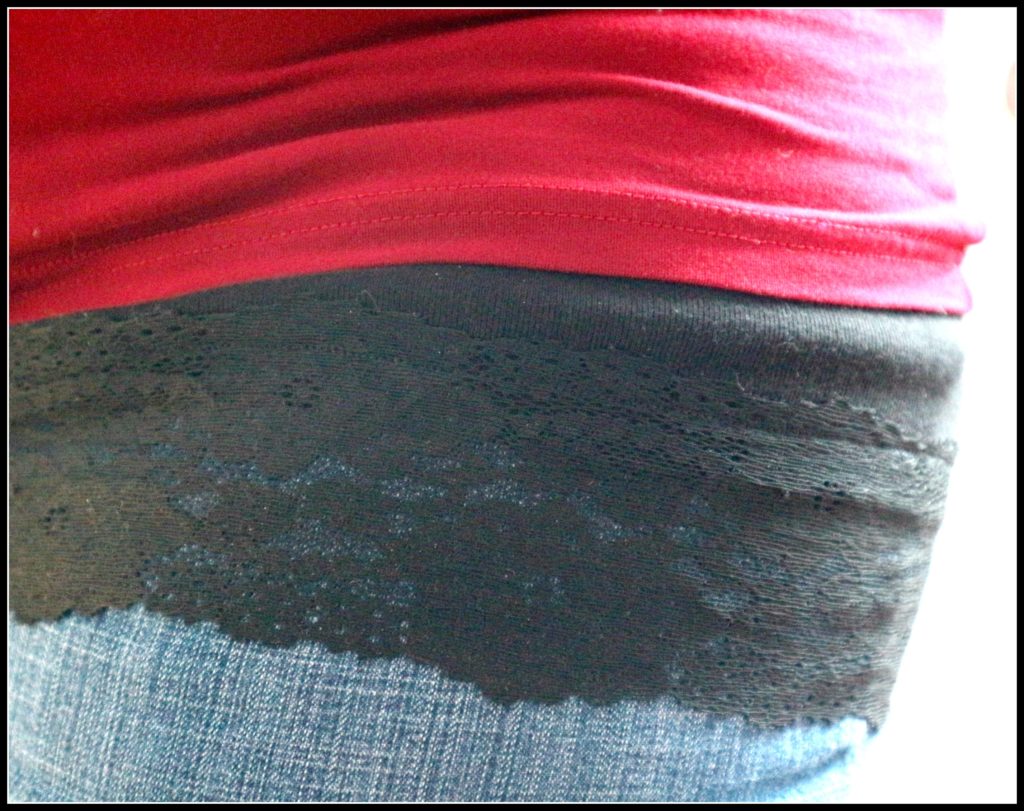
Voila Your Finished! That’s it! What did that take you…. 15 minutes max? Now you can wear it under any shirt for a layered look or just prevent people from seeing your knickers if you have a job that requires some bending over. Oh dear me!
The finished length after adding the lace, casing and elastic almost 12 inches or 30 cms long.
This was a super easy project and a great item to have in your wardrobe. Let me know if you need any further description.
Below is a link to a tutorial for adding lace right onto a favorite shirt that is getting too small. Check it out!
…

Sew a Super Easy Fleece Poncho-Simple Starter Sewing Project

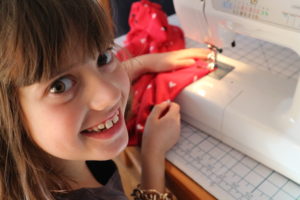
This fleece poncho type body warmer will take the chill off! Its so simple my 7 year old Miss M. did the sewing!
First step. Measure the approximate width over the shoulders for where you would like it to sit. Then measure the body length from the shoulder to around the waist. This is the kind of not very specific measuring I find myself doing all the time. A fitted dress with darts and zippers is not my kind of sewing.
We decided to go 25 inches wide and 20 inches from the shoulder to waist hips area (so double that).
This means you will need to cut a piece of fleece 40 inches by 25 inches.
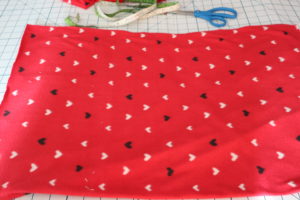
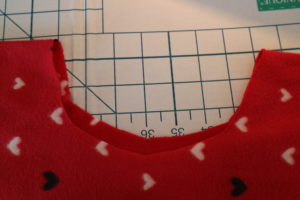
For the neck hole: find the middle and use a t-shirt to show how big the neck hole is and copy that onto the middle of the fleece. I like to fold the fleece in half so the neck will be easier to cut.

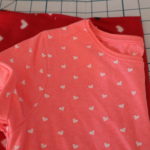
I went a bit bigger than the tshirt and wished I had gone a bit smaller instead. As long as it goes over the person’s head its great. If you make a cut that it too small you can try it on and then cut a bit more off.
You could leave all the seams unfinished if you would like because they won’t fray like cotton would. However, this was Miss M’s first time at the machine so we wanted some easy sewing. We folded the fabric over once and did a Zig Zag all around the straight edges.
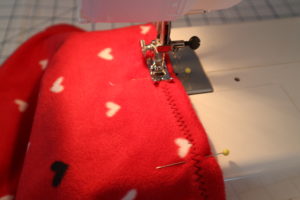
Around the neck we folded over the fabric once and did a straight stitch.
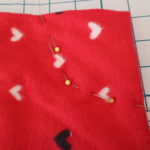
Then we laid it out flat folded in half. We measured 7 inches from the shoulder and put a pin to mark it. Then 3 inches down add another pin. Sew between the 2 pins. We used a straight stitch-this part will be under the arms.

Miss M. pretended that it was a huge inconvenience to come over and take a few photos but she seems to have enjoyed herself.


The fancy hairband will be in this blog: http://mybrightideasblog.com/sew-easy-fleece-hairband/