
![]()
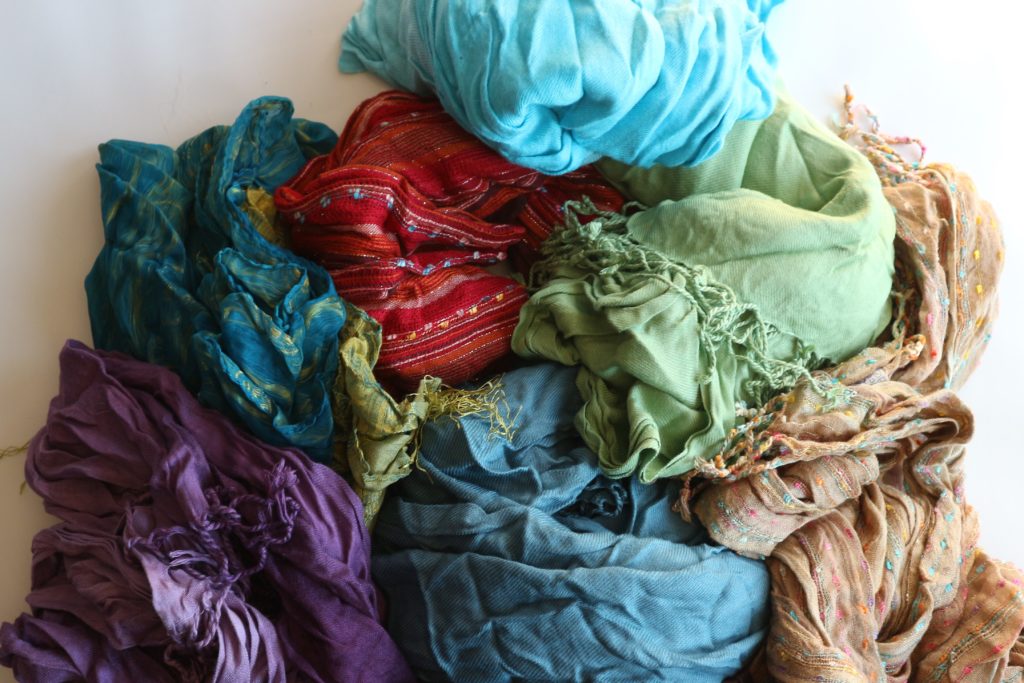
I really, really, really love scarves! Over the last 15 years I have accumulated quite the collection. I’ve dreamt about scarves being on sale and me carrying bags of $5 scarves and pashminas out of the store. Sometimes, I even wear a scarf in the heat of the summer.
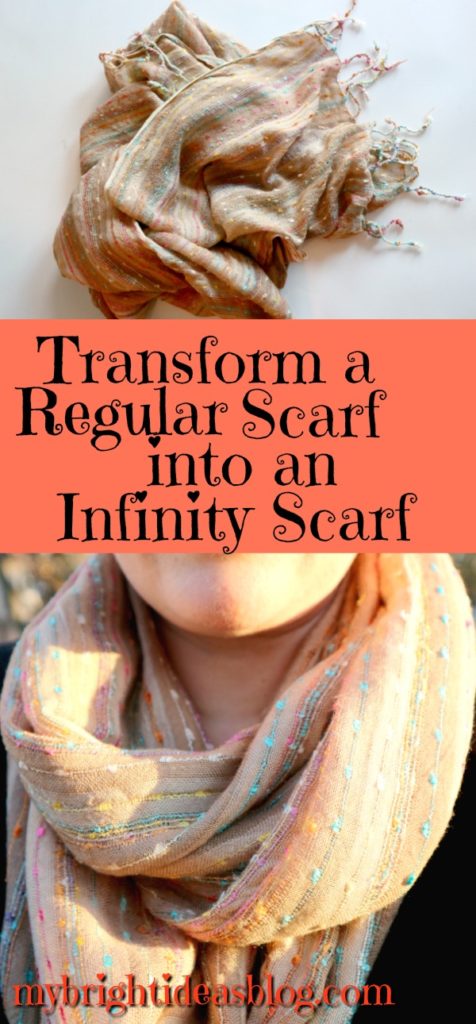
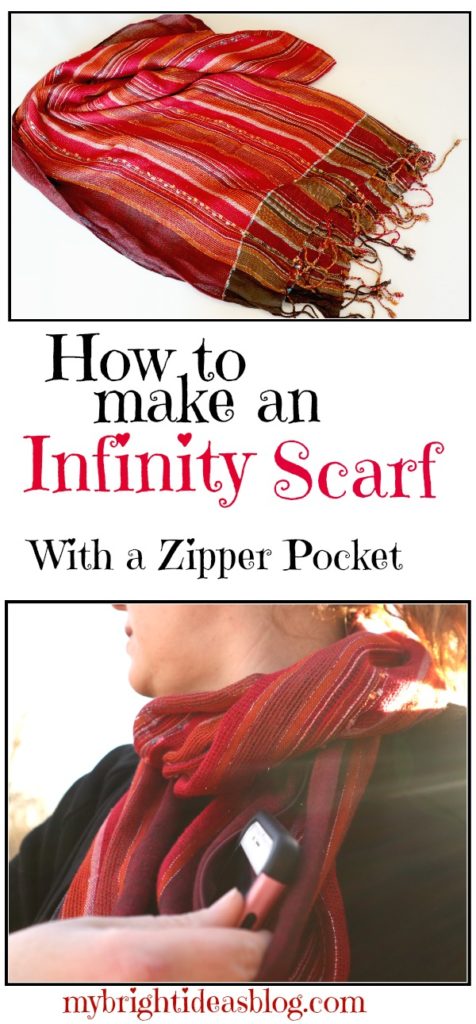
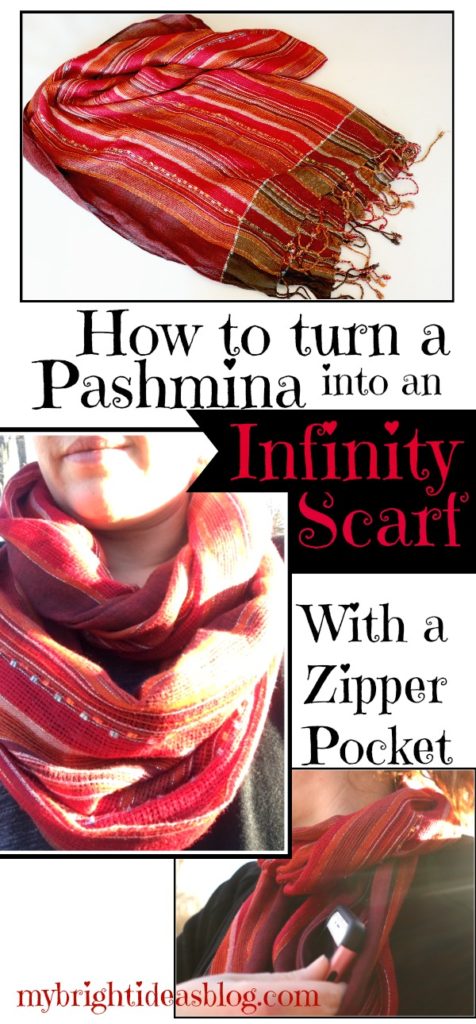
This tutorial is how to make an infinity scarf out of a pashmina or regular scarf. I will also give you some details if you are just using new fabric.
You will need:
- an old scarf/pashmina or piece of fabric (20″ or wider x 80″ approx.)
- scissors
- pins
- needle and thread
- sewing machine (optional)
- iron (especially if your scarf has been neglected for a while and crumpled like mine)
Do you like to upcycle?
You can make an infinity scarf out of old clothes, bed sheets, a soft blanket or scarves or new fresh fabric.
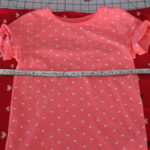
Iron and Measure
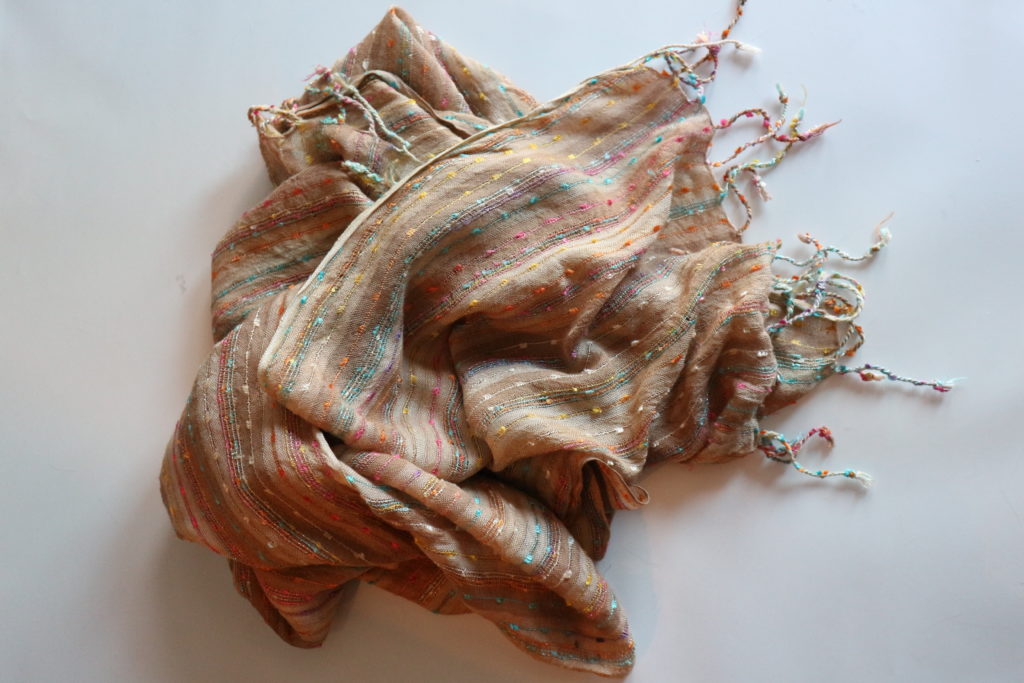
Start by ironing the creases out of the fabric/scarf.
If you are using new fabric for this project use a piece that measures at least 18 x 70 inches (45cms x 177cms).
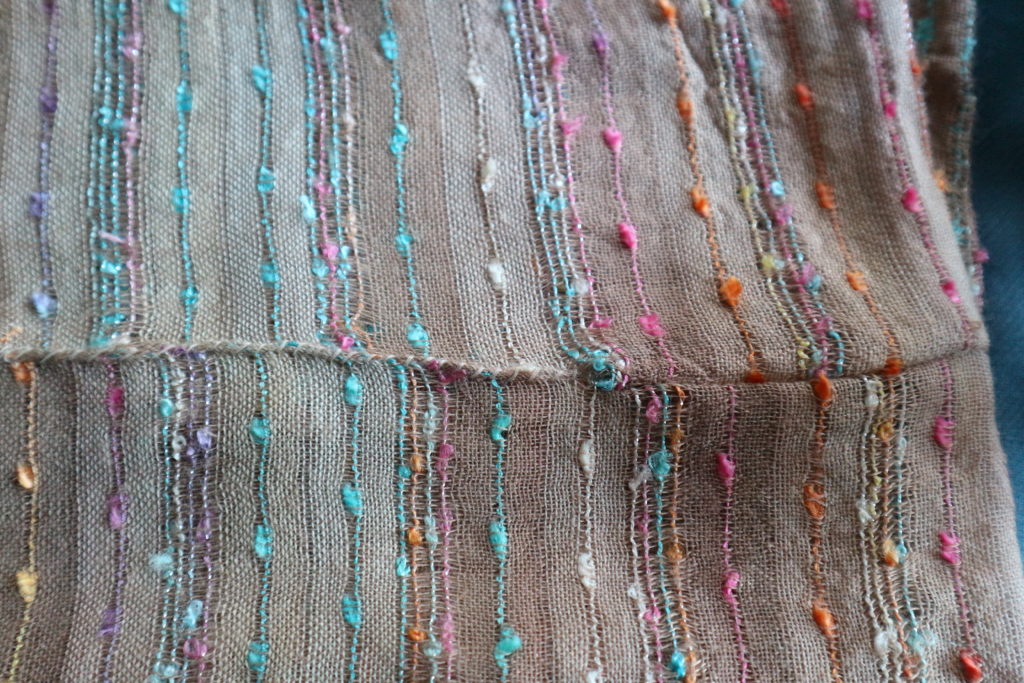
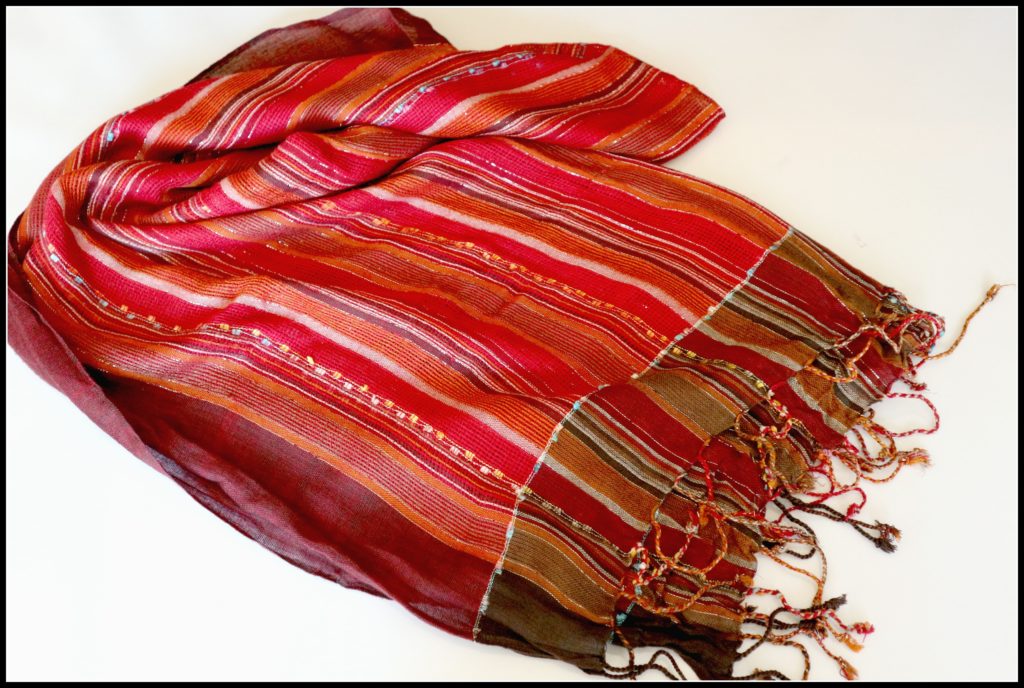
My scarf was 26 x 69 inches (66 cms x 175 cms). It was even shorter after I trimmed off the fringe and I think its a great length-finished its 66 inches long. I prefer it to be extra wide too.
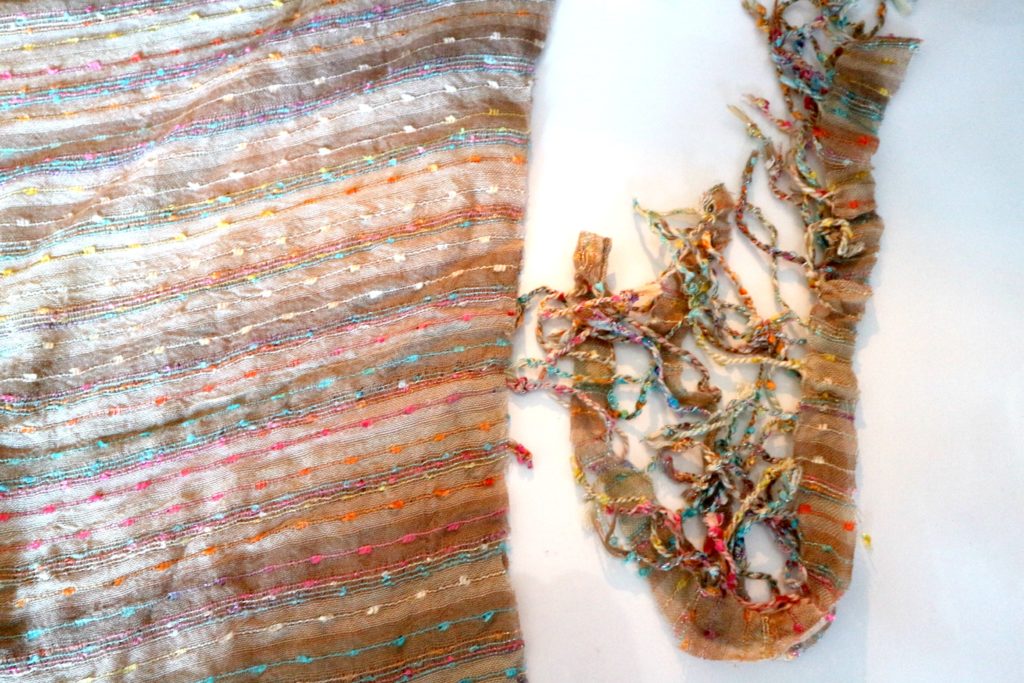
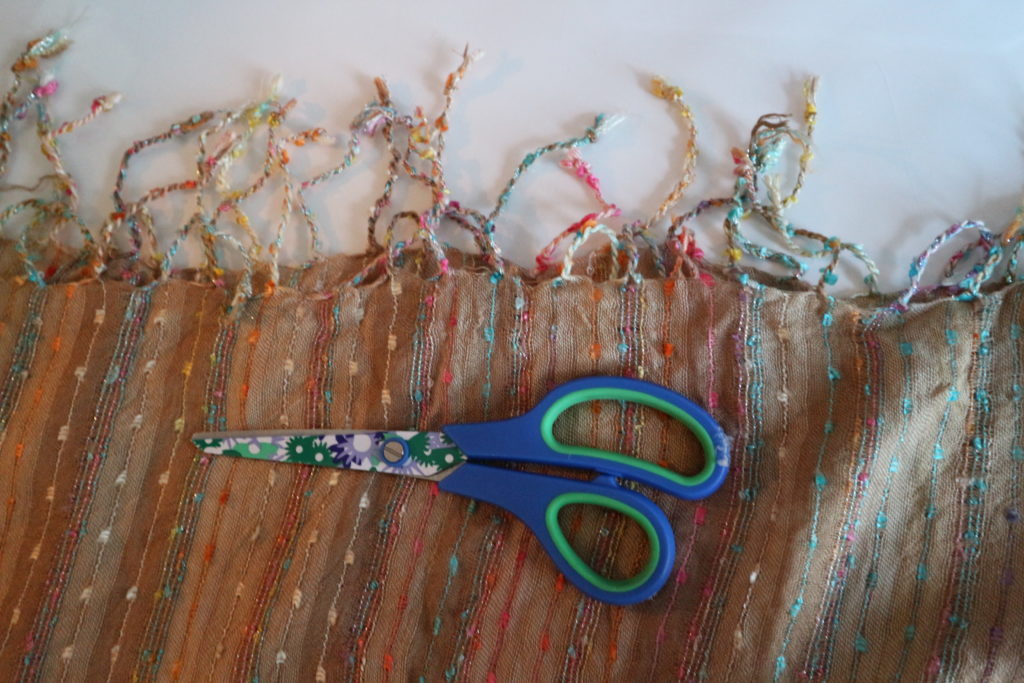
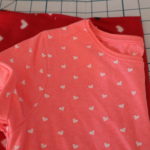
Trim off the tassel bit on the end if your scarf/pashmina had trim.
Fold the fabric in half lengthwise with the good side facing inward.
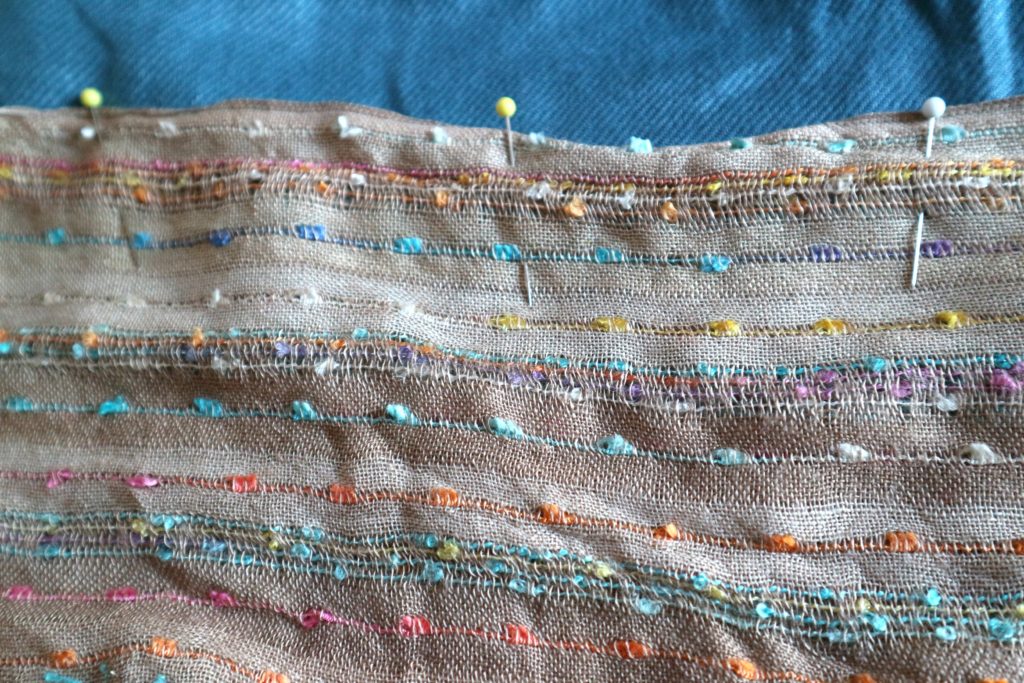
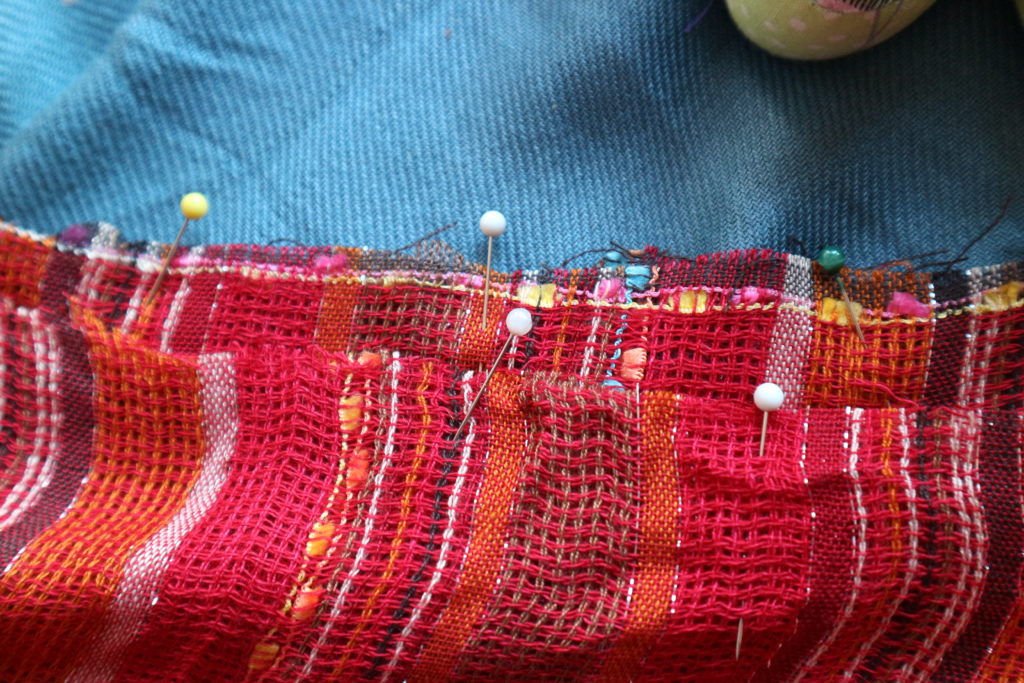
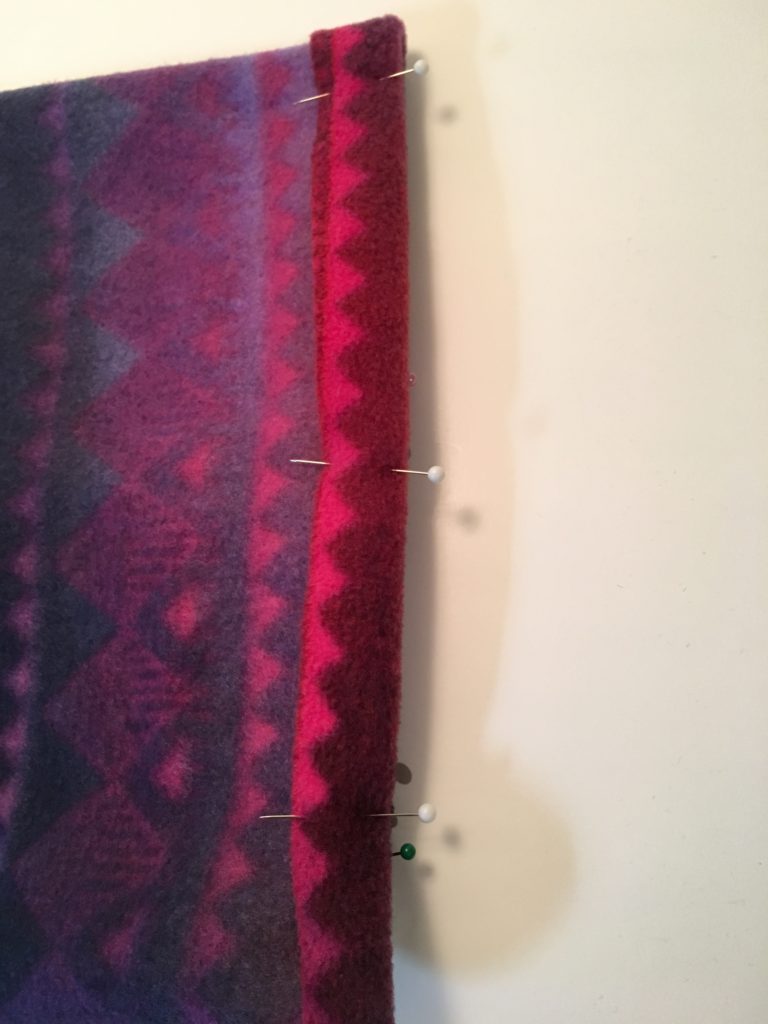
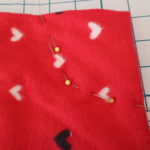
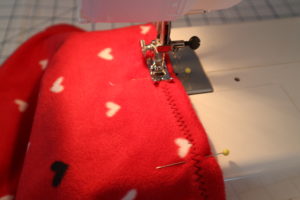
Pin the fabric along the edge of the long side.
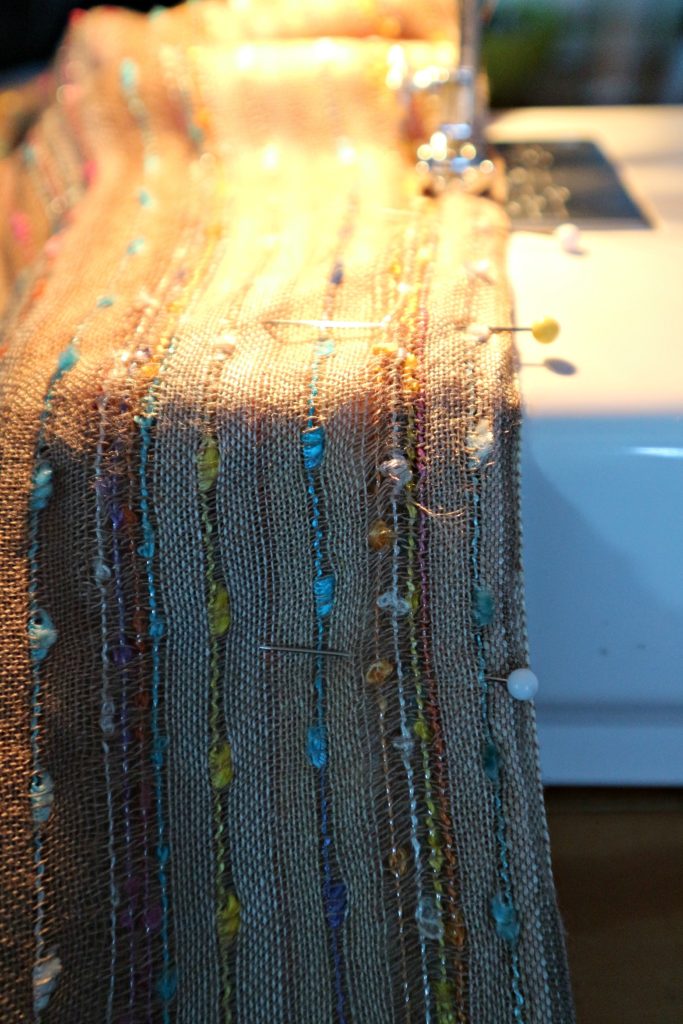
Sew the length of the long side.
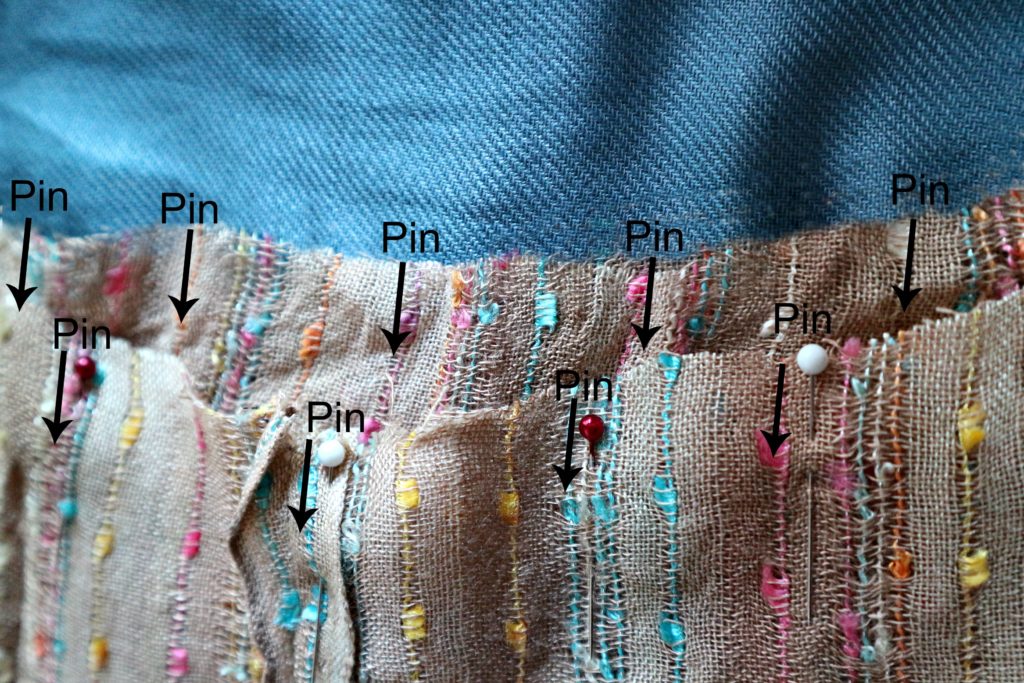
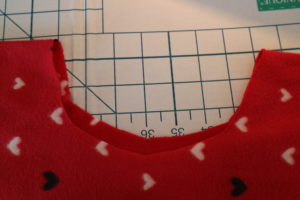
Pull one end of the tube through to meet the other end and match up the seams. Next, pin the ends together to make the tube into a circle. Be sure to only pin through two layers.

Sew around the top, but don’t sew it closed. Leave a gap of a few inches to pull the scarf through.
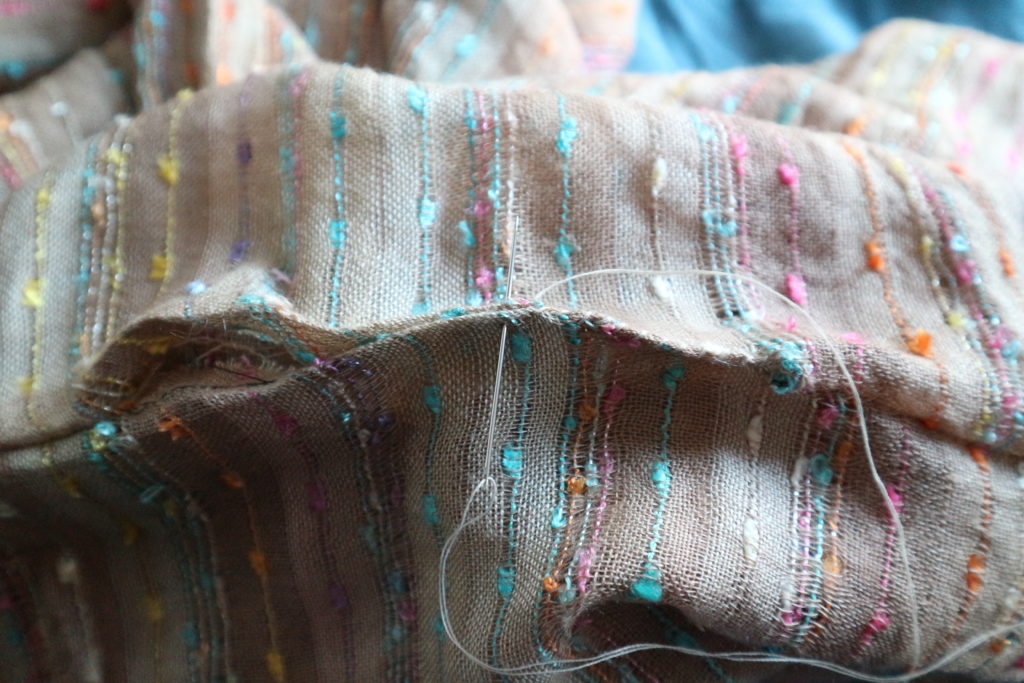
After you pull the scarf through that small gap, get your needle and thread and hand sew the gap closed.
Now its ready to wear. Get the dog leash and take your dog out for a walk. Show your gorgeous new scarf upcycle to your neighbourhood!
I really enjoyed reinventing my scarf! Thanks for reading this post, feel free to comment if you need more detail!

Have you seen this post from last winter?! I made a similar scarf but with a zipper pocket to hide your cell phone or passport. Great idea for travelling!
How to Make an Easy Infinity Scarf with Zipper Hidden Pocket
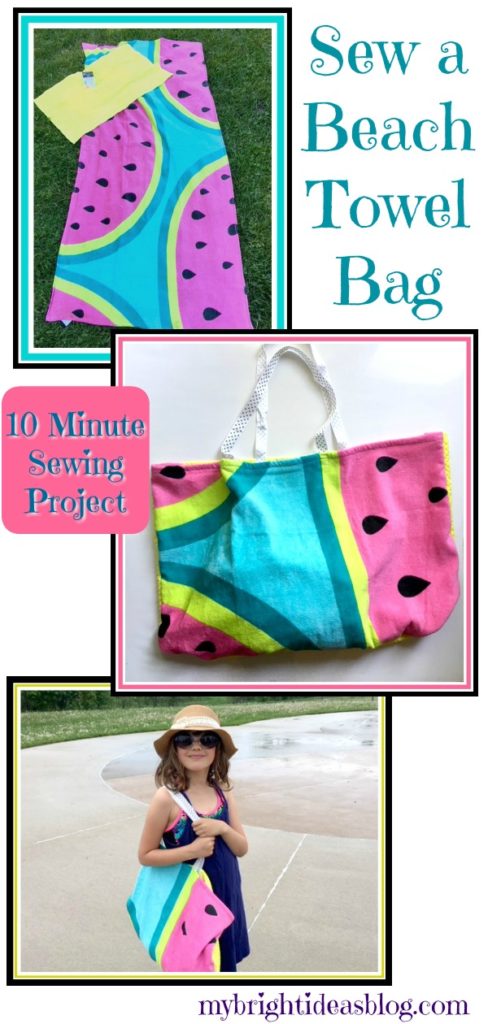
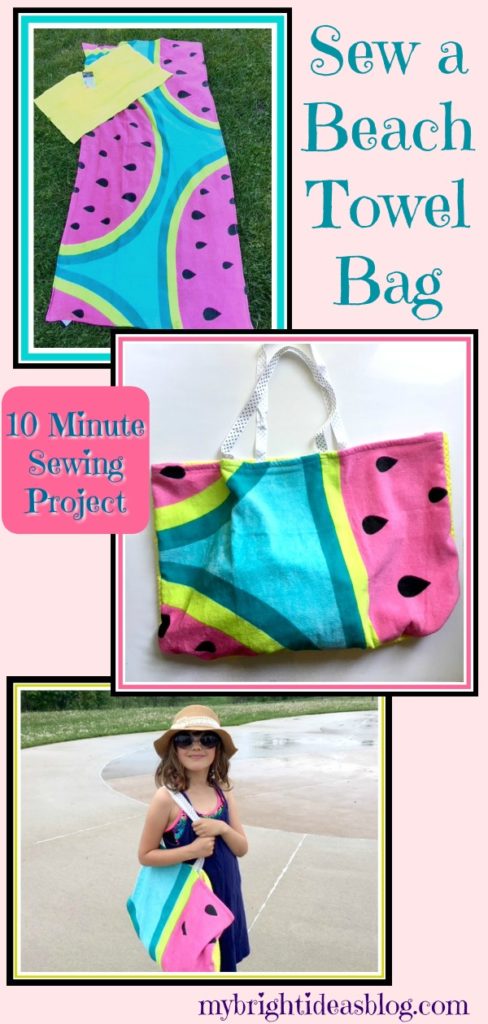
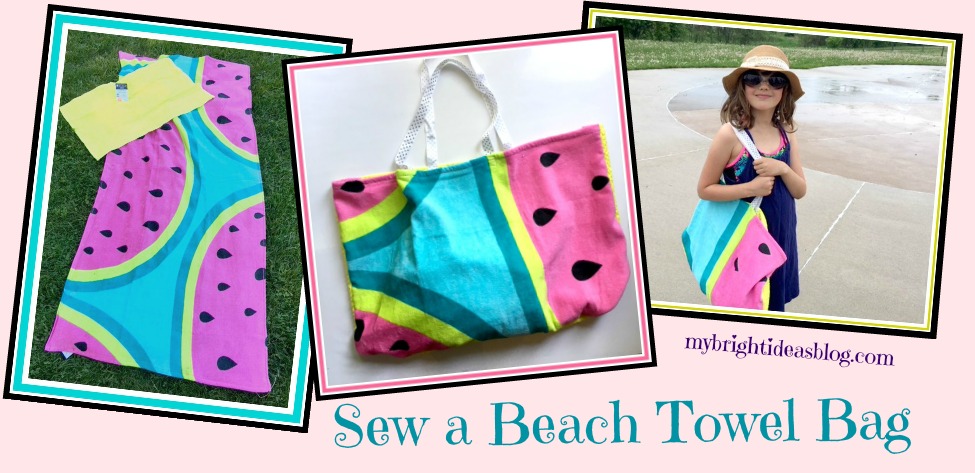
Make a Beach Bag from a Beach Towel and Hand Towel in 10 minutes
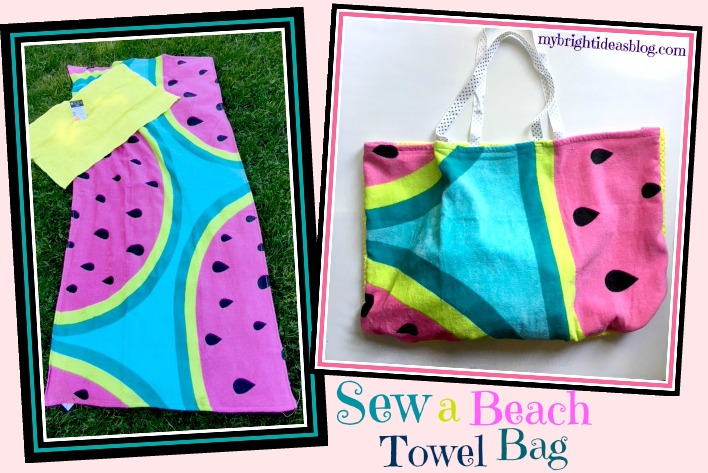
The weather is hot and trips to the beach or swimming pool or splash pad are about to become a nearly daily part of our keeping cool routine. So why not turn your big beach towel into your beach bag! Its such an easy project too. If you have a sewing machine you could have this sewn up in 10 minutes.
You will need:
- a beach towel
- a hand towel
- 4 feet length of ribbon/strapping/cord/shoe lace
- basic sewing materials (sewing machine, thread, pins, scissors)
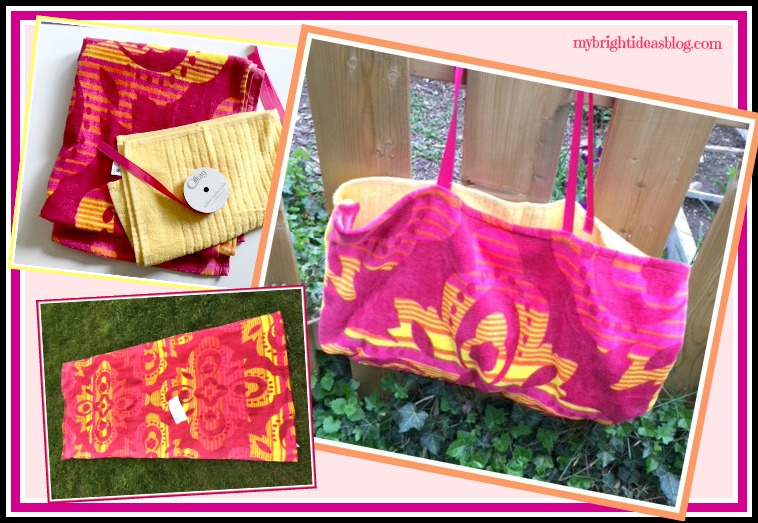
This vibrant beach towel is from Walmart for $8.00.
Happy Childhood Memory Moment…
When I was a youngster my grandma took me and 2 of my sisters and 2 of my cousins on a camping trip. What was she thinking taking 5 girls aged around 10 to 13 year old, on a trip like this. At a family gathering when they announced the trip was being planned, they produced beach towels and toiletries bags for each of us. My towel had hot air balloons on it and she had sewn in a bit of fabric and written my name on it. As much as I loved that trip-I cherished my bag and towel all my own. Sigh…I love my grandma memories…someday I should tell you about when we made horseradish for my big sister’s wedding reception….hilarious!
Back to the project at hand….
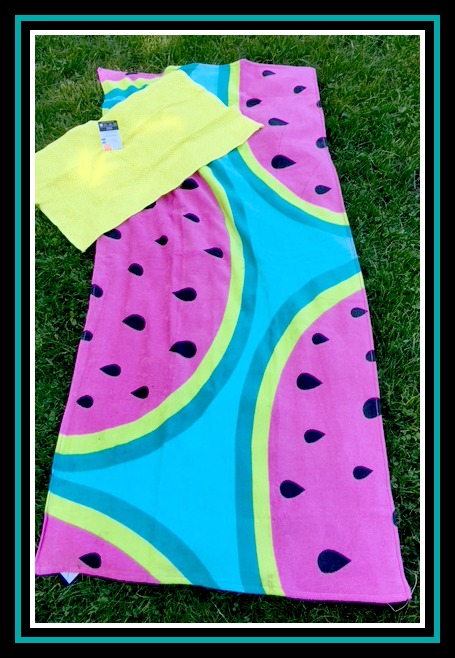
So this week I pick up two lovely bright beach towels for my girls. I also spotted some hand towels and bought those too-just simply because our hand towels keep disappearing.
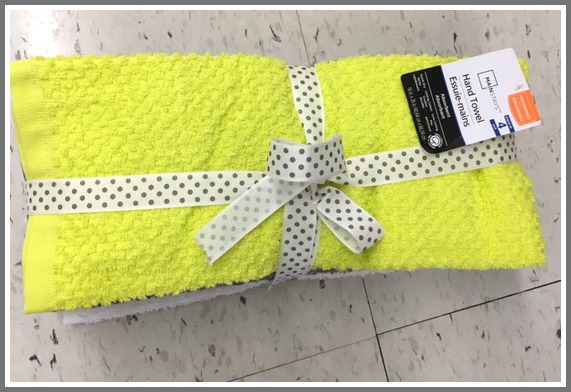
So I’m unloading the newly purchased summertime items. Beach towels, hand towels with a nice ribbon on it, sunscreen, bug spray…and I think, wait a second! Drop everything and get out the sewing machine! LOL
First of all we need to see if that gorgeous yellow hand towel will fit width wise on my beach towel. Take two bag handles from it…yes we can!
So with a big and little towel and the ribbon ready here is what you do…..
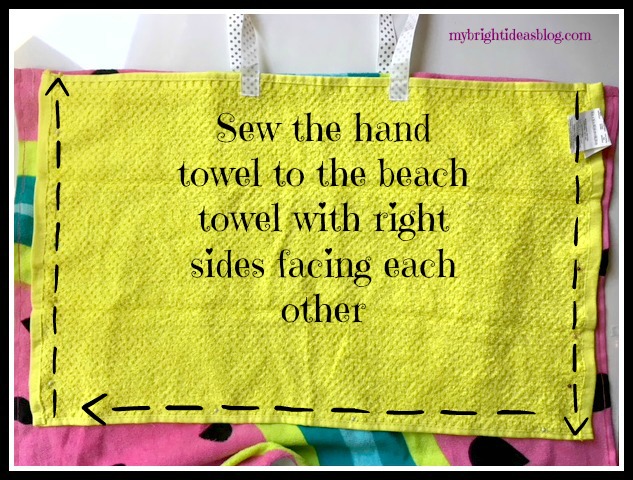
Place the hand towel on top of the beach towel right sides facing each other.
Cut the strapping materials into two pieces 2 feet long each (24 inches or 60 cms). Look around to see what you have…shoe laces, webbing, braded trims.
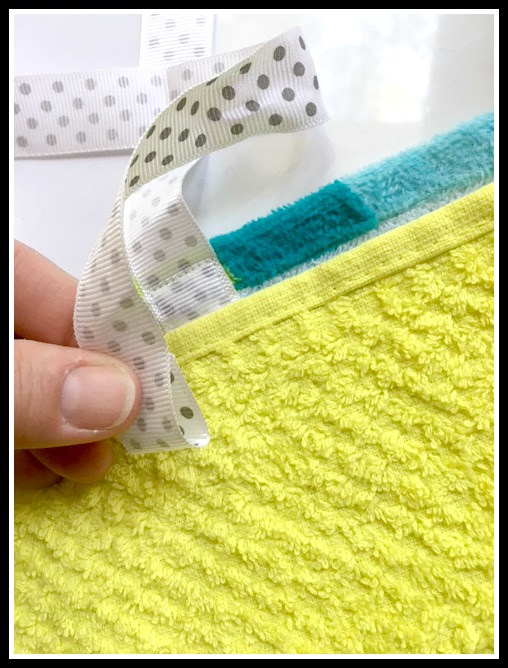
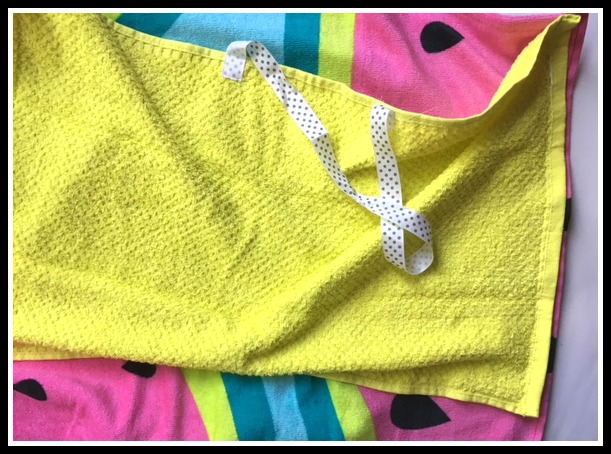
Starting with the beach towel fold in half and mark the middle with a pin. Make a semi-circle with the straps and pin them to the towel.
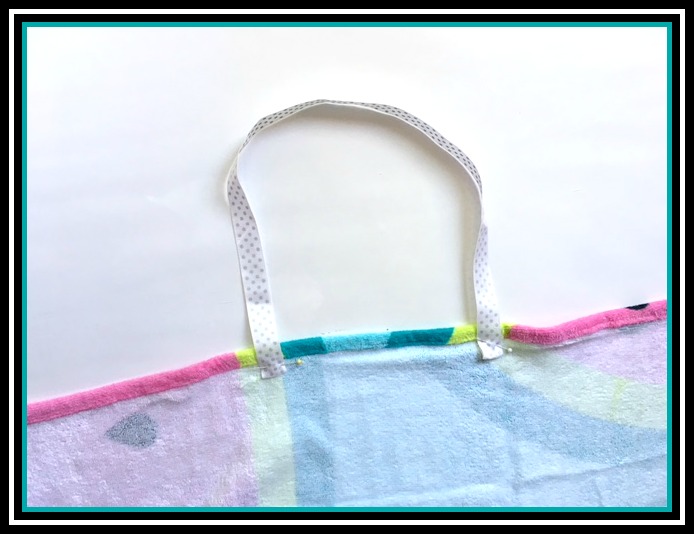
Since my ribbon has the print on only one side I made sure this was showing on the good side of the towel. Also I tucked the ribbon ends under so they look finished and secure when sewn.
Next lay the hand towel on top of the beach towel and match up the location of the handles on the beach towel. Pin in place. I left the tag on the hand towel to remind me which side was my good side and which was the back. I did cut it off later. As you can see the towels don’t match up exactly the same width-one was 1/2 inch wider on both sides. It doesn’t matter!
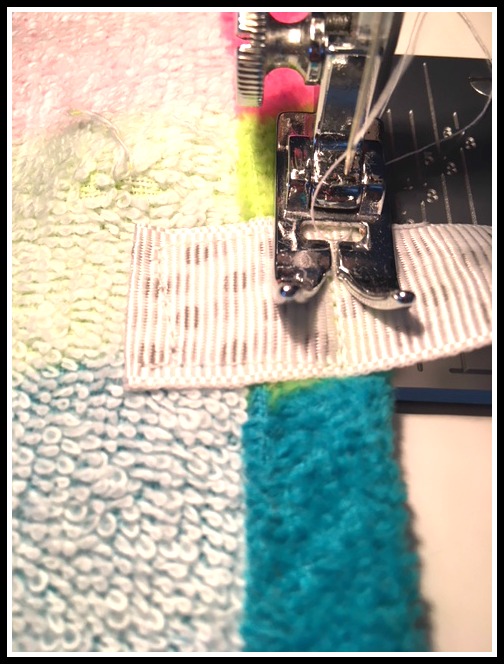
Tuck the ends over so there won’t be fraying from the ribbon or strapping materials.
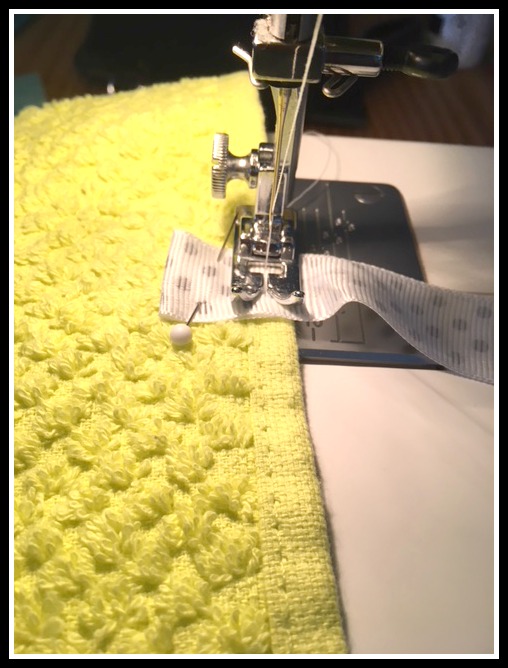
Sew it in place. I usually go around in a square for my stitching on straps to bags. If this was my own bag I would likely put on proper tote bag webbing straps and use a square of fabric or a face cloth to add a pocket or two. That is because I carry everything but the kitchen sink. I would also consider putting a hidden pocket somewhere on it to hide my keys and cell phone.
But since these towel bags are for the kids, the ribbon handles I used will be fine.
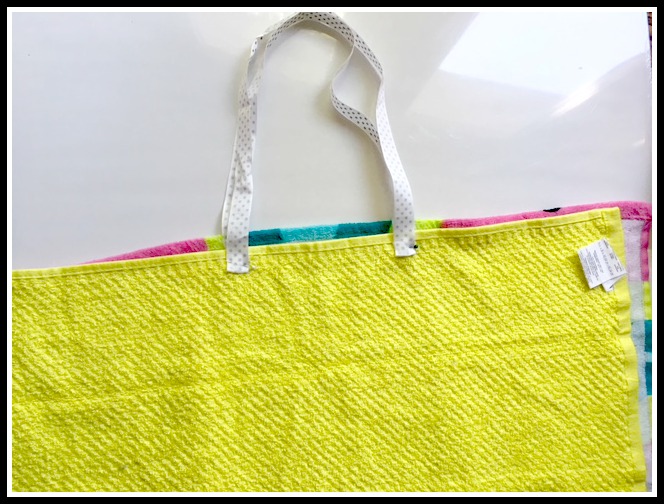
Next we will put the hand towel on the beach towel and pin them in place-Right sides facing in!
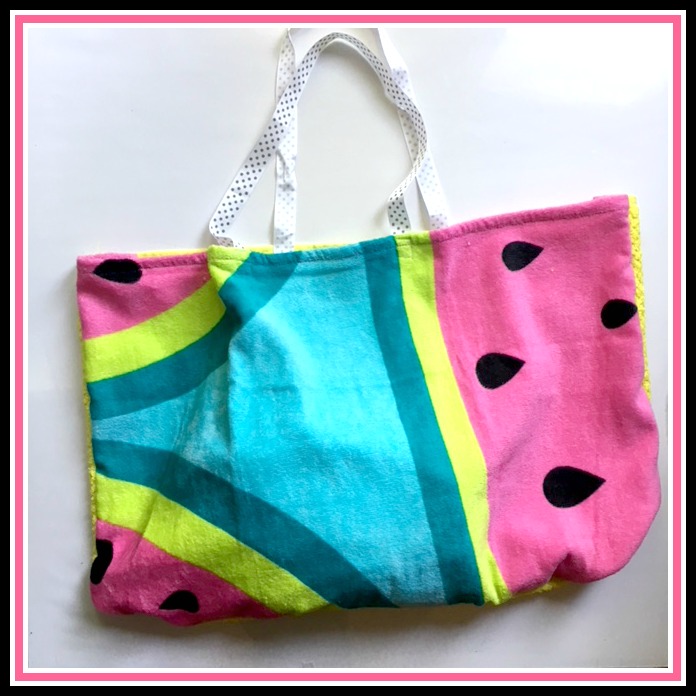
Sew down the side of the hand towel, then turn to sew the length and up to the top. See photo below. Now you have a bag!
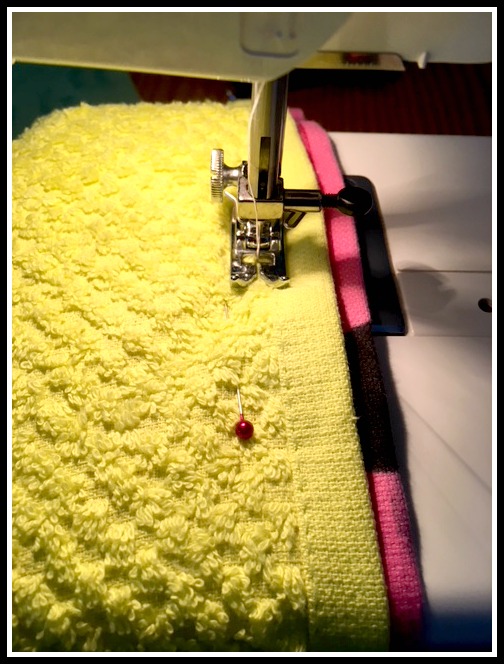
Now you have a bag!
It might look wrong at first. I made 2 of these and at this point I think…uh oh did I do this right? But alas it is fine. Just turn the whole thing inside out and put the tail of the beach towel inside the bag. Add your sunscreen, hat, water bottle, snacks and goggles and off you go!
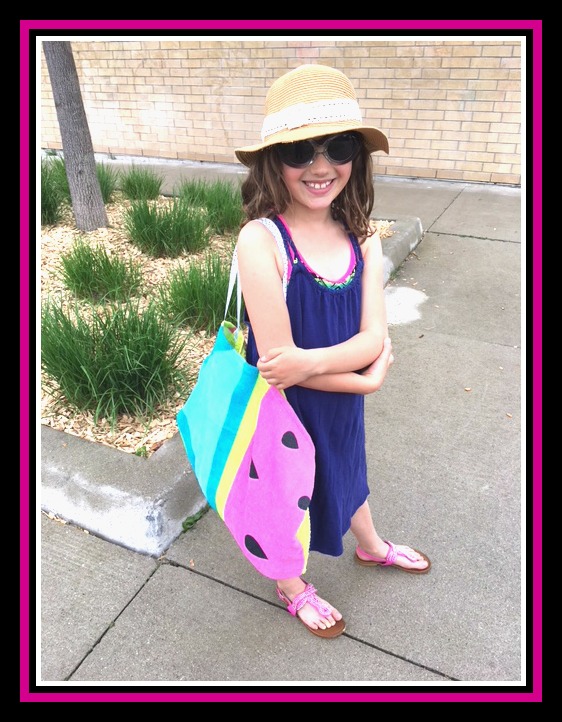
Here is a picture of the second bag. It’s going to be hot day and sunny day here. Perfect beach day!

…
How to Make an Easy Infinity Scarf with Zipper Hidden Pocket
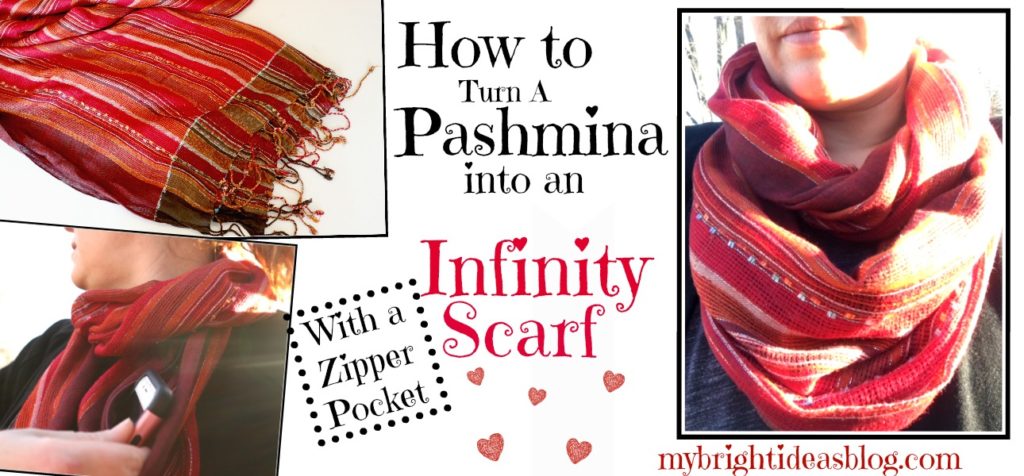
I love scarves! I find a cute pattern or fabulous colored scarf on sale and I can’t help myself! Then I hoard them. So I had an idea to make a scarf with a hidden pocket and thought, instead of using new fabric why not make it with an older scarf I had not used in a long time.
The hidden pocket scarf idea I stumbled upon the last time I was travelling abroad and wanted to be able to keep my passport handy-but hidden while on the journey. Now I am thinking about how handy it would be to walk the dogs with keys, ID and phone hidden in a zipper section of the scarf. Maybe it would be a gift idea for a tween or teenager who isn’t into purses and needs to carry her personal items.
Here are just a few of my older pashmina scarves. I have bins and bins of them.
For this project you will need:
- Scarf or Fabric
- Short Zipper (7 inches or 18 cm long)
- Sewing Machine
- Pins
- Scissors
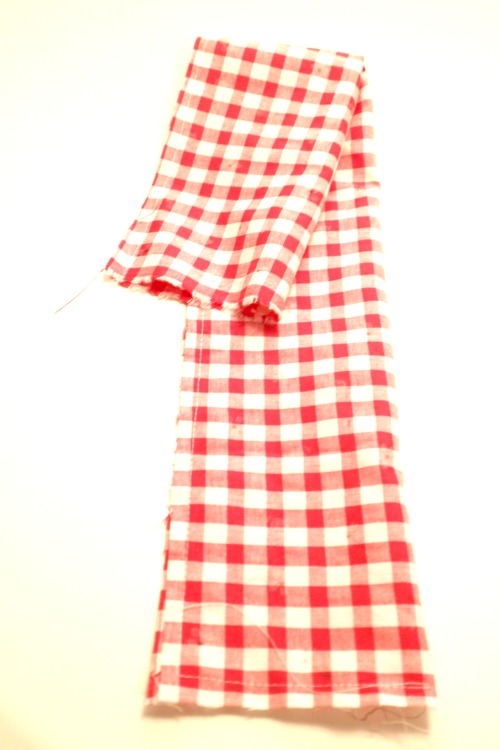
I happened to have a small RED zipper so I chose the red scarf. I love it when a project uses old things I have around rather than buying new supplies!
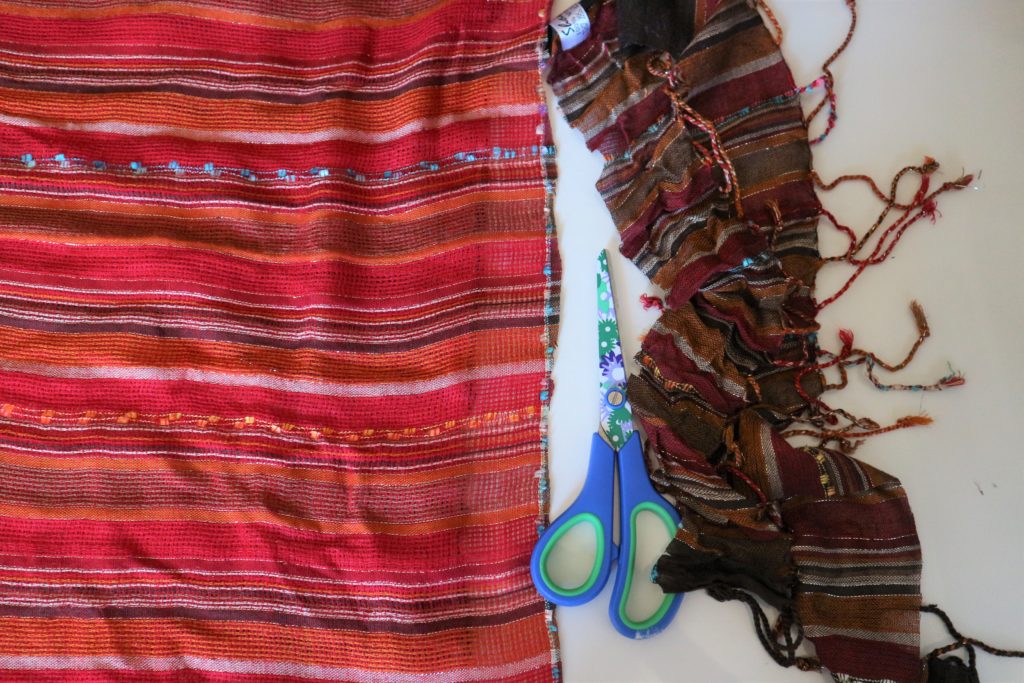
If you are using a pashmina trim off the fringe.
You can also make the zippered infinity scarves out of old clothes, a soft blanket or scarves or new fresh fabric.
For this project I would find a bit of fabric that measures at least 18 x 70 inches (45cms x 177cms).
My scarf was 26 x 69 inches (66 cms x 175 cms). It was even shorter after I trimmed off the fringe and I think it’s a great length-finished its 66 inches long. I prefer it to be extra wide too.
You will need a zipper approx. 7 inches or 18cms long.

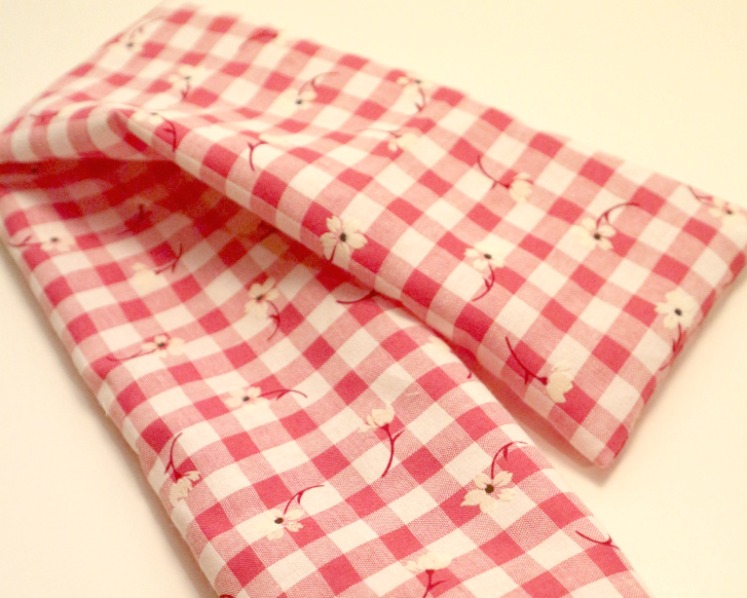
Fold the scarf in half, so its long and skinny with right sides facing together. Decide where you would like the zipper to sit. I put mine a few inches from the end. Using pins, mark the ends of where the zipper will go.
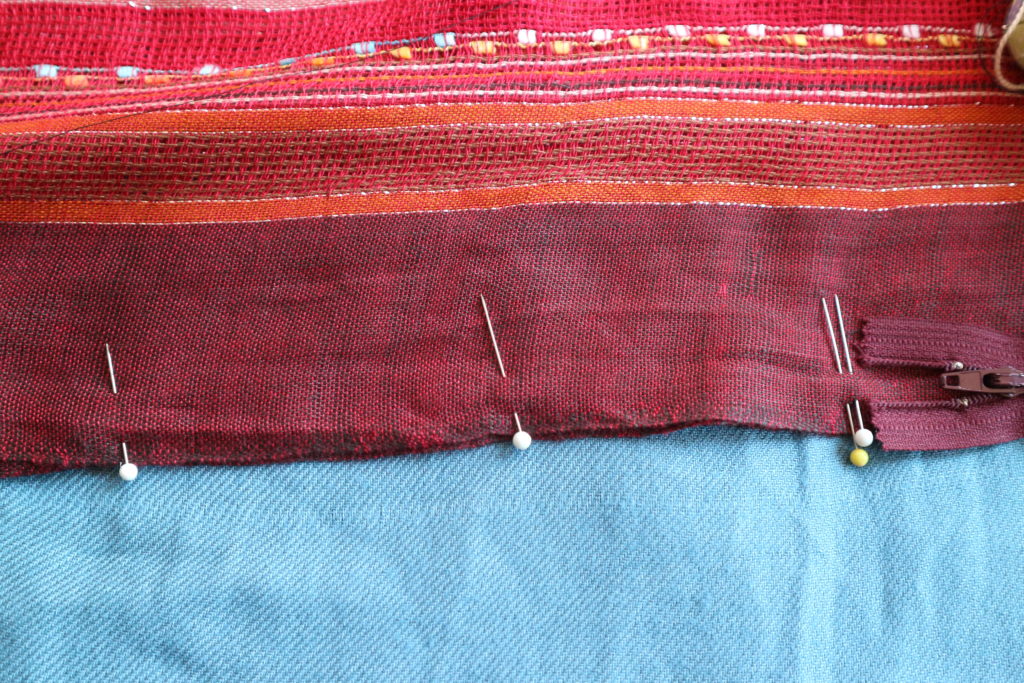
Pin along the rest of edge.
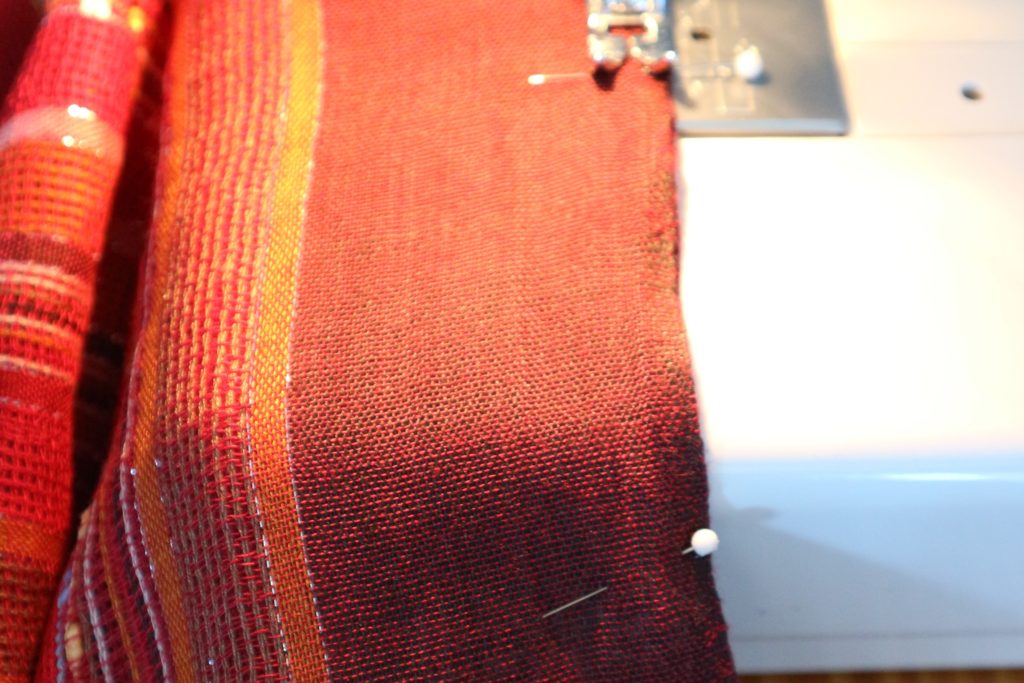
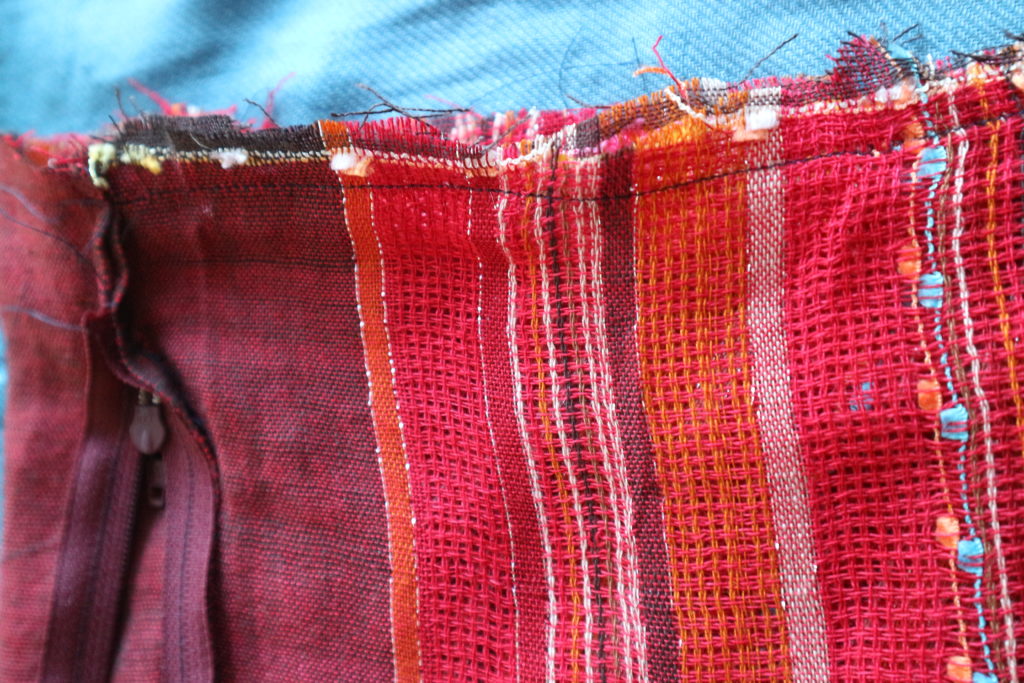
Sew along the long edge. Stop sewing where you marked the zipper will be.
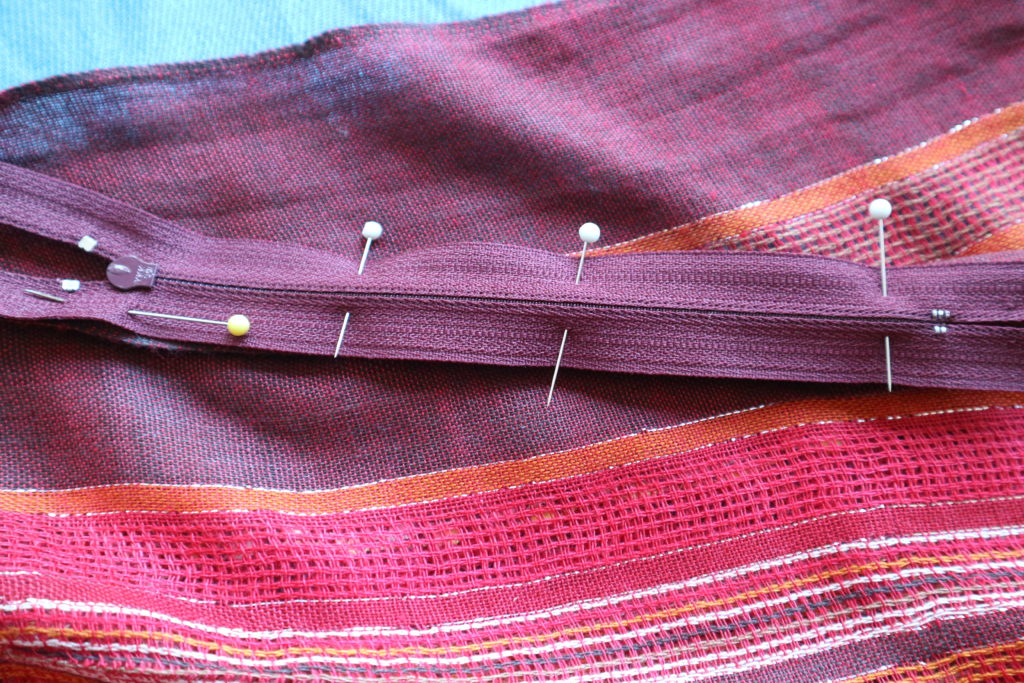
Open the gap you left for the zipper and pin one side of the zipper in place. The right side of the zipper should be down facing the right side of the fabric.
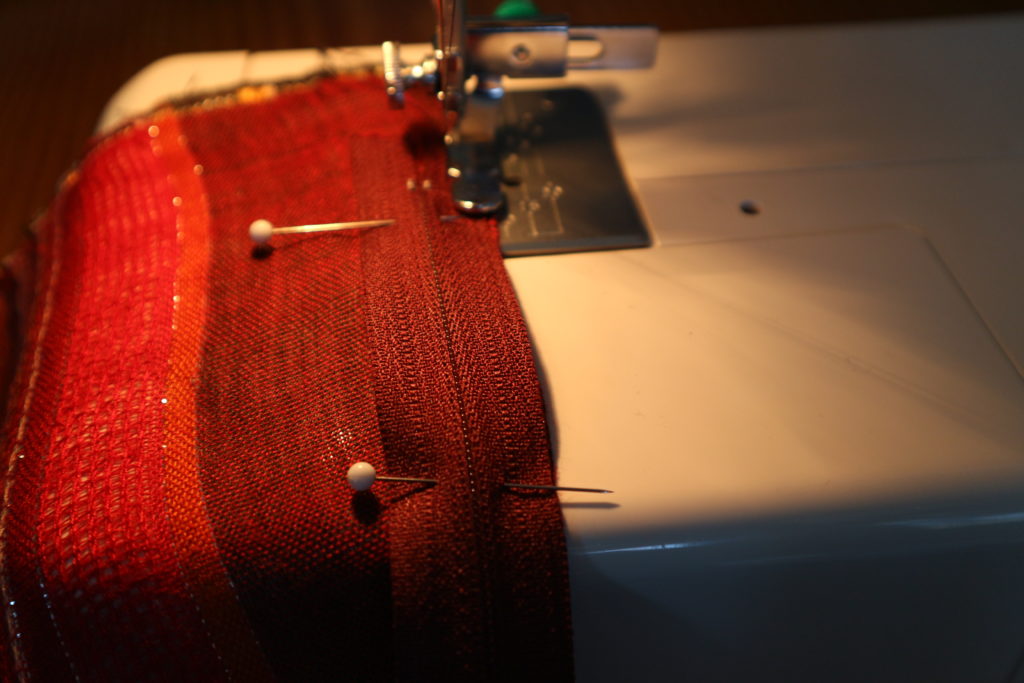
Sew the zipper into place on the first side. Flip it over and pin and sew the other side in place.
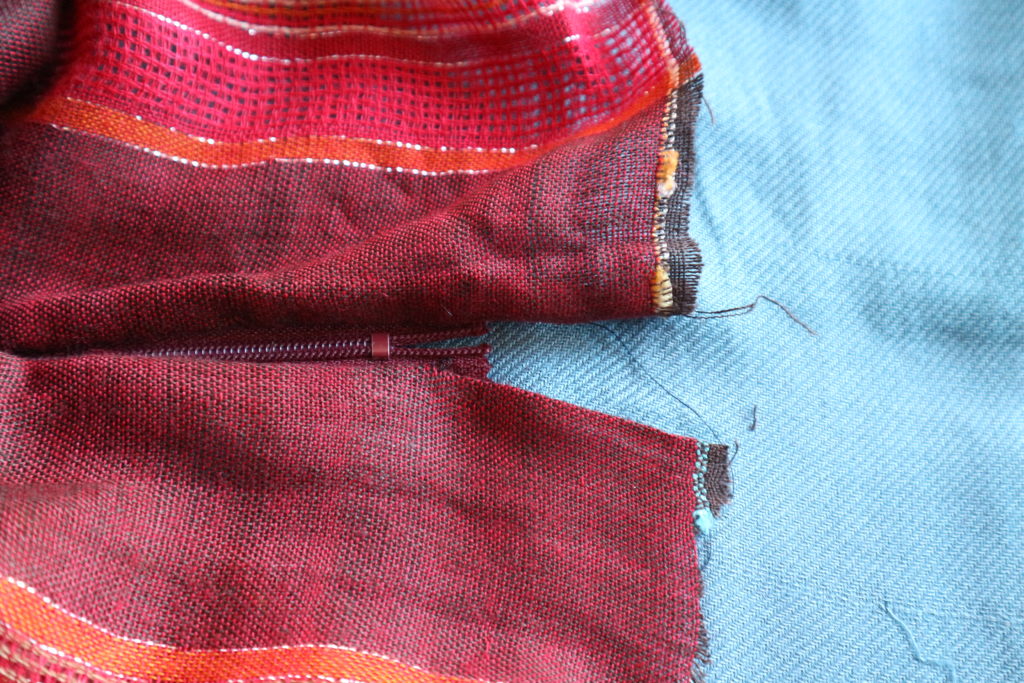
Close the gap at the end of the scarf by sewing the seam together.
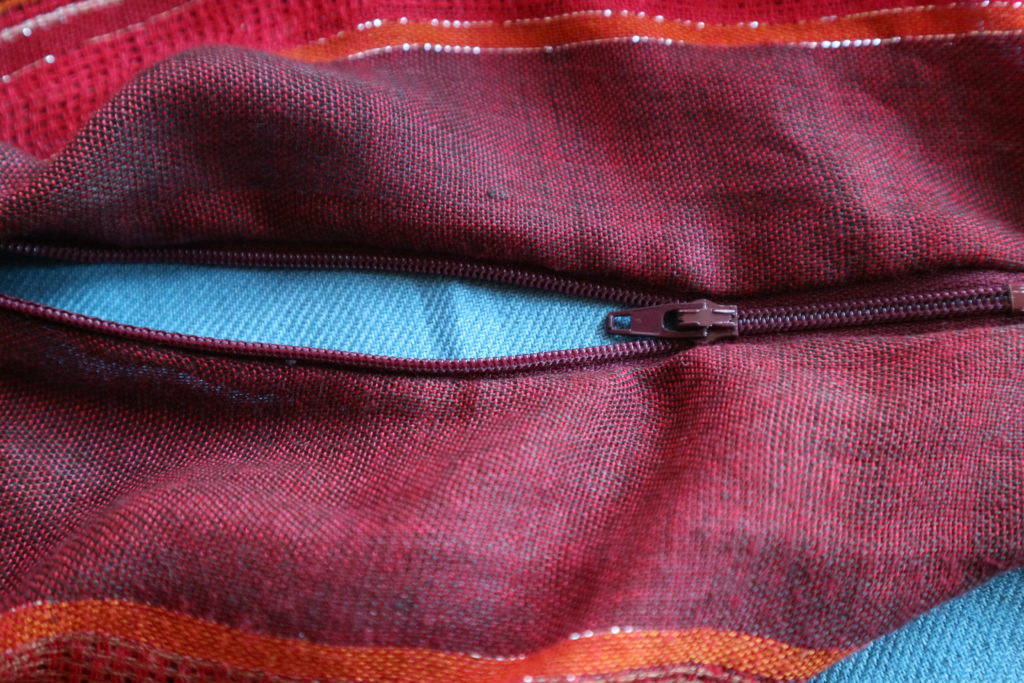
Now test the zipper. It’s opening smoothly. Yeah! Leave the zipper open.
Pull one end of the tube through to meet the other end. Match up the seams and pin all the way around the tube.
Sew all the way around the edge. Be sure to only sew through two layers – we’re making the tube into a circle. Sew the two layers together all the way around.
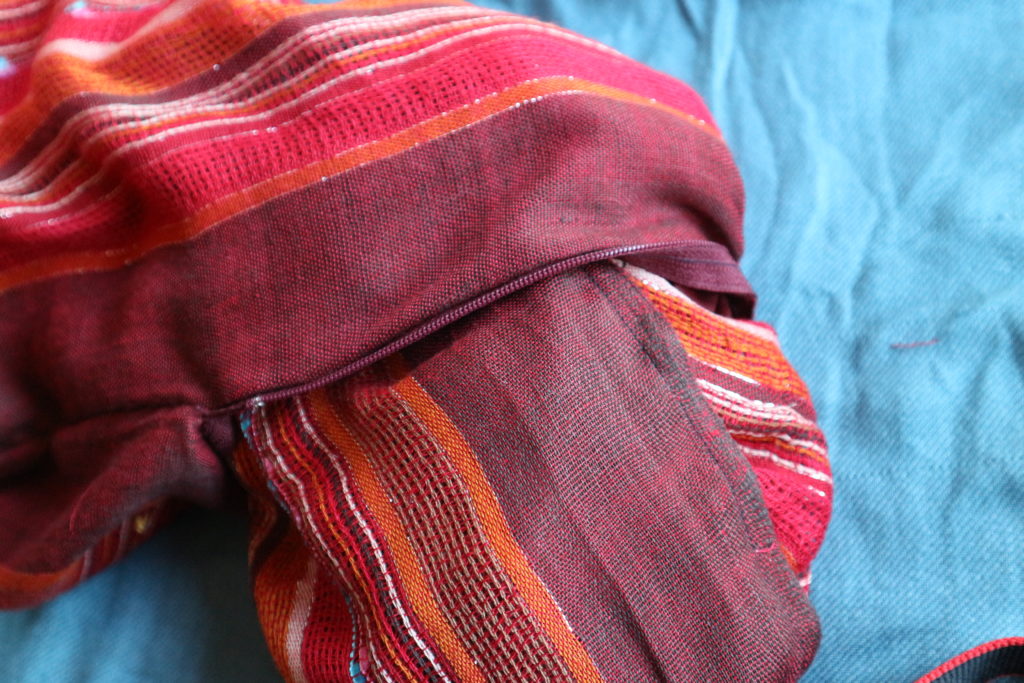
Pull the scarf out through the open zipper hole.

Great Job! Now try it on!
Use the zipper pocket to hide your phone or passport or other lightweight items. Your belongings will fall down toward the bottom of the scarf. That is cool with me since its easy to grab.
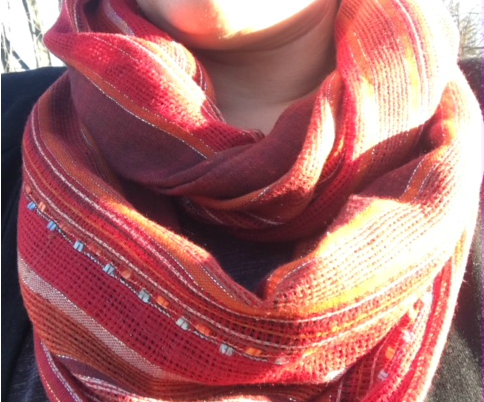
Tuck the zipper towards your body so its not noticeable.
This is a great solution for where to put your things when wearing leggings that have no pockets. Or travelling in an area where you are concerned about pickpockets. Or dog walking….It’s just plain convenient too.
I really enjoyed reinventing my scarf! Thanks for reading this post, feel free to comment if you need more details!
…


Sew a Super Easy to Make Felt Crown – Add to your dress up clothes!

How to Make an Easy Felt Crown!
I went to Dollar Tree this time to get a few time things and got these vibrant colours of pink, 2 shades of purple and turquoise. They charged $1.25 which is a lot more than Michael’s $.59 each. But I was there and the colours were so appealing….A piece of craft felt can cost $.50-1.25 depending on where you are buying it. For each crown you will only need 2 rectangles of felt-I used different bright colors. You will need some gems, scraps of felt and your hot glue gun, This time we are going to use the sewing machine.
If you would like to use do this project without sewing follow this link….http://mybrightideasblog.com/make-no-sew-felt-crown/
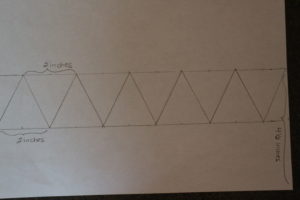

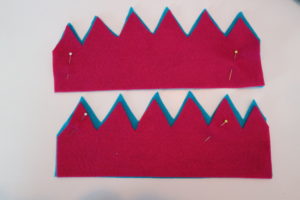
Make a template using an 8 1/2 by 11 standard piece of paper. Measure 4 1/2 inches from the bottom and draw a line. Draw another line 2 inches below that. Put a mark every inch along both lines. Then using your ruler create a zig zag. This measurement should make it possible to do this twice on a felt rectangle that measures 9′ x 11 1/2″. To make sure you don’t cut into the other half you could cut the felt in half lengthwise before you cut the zig zag, If your felt isn’t as wide as mine just shorten the bottom portion of the template…it doesn’t need to be that thick. Do the same with the second color that you have. This extra layer will stiffen the project so it can support the gems. It also makes it really pop with the extra color.
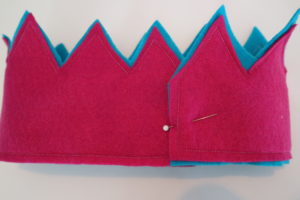
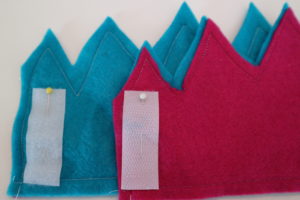
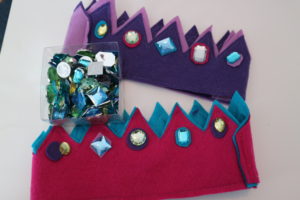
Next overlap the two colors a bit and pin them together. Sew all the way around the bottom, side, zig zag and other side. Overlap one side to the other and sew a seam to connect them. The other seam will be open so pin Velcro strips so the size is adjustable and easy to get on and off. If you don’t have Velcro you could just fit the crown to the child’s head and sew that seam too. Cut pieces of felt out of scraps to place under the gems. Using the hot glue gun, glue the felt to the crown and the gem on top.I only put gems on the front of the crown, but you could put them all the way around. You could also add a strip of ribbon or gold trim around the bottom to decorate it further.


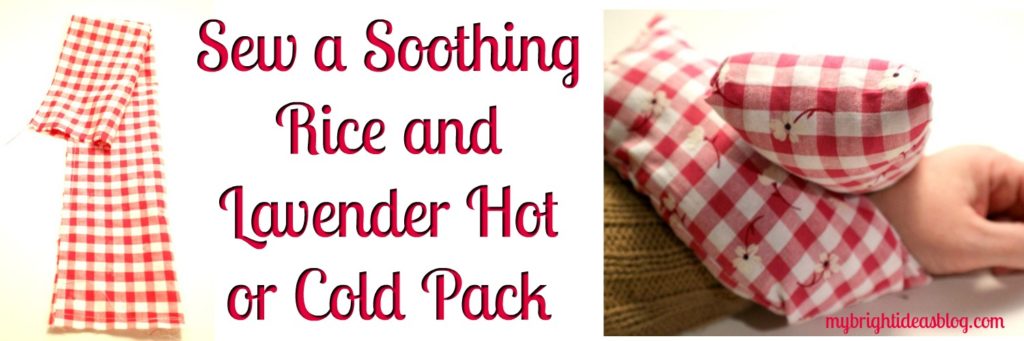
Easy to Make-Microwavable Hot / Cold Rice & Lavender Packs
Microwavable Rice and Lavender Hot or Cold Pad
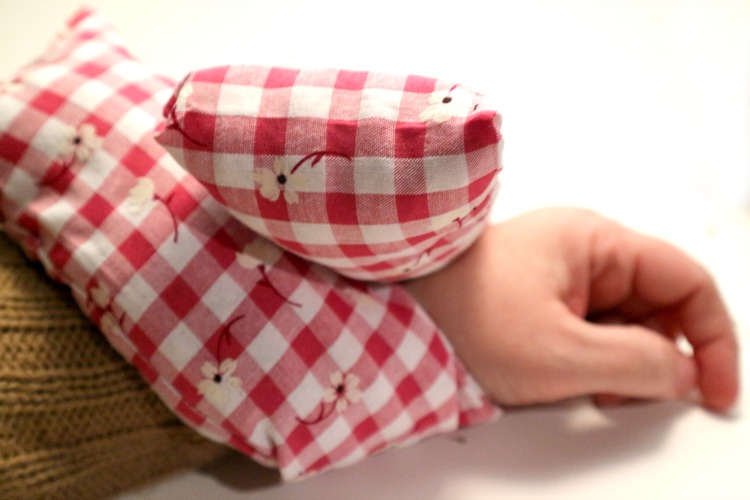
Need to soothe aches and pain, bumps and bruises? Nothing brings comfort like a microwave rice hot pack! Add a hint of lavender to your hot pad for a calming effect.
If you are sporty with muscle aches or have bickering children that make a certain shoulder muscle tense you need a cloth bag of rice that you can microwave. Everyone needs a few of these in the house. Keep one in the freezer for when you need a cold one (great if a doozy of a headache is coming on) and another ready to go for the microwave when you need a hot one. Even if there are no muscle pains at the moment if you are feeling sick or can’t seem to shake off a chill its wonderful that in 3 minutes in the microwave you have a soothing warm compress…and don’t get me started about cramps….
You will need:
- A piece of cotton 12 x 20 inches (rather than buy new why not upcycle an old pillowcase or piece of clothing you don’t want-or something from the sewing scrap basket)
- Sewing machine
- Needle and thread
- Funnel or juice bottle turned into a funnel
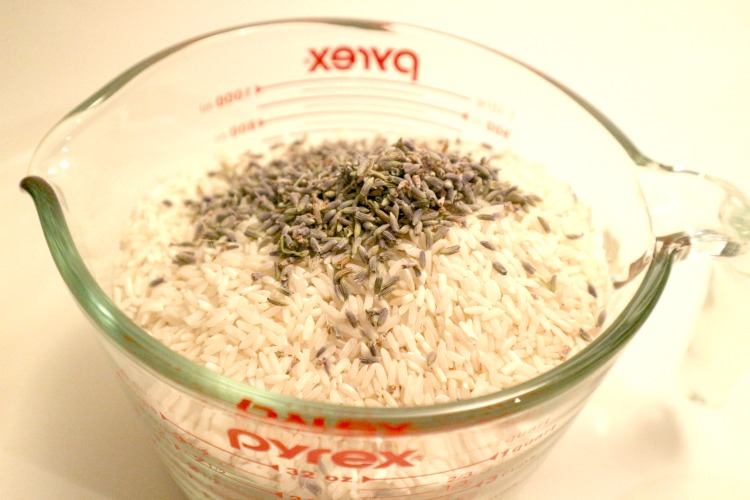
- 3 lb bag of uncooked long grain rice
- 3 tablespoons of dried lavender (this is optional-if you are sensitive to smells start with 1tbsp-it should be subtle and soothing) you can buy lavender from the bulk store or health food store

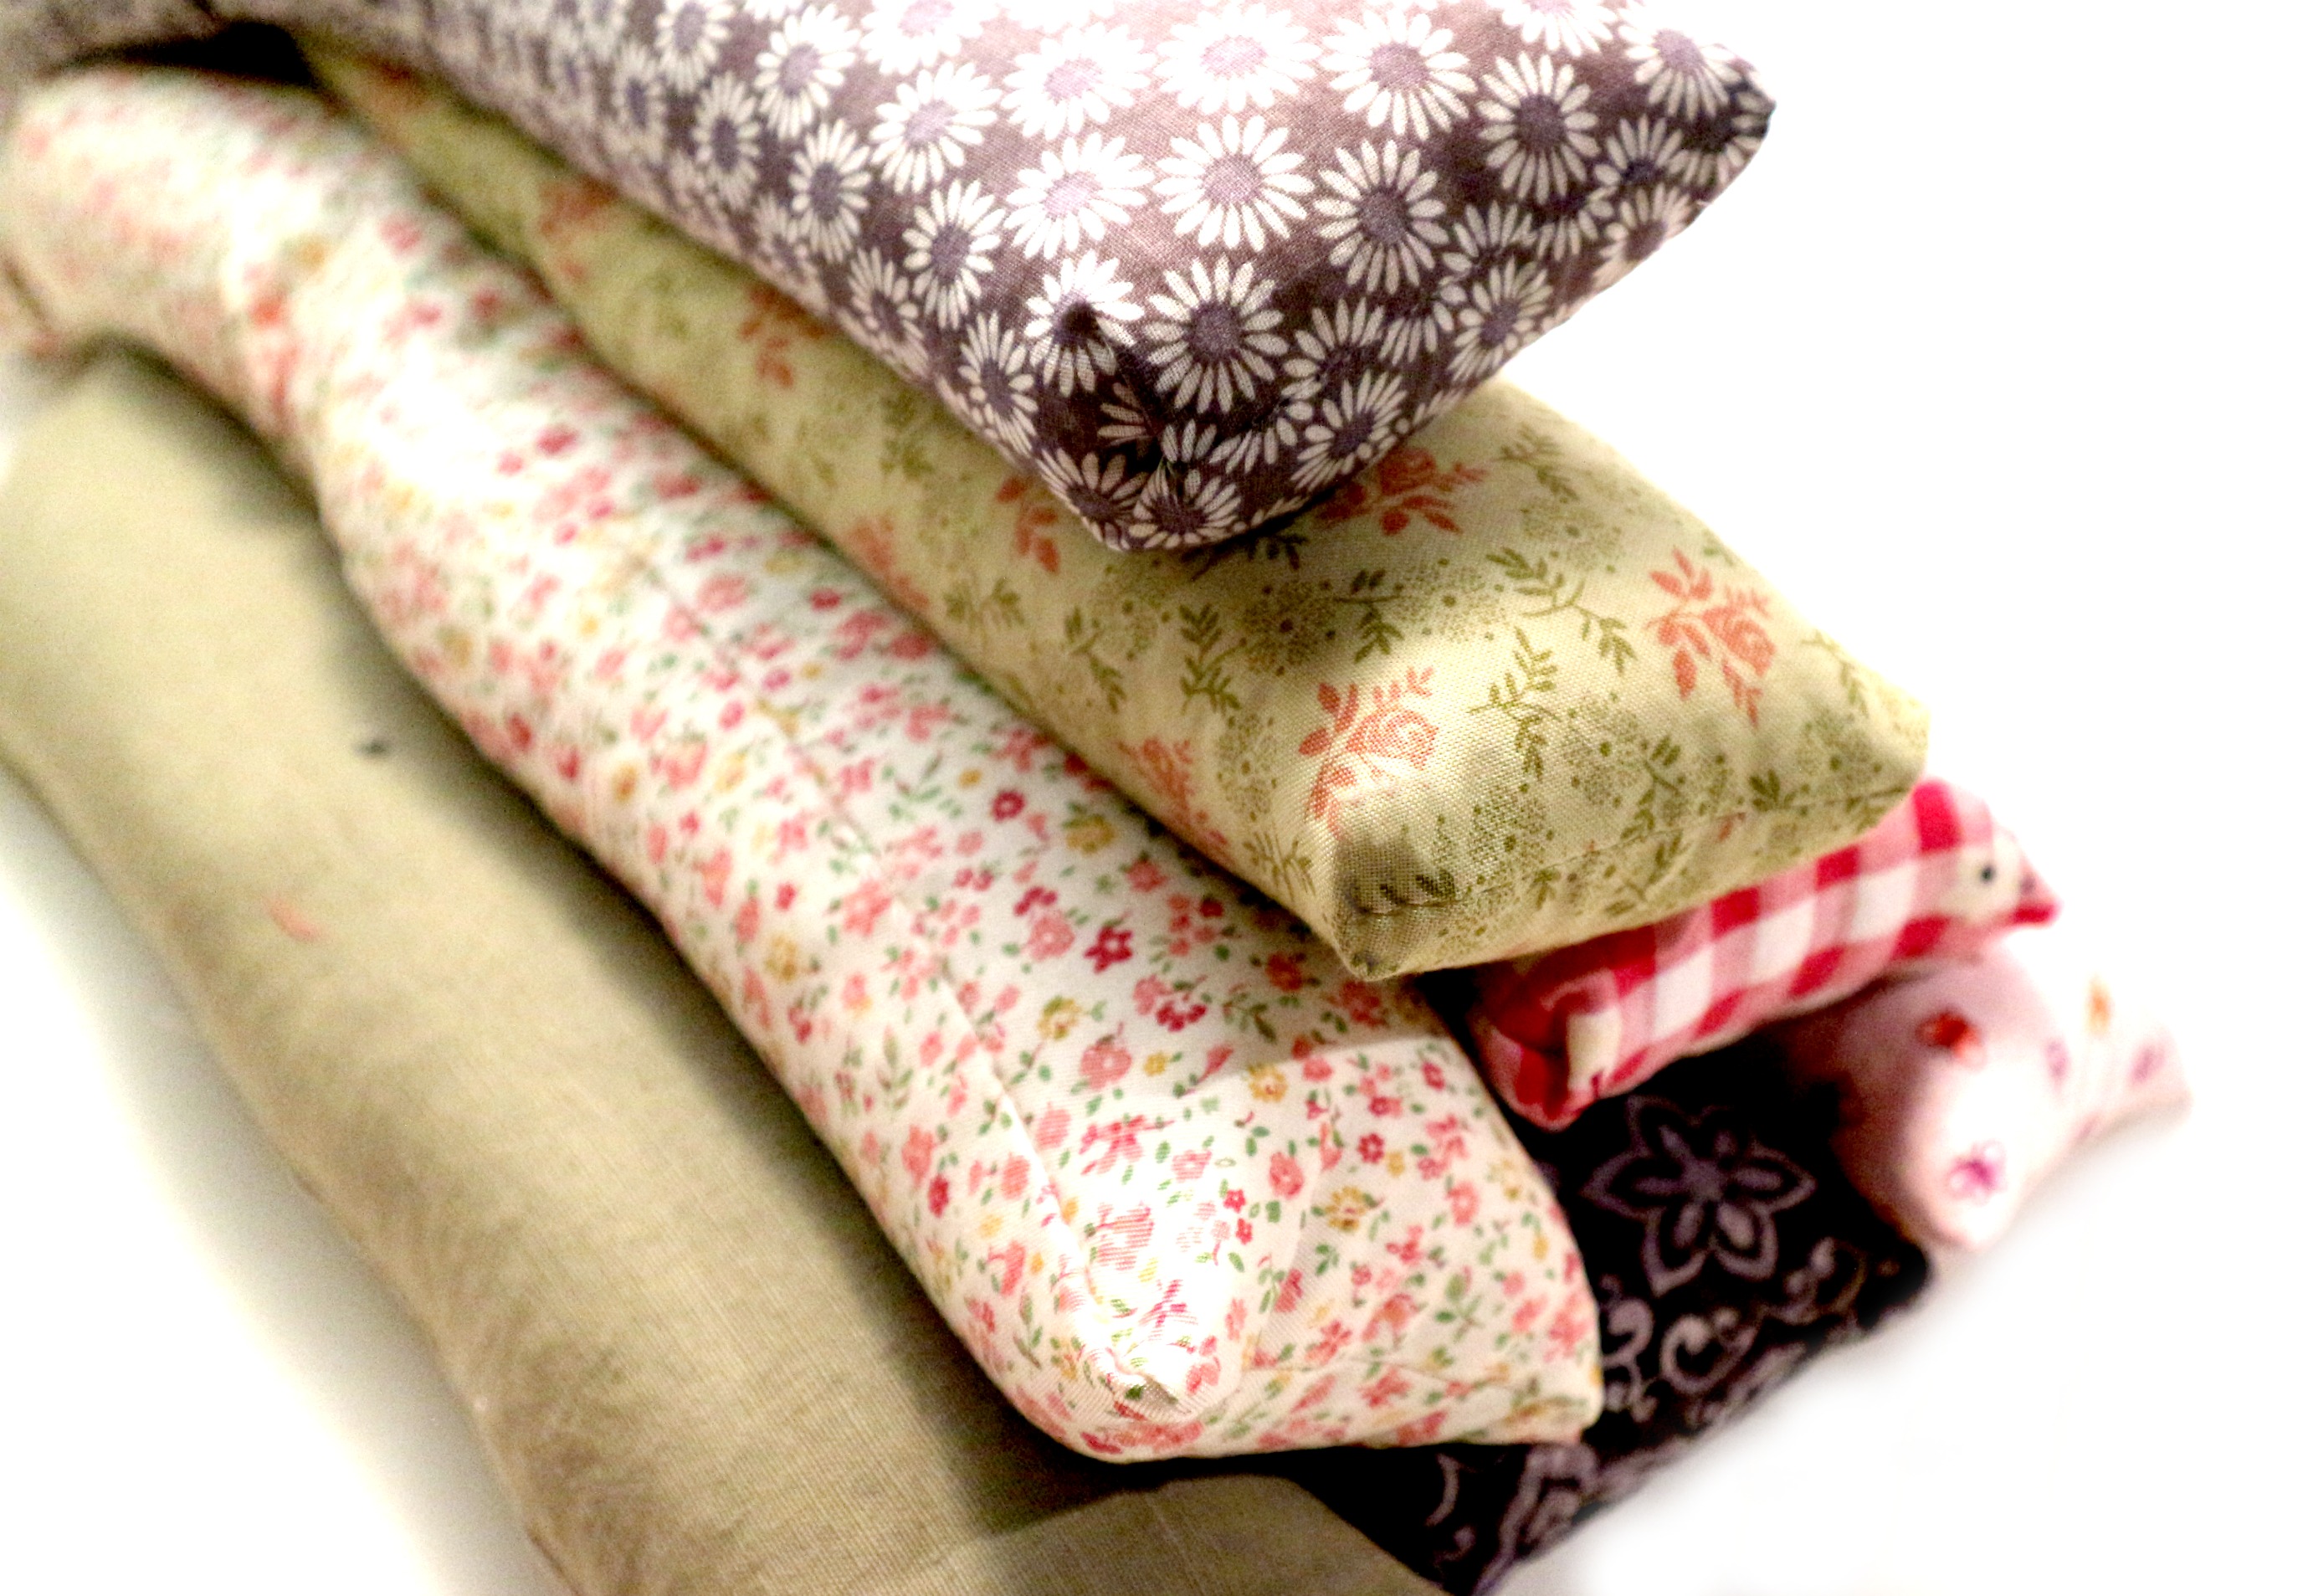
Choose a calming fabric in 100% cotton. You only need 12 inches x 20 inches (30 cm by 51 cm) so its a great way to use up a scrap remnant from another sewing project.

I love this soothing pattern. Just looking at it calms my headache.
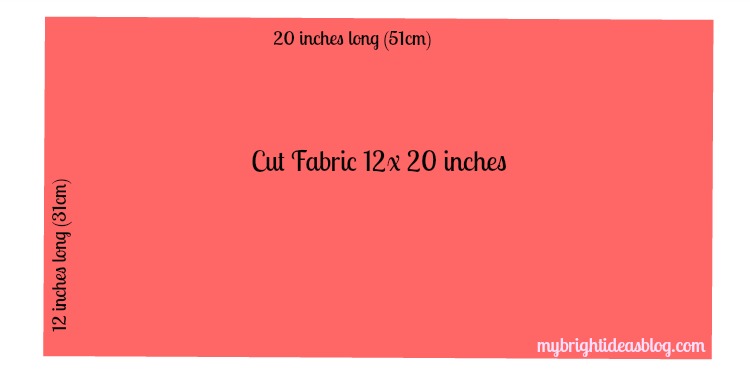
Cut the fabric to size and iron flat.
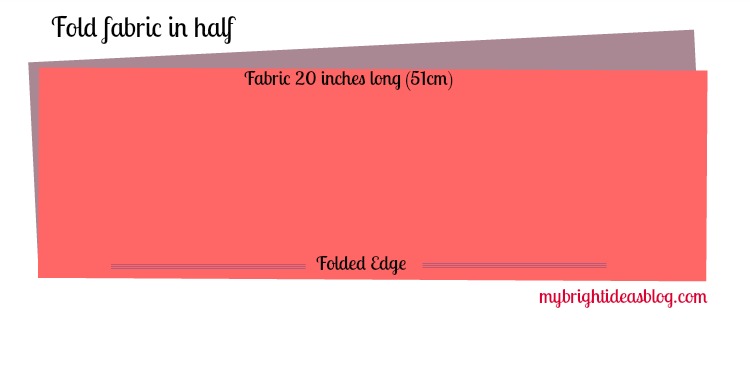
Fold in half.
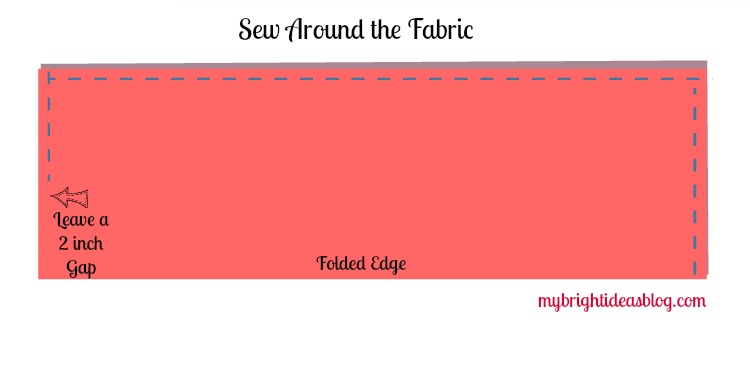 Sew around the edge.
Sew around the fabric leaving a 2 inch opening.
Turn the fabric inside out.
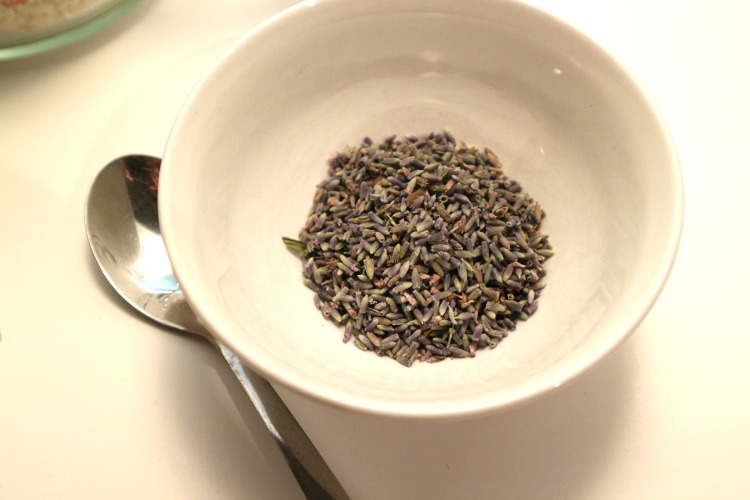
In a large bowl, combine 3 cups of rice and 3 tablespoons of lavender buds. Lavender is completely optional. I found that the lavender was very strong smelling when heated, so I decreased it to 1 tablespoon.
I picked up lavender at the health food store.
Using a funnel fill the bag with the rice and lavender mixture. Fill to approximately ¾ full.
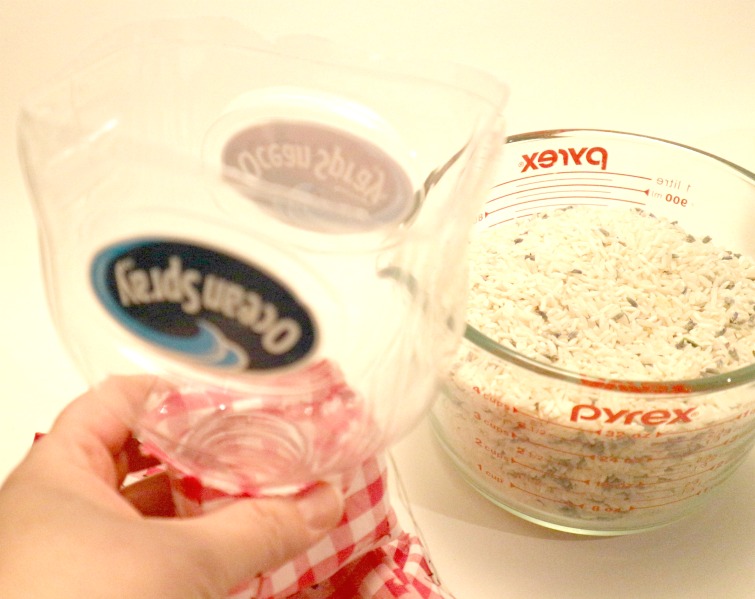
I didn’t have a funnel with a wide enough neck so I pulled a big juice jug from the recycling bin and cut off the bottom half. It’s the perfect funnel for this project.
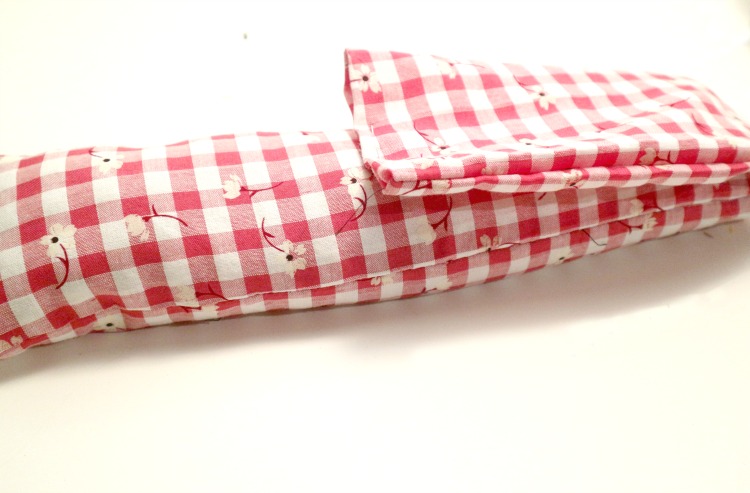
You don’t want it jammed full because its going to be wrapped around your neck or across your forehead so you need some flexibility. Leave 1/4 of the tube empty. Pin the end securely.
Try it out! How is the flexibility? See how comfortable it is with the current amount of rice. Add more or remove some to make it more to your liking.
If you are happy with it….Tuck the unfinished ends in and hand stitch it closed.
Hot Pack Instructions- To make it a hot pack just microwave for approximately 2 minutes depending on your microwave. It may need another 30 seconds but test it to see what is right for you. My sized rice pack and microwave seem to be perfect at 3 mins. Be careful not to make it too hot for skin. It should be lovely and soothing. (Not for children-Use at your own risk)
Cold Pack-Place the rice pack in a ziplock bag and put in the freezer. Amazing for headaches or bumps and bruises.
Mini Packs and Pocket Warmers-To make pocket warmers cut a piece of fabric 3 x 5 inches (or old lost sock) to be approx. 5 inches long. Follow the instructions above. For microwaving heat for 30 seconds to start and test out the perfect length of time for your hand warmers.
I always store my rice packs in a ziplock bag to keep the dust off. Do not microwave it in the plastic bag.
Remember to make a spare one for your desk at work and make a few extras to take to friends with the flu with some chicken soup. Ohhh, you’re such a good friend…


…


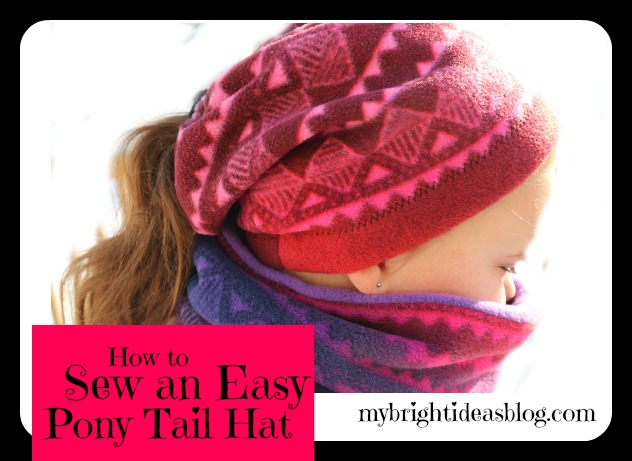
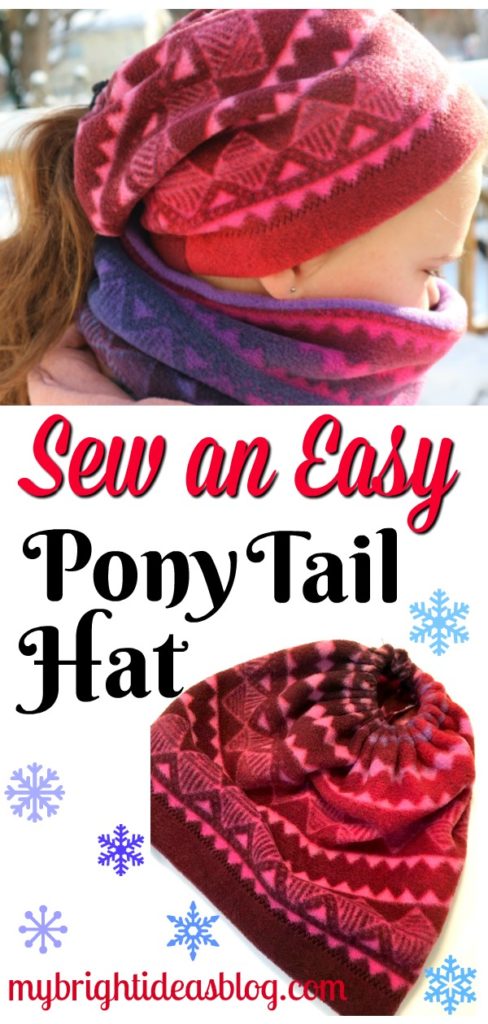
Make a Fleece Hat to wear With your Pony Tail

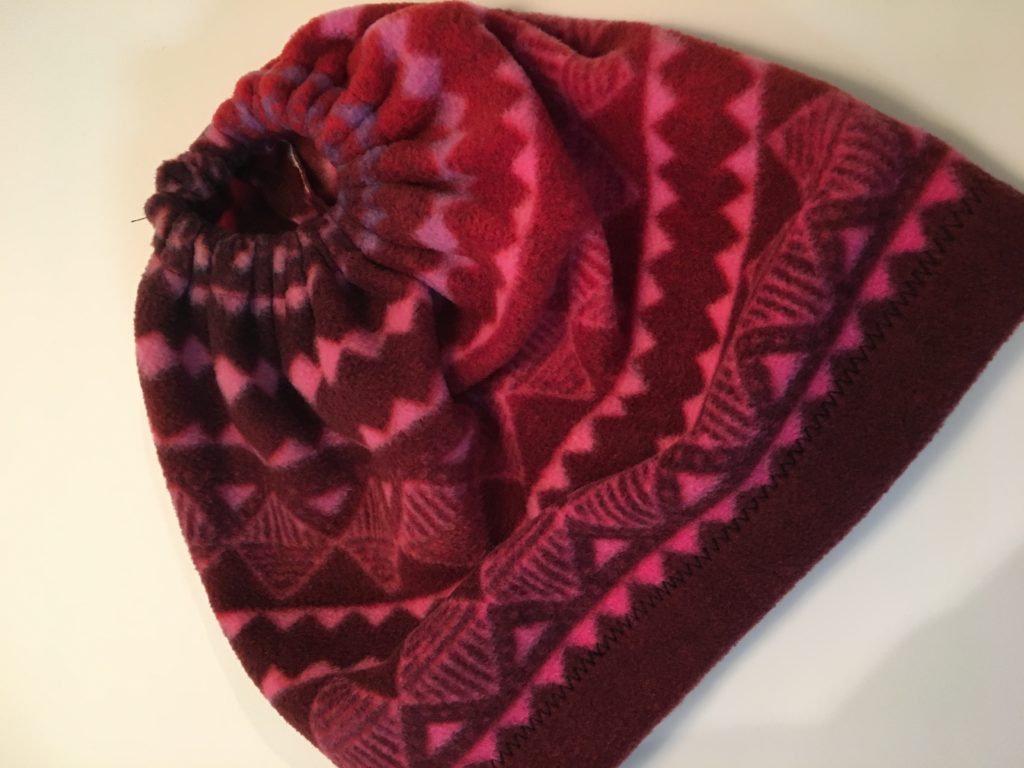
Pony Tail Fleece Hat
For gals with a pony tail you have quite the dilemma when you need to pop on a hat to go outside. To avoid a big lump on the back of your head we will make up a Fleece Winter Hat that has an elasticized end that allows you to pull your high pony tail or your messy bun out the top.
The cozy scarf/snood shown in the photo below is just as easy to make….just follow this link.
Let’s Get Started!
You will have this hat sewn up in 15 minutes! This is a great first sewing project if you are new at this or if you have a youngster you would like to teach how to use the sewing machine.
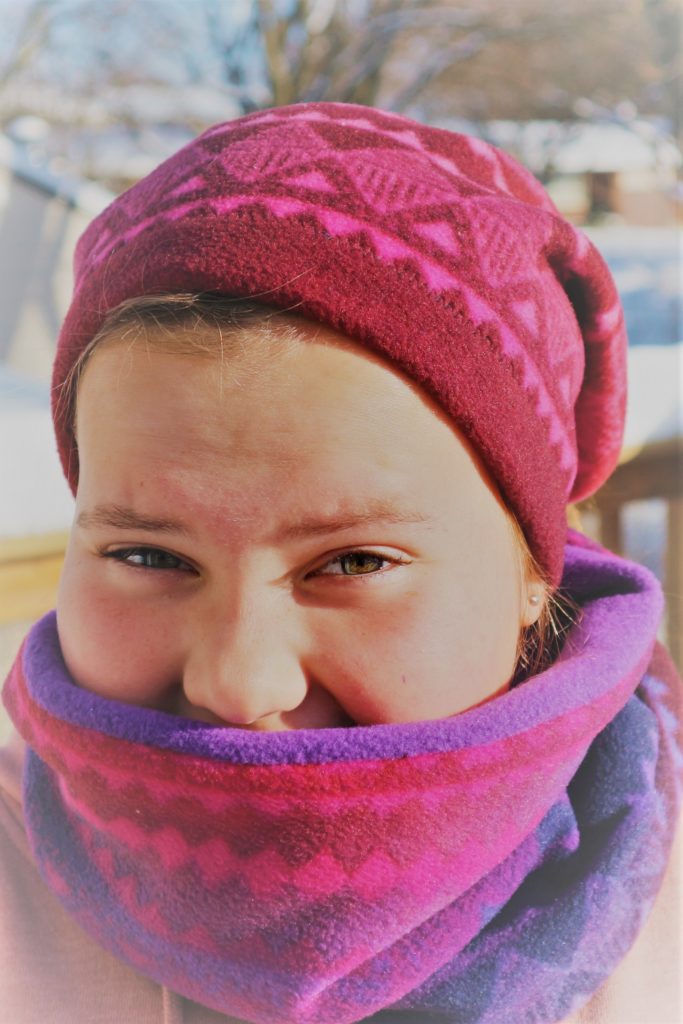
View from the front!
Let’s take a moment to give a shout out to my hat model Miss B. She was cold…those eyes are smiling but also pleading to get back inside!
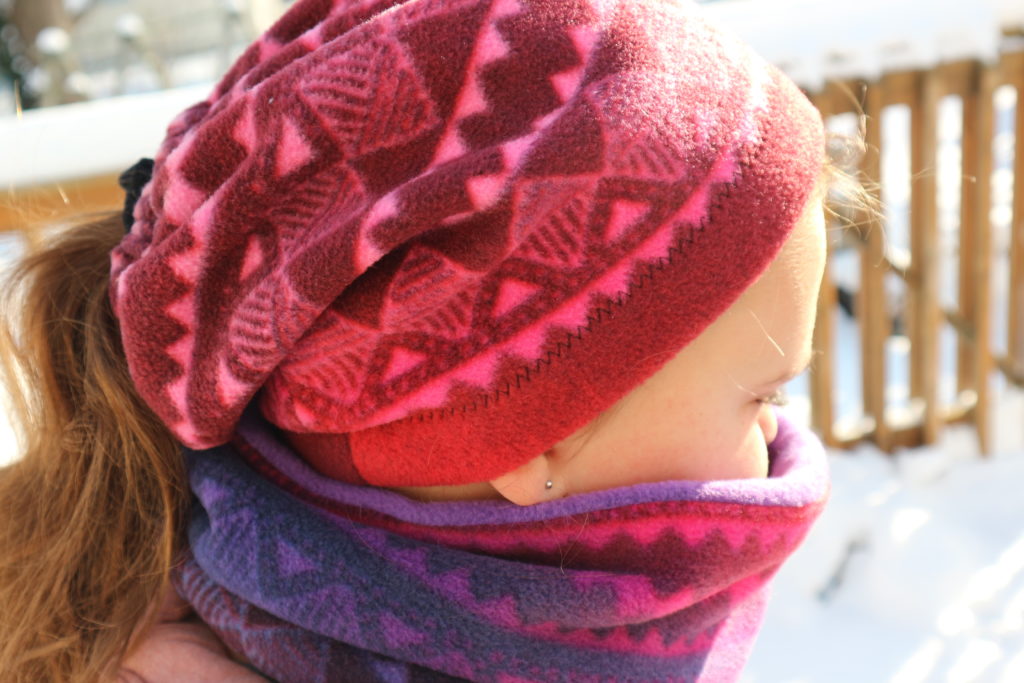
View from the back! It’s a little slouchy and super easy to pop your pony head out of the back.
You will need:
- Fleece fabric
- Elastic
- Safety Pin
- Sewing machine
- Scissors
- Thread
Fleece Fabric
Start by measuring your head and work out your size OR just go with the below suggestions. Fleece is a very forgiving fabric. If it’s too small it will stretch and if it’s a bit too big it will sit nicely on your head.
A young child size hat cut fabric to: 20 x 12 inches.
My 7 year old was 21 inches x 12 inches.
My 10 year old was 22 inches x 13 inches.
An adult size hat cut fabric to: 23 x 14 inches.
Hubby had a big head and he was 23 1/2 x 13 inches.
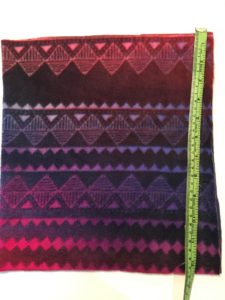 This hat is for my 10 year old so we measured and cut a piece of fleece 22 x 13 inches.
Fold the fleece in half with the right sides together.
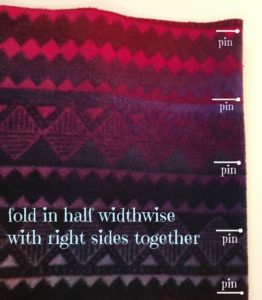
Pin the side and sew using a ¼ inch seem allowance.
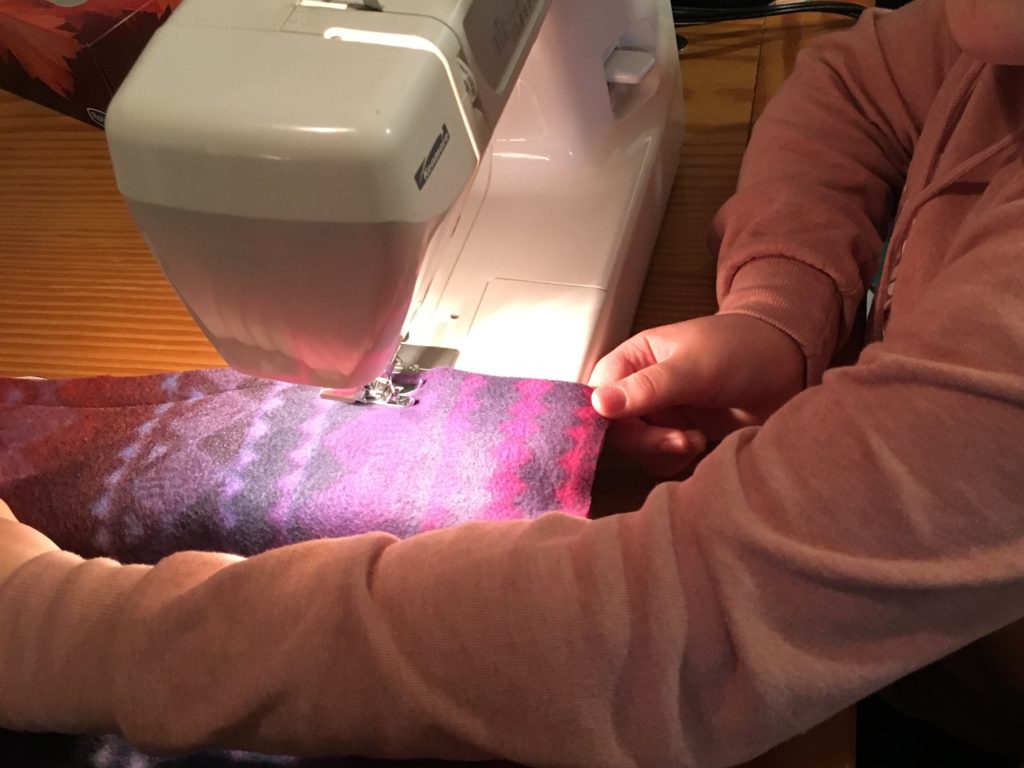
This is my 10 year old’s first time taking the sewing machine for a spin.
Fold over 1 inch on the bottom edge and pin. This will be the bottom edge of the hat.
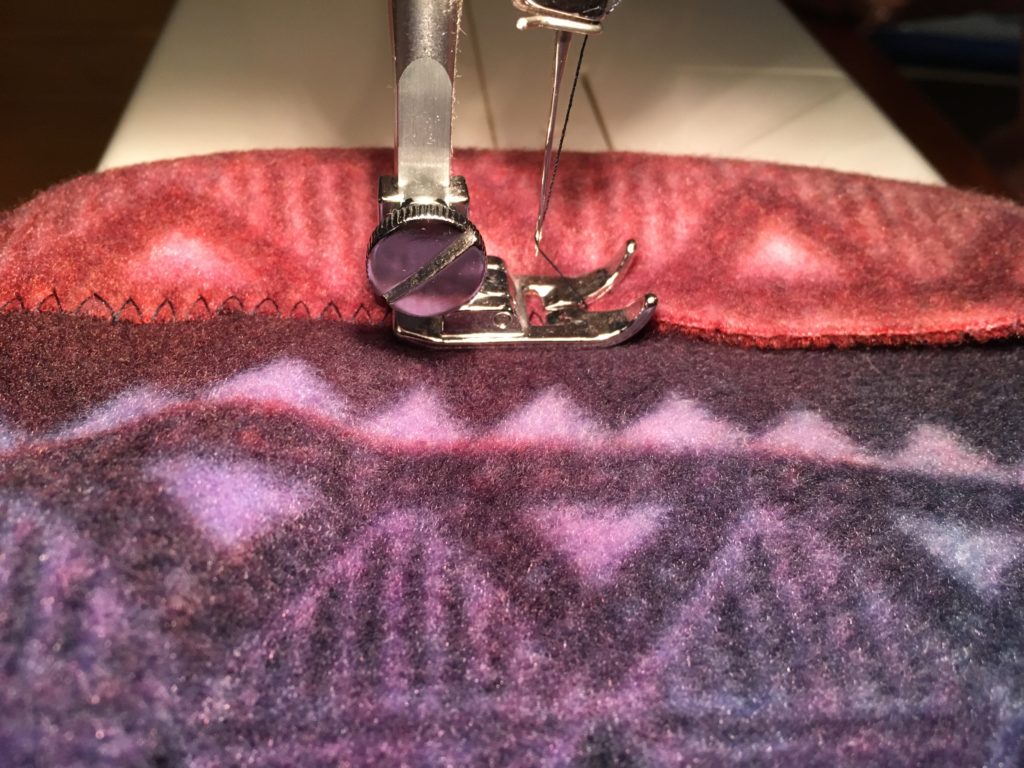
Fold the bottom cuff over an inch and sew over the edge with a zig zag stitch.
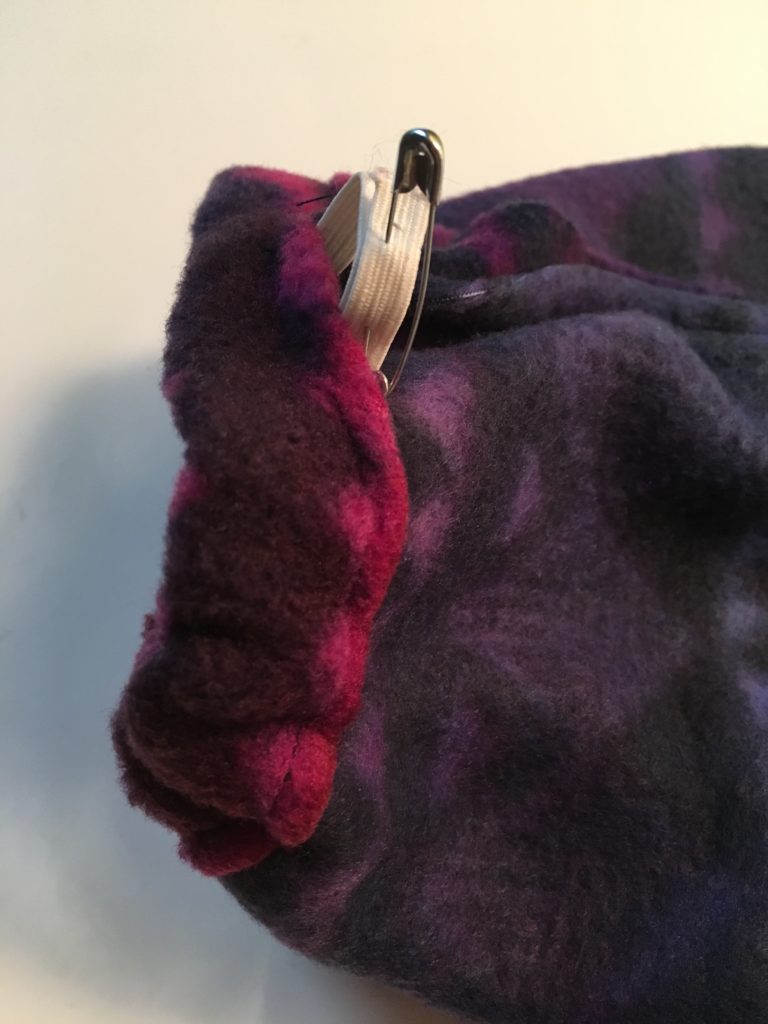
Again pin the edge of the other end for the top part of the hat.
This time we did a straight stitch and stop sewing before you get an inch from where you started to sew. This will be our elastic casing.

You will need a small piece of thin elastic but do not cut it to size until later. Pin the end of the elastic and use the pin as a tool to wiggle the elastic through the casing.
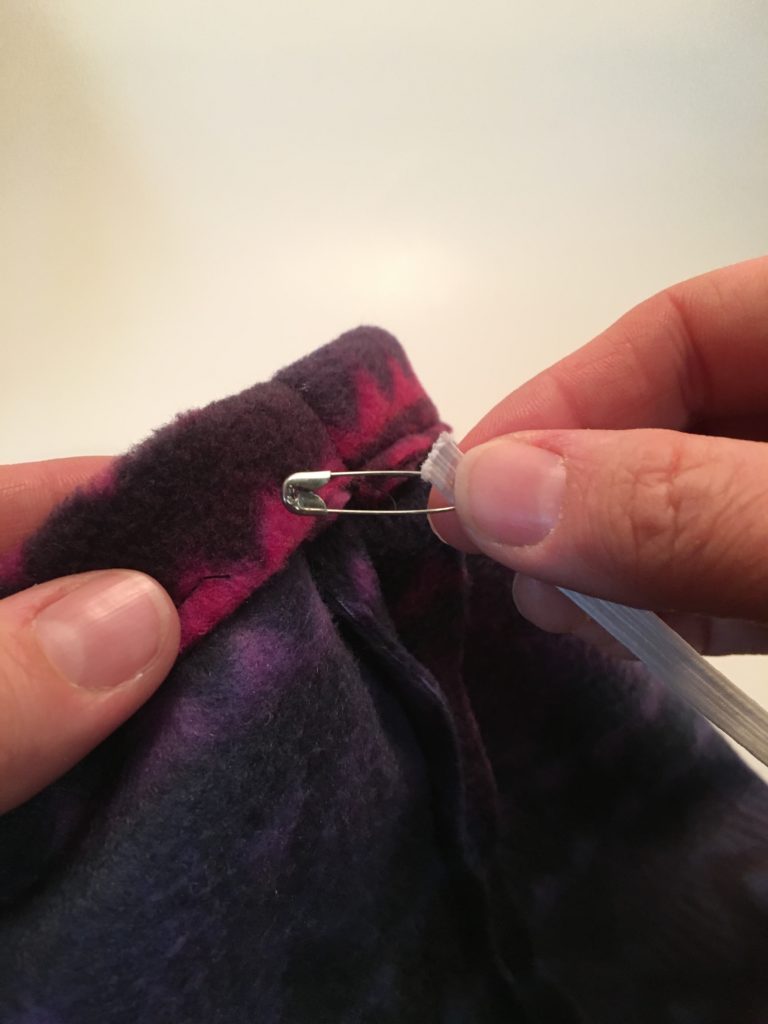
Slide the pin into the one inch gap.
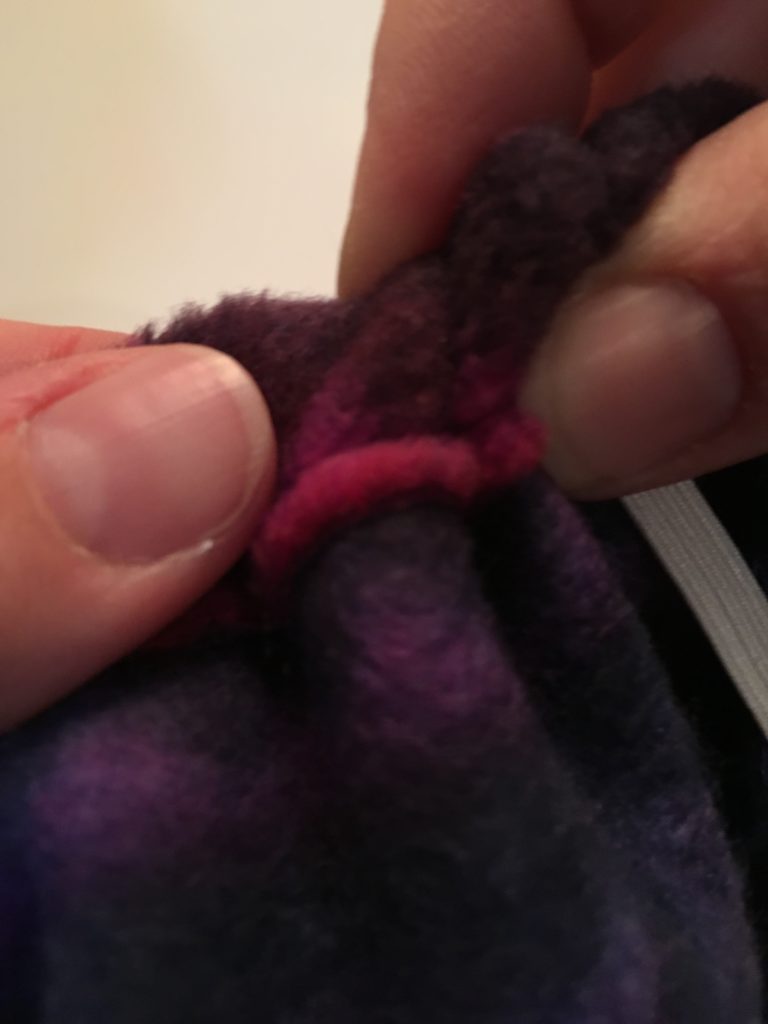
Wiggle the pin all the way around. I apologize for my cuticles in this photo!
Overlap the ends of the elastic and pin together.
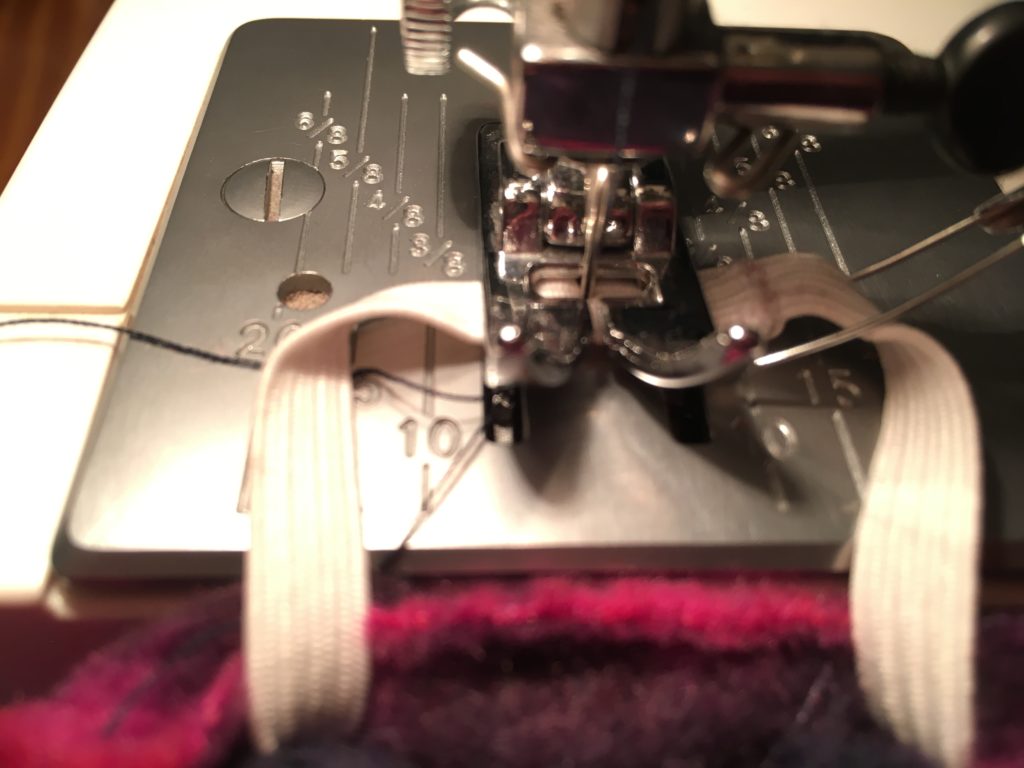
Secure the elastics with a few stiches forward and backward.
Hand or machine stitch the one inch gap closed.
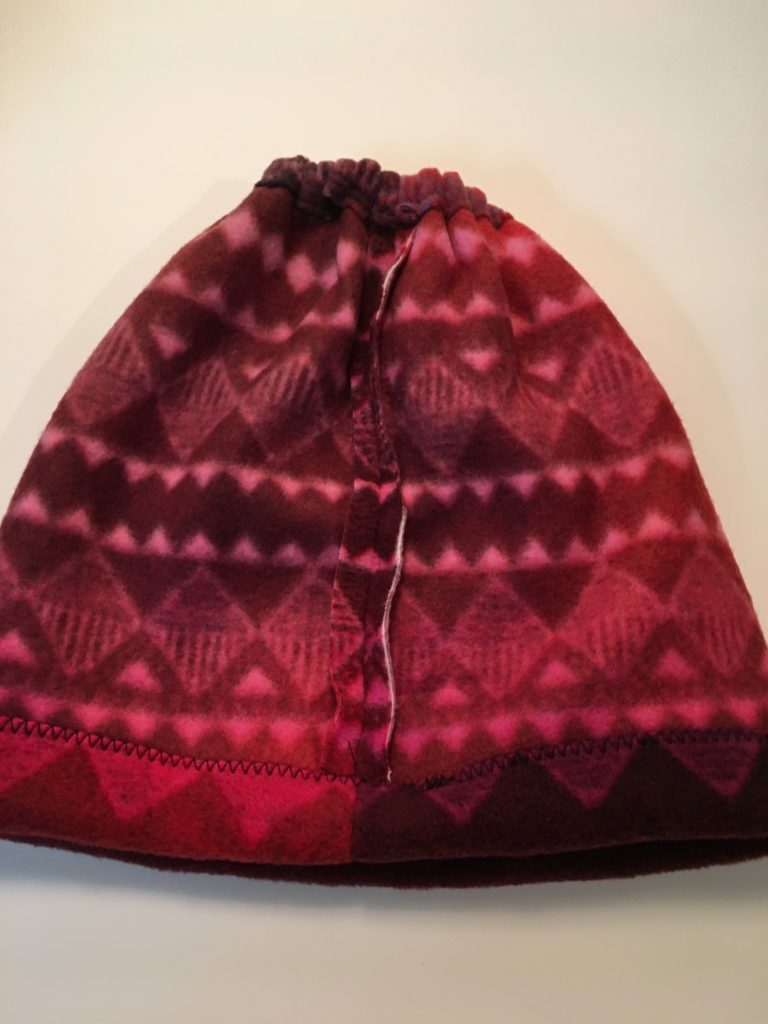
Now, flip the hat right side out…how does it fit?
Wonderful job!
Now heads will be cozy and pony tails will be free!
Put it on your gorgeous head! Now get outside!
—
Easy to Make Fleece Hat with Flowers – Simple Sewing Project
Sew a Super Easy Fleece Poncho-Simple Starter Sewing Project

How to Sew an Easy Fleece HairBand
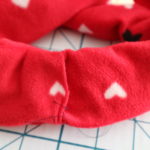
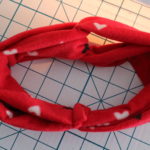
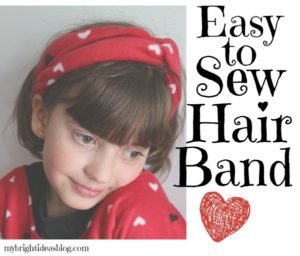 Anyone can make this!
This super cute hairband was made from a left over piece of fleece from a poncho project Fleece Poncho Top in photo found at this link: http://mybrightideasblog.com/?p=218&preview=true

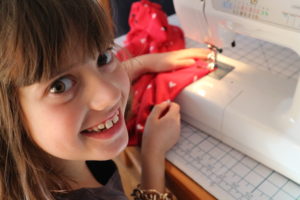
Miss M and I made her first sewing project the fleece poncho and with a few more minutes sewed up the co-coordinating headband.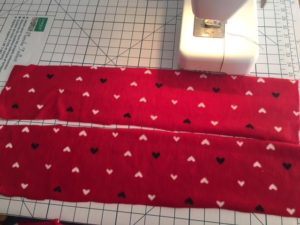
For a 7 year old head we cut 2 strips of fabric 5 inches by 20 inches. For an adult sized head cut 6 inches by 22 inches strips of fabric.
Fold each strip in half to lengthwise (right sides together) to form a tube and sew a seem.
Pull the end through the tube to turn it right side out.

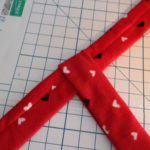
Lay one strip on the bottom with seam facing up. The other lay on top with the seam facing down. Fold the bottom one in half.
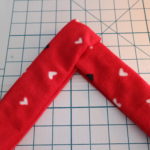
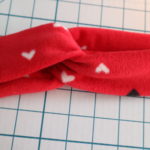
Fold the top one in half. Pull the ends even. Now its starting to take shape. Try holding it in place to see how if fits.
I tucked the ends of the right side into the left side and folded under the edge so it wouldn’t have any raw edges showing. Sewing a line across all the layers is a little tricky. Fleece or jersey-t-shirt material can be used and is very forgiving for sizing. You could use this idea for re-purposing old clothes.

Sew a Super Easy Fleece Poncho-Simple Starter Sewing Project
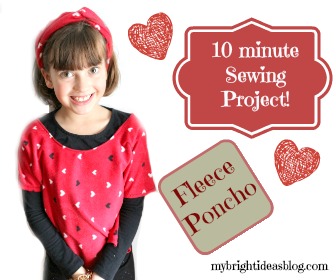
This fleece poncho type body warmer will take the chill off! Its so simple my 7 year old Miss M. did the sewing!
First step. Measure the approximate width over the shoulders for where you would like it to sit. Then measure the body length from the shoulder to around the waist. This is the kind of not very specific measuring I find myself doing all the time. A fitted dress with darts and zippers is not my kind of sewing.
We decided to go 25 inches wide and 20 inches from the shoulder to waist hips area (so double that).
This means you will need to cut a piece of fleece 40 inches by 25 inches.
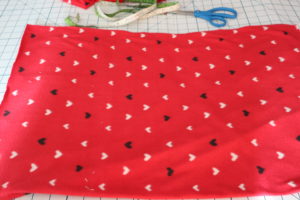
For the neck hole: find the middle and use a t-shirt to show how big the neck hole is and copy that onto the middle of the fleece. I like to fold the fleece in half so the neck will be easier to cut.
I went a bit bigger than the tshirt and wished I had gone a bit smaller instead. As long as it goes over the person’s head its great. If you make a cut that it too small you can try it on and then cut a bit more off.
You could leave all the seams unfinished if you would like because they won’t fray like cotton would. However, this was Miss M’s first time at the machine so we wanted some easy sewing. We folded the fabric over once and did a Zig Zag all around the straight edges.
Around the neck we folded over the fabric once and did a straight stitch.
Then we laid it out flat folded in half. We measured 7 inches from the shoulder and put a pin to mark it. Then 3 inches down add another pin. Sew between the 2 pins. We used a straight stitch-this part will be under the arms.
Miss M. pretended that it was a huge inconvenience to come over and take a few photos but she seems to have enjoyed herself.


The fancy hairband will be in this blog: http://mybrightideasblog.com/sew-easy-fleece-hairband/