 How to make an amazing plant stand on a small budget.
Help! I’m becoming a crazy plant person! My collection of plants has been growing in the last 6 months and then the plants are growing bigger…so its getting a little overwhelming…they are on the kitchen counters, bookcases and dangling from window hooks. The back of the house by the deck gets the sunshine so they are all in the same area.
After spotting the ladder-style plant shelves made out of antique ladder…..I thought the ladder shelf would be the right solution for this nutty plant buying lady.
This photo from https://abeautifulmess.com/2013/02/nesting-ladder-display-makeover.html is what got me thinking about it. I love that they painted it mustard yellow!
Rather than go in search for a old ladder I went right to the lumber store to make my own. Just a few weeks back I made a blanket ladder and its virtually the same thing-add a hinge at the top and some cross boards across.
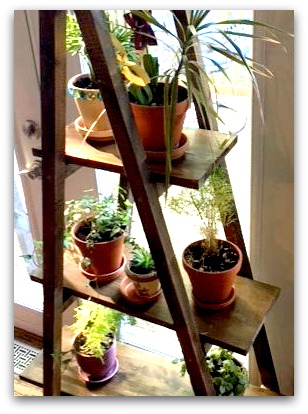
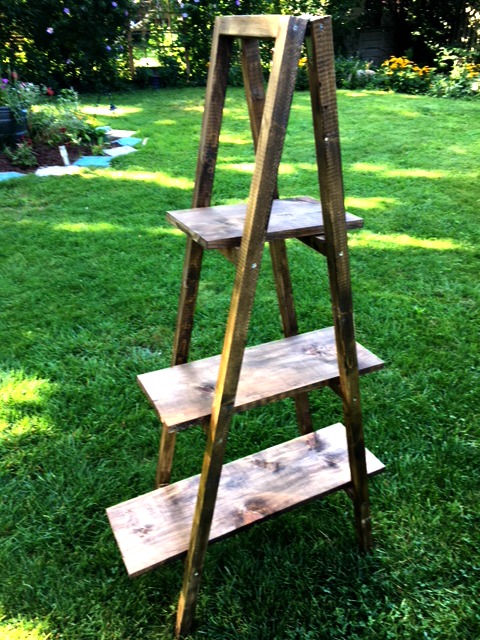
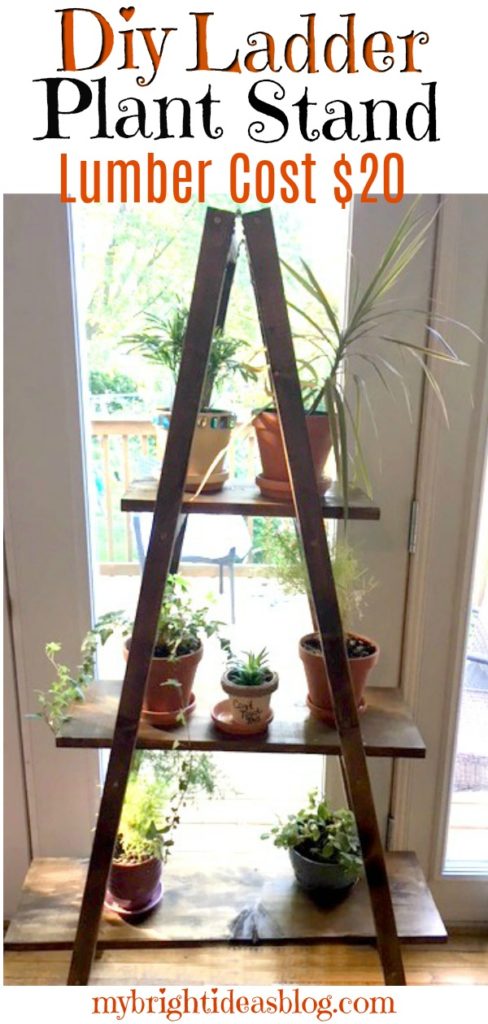
You can change your plant stand size to be taller or shorter and add another shelf if you prefer. My plant stand is 60 inches tall and at the widest shelf, 32 inches wide. As you can see it has 3 shelves.
You will need:
- 1 – 1x9x8 Board (this might be 1x10x8 but actually is 9 inches wide)
- 4 – 2x2x8 Boards
- 2 Hinges
- Sand Paper
- Tape Measure
- Pencil
- Square
- Drill/Screwdriver
- Mitre Saw (or get them to cut the pieces at the store)
- Stain (Miniwax Jacobean)
- Varnish (Clear Coat)
- Rag and Paintbrush
- Rubber Gloves
Cut Lumber
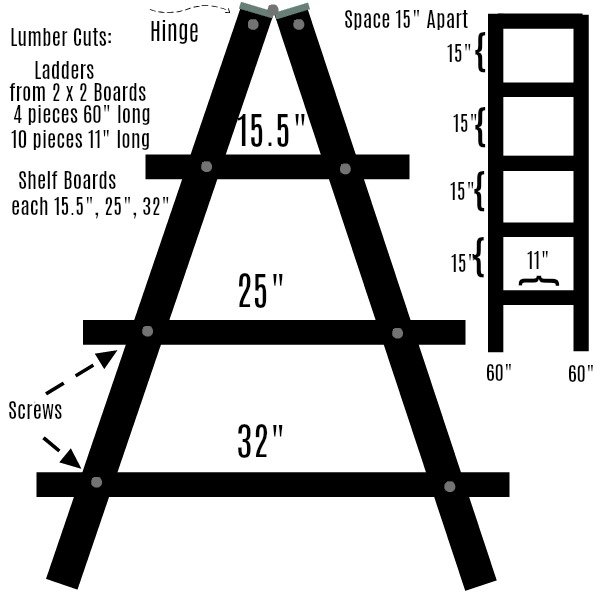
Cut the 2 x 2 boards:
- 4 pieces 60 inches (177 cms) long
- 8 pieces 11 inches (28 cms) long
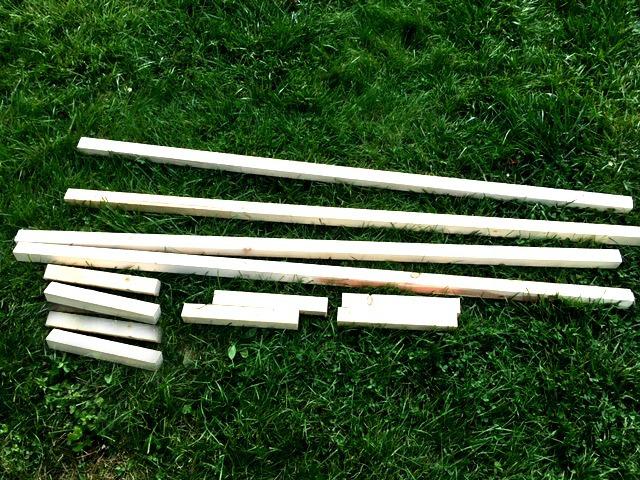
Next cut the 1 x 9 x 8 (or 1x10x8). This board was cut into 3 different lengths.
- Top – 15.5 (40 cm)Middle – 25 (64 cm)Bottom – 32 (82 cm)
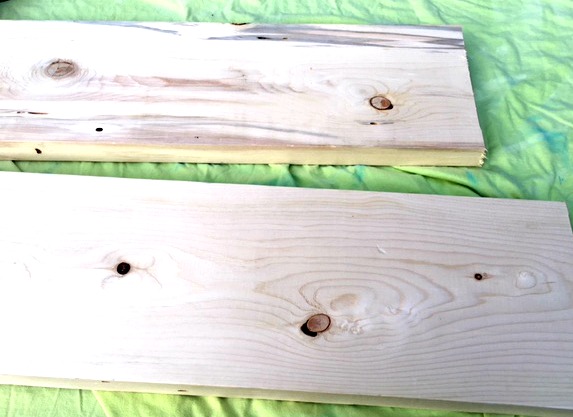
Sand any rough areas after the wood is cut. If you like the distressed look you could rough the boards up by hitting it with your hammer. Scratching with the side of a screw etc. I like the rough look with this dark wood stain but I don’t want slivers. So I just sanded the ends.
A sensible person might have put the stain on now before putting it all together. However, I wasn’t feeling sensible and wanted to see if this would turn out how I imagined it. So I put it all together first and stained it at the end.
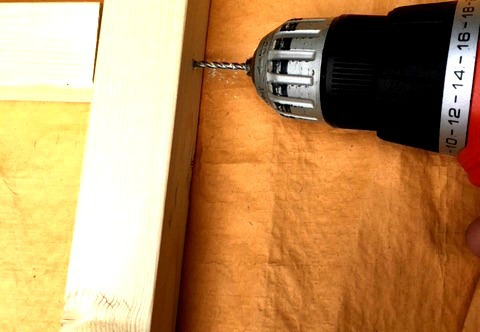
Lay out the pieces in place. Pre-drill where the screws will go. Using the 2 1/2 inch screws to attach the rungs into the sides. I put the first cross board right at the top. The next one was 15 inches below the first. The next one was 15 inches below and so on.
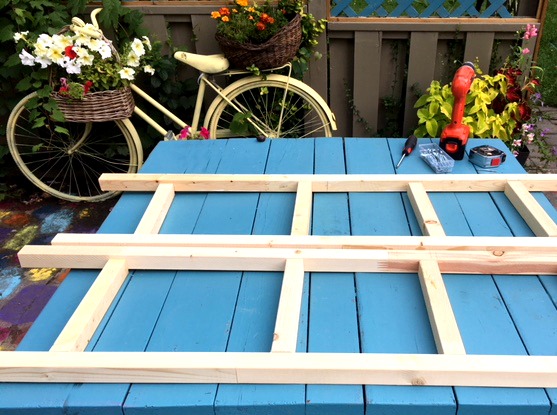
Now the 2 ladders are done. Lets move onto the hinges.
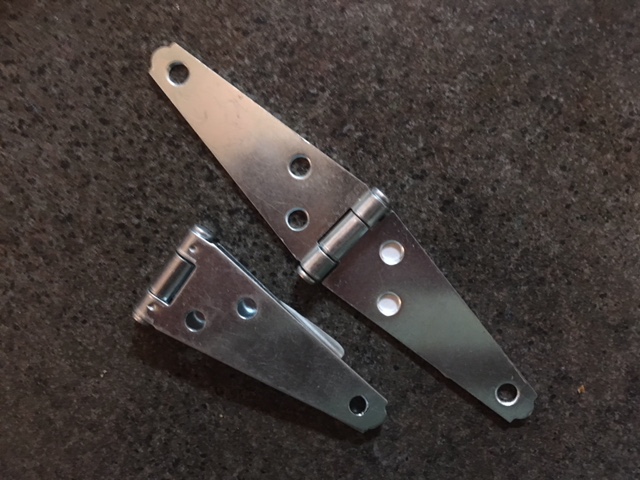
I chose these hinges because they are long and skinny rather than wide and short like the hinges on a cupboard.
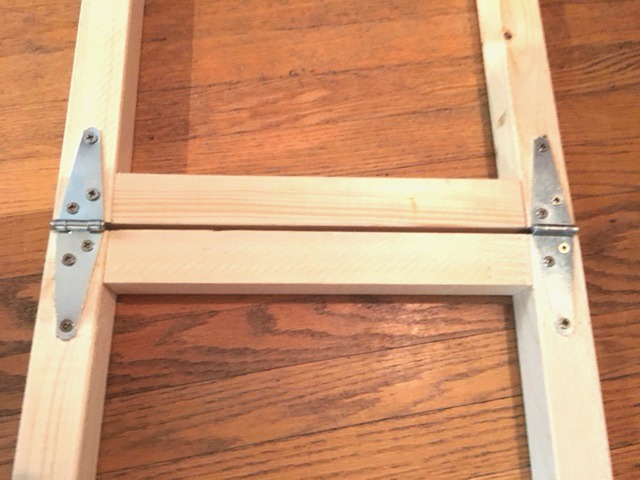
Lay the ladders head to head on a very flat surface. Set the hinges on top and screw them into the wood.
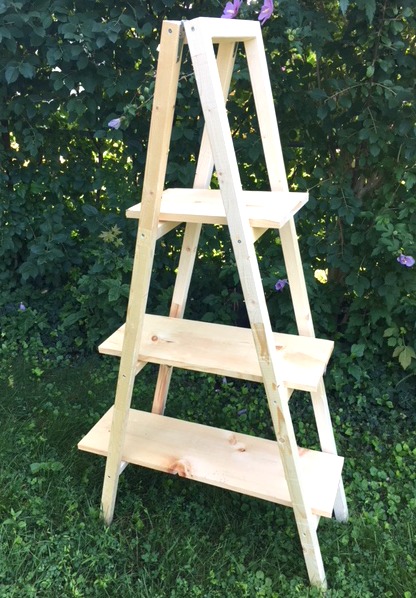
Now I could set it up and make sure I was happy with it before going to the finishing steps.
Yup, I’m Very Happy!!!! 🙂
Stain and Protect the Wood
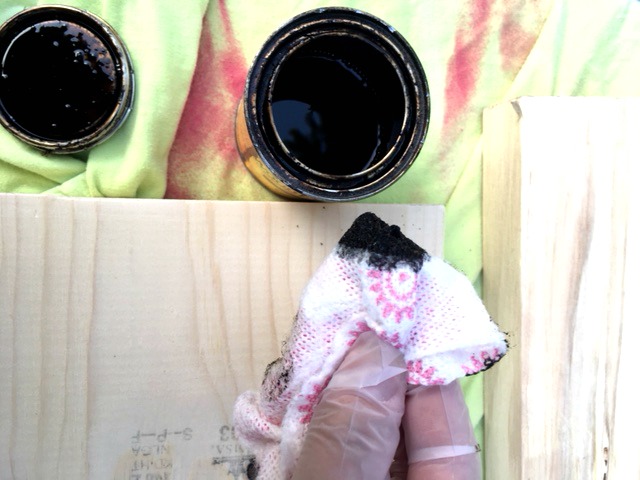
Almost done! Next we stain the wood. I used Miniwax “Jacobean” for a dark wood finish. I love this stain!
Wearing gloves, dip your rag into the stain.
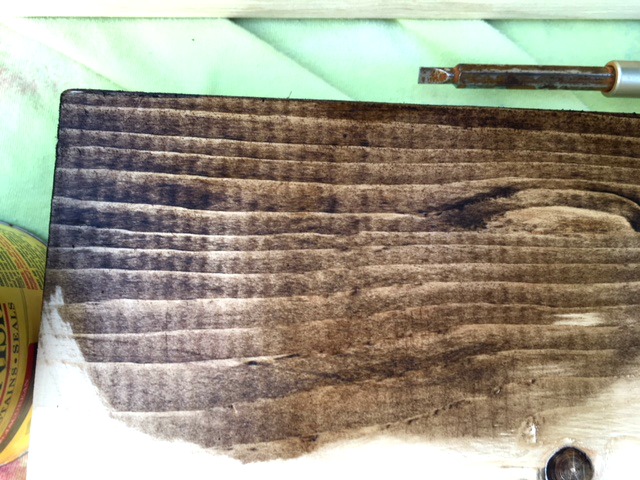
Rub the stain onto the wood. Now is when you will wish that you did this step earlier before the ladder was put together. There is lots of corners to do if its already put together so it adds time and work. Look at it from every angle so you don’t miss any sides.
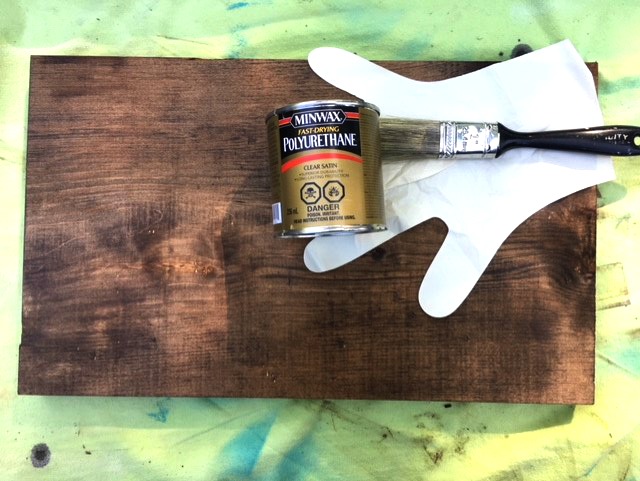
The final step is to put a clear coat. Since water could be spilling on the boards putting a clear coat of polyurethane is recommended. If you plan to put the shelf outdoors for a few months of the year you may want to put on a few coats.
I stained and allowed it to dry overnight. The next day I put on the clear coat and allow to dry over night.
It’s hard to be patient for the drying time when the rest came together so super fast!
Now the happy moment has arrived to bring it inside and add the plants.
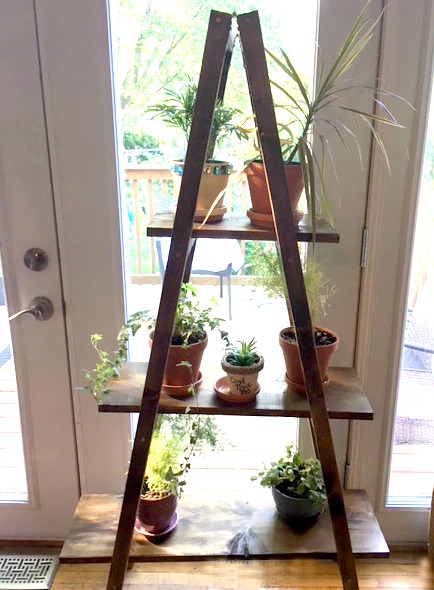
TA DA! Having all my plants together is going to make it so much easier to remember to water them all!
This project is so simple and easy to make and inexpensive. If you have a toddler at home you may want to keep an eye on them around a project like this. The shelves are just resting on the ladder rungs. To make it more secure you could put an L shaped bracket under each shelf. Its a ladder shape but no climbing on it kids!
Don’t Forget to Pin or Share this Post!
Previous Posts You Might Be Interest In…..
Plant Puns on Painted Potted Flower Pots – Adorable Gift Idea to Make Them Smile!

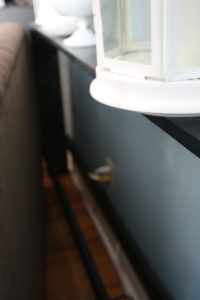
Build a Shelf Behind the Couch
 A shelf behind the couch supported by just a few pieces of wood makes a great place to put nic nacs. Just a couple of boards, screws, and painted black.
I was visiting a friend and her beautiful new baby-with the most perfect nose I’ve ever seen-and spotted something that I meant to ask her about but forgot to come back to it because she was in the middle of a hilarious story of all the mishaps at a wedding she had attended this past summer. I can’t get into to the details but lets just say romantic barn weddings do have their fire hazards. It was a close call but the hobby farm was safe and all was well.
Anyway, I left wondering what was it behind her couch that allowed her to put picture frames and nic nacs behind the couch? Was it like a British style radiator cover -like a box? Was it a shelf screwed into the wall? Next visit I will ask, but in the meantime I was getting supplies to remake my closet into a pantry when I thought lets see if we can’t invent a shelf that would go behind my couch so I have a place for a few pretty things too.
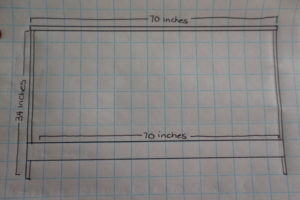
So I measured the height of the couch (34 inches) and the width (70 inches). I got 4 boards 1x6x6 (that will be 72 inches long so I cut off the extra 2 inches on 3 of the boards) the 4th board I cut into 2 pieces 34 inches long.e and 2 more boards the same length as stabilizers to the very skinny shelf. I predrilled holes into the top and put 2 screws on each end. Lay the structure on the floor and put in the first stabilizer wood across. Measure approximately 7 inches from the bottom…. 2 screws on each end should do it. Then gently flip it over so you can do the same on the other side.
If you are happy with how it looks then you can decide how to finish it. I have quite a bit of black in this room so I put on black paint but you could also put a stain and clear coat on it to match wood you have. The smoother the top the easier to dust so you should sand it smooth and wipe off the dust before painting.
I felt like the room was so much cozier with my little shelf. Its a little room…in a little house, so we don’t have much space for pretty things. I like that this is also a space that a certain naughty puppy can’t grab things to chew on…unlike the coffee table. Also if your wee babe is starting to crawl and putting things in her mouth.
This project literally takes 15 mins to build if you have the pieces cut by the hardware store….only 5 mins more if you are cutting the wood yourself. An hour for the entire project plus remember to go back and do a second coat of paint. It’s that easy!
p.s. This won’t work if you have a recliner couch. Sorry.

Wooden Window Shelf-Easy Diy Plant Display
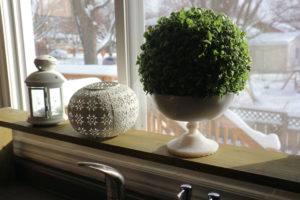
Looking for a place to put some potted plants in the one window with all the sun. This super easy DIY- Do it yourself project for a shelf that goes over the sink.
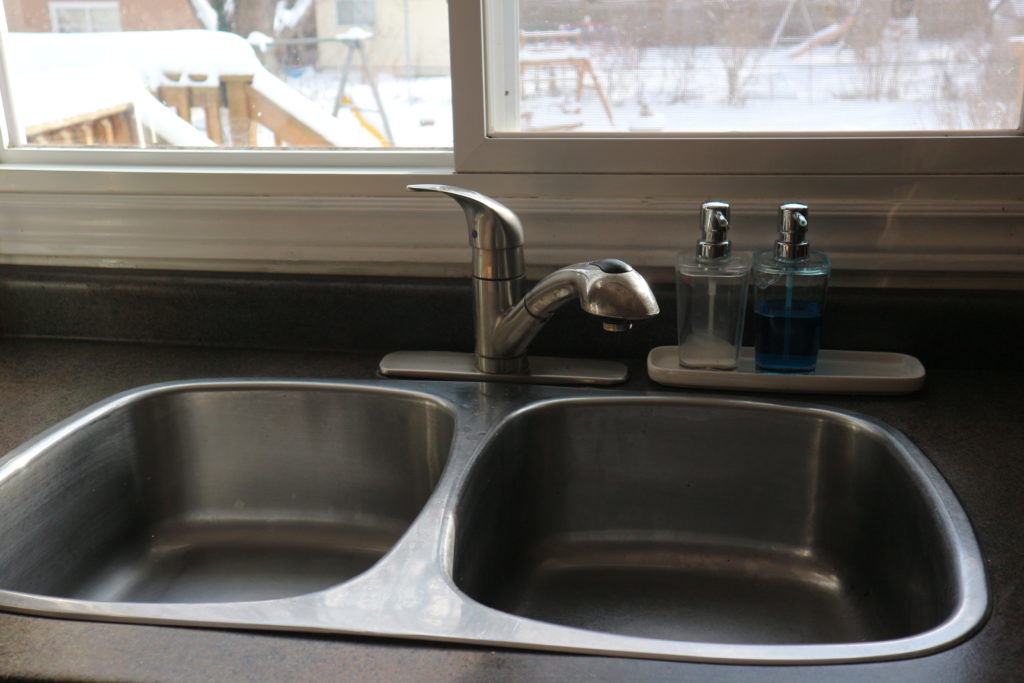
Tidy Sink…But so Boring….
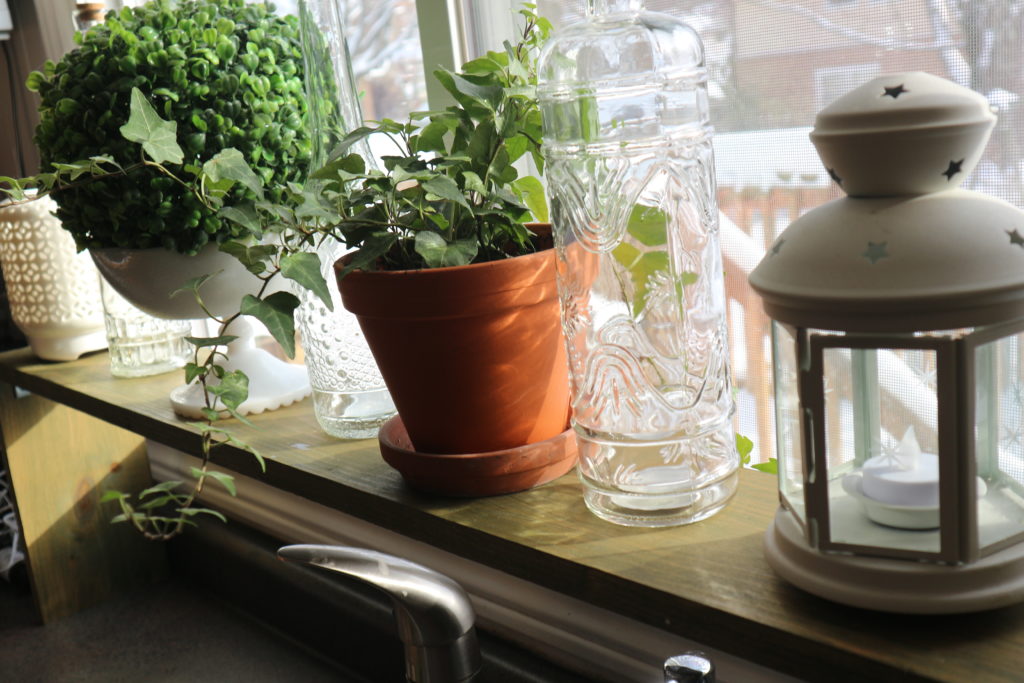
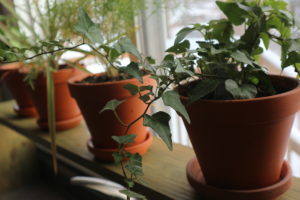
I’m writing this post about a year after I built this and I still love it. Especially in the winter when its the only sign of plant life. I usually put herbs in this window and then in the spring put them on the deck.
All you need is a board of wood and some brackets to attach them and a wood stain.
I cut my board to the size of my window but I could have cut it to the size of my sink instead if I wanted to have less shelf and more counter top. Its important that you figure out what height you need for your sink faucet to function normally.
You’ll need a 1×6 pine board – I cut my pieces 2 at 10 1/2 inches long and 1 at 45 1/2 inches long but you will need to measure your own window and sink widths and height of faucet and make some choices for your own on this.
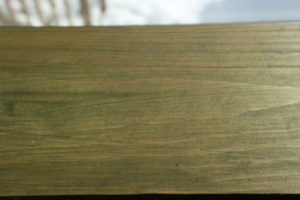
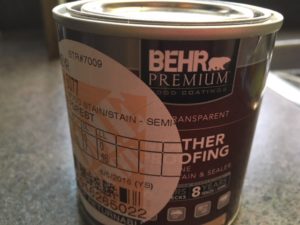
I have wanted to use a green stain on bigger projects but chickened out so I happy to try it on this project and love the results. I used Behr Premium Semi Transparent Wood Stain in the color Forest. http://www.behr.com/consumer_ca/products/wood-stains-finishes-cleaners-and-strippers/behr-deckplus-semi-transparent-waterproofing-wood-stain
The stain instructions say to do 2 thin coats and you can do the second coat within 1 to 2 hours of the first one.
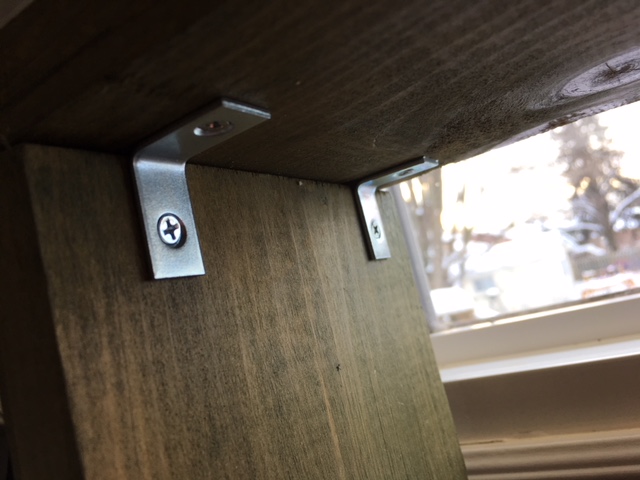
Once the boards were dry I used 4″ L” shaped brackets to hold them in place. You could also predrill and use wood screws if you prefer.
When its all done its just time to decide if you want a collection of herbs in terracotta pots or clear glass bottles or pretty white nic nacs or all of the above.