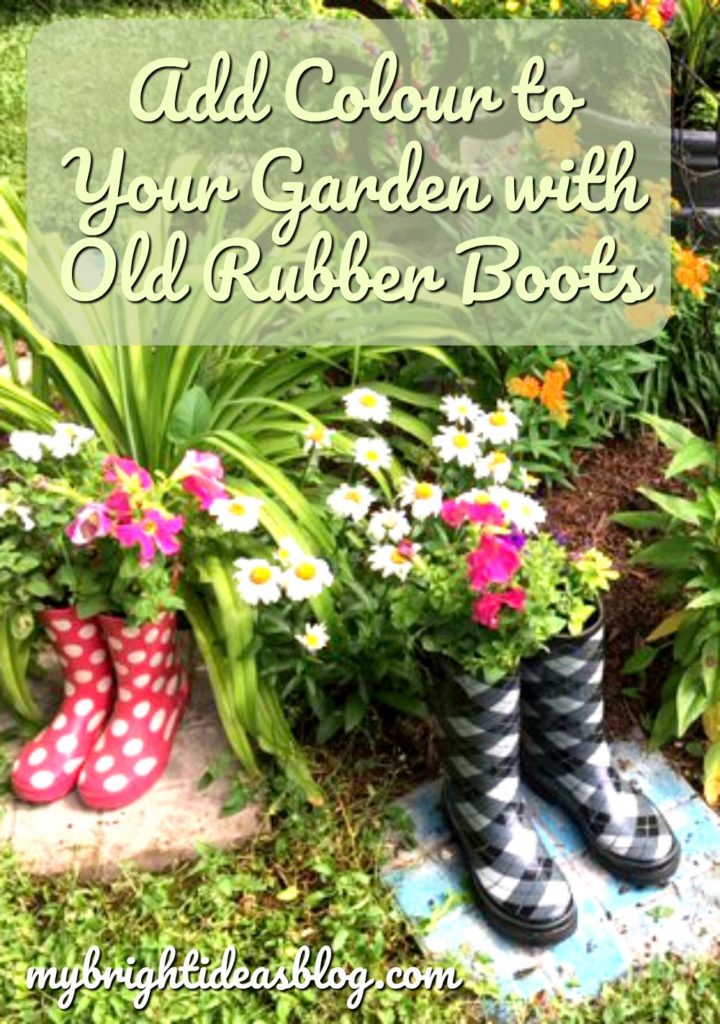
Check out the colour added to my garden by turning old rubber rain boots into flower planters!
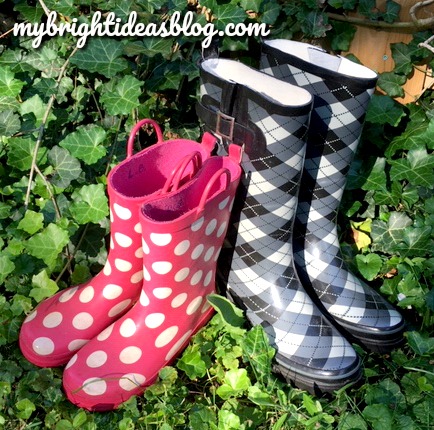
In an effort to declutter (an impossible goal for me I’m affraid). We found some rubber boots that we no longer needed. Three pairs of wellies we don’t use because the kids outgrew them or we just realized even in the rain we have other footwear options we would rather wear. The patterns on two pairs were really cute and the third pair was a classic old black pair. Why not turn them into something fun!
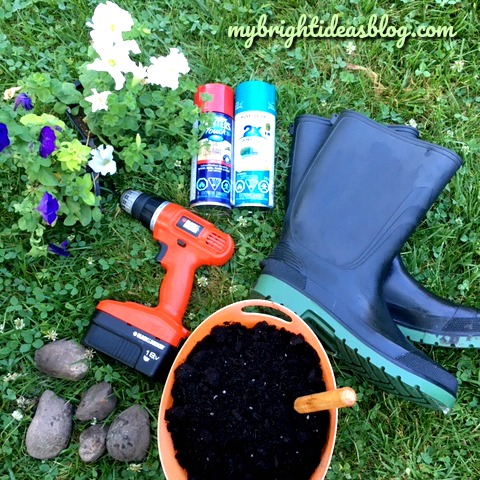
For this project you will need:
- old boots
- rocks
- sand/dirt mixture
- soil
- flowers (real or artificial)
- drill or screw driver
- spray paint (optional)
Don’t buy new boots for this project. If you don’t have any to upcycle go to the thrift store and look for a pair. They make rain boots in adorable colours and patterns, especially the children’s sizes. Even plain toddler yellow rain boots would look fantastic in the garden. I wish I had saved the girls smallest sizes. They were so adorable and small!
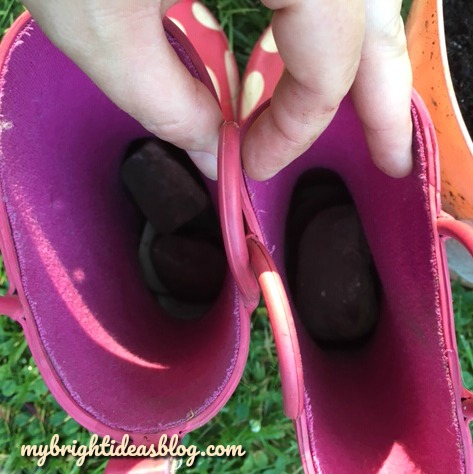
Before you get started, use a wet rag and wipe them clean…especially if you are spray painting them.
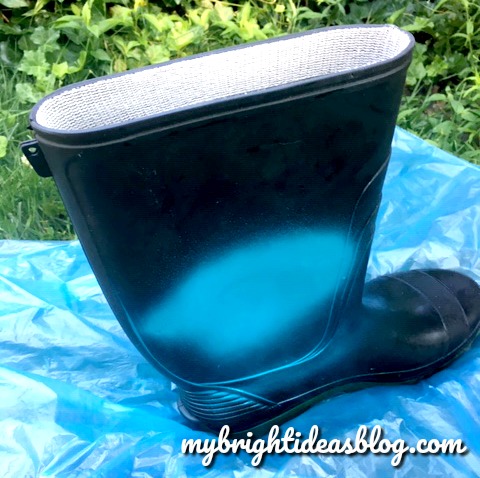
If you need to spray paint the boot, of course, do that next. Outdoors on a drop cloth or plastic. Don’t wait to start this project on the hottest day of the year. Our temperature yesterday was rising past 38 degrees Celsius (100.4 degrees Fahrenheit) and the spray paint would not dry! I have never had that happen before…and I have been spray painting things for years!
To get the bottom edge and toe of the boot put your hand right inside and turn it upside down for the second coat of spray paint. Allow to dry completely.
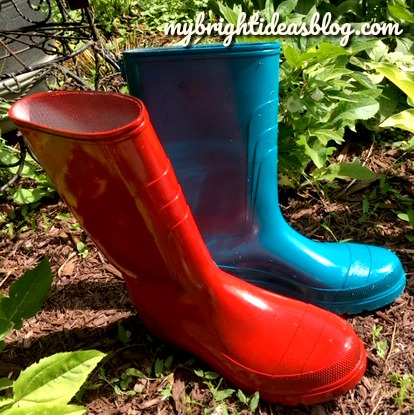
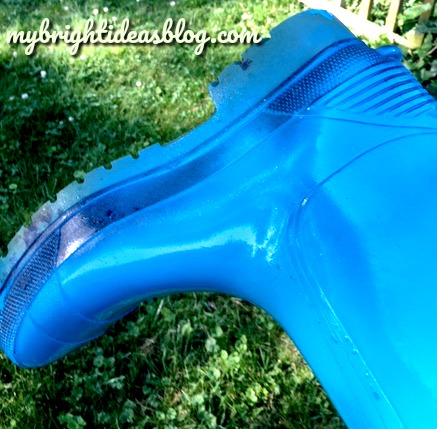
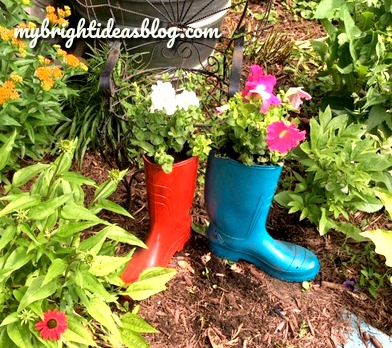
I painted one red and one turquoise. It doesn’t take much spray paint so you can use a colour in a leftover can from another project.
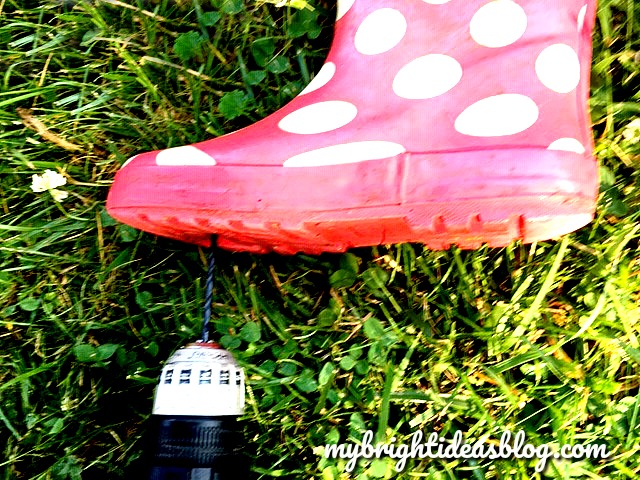
To prepare the boot for some drainage first remove any insoles and then put 3 or 4 holes in the bottom with a drill or screw driver.
The next step is to put a few rocks in the bottom. This will help excess water drain away from the roots and to make it bottom heavy. If you happen to have sand or a mixture of soil and sand add a few inches of that over the rocks.
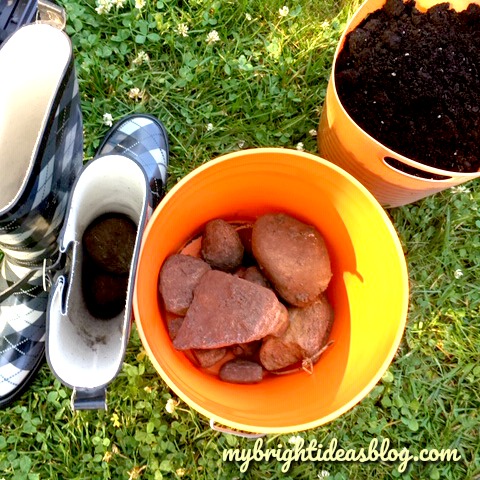
Then add the soil on top leaving several inches from the top of the boot.
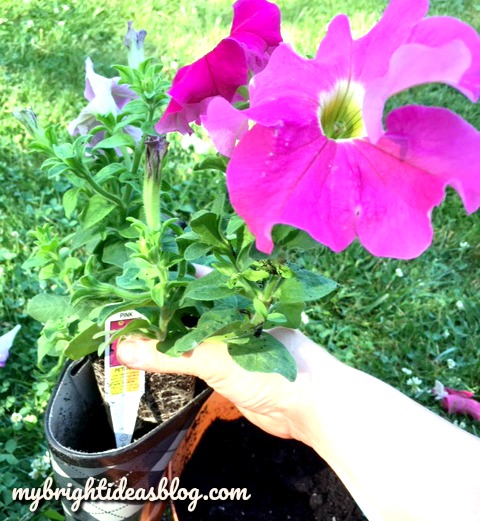
Next add some flowers. I chose petunias because they are so easy to care for and they will fill out the container nicely.
Place the flowers in the top of boot and add soil in any spaces around the plants.
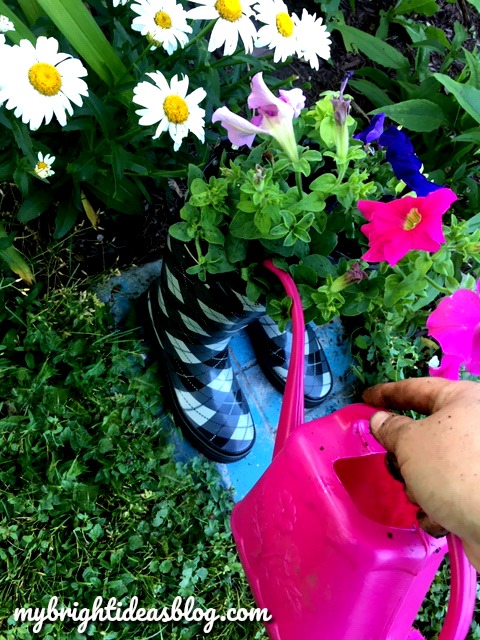
Thoroughly water! Every time you water it, have a look to see if the soil settled. You might need to add more soil. These are unusually tall planters.
Once every other week, add a bit of fertilizer.
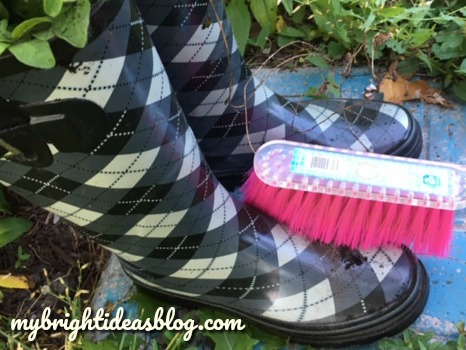
Get a whisk or small broom and clean up the boots.
These would look great anywhere in the garden or next to a fence or on the front porch. Wherever you need some colour. I have a bare patch in a garden that looks like it needs a bit of colour.
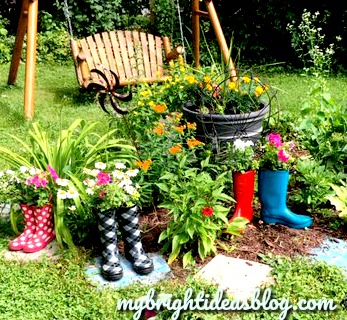
By dinner time, my daughter looked out the window and said, “what are all those rainboots doing in the garden?” Tee hee hee!
I love to add colour to the garden. Have a look at some of the other posts I have shared to show more ideas for colourful summer projects.

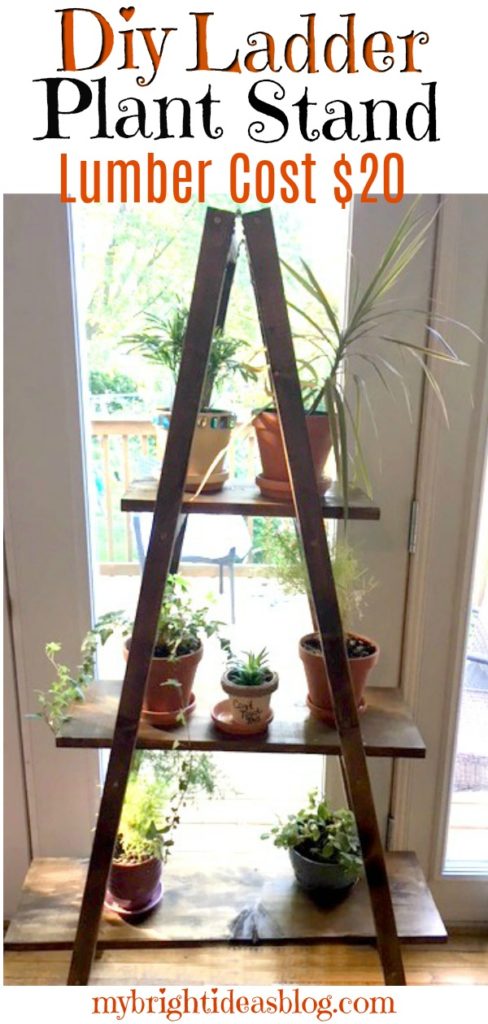
Make a Ladder Plant Stand – Easy DIY – Only $20 for Lumber
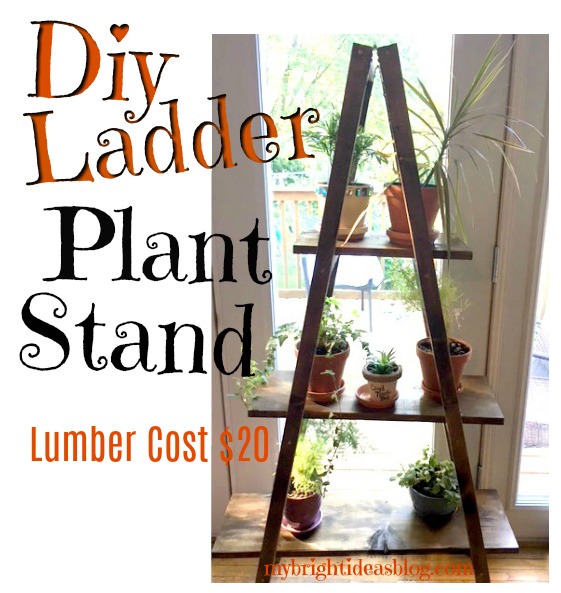 How to make an amazing plant stand on a small budget.
Help! I’m becoming a crazy plant person! My collection of plants has been growing in the last 6 months and then the plants are growing bigger…so its getting a little overwhelming…they are on the kitchen counters, bookcases and dangling from window hooks. The back of the house by the deck gets the sunshine so they are all in the same area.
After spotting the ladder-style plant shelves made out of antique ladder…..I thought the ladder shelf would be the right solution for this nutty plant buying lady.
This photo from https://abeautifulmess.com/2013/02/nesting-ladder-display-makeover.html is what got me thinking about it. I love that they painted it mustard yellow!
Rather than go in search for a old ladder I went right to the lumber store to make my own. Just a few weeks back I made a blanket ladder and its virtually the same thing-add a hinge at the top and some cross boards across.
You can change your plant stand size to be taller or shorter and add another shelf if you prefer. My plant stand is 60 inches tall and at the widest shelf, 32 inches wide. As you can see it has 3 shelves.
You will need:
- 1 – 1x9x8 Board (this might be 1x10x8 but actually is 9 inches wide)
- 4 – 2x2x8 Boards
- 2 Hinges
- Sand Paper
- Tape Measure
- Pencil
- Square
- Drill/Screwdriver
- Mitre Saw (or get them to cut the pieces at the store)
- Stain (Miniwax Jacobean)
- Varnish (Clear Coat)
- Rag and Paintbrush
- Rubber Gloves
Cut Lumber
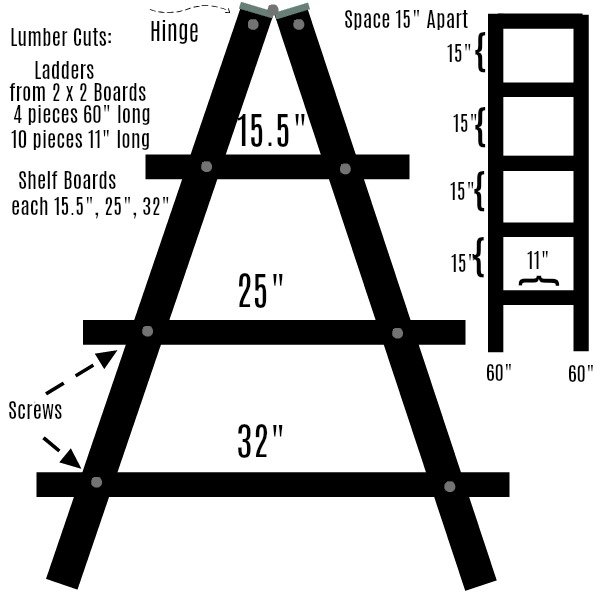
Cut the 2 x 2 boards:
- 4 pieces 60 inches (177 cms) long
- 8 pieces 11 inches (28 cms) long
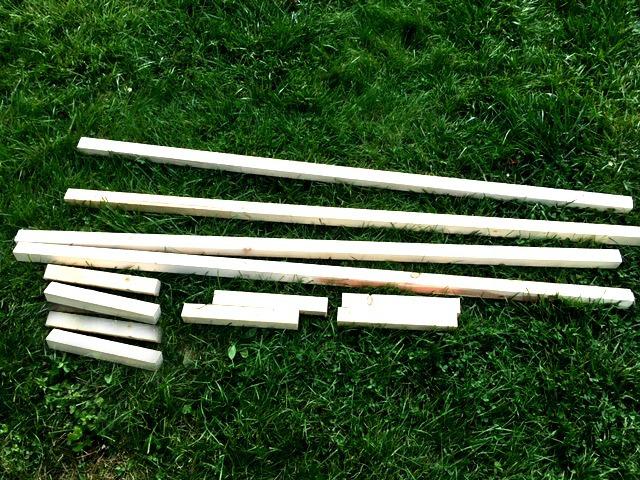
Next cut the 1 x 9 x 8 (or 1x10x8). This board was cut into 3 different lengths.
- Top – 15.5 (40 cm)Middle – 25 (64 cm)Bottom – 32 (82 cm)
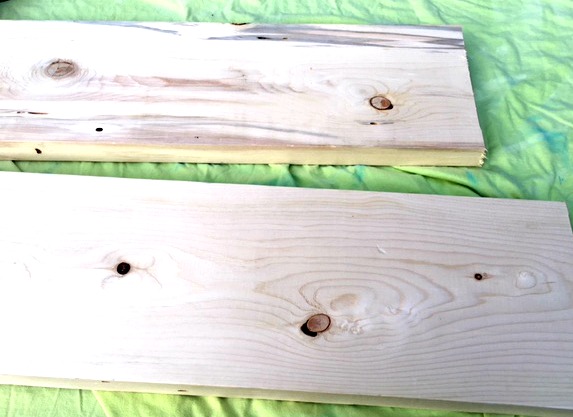
Sand any rough areas after the wood is cut. If you like the distressed look you could rough the boards up by hitting it with your hammer. Scratching with the side of a screw etc. I like the rough look with this dark wood stain but I don’t want slivers. So I just sanded the ends.
A sensible person might have put the stain on now before putting it all together. However, I wasn’t feeling sensible and wanted to see if this would turn out how I imagined it. So I put it all together first and stained it at the end.
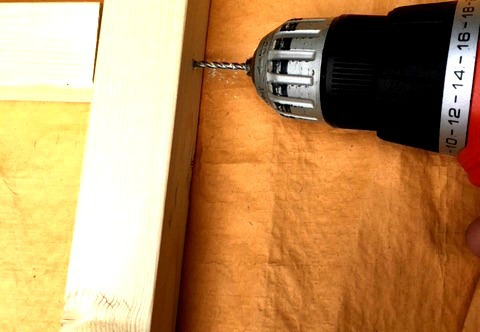
Lay out the pieces in place. Pre-drill where the screws will go. Using the 2 1/2 inch screws to attach the rungs into the sides. I put the first cross board right at the top. The next one was 15 inches below the first. The next one was 15 inches below and so on.
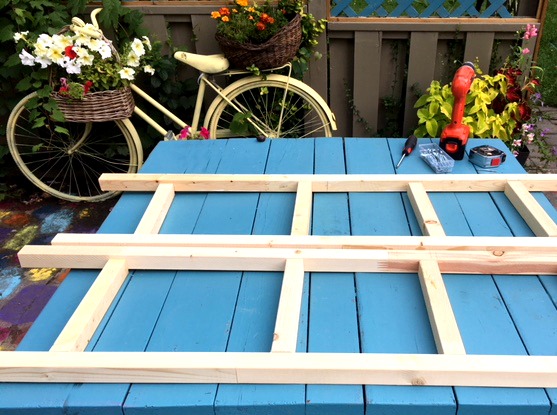
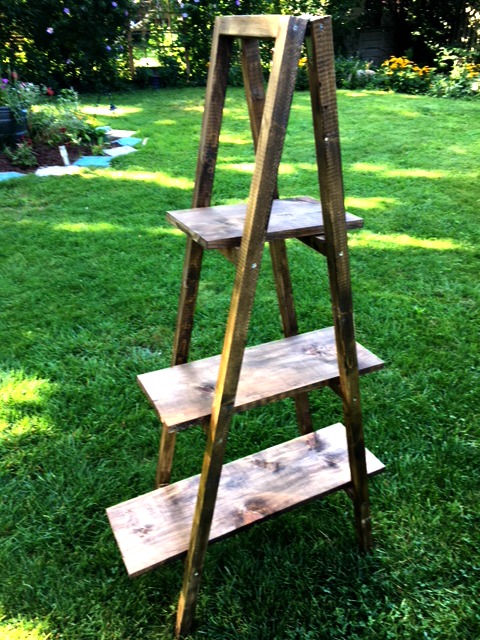
Now the 2 ladders are done. Lets move onto the hinges.
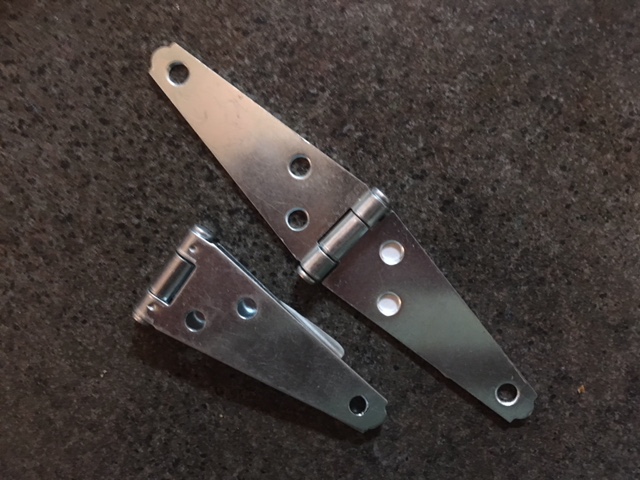
I chose these hinges because they are long and skinny rather than wide and short like the hinges on a cupboard.
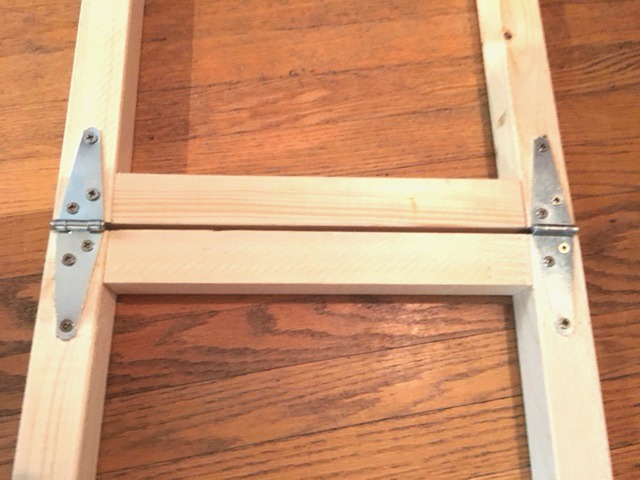
Lay the ladders head to head on a very flat surface. Set the hinges on top and screw them into the wood.
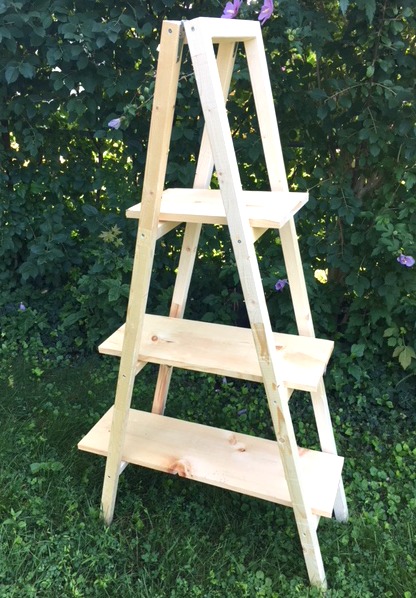
Now I could set it up and make sure I was happy with it before going to the finishing steps.
Yup, I’m Very Happy!!!! 🙂
Stain and Protect the Wood
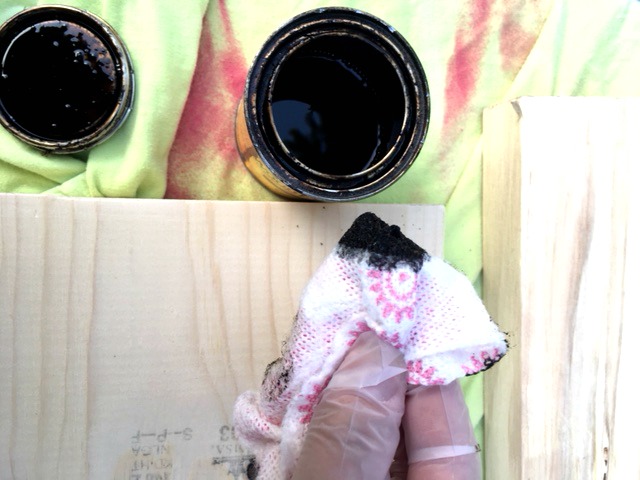
Almost done! Next we stain the wood. I used Miniwax “Jacobean” for a dark wood finish. I love this stain!
Wearing gloves, dip your rag into the stain.
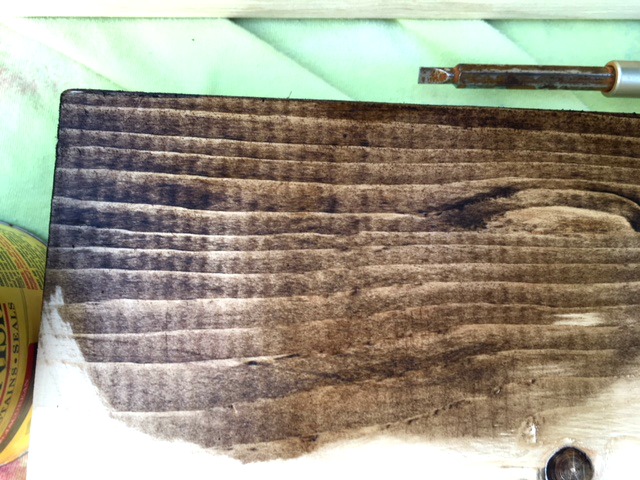
Rub the stain onto the wood. Now is when you will wish that you did this step earlier before the ladder was put together. There is lots of corners to do if its already put together so it adds time and work. Look at it from every angle so you don’t miss any sides.
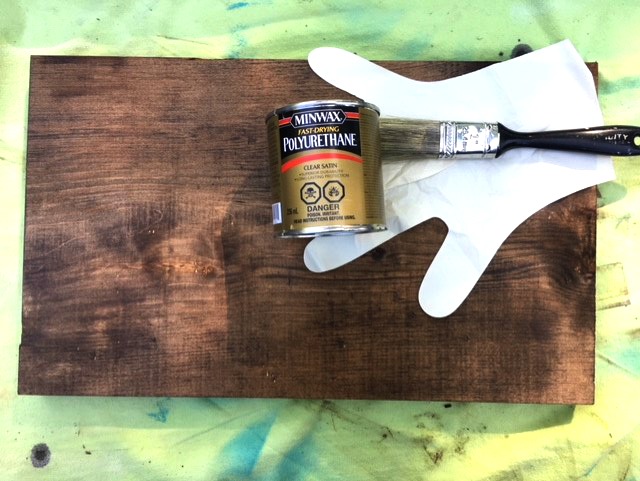
The final step is to put a clear coat. Since water could be spilling on the boards putting a clear coat of polyurethane is recommended. If you plan to put the shelf outdoors for a few months of the year you may want to put on a few coats.
I stained and allowed it to dry overnight. The next day I put on the clear coat and allow to dry over night.
It’s hard to be patient for the drying time when the rest came together so super fast!
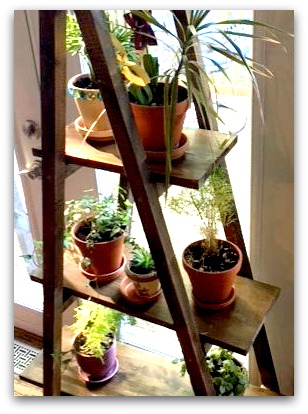
Now the happy moment has arrived to bring it inside and add the plants.
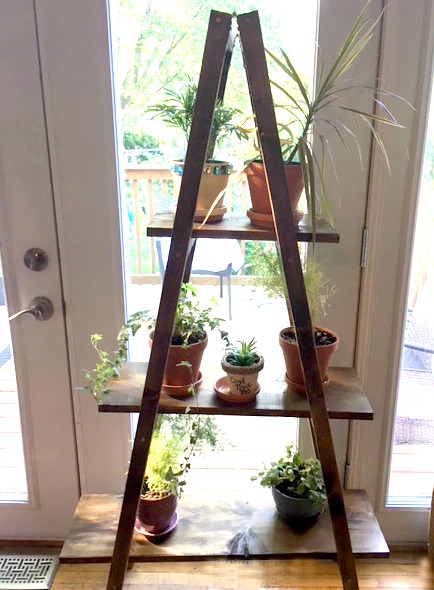
TA DA! Having all my plants together is going to make it so much easier to remember to water them all!
This project is so simple and easy to make and inexpensive. If you have a toddler at home you may want to keep an eye on them around a project like this. The shelves are just resting on the ladder rungs. To make it more secure you could put an L shaped bracket under each shelf. Its a ladder shape but no climbing on it kids!
Don’t Forget to Pin or Share this Post!
Previous Posts You Might Be Interest In…..
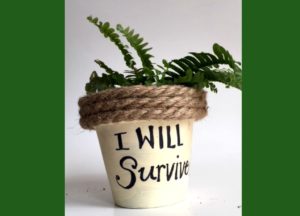
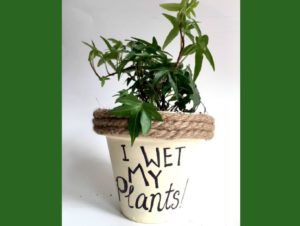
Plant Puns on Painted Potted Flower Pots – Adorable Gift Idea to Make Them Smile!

Plant Puns on Painted Potted Flower Pots – Adorable Gift Idea to Make Them Smile!
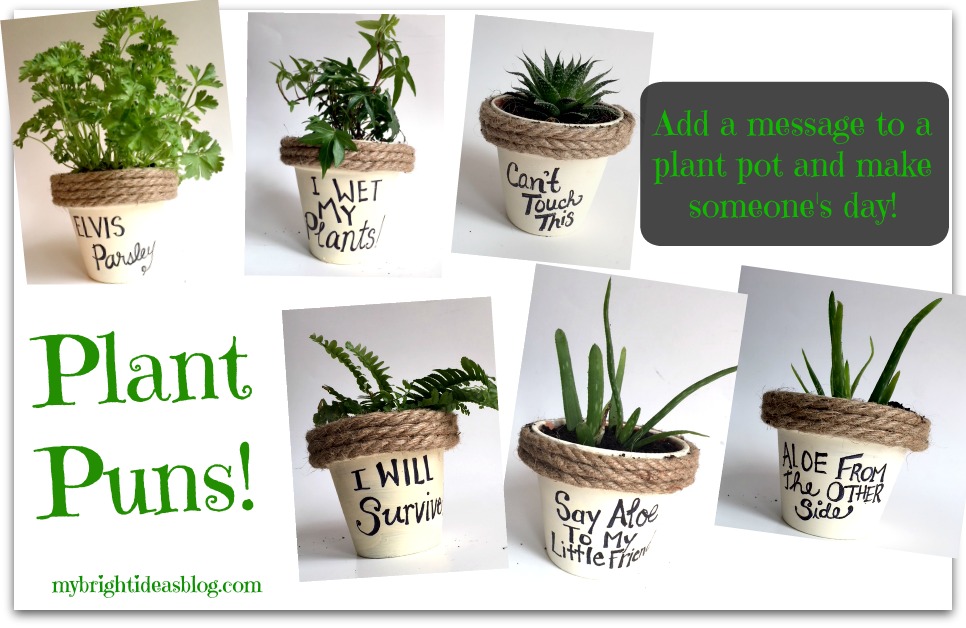
Say that title 4 times fast “Plant Puns on Painted Potted Planters”..now that is a tongue twister!
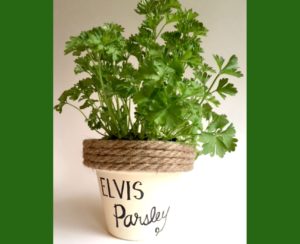
So I was talking crafts with a friend at the office and she showed me these painted terracotta plant pots. What a great gift for someone who is leaving the office or a friend who is down or recovering from illness. It’s an awesome gift that is guaranteed to put a smile on their face! :o) In fact that friend just had her final week at our office as she moves onto another part of the company and I surprised her with the Elvis Parsley flower pot. She loved it! Plus its edible so that is a gift that keeps on giving!
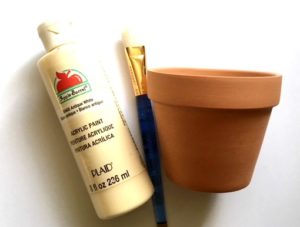
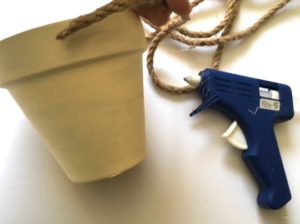
You will need:
Terracotta pots, white or cream paint and paint brush, natural jute rope, hot glue gun and 2 sticks of glue, pencil and Sharpie, a herb or plant and a catchy pun to write on it.
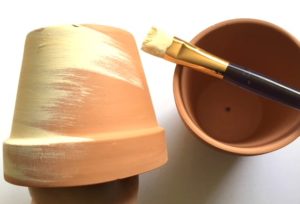
Start by painting the empty terracotta planter pot a white or cream color with a regular craft paint. Allow this to dry for several hours.
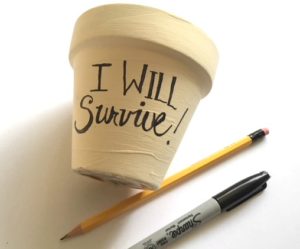
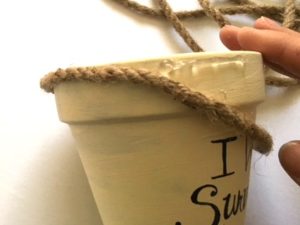
You can choose to write the message on now or after you hot glue the rope. Decide where you would like to write the message onto the pot. I recommend that you write it very lightly in pencil first. Also make sure that the ends of the rope don’t end up at the front of the planter. If you make a huge mistake-like miss a letter in a word. Try to save the project by painting over. If that doesn’t cover it you could change the colour to a dark blue, brown or black and use white paint for the lettering. Waste not!

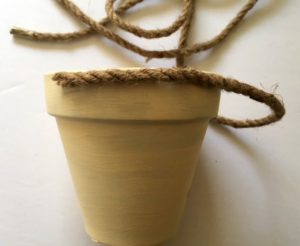
Trim the end of the rope on an angle. Begin by gluing the rope around the top of the flower pot. Since hot glue dries so quickly I would put a 2 inch line of glue and then press the rope into the glue for a few seconds. When this is cooled add another 2 inch line of hot glue and press the rope into the glue. Repeat all the way around the pot until you have filled the rim of the planter and the ends meet up. Trim the end of the rope on an angle and glue the ends down. Watch your fingers!


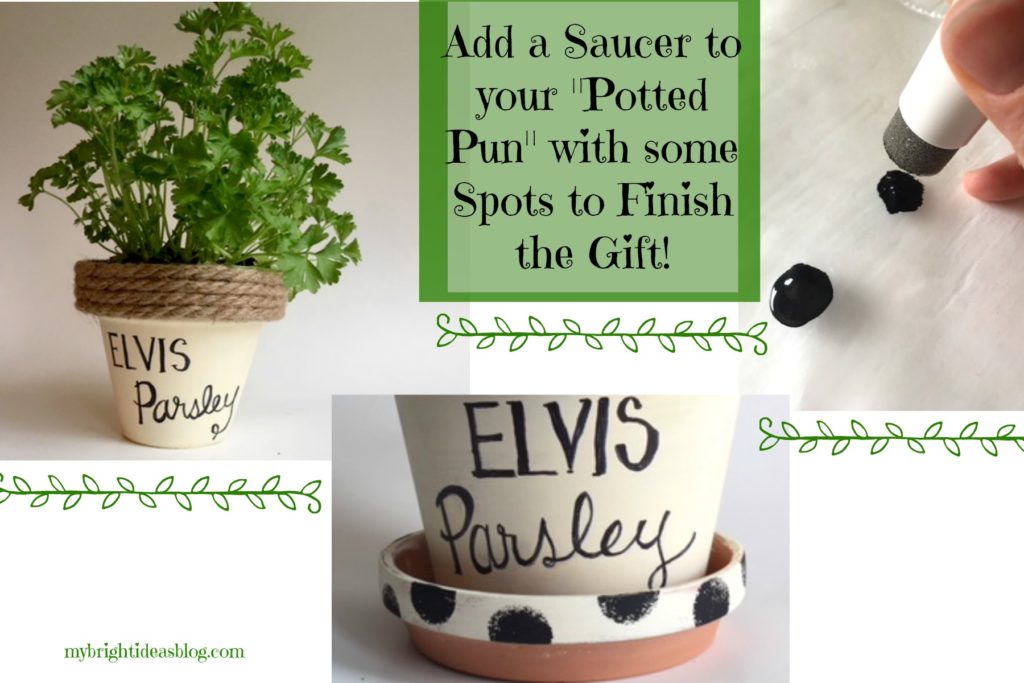
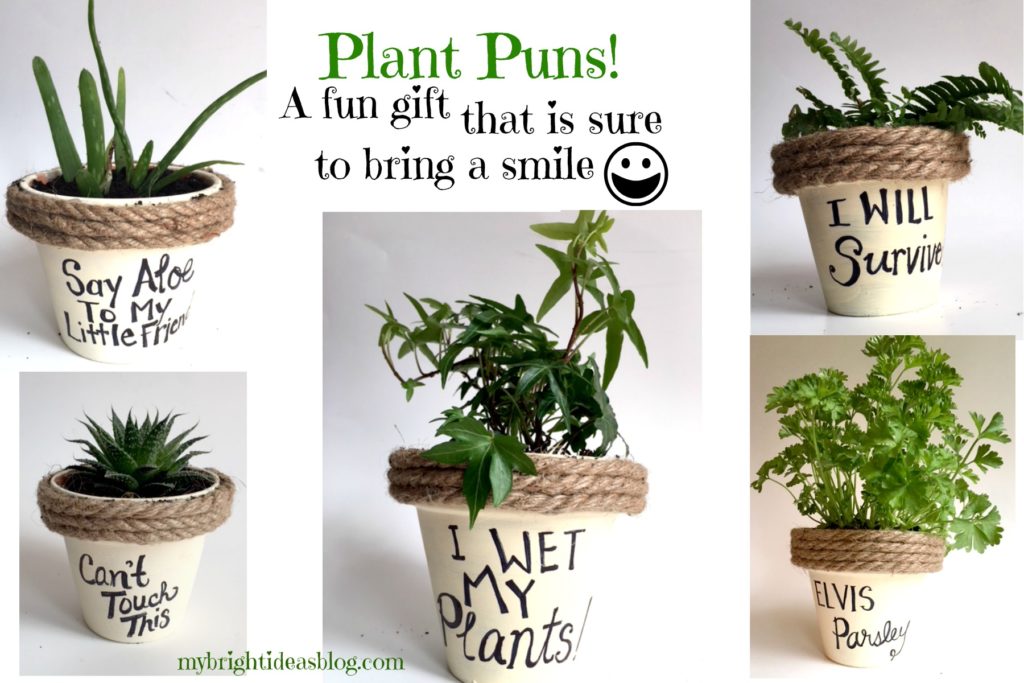
Lastly, you need to put your plant in the pot. Add a few pebbles in the bottom, then soil, then the plant and a bit more soil to fill the gaps. Awesome! Here are some more that I did this week.
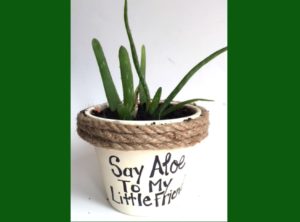
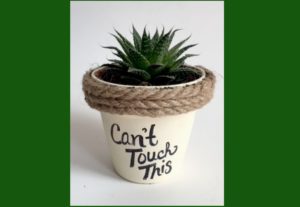
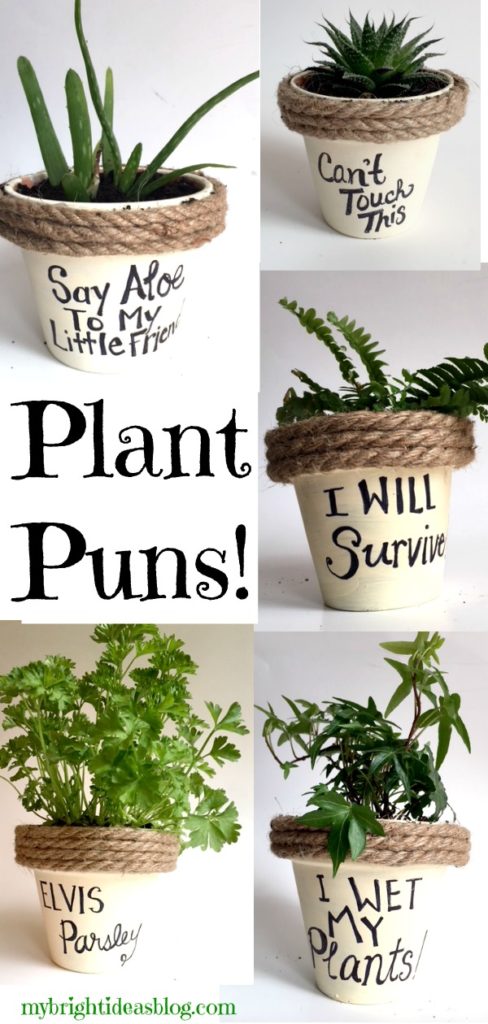
The planter that says “can’t touch this” is meant to be a cactus but there was wasn’t any available at the store so this succulent is acting as a stand in.
This has been a lot of fun. Last night we had a family dinner and I took an Elvis Parsley to my mom’s house. It got a laugh out of the group. If you are looking for a silly hostess gift or housewarming gift I highly recommend giving Elvis.
Have fun with your painted potted plants!
…
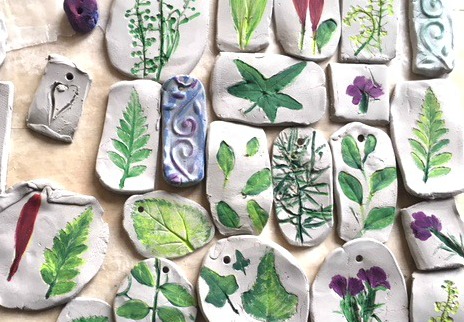
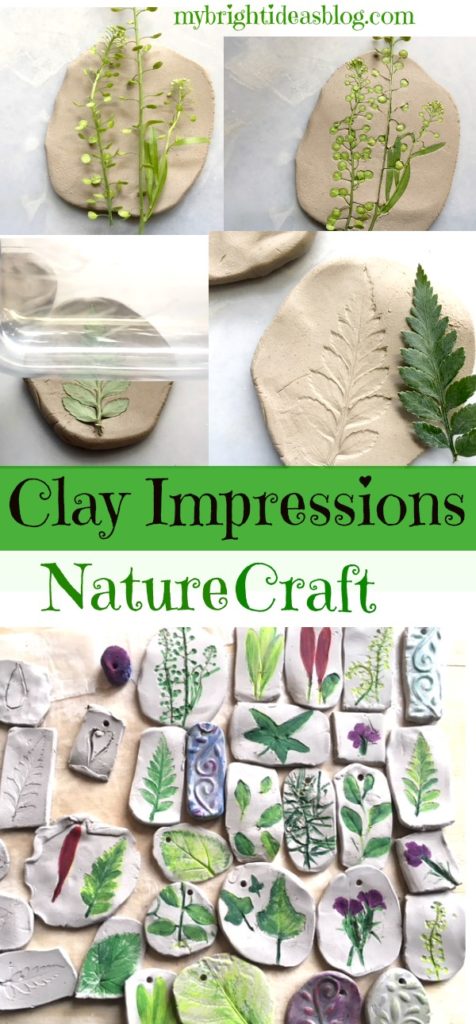
Nature Craft – Perfect for Earth Day Activity – Clay Imprints with Plants and Flowers
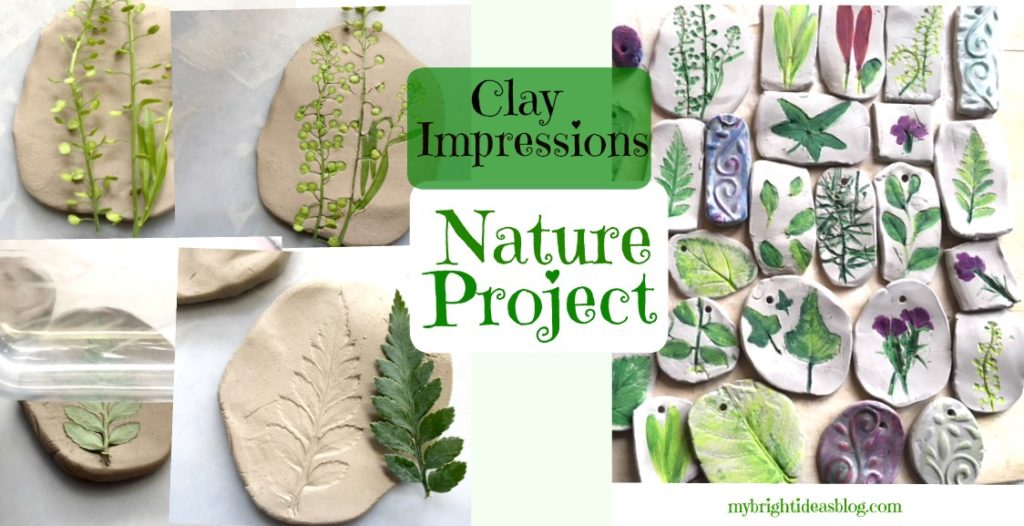
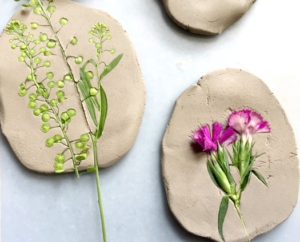
I wanted to blog about a natural craft for earth day and discovered clay impressions of plants and leaves and flowers. What a great idea! The only problem is that its just the very beginning of spring and the garden is ugly. Except for a few crocuses there is nothing nice around my home. I popped into the florist shop (Regency Florists) nearby and asked if they had any flower scraps like a bit of fern that we could use for this craft project. The lovely young lady made a little bouquet of scraps for free! How lovely is that! We are going to take her one of these lovely creations as a thank you gift.

Supplies
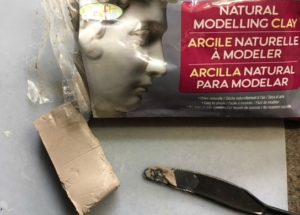
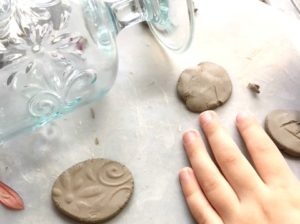
So you will need CLAY and a very smooth surface to work on. If you have a clear bit of plastic table cloth or a very smooth kitchen cutting board-either will work. You also need some flowers or plants, a rolling pin or water bottle that has smooth sides. Later when the clay is dry you may want to use some craft paint to add the green or flower color. Also if you want to turn it into a mobile or wind chimes you might need a chopstick or skewer to poke a hole in it.
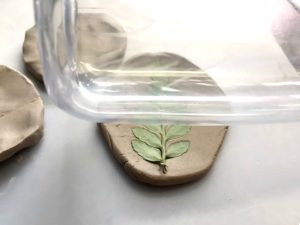
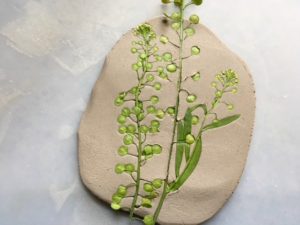
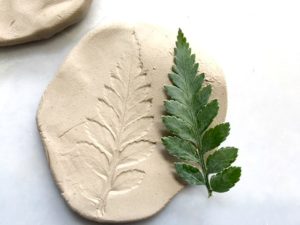
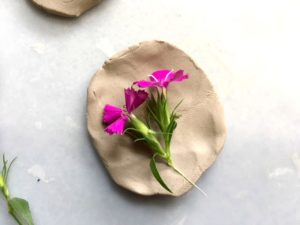
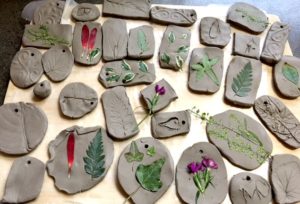
Our clay is from the dollar store craft aisle. We just slice off chunks and made different shapes with it. Then we rolled it flat. Next we place a bit of plant or flower onto the clay and rolled over it gently with a smooth water bottle. Pull the plant off the clay and admire the details now imprinted in the clay. If you want to add a hole-this is the time to grab your kebab skewer or chopstick.
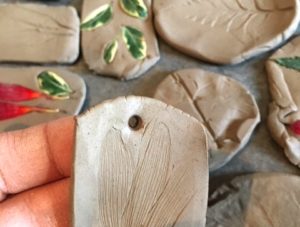
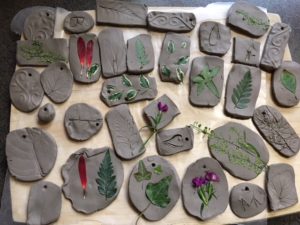
Allow the clay to dry overnight. It should feel completely dry before you paint it. I just used regular craft paint.
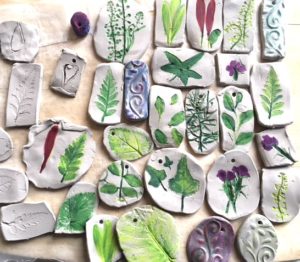
This would be a lovely gift from a child to a teacher or grandparent. Its a great craft for all ages though. I highly recommend for adults to give it a try. Its very therapeutic! This project has a lot of possibilities so let your imagine go wild. Find things around the house with interesting textures to imprint the clay.
Have fun!
…

Wooden Window Shelf-Easy Diy Plant Display
Looking for a place to put some potted plants in the one window with all the sun. This super easy DIY- Do it yourself project for a shelf that goes over the sink.
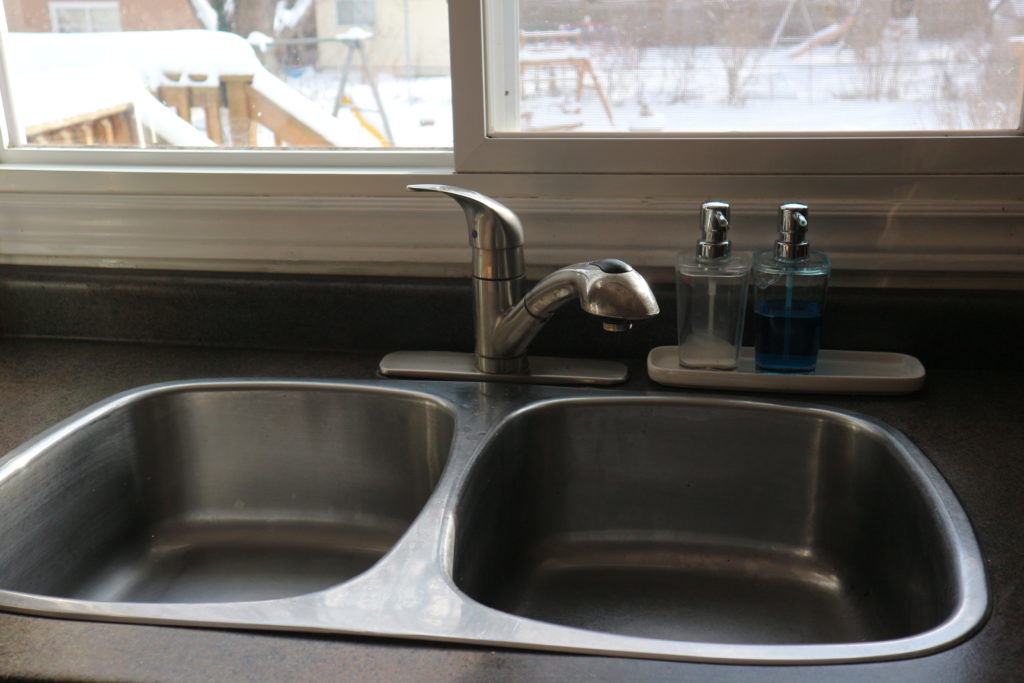
Tidy Sink…But so Boring….
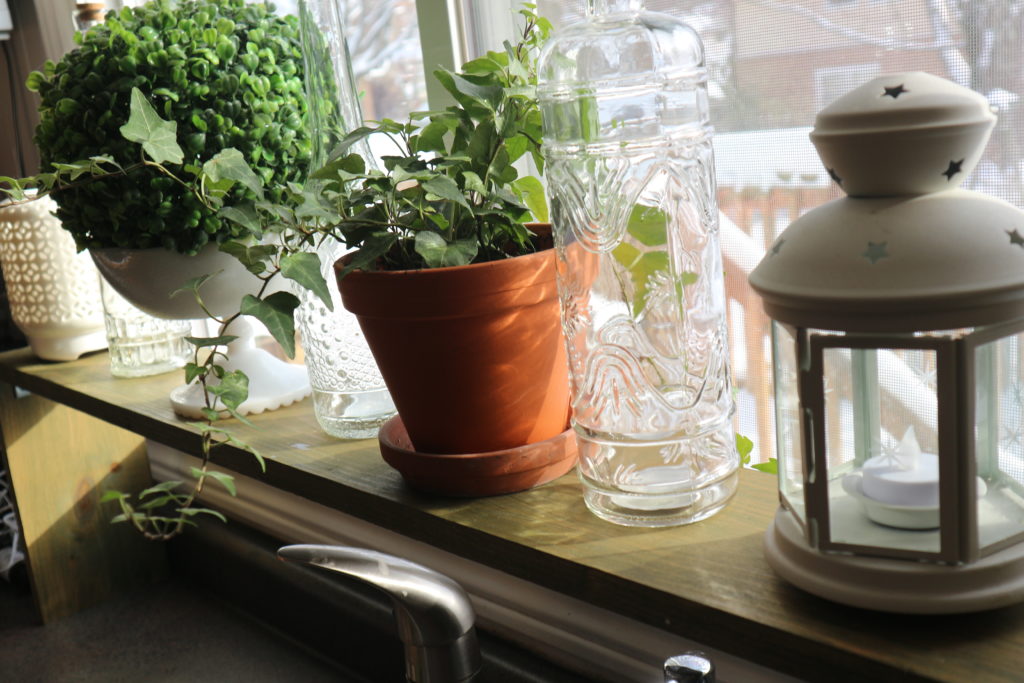
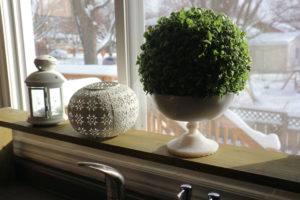
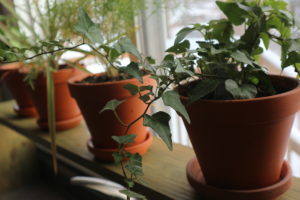
I’m writing this post about a year after I built this and I still love it. Especially in the winter when its the only sign of plant life. I usually put herbs in this window and then in the spring put them on the deck.
All you need is a board of wood and some brackets to attach them and a wood stain.
I cut my board to the size of my window but I could have cut it to the size of my sink instead if I wanted to have less shelf and more counter top. Its important that you figure out what height you need for your sink faucet to function normally.
You’ll need a 1×6 pine board – I cut my pieces 2 at 10 1/2 inches long and 1 at 45 1/2 inches long but you will need to measure your own window and sink widths and height of faucet and make some choices for your own on this.
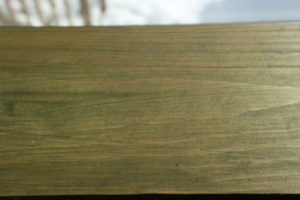
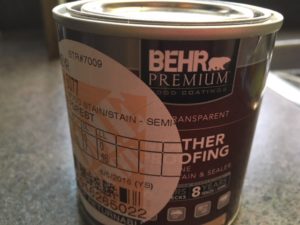
I have wanted to use a green stain on bigger projects but chickened out so I happy to try it on this project and love the results. I used Behr Premium Semi Transparent Wood Stain in the color Forest. http://www.behr.com/consumer_ca/products/wood-stains-finishes-cleaners-and-strippers/behr-deckplus-semi-transparent-waterproofing-wood-stain
The stain instructions say to do 2 thin coats and you can do the second coat within 1 to 2 hours of the first one.
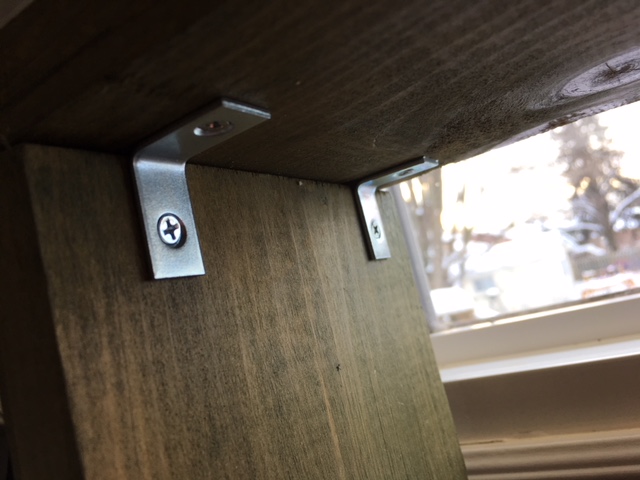
Once the boards were dry I used 4″ L” shaped brackets to hold them in place. You could also predrill and use wood screws if you prefer.
When its all done its just time to decide if you want a collection of herbs in terracotta pots or clear glass bottles or pretty white nic nacs or all of the above.