
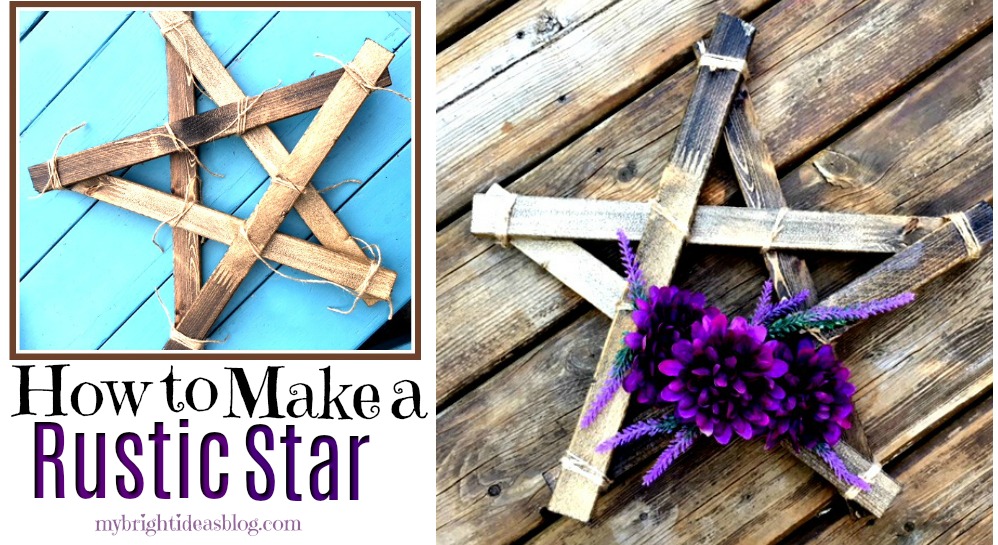
Have you seen these lovely rustic wooden stars and wondered, how hard can that be to make? Well let me tell you it’s ridiculous how easy it is to make this wood star.
Did I mention the wood cost is around $2.50? Say what….?!?!
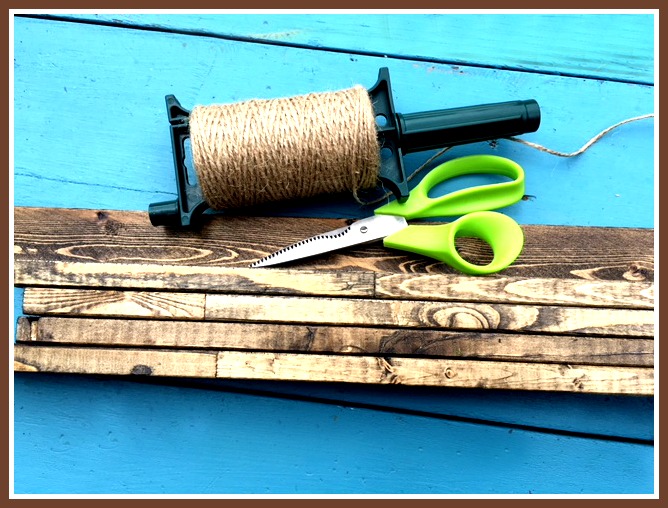
You will need:
- 1×2 Board $2.50
- twine
- scissors
- stain or paint
- rag
- varnish
- paint brush
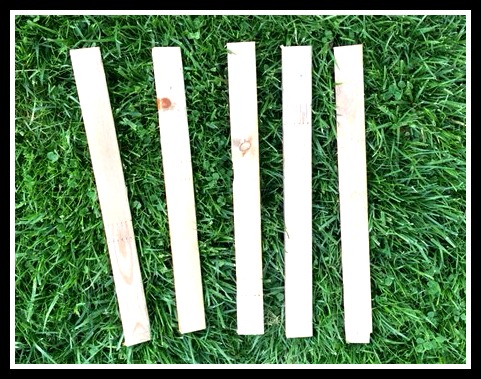
Cut the 1×2 lumber into 5 pieces 18 inches long. No wasted wood. Awesome!
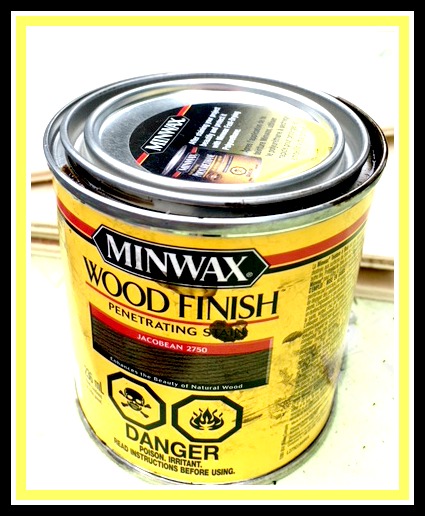
I used my FAVORITE wood stain Miniwax Jacobean – it has a dark walnut look to it that I just love! You could use paint instead. Dip a rag into the stain and rub it into the wood. Follow the instructions on the tin to leave it for the right amount of time to dry.
![]()
After allowing the stain to dry, I put on a coat of polyurethane. This adds a clear coat of protection if you plan to use it outdoors. If you intend to use it indoors like on a mantel you could skip it.
Gather your finished pieces, scissors and twine….
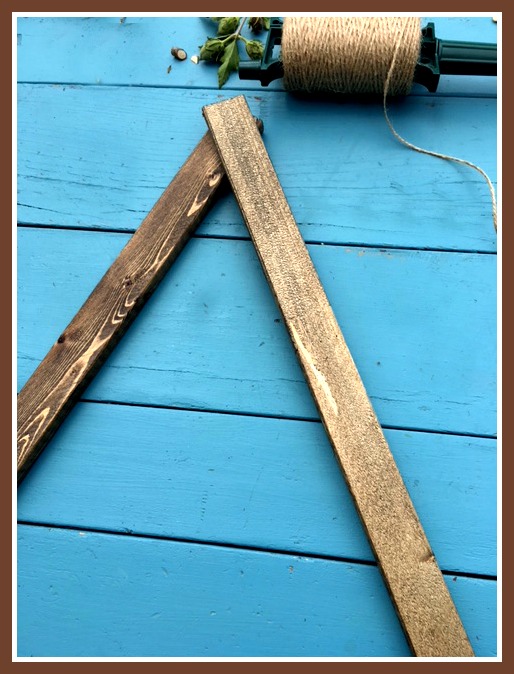
Place one piece on an angle to the left. Lean the second piece on top,angled to the right.
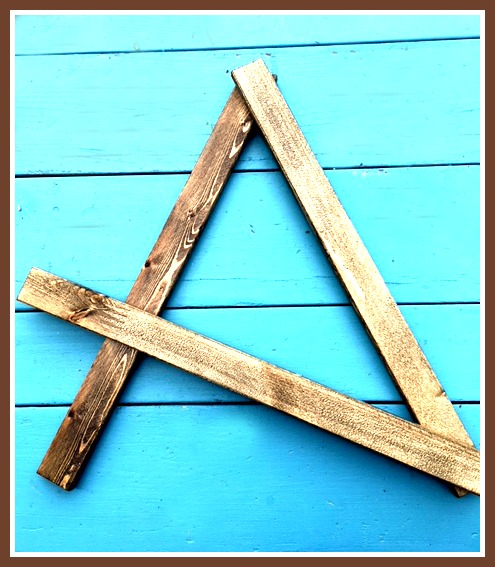
Add the third piece to the bottom right corner angled up.
Next add the forth piece across….
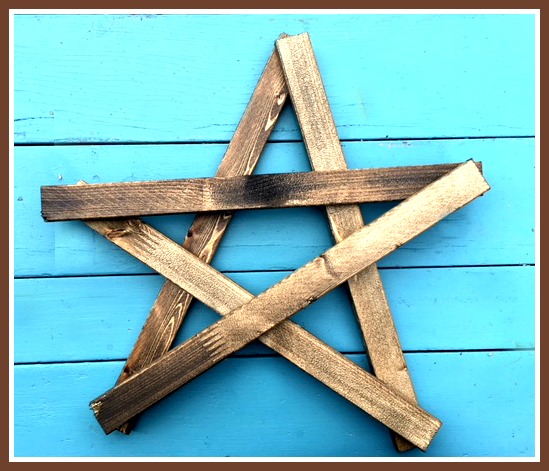
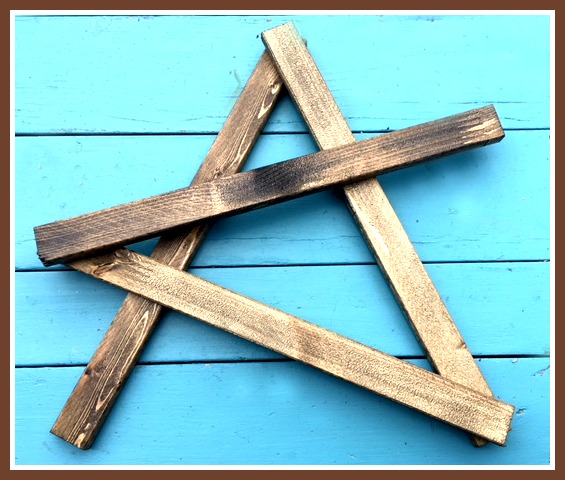
And lastly add the fifth piece of wood. If it doesn’t look exactly the way you meant it to, shift the corners a bit.
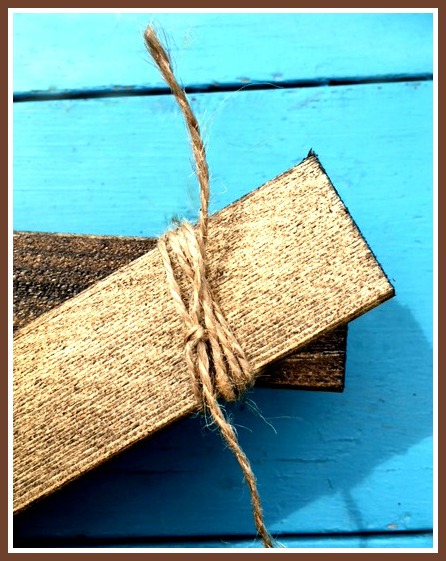
Tie twine around each end. You could also use industrial strength glue like E6000 with the twine, or skip the twine and use nails. I like the rustic look of twine.
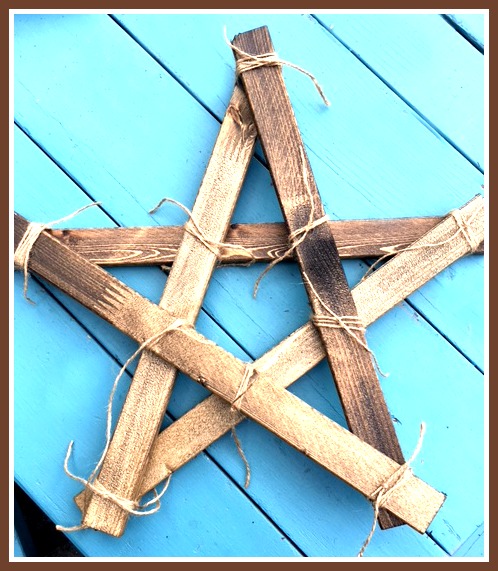
For extra reinforcement I tied more twine on the middle parts of the star. This extra twine made it very sturdy. Next use the scissors to snip the scraggly bits of twine close to the star.

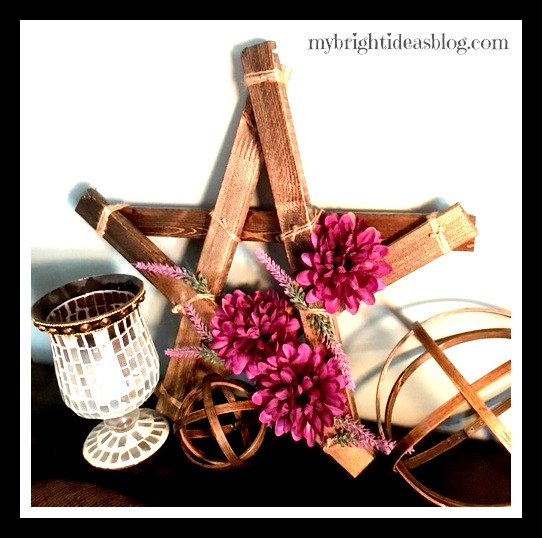
I adore hydrangeas so I popped a few out of another arrangement and put it in on the star to test it out. Lovely, these are my favourite flowers.
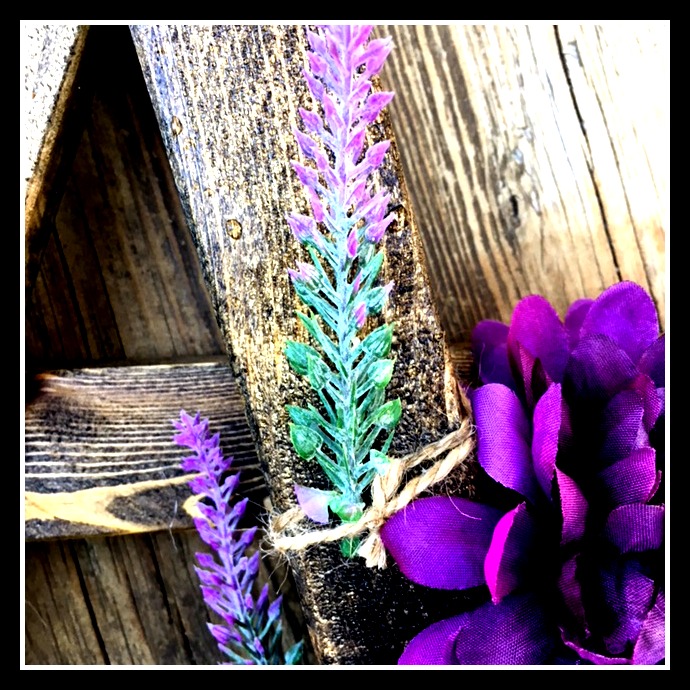
One nice thing about the twine is you can tuck your flowers into it and pull them out if you want to change flowers for the next season.
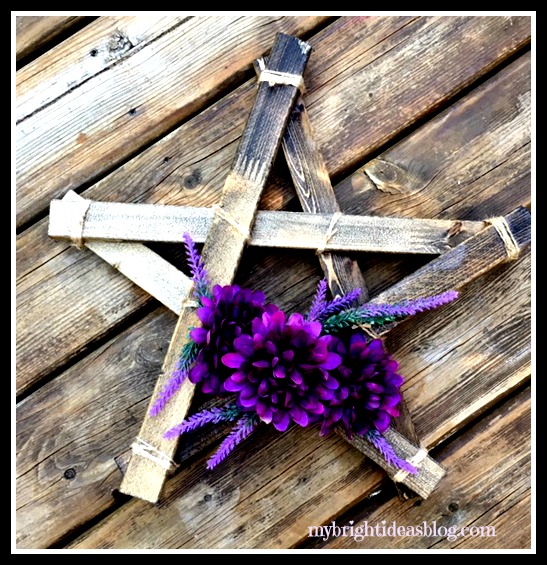
I picked up a bunch of purple flowers at Michael’s and took 3 flowers from the bunch and a few little wispy bits off to use for this one. This turned out to be the one I stuck on my living room wall.

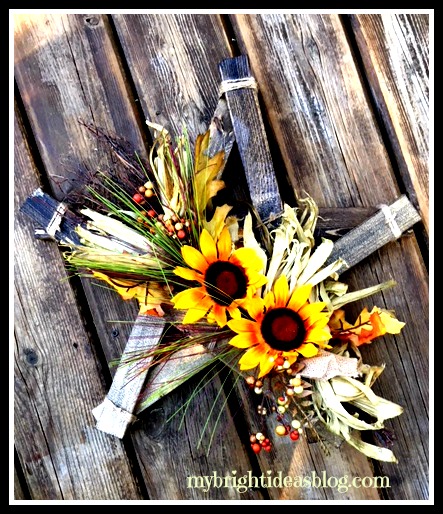
This is a dollarstore ($4) autumn decoration I just tied on for fall.
This is so easy! The only thing that takes any time is waiting for your paint or stain to dry. The lumber cost is $2.50. The only thing cheaper than that is the wreath I made for my neigbour out of twigs!
Thanks for reading to the end! I hope you’ll pin this on Pinterest or where every you network with friends.
…

Wooden Window Shelf-Easy Diy Plant Display
Looking for a place to put some potted plants in the one window with all the sun. This super easy DIY- Do it yourself project for a shelf that goes over the sink.
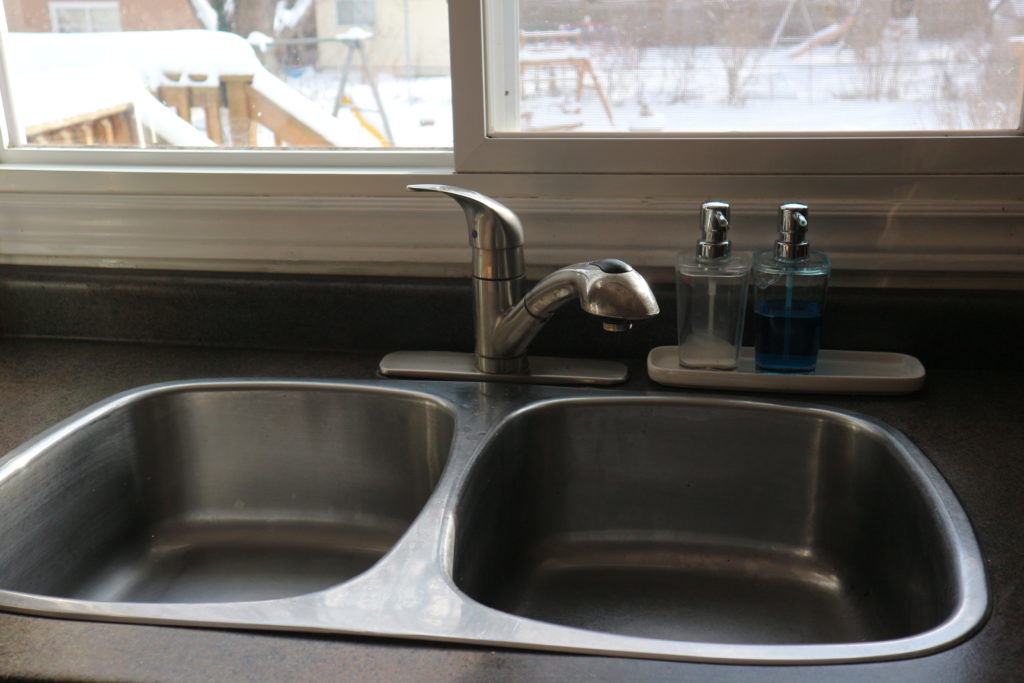
Tidy Sink…But so Boring….
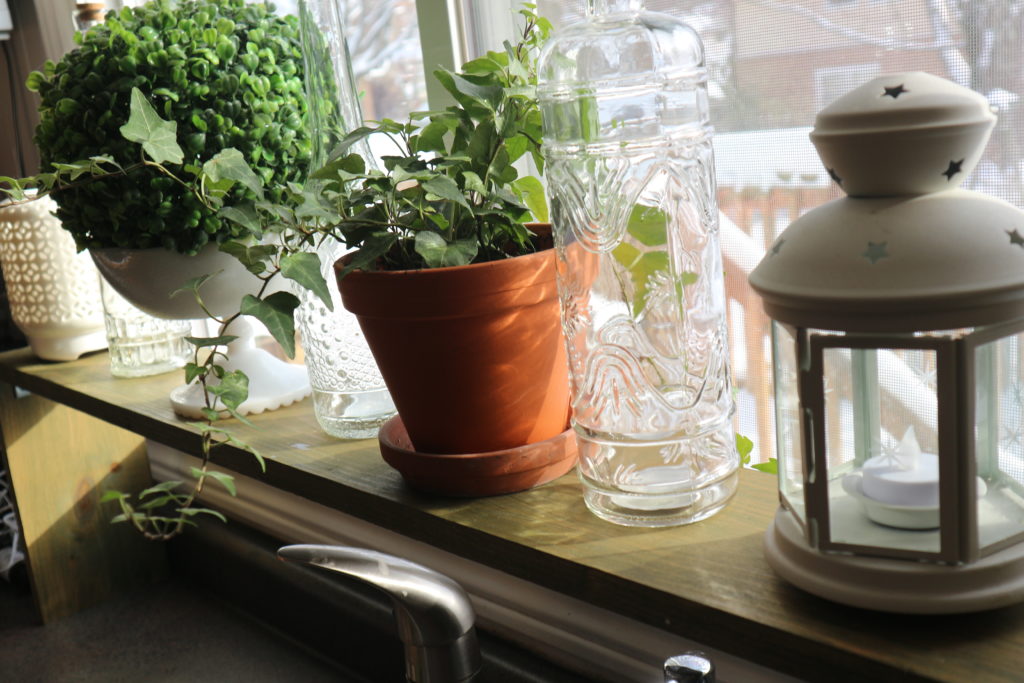
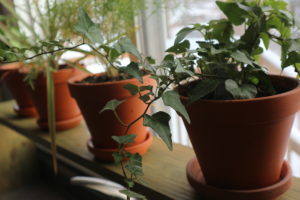
I’m writing this post about a year after I built this and I still love it. Especially in the winter when its the only sign of plant life. I usually put herbs in this window and then in the spring put them on the deck.
All you need is a board of wood and some brackets to attach them and a wood stain.
I cut my board to the size of my window but I could have cut it to the size of my sink instead if I wanted to have less shelf and more counter top. Its important that you figure out what height you need for your sink faucet to function normally.
You’ll need a 1×6 pine board – I cut my pieces 2 at 10 1/2 inches long and 1 at 45 1/2 inches long but you will need to measure your own window and sink widths and height of faucet and make some choices for your own on this.
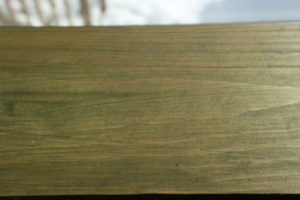
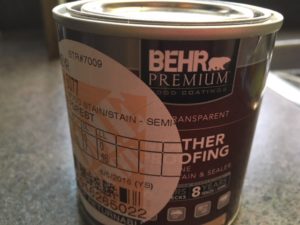
I have wanted to use a green stain on bigger projects but chickened out so I happy to try it on this project and love the results. I used Behr Premium Semi Transparent Wood Stain in the color Forest. http://www.behr.com/consumer_ca/products/wood-stains-finishes-cleaners-and-strippers/behr-deckplus-semi-transparent-waterproofing-wood-stain
The stain instructions say to do 2 thin coats and you can do the second coat within 1 to 2 hours of the first one.
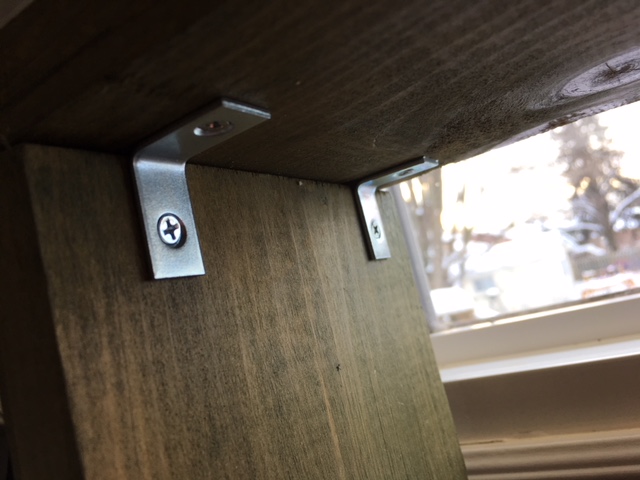
Once the boards were dry I used 4″ L” shaped brackets to hold them in place. You could also predrill and use wood screws if you prefer.
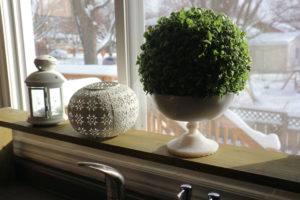
When its all done its just time to decide if you want a collection of herbs in terracotta pots or clear glass bottles or pretty white nic nacs or all of the above.

Decorating wooden memory or jewellry boxes. Easy Craft!

Pick up some plain wood boxes from the craft store or dollar store and paint gives it a make over! Jewelry box or memory box whatever you want to use it for!
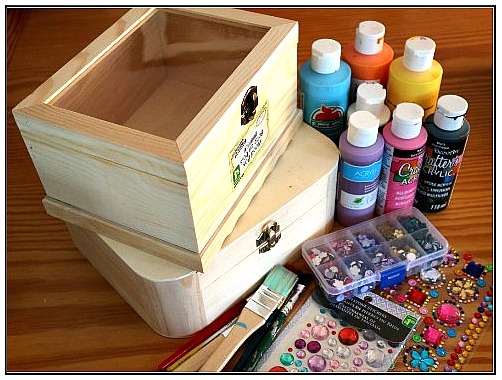
You will need:
- A wooden box
- Craft Paint
- Paint Brushes
- Stick on Gems
- Clear Coat Polyurethane Spray or in a Paint Tin (Optional)
Start by peeling off all the price tags and labels. Choose the theme of your box. I love the cool whites but today we were feeling jazzy! My girls and I decided on bright colors…… pink, red, purple, navy blue and turquoise.
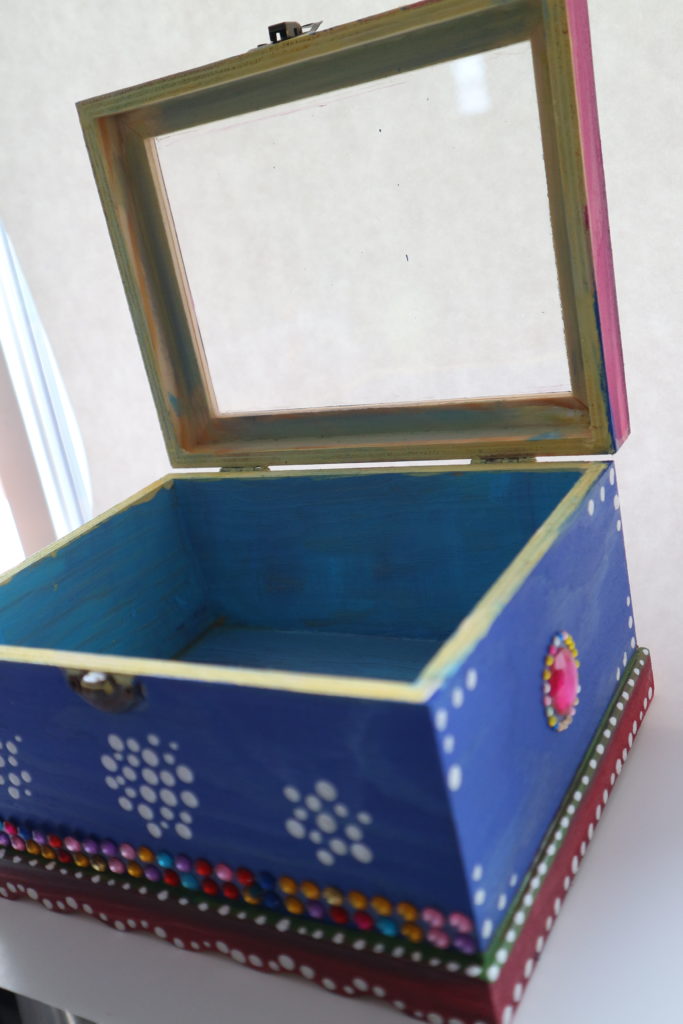
My box had a window to see the treasures inside so I painted the interior of the box also.
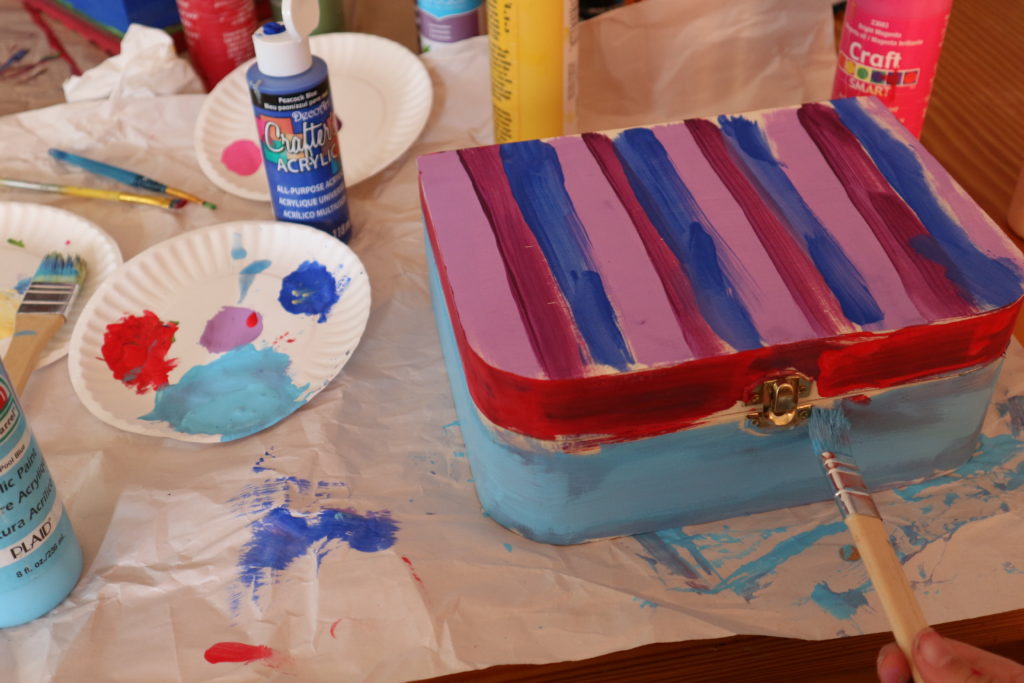 Protect your table because this can get messy!
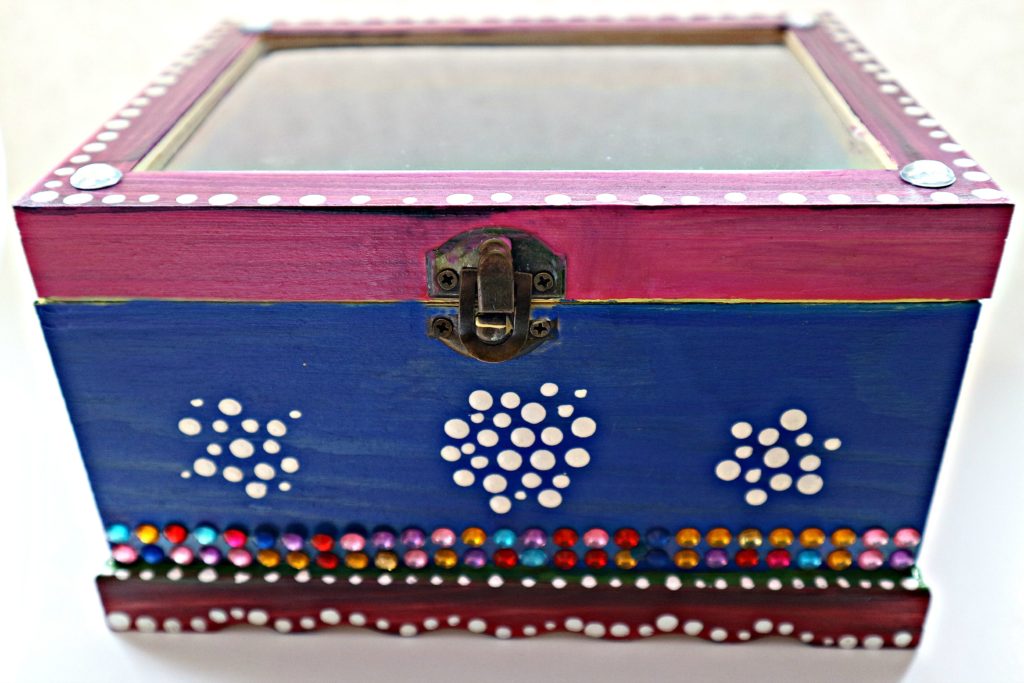
This box got stripes on the top and color blocking for the bottom turquoise and the lid rim got a splash of red paint. Literally…LOL.
It looks a mess in the photo above but check out a sneak peak of her final results!
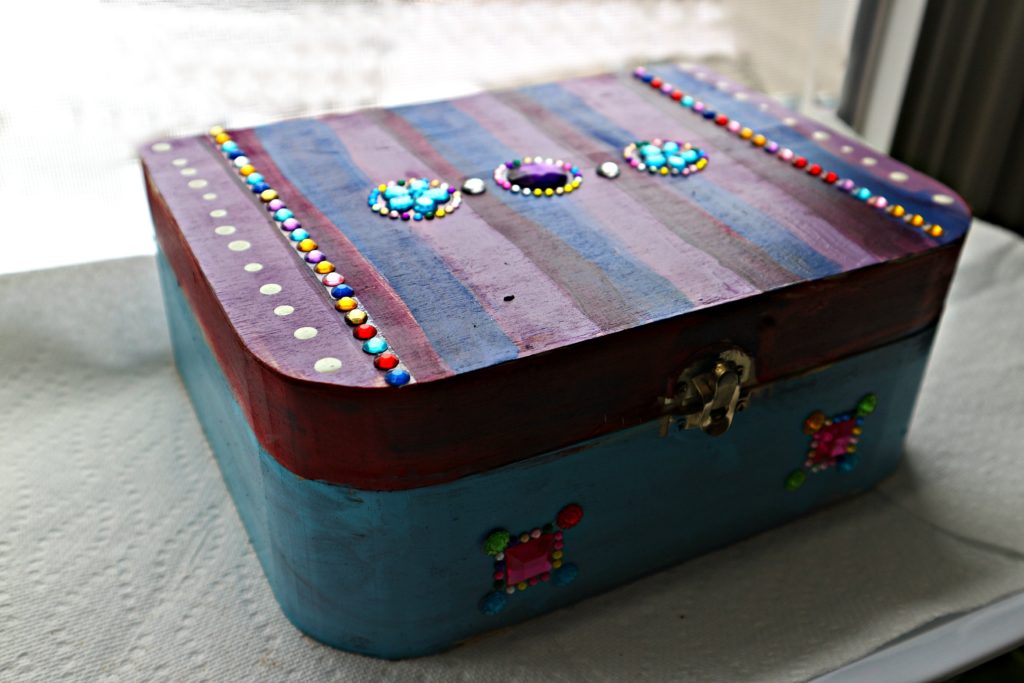
My 8 year old artist decorated this one. Using the gorgeous gem stickers (from the Dollarstore) distracts the eye from areas she colored outside the lines. But we are getting ahead of ourselves. Let’s get back to decorating it!
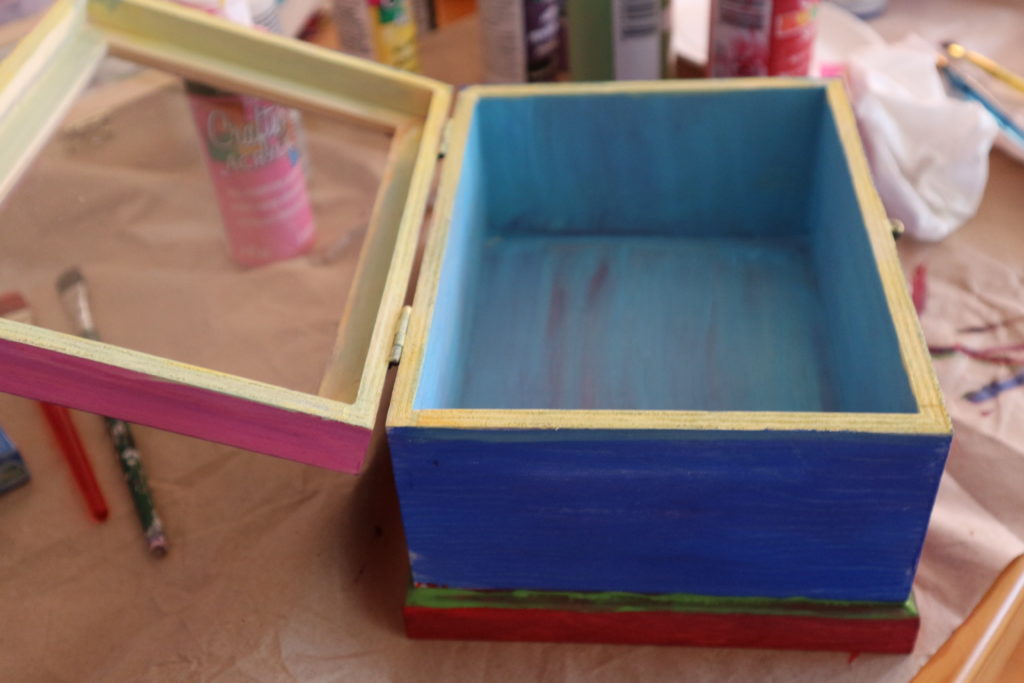
It’s completely up to you if you would like to pain the inside or not.
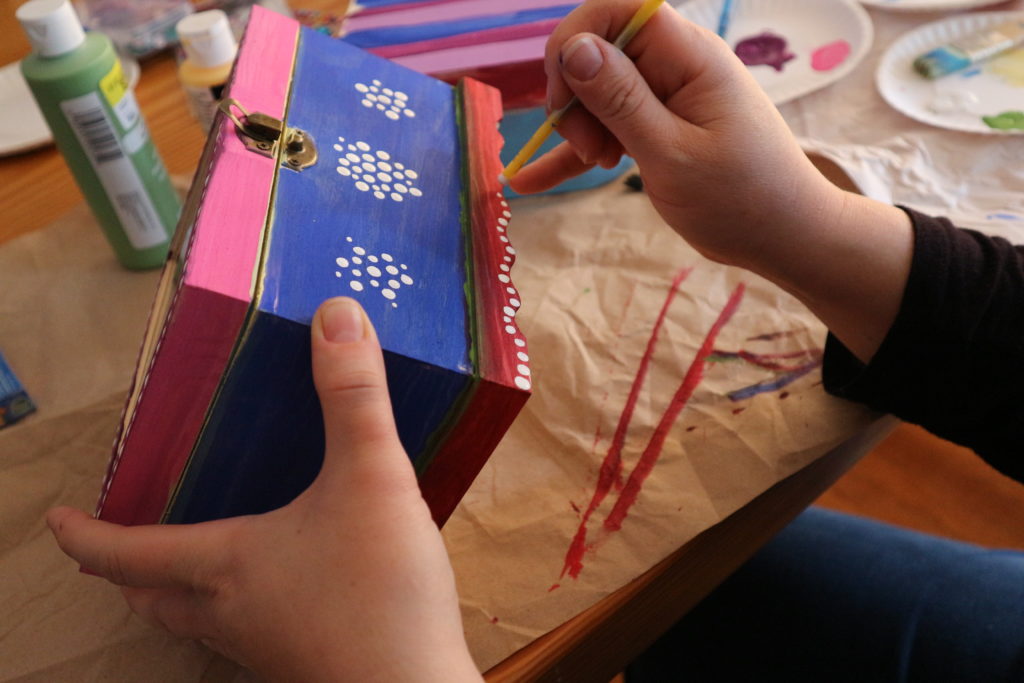
My favorite technique for adding dots is to dip the tip of the handle into the white paint and dot it on the box. Clusters of dots and curves of white dots.
After this dried I put a clear coat of polyurethane on the boxes just to make it a bit shiny and smoother for me to wipe and dust. You can skip this step if you don’t have it or put it on later. You can get it in a spray paint or a short tin of paint. If you decide to put on the clear coat it wont take much varnish or time since this project is small. You could do the inside of the box too while your at it.
After the memory box is dry, we got out the sequins! These came as stickers with glue on the back. This is such a great cheat compared to gluing each one on.
I was really pleased with how it turned out.
What a great time we 3 had decorating these!
Candy Box
My Miss M. plans to hide candy in her box. She is often given a treat by friends and not allowed to have it right away. Now she can put it in her box.
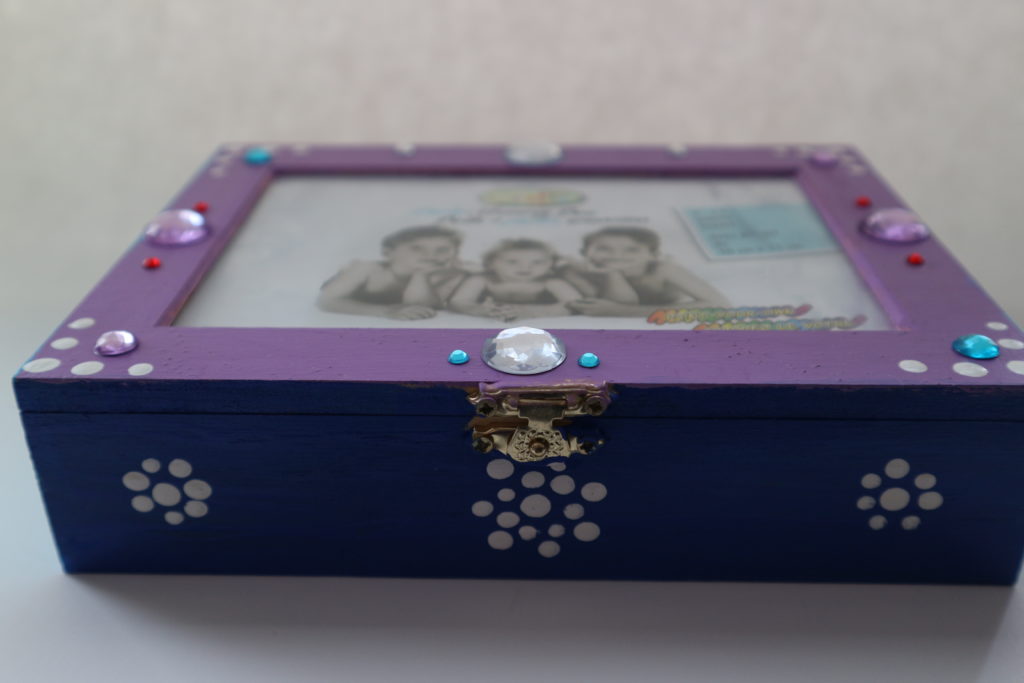
Treasure Box
Miss B. plans to keep special mementos in her box. She has photos and tickets and trinkets she wants to keep for happy memories.
Love Letter Box
I told them I planned to put love letters in mine and Miss B said “Mom no one writes letters anymore!” Shocking! Well fortunately my daughters do still write me love letters and their daddy does every now and again too.
Thanks for reading this! Leave a comment or pin this to pinterest.
