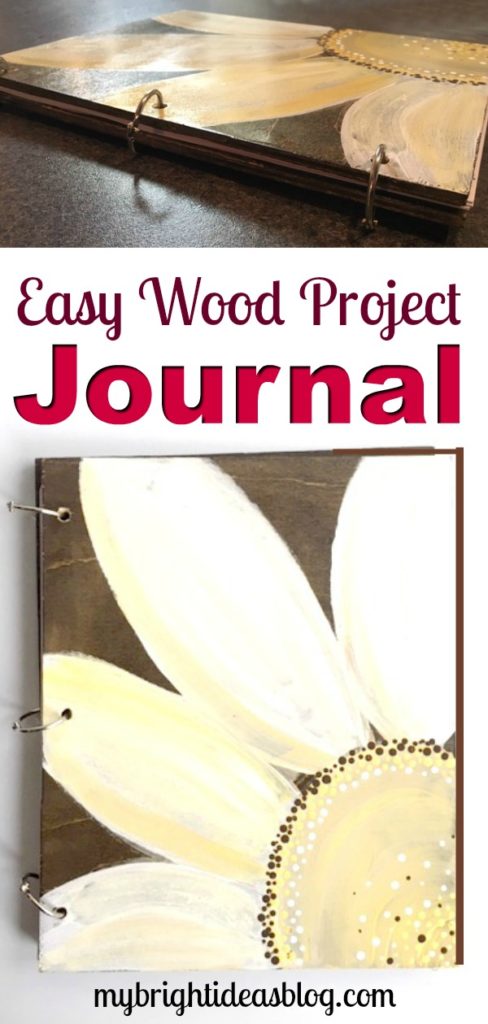
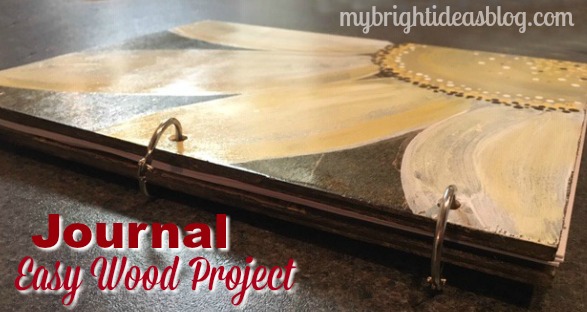
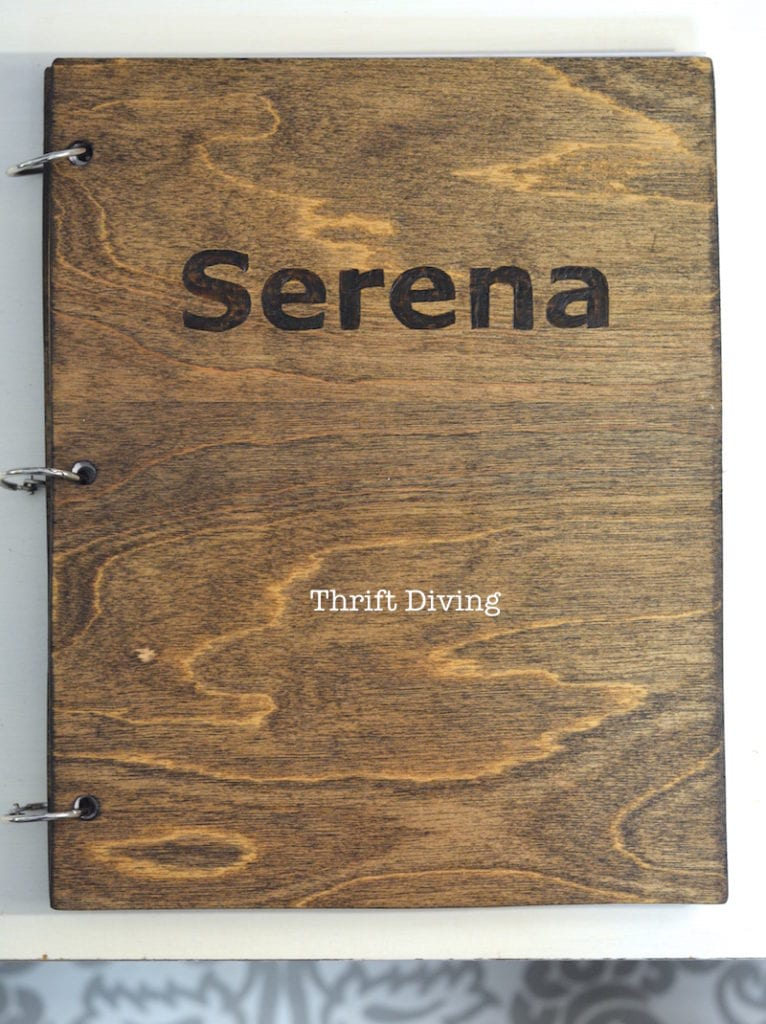
Have you ever thought of making a journal with a wooden cover? I hadn’t until I stumbled across this on Pinterest….from ThriftDiving.com….
….it kept coming back to my mind that this is my woodworking skill level. I really should try this!
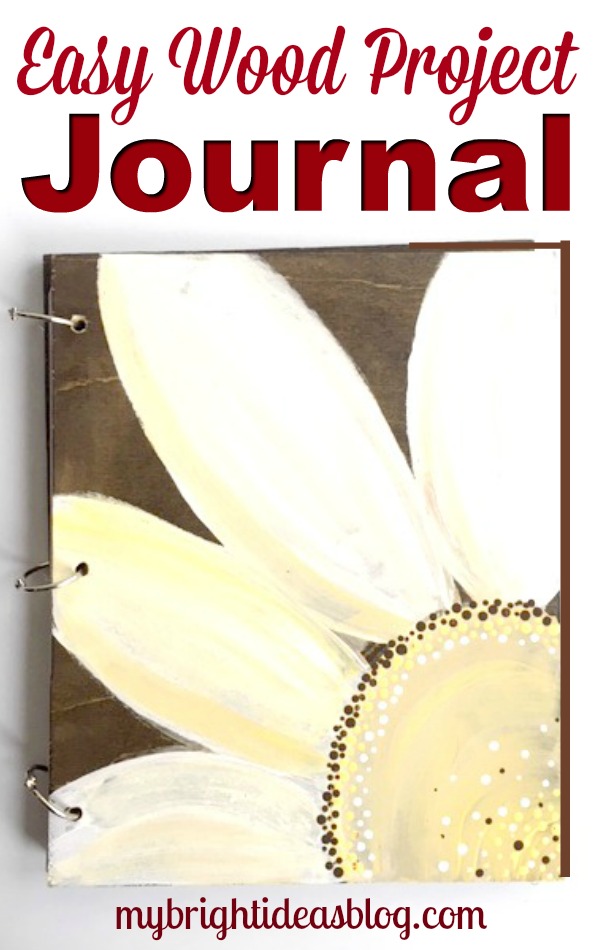
I’m really happy with how it turned out. Rather than wood burning like Serena did. I hand painted a daisy on mine.
You will need:
- 1/4 inch birch plywood
- drill and 5/16″ drill bit
- fine sandpaper
- stain and rag
- craft paint – yellow, white, brown
- clear coat varnish and brush
- binder clips
- computer paper
- 3 hole punch
The thin birch plywood comes as a large piece that needs to be cut down. I don’t have a table saw-so I had the wood cut for me at Home Depot.
Each cover needs to be approximately 9″ x 11″. So do the math and try to get the most out of your wood board. Each book needs a front and a back cover. I was able to get 6 pieces from mine to make up 3 books and there is enough left over to make at least one more.
I stained the board and then drilled the holes. Next time I would drill the holes first and then stain the wood.

The cuts may cause some fraying of the thin birch veneer, don’t panic! Sand the rough parts smooth-the stain will also hide flaws. I used my favorite color Jacobean from MinWax.
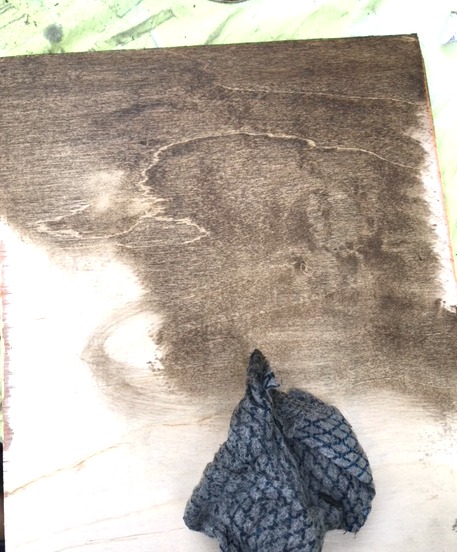
Using a rag, rub the stain into both sides of the boards. It’s quite a dark stain so I don’t use much and start light and work at slowly going darker. Allow the stain to dry overnight.
As I mentioned above, it would be sensible to drill the holes before staining. Doing it afterwards can mean you’ll do some touch ups with stain afterward.
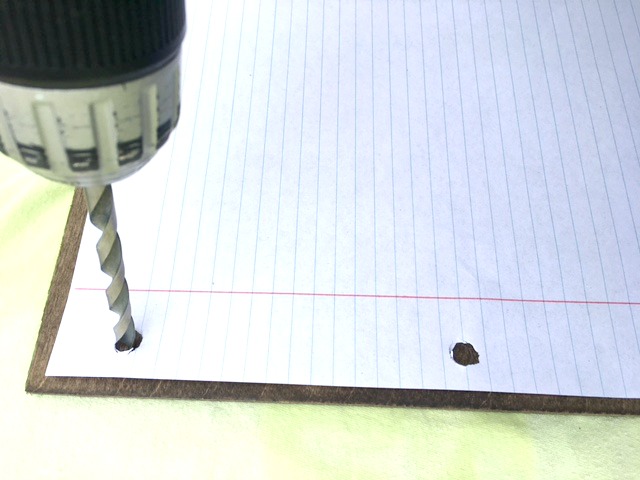
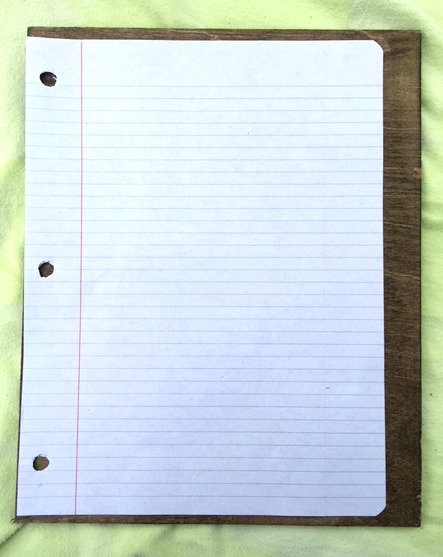
Use a page with holes as a template. Mark the hole with a pencil first.
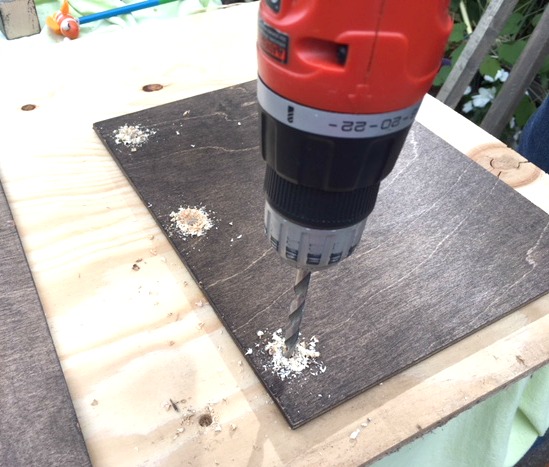
Place a scrap board under the journal cover before drilling. The journal cover will be damaged if you drill without scrap wood underneath…do don’t skip this step.
For the second piece of birch you could set it right on top and drill through both book covers to make sure they are matched up perfectly.
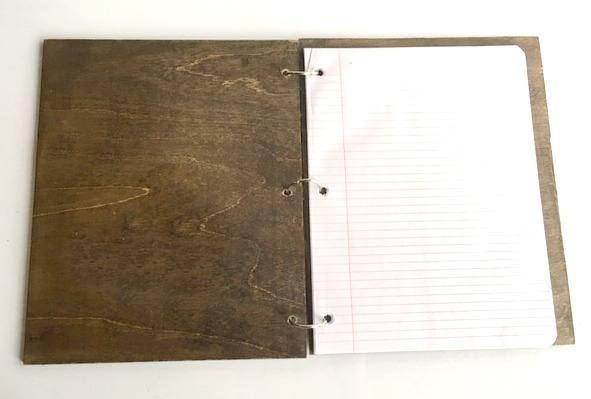
Put in the binder rings and see how it fits. Everything fits perfectly. So take the top cover back off and prepare to personalize and decorate the cover.
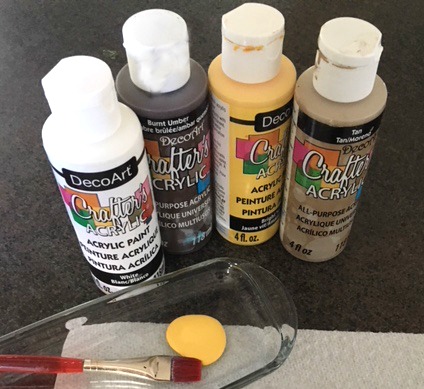
Using inexpensive craft acrylic paint, I painted the daisy on in white. Then I added some highlights with tan and yellow paints.
I used this exact same daisy idea on long boards for ways to use up scrap wood. I’ll include the link at the bottom of this post.
The last step is to turn the paintbrush upside down and dip it into the paint. I added rows of dots all around the edge of the daisy’s centre and some random ones in the middle.
Again allow to fully dry.
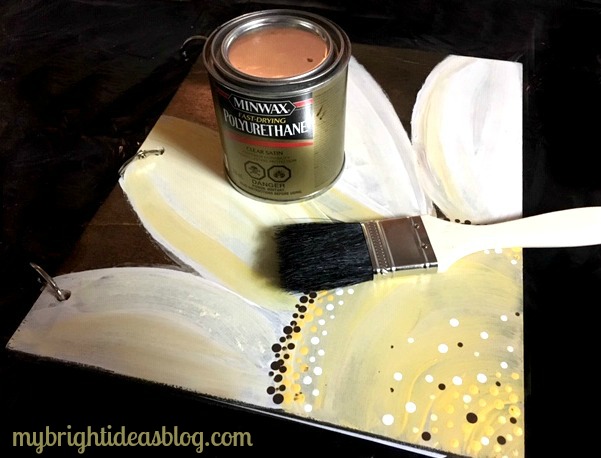
Put a coat of clear polyurethane for extra durability. Allow to fully dry overnight.
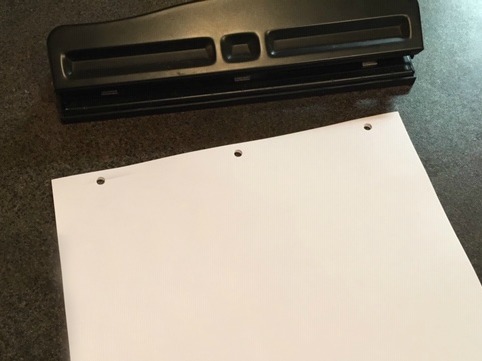
You can use lined paper or computer paper and punch the holes in it yourself. I like blank pages if you are going to give it as a gift. It looks like a sketchbook and how great would it be to sketch with a book with a wooden cover!

Thanks for reading this post! I hope you will share it or save it on Pinterest. See below for more easy woodworking ideas.
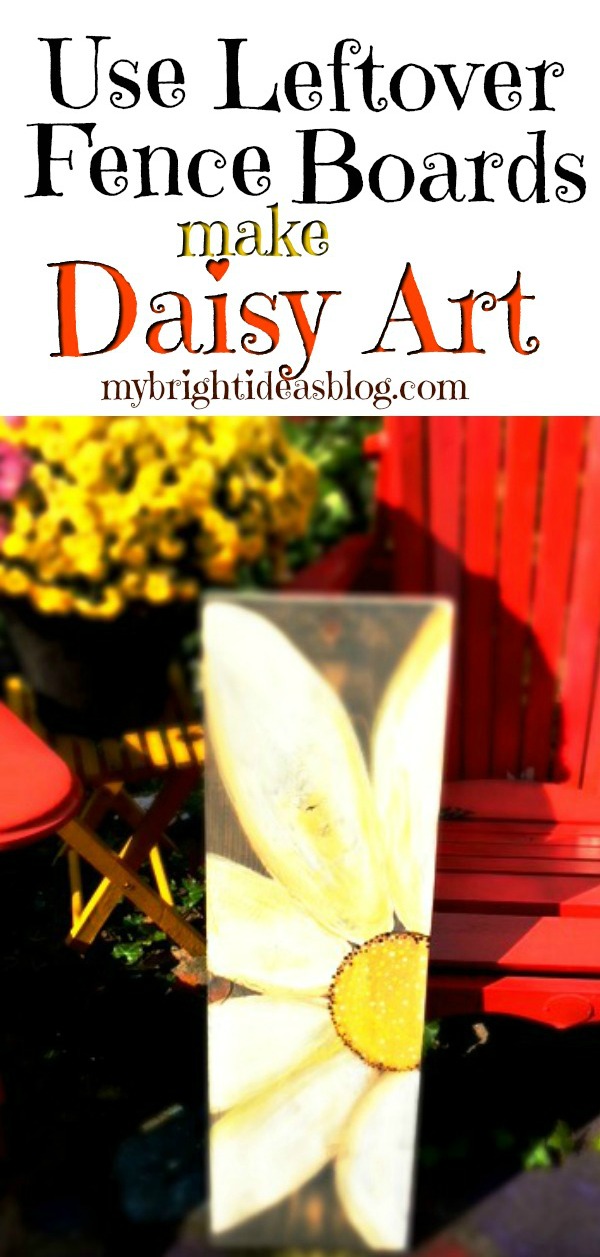
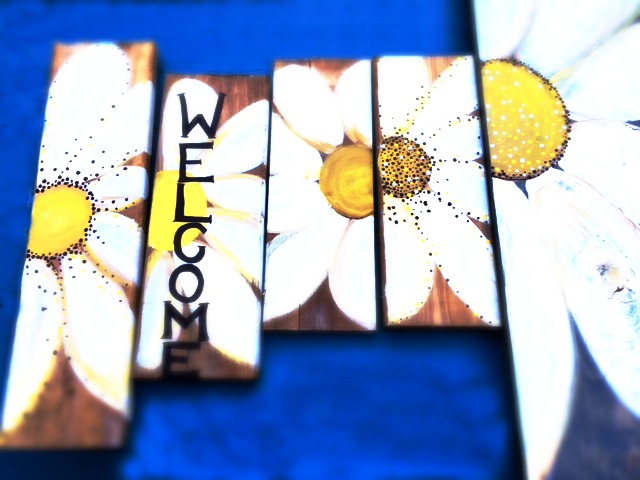
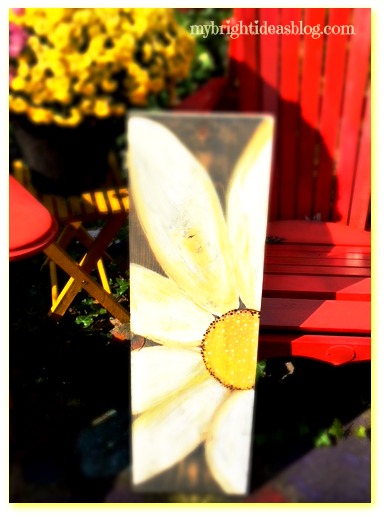
Outdoor Daisy Art – From Lumber Scraps!
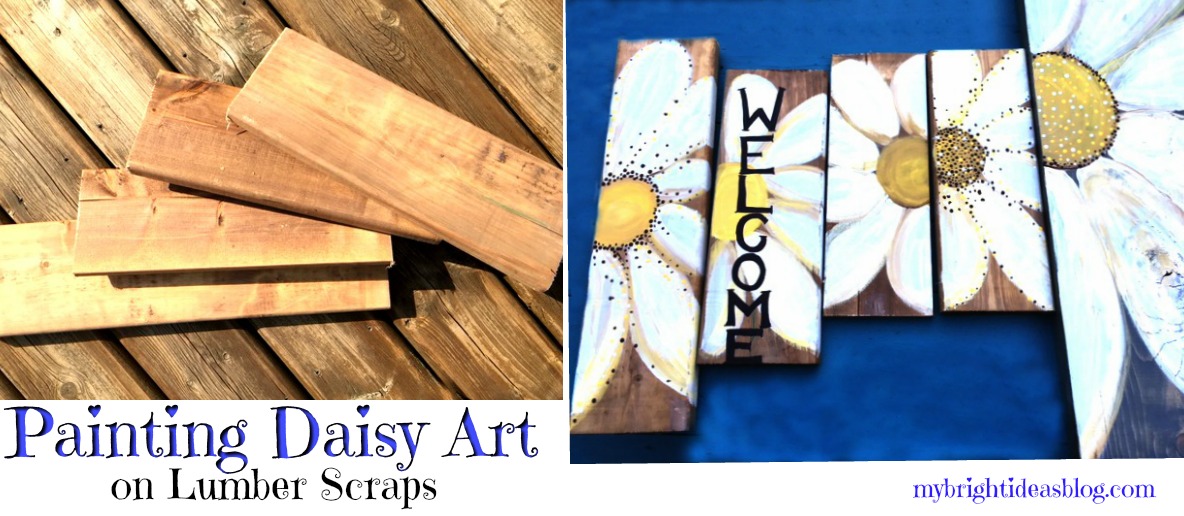
We have done a lot of wood projects this summer and the scrap pile is getting bigger. I am going to show you how to turn your left over wood scraps into painted daisy art that you can use indoor or outdoors. Grab your paint and brushes – lets get started!
You will need:
- lumber or fence boards
- sandpaper
- small and medium art paintbrushes
- craft paint-yellow, white, beige, black
- polyurethane (clear varnish)
- large brush (that you might throw out)
- hammer
- needle nose pliers (optional)
- picture hanging kit
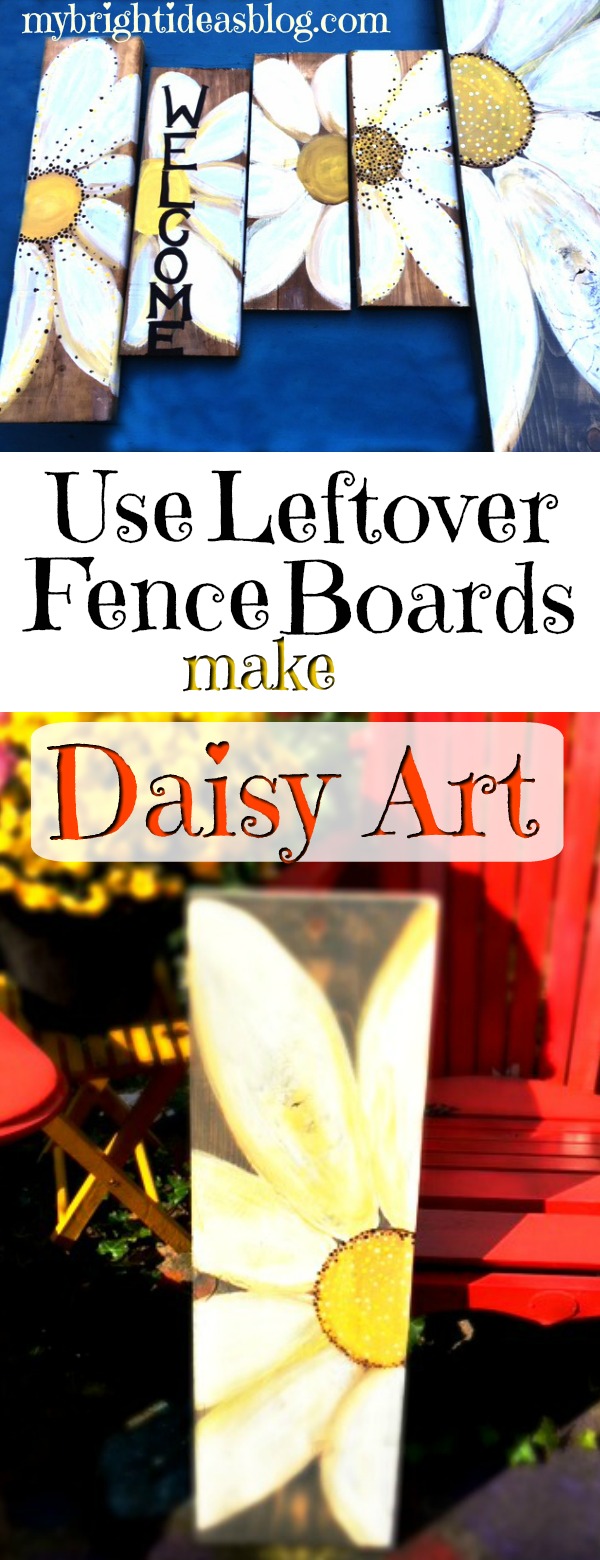
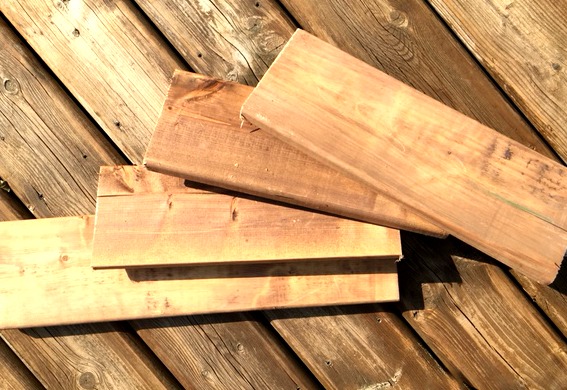
The wood in the photo above is scraps of pressure treated fence or deck boards. The size doesn’t matter-just work with what you have. Mine were approx. 5 1/2 inches x 14 inches (14cms x 36cms). They don’t need to all be the exact same.
Have a quick look at the ends of the boards to see if you have any jagged edges. If yes a quick swipe with your sand paper should remove the frayed bits. No splinters!
If you don’t have treated fence boards you can use bare lumber but put a bit of stain on to make it darker.
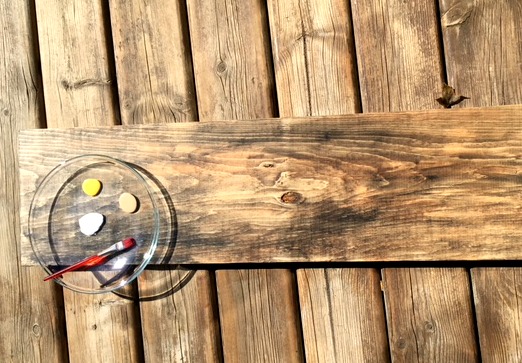
This board was not a fence board but rather a this piece of wood I was going to make another tray out of. It’s 9 1/4 inches wide and 35 inches long (or 24 cms x 89 cms). I had already put my favorite Jacobeen Miniwax on it. So it was ready to be used for something else but instead I put daisy on it for a much bigger version of the fence boards.
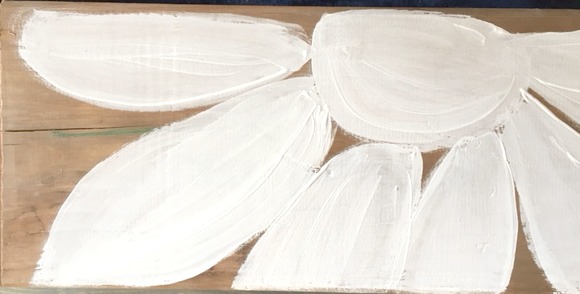
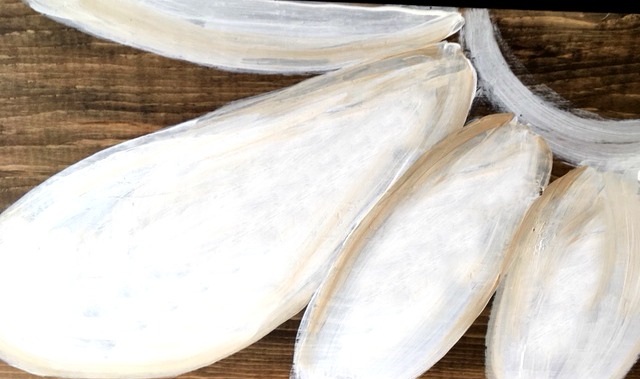
Start with white and paint the shape of the daisy. On this one I painted the centre white also.

For this board I didn’t paint the centre till later. I double loaded my paint brush with white on the left and dipped a bit of the beige paint on the right side. I went along the edge of the petal to add some depth.
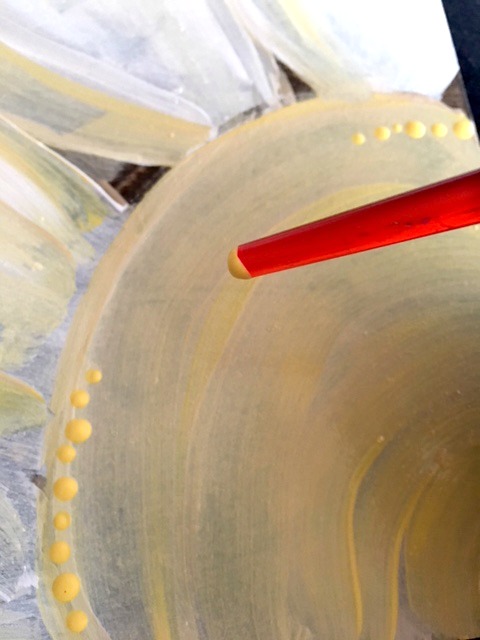
The centre part of the daisy was painted yellow. It doesn’t have to be perfect no one will look at it this close up. The brush strokes look great from a few feet away. If you turn it into a Welcome sign at your entry way or a backyard garden sign, it’s going to look great!

Using the end of the paint brush add dots around the edge of the circle. Some of the boards I didn’t put any highlight dots. The next photo shows I used brown and black dots to make it really stand out. Every board turned out differently.
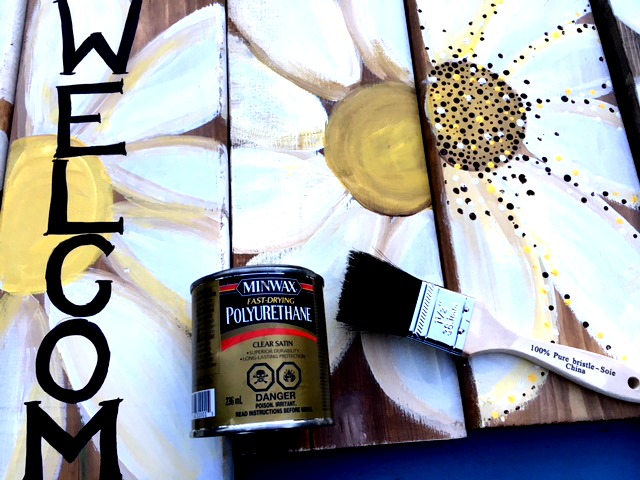
After the craft glue has time to be thoroughly dry, I painted on a clear coat of satin polyurethane. If this is going to be used outside it should have this protection on the front and back and edges. The fence board scraps will be weather resistant but the craft paint might crack in the rain. So this protection over the front and sides is worth the effort.
Oh and I hate cleaning polyurethane out of paint brushes so I just use the cheap brushes so I can toss them out. I have been known to wrap it in a baggy or cling wrap with an elastic band if I am going to need it again in the same day. I also store it that way in the freezer if I will need it again in a few days. If the paintbrush dries it’s hard not usable again.
If you get it on your hands. Make your way to the kitchen-without touching anything. Find a bottle of cooking oil (vegetable or olive have both worked for me). Put it on your hands and massage the oil in and watch the varnish come off your skin. Add hand soap and rinse off. Hands are clean and silky soft! Cool trick!
I made enough to give some away as gifts or put on the office craft table for sale. Since these were scraps and I had all of the supplies in my craft and diy corner…this would be a great item to make some money to sell….gotta support my craft addiction ssomehow!
To hang it or lean it…..mmmm.
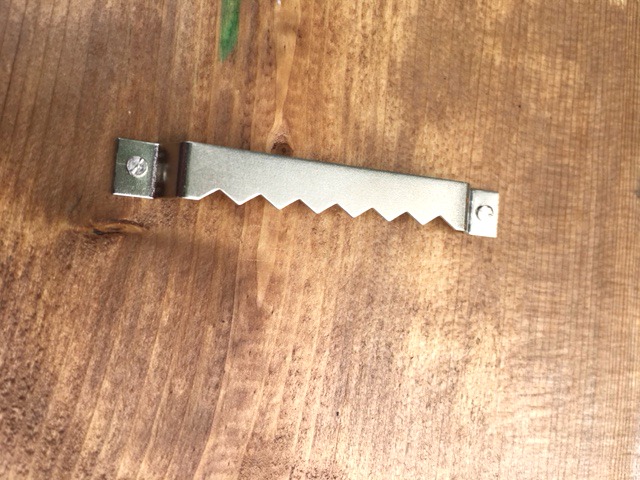
I used these inexpensive picture hangers and just hammered them into the back. The nails are the tiniest nails I’ve ever seen so I hit my fingers with the hammer about 5 times trying to get this nail tapped into the wood. I suggest getting some needle nose plyers to hold the nail while you get it started. Save your poor fingers!
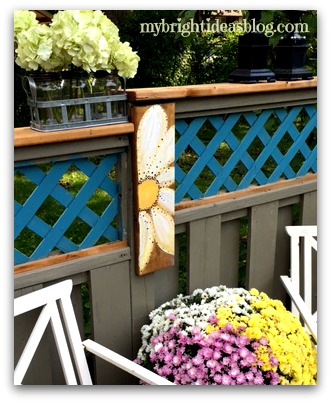
Around the patio we have a very old privacy fence. It has some ugly seams and badly matched up corners. Putting this as a plaque on the fence is a rather awesome solution!
This was super easy to make and looks great! Painting is so therapeutic. I highly recommend it!
Thanks for reading to the end folks! I hope you have a chance to pin this to Pinterest or share it with your favorite social media.
…