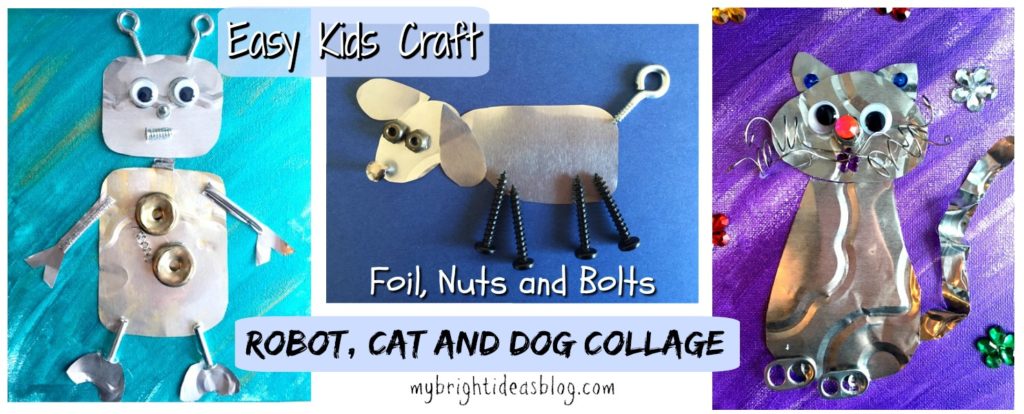
Today’s craft goal is create something fabulous but only use things you already have. Nuts, bolts, a foil cake pan… all of these things can be turned into a super cool craft and wall art for a kids room. We made a robot, a cat and a dog for our examples. But you feel free to let your imagination run wild.
You will need:
- an 8×10 canvas or piece of cardboard
- nuts and bolts and odds and ends
- a foil cake dish
- metallic craft paint and paint brush
- googly eyes (optional)
- scissors
- hot glue gun (or regular glue)
- a sharpie
Warning: This project is intended for older children not toddlers who might put these things in their mouths. Keep an eye on the little parts used for this. It could be sharp or a choking hazard for babies and pets.
Be safe lovely crafters!
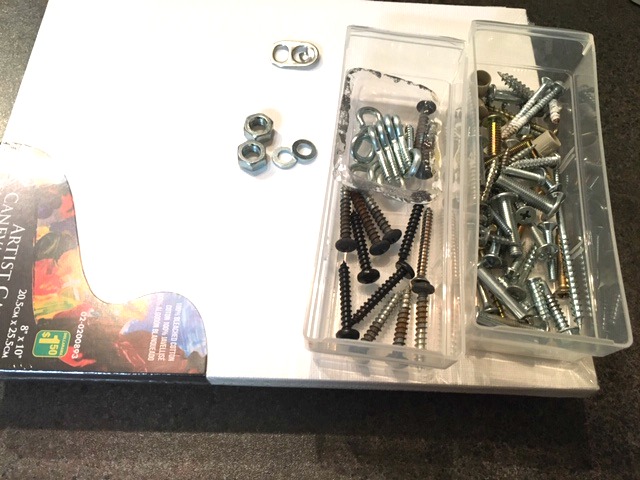
I’m just assuming that everyone out there has a few little miscellaneous drawers of screws from old projects and furniture that won’t be missed if we use them for a random craft project.
The canvas iwas a dollar store purchase. You can get the foil cake pan there too. Or you could just buy a cake or food in one of these pans and do the craft after you’ve licked it clean! :o)
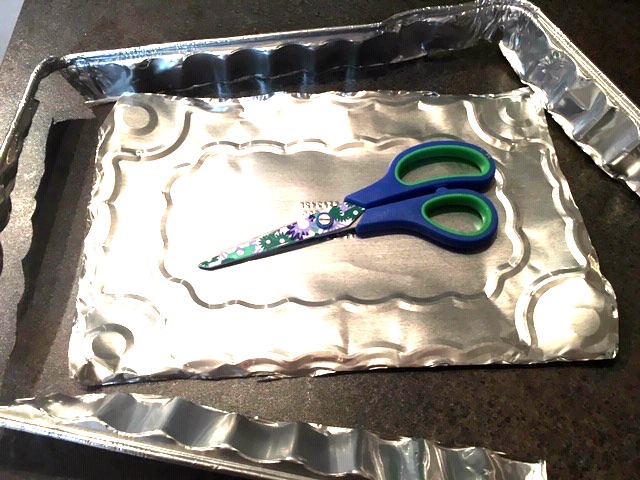
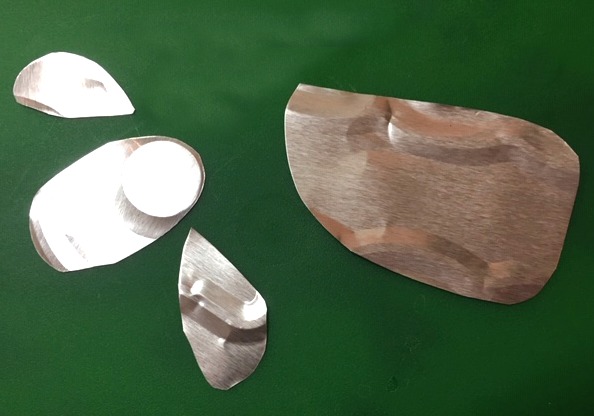
To prepare for this craft, cut out the bottom of the cake pan.
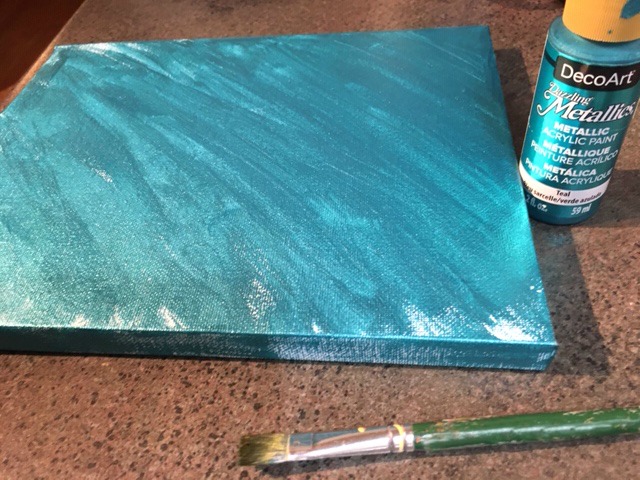
Paint your base canvas. I used metallic paint colours. If you don’t have a canvas just cut a piece of thick carboard to size and paint it.
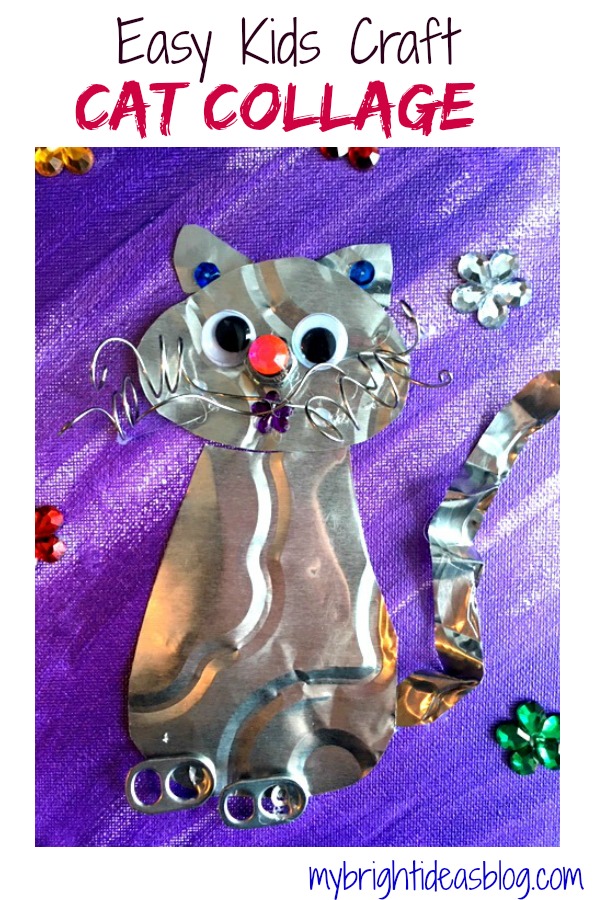
Cat
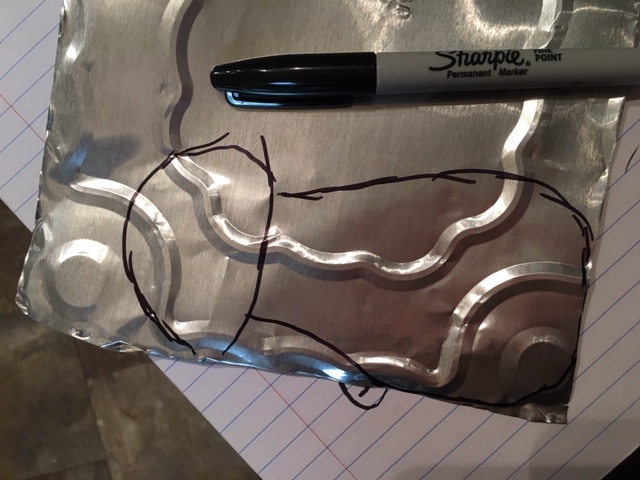
Draw the shape onto the foil with a sharpie. It doesn’t stay permanent on the cake pan foil right away so you can wipe it off if you make a mistake.
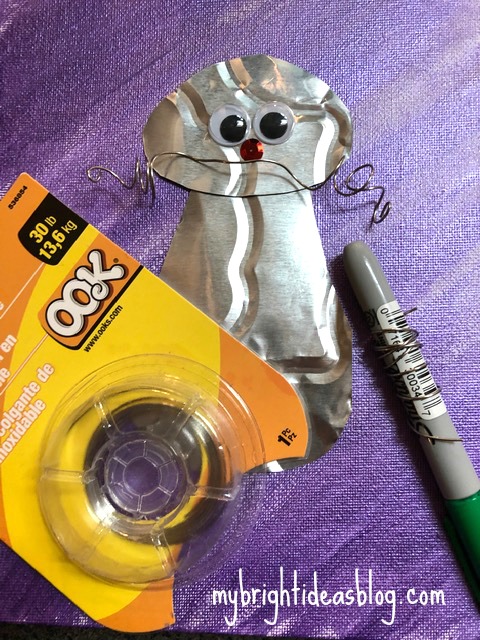
Lay out the pieces before you hot glue them to the canvas. To make the spiral for the cat’s whiskers I wrapped a wire around a pen. Then I stretched the wire out a bit so it looked a bit crazy. Wire is a bit hard to glue on. Find some points that will be touching the canvas and add a drop of hot glue to just those spots.
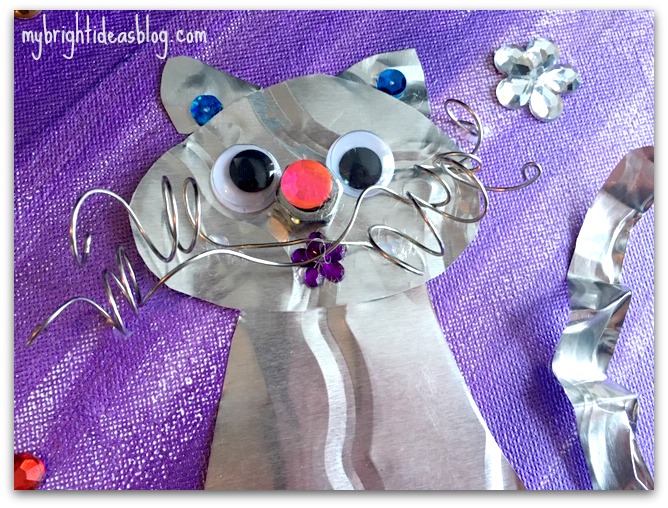
I used a bolt for the cat’s nose and then put a gem on top. For the tail I took a part of the edge of the pan and scrunched it a bit to give it extra wave. Secure it with a few dots of glue to the canvas.
The one gem on her nose looked so nice-I added one for the mouth, 2 for the ears and some big ones randomly around the cat.
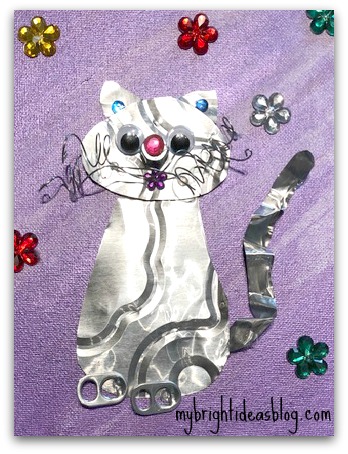
I almost forgot to mention the two pop can tabs were added for feet!
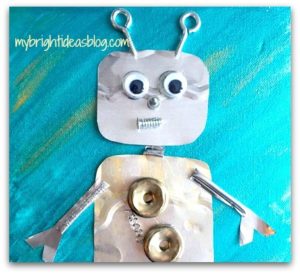
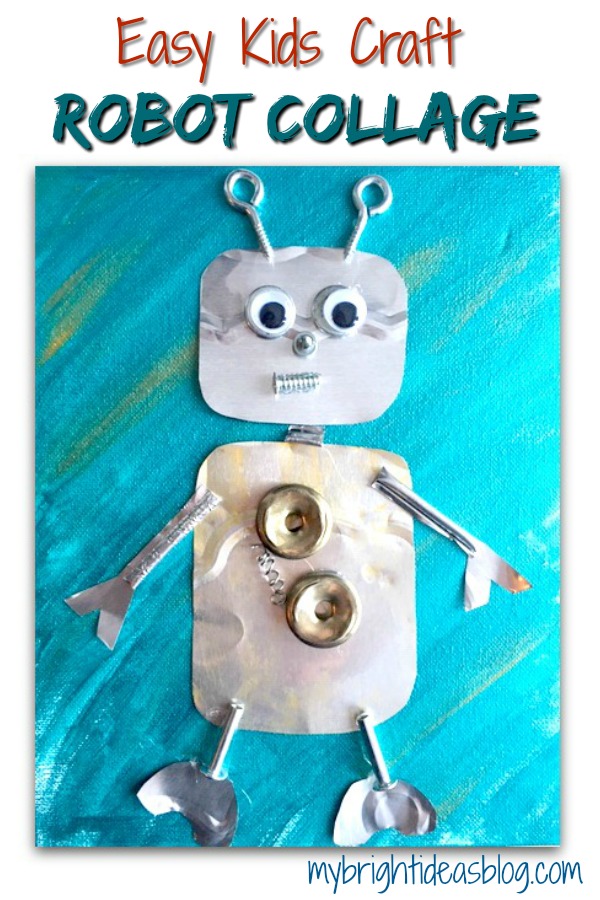
Robot
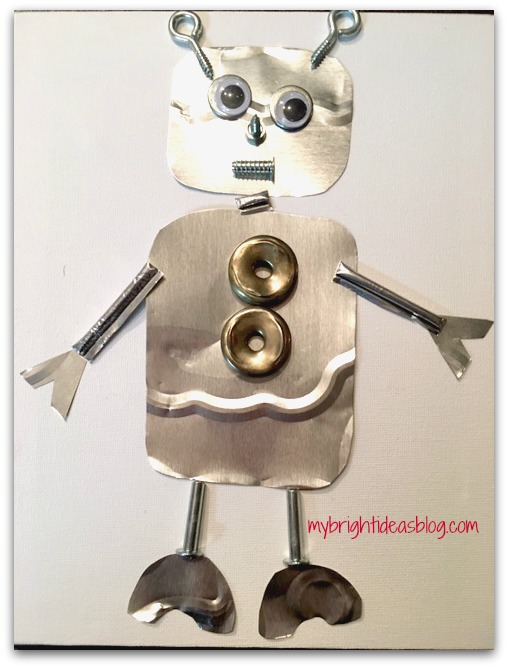
Again for the Robot, lay out your materials and arrange them together for the collage.
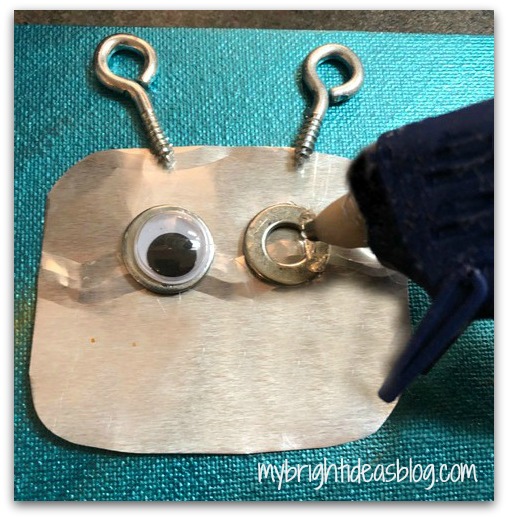
Secure each item with glue to the pre-painted canvas.
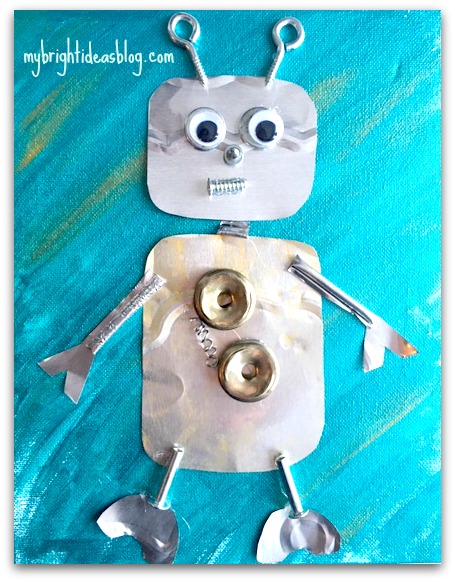
The robot is made of 2 squares with rounded corners. A few miscellaneous items from the junk drawer and cut up scraps from the foil cake pan. The wire on the middle of the robot is the same wire from the cat project but it looks smaller because I wound around a smaller object. If you have a spring from an old pen it would be similar.
This robot turned out great! You’ll love how the metal of the foil reflects the light.
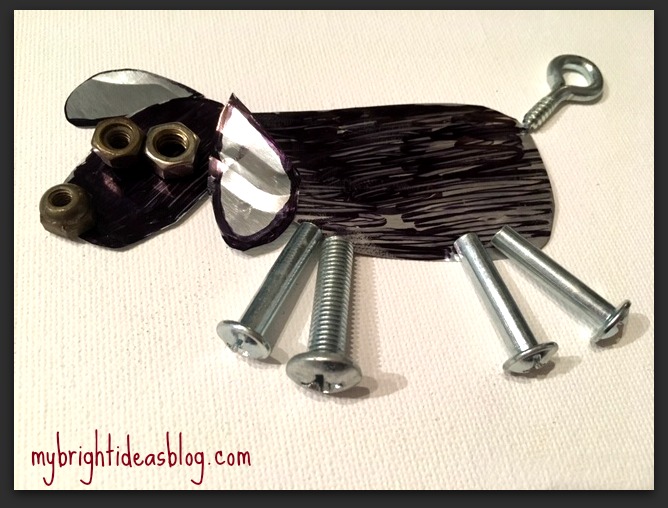
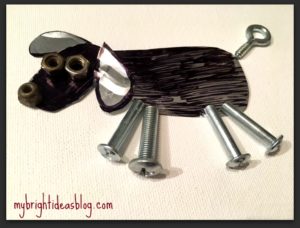
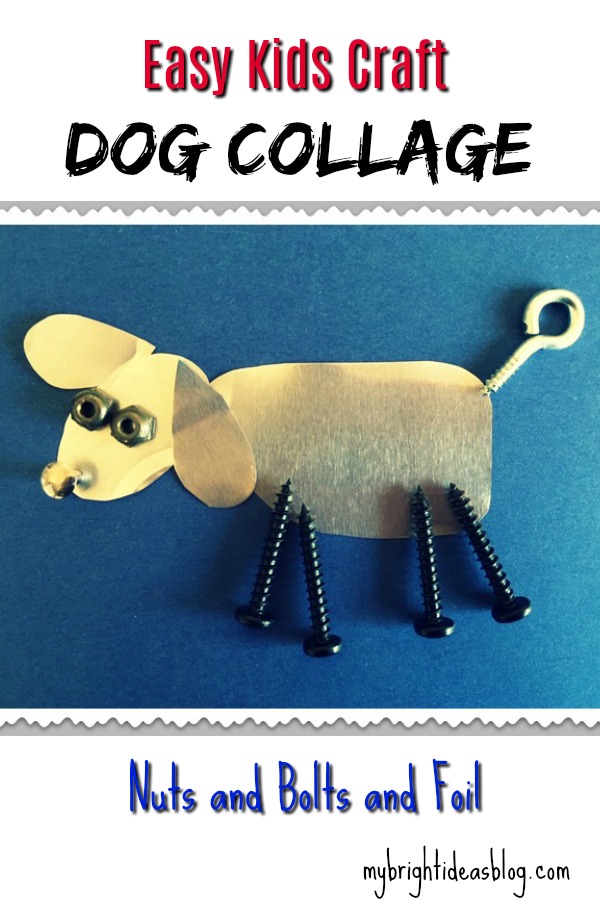
Dog
The dog is simply 4 pieces cut out of the cake pan.
I made one on a white canvas so I colored it in with black sharpie.
I also make another one on a piece of dark blue cardstock. The foil cake pan looks white in this photo but its still metallic silver. I think it looks like a sheep! Bahhhhh.
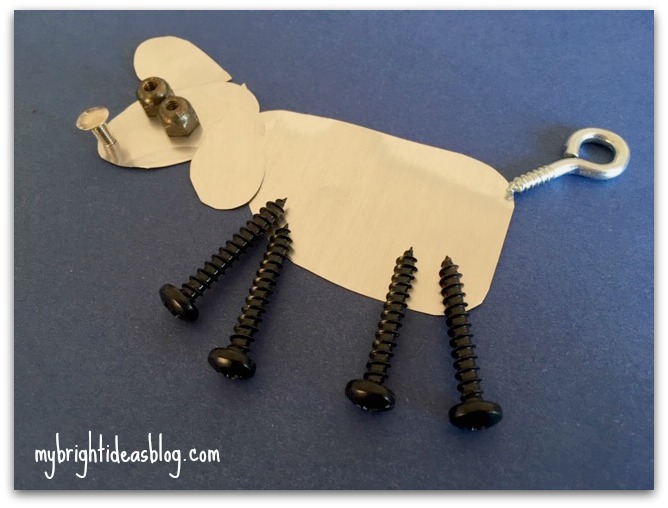
This was a super easy and fun craft to make!

Here are some previous blog posts with simple fun projects for the kids!

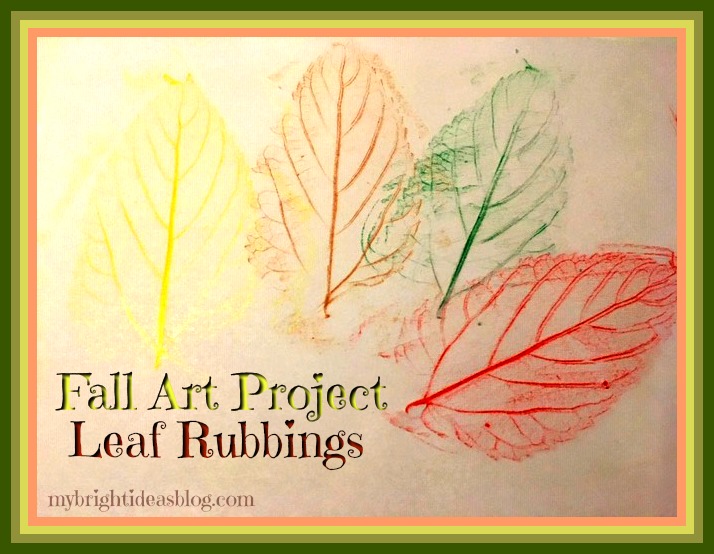
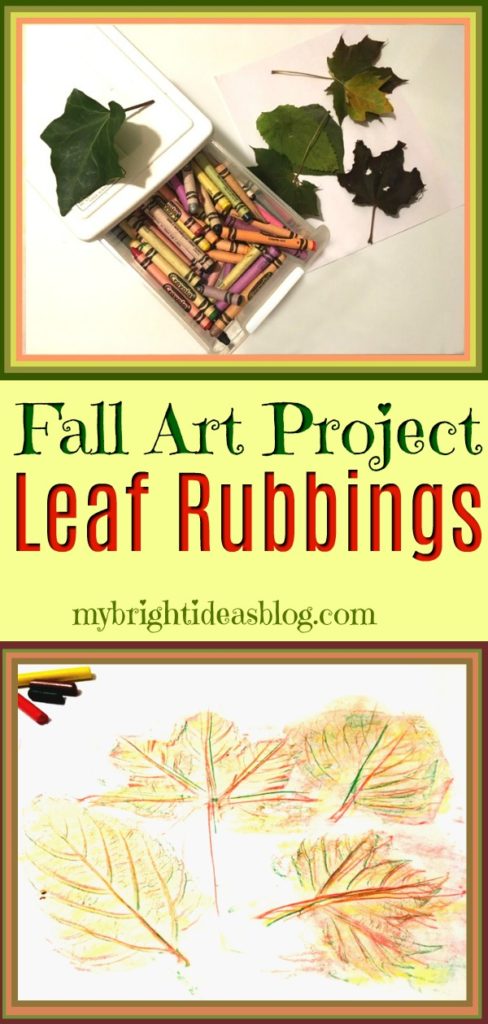
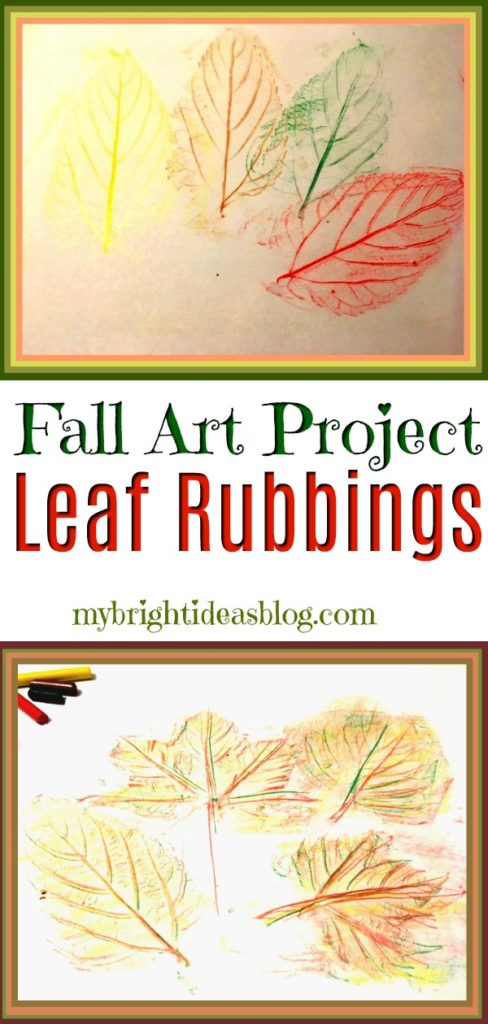
Fall Leaf Rubbing – Super Easy Kids Craft!
Remember doing Leaf Rubbings in the Fall when you were a kid? Well, Autumn is here again and its time for a nature walk to collect some leaves for this wonderful classic nature craft.
On your nature walk give the children (even young toddlers) a paper bag or large zip lock to collect their treasures.
Just in case they should ask the question…. Why do the leaves change color and fall off the trees?
Here is a quick answer….The leaves collect sunlight to feed the tree in the spring and summer. During the fall the tree goes into resting mode for the Winter. So the leaves turning color is the their way of getting ready for Winter.
There is much more to learn about it but that is the toddler explanation. If the kids are older why not do a research project to learn more. It’s quite interesting. For example, an oak tree’s leaves turn brown for a different reason then a maple tree’s leaves turning red. Chlorophyll and photosynthesis, glucose, oxygen and carbon dioxide-there is a whole factory in every tree we haven’t even noticed. Have a read through this website for a little lesson my 8 year old could handle..
https://www.sciencemadesimple.com/leaves.html
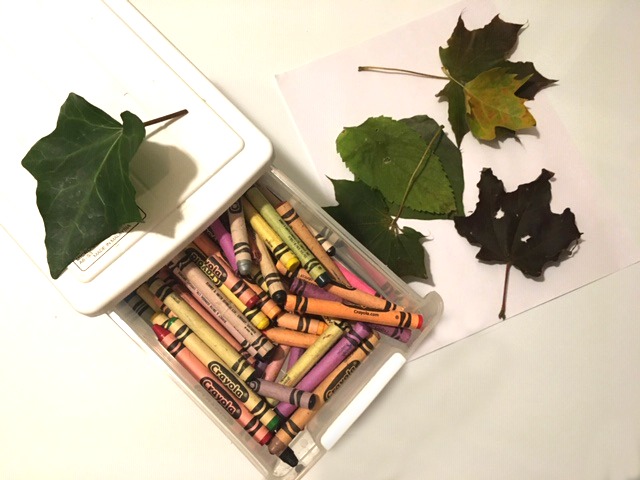
For this project you will need:
- Crayons…green, brown, orange, red, yellow
- Leaves
- Plain paper
Grab your crayons and paper and leaves. Peel the paper off your green, brown, orange and red crayons.
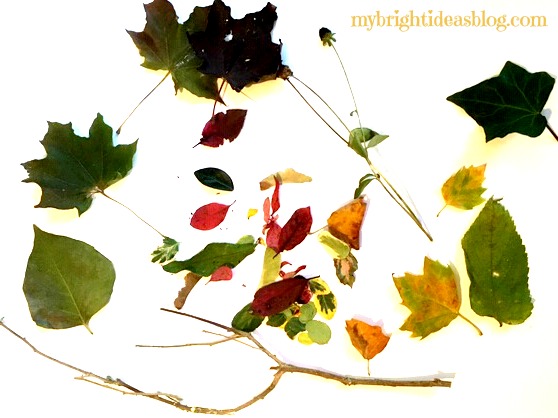
We have a nice collection of treasures from our nature hike-including stones, sticks and petals from my mums. For today’s project we just used the larger leaves. I’m setting the rest of the little treasures aside for another project.
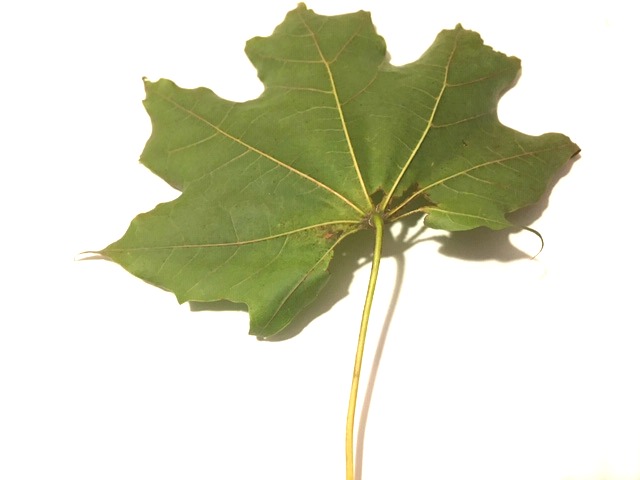
Take your leaf and turn it face down. Lay a blank page on top of the leaf. Turn your crayon on its side and rub on the leaf.
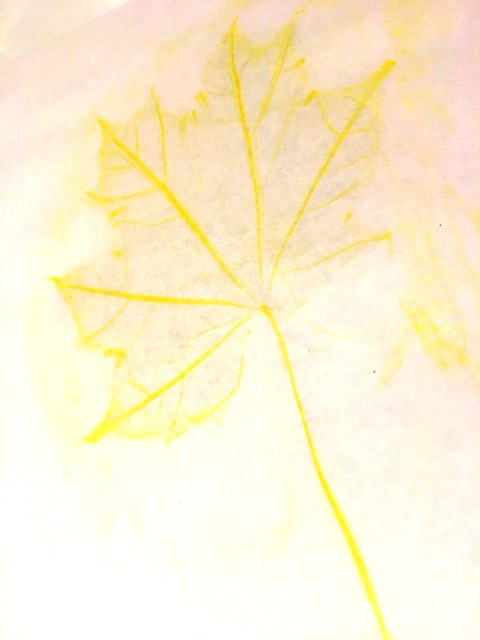
Yellow was one of my favorite colors to do rubbing but it doesn’t show up quite as well on photos.
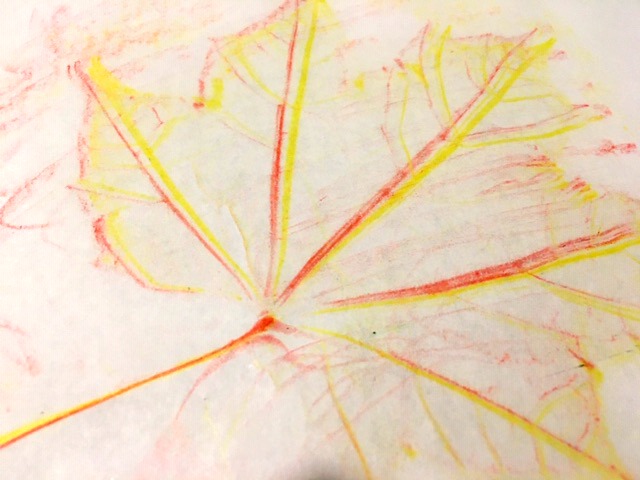
On this one we tried to layer red after the yellow but the leaf had moved a bit. It still looks cool though.
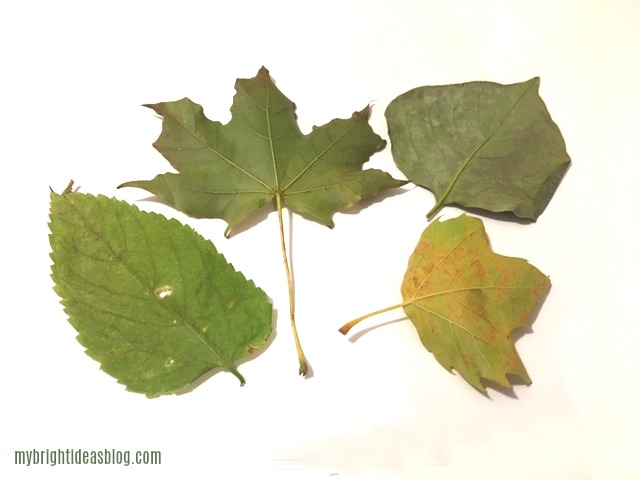
Were you able to collect a variety of leaves? If the weather didn’t work out for a proper nature hike in the woods, look around your yard and take a leaf sample of nearby shrubs and garden plants. They definitely have interesting leaves worth doing a leaf rubbing with too.
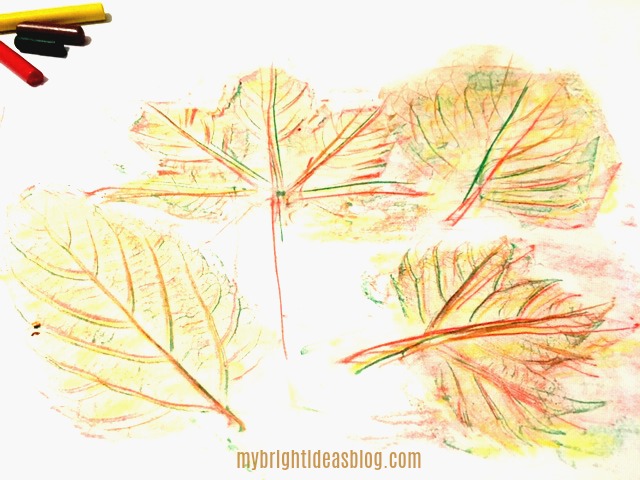
Here we tried all the crayon colors on each leaf.
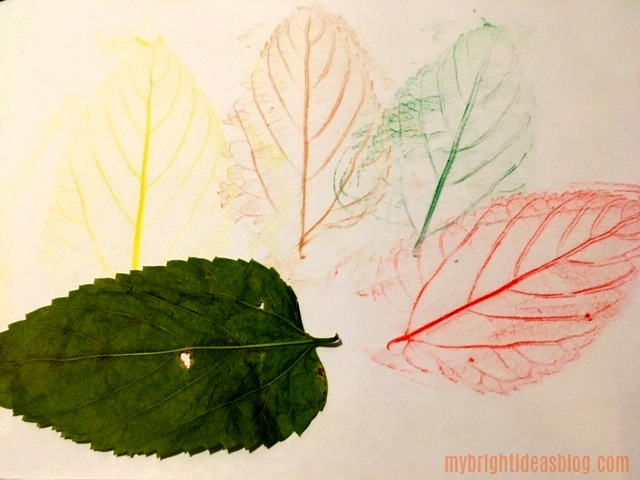
For this lovely art piece, we used only one colour on the leaf and then moved the leaf over and tried the next colour.
This is such a quick and easy autumn activity-it could be part of a yearly autumn tradition. If you have little ones in your life, I hope you can find a few moments to enjoy the Autumn changes of season and make some Fall art together.

Check out this post for a great nature craft using inexpensive clay!
Nature Craft – Perfect for Earth Day Activity – Clay Imprints with Plants and Flowers
…
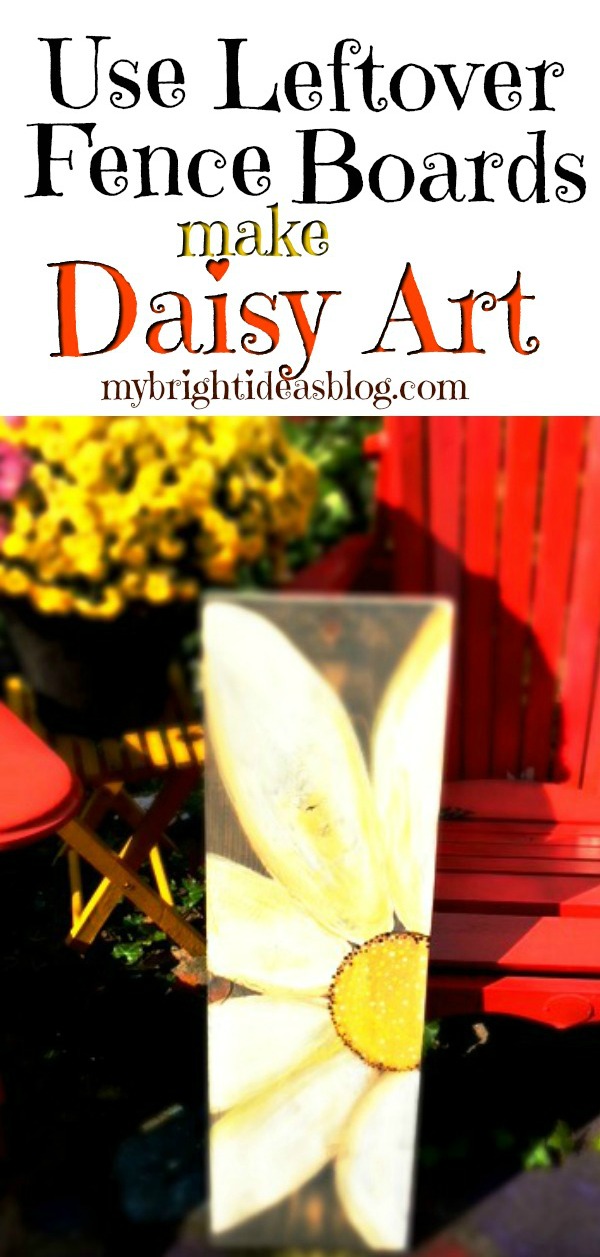
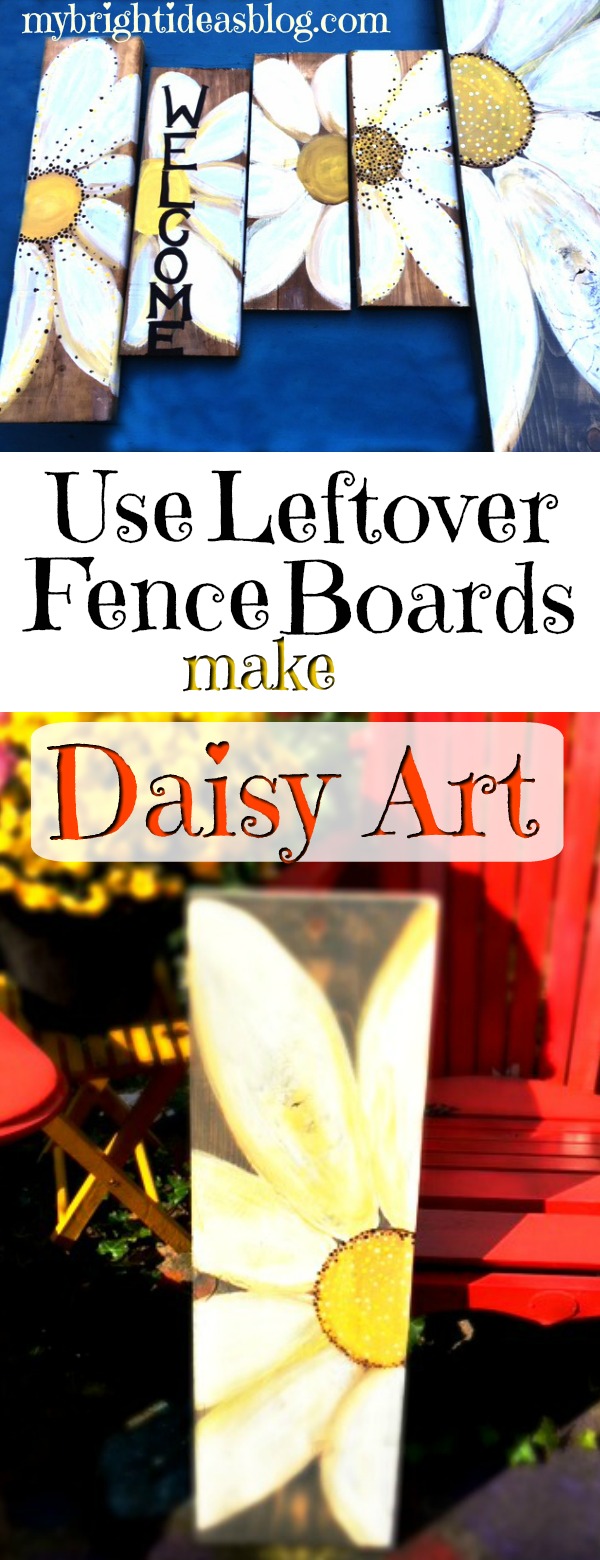
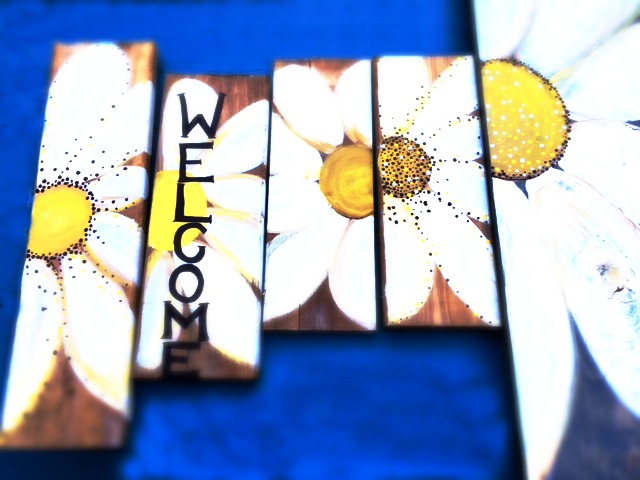
Outdoor Daisy Art – From Lumber Scraps!
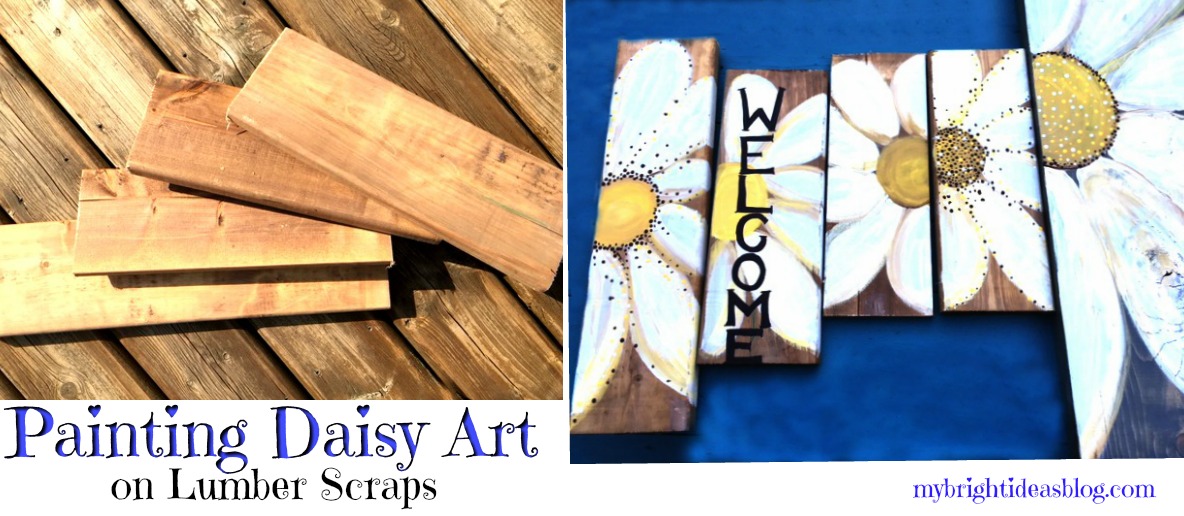
We have done a lot of wood projects this summer and the scrap pile is getting bigger. I am going to show you how to turn your left over wood scraps into painted daisy art that you can use indoor or outdoors. Grab your paint and brushes – lets get started!
You will need:
- lumber or fence boards
- sandpaper
- small and medium art paintbrushes
- craft paint-yellow, white, beige, black
- polyurethane (clear varnish)
- large brush (that you might throw out)
- hammer
- needle nose pliers (optional)
- picture hanging kit
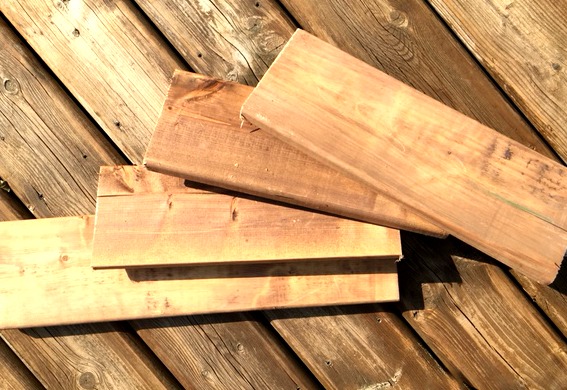
The wood in the photo above is scraps of pressure treated fence or deck boards. The size doesn’t matter-just work with what you have. Mine were approx. 5 1/2 inches x 14 inches (14cms x 36cms). They don’t need to all be the exact same.
Have a quick look at the ends of the boards to see if you have any jagged edges. If yes a quick swipe with your sand paper should remove the frayed bits. No splinters!
If you don’t have treated fence boards you can use bare lumber but put a bit of stain on to make it darker.
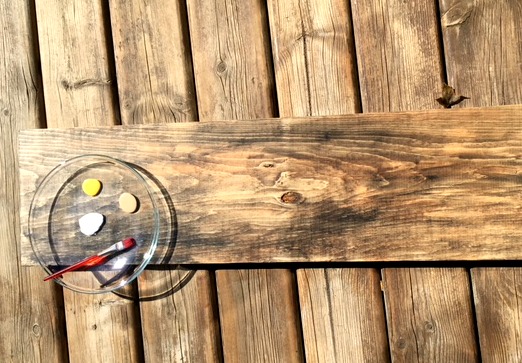
This board was not a fence board but rather a this piece of wood I was going to make another tray out of. It’s 9 1/4 inches wide and 35 inches long (or 24 cms x 89 cms). I had already put my favorite Jacobeen Miniwax on it. So it was ready to be used for something else but instead I put daisy on it for a much bigger version of the fence boards.
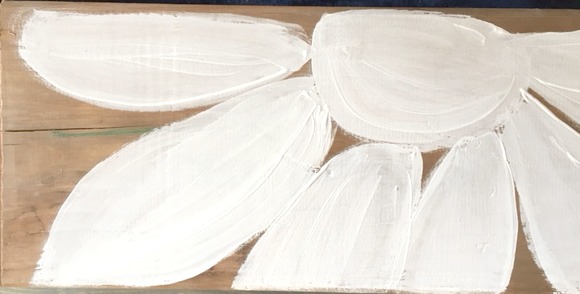
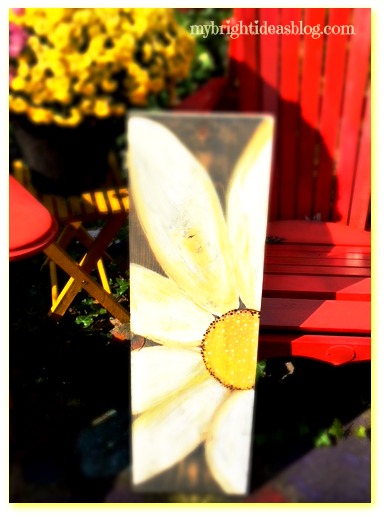
Start with white and paint the shape of the daisy. On this one I painted the centre white also.
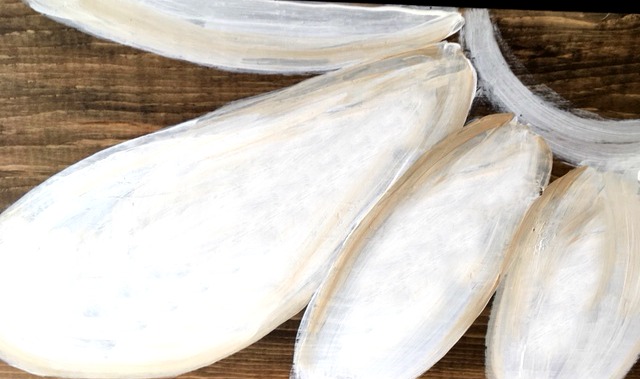
For this board I didn’t paint the centre till later. I double loaded my paint brush with white on the left and dipped a bit of the beige paint on the right side. I went along the edge of the petal to add some depth.
The centre part of the daisy was painted yellow. It doesn’t have to be perfect no one will look at it this close up. The brush strokes look great from a few feet away. If you turn it into a Welcome sign at your entry way or a backyard garden sign, it’s going to look great!
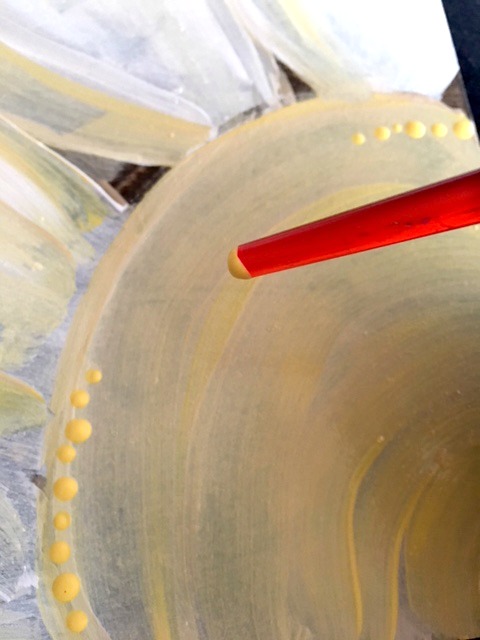
Using the end of the paint brush add dots around the edge of the circle. Some of the boards I didn’t put any highlight dots. The next photo shows I used brown and black dots to make it really stand out. Every board turned out differently.
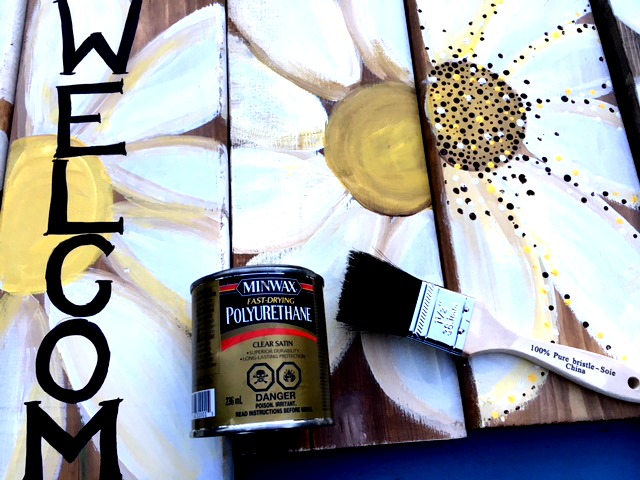
After the craft glue has time to be thoroughly dry, I painted on a clear coat of satin polyurethane. If this is going to be used outside it should have this protection on the front and back and edges. The fence board scraps will be weather resistant but the craft paint might crack in the rain. So this protection over the front and sides is worth the effort.
Oh and I hate cleaning polyurethane out of paint brushes so I just use the cheap brushes so I can toss them out. I have been known to wrap it in a baggy or cling wrap with an elastic band if I am going to need it again in the same day. I also store it that way in the freezer if I will need it again in a few days. If the paintbrush dries it’s hard not usable again.
If you get it on your hands. Make your way to the kitchen-without touching anything. Find a bottle of cooking oil (vegetable or olive have both worked for me). Put it on your hands and massage the oil in and watch the varnish come off your skin. Add hand soap and rinse off. Hands are clean and silky soft! Cool trick!
I made enough to give some away as gifts or put on the office craft table for sale. Since these were scraps and I had all of the supplies in my craft and diy corner…this would be a great item to make some money to sell….gotta support my craft addiction ssomehow!
To hang it or lean it…..mmmm.
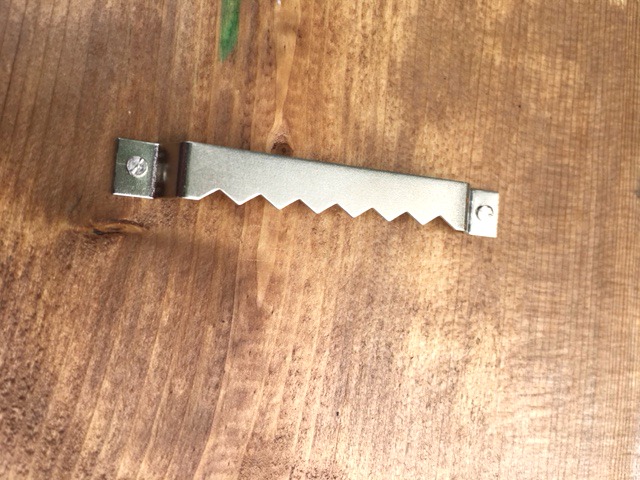
I used these inexpensive picture hangers and just hammered them into the back. The nails are the tiniest nails I’ve ever seen so I hit my fingers with the hammer about 5 times trying to get this nail tapped into the wood. I suggest getting some needle nose plyers to hold the nail while you get it started. Save your poor fingers!
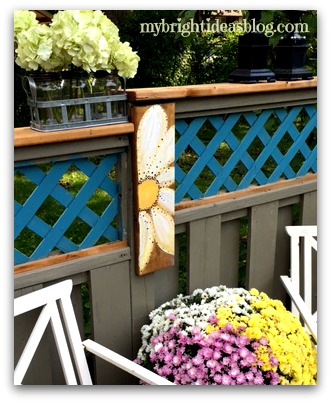
Around the patio we have a very old privacy fence. It has some ugly seams and badly matched up corners. Putting this as a plaque on the fence is a rather awesome solution!
This was super easy to make and looks great! Painting is so therapeutic. I highly recommend it!
Thanks for reading to the end folks! I hope you have a chance to pin this to Pinterest or share it with your favorite social media.
…