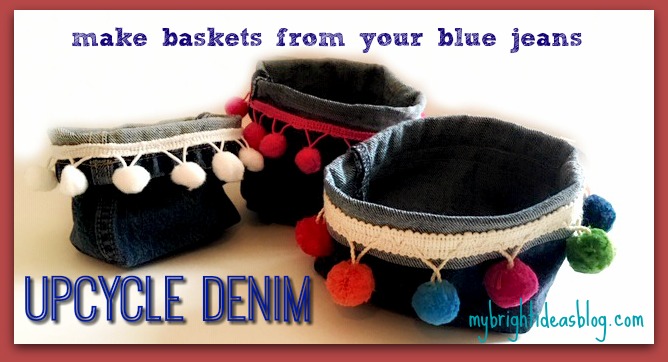
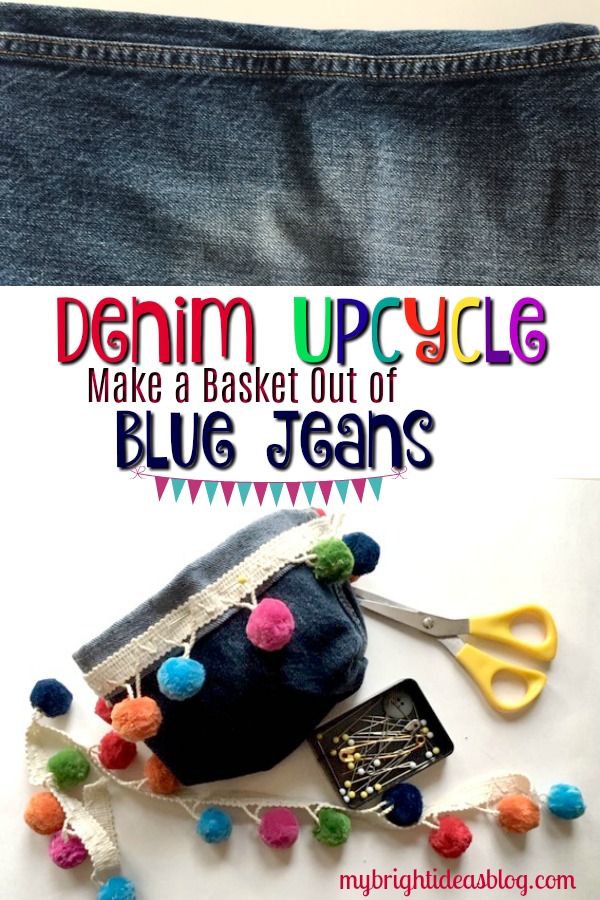
I’ve been working on another denim upcycle. If you have some blue jeans to cut up for an upcycle, you can turn it into a basket for your desk or craft area.
You will need:
- old jeans (I used kids jeans for a narrow basket)
- scissors
- trim
- sewing machine (or needle and thread)
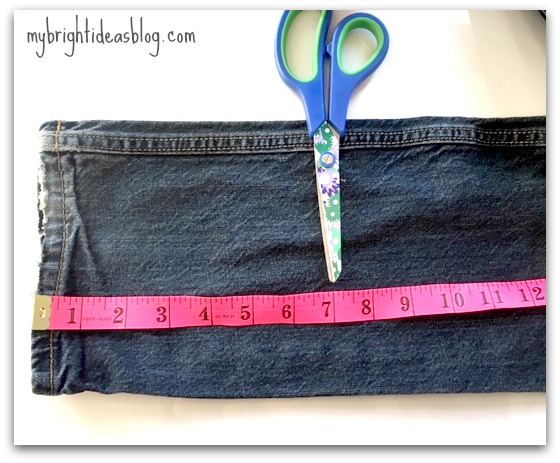
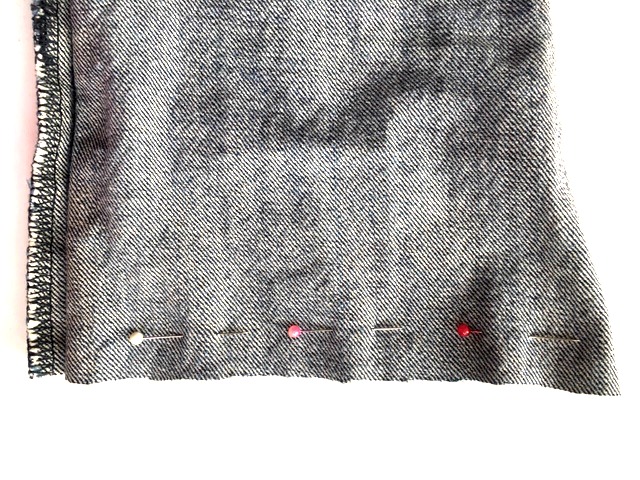
First of all, I cut the jeans off around 7 inches from the bottom. I don’t mind the rough bottoms as long as the jeans are clean before you start. I think the frayed bottoms look good too!
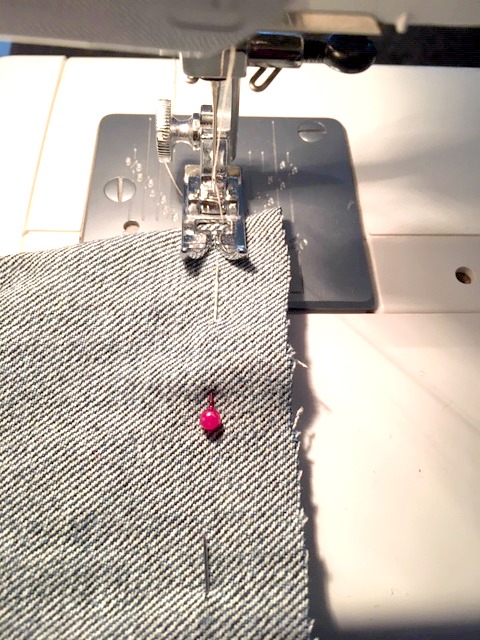
Turn the piece inside out. Sew straight across the bottom 1/2 inch or 1 cm from the cut edge. You could hand sew this if you don’t have a sewing machine.
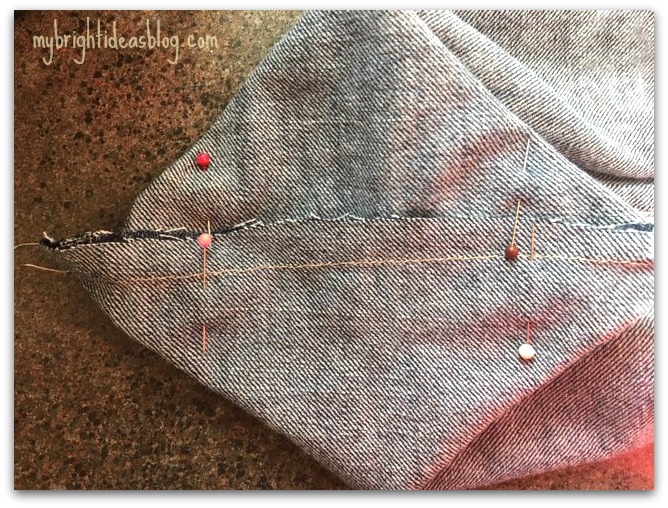
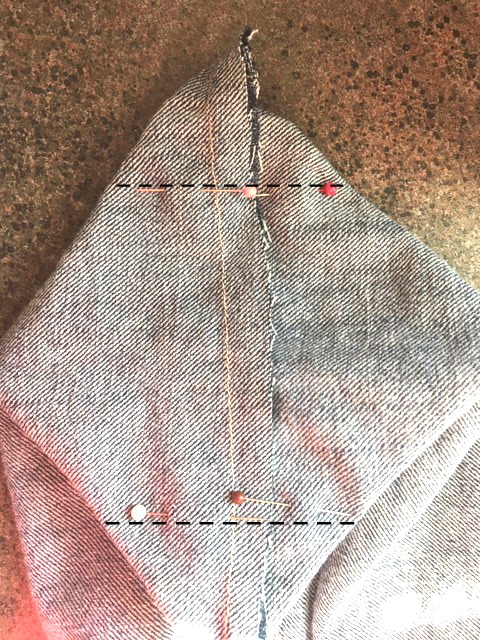
Now flatten the bottom and pin 1 inch (2.5 cms) from each corner. This will make your basket more boxy at the bottom and easier to stand up.
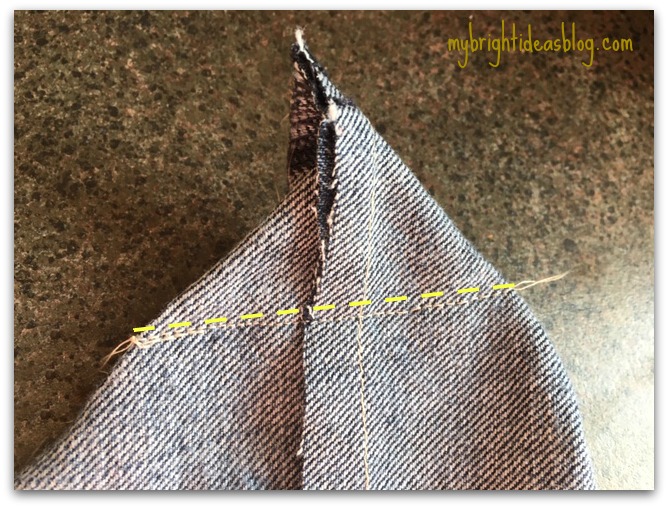
Stitch across the line.
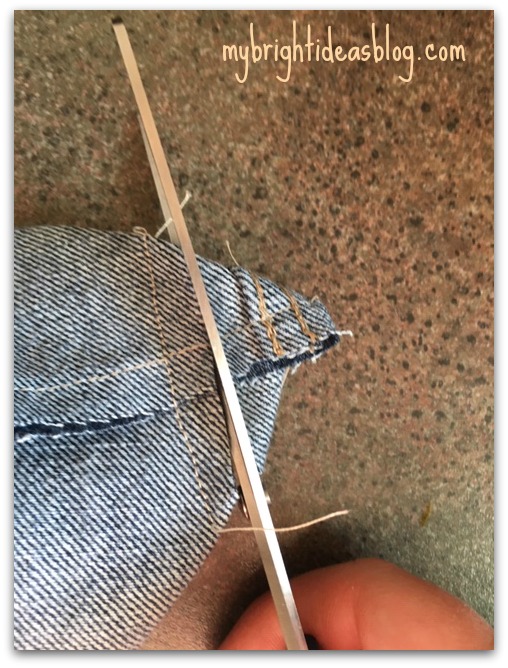
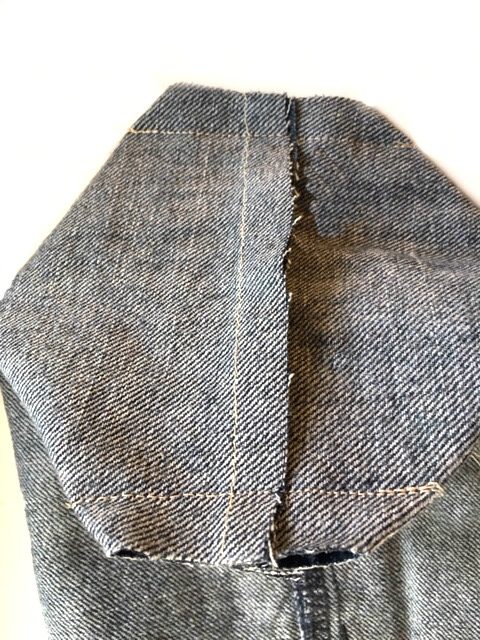
Cut off the triangles on the outside of your last stitch.
Turn the basket inside out.
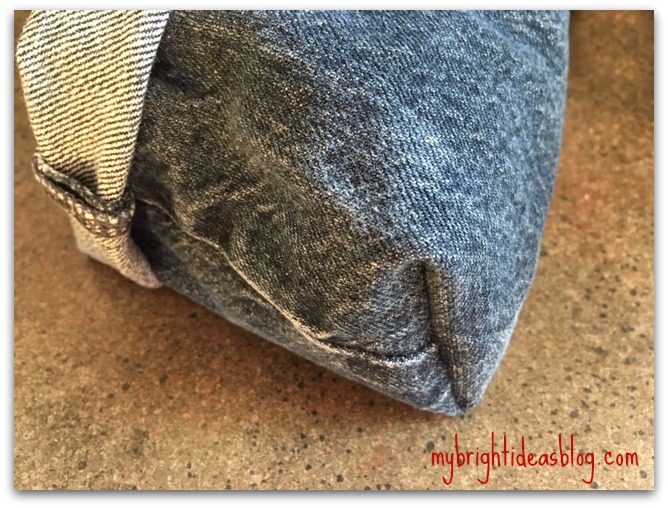
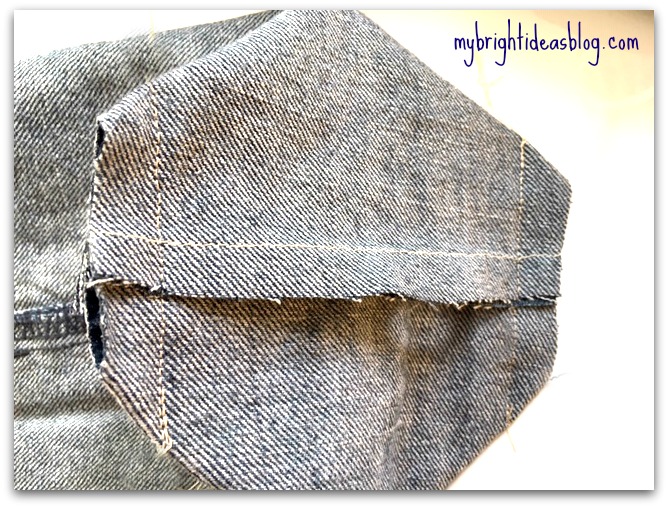
The square corners that you just created will help it to stand up. You can roll over the edge once or twice.
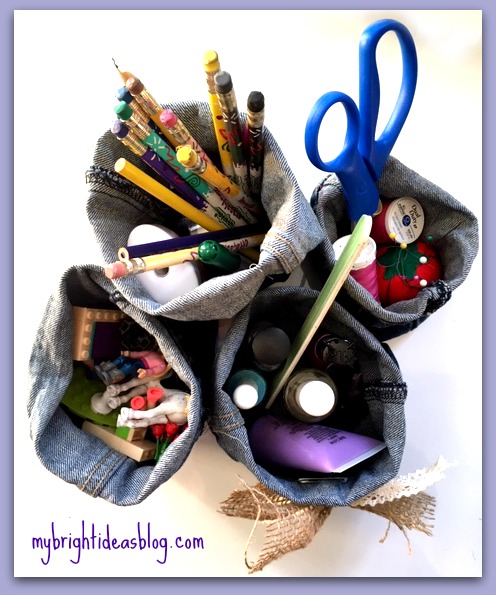
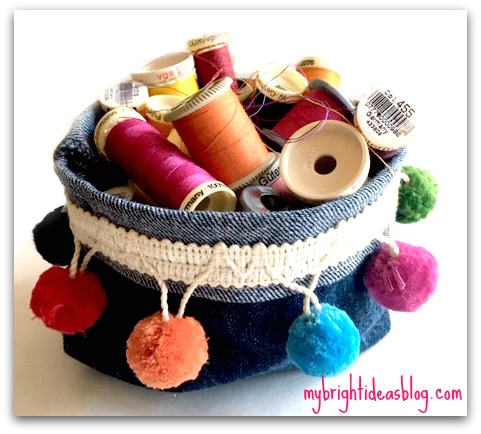
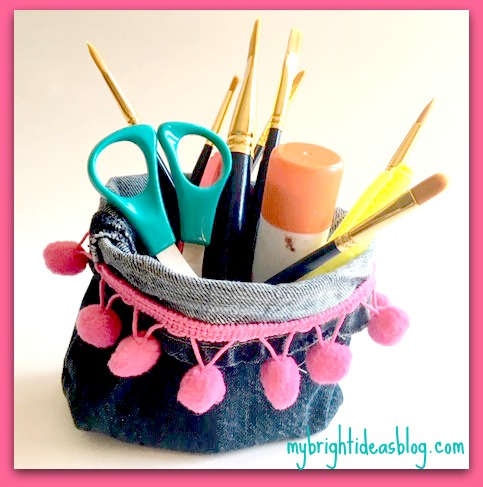
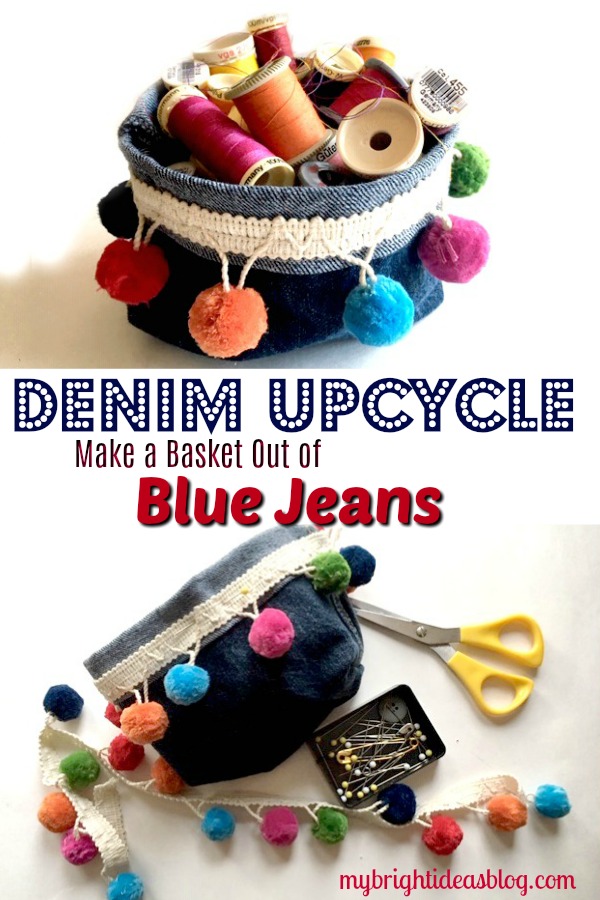
So you can stop there and fill up your baskets with small toys, pens, sewing items, nail polish etc….or…add some garnishes.
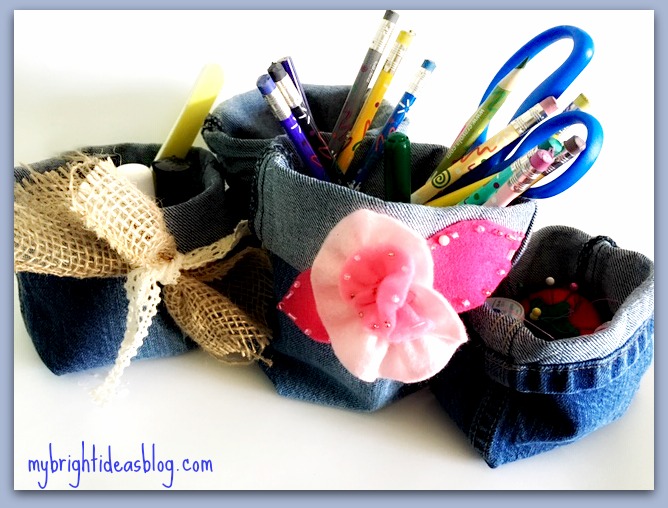
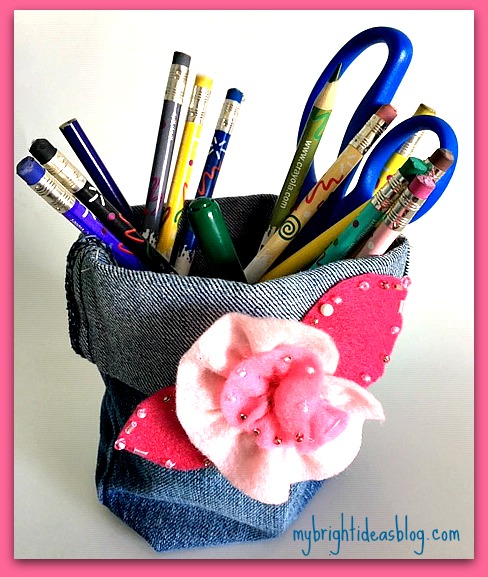
I pinned a bow on one but decided to add more color…. I added a felt flower left over from coffee cup warmers (see the link below).
Then I thought of some trim…maybe with some pompoms. The kind sold in the drapery part of the fabric store. Yes!
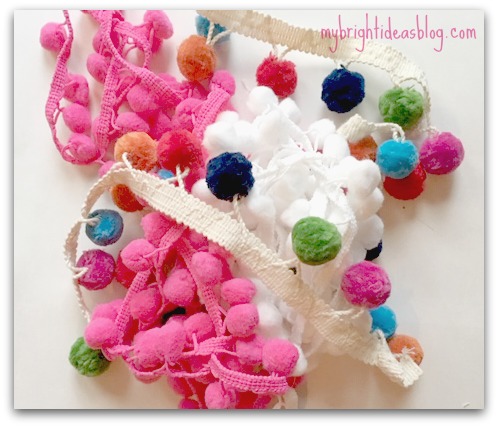
The solid white and pink trims cost approx. $2 per yard but the colourful larger trim was $8.99 per yard. Ouch! Fortunately it was on sale for 50% off so I got a yard.
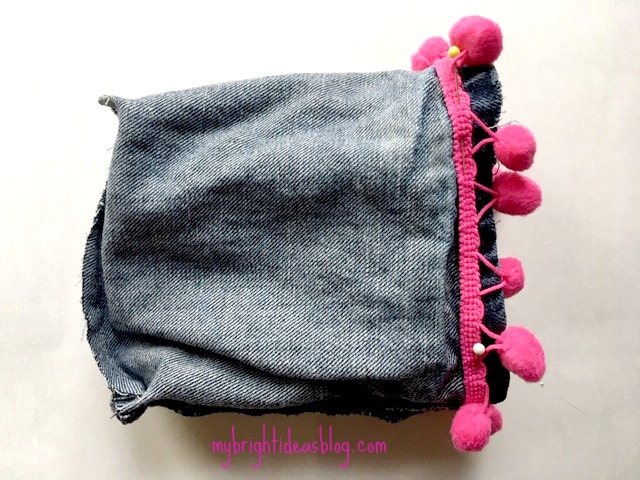
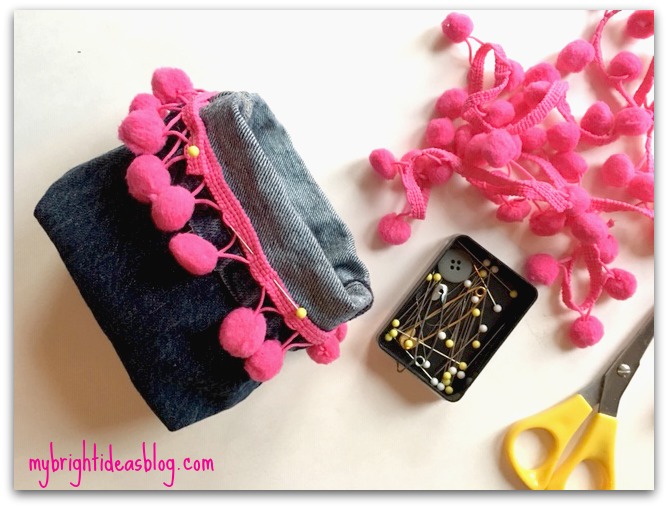
Turn the basket inside out to pin the trim in place.
Before sewing, turn the basket right side out again to check out how it will look.

Here is my colorful pompoms too. They make me so happy!
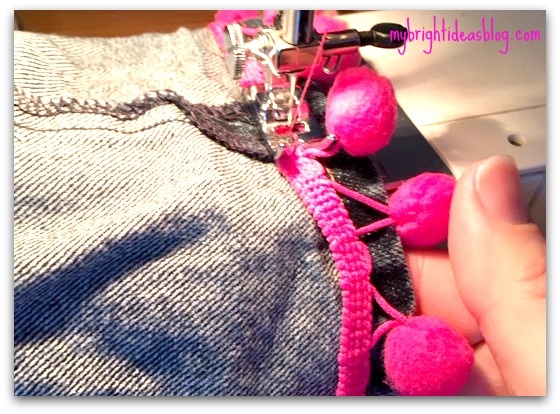
Take it slow while you are sewing on the trim. The pompoms keep trying to get in the way.
There you have it!
I used children’s jeans so that the basket would be small to hold a bunch of nail polish, sewing supplies, Lego or pens. If you use adult jeans and the area higher on the pant leg you could use it to hold magazines Fill the bin with craft supplies, bigger toys, or whatever things need gathering up to keep your place tidy!
Below I have put some more upcycle projects that I posted in the past year. Have a look!
Upcycled Jeans – Sweatshirt Refashion


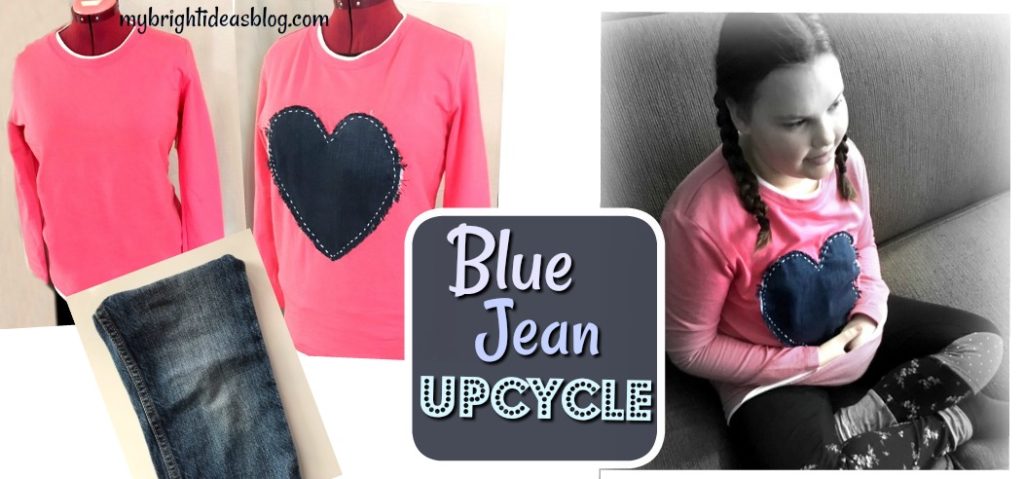
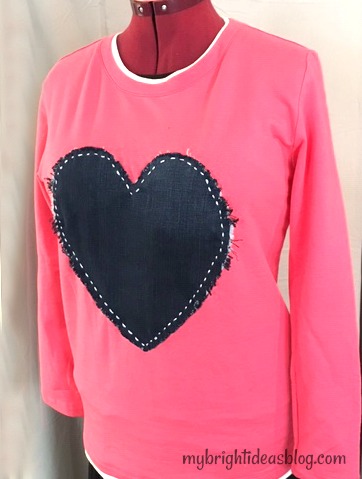
On a previous post we took the leg of a pair of jeans and turned it into a wine bottle gift bag. (See below for a link on that!) Today we have another upcycle project for those jeans that we are cutting up for parts. We are going to upcycle a plain shirt and add a love heart made out of old jeans.
You will need:
- t-shirt or sweatshirt
- old blue jeans (actually just a leg)
- needle
- thread or embroidery floss
- scissors
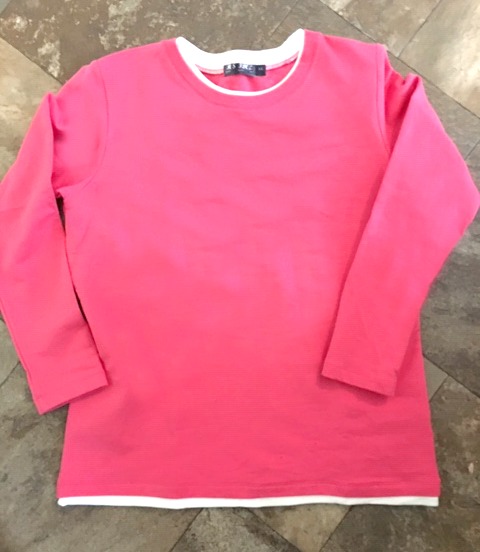
I found this shirt on a clearance rack for $7.00. Perfect for my project. You can use an old t-shirt or sweat shirt you already have in the closet. Or, this is an awesome solution to a favorite shirt with a stain on the front.
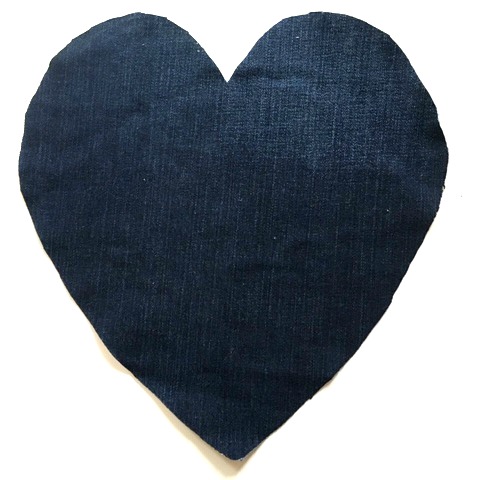
I just realized I didn’t take a photo of the jeans before cutting them into the heart. To make the perfect heart, find the widest part of the pantleg and cut out a square piece the maximum size you would want your heart to be. You can always trim it down if you cut it too big at first. Fold the square in half with right sides facing in. Draw a half heart onto the back of the denim with a white chalk. Cut through both layers of fabric so its perfectly matching.
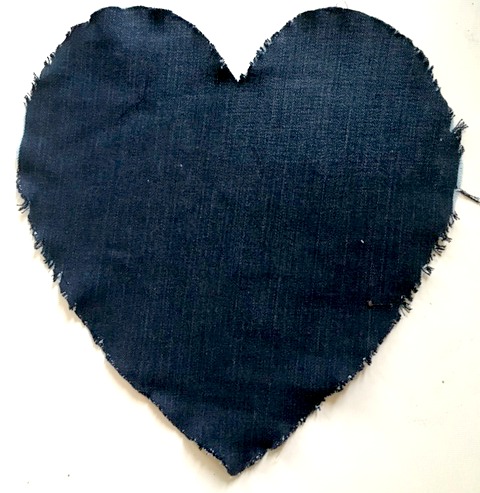
It’s a shame to ruin the perfect heart but we want to make it a little frayed. Using your fingers, pull on the edge pieces of the denim heart so the threads begin to pull away.
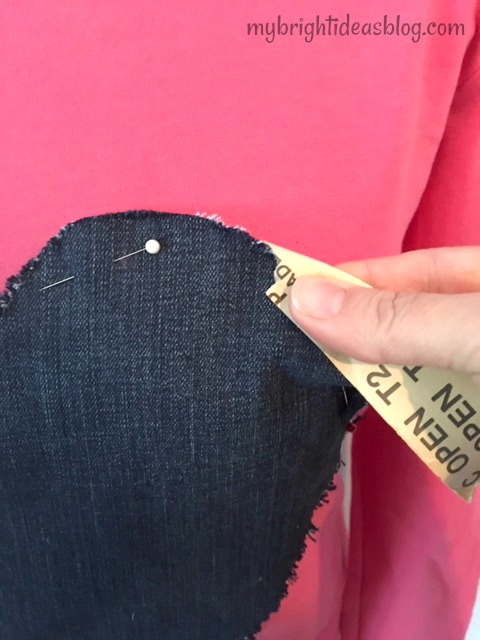
After pinning the heart in place I decided I wanted it a bit more frayed than it was. I pulled the edges again with a scrap of sandpaper and pulled some more on the edges. This works surprisingly well.
Sewing on the Heart
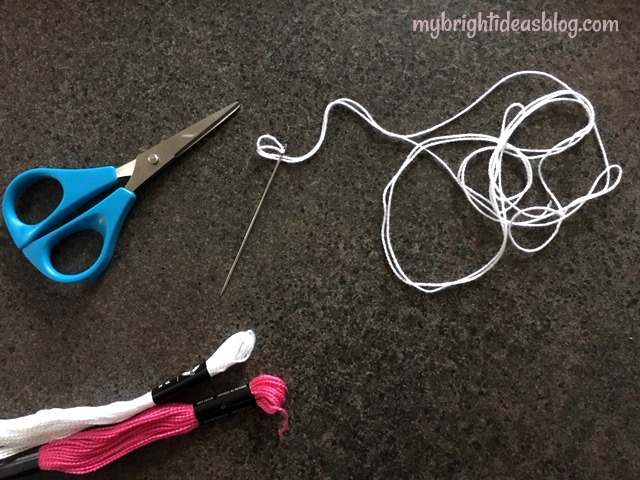
Choose a colour for your embroidery thread. I decided to go with white. Thread your needle and knot the end.
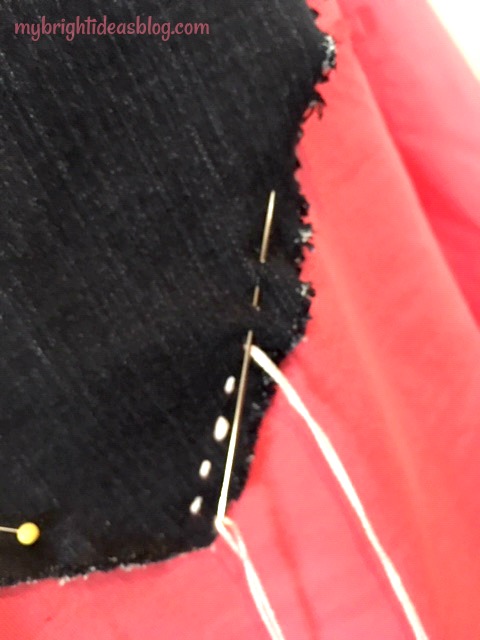
Start from behind and pull the needle through the shirt and denim heart. Continue in and out doing a running stitch. Try and make your stitches the same distance apart all the way around the heart.
Finish by knotting it on the inside. Could it be any easier!?!?!
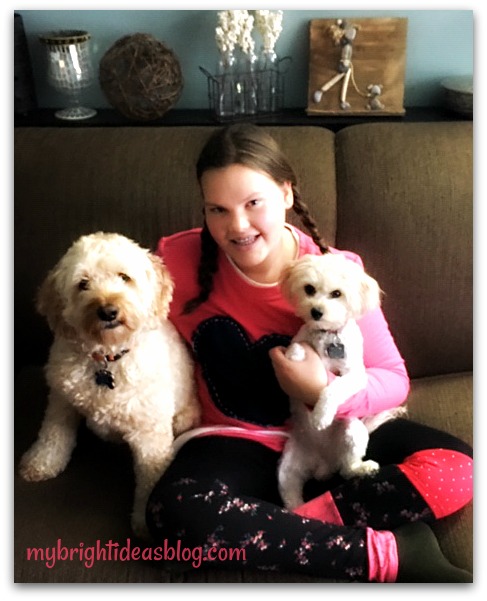 Here is Gus and Gemma with the upcycled shirt’s new owner. It was a surprise gift to my daughter B and she seemed really touched by it. Her pants are also an upcycled idea using strips of old leggings to sew onto a new pair. See the link below-they turned out pretty fun!
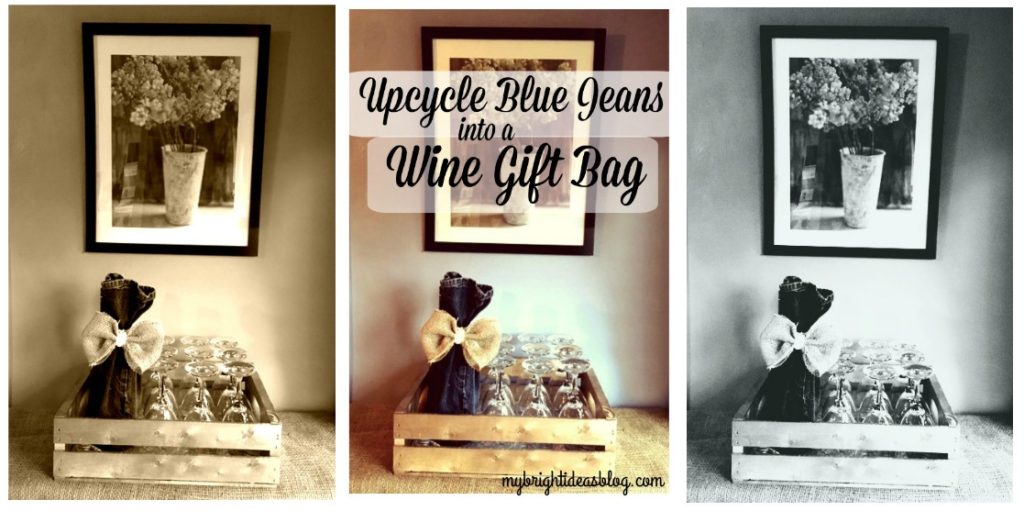
Upcycle Jeans into Wine Gift Bags!
Repurpose Jean Pant Legs Into Wine Bags!
Want to bring an original hostess gift to a casual dinner party? Dress up your wine bottle with a pair of old blue jeans!
This will get your mind inspired for other upcycling and gift wrapping ideas too!
You will need:
- Blue jeans you don’t mind cutting up (child’s size would be ideal)
- Sewing machine or needle and thread
- Ribbon/String/Twine
- Burlap for bow or something else you can add to embellish
As long as the jeans are freshly washed it doesn’t matter if there is fraying on the cuff. We want the bottom of the jeans to be at the top so it can add character.
The pant leg opening should be around 6 inches (15cm) wide. So skinny jeans or children’s jeans are perfect. I picked up 4 pairs of kids jeans from my goodwill for around $3 each. I will be making more blog posts out of the scraps and pockets too. Save any decent leftovers when you are done.
If your jeans are adult size, no problem you can trim the pant leg width and make a seam.
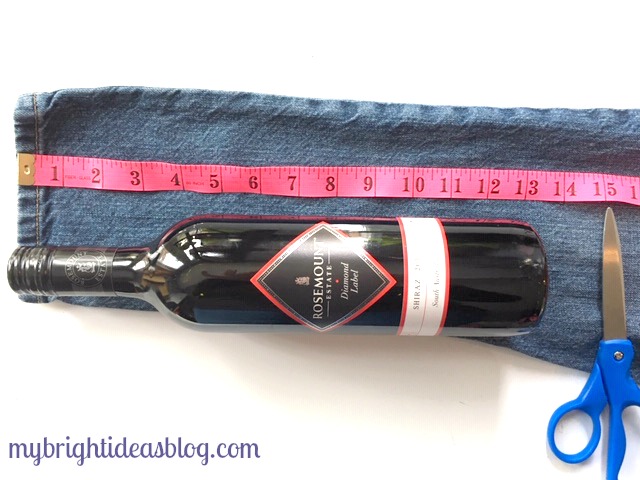
Cut the pant leg approximately 15 inches (or 38 cm). This will give you a bit extra for the seam on an average 13 inch bottle.
Turn the pant leg inside out and pin closed.

Sew straight across the bottom 1/2 inch or 1 cm from the edge. You could hand sew this if you don’t have a sewing machine.
Now flatten the bottom of the bag and pin 1 inch (2.5 cms) from each corner. This will make your bag more boxy at the bottom and easier to stand up. Stitch across this line.
Cut off the triangles on the outside of your last stitch. Turn it right side out again.
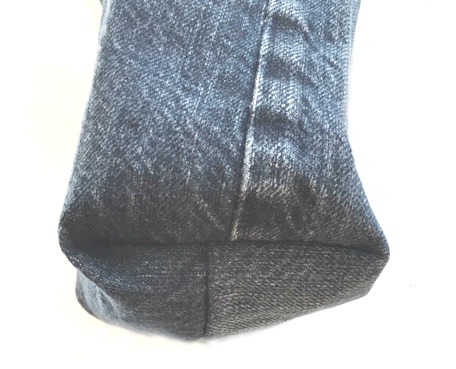 See what I mean? Boxy on the bottom to help it stand up.
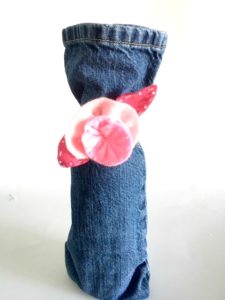
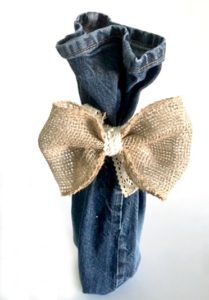
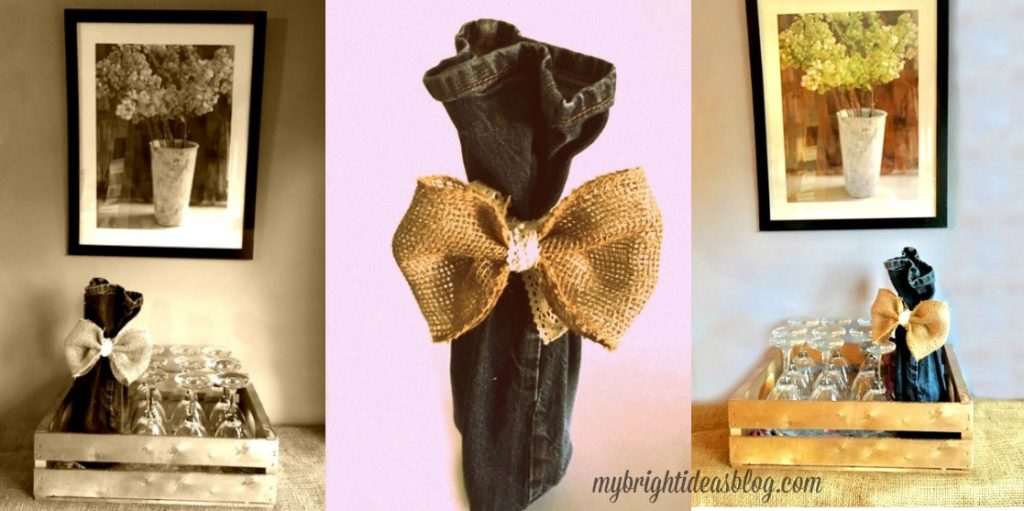
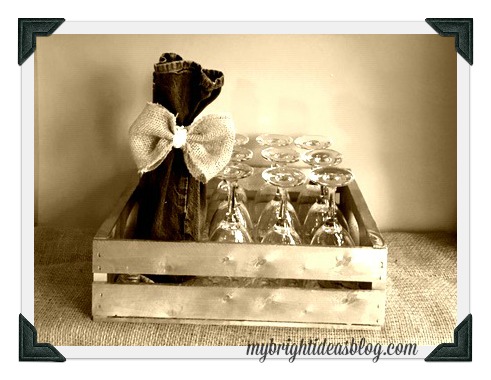
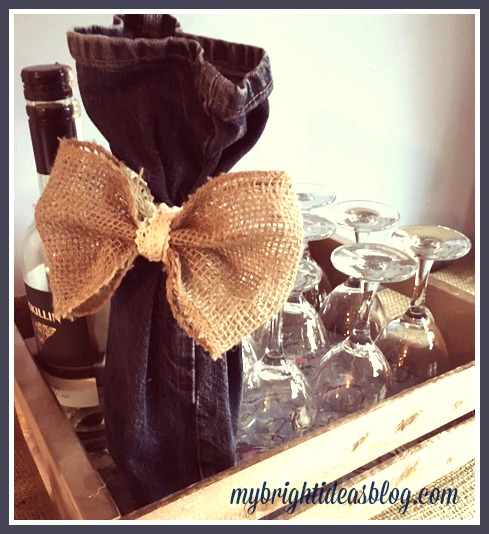
Now decide how you would like to decorate it. Put the bottle of wine in the bag and tie a ribbon or piece of twine.
If you like the felt pink flower in the photo on the left have a look at my cup cozy project link at the bottom of this post. http://mybrightideasblog.com/easy-to-make-felt-coffee-cup-cozy/
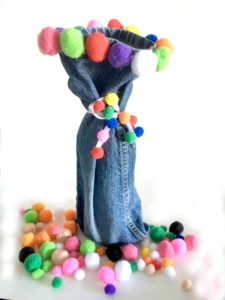
I also went a bit nuts with hot glue gun and pompoms in the photo on the right. Maybe you should save that for friends with a great sense of humour. Your accountant friends might think its a bit ridiculous! (no offence to the accountants)
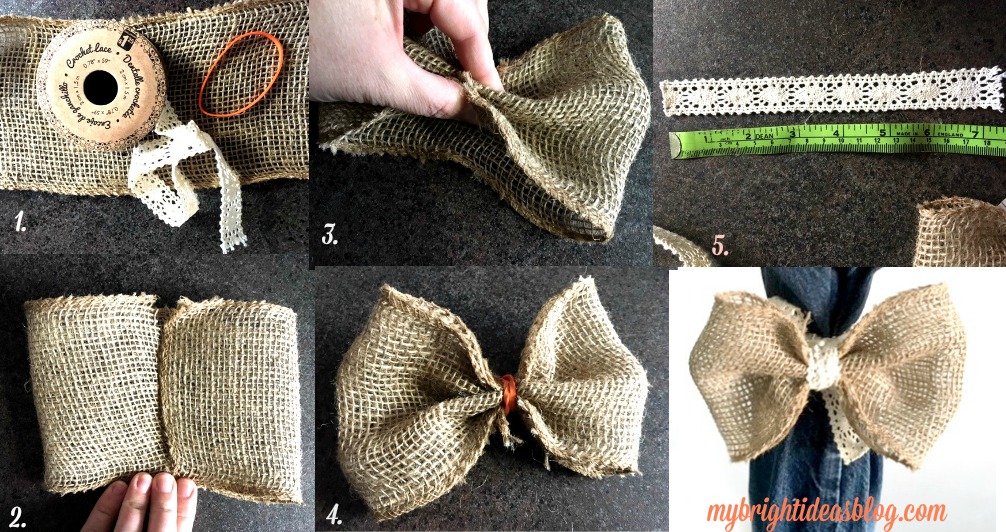
This bow is so easy to make and versatile for other project too!
I hope this has inspired you to dazzle up a hostess gift of wine!
….
Easy to Make Fleece Hat with Flowers – Simple Sewing Project