


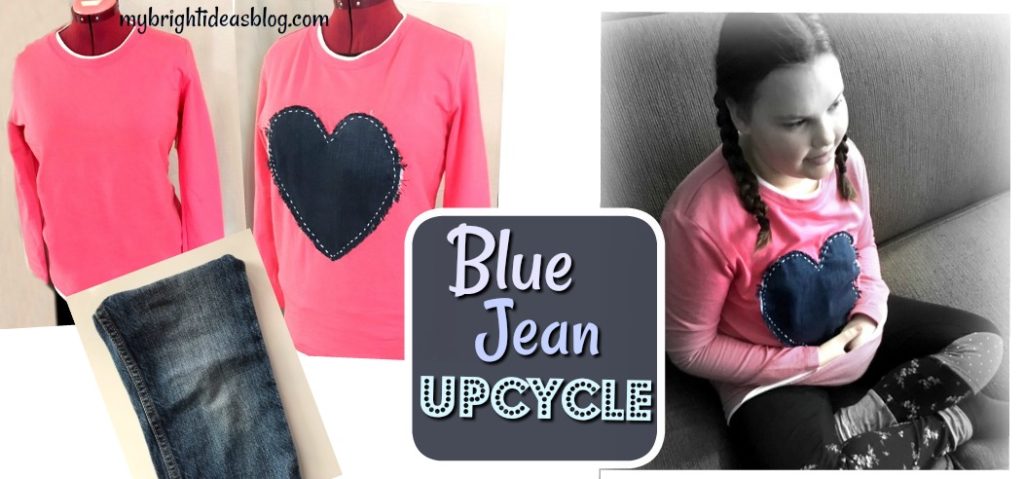
On a previous post we took the leg of a pair of jeans and turned it into a wine bottle gift bag. (See below for a link on that!) Today we have another upcycle project for those jeans that we are cutting up for parts. We are going to upcycle a plain shirt and add a love heart made out of old jeans.
You will need:
- t-shirt or sweatshirt
- old blue jeans (actually just a leg)
- needle
- thread or embroidery floss
- scissors
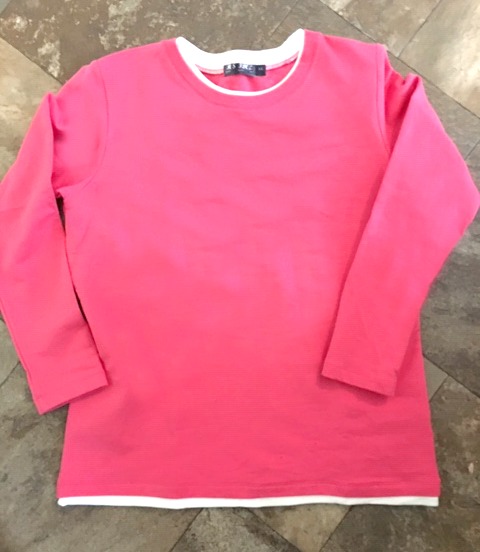
I found this shirt on a clearance rack for $7.00. Perfect for my project. You can use an old t-shirt or sweat shirt you already have in the closet. Or, this is an awesome solution to a favorite shirt with a stain on the front.
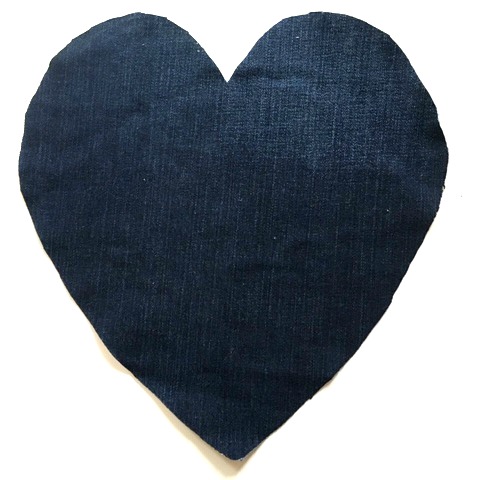
I just realized I didn’t take a photo of the jeans before cutting them into the heart. To make the perfect heart, find the widest part of the pantleg and cut out a square piece the maximum size you would want your heart to be. You can always trim it down if you cut it too big at first. Fold the square in half with right sides facing in. Draw a half heart onto the back of the denim with a white chalk. Cut through both layers of fabric so its perfectly matching.
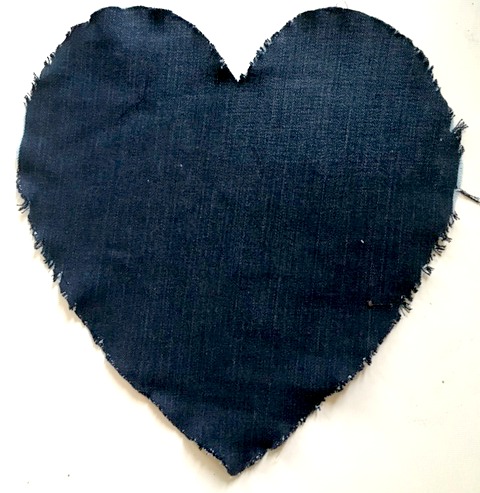
It’s a shame to ruin the perfect heart but we want to make it a little frayed. Using your fingers, pull on the edge pieces of the denim heart so the threads begin to pull away.
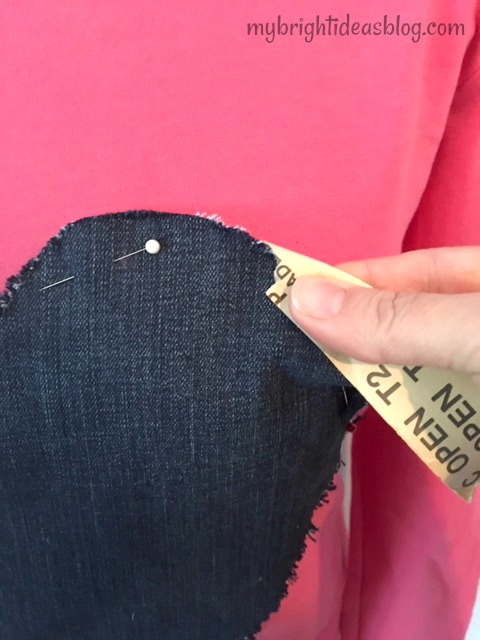
After pinning the heart in place I decided I wanted it a bit more frayed than it was. I pulled the edges again with a scrap of sandpaper and pulled some more on the edges. This works surprisingly well.
Sewing on the Heart
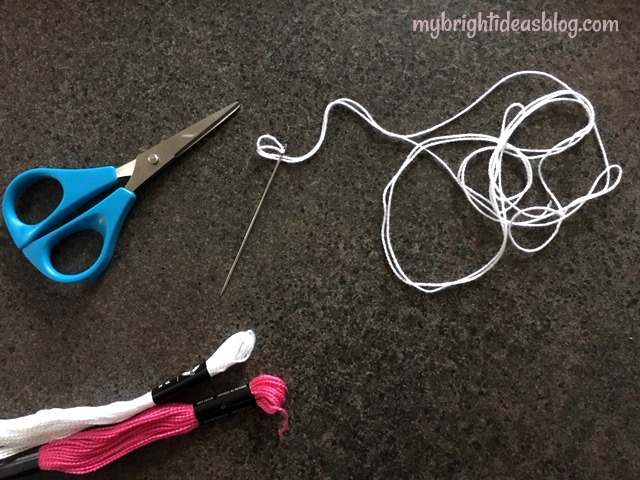
Choose a colour for your embroidery thread. I decided to go with white. Thread your needle and knot the end.
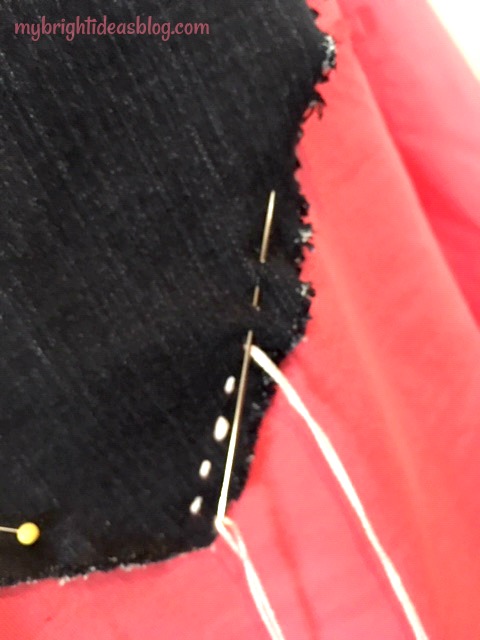
Start from behind and pull the needle through the shirt and denim heart. Continue in and out doing a running stitch. Try and make your stitches the same distance apart all the way around the heart.
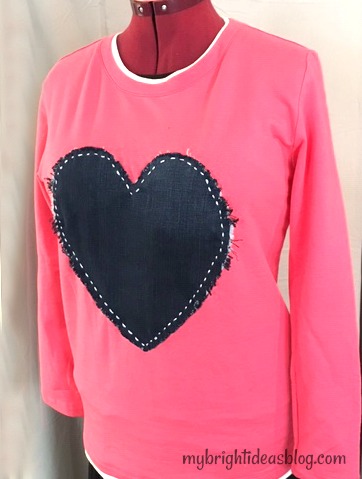
Finish by knotting it on the inside. Could it be any easier!?!?!
 Here is Gus and Gemma with the upcycled shirt’s new owner. It was a surprise gift to my daughter B and she seemed really touched by it. Her pants are also an upcycled idea using strips of old leggings to sew onto a new pair. See the link below-they turned out pretty fun!
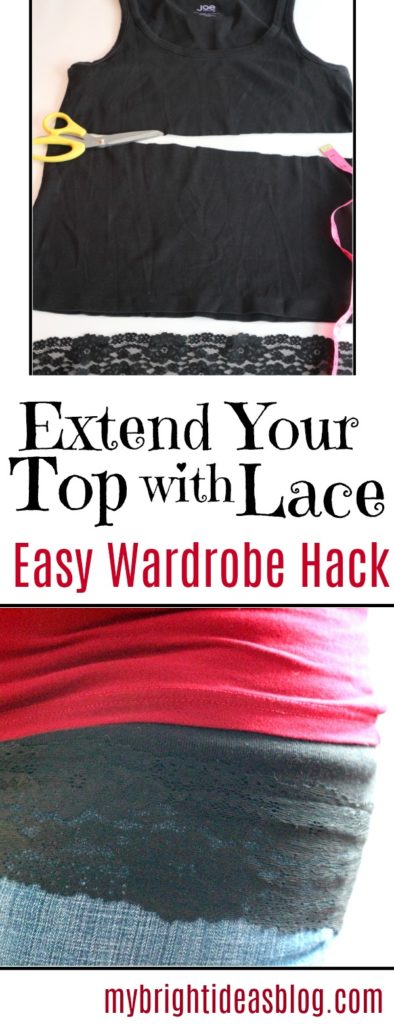
Extend a Short Shirt with Lace-Great Wardrobe Hack!
Add inches to the length of your short tops with a lace extender. This is worn around your waist with an elastic waistline and looks like you’re layering tops. This post will show you how to make a shirt-extender from an old shirt and a bit of stretchy lace and elastic.
This is a really easy project and a great item to have in your wardrobe.
When I was pregnant they called it a belly band. A tube of fabric that went under your shirt so your tummy didn’t hang out under a shirt that was getting shorter by the day.
At https://www.motherhood.com/ its called a “tummy sleeve” or “belly band”.
It occurred to me then that EVERYONE could you use a shirt extender. Sometimes your shirt can shrink leaving you with something you aren’t comfortable wearing anymore. Or maybe you like leggings or something to break up a plain shirt. So here is a tutorial about making a t-shirt extension out of an old top.
You will need:
- An old shirt
- Co-ordinating wide stretchy lace (3 inch wide)
- Elastic (1/2 inch or 1 cm wide)
- Safety Pin
- Pins
- Scissors
- Measuring tape
- Sewing machine
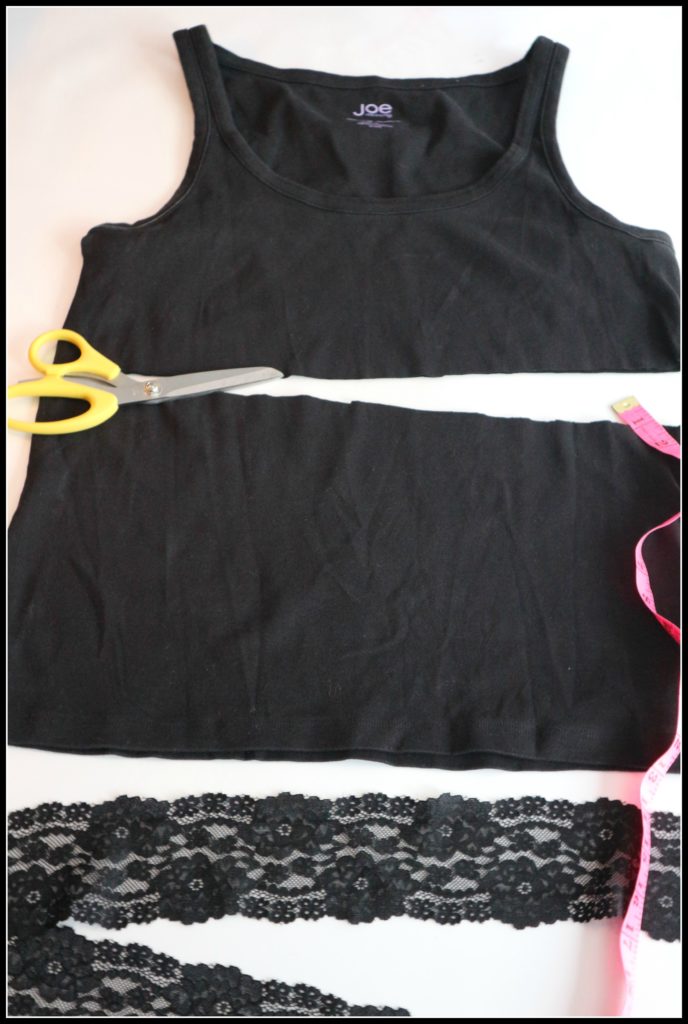
I had a tight fitting cotton tank top that had shrunken and was ready to be re-purposed.
Decide on the length that you would like the top extender to be by measuring your waist to hip with a tape measure. Add on an inch for the casing-plus the lace could add a few inches.
Measure the length and cut off the bottom of your old top. I cut mine 11 inches or 28 cms from the bottom hem. Leave the hem as it is. You can just sew the lace right on top of it.
The length of the lace piece should be a 1/4 inch longer than the width of the shirt hem.
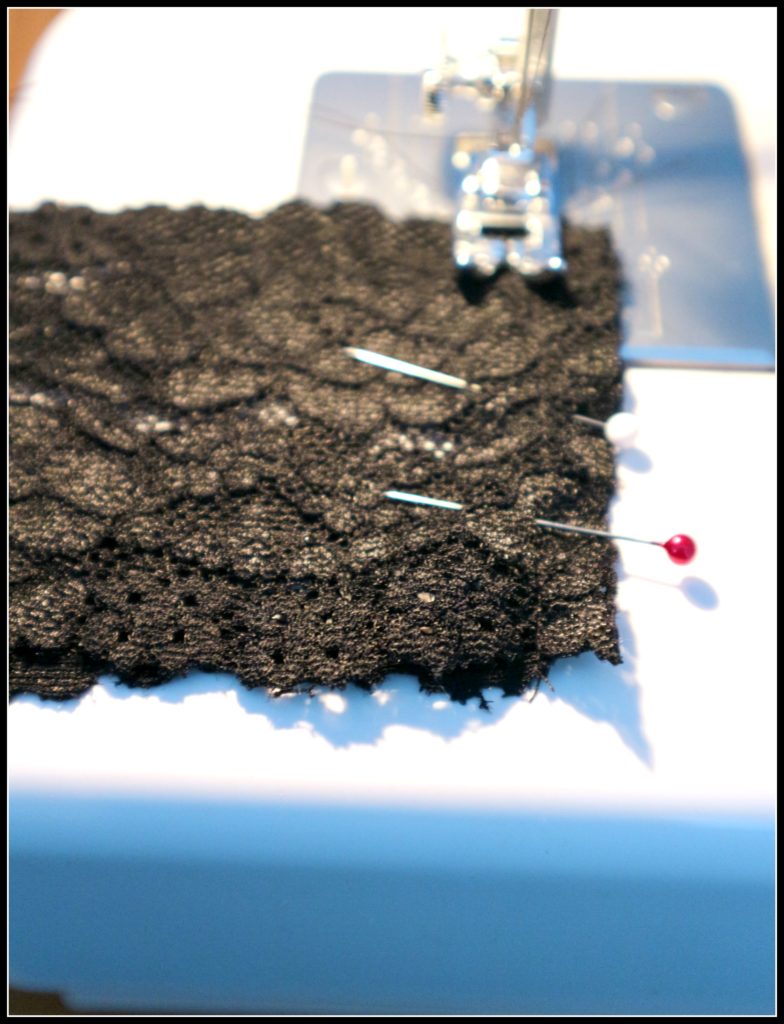
Pin the ends of the lace together and sew the end closed.
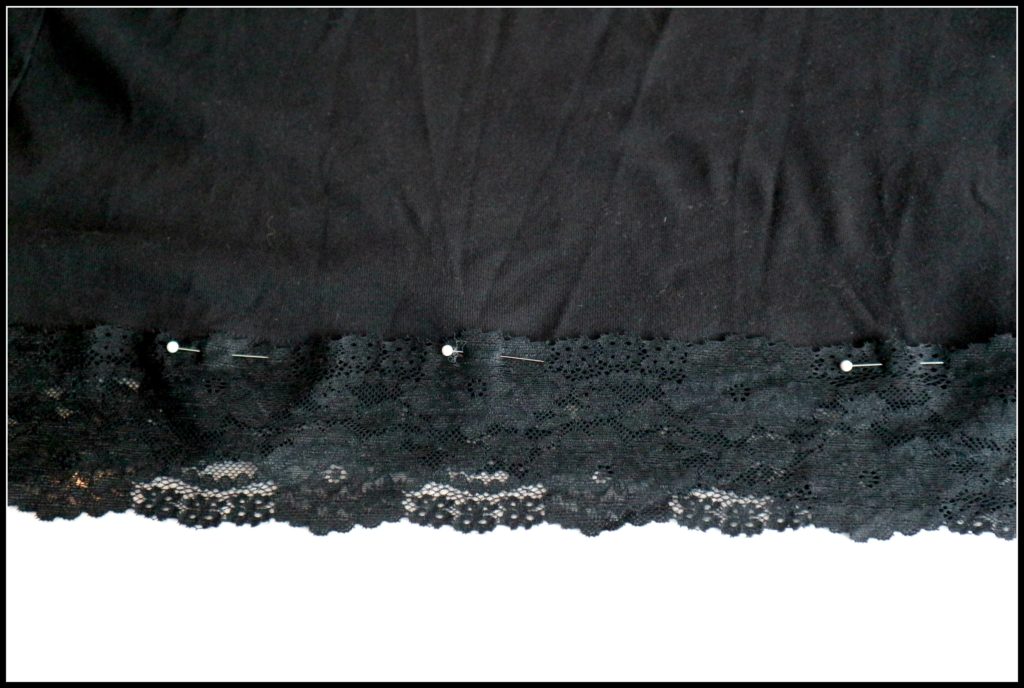
Pin the lace to the bottom of the cut shirt. Be sure that the seam you sewed to join the lace-lines up with the side seem of the top. I decided to sew my lace on top of the t-shirt material. But that was just my preference.

Attach the lace to the bottom edge by sewing all the way around it.
Then we will go up to the top part of the waist band.
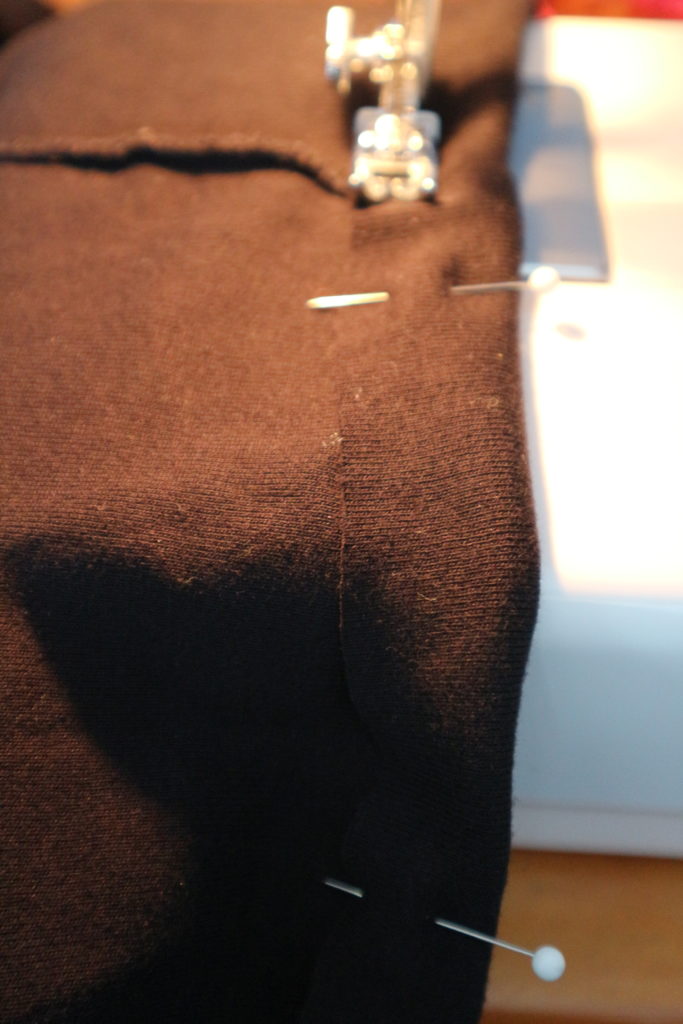
At the top of the fabric, fold over the edge 3/4 of an inch. Pin the edge all the way around to form the elastic casing. Sew in place leaving a 1-2 inch gap.
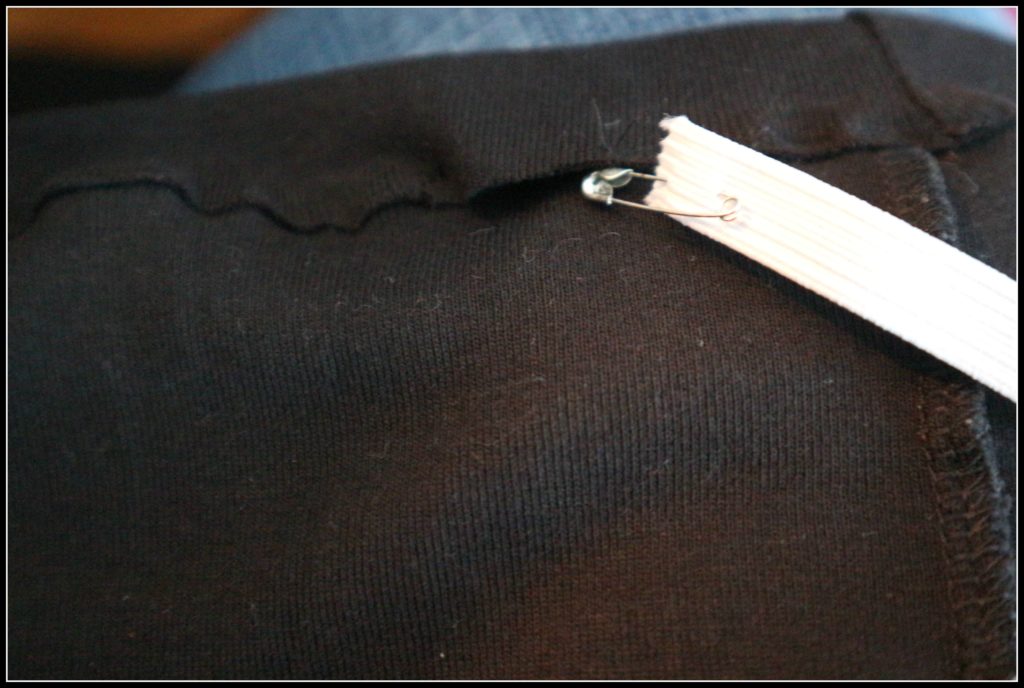
Place a safety pin on the end of your elastic and push it through one side of the 1 inch opening in the casing. Guide the elastic around the casing until you reach the other end of the casing hole. Pin the two ends of the elastic together.
Try on the shirt extender and see how the elastic feels on your tummy. Is it too tight? Or too lose? Or fits just right.
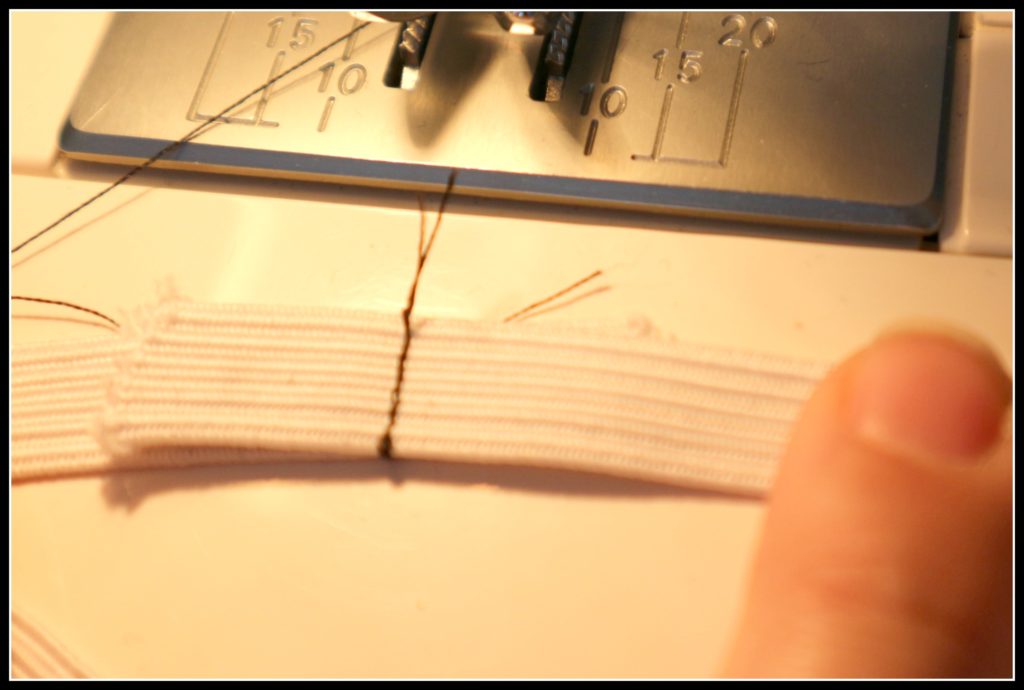
If you are happy with the feel of the elastic, permanently join the ends by sewing them together. I usually go forwards and backwards 2 or 3 times just to be sure.
One final step, finish sewing closed the 1 inch gap in the casing.
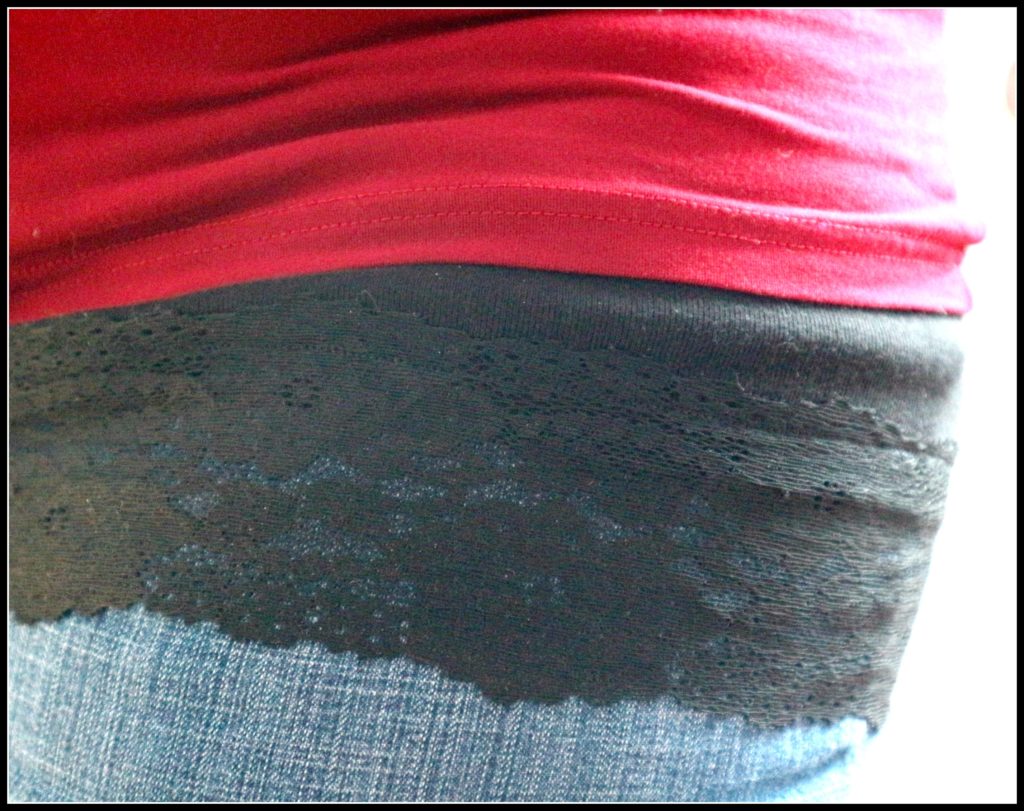
Voila Your Finished! That’s it! What did that take you…. 15 minutes max? Now you can wear it under any shirt for a layered look or just prevent people from seeing your knickers if you have a job that requires some bending over. Oh dear me!
The finished length after adding the lace, casing and elastic almost 12 inches or 30 cms long.
This was a super easy project and a great item to have in your wardrobe. Let me know if you need any further description.
Below is a link to a tutorial for adding lace right onto a favorite shirt that is getting too small. Check it out!
…

Sewing Diy- Extend the Length of a Short Top with Lace

Have you got a great shirt that has gotten too small and you aren’t ready to say good-bye to it? Adding a bit of lace to the bottom is so easy and will make all the difference on how much longer it will work for you. Great for growing girls….also helpful for adults…I have a 100% cotton tank top that is going to have a similar extension as it now is a crop top…just from regular laundering it shrunk inches!
For this project you will need:
An awesome shirt you want to save
A piece of stretchy lace that will be as wide as the top
Sewing machine, thread, tape measure etc etc
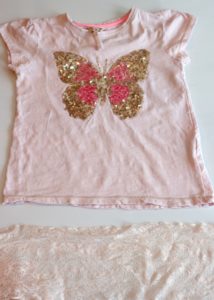
Iron the t-shirt and the lace before you start. This lovely, shimmery, sequin butterfly top is 14 inches wide (36 cms) along the bottom seam when laying flat. So the lace would need to be 28 inches (73 cms) wide plus one extra inch (2.5 cms) for a seam allowance. Check to make sure this will be a good match in width.
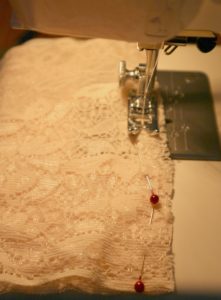 Fold the lace in half and sew the edges together. Turn it inside out.
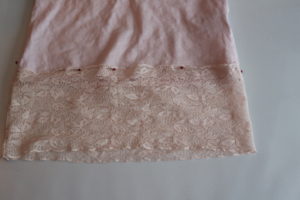
Lay the lace on the bottom of the t-shirt and decide if you would like to sew it on top of the bottom edge or underneath. My lace has a nice look to the top so it didn’t need to be hidden. Lay the lace down flat and put a pin on each end…this will help you to line up the pin to the side seams.
I pinned the lace on top of it all around the top. After I took this photo I decided that the t-shirt would be on the left of the sewing machine so all the pins needed to be turned around. Since the t-shirt and the lace have some stretch you can pull and stretch it a bit if things aren’t lining up well. After you sewed all the way around you are done. Try it on. Can you believe that only took you 10 minutes!?!? Well done!
We love this sequin butterfly top enough that we would probably cut the butterfly off and sew it onto another shirt when its just too small.


100th Day of School Celebration-Glue Buttons on a shirt for a Gumball Machine
It looks like next Monday will be the 100th school day for 2018! Where has the time gone?!?!

Once a year the school has a nice way to spice up a dreary February by celebrating the 100th day of school. Its a great excuse for extra math too as they find all sorts of ways to come up with the number 100. Teachers from Kindergarten to Grade 2 seem to get into it the most with assignments for parents to help their children glue 100 cheerios to a page or 100 googly eyes to a t-shirt. What we did for the girls a few years ago was put 100 buttons on a t-shirt looking like gum balls in a gumball machine.
Simply take a piece of in-expensive white felt and cut a circle (trace a plate). Take a piece of red felt and cut out the bottom and top of the gum ball machines. We didn’t realize the date had snuck up and with one night to do this I hot glued everything in place. I could have sewed on the felt and buttons but that would have taken some time but made them more wearable. We put it on plain purple t-shirts from the craft store….purple is always a great choice and the bright colours pop! Their teachers were really delighted by the effort we put into making t-shirts for the theme.
COST
The cost to make this…$5 t-shirts….$2 felt…..$4 for buttons in 4 colors from the dollarstore which was enough for both girls tops. So less than $20 for both girls. You could cut the cost in half if you use t-shirts that you already have. Use one that they are just about to outgrow anyway! The photo was taken by the teachers and emailed to me-how sweet!
